Affiliate links on Android Authority may earn us a commission. Learn more.
Augmented Reality - Everything you need to know
Published onJuly 20, 2016

What is augmented reality?
Let’s break down the term “augmented reality” for a minute. “Augmented” means to make something more complex by adding something to it. “Reality” is known as the state of things as they actually exist.
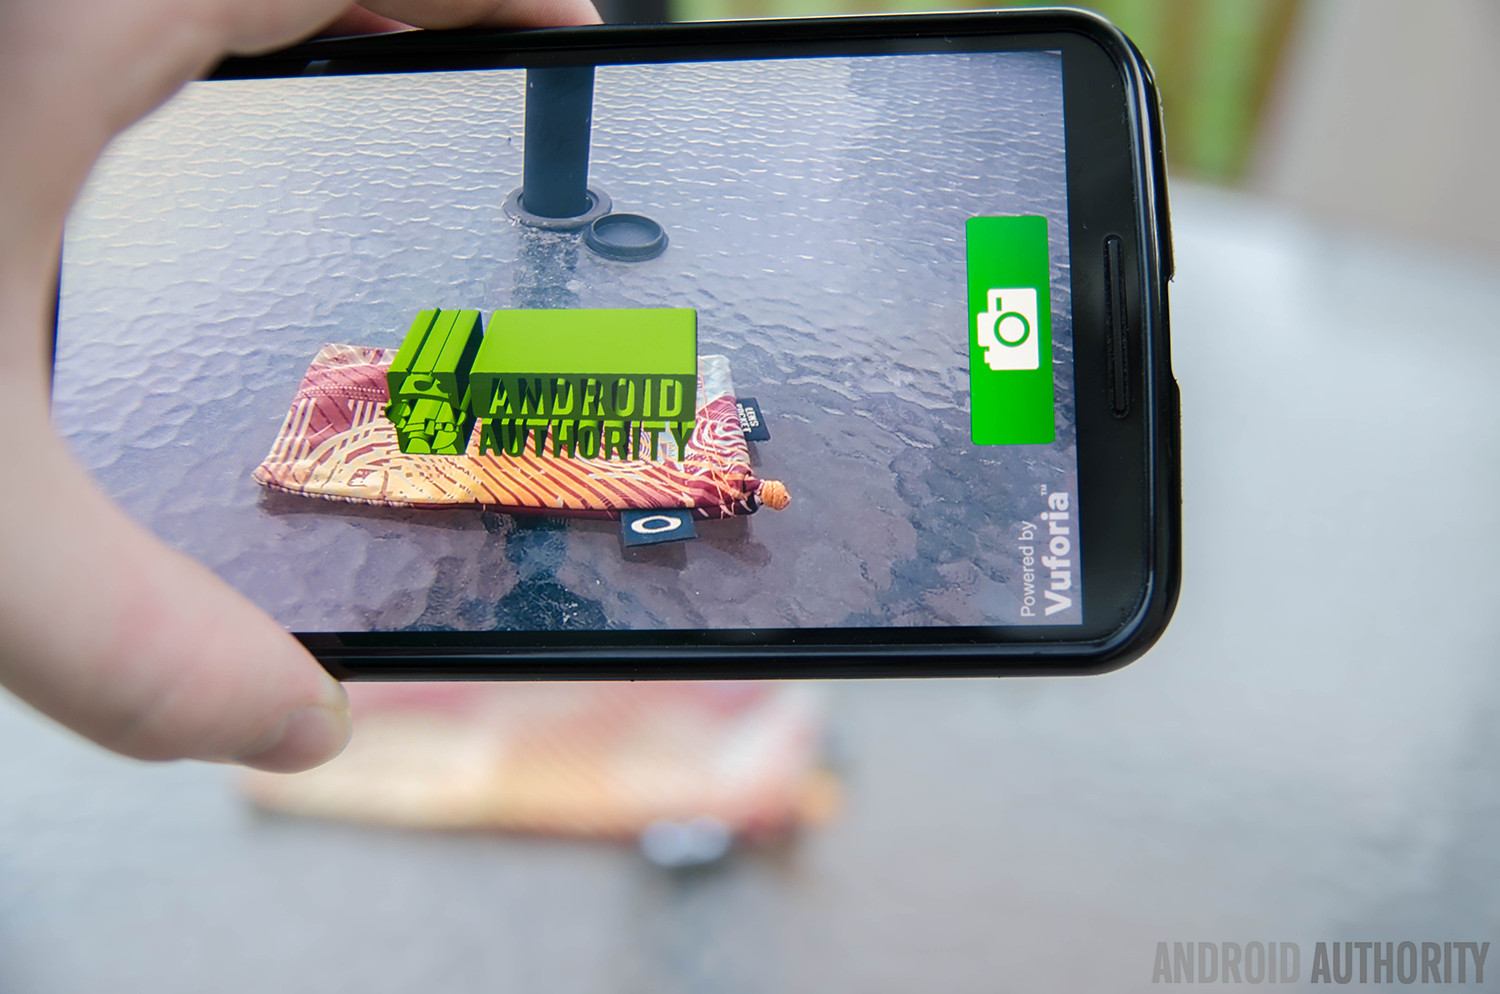
In the image at the beginning of this article, the scene is being augmented by adding the Android Authority logo to the scene on top of the sunglass case. Keep in mind that augmented reality is not limited to just images, sound and other sensory enhancements are also possible.
A good example of a form of augmented reality we experience the most is the superimposed first down line during football games. The military also uses augmented reality for its ground troops using a device similar to Microsoft’s HoloLens. But how does it actually work?
How does augmented reality work?
Explicitly focusing on smartphones as a specific example, AR works by having an app that searches for a marker, usually a black and white barcode or a user defined one (more detail in the Unity section). Once the marker is found, a 3D object is then superimposed on the marker. Using the phone’s camera to track the relative position of the device and the marker, the user is able to walk around the marker and view the 3D object at all angles. This takes a lot of horsepower, as the phone needs to track its position as well as the markers position so the 3D object looks correct.

Smartphones are currently only capable of basic AR functionality at the moment, with more practical uses being more for dedicated devices like the Microsoft HoloLens, known as Heads Up Displays (HUDs).
On mobile, Google has been hard at work on Tango. This is different than standard augmented reality on mobile since Tango has specific hardware to enhance the experience. Tango uses computer vision to track motion, have depth perception and learn the area around you for self correcting features. Tango’s hardware includes a standard camera, a fisheye motion sensing camera and a depth sensor. The first consumer device with Tango was announced last month from Lenovo and looks very promising from a hardware standpoint.
Ways to develop for AR
There are a few ways to develop augmented reality apps, including native development in Android Studio to using engines like Unity. This depends on what SDK you choose to use. Here are a few AR SDKs that are available today:
- Vuforia – Developed by Qualcomm, this SDK supports Android and iOS with Unity support. This what we will be using in the next section when developing an AR app for Android. This SDK supports multiple targets at a time whether they are images or English text, Smart Terrain (which allows for the reconstruction of the physical world), and local and cloud databases.
- ARLab – More than just a SDK, ARLab also has a 3D engine that can be used to make AR apps. ARLab is not free, and offers a few different pricing options depending on what features you want to incorporate into your app. ARLab includes virtual buttons, image tracking and image matching. Pricing for ARLab can be found here.
- DroidAR – DroidAR is an open source AR SDK that supports image tracking and markers as well as location based AR. If open source is your thing, give DroidAR a try. Keep in mind that there is no Unity plugin if that is something that you are looking for, and as the name suggests, Android is the only supported operating system.
Using Unity for AR development
While native development is possible for AR development, it is just as easy to use Unity to make your app. First things first, download Unity. Go through the necessary steps and get Unity installed. Once installed, open Unity and create a new project, make sure “3D’ is selected. Once open, download the Vuforia SDK and samples. Note that you do not need to import the SDK file if you open a sample project, as they include all of the files needed.
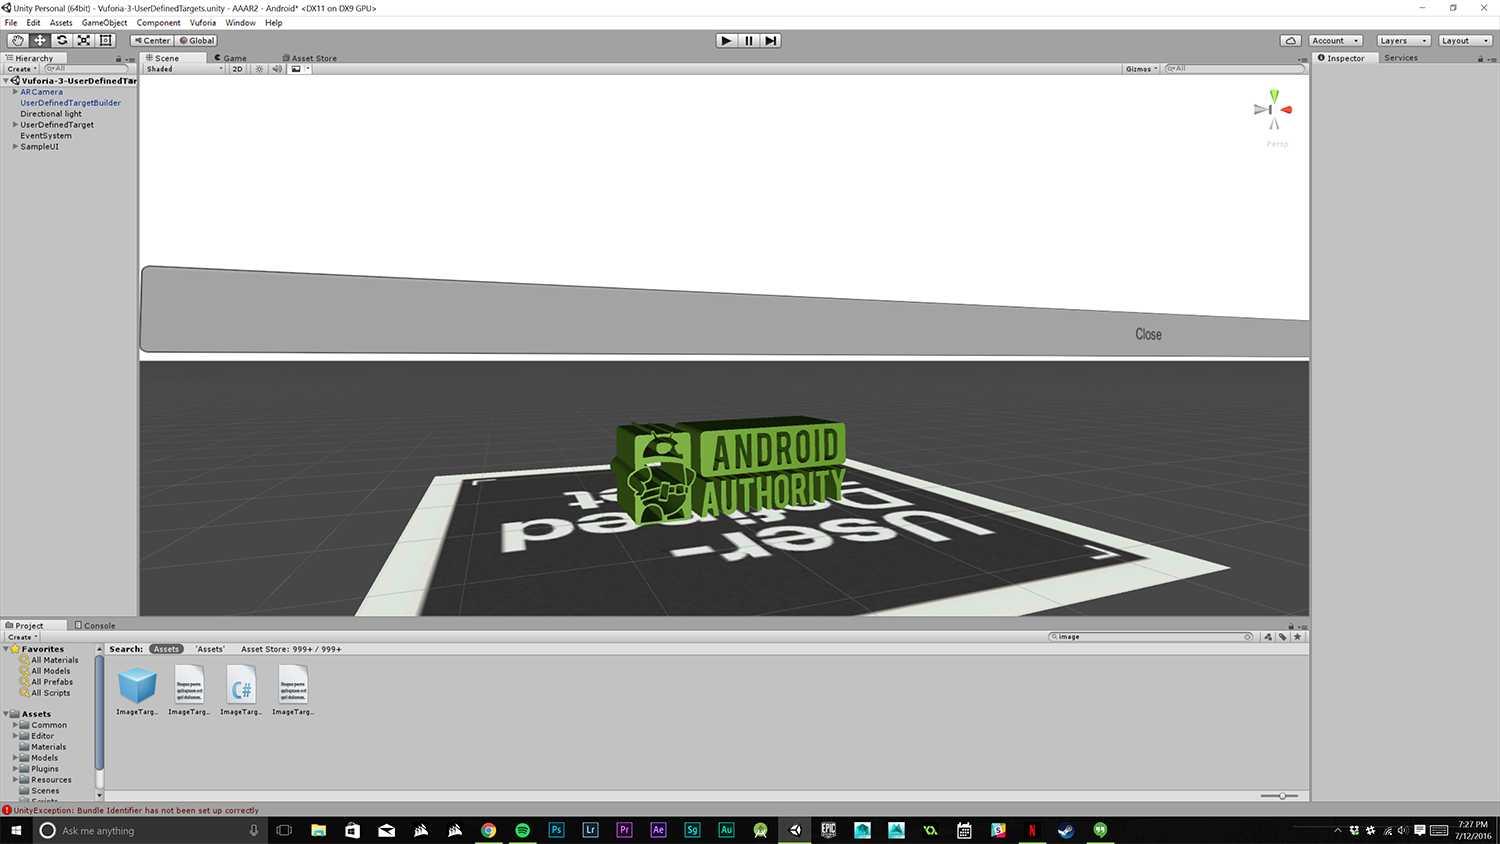
Once downloaded, extract the zip files and put the contents in a safe location that you will remember. Go back to Unity and click File>Open Scene. For this article we will be focusing on the “User defined targets” file. Click on this file to open the project. When the file is open, go to the Scenes folder in the content viewer in the bottom middle, there should be four scenes.

To get rid of the teapot press “delete” on your keyboard to delete it from the scene. You can now drag any 3D object you want into the scene. Make sure the object is aligned in the target square. Once this is done there is one more step. In the hierarchy view on the left side notice “UserDefinedTarget”, drag the name of the object you added to the scene onto “UserDefinedTarget”. This will make your object a part of the target, this is required for the best performance and orientation. This will ensure your object displays properly when using the app.
That is all that is required to display a custom object in AR! This is a rather basic example on AR development. The other samples include buttons that can be interacted with, Smart Terrain, and object recognition. Vuforia comes with a good documentation and overall developing for AR isn’t too much different than regular app development in Unity as far as mechanics. If you know how to use Unity, you essentially can make AR apps with almost no learning curve, as the Vuforia SDK handles anything AR related. This is also the case with basic VR development, with the Google VR SDK plugin handling the hard parts for you.
Wrap Up

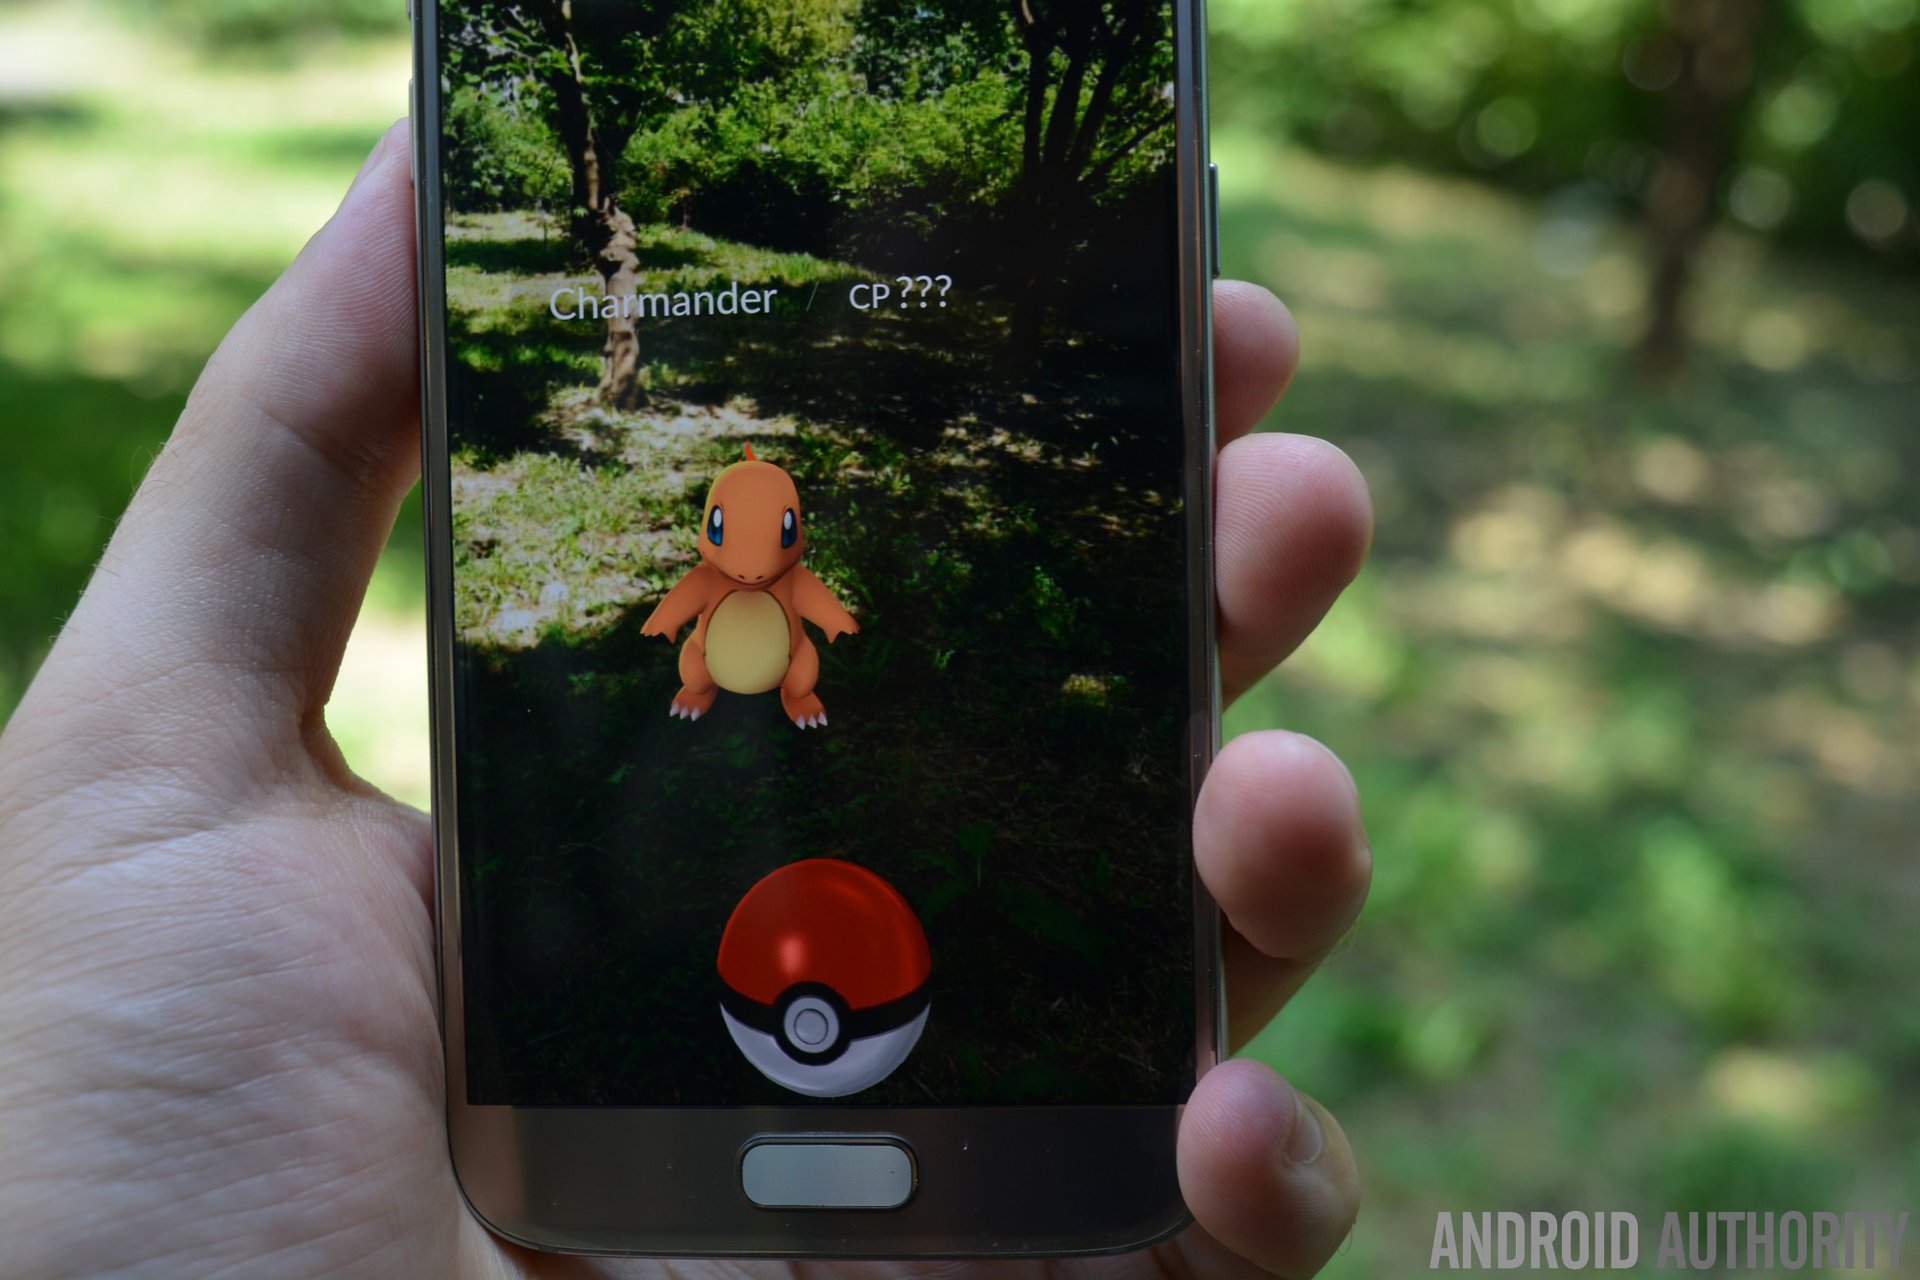
Augmented reality has the potential to be a huge leap in the way we use devices. With Pokemon GO using AR, now could be the prime time for other AR technologies. Developing for AR is relatively easy, especially in Unity, with everything being customizable. Qualcomm does a great job on providing documentation on the Vuforia SDK. I, for one, am very excited to see what the future holds for augmented reality. Let us know in the comments if you are interested in augmented reality!