Affiliate links on Android Authority may earn us a commission. Learn more.
6 tips to improve your mobile photography
September 13, 2015
Photography’s evolution has dramatically sped up since the inception of quality smartphone cameras. Handsets have effectively replaced point-and-shoot cameras, something we never expected to happen only a generation ago. This opens plenty of new doors for creating memories, but it also means there are millions of other users taking a sea of photos every single day. How can you make your own pictures stand out?
It’s hard to teach anyone photography, as it’s a skill that usually takes a long time to polish. There’s a plethora of factors to take into account every single time you release that shutter. Not to mention, every user has a personal style. Regardless, there are some simple ways to dramatically improve your shots, without investing too much time and resources into this art.
LG is giving us some tips and tricks you can apply to your daily snaps and share even more awesome images to your social networks. Of course, this is mostly marketing content and mentions LG products quite often, but these tricks can be applied with any camera, and it’s definitely useful information. Let’s dig into the nitty gritty, shall we?
1 – Shooting from above
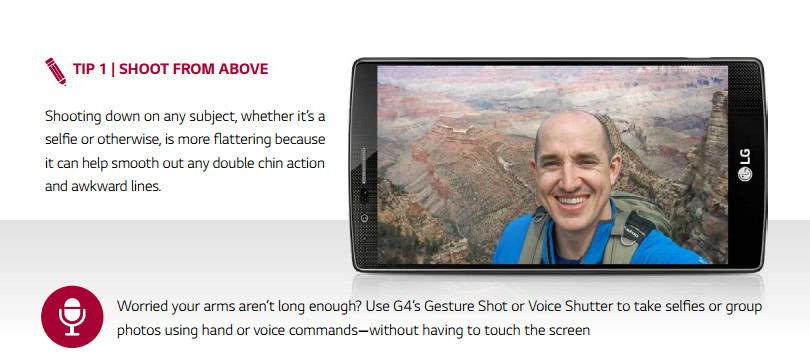
As LG mentions, shooting from above (camera pointing down) can make people look more flattering, as it tends to get rid of “double chin action and awkward lines”. Of course, there are ways to do this without having to use these angles, it just so happens that looking up stretches parts of your neck and face, making them look smoother.
Alternatively, you can try to lower your shoulders and stick out your chin. You know, just in case you really want to show something that is behind you and you can only catch by lowering the camera.
2 – Play with the shutter speed
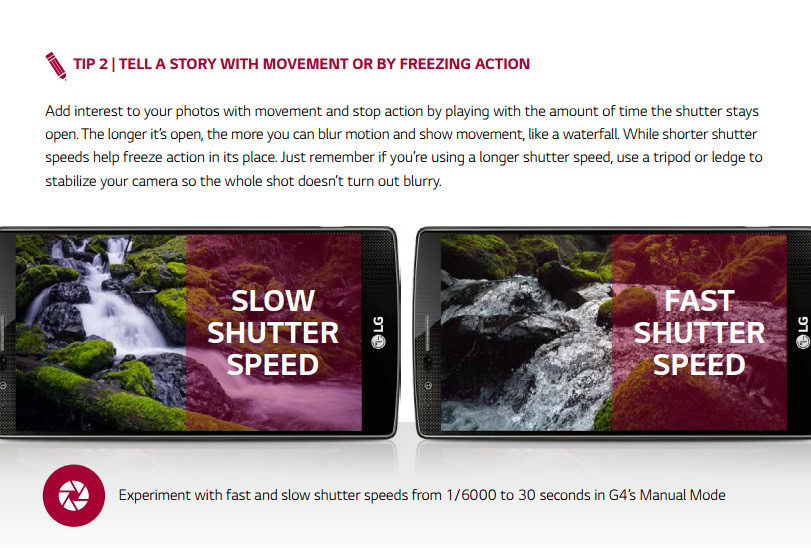
This is something most people don’t pay too much attention to, but messing around with the shutter speed can make a huge difference in your photos. It all depends on the amount of light you have available and the effect you are looking for. Let’s start by telling you how the shutter speed affects the image.
The shutter speed determines how long your camera sensor is exposed. A faster shutter speed will capture action clearer and freeze all the details, but it will also mean having to raise the ISO (more on this later), which can make the image more grainy.
On the other hand, lowering the shutter speed will capture smoother moving objects and you can get less noisy images, but you have to be more careful. Slow shutter speeds make your photos more prone to motion blur. Just make sure you have very steady hands, use a tripod or make sure the device is stable.
3 – The rule of thirds!
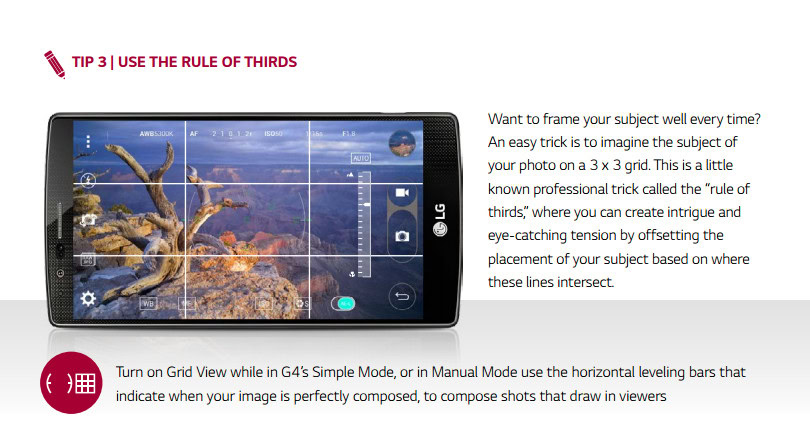
Composition, composition, composition! All other factors are important for making a great image, but ask any photographer and he will tell you composition is the most important part. There is plenty of advanced composition methods, but the most basic one that works almost every single time is the rule of thirds.
The concept is simple. Just visualize the frame divided in three, both horizontally and vertically. There will be a virtual set of rectangles. See the middle one? Try to place your main subject in one of its corners (where the lines intersect). This usually creates a very interesting effect, but be careful, as sometimes images can have too much dead space in other areas.
4 – Try to get a basic idea of ISO
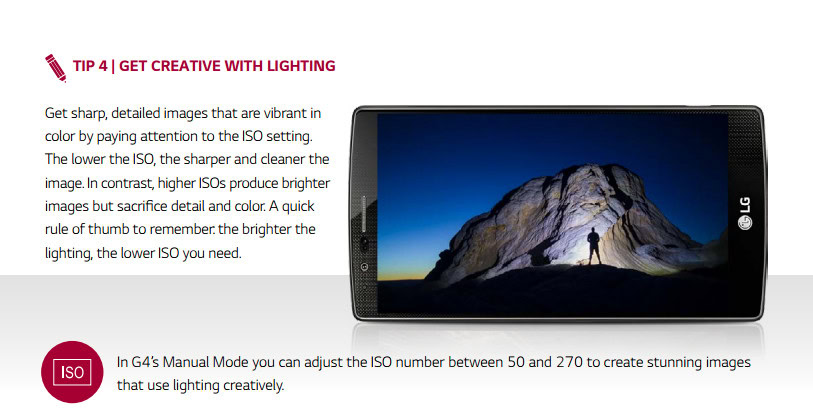
What the hell is ISO? It seems like some convoluted professional photography term, but it’s really quite an easy concept. The ISO simply determines the sensitivity of your sensor (or film). The lower the ISO, the less light your camera can capture. This usually means you have to elongate exposure (unless you are looking for a specific effect), but shots will be less noisy.
As you start increasing the ISO, your images will become more grainy, but you will be able to use a faster shutter speed and/or make images brighter.
Many smartphones now have manual mode built in, but those who don’t enjoy such features can simply look for another camera app with a manual mode. There’s plenty in the Google Play Store!
5 – Sometimes panorama is the only good way to go
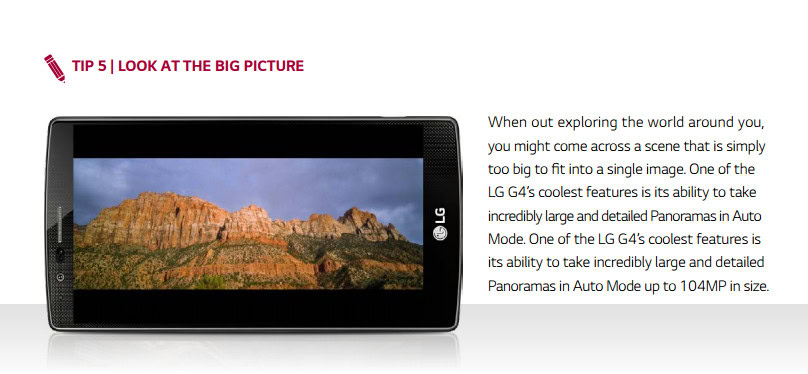
Are you trying to take a picture of something that is too large? You don’t need to run miles back just to fit it all in the frame. Pretty much all modern smartphones can now take panorama shots. These images are essentially multiple images stitched together. This used to be a more complicated process before, but smartphone software now does it all for you.
6 – HDR
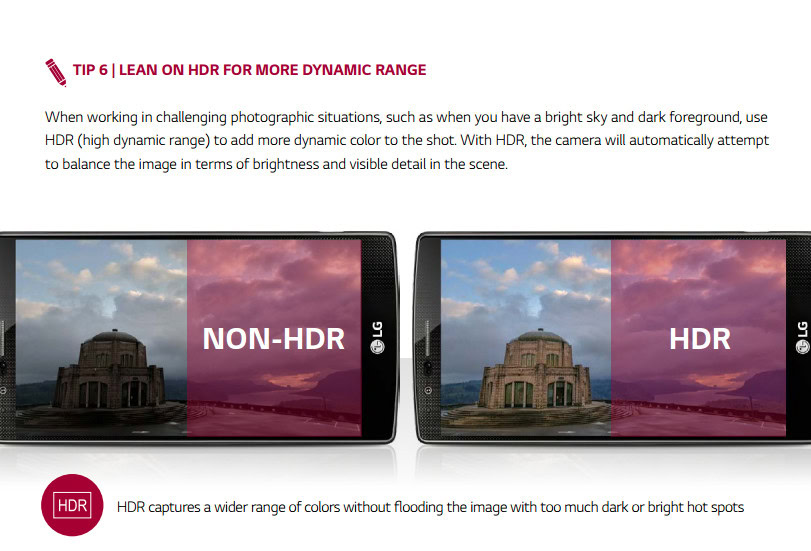
When I learnt to do HDR, we had to take multiple identical shots at different shutter speeds, put them together using specialized software and manually adjust all the lighting. The ultimate purpose? To have more dynamic range and create images that are more uniformly lit. Modern smartphones can now take care of all this work on their own, so look for the option in the camera settings.
This is good for situations in which there is a large contrast in light. For example, try to take a picture of yourself indoors, standing in front of a window that points outside. Either you will be very dark or the light outside will be completely overblown.
Wrapping up
So there you have it, guys! These are definitely some helpful tips, but there is so much more you can do with your mobile photos. Do you have any other tips for us? Share them with your fellow mobile enthusiasts in the comments below.