Affiliate links on Android Authority may earn us a commission. Learn more.
I built a fully-connected smart home without breaking the bank, so can you
Published onFebruary 12, 2023
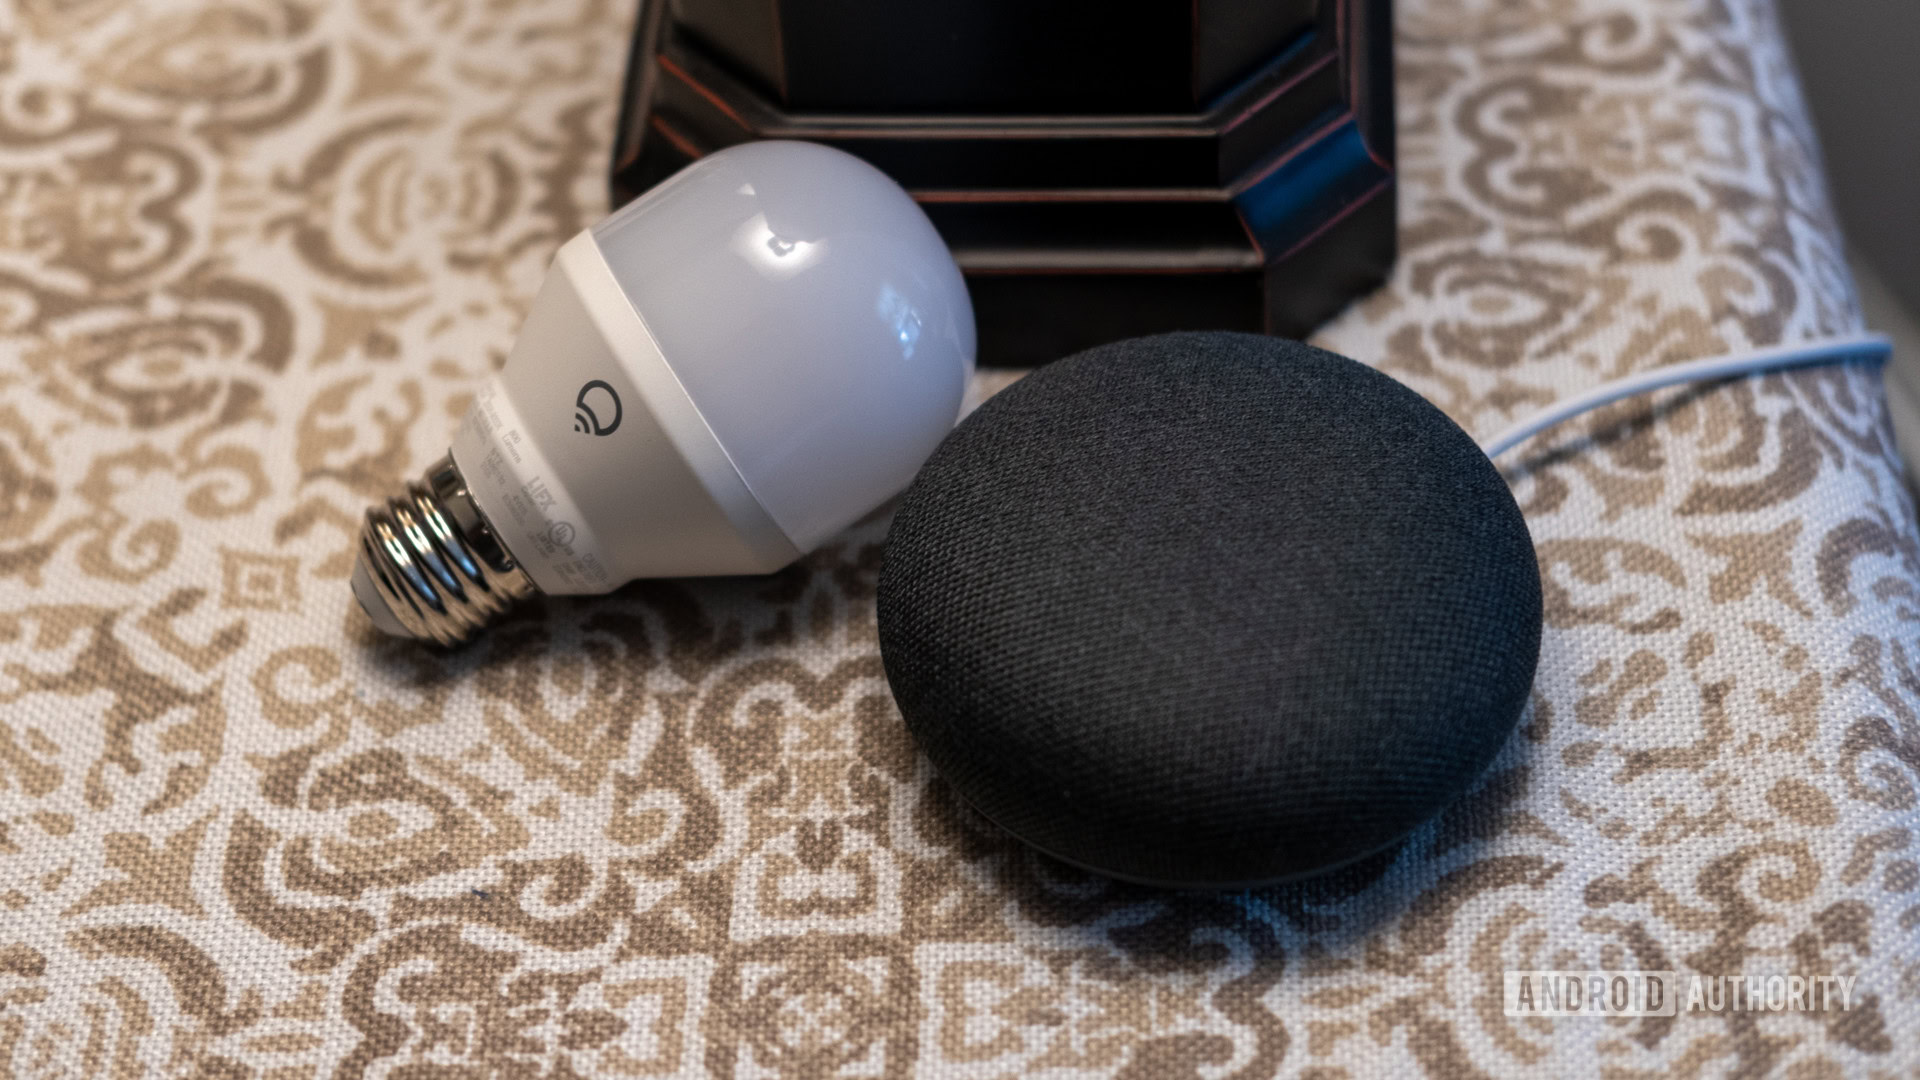
The Jetsons had the right idea with a sweet mix of gee-whizz gadgetry and intelligent home automations that just worked. However, real life doesn’t quite work like that. As someone who has sunk years of my life into the smart home hobby, there are no two ways about it — getting the results you want can be a tremendous time and money sink unless you plan things right.
Smart homes come in many shapes and forms, from basic switches or lights to going off the deep end like my colleague Calvin who flashes the lightbulbs in his smart home to stay away from offshore internet servers. For me, I needed a reasonably competent middle ground that solved all my requirements, was relatively resilient to breakdowns, and was foolproof enough for the less technically inclined users in my home.
My fully connected home isn’t my first rodeo. It’s been a long journey of pain, frustration, and expenses to come to this point. But it doesn’t have to be the same for you. Sit tight as I guide you through my journey of building a smart home on a budget.
Are you happy about the current state of your smart home?
My smart home history
My first few iterations of a connected home were cobbled together using disjointed components I acquired over the years. Be it Wi-Fi-based bulbs, dodgy connected sockets, or relays that took multiple attempts at, ahem, relaying the correct command. The products usually worked, but the pain and agony of installing a dozen apps was frustrating, to say the least. A network outage could and would often trip a series of bulbs requiring pairing them from scratch. Let’s just say I have words to say to the product manager who decided that flipping the light switch five times within three seconds was the right call to trigger the pairing sequence. Suffice it to say that my existing setup was far from user-friendly.
My first smart home was smart-ish at best, and far from reliable.
So when I recently started renovating my home, I knew it would have to be built smart from the ground up. It needed an action plan based on wants and requirements. Moreover, it would have to be forward-compatible to accommodate things I might want to accomplish in the future. I was on a budget, but I didn’t mind splurging if it made sense from a future-proofing point of view.
The action plan
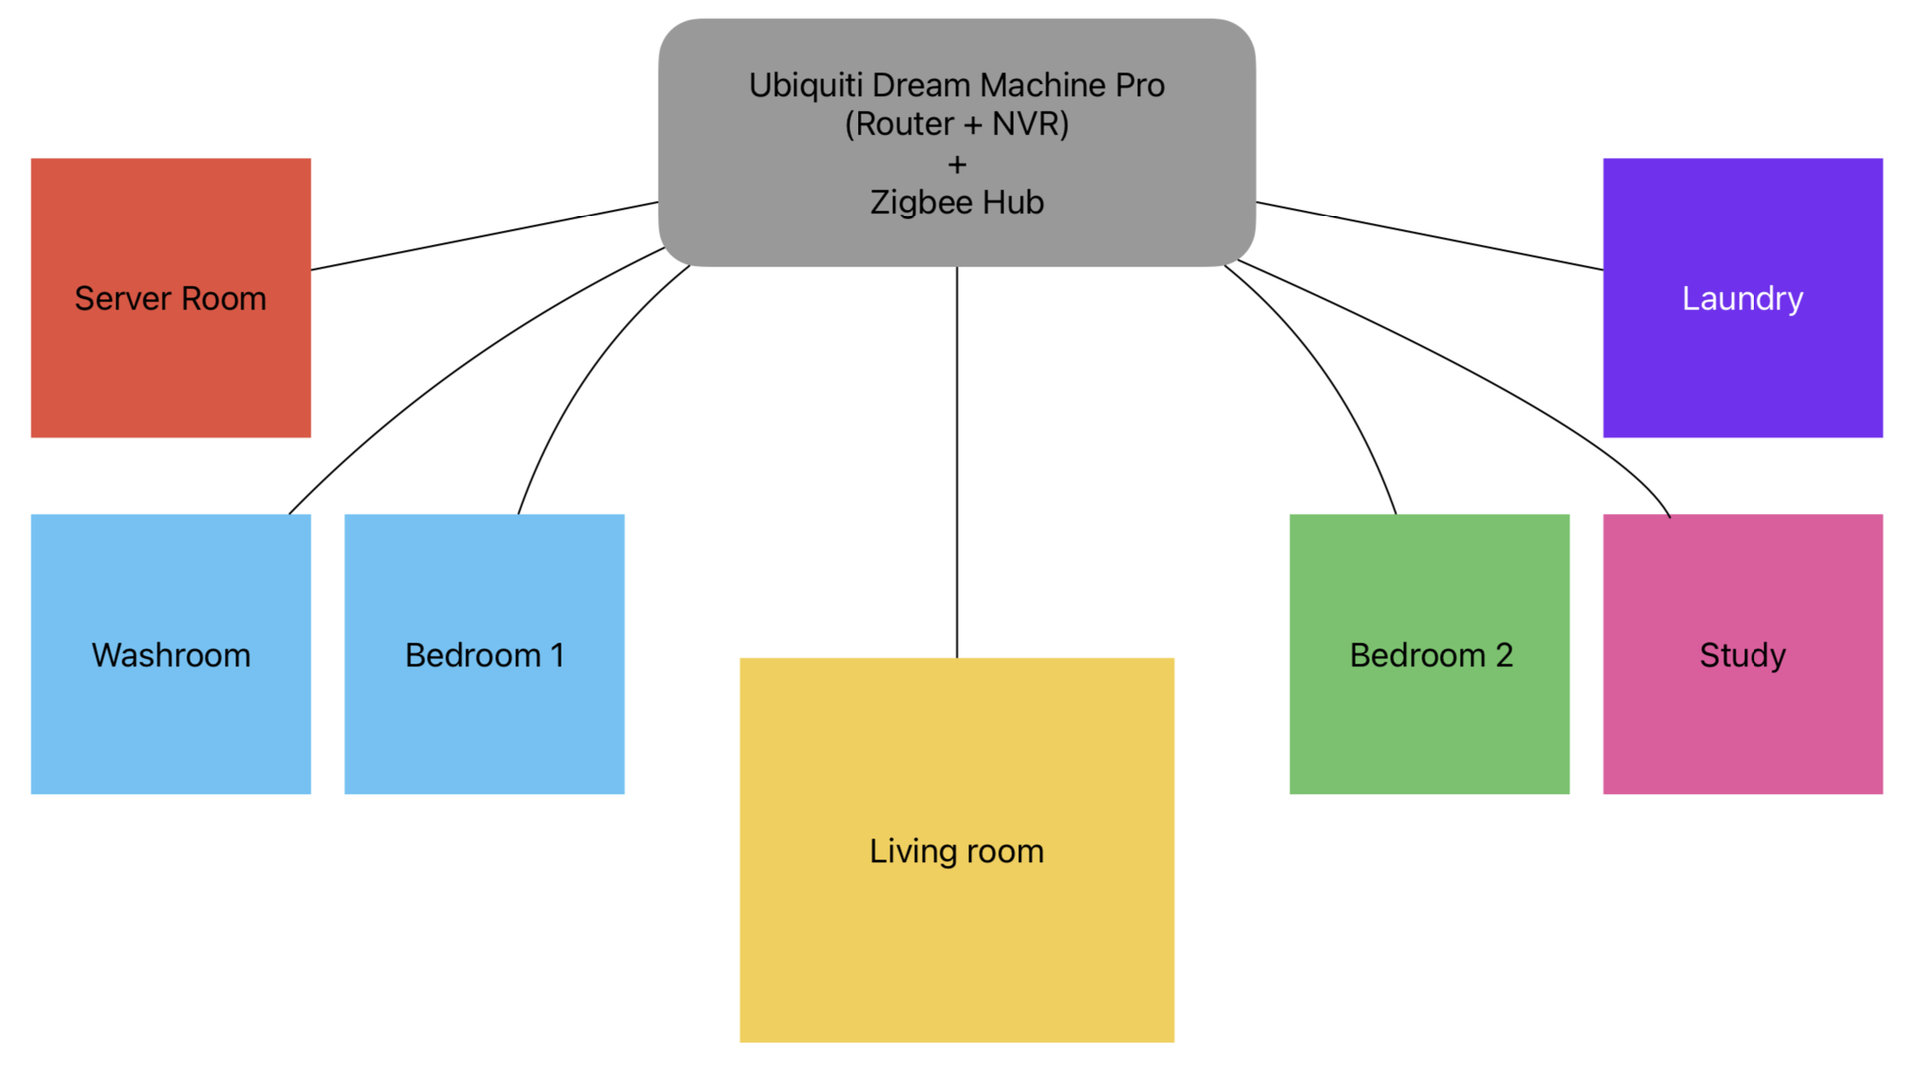
To get my plan of action underway, I started off by making a list of features and controls, rooms I wanted to be smartened up, and the best protocols and tools to solve the problem. In order of importance — lighting, HVAC controls, audio, basics like the washer and dryer, dishwasher, and a centrally accessible security system with no subscription fees attached.
Matter won't matter for a while, and getting every device on the same protocol is practically impossible today.
The next step was deciding the protocol. Here’s the truth of the matter — Matter and Thread are excellent, and so are Zigbee and Z-wave or SmartThings. Still, it is practically impossible to commit to just one unless you are prepared to compromise on price or capabilities, and sometimes both. Moreover, unless you are willing to splurge on all-new appliances, some things are just done better with accessories like smart switches that predominantly run on Wi-Fi.
For me, the decision was clear. I opted for a combination of Wi-Fi and Zigbee to deploy my smart home. My decision was made easier because I’d recently set up a business-grade Ubiquiti network solution at home. As a remote worker, reliable internet connectivity is essential, and that’s why I justify the exorbitant expense involved. You can probably get away with some of the best mesh routers on the market instead.
Smart lighting: Quality versus compromises
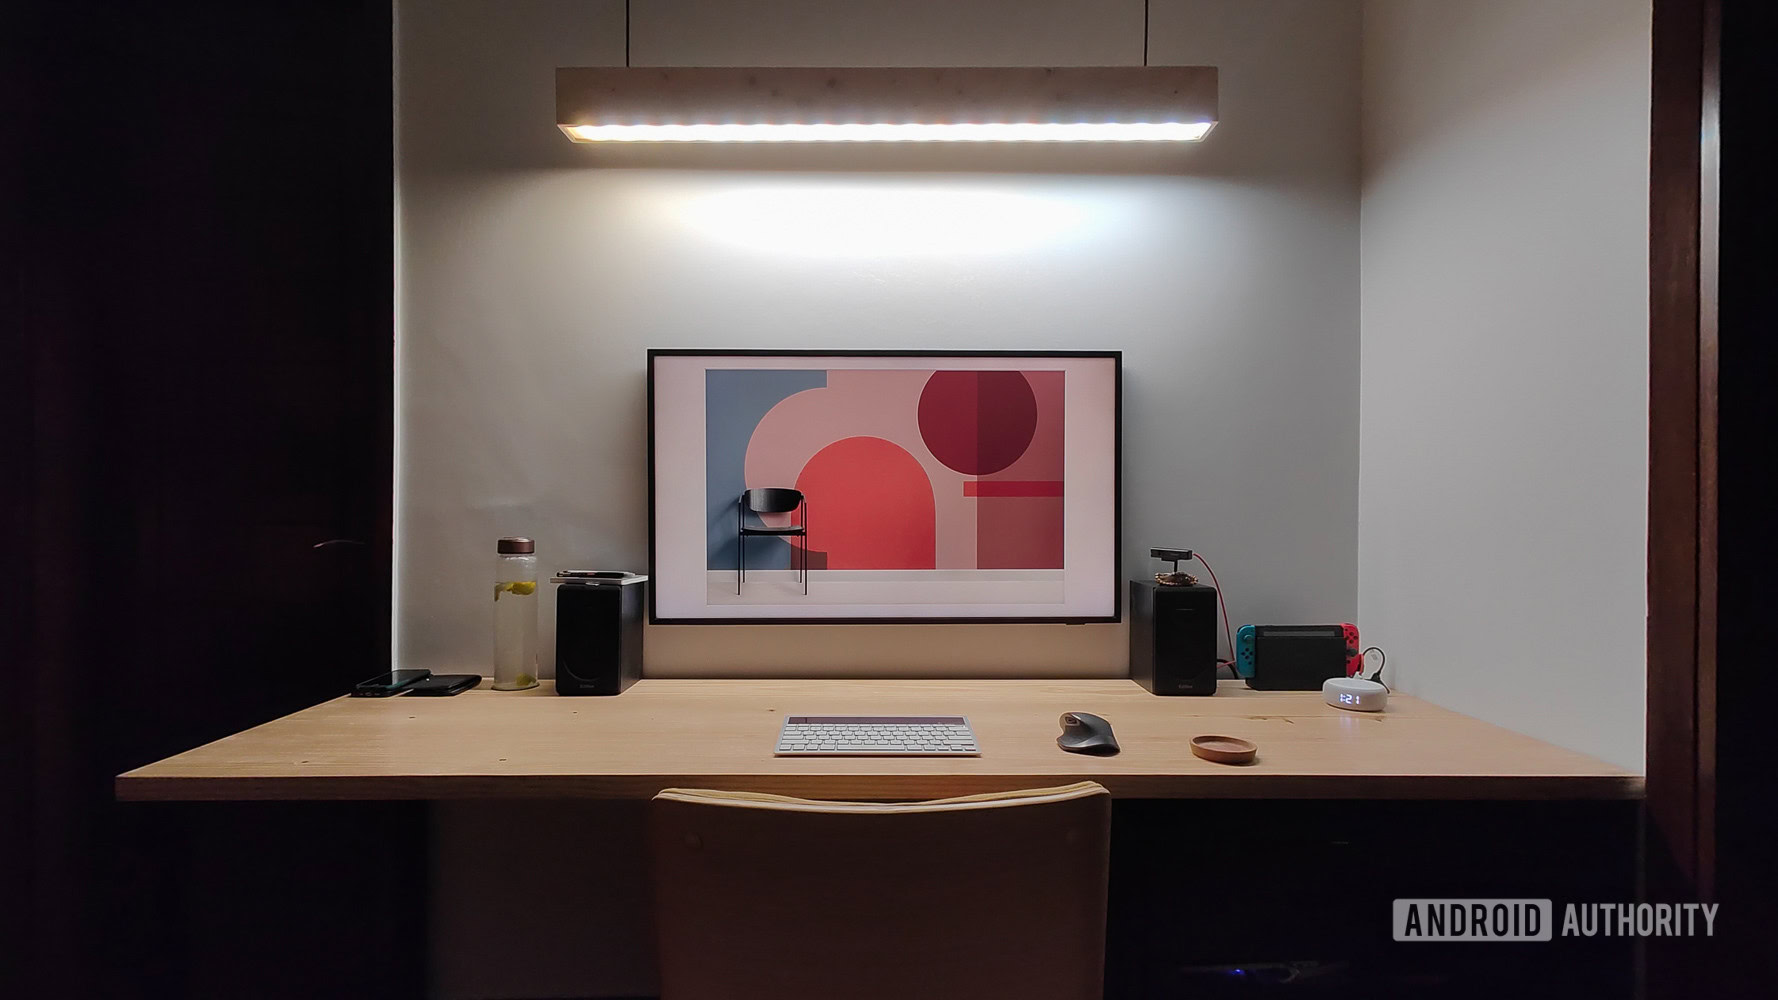
The holy grail of home automation is also, in equal parts, the easiest and the hardest. Finding the right mix of bulbs, strips, or even pendants can be tiresome. More so if you want to stick to a single brand. It is also where you should factor most of your budget.
Quality of lighting, color accuracy, and consistency across light sources is essential to me. After using Wi-Fi-based bulbs for years and testing out most options on the market, I knew they wouldn’t cut it for me. This time around, I switched to the Philips Hue ecosystem. I know, I know, Hue is far from the most budget-friendly option, but hear me out.
Hue Lights aren't cheap, but they make up for it with reliability, options, and quality of lighting.
Compared to the Wi-Fi-based bulbs, Hue lasts longer, has much better color accuracy, and, most importantly for me, runs on Zigbee. This means less clutter on my Wi-Fi network, lower latency, complete offline control, and resistance to network outages. All too often, I’ve been unable to control the lights in my room because the bulbs couldn’t connect to a remote server. That’s a no-go for me — the Hue Lights handily solved that problem.
The sheer variety of Hue-compatible apps and accessories, like wireless dimmer switches, cinched the deal for me as it allows less technically inclined users or guests to enjoy all the benefits of smart lighting without any of the hassles.
That said, I didn’t use just Hue-based lighting. Given the sheer expense of the products, I restricted Hue bulbs and light strips to key lighting areas. I’ve got a series of ambient lighting strips in my bathroom, behind my mirror, and working as a dim night light that were self-built using WS2812b LED strips. Using the open-source WLED software, I have full-fledged control over the lighting and have set them to sync with the rest of my Hue lights. While the color accuracy isn’t quite there, the setup works wonderfully well for the use case. To know more, check out how I made my own Hue smart light strips for cheap.

Energy savings were equally important for me as I didn’t want lighting for areas like my bathroom to stay switched on all the time. I use a cheap Sonoff motion sensor mounted under the bathroom cabinetry to activate the ambient lighting whenever the door is opened.

The sensor feeds data to Home Assistant — we’ll come to that shortly — and the smart home operating system fires back a switch-on command. 20 minutes after it stops detecting motion, the lights switch off again. Magic.
Connected air conditioning and heating
Delhi is a city of extremes. Summers can be scorching hot, with temperatures soaring above 43 degrees Celsius, while the weather drops down to a chilly 2-3 degrees Celsius in the winters. Additionally, houses here don’t include traditional HVAC systems or centralized heating. The recourse? Split air conditioning and dedicated heater units in each room.
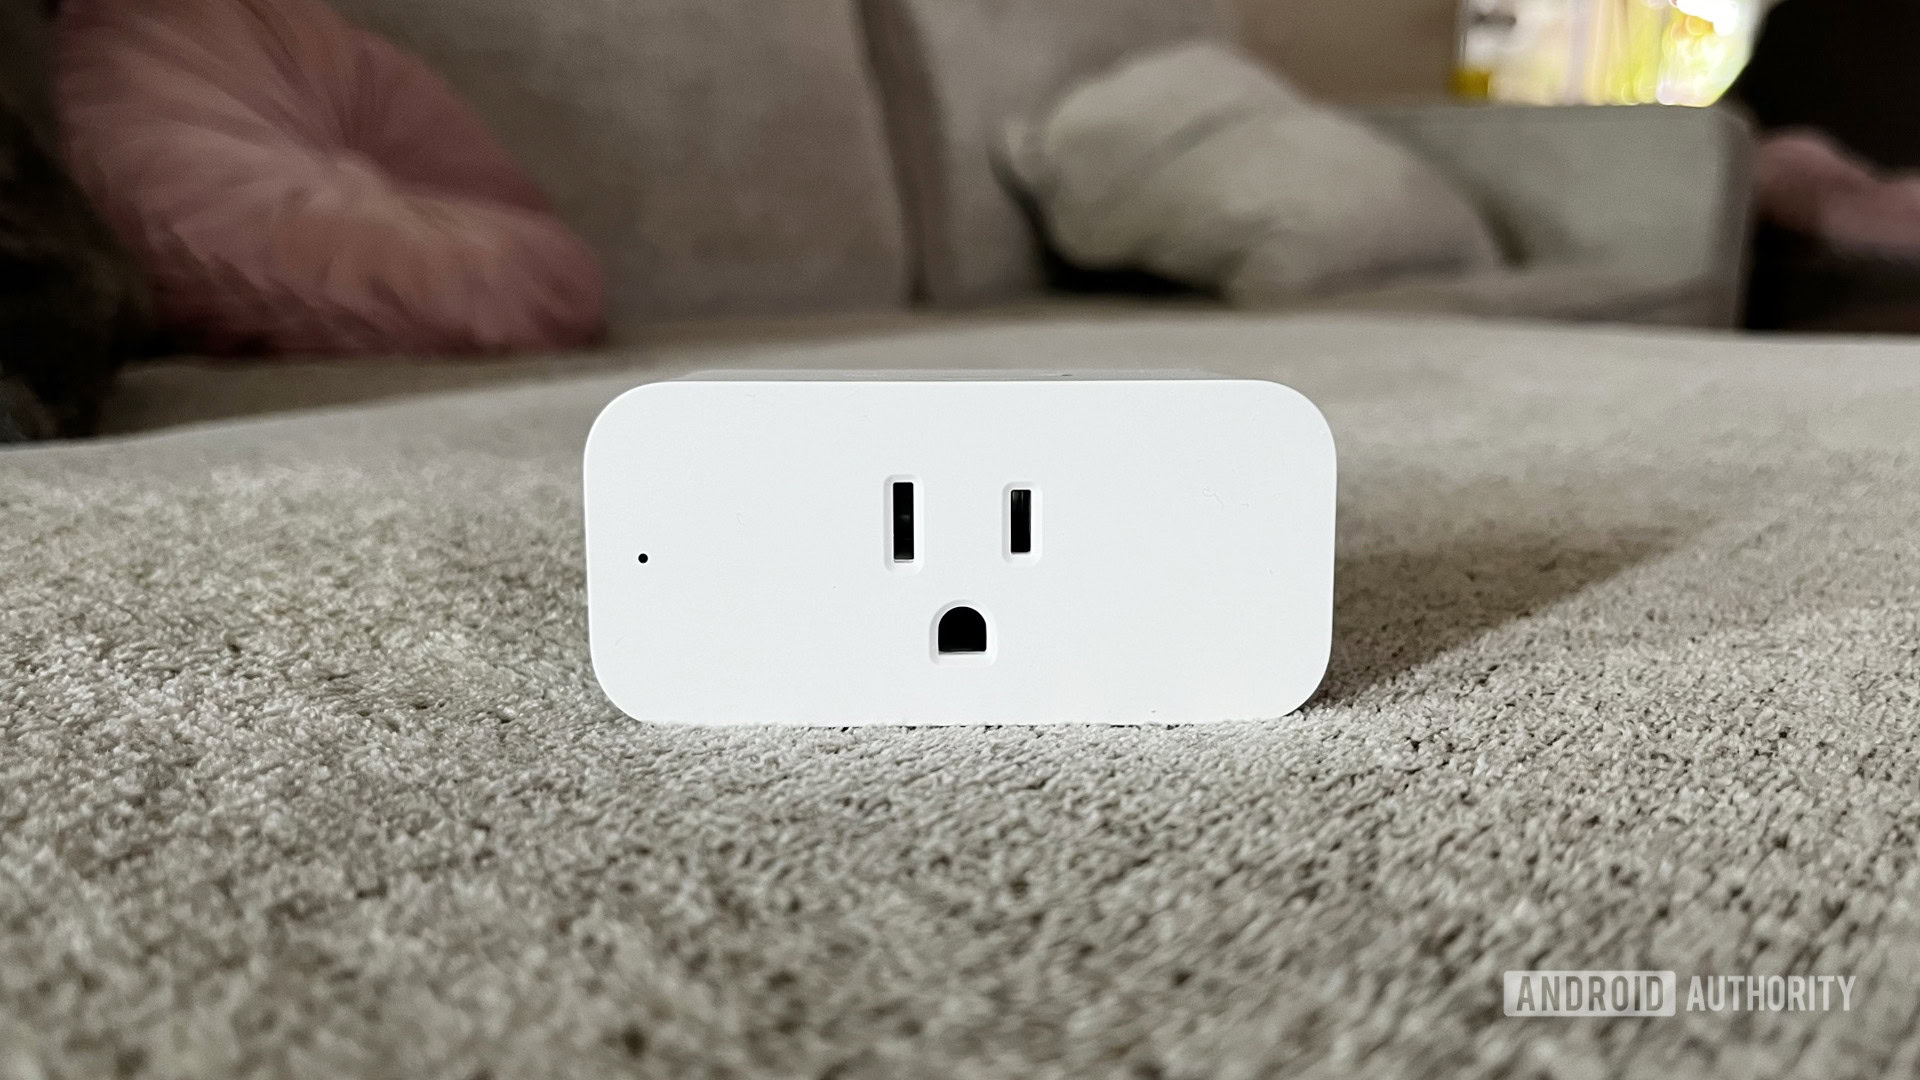
While smart air conditioners exist, I was not interested in tossing out perfectly good air conditioners for the privilege of centralized temperature management. To solve the problem, I picked up infrared blasters. Since I’m already using Home Assistant to trigger a range of automations, I tapped into Sonoff sensors to trigger the air conditioning during set temperature ranges. This ensures that my AC isn’t permanently switched on and the room never warms up too drastically. External IR blasters also tend to be convenient solutions for rental homes, as my colleague C. Scott found while testing the Switch Bot smart home tools.
External infrared blasters and smart plugs are a great solution to smarten up old appliances or rental accommodations.
Got ceiling mounted fans? No worries. A series of smart relays plugged into the switchboard easily let you convert existing appliances into smart devices.
To solve the problem of heating, I paired a Sonoff temperature sensor with a smart switch to trigger a space heater. Tied into Home Assistant, it keeps my home cozy by maintaining pre-defined temperature ranges and assists with power savings since I no longer have to ensure that I’ve switched off the heater. If you’re invested in the Amazon Echo ecosystem, many of those speakers ship with a built-in temperature sensor that can also be used to trigger routines based on ambient conditions.

Similarly, I use pre-defined time-based routines on a smart switch to control my water heater. It’s easy, and it works. Additionally, non-smart appliances tend to be much easier to repair, which was yet another consideration for me. It’s much easier and cheaper to repair or replace a $10 smart switch than an expensive connected water heater if it breaks down in the dead of winter.
Multi-room audio
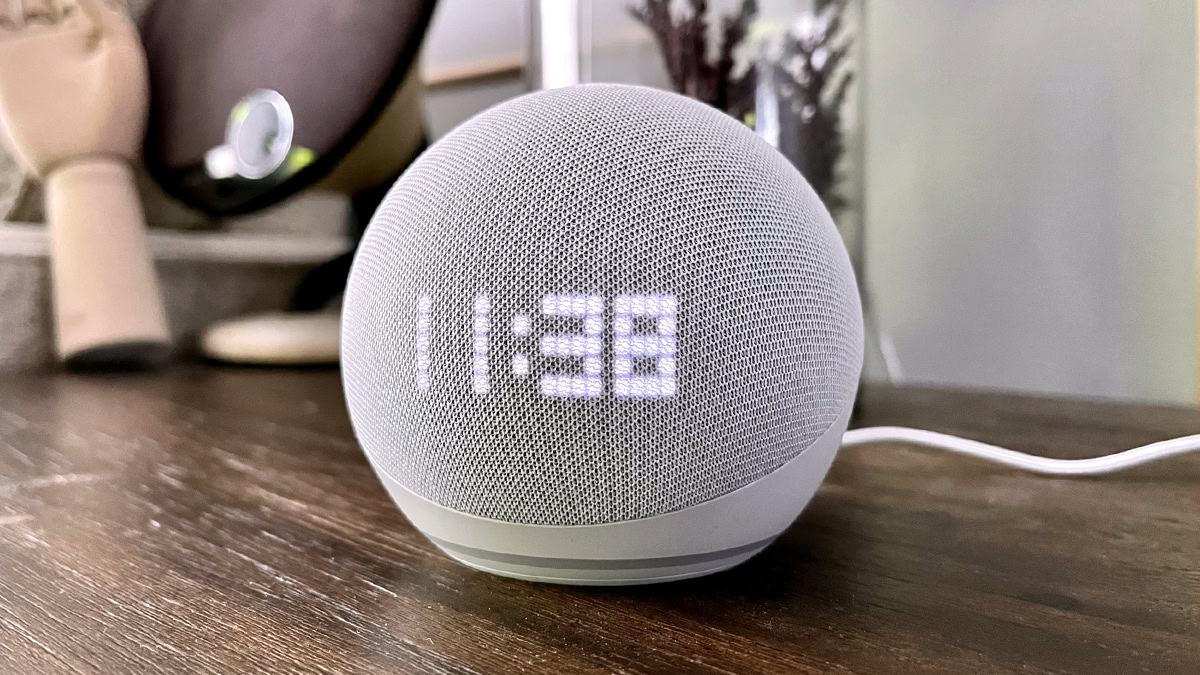
I love music. From Japanese Jazz Funk to Norwegian Black Metal, I’ve usually got a playlist for the day. So having a competent whole home audio system was critical to me. I’ve previously dabbled with various solutions like Raspberry Pis running Volumio. Still, with most of my music listening shifting to streaming, I needed a more reliable solution that would also be the control center of my smart home ecosystem.
The Amazon Echo Link lets me broadcast audio from my record player to my whole home audio system.
For this, I’ve deployed a series of Alexa speakers across the length and breadth of my apartment. The studio monitors in my study and the soundbar in my living room are connected to the Amazon Echo Link Amp and Echo Link, respectively, which allows me to convert them into high-quality network-connected speakers. Using the Echo Link has an added benefit — it lets me broadcast music from my record player all across my multi-room setup, which I’ve come to appreciate as my vinyl collection grows into the hundreds.
Basic appliances: Buying smart or retrofitting
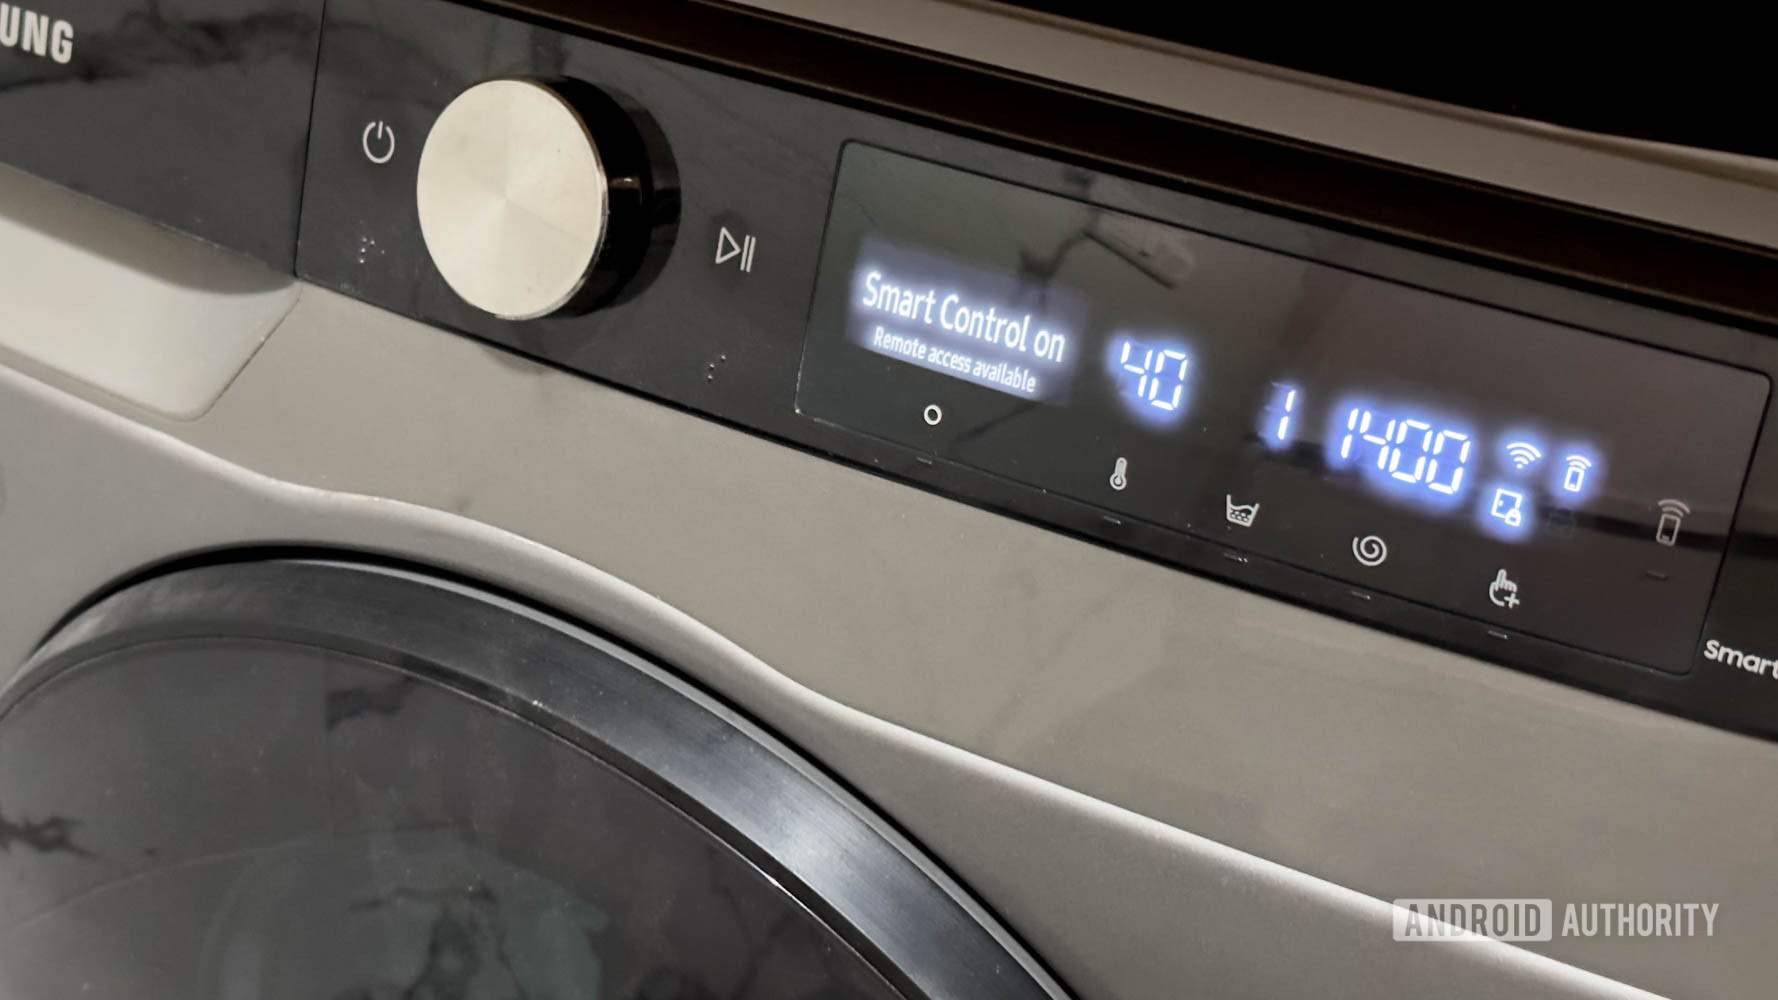
Appliances are where things get tricky when building out a smart home. Recently, I was in the market for a new washer and dryer, and I decided to pick up a Wi-Fi-enabled model from Samsung. You can read the details of how the internet-connected washing machine changed my life. That said, there’s another way to get most of the benefits without buying a whole new appliance.
A smart plug with energy monitoring can be used to notify you of the current status of your dishwasher.
To smarten up my dishwasher, I picked up an energy-monitoring smart switch. Unlike my washer, which sits in a separate laundry room, notifications weren’t essential for the dishwasher. Instead, I use the rise and fall in power usage from the energy monitoring outlet to create a log using Home Assistant and notify me when the dishes are done. It also helps me monitor the number of overall cycles to keep an eye out for replacing sundries like salts or maintenance schedules. It’s a bit superfluous, but hey, if you’re building a smart home, you might as well go all in.
A privacy-minded security system

A smart home security system is a rabbit hole of its own. From the best security cameras to smart locks and much more, there’s no dearth of options. The sheer number of options makes it equally hard to settle on an ecosystem and pick the best approach for your use case.
Before settling on my current solution, I used Xiaomi’s rather good Mi security cameras across my home. However, the broken local storage support, flaky Wi-Fi connectivity, general distrust in internet-first solutions, and a wish for greater privacy had me looking elsewhere. After much research, I opted for Ubiquiti’s security camera solutions.
An offline-first security system can cost a bit more upfront, but you save a lot in subscription fees.
My internet router, the Ubiquiti Dream Machine Pro, doubles up as a network video recorder thanks to its built-in hard drive slot. I’m using a trio of power-over-ethernet-enabled cameras that feed camera footage straight to the hard drive. Unlike conventional IP cameras, this stream is easily accessible remotely using Ubiquiti’s app and can also be viewed on smart displays.
The added advantage of a robust solution such as this is AI-enabled features like object and people detection. The footage can also be backed up to cloud storage, should you choose.
Bonus: Backups and offline media
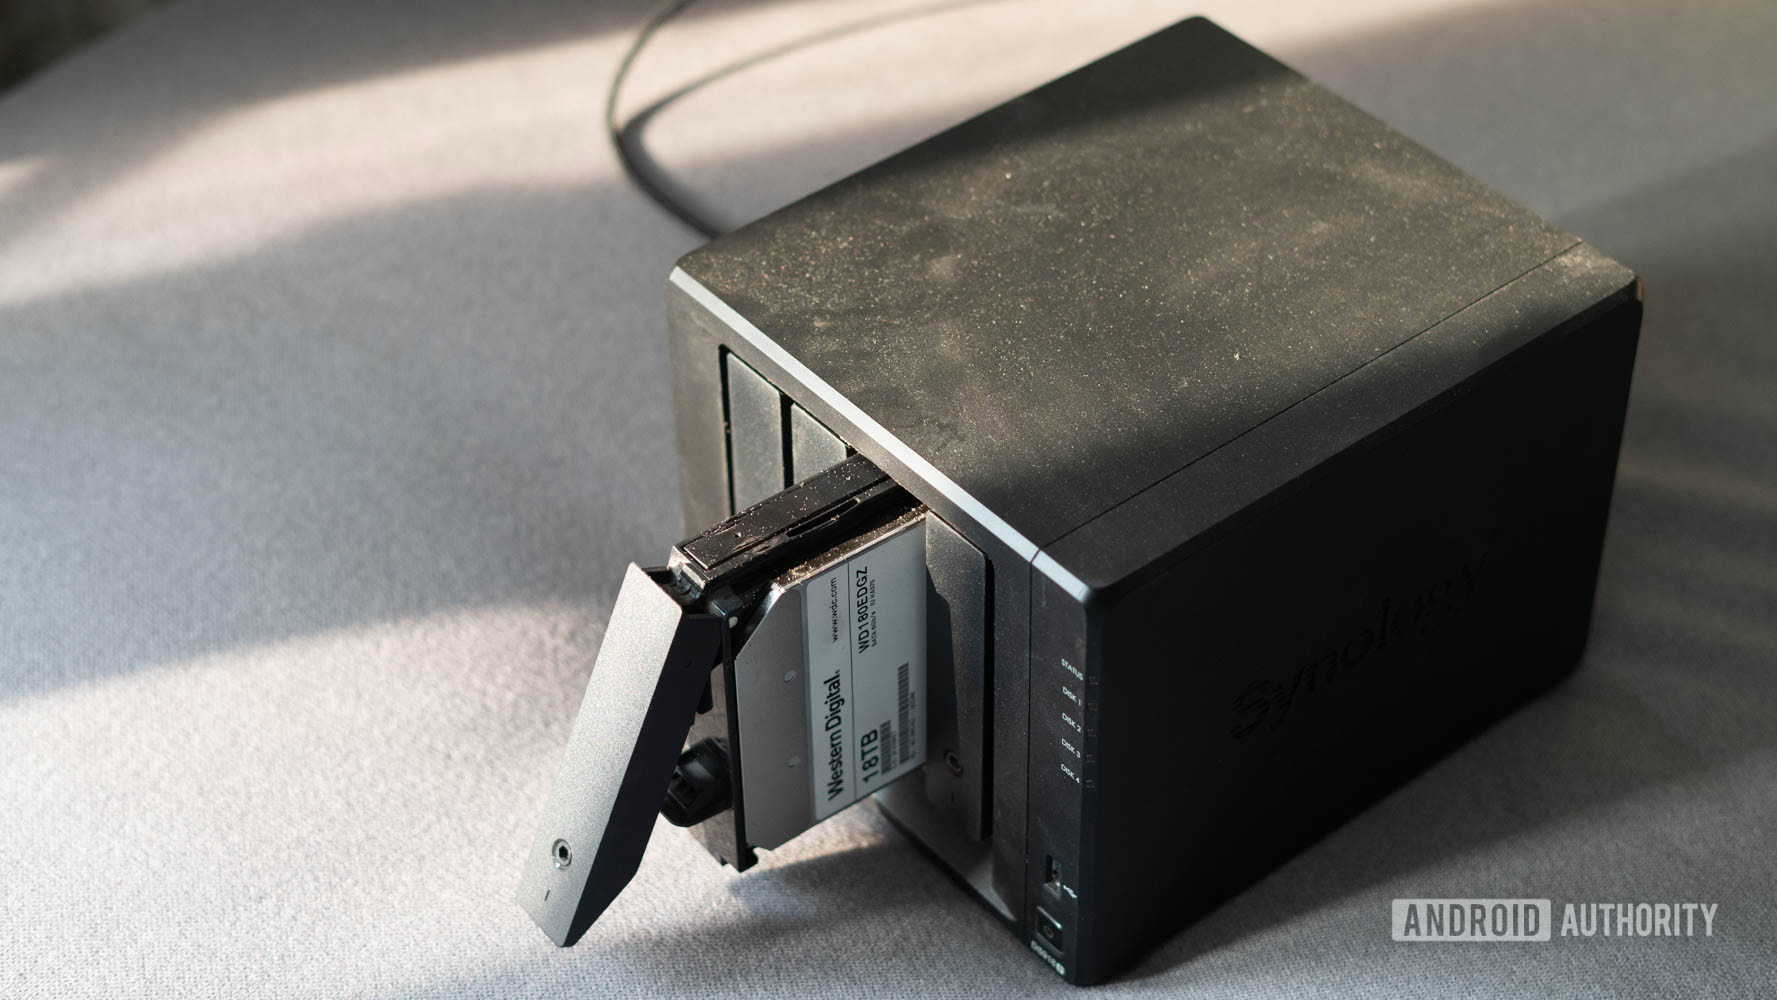
Ask anyone on the team, and they’ll tell you about my love for offline storage, backing up my data, and having control over my photos, videos, and content. Over the years, I’ve invested in a series of NAS boxes from Synology. I use these to back up data from my phones, and laptops, offload photos from my cameras, and store my movie collection and music that I’ve digitized from vinyl. The NAS boxes also run several Docker instances that graph out Plex usage, run HomeAssistant, and a range of software suites that automate my digital life. It’s not essential, but if data ownership is critical to you, you can’t go wrong with any of the options on our best NAS drives list.
Building an affordable smart home: The low down
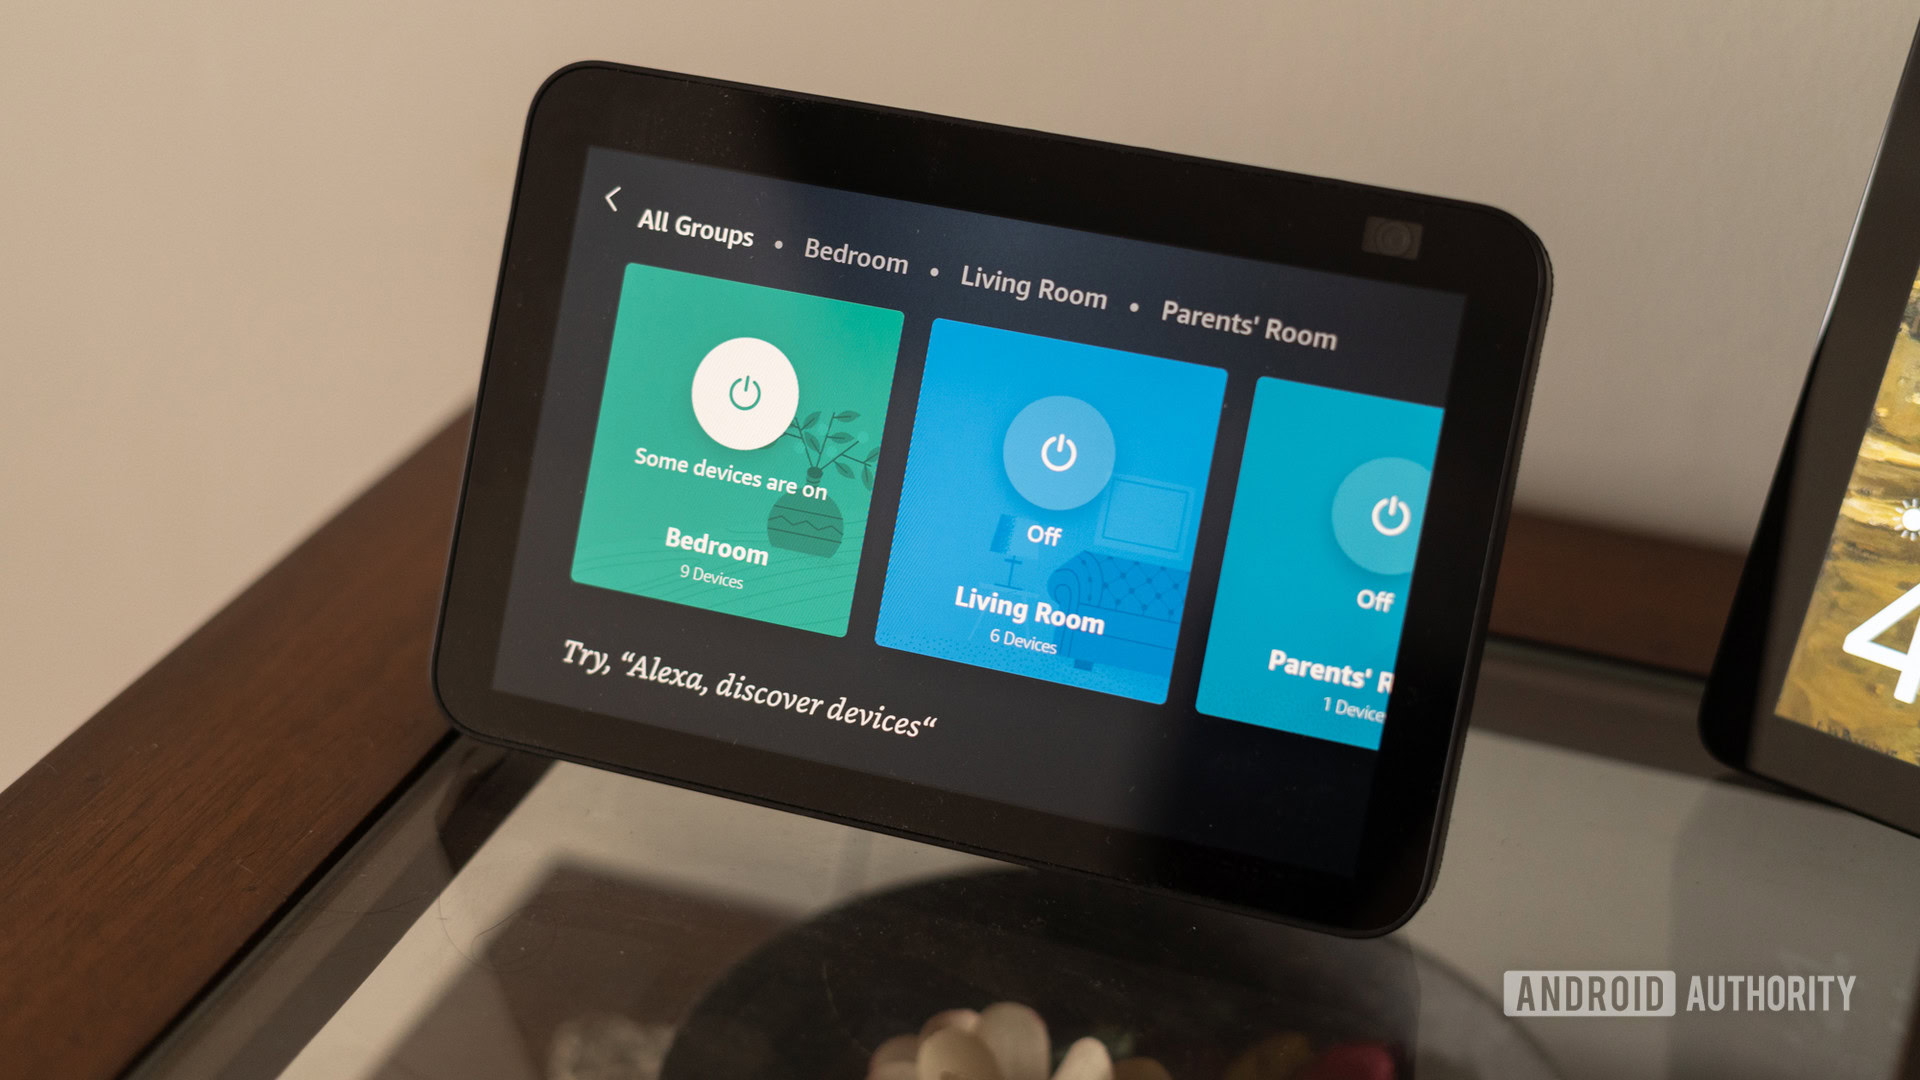
Building a smart home isn’t complicated. In some cases, there can be considerations like picking out switches that don’t require a neutral wire, but with the sheer variety of options on the market, that’s not a significant hurdle anymore. With careful planning, almost anyone can get a fully connected home going. In fact, I don’t remember the last time I used a physical switch to control anything around my house. With careful planning, prioritizing what needs to be smart and what doesn’t, and scouring out deals, you too can build a smart home without breaking the bank.
What’s the state of your connected home? Do you prefer the old-school approach to home equipment? Let me know in the comments.