Affiliate links on Android Authority may earn us a commission. Learn more.
Amazon Kindle problems and how to fix them
Published onAugust 27, 2023
First released more than 15 years ago, Amazon Kindle e-readers have improved with every generation, adding improved displays, features like wireless charging, the ability to take notes, and so much more. But it ultimately does one thing and does that incredibly well — it lets you read books. Voracious readers will appreciate the access to hundreds of thousands of books on the go, and the e-ink screens are far more comfortable for reading than traditional smartphone, tablet, or laptop displays. But like any tech, the Kindle does face a few software and hardware issues on occasion. Here’s a look at some common Amazon Kindle problems and how to fix them.
Problem #1: Kindle won’t turn on
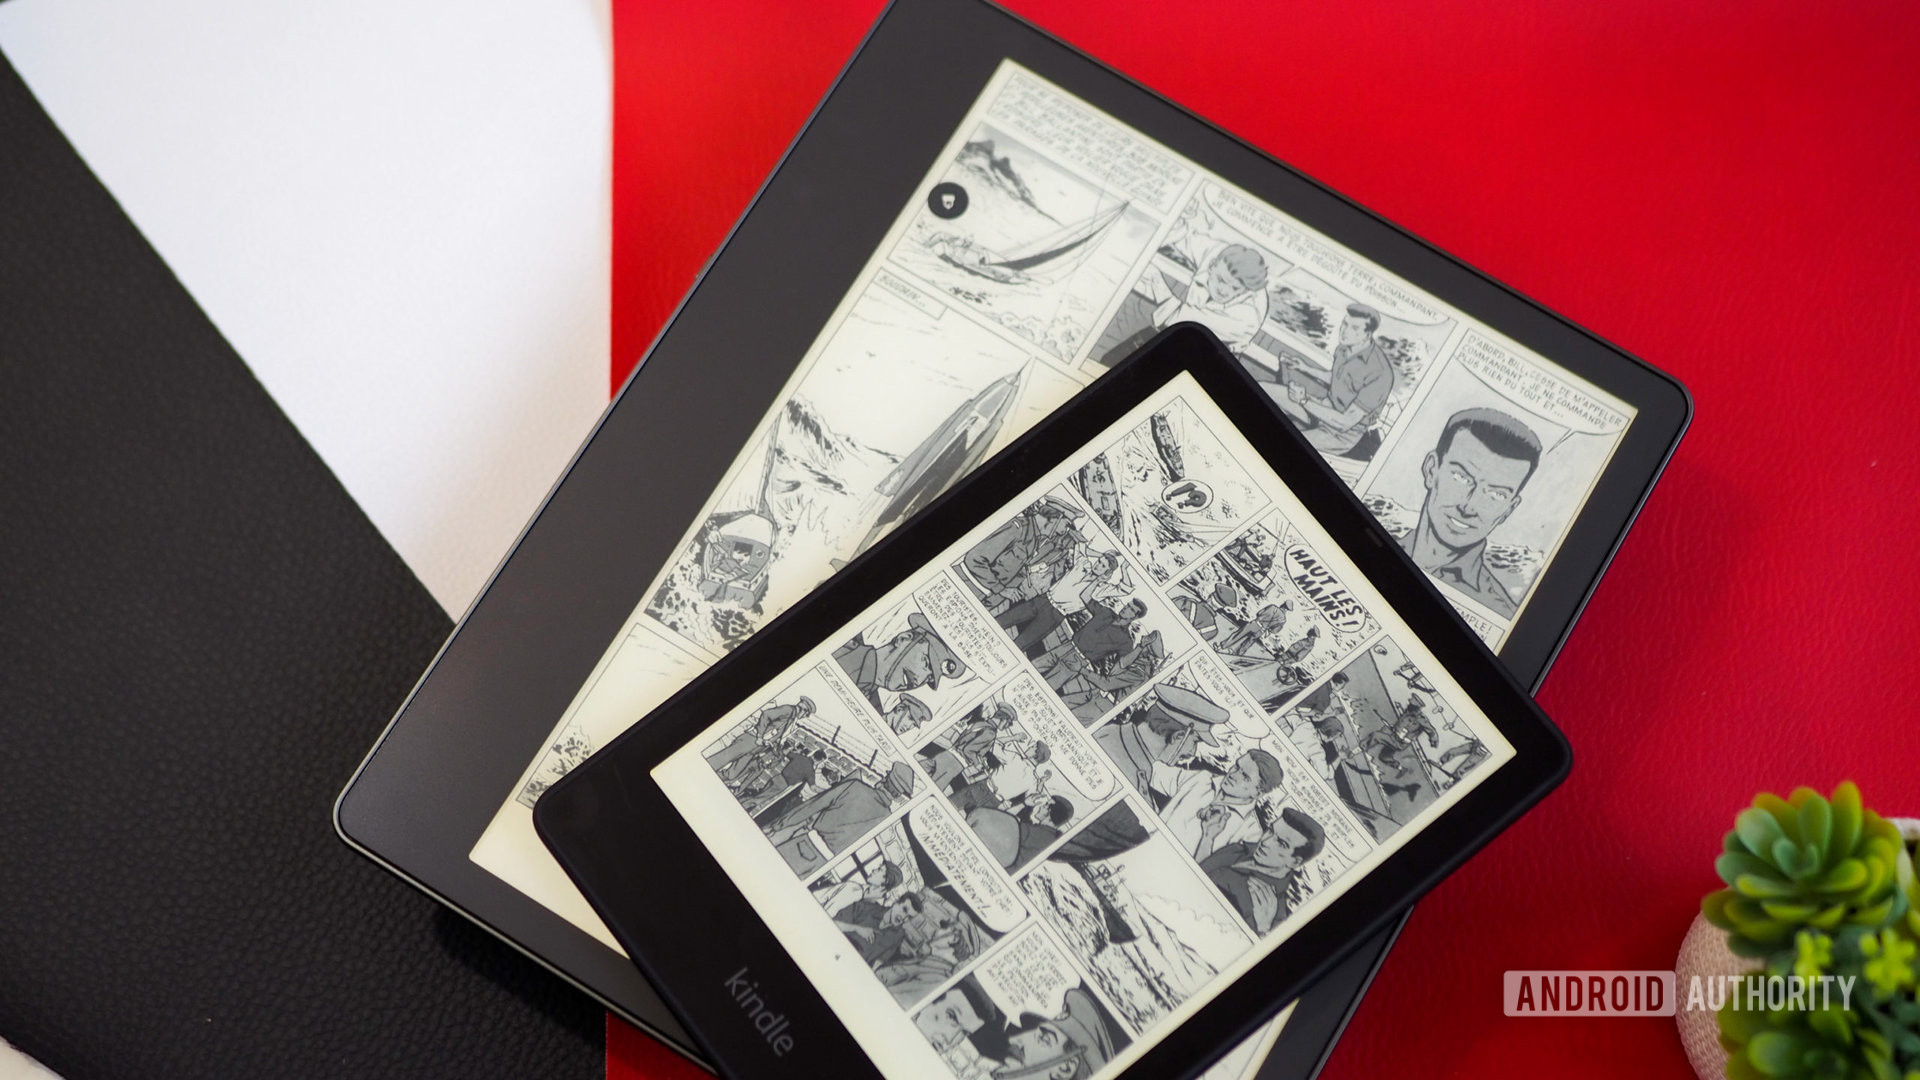
Your Kindle not turning on is likely because of a fully drained battery. You might need to replace the battery if you have an older Kindle.
Potential solutions:
- Most Kindle e-reader models take around four to five hours to charge fully, even longer if you charge a completely drained battery. A quick 10-minute charge may not be enough if your Kindle won’t turn on. Let the tablet charge for at least an hour before you try to turn it on again. It’s also best not to let the battery drain completely before you charge it. Even if the Kindle battery is low after an hour, you should see a “low battery” message or an icon showing a charging cable and lightning bolt.
- Check for faulty cables and chargers. Test the wall plug, charger, and charging cables with other devices to check whether the problems are with the Kindle or other hardware. Look for frayed or torn cables, check the charger, and replace them if required.
- A soft reset might help if the Kindle isn’t turning on with a press of the power button. Press and hold the power button for around 40 seconds. The charge indicator light should light up before the device reboots.
- You can also try plugging the Kindle into a PC. There’s a chance that the computer will recognize the device and cause it to wake up.
- The orange charging indicator light is a promising sign that your device is charging correctly even if the Kindle won’t turn on. If you don’t see the light or if the indicator is blinking rapidly, you might need to replace the battery. Contact Amazon support for a replacement if your device is still under warranty.
Problem #2: Kindle won’t charge
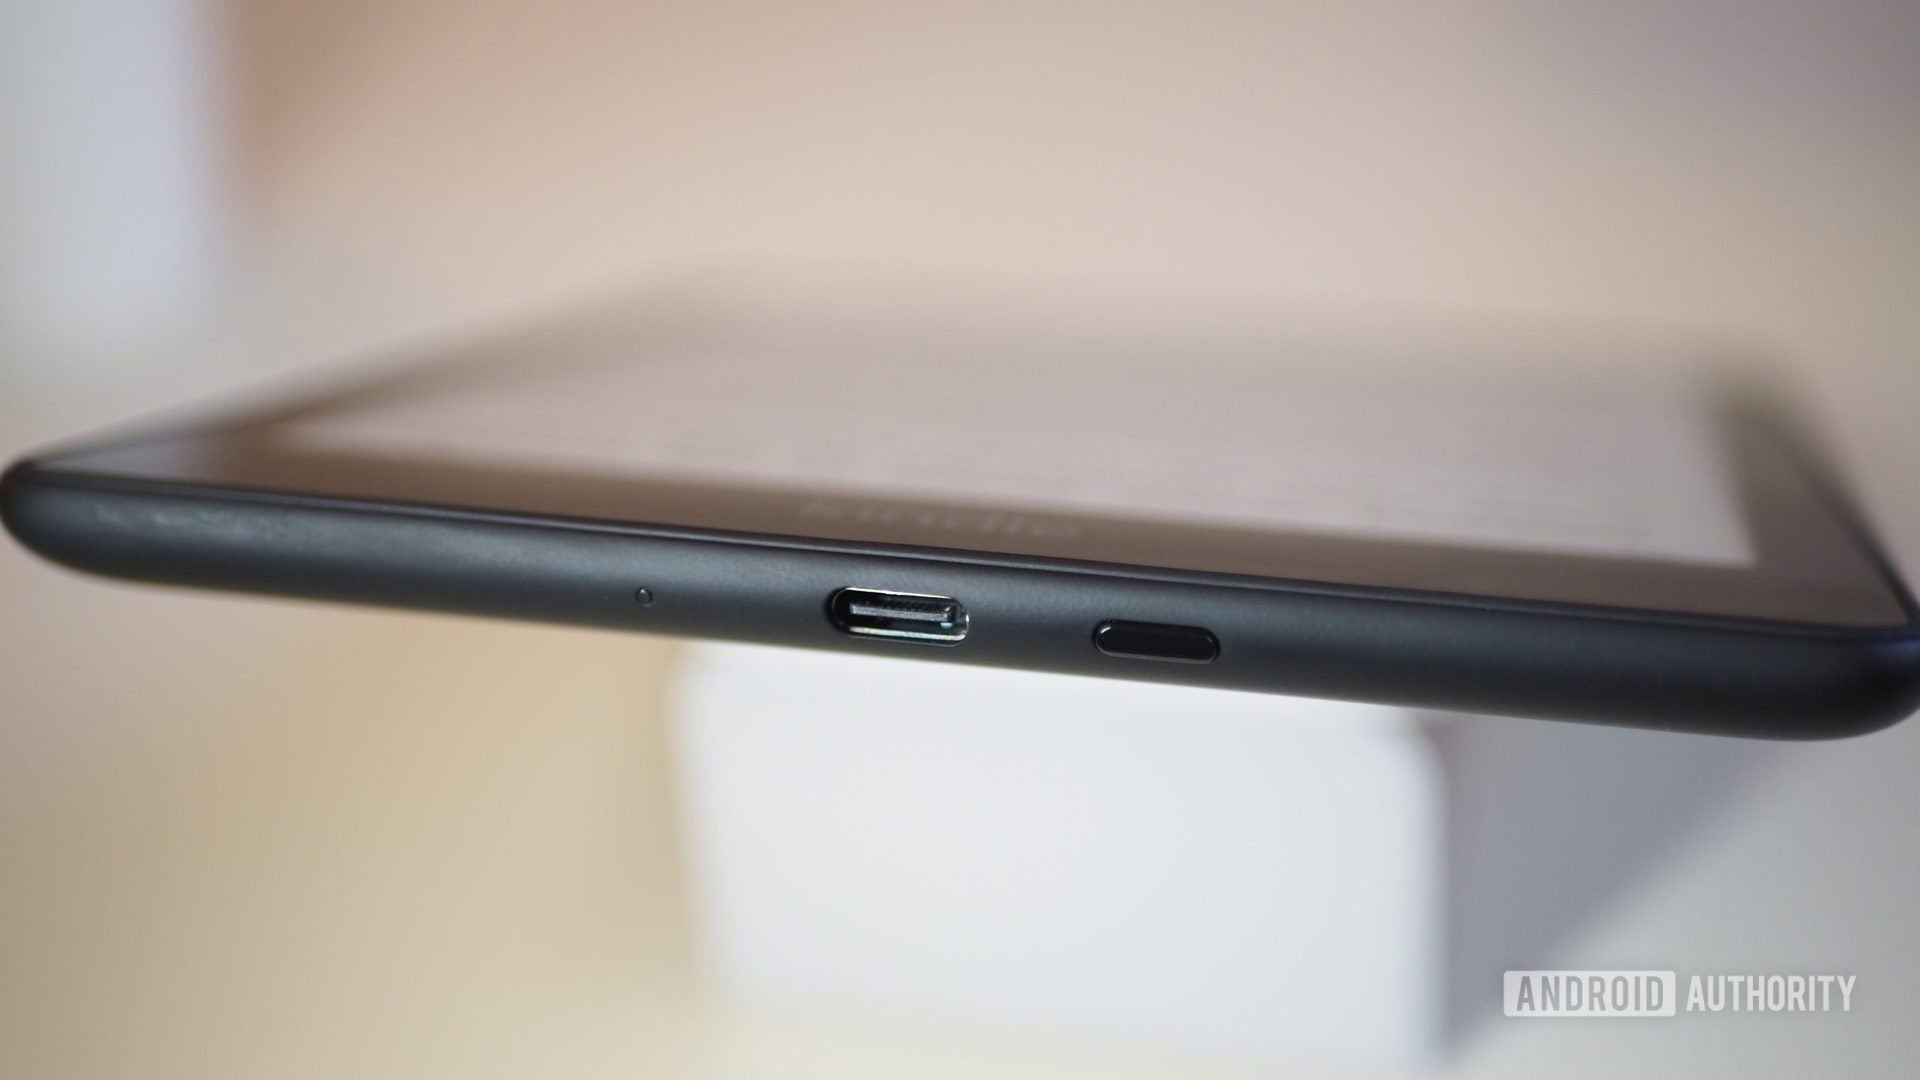
A Kindle not charging is likely because of a faulty cable or charger. A soft or hard reset should do the trick if it’s a software issue.
Potential solutions:
- Look for the orange charging indicator when you plug in the Kindle. The charger or cable is faulty if you don’t see the light. Look for a torn or frayed cable and replace it if required. Test the charger and cable with another device to see if it works. Replace the charger if necessary.
- Try a different power outlet to ensure that it isn’t the problem.
- Remove the protective case or cover since that might restrict or block the port and not let the charging cable connect properly. Also, look at the charging port closely for debris or dust buildup and clean it if needed.
- You can do a soft reset by pressing and holding the power button for around 40 seconds. If the device doesn’t turn back on automatically, press the power button again to turn it on.
- Amazon might have rolled out a software update to fix problems with the Kindle not charging. To update the device, go to All Settings > Device options > Advanced options > Update your Kindle. If the option is greyed out, your device is running the latest software version.
- If all else fails, you might have to factory reset the Kindle. These will delete everything on the device, so you will have to set it up like new. To factory reset the Kindle, go to All settings > Device options > Reset and confirm your selection.
- If your Kindle is still under warranty, you can contact Amazon support to get a replacement if it seems like a hardware problem with the charging port or battery.
Problem #3: Kindle won’t connect to Amazon
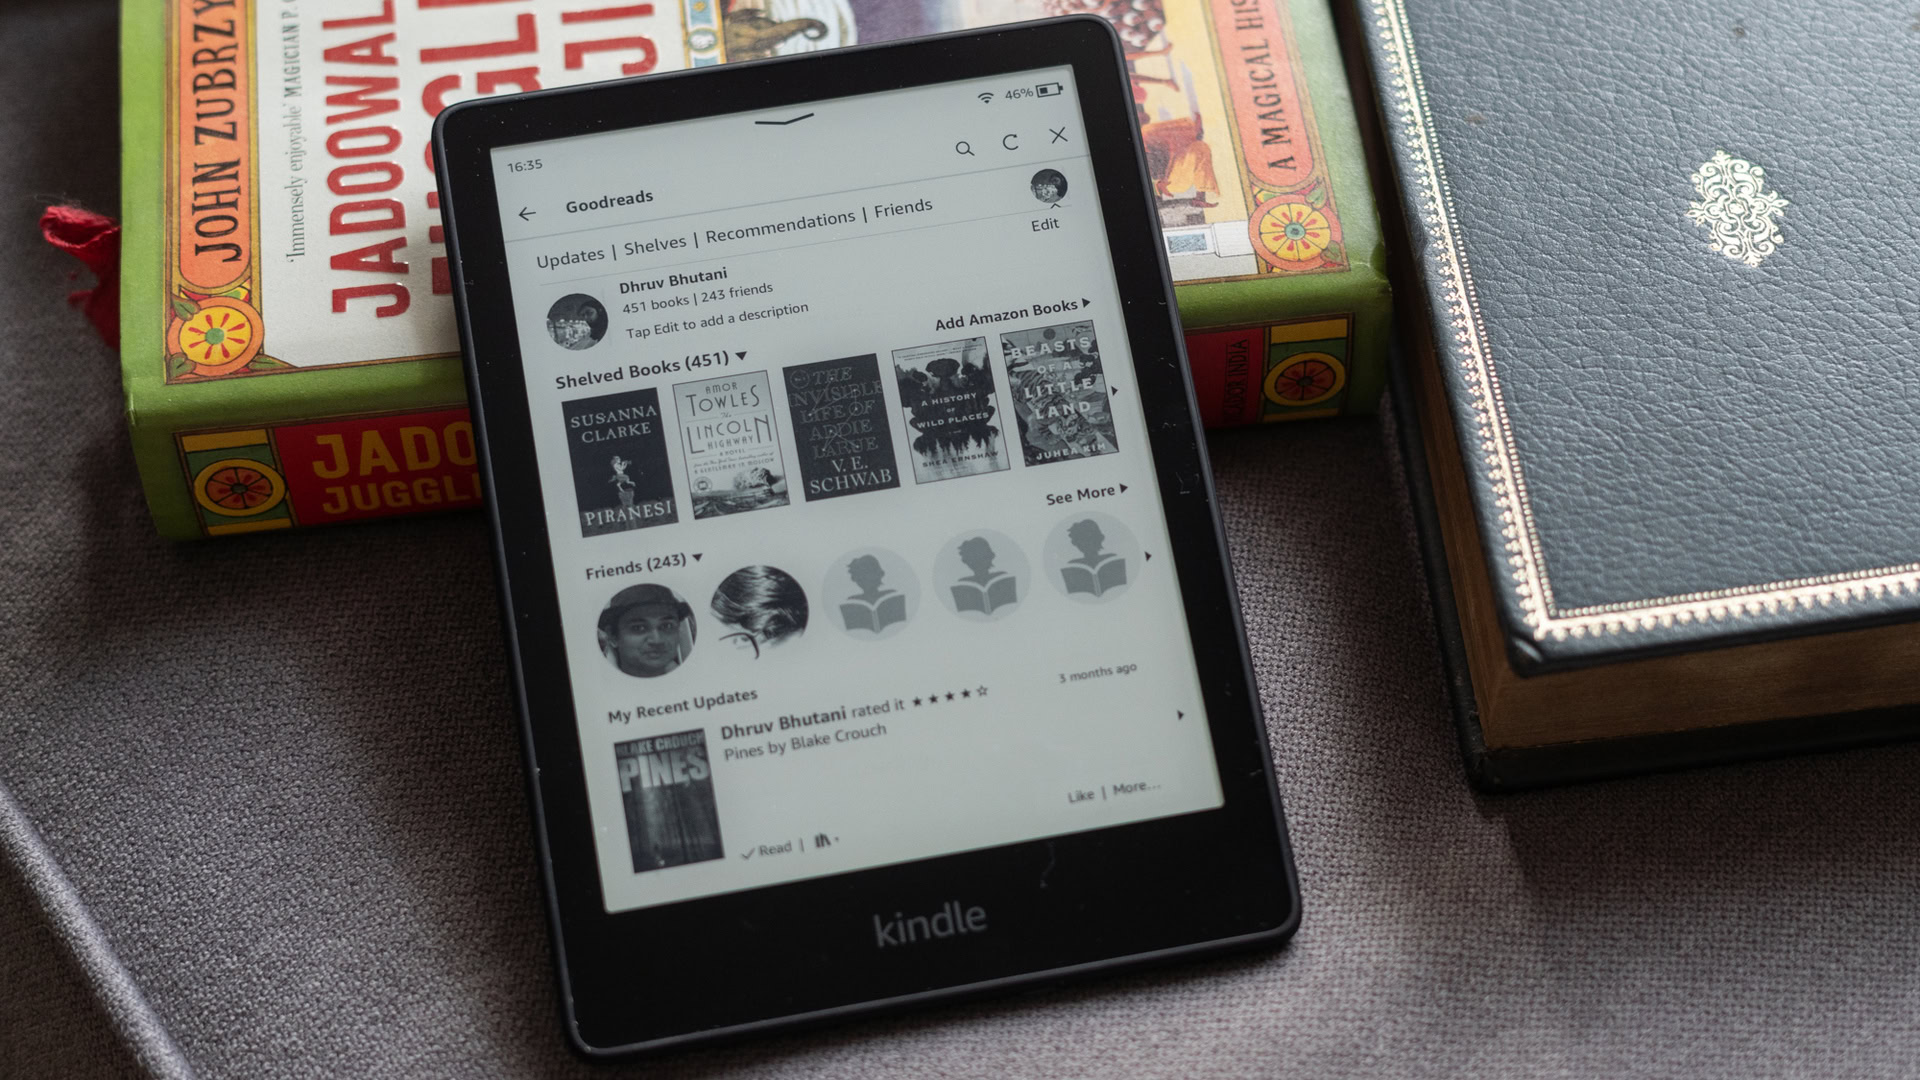
One of the more common problems Kindle users face is being unable to register and connect the device to their Amazon account. This might be because of simple reasons like an incorrect password, no Internet connection, or more complicated issues like wrong device settings.
Potential solutions:
- Confirm that you are using the correct Amazon account and password to register the Kindle. Amazon might automatically link the Kindle to the Amazon account used to purchase the device, but that might not be the account you planned to use. In that case, you will have to first deregister the device and connect it to the new account. Keep in mind that deregistering the device will wipe any information on the e-reader.
- To deregister the device, go to All settings > Your account > Deregister device.
- You can also do so on the Amazon website on your computer. Click on Accounts and Lists at the top right corner and go to Content and Devices. Click on the Kindle in the Amazon devices section and select Deregister.
- The Kindle not connecting to Amazon could also be because of a time zone conflict. The process will fail if the time on the device doesn’t match the current time. It’s a simple thing to overlook, but it is one of the main causes of this issue. To fix the time, go to All settings > Device options > Device time. Set the time correctly and confirm your selection.
- Outdated software might also cause registration problems. However, because the device isn’t connected to Amazon, you won’t receive automatic updates, so you’ll have to do it manually. Go to the Kindle E-reader Software Updates page and download the latest version available for your Kindle model. Plug the Kindle into your computer and transfer the file into the Kindle drive. Unplug the device from the PC (use the “safely eject USB” option first). On the Kindle, tap the menu icon (three vertical dots icon) and go to Settings. Tap the menu icon again and select Update your Kindle. Confirm your selection to update your Kindle manually.
- You won’t be able to connect to your Amazon account without an active Internet connection, so ensure that the device is connected to your Wi-Fi network and that you don’t have any network connection problems.
Problem #4: Touchscreen not working or device freezing
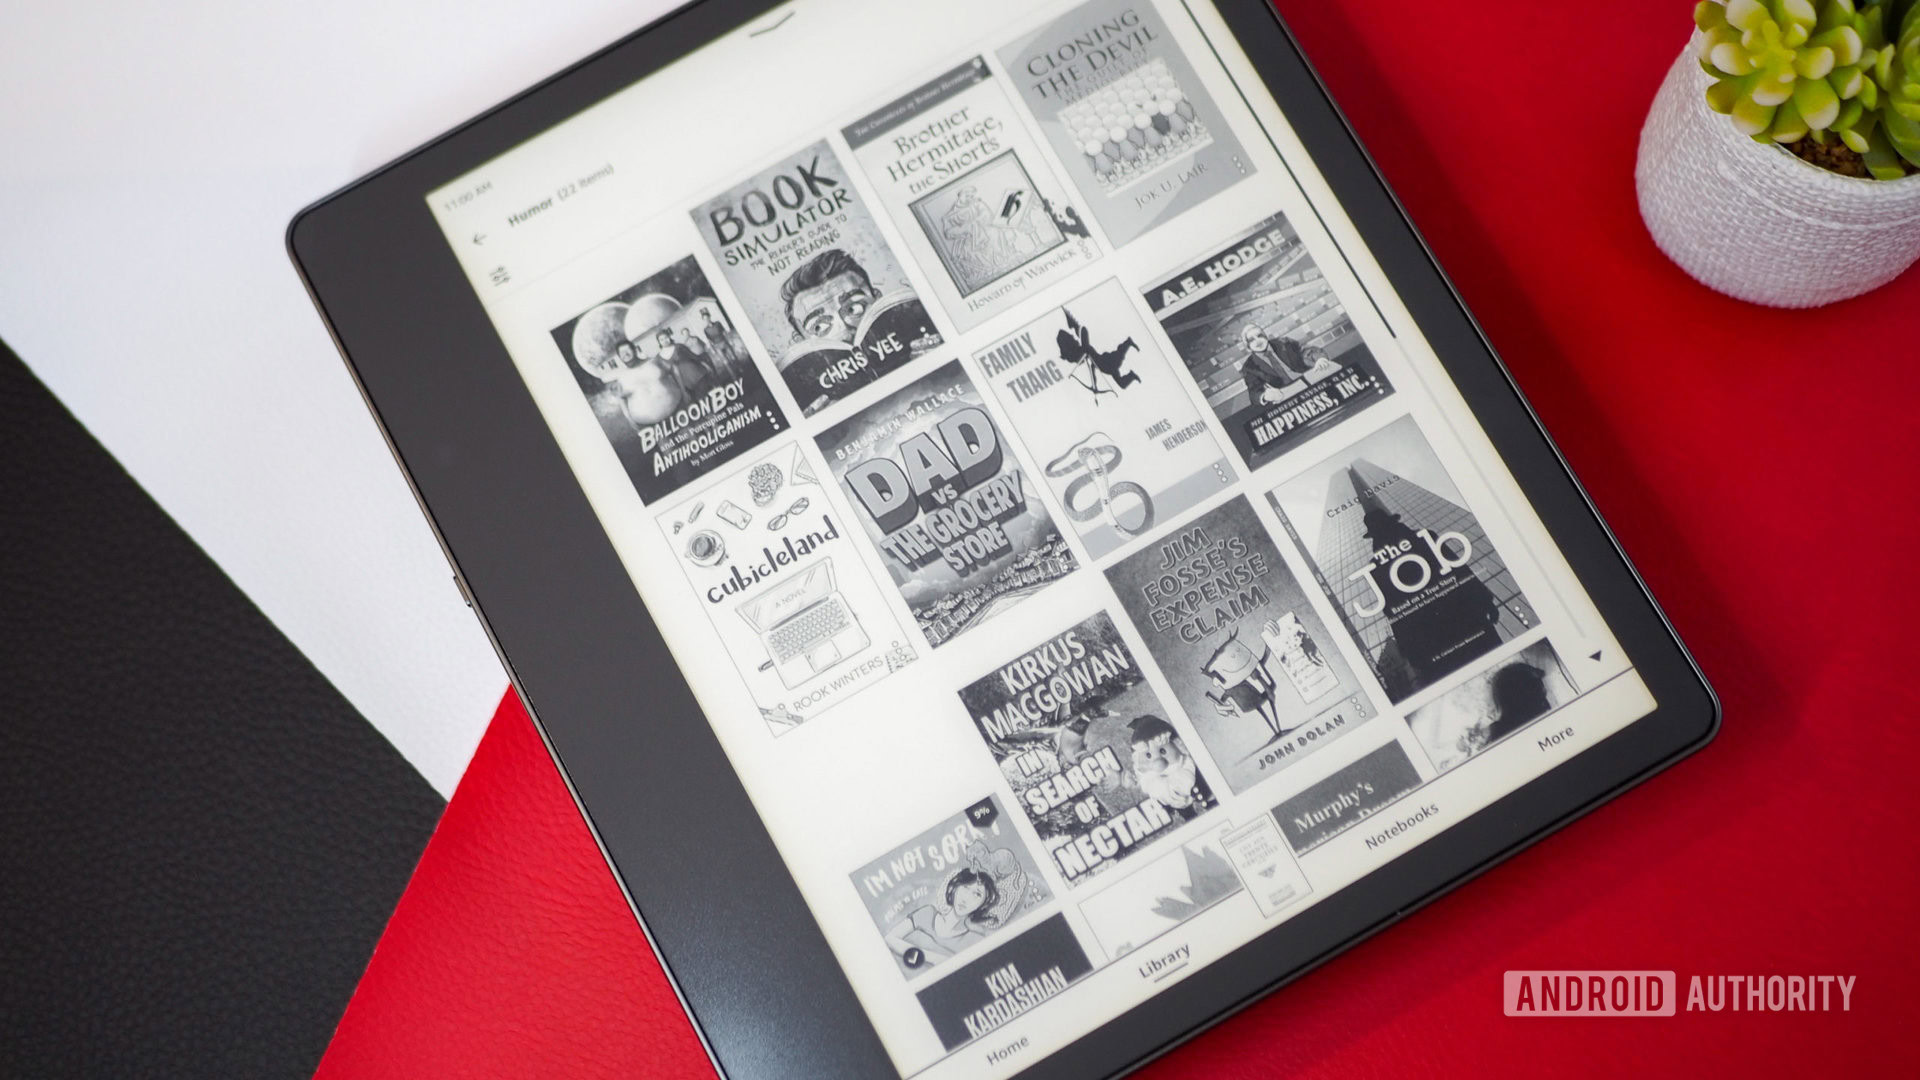
If you are having problems with the Kindle freezing or the touchscreen not working, it could be because of the slow processor, a drained battery, or corrupt files.
Potential solutions:
- The easiest way to fix a frozen Kindle is to restart it to help slow down an overworked processor. Press and hold the power button for around 40 seconds and wait for the device to restart. If it doesn’t do so automatically, press the power button again to turn it on. If the device is freezing because of a low battery, plug it in before restarting.
- Outdated software might be a problem, too. If you can get the device to work after restarting it, immediately check for a software update to ensure you’re running the latest version. Go to All Settings > Device options > Advanced options > Update your Kindle. To manually update the device, Go to the Kindle E-reader Software Updates site and download the latest version available for your Kindle model. Connect the device to your PC and transfer the file into the Kindle drive. Unplug the device. On the Kindle, tap the menu icon (three vertical dots icon) and go to Settings. Tap the menu icon and select Update your Kindle.
- If your touchscreen isn’t working at all, you won’t be able to do anything on the device except a soft reset. You can also force a factory reset. Connect the Kindle to your PC. If it appears as a drive, create an empty file named DO_FACTORY_RESTORE (with no file extension or content) and restart the device.
Problem #5: Kindle not syncing
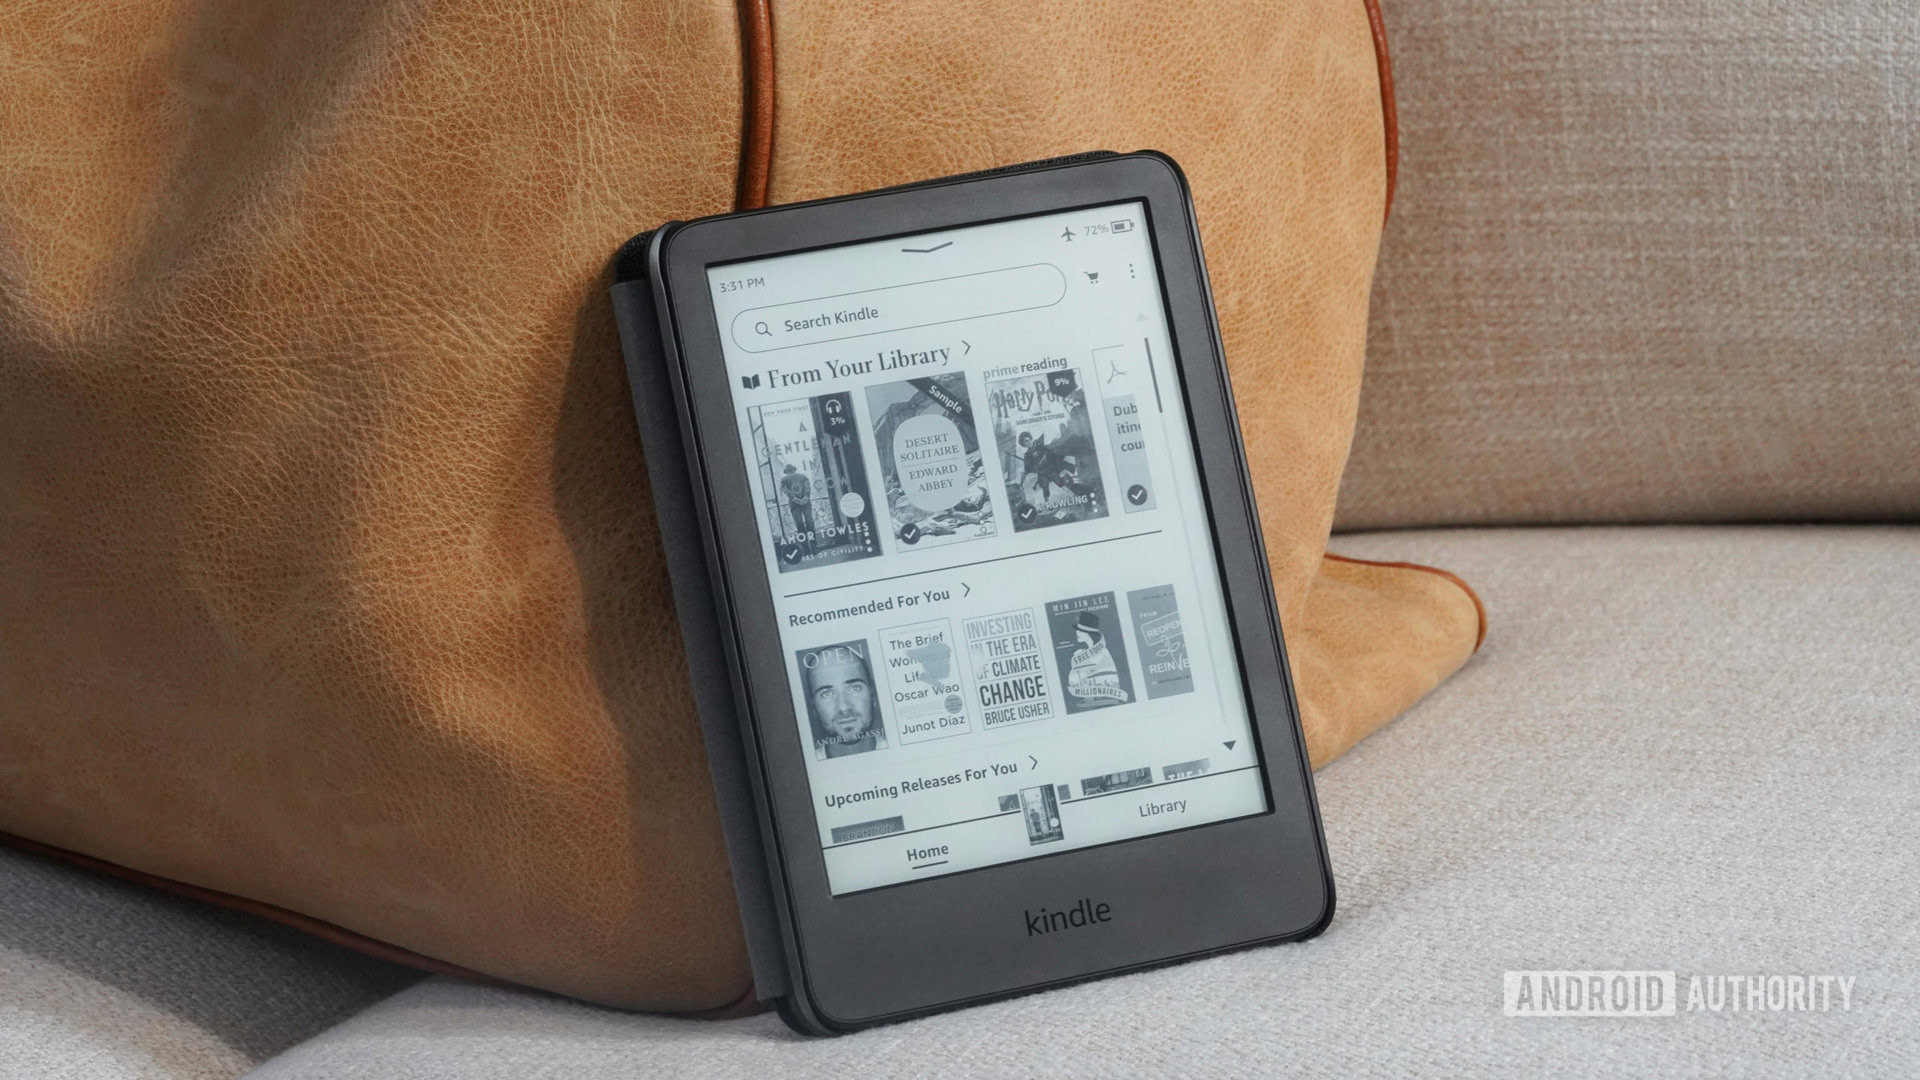
Problems with the Kindle not syncing with the Kindle app on your computer, smartphone, or tablet could be because of network connectivity issues, changed settings, or incorrectly linked Amazon accounts.
Potential solutions:
- First, make sure you don’t have any network connectivity problems. The Kindle requires an active Internet connection to sync your library. Also, ensure that the Amazon account on your Kindle is the same one you use on the other Kindle apps.
- Ensure that the sync setting is enabled. Go to the Manage Your Content and Devices page on Amazon. Open the Preferences tab, go to Device synchronization (Whispersync Settings), and toggle the dropdown to On. This should enable the setting across all the devices and apps connected to your Amazon Kindle account. You can individually enable the feature on the devices and apps as well.
- On a Kindle, go to All settings > Device options > Advanced options > Whispersync for Books and select Enable.
- On the Kindle app for Android or a Fire tablet, go to Settings > Whispersync for Books and enable it.
- For the Kindle app on iOS, go to Settings > Other > Whispersync for Books.
- You can try deregistering the account and signing in again. A new sign-in will force the Kindle to sync again. To deregister the device, go to All settings > Your account > Deregister device.
- You can also manually “deliver” the content to your e-reader. Go to the Manage Your Content and Devices page and select the Content tab. Select the books not showing up (click the checkbox next to the title) and click Deliver to device (in the top bar). Select the devices to which you want to send the books and click Make changes.
Problem #6: Kindle not connecting to Wi-Fi
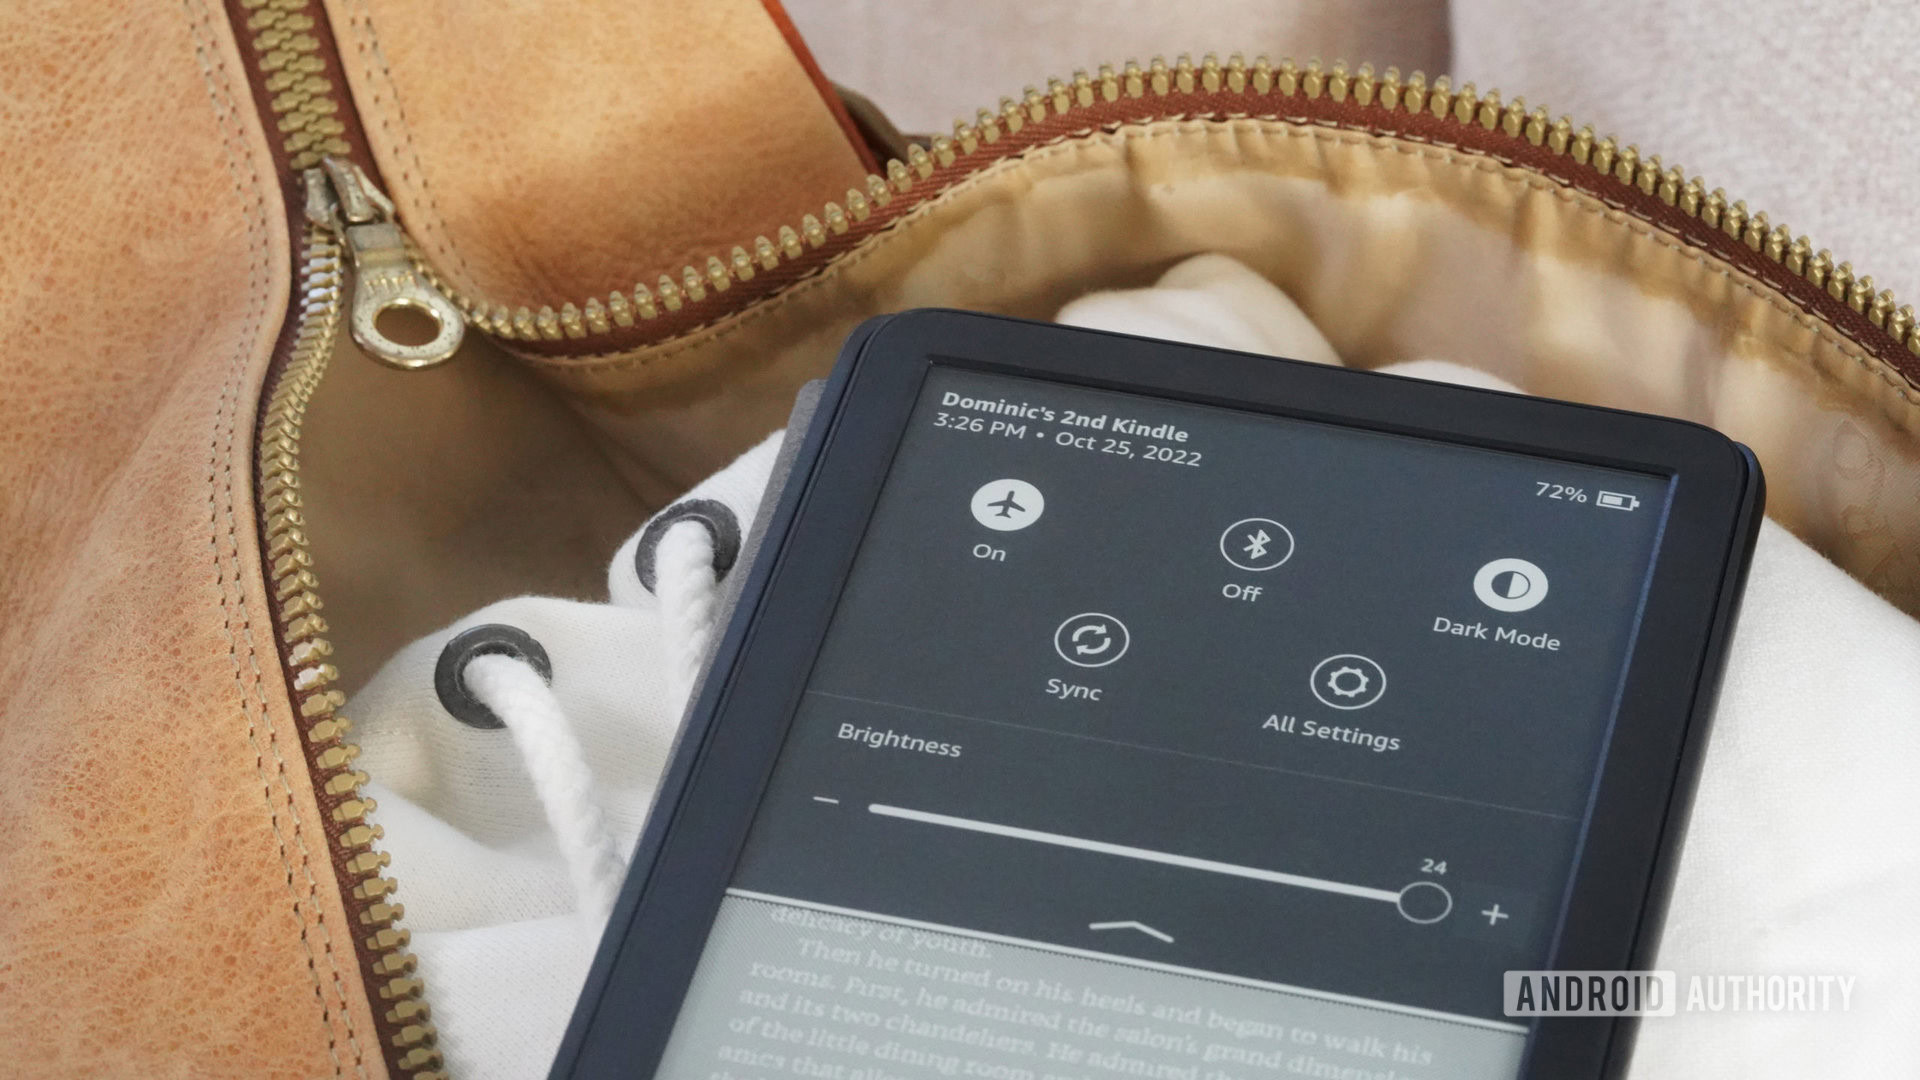
Network connectivity problems are common with most devices, and the Kindle is no exception. You don’t need an active Internet connection to read books on your Kindle except for connecting to Amazon and syncing your purchases.
Potential solutions:
- Many Kindle users enable Airplane Mode to extend the device’s battery life since you can continue reading books without an active Internet connection. Swipe down to open the Quick Actions menu and tap the Airplane Mode icon to deactivate it.
- Disconnect from the Wi-Fi network and reconnect it. Go to All settings > Wireless > Wi-Fi networks, select the Wi-Fi network, and tap Forget. Tap the network again and enter the password to reconnect.
- Restart the device and see if it fixes the problem. If all else fails, you might have to factory reset the device. Also, remember that older Kindles may not work with 5GHz Wi-Fi networks.
Problem #7: Kindle dictionary not working
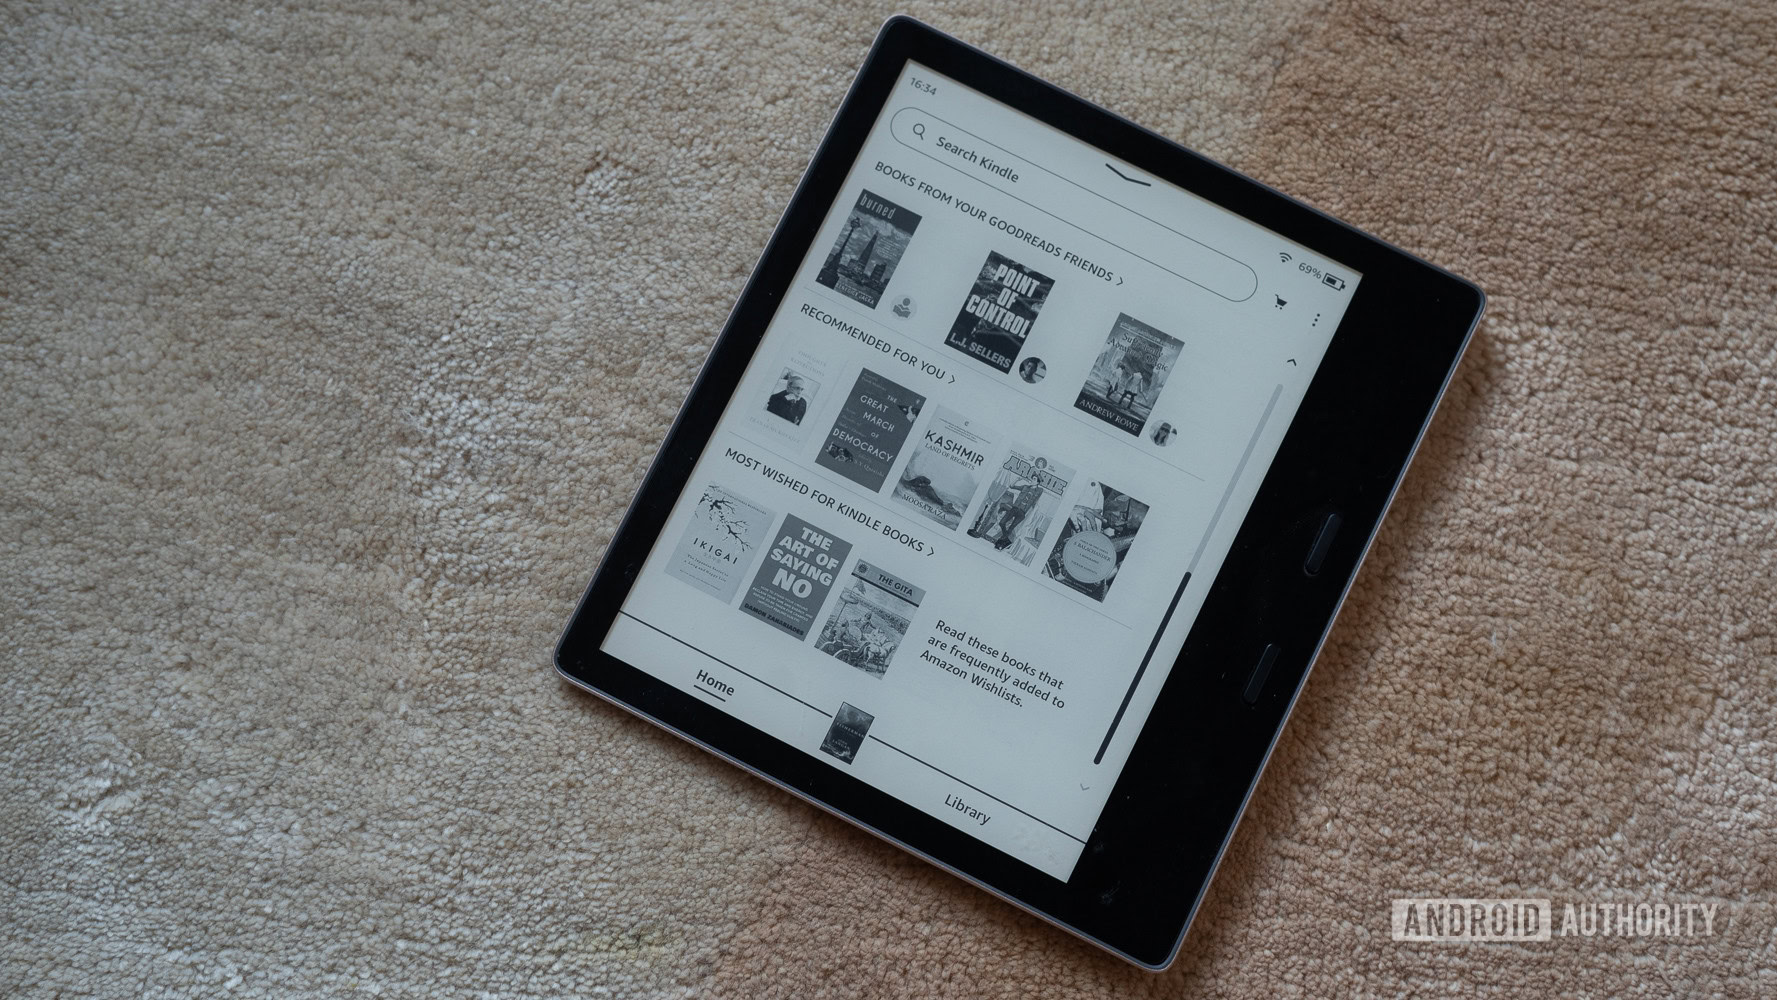
The Kindle’s dictionary feature is a great way to quickly learn the meaning of words you may not recognize while reading a book. Here’s what to do if this feature isn’t working.
Potential solutions:
- First, ensure that you have downloaded a dictionary on your Kindle. Open the Library and scroll down to the Dictionaries section. Select the one you want to use, tap on the three vertical dots icon, and tap Download. Then go to All settings > Language and Dictionaries > Dictionaries, tap the language, and select the dictionary you downloaded.
- If you have a dictionary selected, but it isn’t working, you can remove it and download it again or pick another one. Go to the Dictionaries section in the Library, select your downloaded option, tap on the three vertical dots icon, and select Remove download. You can then re-download it or pick another one for the same language. Go through the steps mentioned above to enable the dictionary on your device.
- You can easily switch between multiple dictionaries without going into the Settings menu every time if you have downloaded various dictionaries. While reading a book, long-press on the word, tap on the default dictionary option that appears, and select Switch the default dictionary.
Problem #8: 3G not working on the Kindle
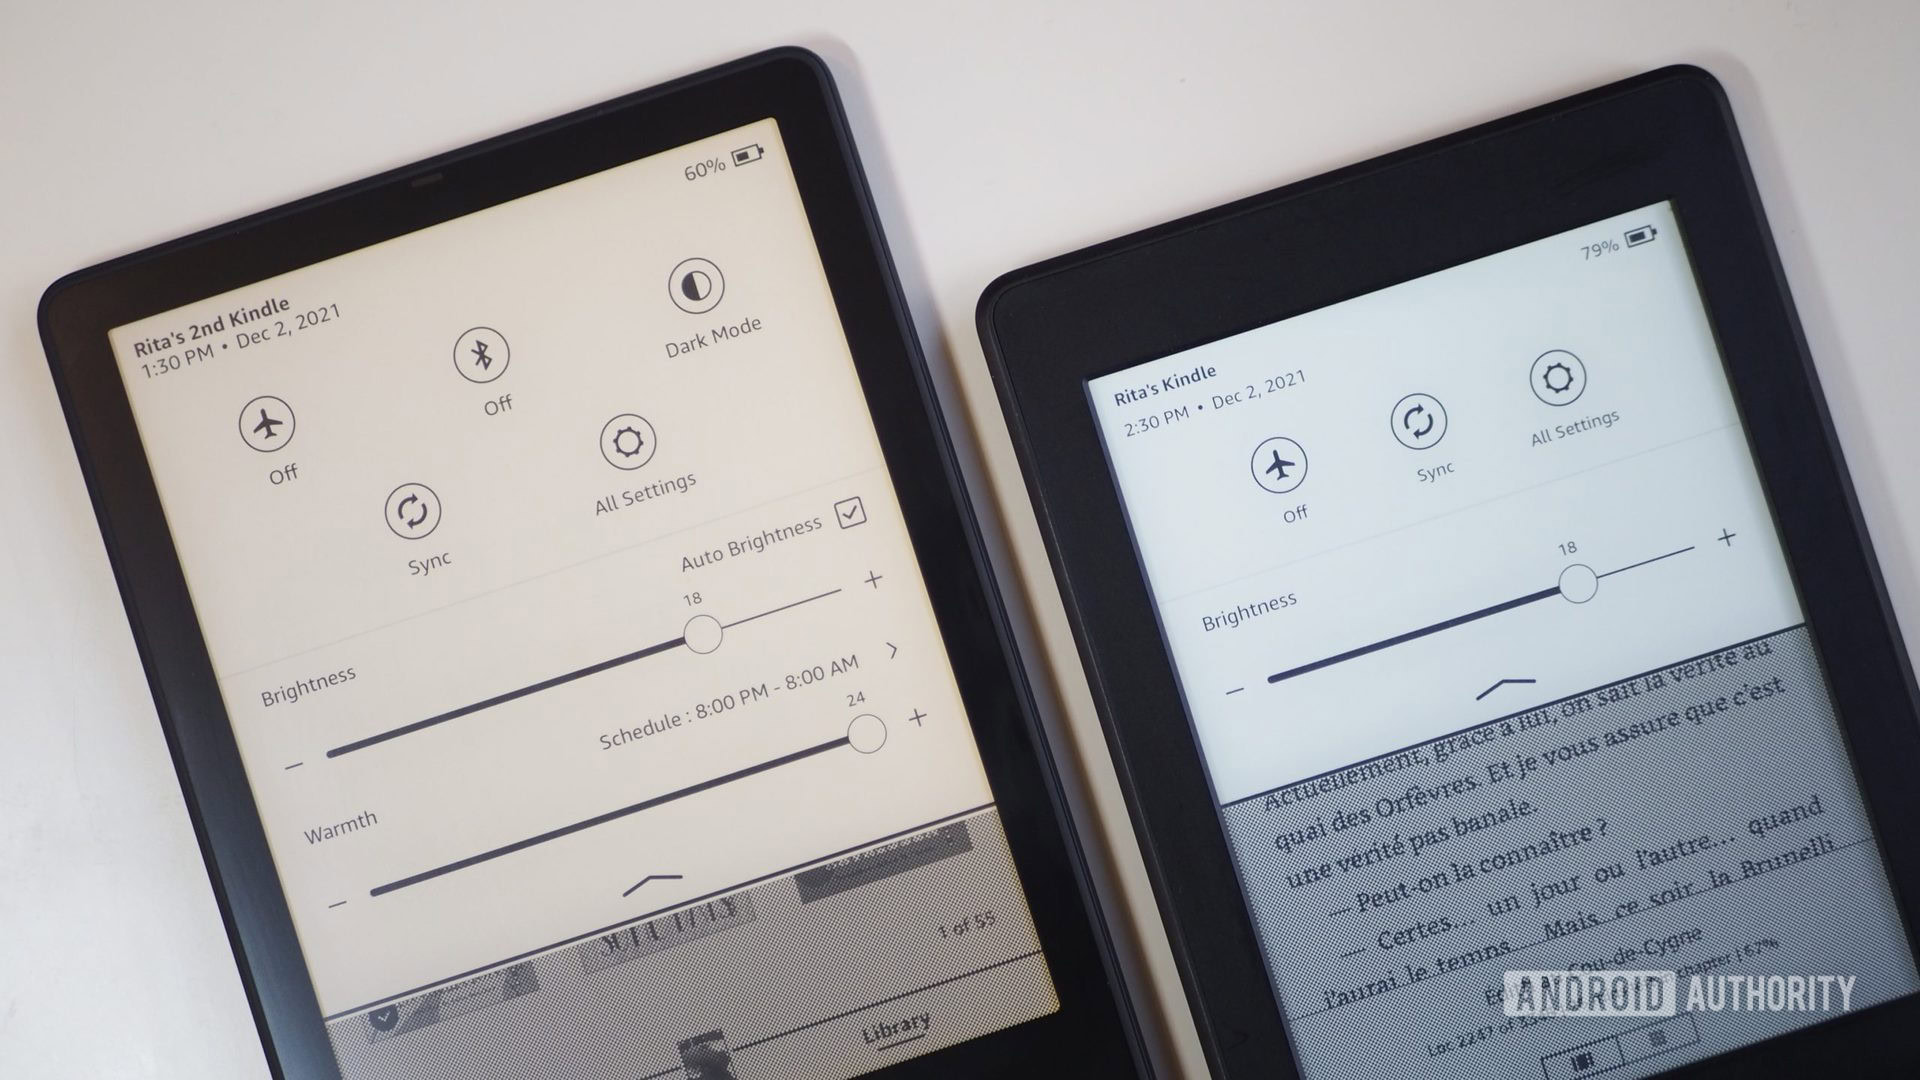
Some older Kindles support mobile connectivity through 3G networks. Unfortunately, the continued availability of this feature depends on your location. Network carriers in some countries have disabled their 3G networks. Amazon sent a warning message to affected Kindle owners in 2022 to let them know that their devices will no longer support 3G connectivity.