Affiliate links on Android Authority may earn us a commission. Learn more.
Protect your users' privacy: Android app security for developers
Published onOctober 5, 2019

If you’re going to hang onto your audience and your reputation as a trustworthy Android developer, then you need to take Android app security seriously as a developer.
If your app ever leaks private data, then you’re at risk of losing a large portion of your audience. Today’s tech-savvy mobile users understand that the best way to protect themselves against an insecure app is to remove it from their device. Serious data breaches are also increasingly being reported by the media, so taking a sloppy approach to mobile security may result in some very bad publicity.
The stakes are high, and with new malicious apps being released all the time, there’s an ever-increasing chance that your app may be sharing a device with malware and malicious third-party code.
Taking a sloppy approach to mobile security may result in some very bad publicity.
Thankfully, Android has a wide range of built-in security features that can help keep your users’ data locked down tight. In this article, we’ll be exploring all the major privacy features that are baked into the Android platform, plus additional tools, techniques, and best practices that you can use to help ensure your private application data remains private.
Keep your dependencies up to date
It’s not uncommon for modern mobile apps to use multiple libraries, SDKs, and many other miscellaneous dependencies. New releases of these dependencies often contain bug fixes, patches and other security features, so you need to ensure that you’re using the very latest versions while developing your app.
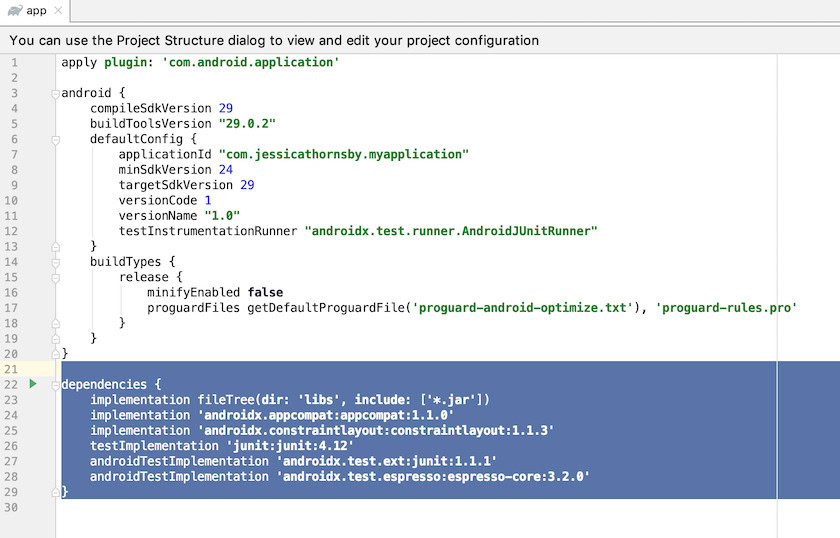
Before deploying your app, it’s also a good idea to perform one final check, just to make sure that no updates are available.
If your app uses Google Play Services, then you can check whether the user’s device has the very latest version installed, and then trigger an update if necessary.
To test whether the device’s Google Play Services is up to date, call the ProviderInstaller class’ installIfNeeded() method. If an update is available, then this method will throw an authorization exception, and the user will be prompted to update Google Play Services on their device.
Limit your permission requests
If your app doesn’t have access to a permission, then there’s zero chance of it mishandling any of the sensitive data or functionality associated with that permission. Restricting access to sensitive permissions can also make your app a less attractive target to hackers, so it’s important to request as few permissions as possible.
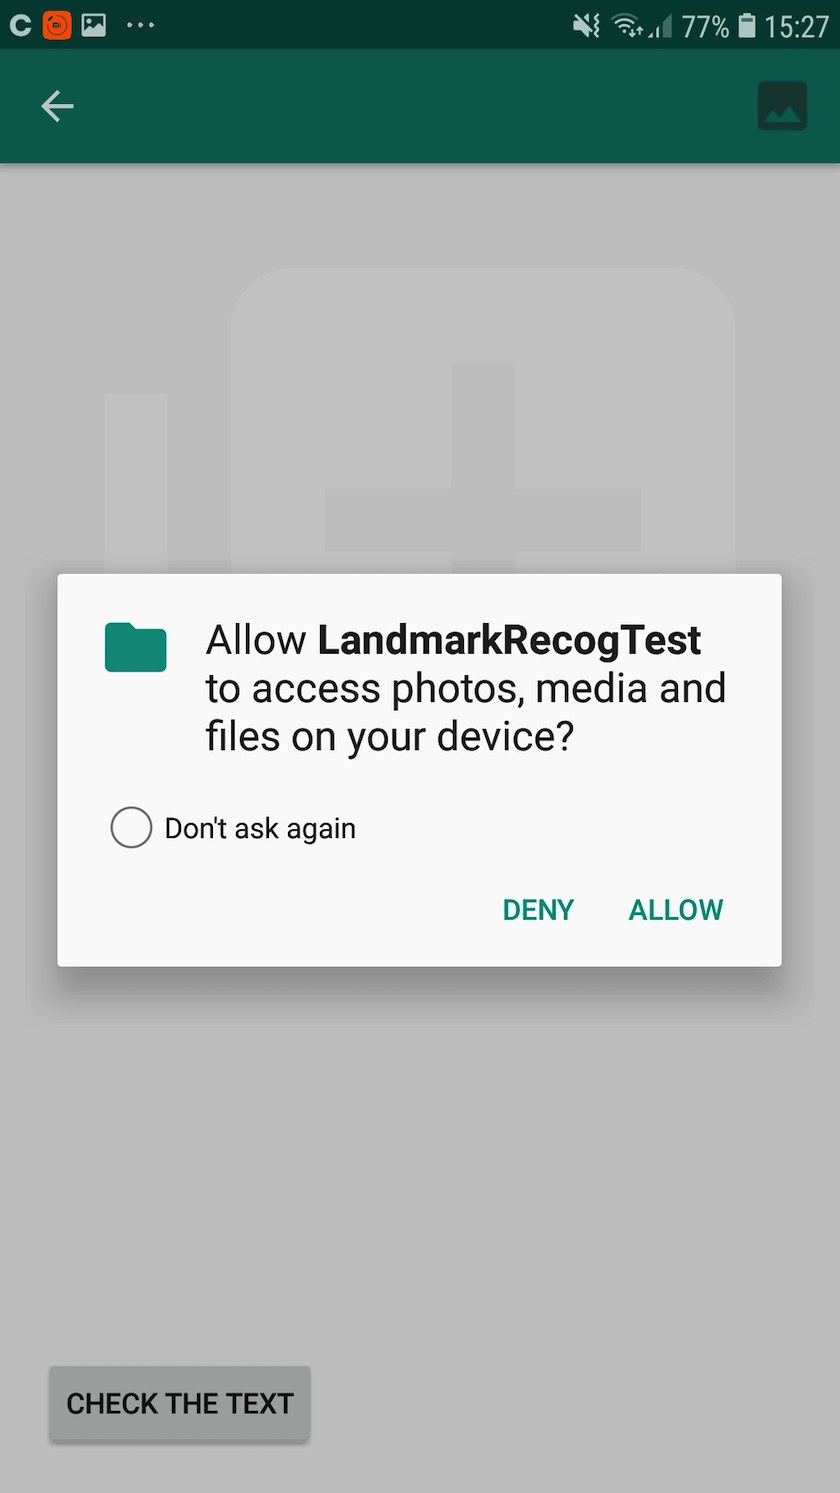
Before making any permission requests, you should consider whether there’s a way to achieve the same result without having access to that permission. For example, if you need to save some data then you can access local storage without requesting any permissions, rather than trying to save the data externally, which requires the WRITE_EXTERNAL_STORAGE permission.
Alternatively, you may be able to use intents to pass a task to an application that already has the necessary permission(s). For example, instead of requesting the READ_CONTACTS and WRITE_CONTACTS permissions, you can delegate a task to the Contacts application:
Intent contactIntent = new Intent(Intent.ACTION_INSERT);
contactIntent.setType(ContactsContract.Contacts.CONTENT_TYPE);

if (contactIntent.resolveActivity(getPackageManager()) != null) {
    startActivity(contactIntent);
}
You should also relinquish any permissions that your app no longer requires, which can significantly reduce the amount of sensitive data and features that your app has access to at any one time.
Let your users decide: Displaying the app chooser
Why waste time and energy reinventing the wheel? Implicit intents allow you to perform tasks in cooperation with third-party applications, reducing the amount of code you need to write in order to deliver all of your app’s desired functionality. By passing a task to another application, you may also be able to reduce the number of permissions your app requires.
Implicit intents can save you a tonne of time, but they also give you zero control over which application responds to your request. If an insecure or malicious third party app answers your implicit intent, then there’s a chance you may inadvertently expose the user’s personal data to a third party. If the user’s privacy is breached as a result of a third party application, then your app may be seen as guilty by association.
When issuing an implicit intent, you should display Android’s app chooser wherever possible.
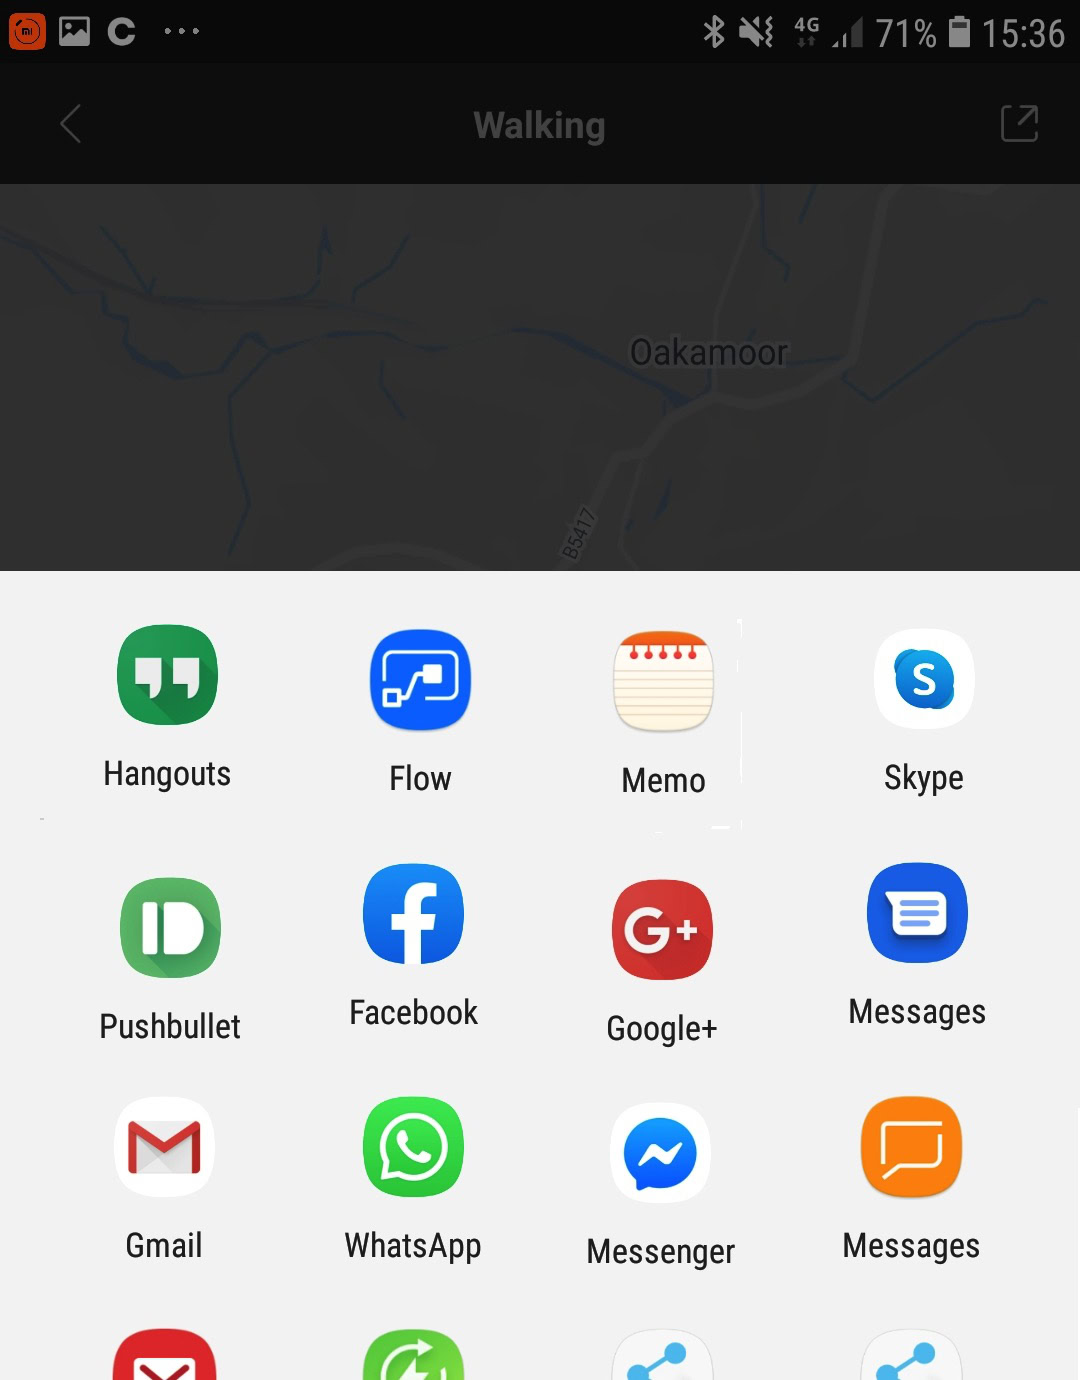
By presenting the user with a list of all the applications that can respond to this intent, you’re giving them the opportunity to select an application that they personally trust. Although there’s no guarantee that every single user will choose wisely, this can reduce the chances of you sharing data with an untrustworthy app.
When issuing an intent, you should check whether the user has multiple applications that can handle this intent. Assuming that multiple compatible apps are available, you can then display the app chooser by calling createChooser() and passing it to startActivity():
Intent myIntent = new Intent(Intent.ACTION_SEND);
List<ResolveInfo> possibleActivitiesList =
         queryIntentActivities(intent, PackageManager.MATCH_ALL);

//Check whether more than one app can handle this intent//

if (possibleActivitiesList.size() > 1) {

//Display the app chooser//

    String title = getResources().getString(R.string.app_chooser_title);
    Intent chooser = Intent.createChooser(intent, title);
    startActivity(chooser);
} else if (intent.resolveActivity(getPackageManager()) != null) {
    startActivity(intent);
}
Note that you should never use an implicit intent to start a Service, as you’ll have no control over which Service responds to your implicit intent.
Avoid external storage
You need to ensure that any data you store on the user’s device isn’t accessible to other applications – unless you grant those apps explicit approval.
Files saved to external storage are globally readable and writable, so any data you save to external storage can potentially be accessed and modified by any other application. There’s also no guarantee that an external storage medium will remain connected to the current smartphone or tablet. If your app writes to external storage, then you could potentially be saving sensitive user data to an SD card that will later be removed and inserted into someone else’s device!

Unless you have a specific reason not to, you should always save data to internal storage, where it’s sandboxed and will only be accessible to your app by default. In addition, if a user uninstalls your application, then all of your app’s files will be deleted from internal storage automatically, so you don’t need to worry about leaving behind any sensitive information.
In the following snippet, we’re writing data to internal storage:
final String FILE_NAME = "user_data.txt";
String fileContents = "This text file contains sensitive user data";
try (BufferedWriter writer =
             new BufferedWriter(new FileWriter(new File(getFilesDir(), FILE_NAME)))) {
    writer.write(fileContents);
} catch (IOException e) {

//To do: Handle exception//

}
If the data is particularly sensitive, then you can provide some additional Android app security by encrypting the files with a key that’s not accessible to your app, for example a key that’s placed in a Keystore and protected by a password that isn’t stored on the device.
Use Android’s new scoped directory access
Sometimes, an app may require access to specific directories within a device’s external storage, for example gaining access to the device’s external Pictures directory.
While you could request the READ_EXTERNAL_STORAGE permission, this will often provide your app with access to more data than it needs. It’s impossible for an app to mishandle data that it doesn’t have access to, so you should try to minimize the amount of information your application can access, wherever possible.
Instead of requesting the READ_EXTERNAL_STORAGE permission, you can request access to a specific directory. This scoped directory access requires you to use the StorageManager class and then create an intent by calling the StorageVolume.createAccessIntent() method of that instance. For example, in the following snippet we’re accessing the external Pictures directory:
StorageManager newStorageManager = (StorageManager)getSystemService(Context.STORAGE_SERVICE);
StorageVolume volume = newStorageManager.getPrimaryStorageVolume();
Intent intent = volume.createAccessIntent(Environment.DIRECTORY_PICTURES);
startActivityForResult(intent, request_code);
If the user does grant your app access to this external directory, then Android will call your onActivityResult() override with a result code of RESULT_OK, plus an intent containing the URI for the requested directory.
Never cache sensitive user data
When handling non-sensitive application data, you may be able to improve the user experience by storing this data in the device’s cache.
For caches larger than 1 MB, you can use getExternalCacheDir(), which will return the path to an application-specific directory where you can store your cached content.
If you do decide to cache, then just be aware that any application that has the WRITE_EXTERNAL_STORAGE permission can potentially write to these files, so you should never store private or sensitive information in the cache if you care about Android app security.
Protect your keys against unauthorized use
The Android Keystore system lets you store cryptographic keys within a container, which makes it more difficult to extract these keys from the device.

The Android Keystore ensures that key material never enters the application process, so even if your application’s processes are compromised and an attacker manages to access your keys, they’ll be unable to extract their key material.
You can also use the Keystore to restrict when and how your keys can be used, for example you might restrict key usage to certain cryptographic modes, or require user authentication.
Make your ContentProviders private
ContentProviders are a structured storage mechanism that you can make private to your application or choose to export, at which point they’ll become accessible to other apps.
Unless you explicitly need to share data with a third party application, you should make all of your ContentProviders private, by marking them as android:exported=false in your application’s Manifest. If your application is compatible with Android 4.1.1 or lower, then it’s particularly important that you mark your private ContentProviders as android:exported=false, as all ContentProviders are public by default.
    <provider
        android:name="android.support.v4.content.FileProvider"
        android:authorities="com.jessicathornsby.sampleApp.provider"

//Add the following//

        android:exported="false">
    </provider>
Fingerprint your users, with biometric authentication
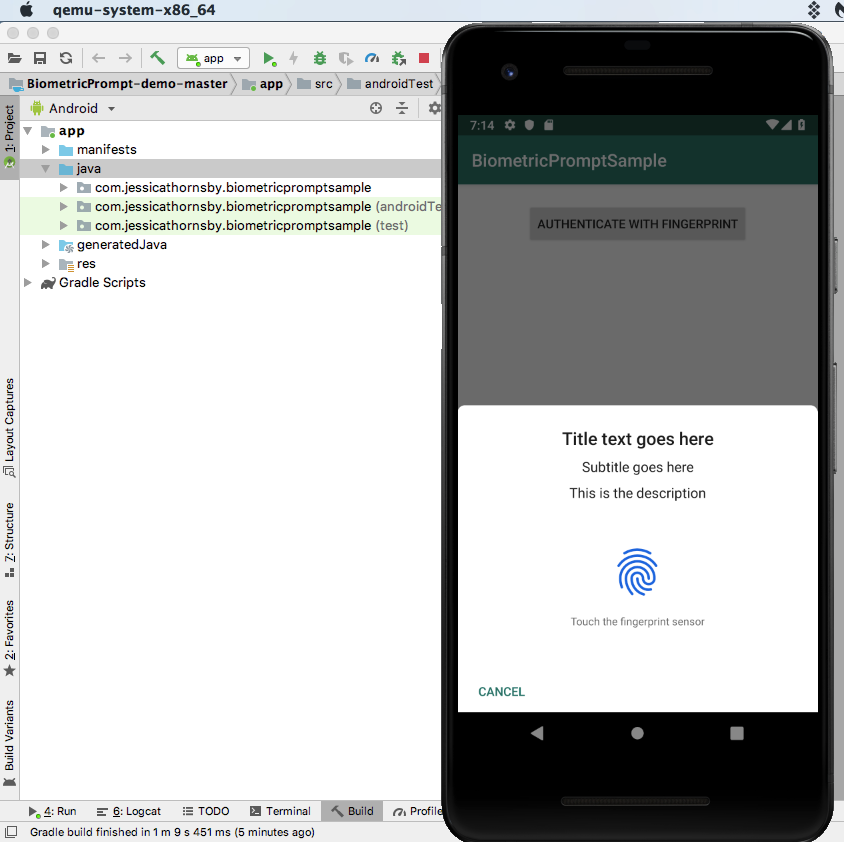
Before permitting a user to access any of your app’s sensitive information or features, you should verify their identity by asking for their credentials.
User credentials can take the form of a PIN or password, however wherever possible it’s far more secure to perform biometric authentication, for example by requesting the user’s fingerprint.
Follow all networking best practices
Unlike less portable devices such as desktop computers, we frequently connect our smartphones and tablets to unsecured wireless networks, such as free public Wi-Fi. To help preserve the user’s privacy, you should approach all network transactions as inherently risky, especially when you’re transmitting user data.
Whenever you need to perform a network transaction, it’s important that you follow all of Android’s networking best practices:
- Use HTTPS instead of HTTP, whenever it’s supported on the server.
- Never trust data downloaded from insecure protocols, including any responses issued against HTTP.
- Use appropriate protocols for sensitive data, such as HttpsURLConnection.
- Where authentication is possible, use an Android IPC mechanism, such as a Service.
- Use the open source Nogotofail network security tool to test your app against known TLS/SSL vulnerabilities and misconfigurations. Nogotofail includes tests for common SSL certificate verification issues, HTTPS and TLS/SSL library bugs, cleartext issues, and SSL and STARTTLS stripping issues. For more information, check out Nogotofail’s GitHub page.
- Wherever possible, avoid loading code from outside your APK as this increases the chances of someone on the network modifying your code while it’s in transmit.
Use WebViews with caution
The WebView component can consume HTML and JavaScript, so if you use WebViews incorrectly your application will be vulnerable to common web security issues, such as cross-site scripting.
If you use WebViews incorrectly your application will be vulnerable to common web security issues.
To help keep Android users safe, the WebView component doesn’t execute JavaScript by default. However, if required you can enable JavaScript by using getSettings() to retrieve WebSettings, and then running the setJavaScriptEnabled() method:
WebView myWebView = (WebView) findViewById(R.id.webview);
WebSettings webSettings = myWebView.getSettings();
webSettings.setJavaScriptEnabled(true);</pre@
Even if you do need to enable JavaScript, you should avoid using addJavaScriptInterface() wherever possible, as this method injects the supplied Java object into the WebView component. If your app is installed on a device running Android 4.2 or earlier, then this method could potentially allow JavaScript to manipulate your application.
If you do use WebViews, then you shouldn’t allow users to navigate to any website that you don’t control, but in particular you should never use the addJavascriptInterface() method if the user could potentially navigate to an untrusted webpage, as this is a huge Android app security risk.
You should never use the addJavascriptInterface() method if the user could potentially navigate to an untrusted webpage.
If your WebView component accesses any personal data, then you may want to periodically delete any files that are stored locally, using the clearCache() method. Alternatively, you can prevent your app from caching sensitive content, using the no-cache server-side header.
Manage your app’s Secure Sockets Layer (SSL)
SSL is a common component of encrypted communication between clients and servers. If your app uses SSL incorrectly then malicious third parties could potentially intercept your application’s data while it’s being transmitted over a network.
Typically, a server is configured with a certificate containing a public key and a matching private key. As part of the communication between the SSL client and the server, the server will sign its certificate with public-key cryptography. However, it is possible for a third party to generate its own certificate and private key, so your client should also have one or more certificates that it trusts. If a certificate isn’t set, then your application should not trust the server.
To make this process easier, servers are often configured with certificates from well-known Certificate Authorities (CAs). As of API level 17, Android supports over 100 CAs that are updated with each release. When issuing a certificate for a server, the CA will sign the server certificate using its private key, and the client can then verify that the certificate is issued by a CA that’s known and trusted by the Android platform.
If your app is communicating with a web server that has a certificate issued by a trusted CA, then you can make your request in a few lines of code:
URL url = new URL("https://www.google.com");
HttpsURLConnection urlConnection = (HttpsURLConnection) url.openConnection();
urlConnection.connect();
InputStream in = urlConnection.getInputStream();
However, there are some scenarios where the above code will result in an exception:
- The CA that issued the server certificate is unknown. In this scenario, you can teach HttpsURLConnection to trust this set of CAs.
- The server certificate was self-signed, which means the server is acting as its own CA. For self-signed certificates, you can create your own TrustManager, although you must ensure that your self-signed certificate has a strong key.
- The server configuration is missing an intermediate CA. Many public CAs don’t sign server certificates directly. Android only trusts root CAs, so the server will need to send a chain of certificates from the server CA through any intermediates required to reach the root. If you cannot configure the server to include the intermediate CA in the server chain, then one possible workaround is to create your own TrustManager.
Creating a Network Security Config File: Trusting Custom CAs
If you want your app to use a new or custom CA, then you should create a Network Security Configuration file where you specify your network security settings.
To create a Network Security Configuration file:
- If your project doesn’t already contain an XML folder, then you’ll need to create one. Control-click your project’s res folder and select New > Android Resource Directory.
- Create a new XML resource file inside your XML directory, which will serve as your Network Security Configuration file. I’m naming this file network_config.
- Open your network configuration file and specify that all traffic to the following domains should use HTTPS:
<?xml version="1.0" encoding="utf-8"?>
<network-security-config>

//Disable clear text//

    <domain-config cleartextTrafficPermitted="false">

//Apply this rule to the domain and all of its subdomains//

        <domain includeSubdomains="true">my.domain.com</domain>
...
...
...
    </domain-config>
</network-security-config>
You can now specify the set of custom CAs that your application should trust. For example, if you wanted to connect to a host that uses a self-signed CA, then you’d add the following to your Network Security Configuration file:
<?xml version="1.0" encoding="utf-8"?>
<network-security-config>
    <domain-config cleartextTrafficPermitted="false">
        <domain includeSubdomains="true">my.domain.com</domain>

//A set of trust anchors for secure connections//

        <trust-anchors>

//A set of certificates for trust-anchors elements, and the source of these certificates//

            <certificates src="@raw/custom_ca"/>
        </trust-anchors>
    </domain-config>
</network-security-config>
Don’t forget to declare the Network Security Configuration file in your Manifest:
<?xml version="1.0" encoding="utf-8"?>
<manifest xmlns:android="http://schemas.android.com/apk/res/android"
   package="com.jessicathornsby.networkConfig">

   <application
       android:networkSecurityConfig="@xml/network_config"
Finally, you need to add the self-signed CA certificate to your project’s res/raw/custom_ca directory, in PEM or DER format, and your app will be able to connect to the host.
Restrict your list of trusted CAs
Alternatively, you may want to increase your network security by only connecting to CAs that you know and trust, rather than automatically trusting every CA that’s known to the Android platform.
To restrict your app to a smaller set of CAs, add the following to your Network Security Configuration file:
<trust-anchors>
            <certificates src="@raw/trusted_cas"/>
    </trust-anchors>
You will then need to add the trusted CAs to your project’s res/raw/trusted_cas, in PEM or DER format.
Trust additional CAs, where appropriate
Finally, you may want to trust additional CAs that are not known to the Android platform. To increase the number of CAs that your application trusts, you’ll need to specify multiple certificate sources:
<trust-anchors>
        <certificates src="@raw/extracas"/>
        <certificates src="system"/>
    </trust-anchors>
Never send sensitive data via SMS
If you need to transmit data from a server to your application, then you should use Google Cloud Messaging (GCM) and IP messaging, and never the unencrypted SMS protocol.
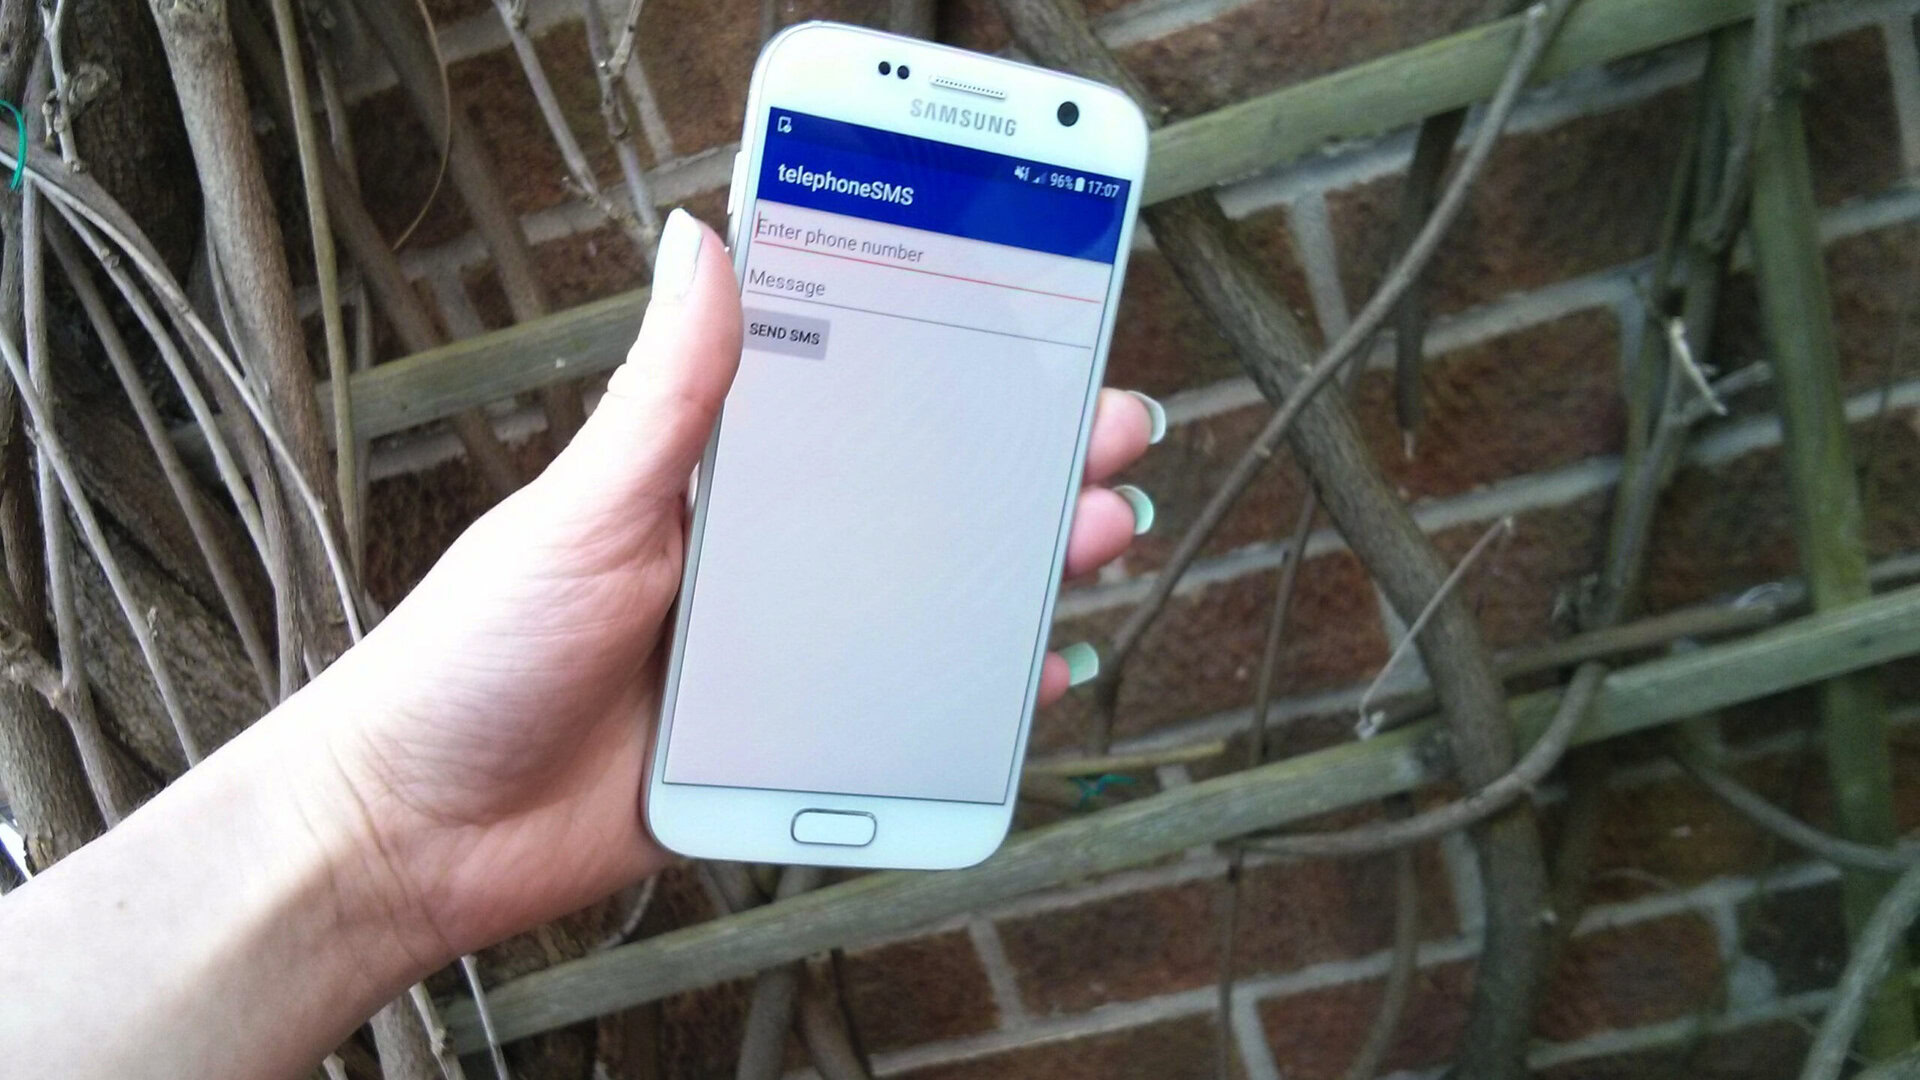
You should also never perform sensitive commands using SMS messages, as SMS are transmitted as broadcast intents, meaning that any application with the READ_SMS permission will be able to access their contents.
Protect against security threats with the SafetyNet APIs
SafetyNet provides a set of services and APIs that you can use to protect your app against security threats such as device tampering, malicious URLs, and fake users.
Android supports the following SafetyNet APIs:
- SafetyNet Attestation API. This anti-abuse API lets you access the Android device where your application is running, so you can determine whether your servers are interacting with a genuine device.
- SafetyNet Safe Browsing API. You can use this API to determine whether Google has classified a particular URL as a known threat.
- SafetyNet reCAPTCHA API. This service includes a reCAPTCHA API that you can use to protect your app against threats such as spam and malicious traffic. If the API suspects that your app is interacting with a bot, then it’ll serve a CAPTCHA that the recipient must solve before they can continue using your app.
- SafetyNet Verify Apps API. If your app contains sensitive user data, then you can use this API to interact with the device’s Verify Apps feature, and check whether the device is free from malicious applications. If the device isn’t secure, then you can perform some damage limitation by disabling all of your app’s sensitive features. Just be aware that although SafetyNet will alert users to any potentially harmful apps that it discovers, there’s no guarantee that the user will actually uninstall these apps. In addition, malicious apps are being released all the time, and hackers are always coming up with new and ingenious ways to slip under the radar, so even if a device does pass the SafetyNet test you shouldn’t assume there are no harmful apps on the device.
For more information about the SafetyNet APIs, including instructions on how to use them in your apps, check out the official Android docs.
Use Android Protected Confirmation for sensitive transactions
If your app needs to perform a sensitive transaction, such as making a payment, then you can use Android Protected Confirmation on devices running Android 9 (API level 28) or higher.
Every time the user attempts to complete a sensitive transaction, Android Protected Confirmation will display a prompt asking them to accept a short statement. If the user approves this statement, then you can sign the message using a key from the Android Keystore.
For more information, plus instructions on how to implement Android Protected Confirmation, check out the official Android docs.
Android 10: Run embedded DEX code directly
On devices running Android 10 (API level 29) and higher, it’s possible to run embedded DEX code directly from your app’s APK file, which can help prevent an attack even if the hacker manages to tamper with the device’s locally-compiled code.
Read also: Exploring Android Q: Adding bubble notifications to your app
To enable this new security feature, open your project’s Manifest and add the following to the <application> element:
<?xml version="1.0" encoding="utf-8"?>
<manifest xmlns:android="http://schemas.android.com/apk/res/android"
   package="com.jessicathornsby.myapplication">

   <application

//Add the following//

       android:useEmbeddedDex="true"
Next, you’ll need to build an APK file containing uncompressed DEX code that ART can access directly. Open your build.gradle file, and add the following:
aaptOptions {
   noCompress 'dex'
}
Just be aware that ART will use the JIT compiler when your app is started, which can impact your application’s performance.
Wrapping up
In this article, we covered all the best practices, tools, APIs and techniques you can use to help maintain your Android app security.
Do you have any advice for increasing your application’s security? Be sure to share your tips in the comments below!