Affiliate links on Android Authority may earn us a commission. Learn more.
Set it and forget it: 5 things you should always automate on your phone
Published onMay 8, 2019

Our modern Android devices open the door to a connected, high-tech world that years ago we only dreamed was possible. The power and capability of our Android phones and tablets continue to increase, and as a result they are getting smarter and smarter. With just a little setup, it’s amazing how much our phones can do automatically. Although this isn’t possible with every single task, you do have the option of automating quite a few tasks using either built-in functions or added apps/services that are readily available in the Google Play store.
In this post, we’ll take a closer look at Android automation and some of the tasks you can automate on your device and then forget all about them. This will save you quite some time, so you’ll have more left for the things that really matter, like watching those cat videos on YouTube you love so much.
Editor’s Note: Keep in mind these are just some of the basics when it comes to Android automation, but if you really want to get into automating all the things, you’ll want to learn something like Tasker or IFTTT — which we talk about a bit more towards the bottom of this guide.
1. Set up the “Do not disturb” option
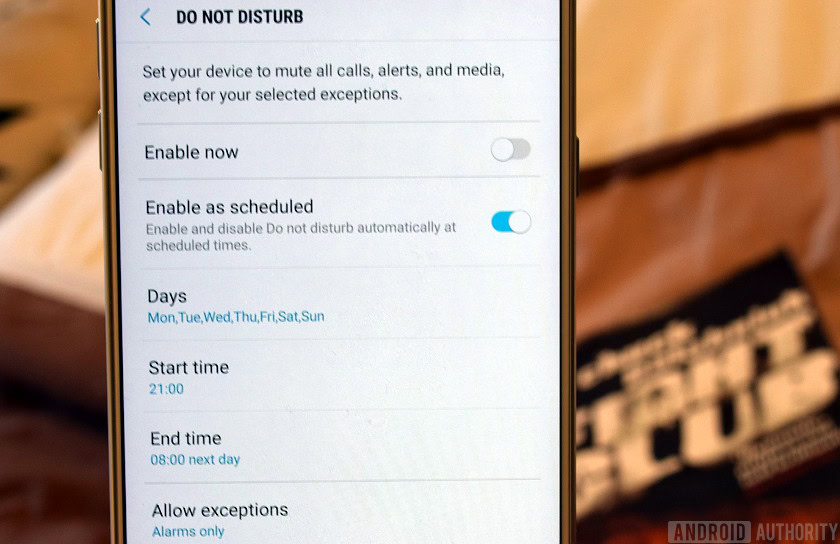
There’s nothing worse than heading to bed after a hard day at work and then getting a call, a text, or a notification on your smartphone at 3 a.m. that wakes you up and ruins your beauty sleep. Instead of turning off the device before you go to bed or putting it in silent mode, you can just set up the “Do not disturb” option instead. With this feature, you can basically specify the hours of the day when the smartphone should be muted, so that it won’t make a sound when you get a call or a text, among other things.
It’s quite an easy thing to set up and won’t take more than a minute or two of your precious time. Open up the settings menu on your device, head into “Sound” (might be called differently on your device), and tap on “Do not disturb”. Then just select the days and hours when the smartphone should be silent and specify which things its should mute (calls, texts…).

2. Post to multiple social networks with one tap
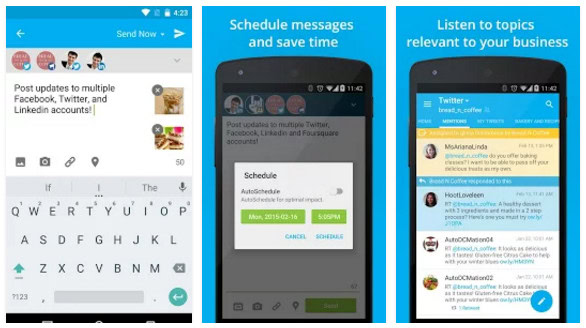
There are a bunch of popular social networks available today including Facebook, Instagram, and Twitter, among others. If you use more than one, you probably publish the same post to multiple networks every now and then, right? To save a little bit of time, you can kind of automate this process by using an app like Hootsuite.

What the app does is allows you to publish a post on a number of different social networks at the same time with just one tap. You can also schedule a post to Facebook or a tweet to Twitter to be sent at a later time or day, manage multiple social network account, monitor your brand on Twitter and Facebook, and more.
The service, which has over 15 million users worldwide, is free for up to three social network accounts. To connect more, you’ll need a subscription that starts at $29 per month. You can download and try out the app by visiting the Google Play Store via the button below.
3. Back up photos and videos

The first thing you should probably do is make sure that all the photos and videos you take will be backed up automatically to the cloud. That way, you’ll be able to access them from any computer or device that can connect to the internet. Additionally, the images and photos will be safe in case you lose your smartphone or if it stops working for whatever reason.
To best service for this is by far Google Photos. If you don’t have the app installed on your smartphone yet, download it from the Google Play Store via the button below.
To automate the backup process, just open the app, head into the settings, tap on the “Back up & sync” menu, and then turn on the “Back up & sync” option at the top. The screenshots below should help you out if you’re having trouble finding it.
The best thing about Google Photos is that it’s free of charge. Just keep in mind that the photos and videos will be downsized to 16MP and 1080p if they are larger. To keep the original size, the content uploaded will count against the storage of your Google account. You have 15GB of free space, which is shared between Photos, Gmail, and Drive. If you need more, you can upgrade for as low as $1.99 per month.
One more thing worth mentioning is that there’s a “Free up device storage” option in the settings of the app that can automatically delete the backed up images from your device to save you some space. Nice!
4. Set up data usage warning
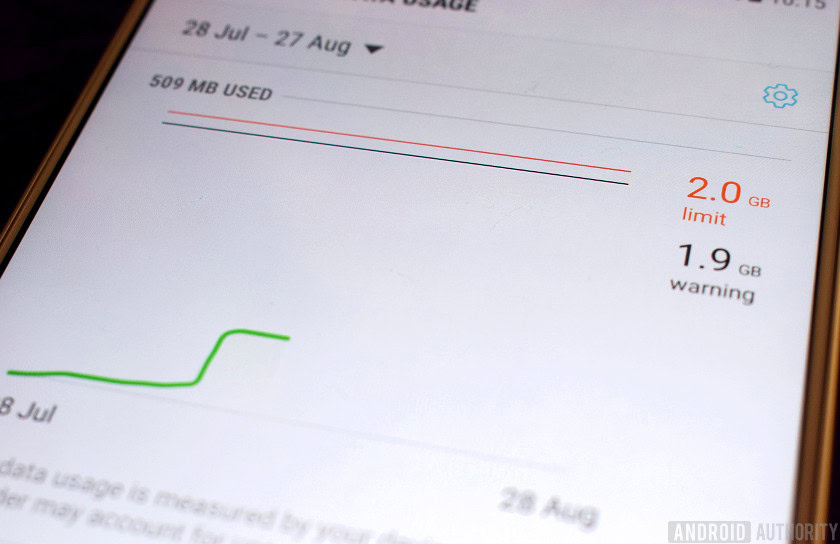
To avoid getting a large bill from your carrier, you should make sure you don’t go over your data limit. Instead of checking how much data you have used and how much there’s left in a given billing cycle every day or so, you can just set up a data usage warning.
What this means is that your smartphone will notify you when you have used a specified amount of data, so you’ll know when you should stop watching all those YouTube videos and using other data-hungry apps. What’s more, as soon as you use all the data you have in a given billing cycle, the smartphone can automatically disconnect you from the network. That way, the chance of going over the limit is eliminated.

Setting up a data usage warning is a simple task to do that won’t take more than a minute or two of your time. Open up the settings on your device, select “Data usage”, and tap on “Billing cycle” (the path may differ from device to device). Then just add in the amount of data you have included in your plan, your billing cycle, and specify a warning limit (example: notify me when I use 5 GB of data).
5. Unlock smartphone when you’re home
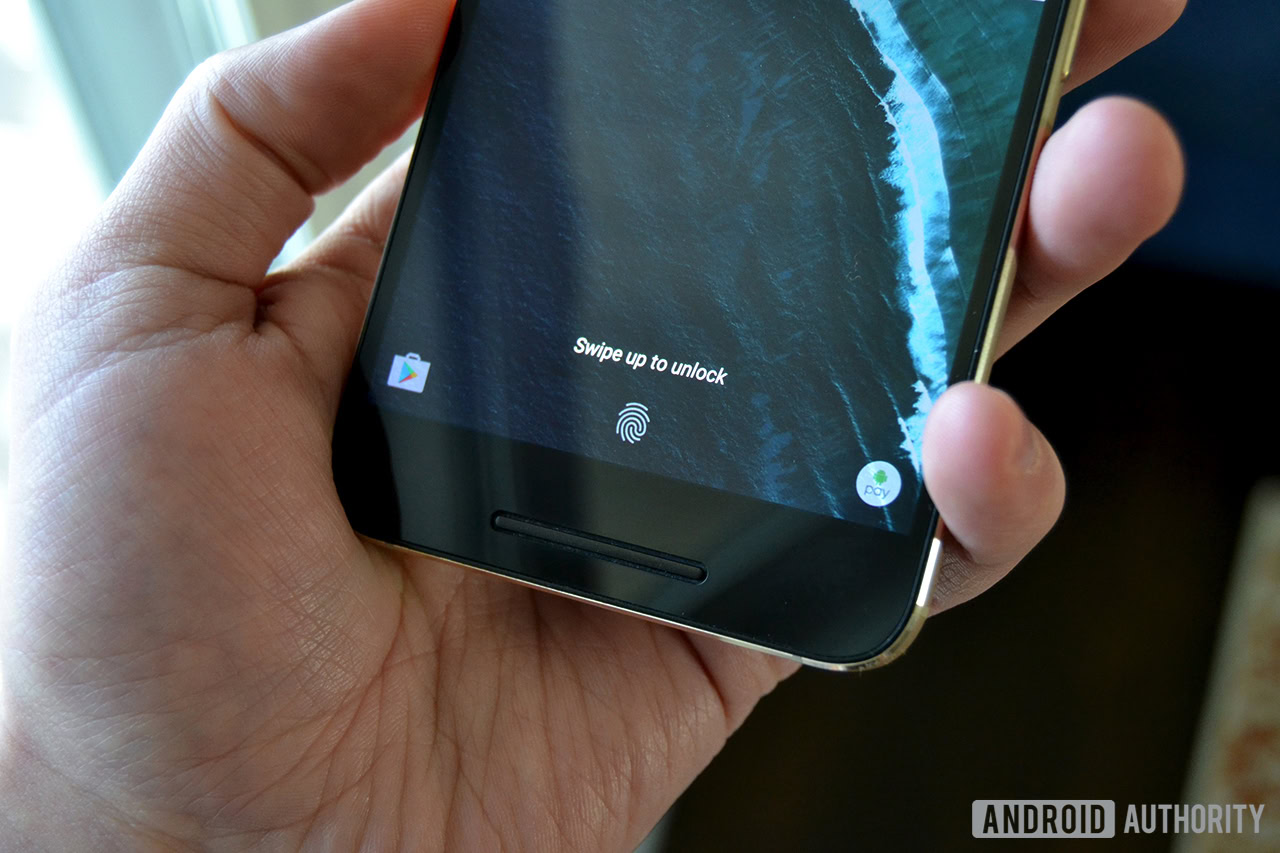
If you’re out and about, locking your phone with the help of the fingerprint sensor or a PIN code is always a good idea. But when you’re in the safety of your own home, these things can get quite annoying at times, especially if you check your phone regularly throughout the day.
The best option in this case is to disable the authentication method you’re using (fingerprint, PIN code, pattern…) once you get home. Instead of doing it manually every single day, you can automate it in less than a minute.
Here’s how to do it. Head into the settings of your device, select “Security & fingerprint” (might be called differently on your smartphone), and then tap on “Smart Lock”. You’ll see a bunch of different options, but the one we’re interested in is called “Trusted Places”. Just tap on it and punch in an address via the ”Add trusted place” option. You can add multiple locations including your home and office, for example.

The authentication method you use will be automatically disabled once you’re at a “trusted place” and when you head out the front door, your Android device will activate it again on its own. However, do keep in mind that the GPS has to be turned on for the feature to work.
Android Automation – taking things to the next level
As you might have already surmised, this guide was really intended more for those new to Android automation. These are just five tasks we think are important for you to automate on your Android device, simply because they are very useful and super easy to do. Of course, there are more tasks you can automate on your smartphone.
If you want to take things to the next level when it comes to Android automation, you should definitely check out Tasker. For those of you who don’t know, Tasker is an app that allows you to automate a number of things. It can, for example, automatically lower the screen brightness at night, extend the screen timeout for certain apps (Amazon Kindle is a good example), open a music app when plugging in headphones, and more.
Tasker can get a bit complicated to use and will set you back $2.99. To learn more about the app and how exactly it works, check out our “How to use Tasker” post. It’s also worth mentioning IFTTT, another popular Android automation app, but one that is a bit more user-friendly for newer Android users than something like Tasker.
Any other general, newb-friendly advice for Android automation you can think of? Let us know down in the comments!