Affiliate links on Android Authority may earn us a commission. Learn more.
Android Go: Getting your app ready for Google’s new, slimline OS
Published onFebruary 5, 2018

Every app you create has the potential to reach a huge range of devices, including entry-level smartphones with less capable screen configurations, memory, and processors.
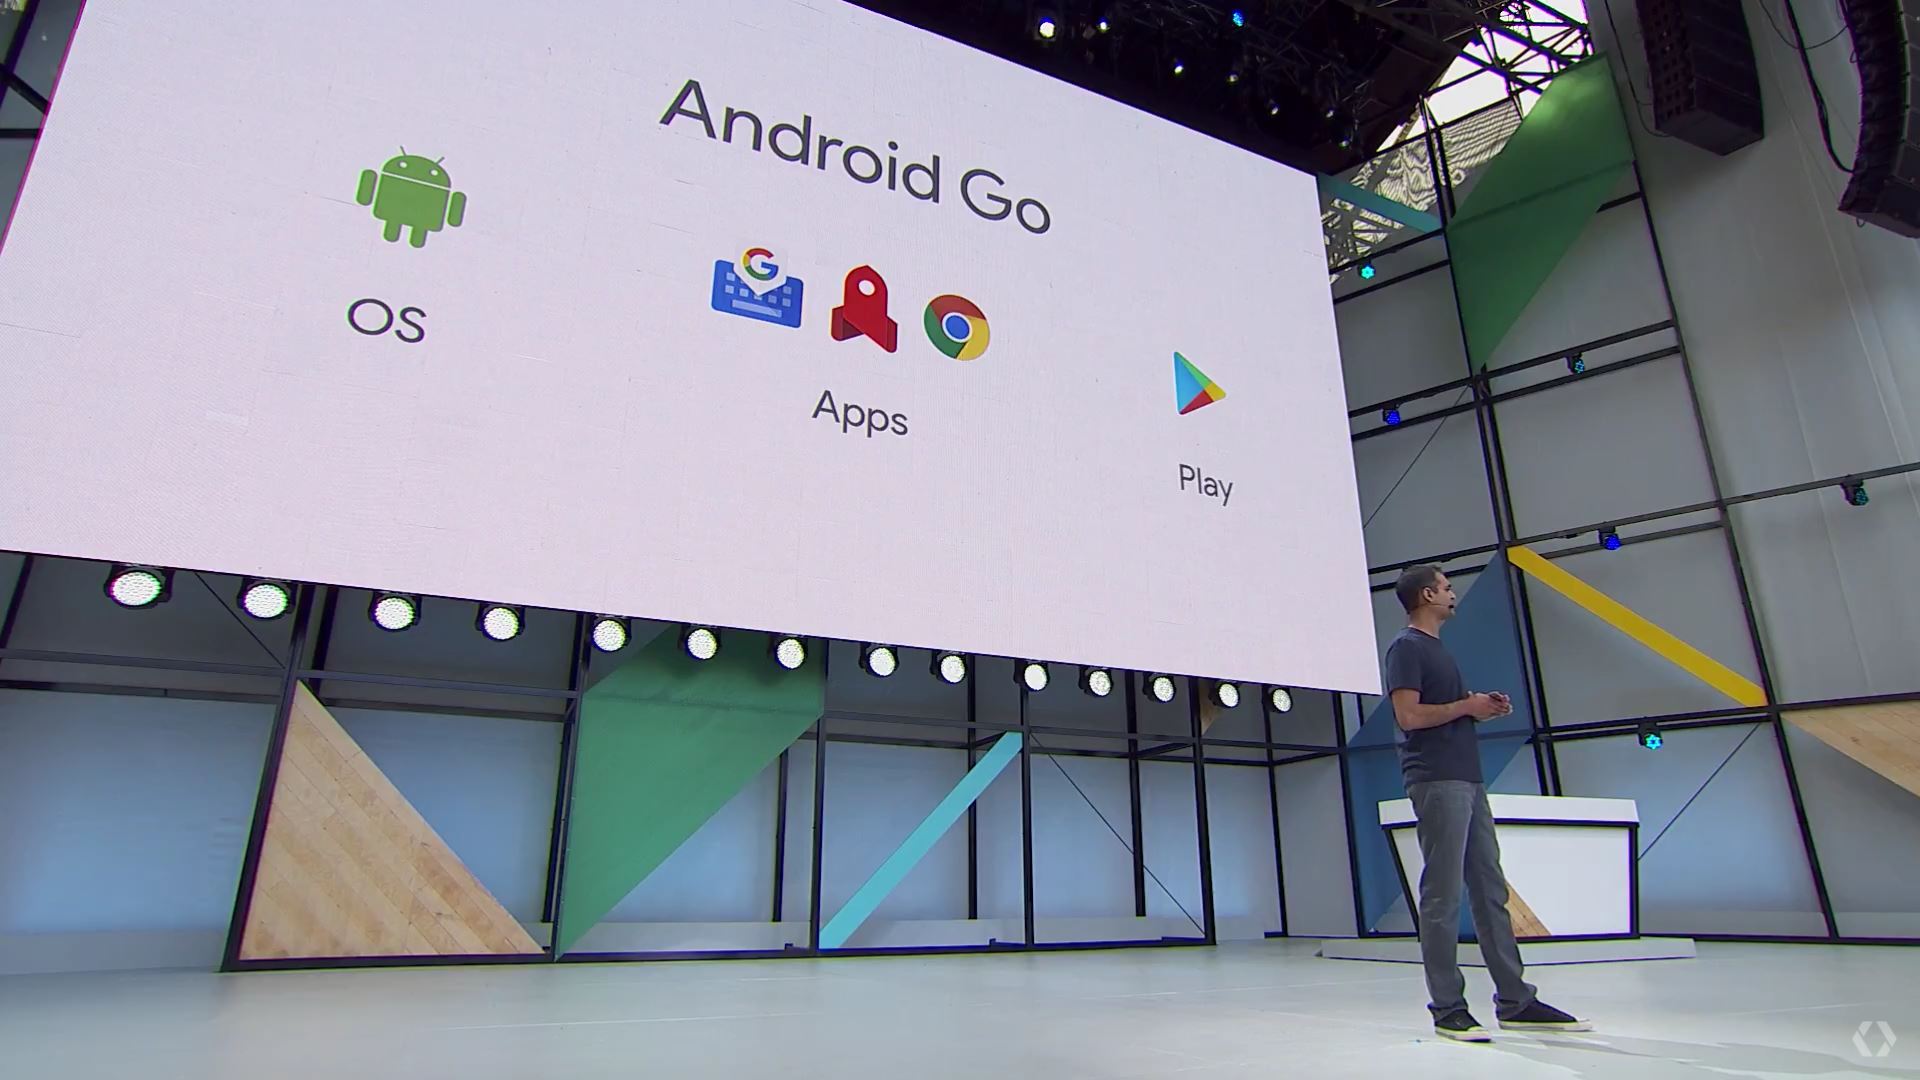
With the release of Android Go, Google is making it easier for app developers to guarantee a great experience, regardless of the price of the target device. Released alongside Android 8.1, the Android Go operating system features performance and storage improvements designed to make Android run more smoothly on entry-level devices.

Android Go users will have access to the entire catalogue of Android apps, but Google Play will highlight the apps that work better on Android Go. Here’s how to optimize your app to consume less memory and battery, and deliver high performance even on devices with limited processing power, ensuring Google Play will highlight it.
While you’ll find entry-level devices in every market, the success of companies such as Xiaomi has shown that budget devices are particularly popular in emerging markets. These markets represent some of the fastest growing smartphone user bases in the world. Android Go is an opportunity to connect with an entirely new and expanding audience, so I’ll also be sharing tips on how to overcome the additional challenges facing Android Go users in emerging markets.
While you’ll find entry-level devices in every market, the success of companies such as Xiaomi has shown that budget devices are particularly popular in emerging markets.

Slim down your APK
According to a recent study, installation rates decrease by one percent for every 6 MB increase in the size of your APK. No one appreciates an app that takes up more than its fair share of storage space, but bulky APKs are particularly bad news for Android Go devices, which always have limited internal storage.
We’ve written an entire article on reducing APK size, but you should also let the Android system install your app on external storage. Many users often overcome the problem of limited on-device storage by adding an SD card.
Keep an eye on your app’s memory use
Since Android Go devices have limited RAM too, it’s crucial you test how your app is actually using memory:
- Make sure your app is open and visible onscreen.
- Select View > Tool Windows > Android Profiler from the Android Studio toolbar.
- Select your device and the application that you want to profile.
- Click the Memory bar, and the Memory Profiler will start the recording.
Installation rates decrease by one percent for every 6 MB increase in the size of your APK

Spend some time interacting with your app to see how its memory use changes in response to different actions. If a certain action is consuming lots of memory, you need to take a closer look at it!
Tailor memory use to the current device
Optimizing your app for Android Go can be a tricky balancing act. You’re simultaneously developing for high-end devices with lots of memory and lower-end devices with very limited memory.
One solution is to modify your app’s behavior based on available space.
You can query how much heap space is available to your app using getMemoryInfo():
private ActivityManager.MemoryInfo getAvailableMemory() {
    ActivityManager activityManager =
                   (ActivityManager) this.getSystemService(ACTIVITY_SERVICE);
    ActivityManager.MemoryInfo memoryInfo = new ActivityManager.MemoryInfo();
    activityManager.getMemoryInfo(memoryInfo);
    return memoryInfo;
}
Your app can also respond to notifications that the device is low on memory using the ComponentCallbacks2 interface and onTrimMemory() callback. Freeing up resources when the system is running low on memory will benefit all your users, but it’s particularly important on Android Go devices, where the system may encounter low memory states on a regular basis.
import android.content.ComponentCallbacks2;

public class MainActivity extends AppCompatActivity
    implements ComponentCallbacks2 {

//onTrimMemory is called whenever the system needs to reclaim some memory//

    public void onTrimMemory(int level) {
        switch (level) {

//If system resources are low..//

            case ComponentCallbacks2.TRIM_MEMORY_RUNNING_LOW:

//Do something; typically release any objects that your app is holding onto//

...
...
...

       break;
Check your startup time
To ensure a prompt launch, even on devices with limited horsepower, your app should startup in under 5 seconds.
Every time you run your project, Logcat automatically prints a Displayed line containing the time elapsed between launching the process and finishing drawing this Activity:

If the Displayed value is 5 seconds or over, check whether you’re performing heavy work when initializing the Application object, or inflating parts of the UI your app doesn’t need to display during launch.
Check how your app is using battery
Android Go devices may have significantly less-powerful batteries compared to their higher-end counterparts, so now’s the perfect time to check your app’s energy use. You can see exactly how your app is consuming battery, using Batterystats and Battery Historian.
Modify your app’s battery use at runtime
Battery is always a precious resource on mobile devices, but there are times when conserving battery becomes even more important. The user is going to be far more concerned about preserving battery when they’re at five percent than when they’re at 100 percent. For the best user experience, your app should adapt its behavior based on the changing state of the battery.
Android’s BatteryManager class broadcasts ACTION_POWER_CONNECTED and ACTION_POWER_DISCONNECTED whenever the device is connected or disconnected from a power source.
Wherever possible, you should use these broadcasts to delay battery-intensive operations until the user attaches their device to a power source. This way they’re less likely to notice how much power your app is consuming.
You can listen for these events, by creating a BroadcastReceiver:
<receiver android:name=".ChargingReceiver">
  <intent-filter>
    <action android:name="android.intent.action.ACTION_POWER_CONNECTED"/>
    <action android:name="android.intent.action.ACTION_POWER_DISCONNECTED"/>
  </intent-filter>
</receiver>
You should also listen for notifications that the battery is low, so your app can suspend any non-essential activities, or even reduce its update frequency, to ensure the remaining battery lasts as long as possible.
Every time the device displays the “Low battery warning” dialog, the system sends a corresponding ACTION_BATTERY_LOW broadcast, so create a BroadcastReceiver to listen for this action too:
<receiver android:name=".LowBatteryReceiver">
  <intent-filter>
    <action android:name="android.intent.action.BATTERY_LOW"/>
  </intent-filter>
</receiver>
Batch and pre-fetch data
Waking the device’s mobile or Wi-Fi radio is a battery-hungry process, so connecting to the network at random times and transferring data over multiple sessions can seriously drain a device’s battery.
Whenever possible, delay non-essential network requests until you can bundle multiple requests into the same connection. When your app connects to the network, you may also want to try anticipating the data your app might need next, and pre-fetching it while the radio is already active.
If you decide to pre-fetch data, be wary of going overboard. Downloading information the user doesn’t really need is just going to waste their battery, and potentially their mobile data too.
If you’re unsure about how often your app is accessing the network, you can view a graph of your app’s network activity:
- Make sure the application you want to test is installed on your Android device and is currently open and visible onscreen.
- Select View > Tool Windows > Android Profiler from the Android Studio toolbar.
- Select the device and process that you want to profile.
- Click the Network area of the Android Profiler.
Spend some time interacting with your application and monitor how its network usage changes. Ideally, the Network Profiler should show your app sending network requests in bursts separated by long periods of inactivity where the network hardware isn’t being accessed at all.

Developing for Android Go users in emerging markets
In addition to the limited memory, battery life and processing power associated with budget devices, Android Go users in emerging markets may not have easy access to a strong and reliable internet connection.
Even if the user can get online, research suggests that in emerging markets a data plan can cost 10 percent or more of a person’s monthly income, so you’ll want to limit the amount of data your app uses, regardless of connection quality.
Here are some ways to ensure your app provides a good user experience, regardless of the quality of the internet connection, or the costs associated with getting online.
Display placeholder content
If your app needs to retrieve content from the network, put in some placeholder content so it doesn’t display empty space when it experiences network issues.
Even a “getting your search results” message is better than a blank screen, which can make users wonder if your app has frozen or completely broken.
Prioritize your app’s most important content
Even when your app has network access, there’s always a chance the network may vanish. To prepare for the worst case scenario, prioritize your app’s network requests so it always retrieves the most important content first. Even if your app loses connection midway through retrieving data, the user will still have access to all the most important content.
Test how your app handles poor network connectivity
How your app handles laggy internet isn’t something you can easily test on your real-life home or office Wi-Fi (hopefully).
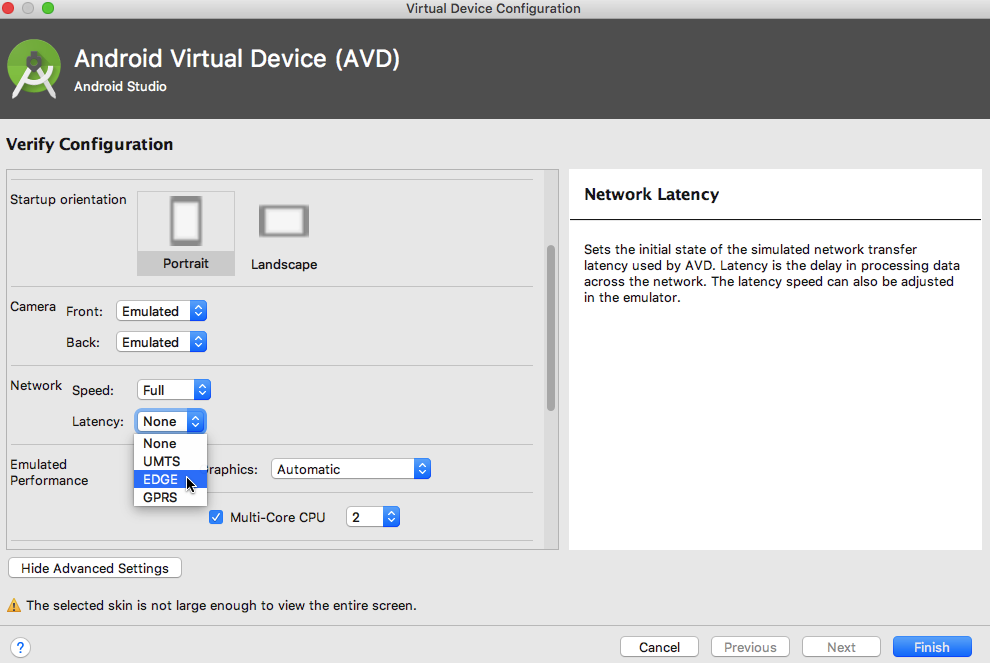
You can, however, simulate a poor network connection using an AVD:
- Select Tools > Android > AVD Manager from the Android Studio toolbar.
- Either create a new AVD by clicking the Create Virtual Device… button, or edit an existing AVD by clicking its accompanying Edit icon.
- In the Verify Configuration menu, click the Show Advanced Settings button.
- Change the quality of the network, using the Speed and Latency dropdowns.

Launch your app on this AVD and spend some time testing how your app functions under less-than-ideal network conditions.
Don’t download the same data multiple times
You should cache any data unlikely to change, so your app doesn’t have to re-download it over the network. You can store data in SharedPreferences or in an SQLite database, and you can cache images using a library liked Glide or Picasso.
Limit your data usage on metered networks
A “metered” network is any network Android suspects may incur significant monetary charges, or potentially impact the device’s battery or performance.
You can check whether the device is connected to a metered network using isActiveNetworkMetered:
ConnectivityManager connMgr = (ConnectivityManager)
        getSystemService(Context.CONNECTIVITY_SERVICE);
if (connMgr.isActiveNetworkMetered()) {

//Do something//

    }
} else {

//The connection isn’t metered//
To avoid burning through the user’s mobile data, reduce or even completely suspend all data-intensive operations whenever your app is connected to a metered network.
Pay attention to Data Saver settings
Android 7.0 and higher includes a Data Saver feature which, when enabled, automatically restricts the amount of data your app can use in the background when connected to a metered network. This already helps preserve the user’s mobile data, but for the best results you should take additional steps to restrict how much data your app uses when Data Saver is enabled, particularly the amount of data your app uses in the foreground.
You can check whether Data Saver is enabled, using the getRestrictBackgroundStatus() method:
ConnectivityManager connMgr =
     (ConnectivityManager) getSystemService(Context.CONNECTIVITY_SERVICE);

   switch (connMgr.getRestrictBackgroundStatus()) {
      case RESTRICT_BACKGROUND_STATUS_ENABLED:

//Data Saver is enabled//

           return true

//Background data usage and push notifications are already blocked//
//but your app should also restrict the data it uses in the foreground//

...
...
...

//Data Saver is disabled//

case RESTRICT_BACKGROUND_STATUS_DISABLED:

       return false;
  }
}
You can also monitor changes to Data Saver preferences by creating a BroadcastReceiver that listens for the ACTION_RESTRICT_BACKGROUND_CHANGED action.
Create a dedicated Android Go APK
Ideally, you should be able to develop a single app providing a good experience across all devices. Sometimes it’s impossible to improve the experience for users on low-end devices without compromising the experience for others.
One solution, is to provide a separate APK for Android Go users.
You can publish multiple APKs to the same Google Play listing, assigning them the same package name and signing them with the same certificate key, but giving each APK its own version code. Upload both of these APKs to the same Google Play page and the store will automatically give users the best APK for their device.
To ensure Android Go users receive the correct APK, make sure you include the following in the APK’s Manifest:
<uses-feature android:name="android.hardware.ram.low" android:required="true">Wrapping Up
By following the tips and techniques in this article, you can ensure everyone will have a great experience with your app, regardless of whether they’ve splashed out on the latest high-end smartphone or own a more budget-friendly device.
Do you think Android Go has the potential to help your app reach more users? Or is it just giving Android developers one more thing to worry about? Let us know your thoughts in the comments!