Affiliate links on Android Authority may earn us a commission. Learn more.
Android NDK — Everything you need to know
Published onJuly 7, 2017


What is the Android NDK?
The Android Native Development Kit allows developers to get the most performance out of devices, this can be beneficial for game engines like Unity or Unreal Engine. Because the source code is compiled directly into machine code for the CPU (and not into an intermediate language, as with Java) then developers are able to get the best performance. It is also possible to use other developers’ libraries or your own if there is something that you absolutely need to use.
How it works

You have the ability to use the “native” keyword to tell the compiler that the implementation is native. An example is
public native int numbers(int x, int y);
There are also native shared libraries (.so) that the NDK builds from the native source code and Native static libraries (.a), and these can be linked against other libraries. The Application Binary Interface (ABI) uses the .so files to know exactly how your app’s machine code will work with the system when the app is running. The NDK supports ARMABI by default along with MIPS and x86. More info on the ABI can be found here.
Everything works under an interface known as the Java Native Interface (JNI), this is how the Java and C/C++ components talk to each other. More information on the JNI can be found here.
If you are going to build using the ndk build script, you will need to create two files: Android.mk and Application.mk. The Android.mk needs to go in your jni folder and defines the module plus its name, the build flags (which libraries link to), and what source files need to be compiled. Application.mk also goes in the jni directory. It describes the native modules that your app requires.
How to install and use

Go to preferences, or settings, depending on your operating system and click Build Tools>Gradle and select “Use default gradle wrapper (recommended)” if it is not already selected.
Find the latest experimental gradle plugin from here and note the version. Open your project’s, not module’s, build.gradle and replace classpath 'com.android.tools.build:gradle:2.1.0' with classpath 'com.android.tools.build:gradle-experimental:version number'
This will replace the stable version of Gradle with an experimental version with Android NDK support.
Go to your module’s build.gradle and replace the old code with this:
apply plugin: 'com.android.model.application'model {
  android {
    compileSdkVersion 23
    buildToolsVersion "23.0.3"
    defaultConfig {
      applicationId "com.example.abutt.aandk"
      minSdkVersion.apiLevel 22
      targetSdkVersion.apiLevel 23
      versionCode 1
      versionName "1.0"
    }
    buildTypes {
      release {
        minifyEnabled false
        proguardFiles.add(file('proguard-android.txt'))
      }
    }
    ndk {
      moduleName "hello-android-jni"
    }
  }
}
// others below this line: no change
Run the app and make sure everything is working and that the app acts like it did before. Under the “buildTypes” block in the build.gradle for the module add:
ndk {
    moduleName "hello-android-jni"
  }
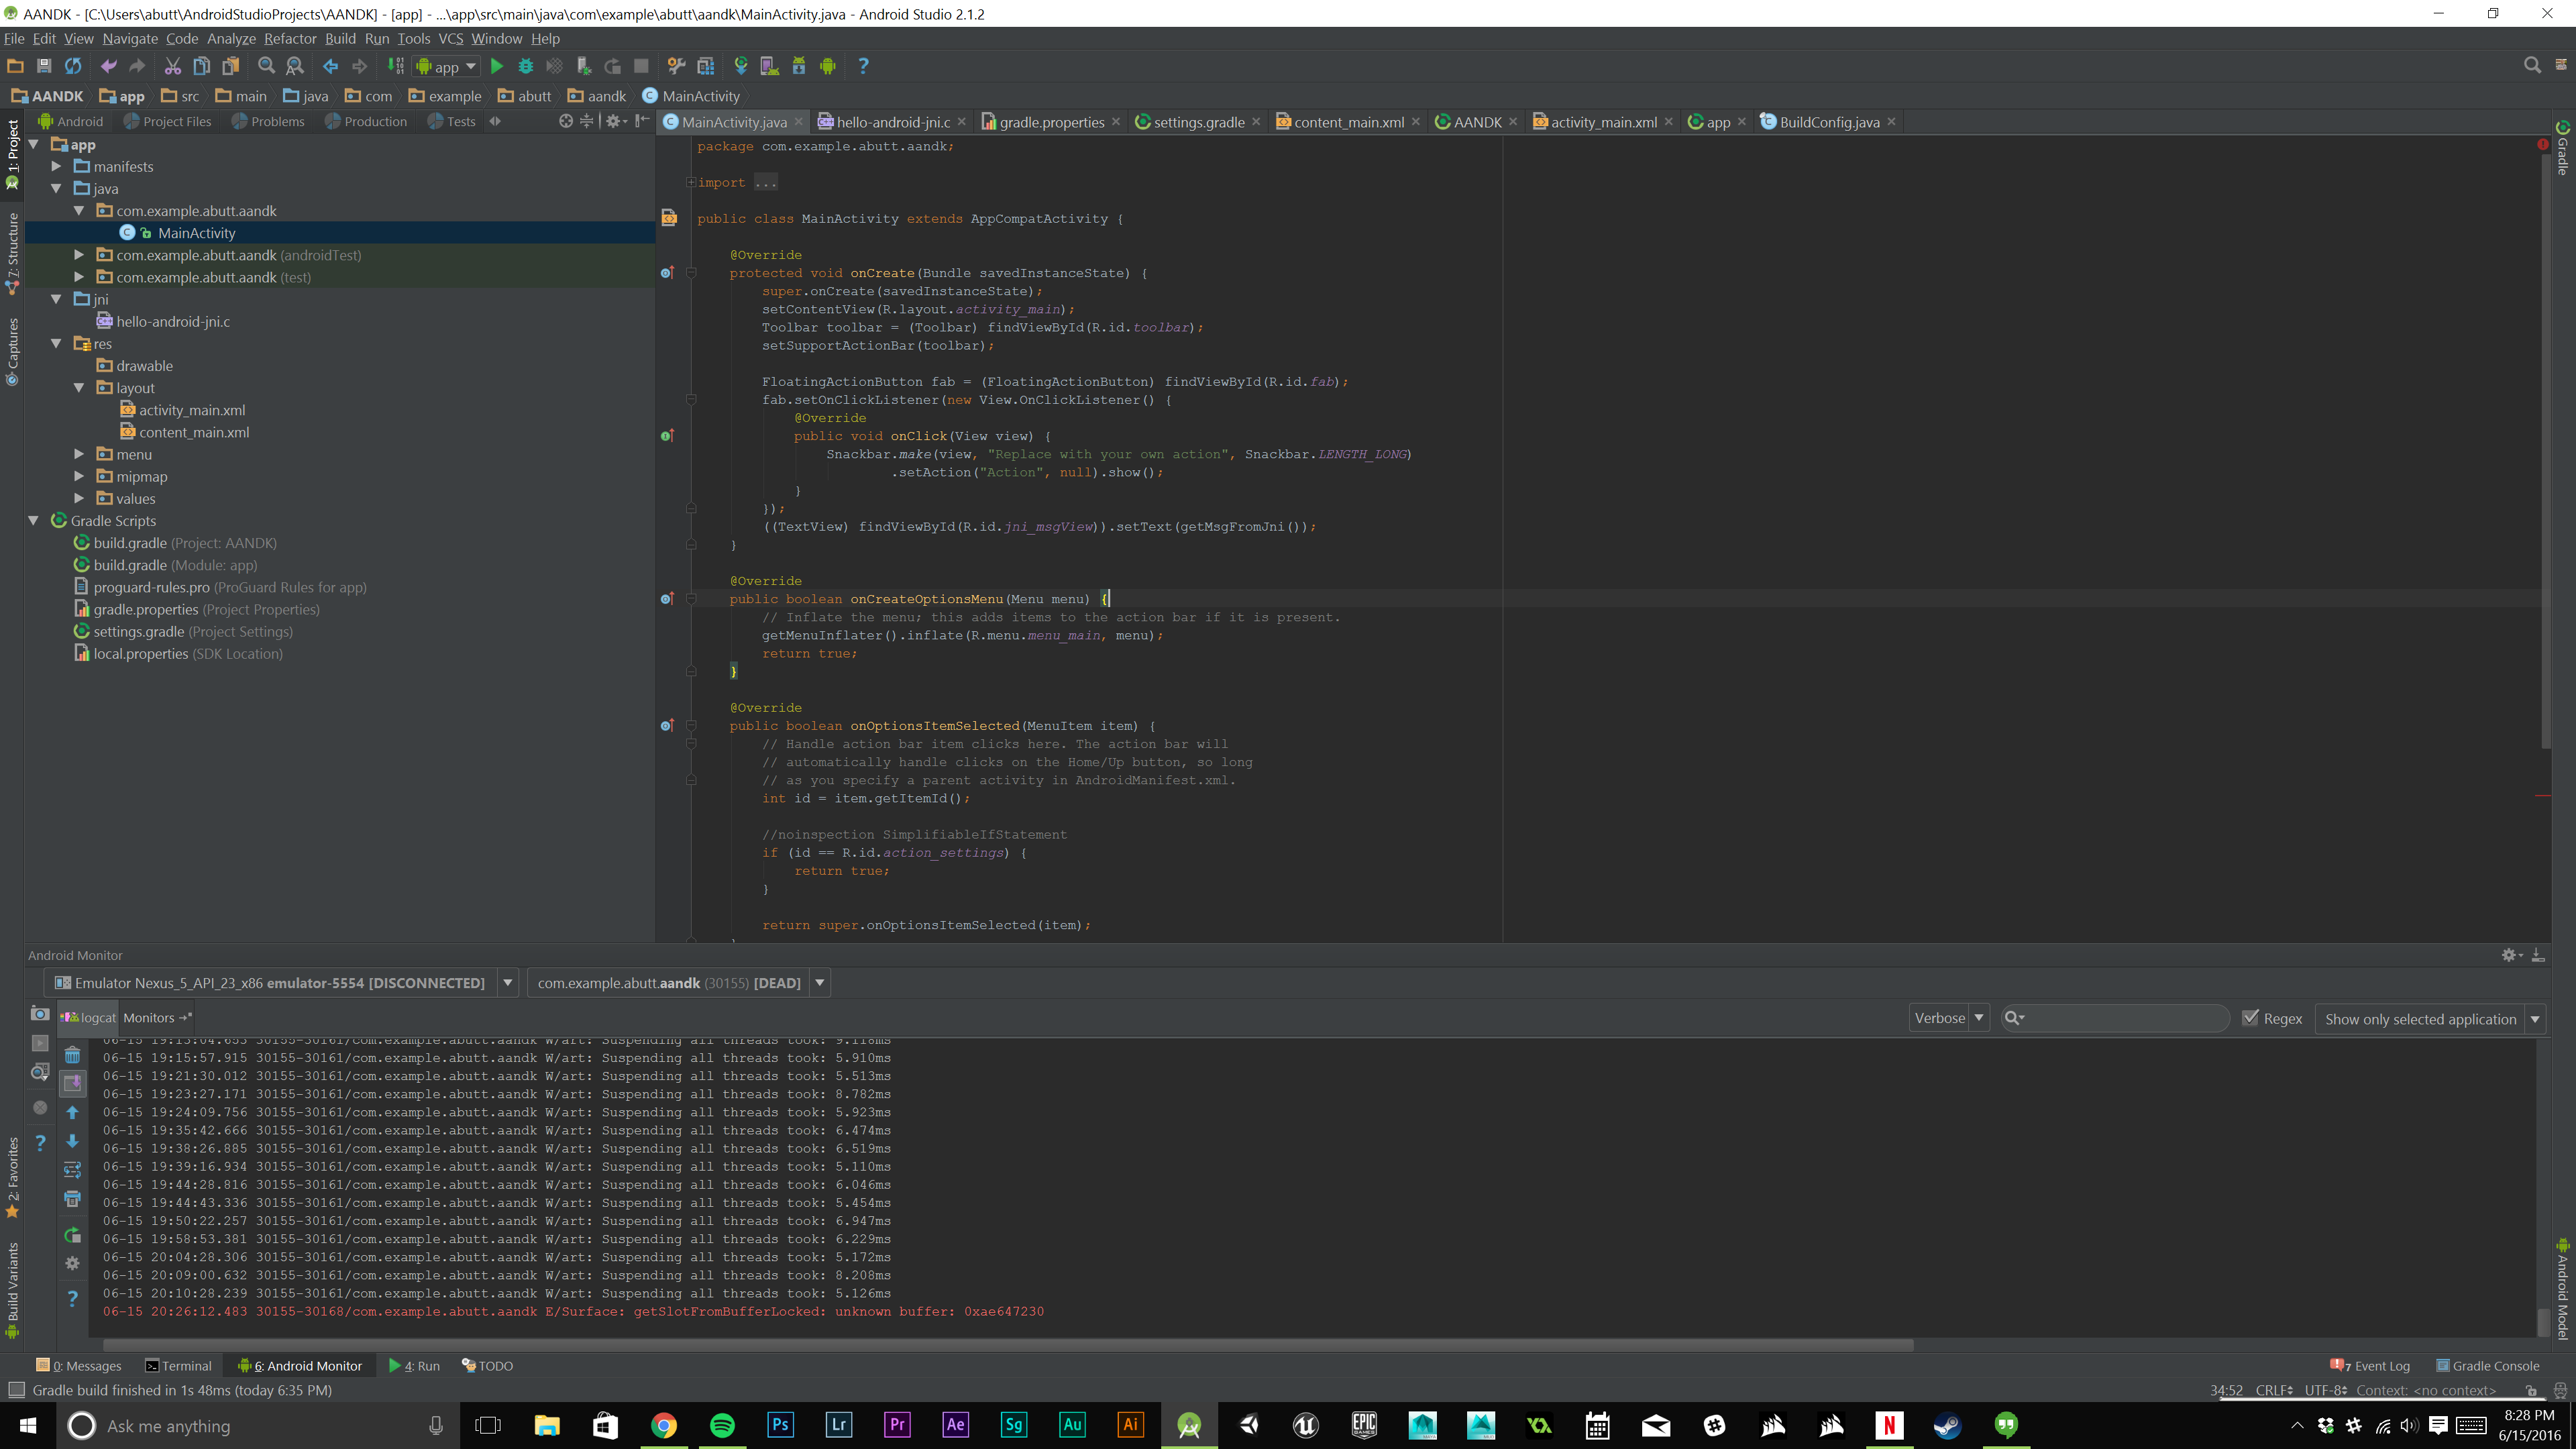
In your app’s MainActivity.java, add this to the end of the program:
// new code
static {
  System.loadLibrary("hello-android-jni");
}
public native String getMsgFromJni();
  // new code done
} // class MainActivity
Run the program and make sure everything is still working as it should. Next up is to make the C/C++ file, you should notice that the getMsgFromJni() function is red, hover your mouse over the function until a red lightbulb pops up. Click the lightbulb and click the first option creating a function.
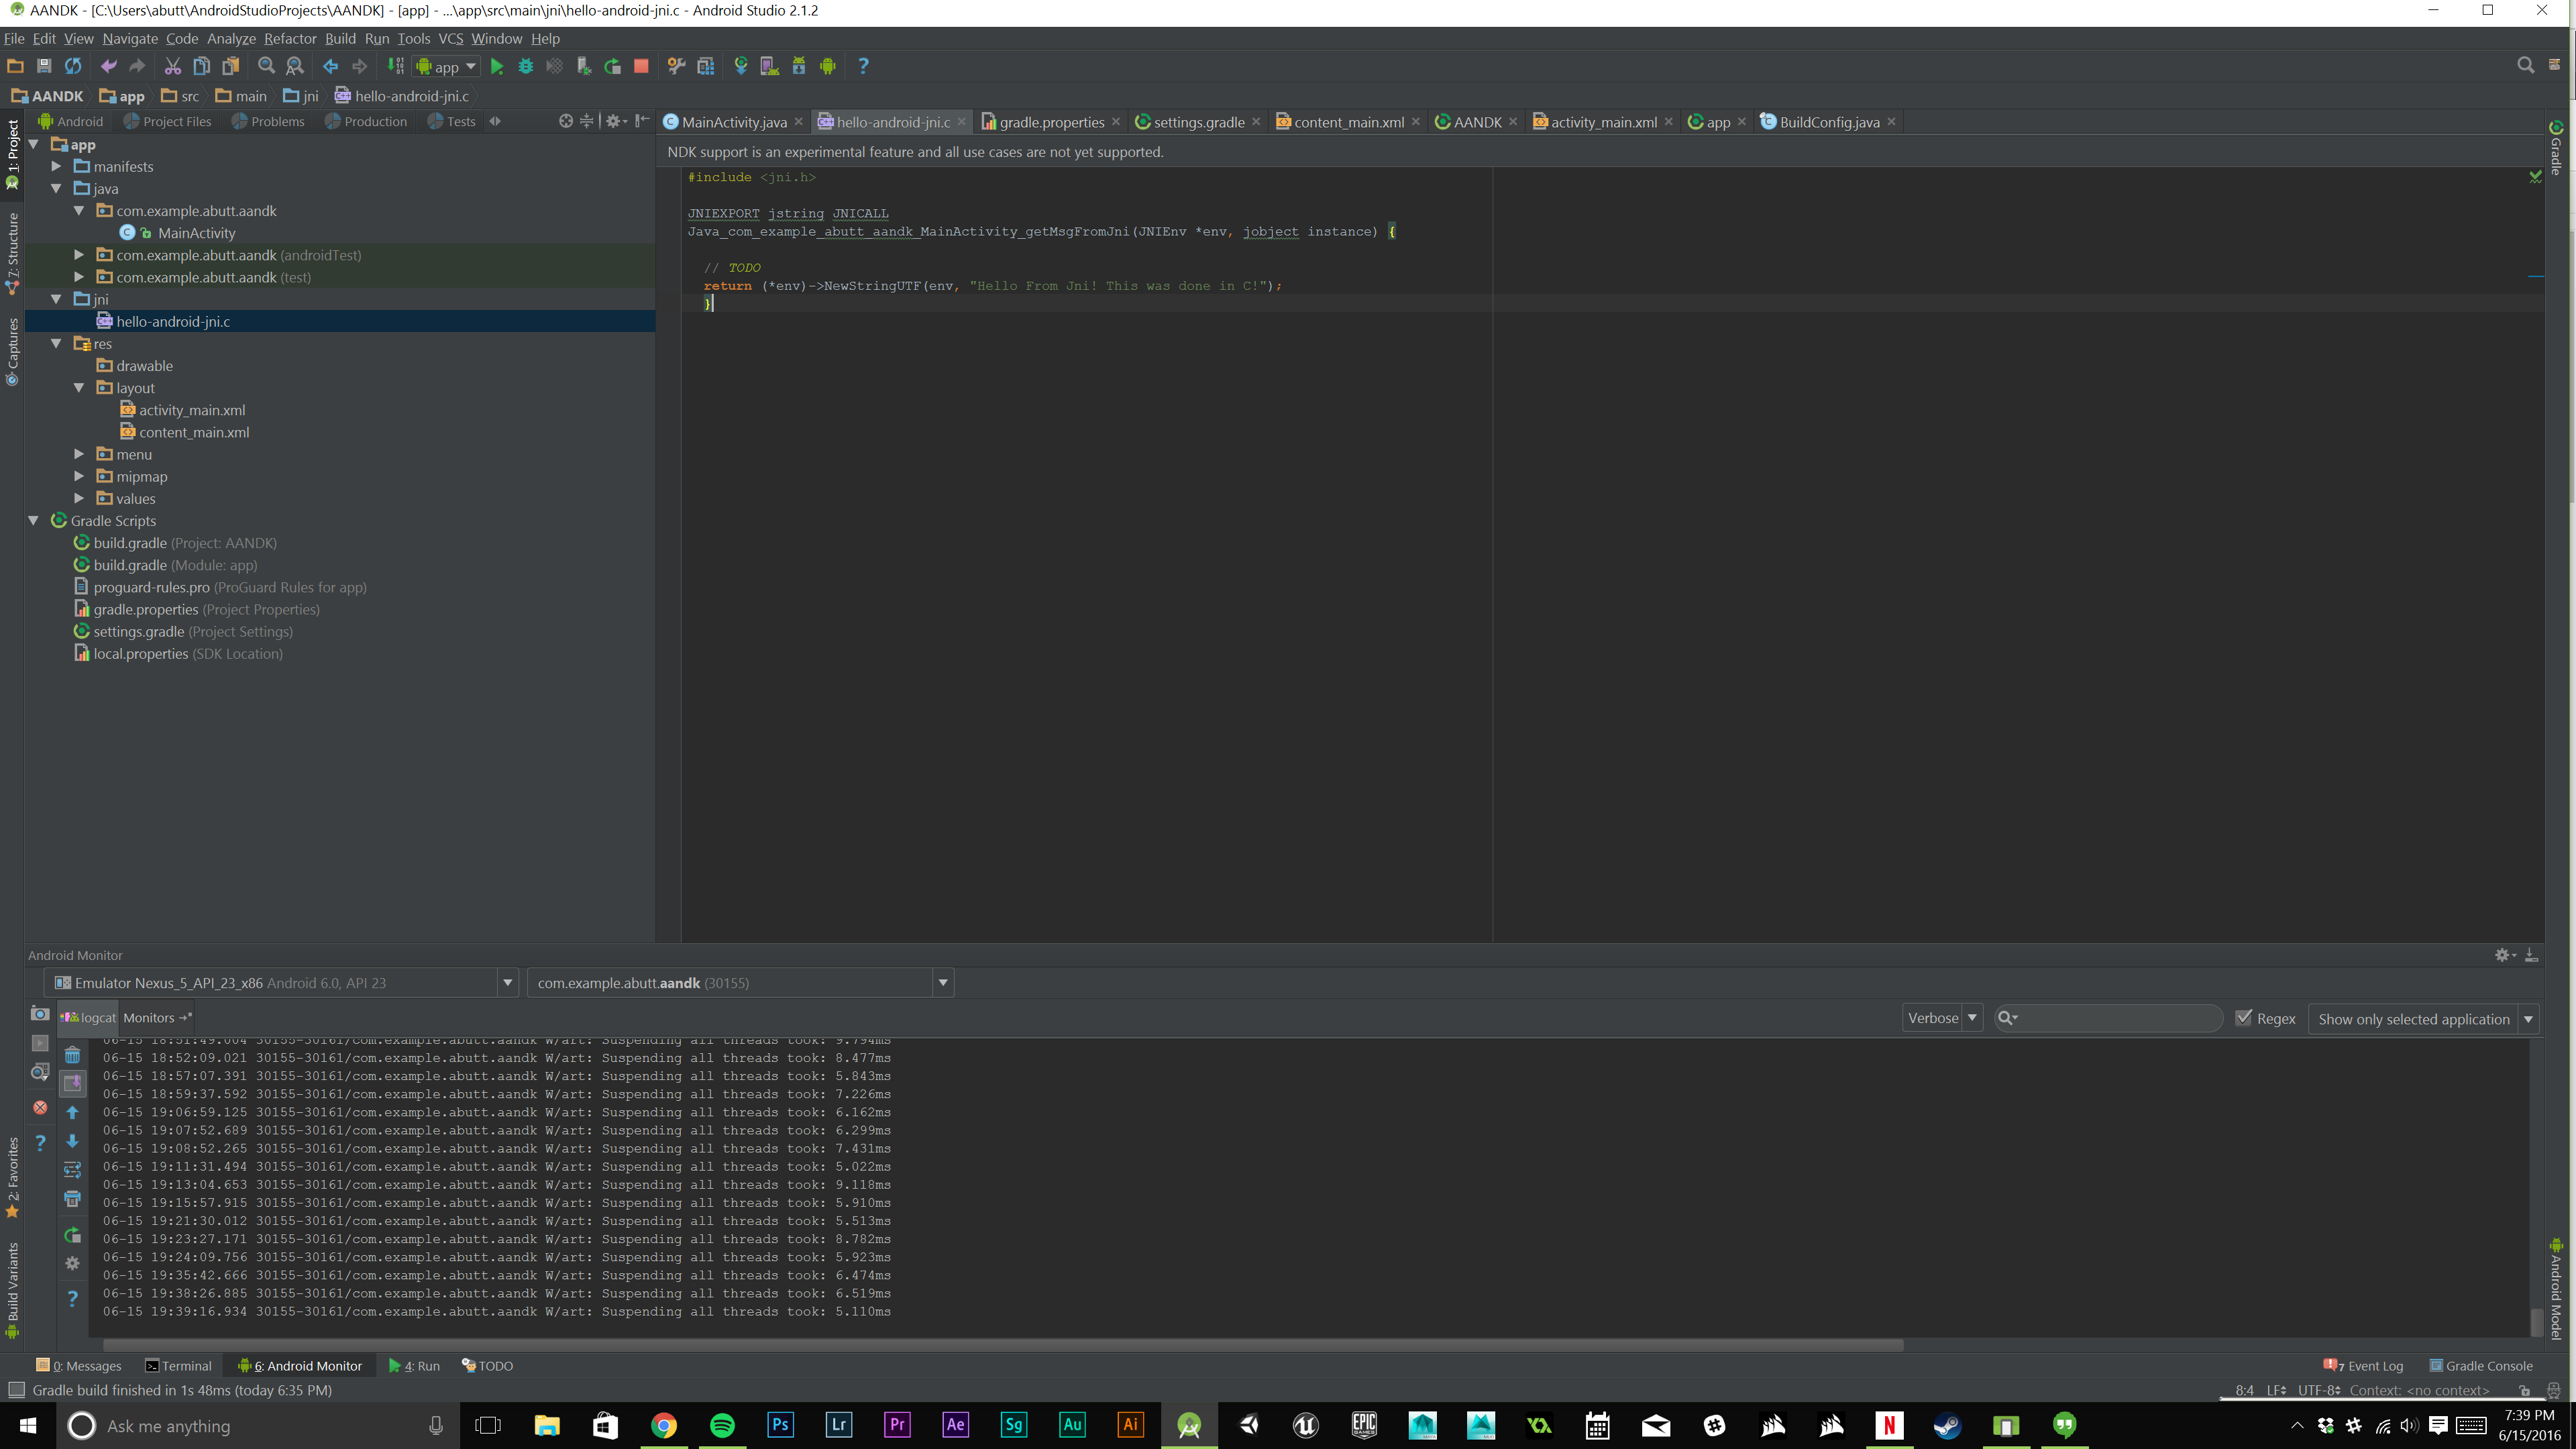
The C/C++ file will be under a new folder called “jni.” Open this file and paste this into the file:
#include <jni.h>JNIEXPORT jstring JNICALL

Java_com_example_abutt_aandk_MainActivity_getMsgFromJni(JNIEnv *env, jobject instance) {// TODO

return (*env)->NewStringUTF(env, "Hello From Jni! This was done in C!");

}
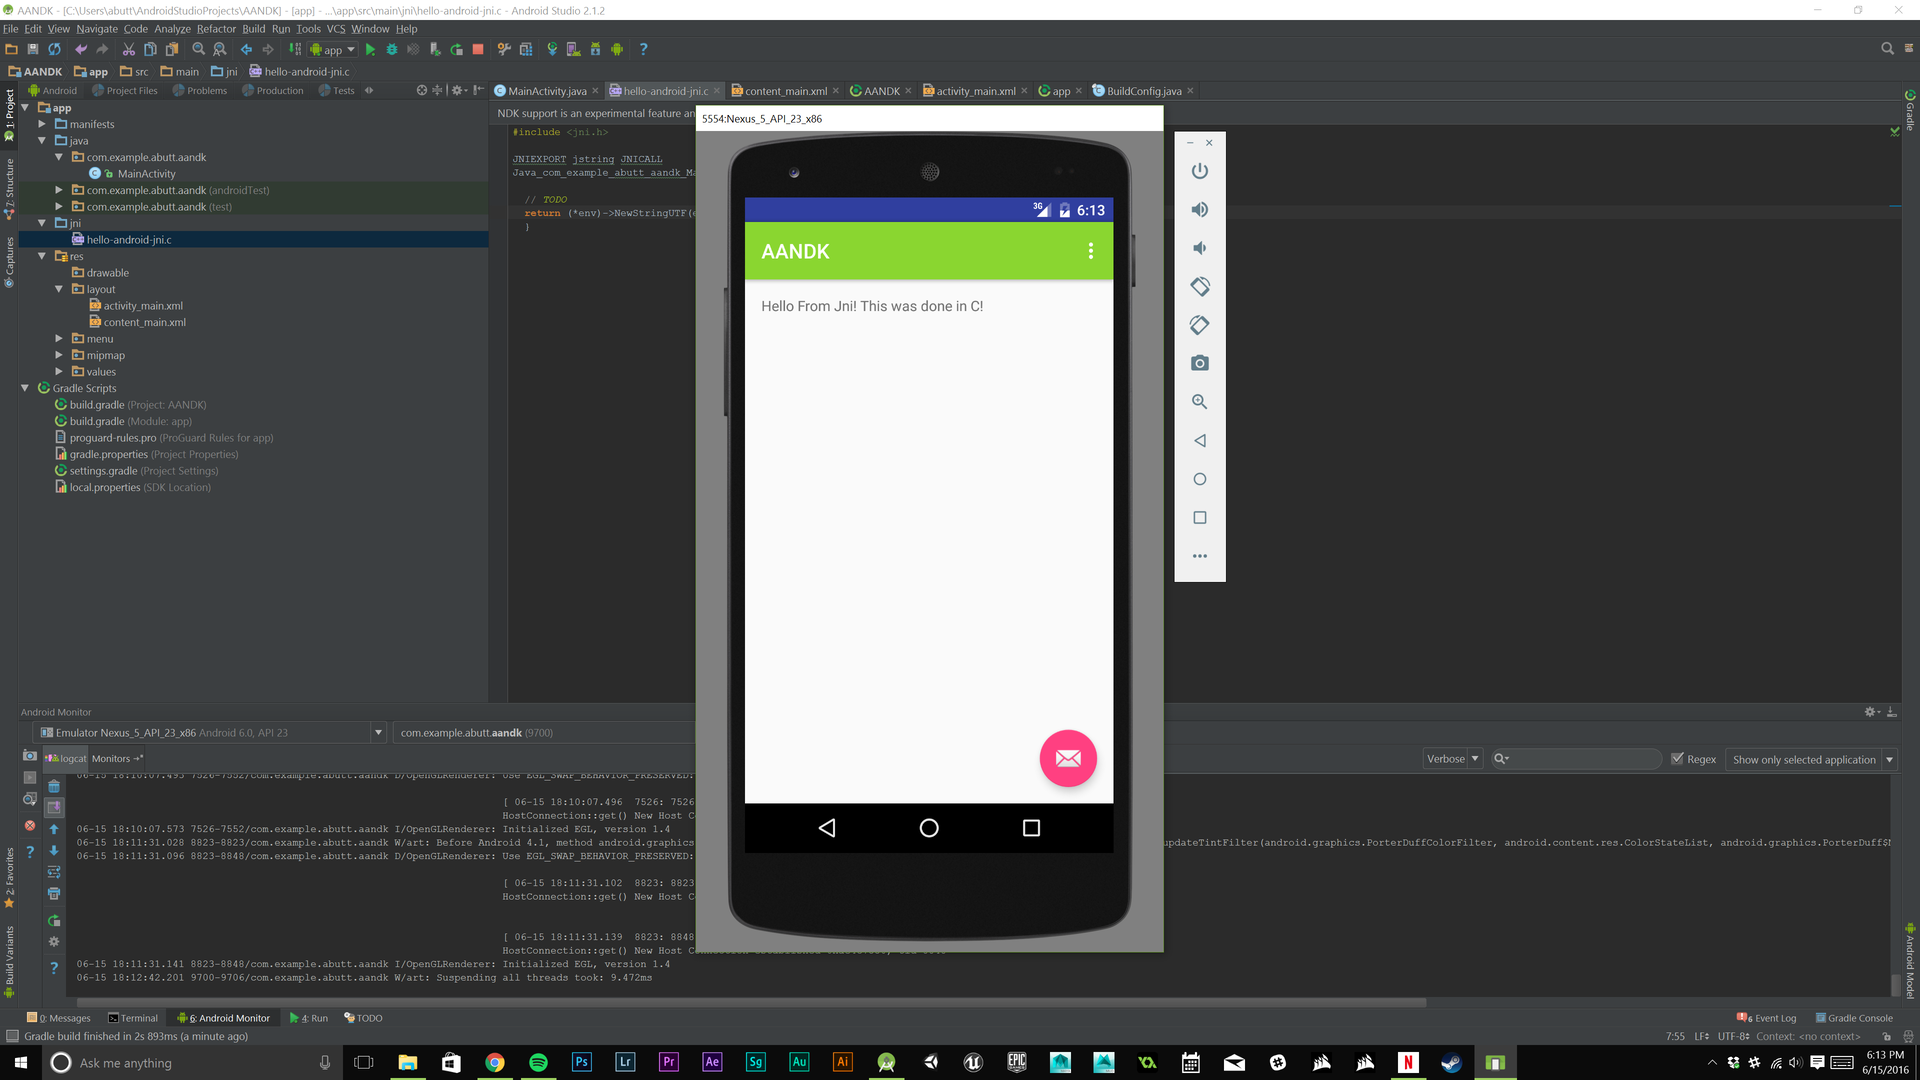
Make sure to change “com_example_abutt_aandk” to your app’s name. This file is read by the getMsgFromJni() function to display “Hello From Jni! This was done C!”
Go back to your app’s MainActivity and add this to the end of the OnCreate() method:
((TextView) findViewById(R.id.jni_msgView)).setText(getMsgFromJni());
That’s it! Your app should run correctly and be utilizing the Android NDK! Now this isn’t a real-world example on how the NDK would be used. A more-real world example would be developing for OpenGL and Vulkan natively or using an engine like Unity or Unreal Engine that has the NDK built in.
Wrap Up
The Android NDK has some very specific uses and probably shouldn’t be used in everyday development. But the NDK has given engine creators a great way to optimize their products for Android, enabling great graphical capabilities while using fewer resources. Making a simple application using the Android NDK is not too difficult and with some practice native OpenGL is a real possibility. Do you use the Android NDK for development? Let us know in the comments below!