Affiliate links on Android Authority may earn us a commission. Learn more.
How to set up and use Apple Pay on your iPhone
September 1, 2022
If Apple has its way, actual physical cash could soon become museum antiquities. In the push to “do everything with your device,” you can add multiple documents to Apple Wallet as digital versions and eventually do away with your physical wallet altogether. Here’s how to set up and use Apple Pay on your iPhone.
Read more: Android Pay, Apple Pay, Samsung Pay — Pros and cons
QUICK ANSWER
Apple Pay is a contactless payment platform, exclusive to Apple devices. By adding a card, you can hold up your iPhone to an NFC-enabled card reader and pay for things without producing a physical card. Apple Pay is also available on iPad, Mac, and Apple Watch.
JUMP TO KEY SECTIONS
What is Apple Pay?
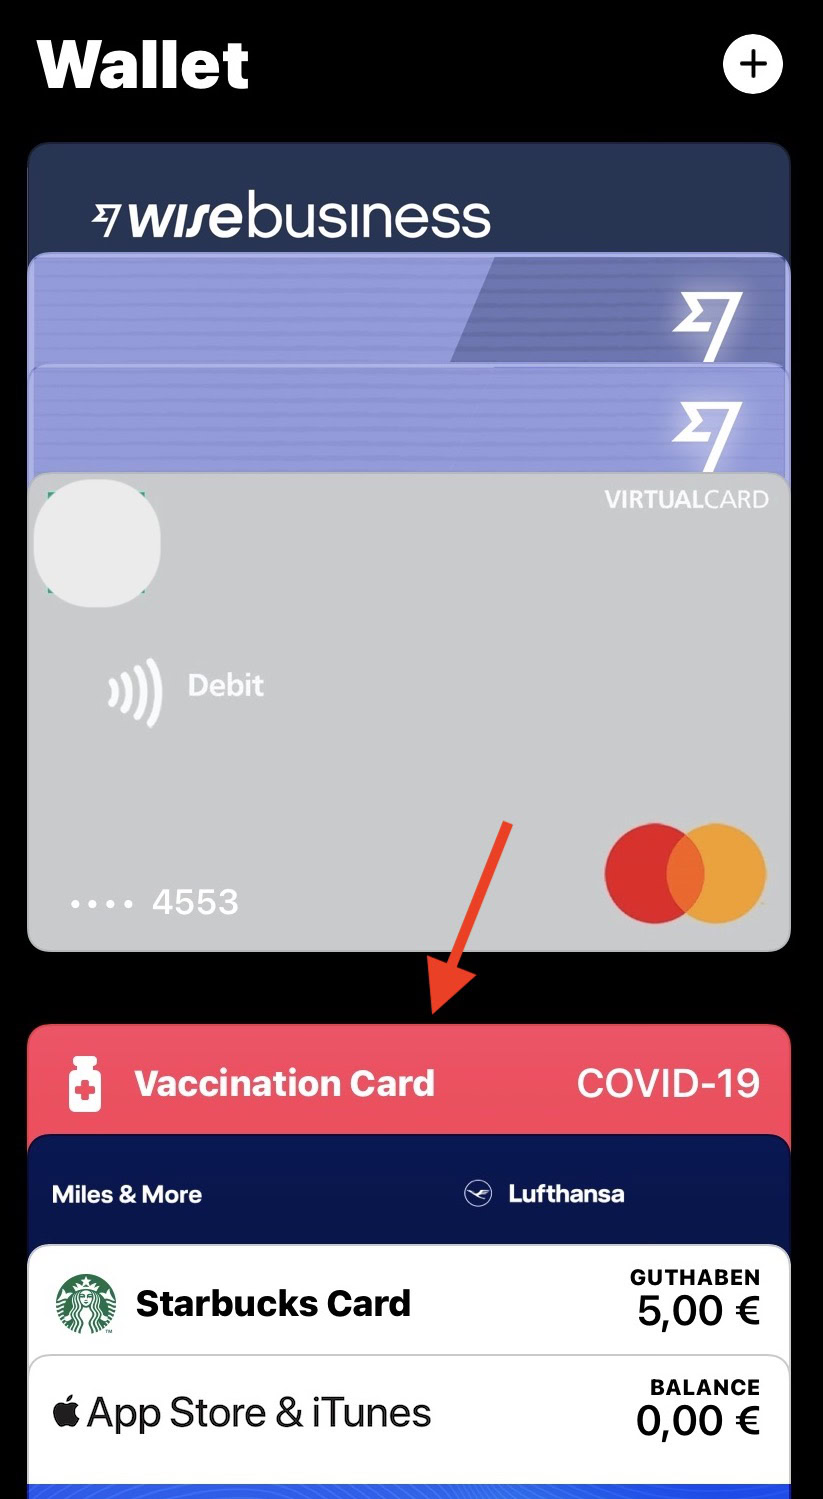
Apple Pay is a payment platform, exclusive to Apple devices, where you can add various items you would normally have in a regular wallet. This includes:
- Bank debit cards.
- Credit cards (including Apple’s own credit card.)
- Travel cards.
- Airline boarding passes.
- Train tickets.
- Store loyalty cards (such as Starbucks and iTunes.)
- Driving licenses (currently only in some US states.)
- COVID vaccination certificates.

Plus, it should be noted that financial institutions and companies are not obligated to offer Apple Pay to their customers, so adoption will be slow in some places. However, if there is big customer demand for Apple Pay, anyone holding out isn’t likely to hold out for long.
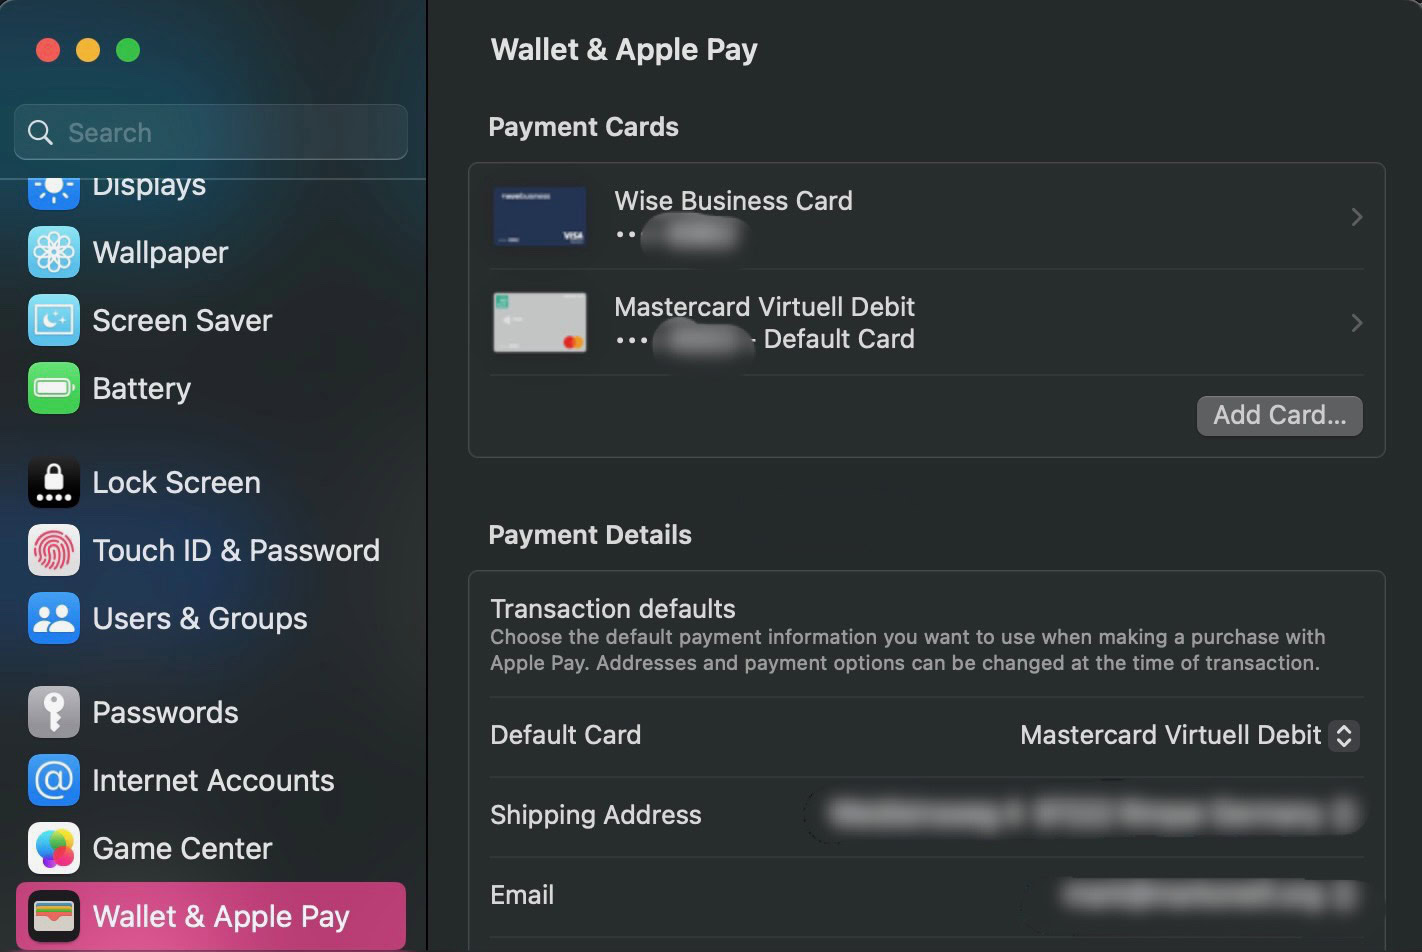
As well as the iPhone, Apple Pay also works with iPad, Mac, and Apple Watch. The Safari browser will now suggest Apple Pay as a payment method if you are on a payment webpage.
Obviously, Apple Pay is not the only payment platform in town. There is also Google Pay, Samsung Pay, and Amazon Pay. But in terms of name and brand recognition, Apple is obviously in pole position to make some serious in-roads in this highly competitive field.
How does Apple Pay work?
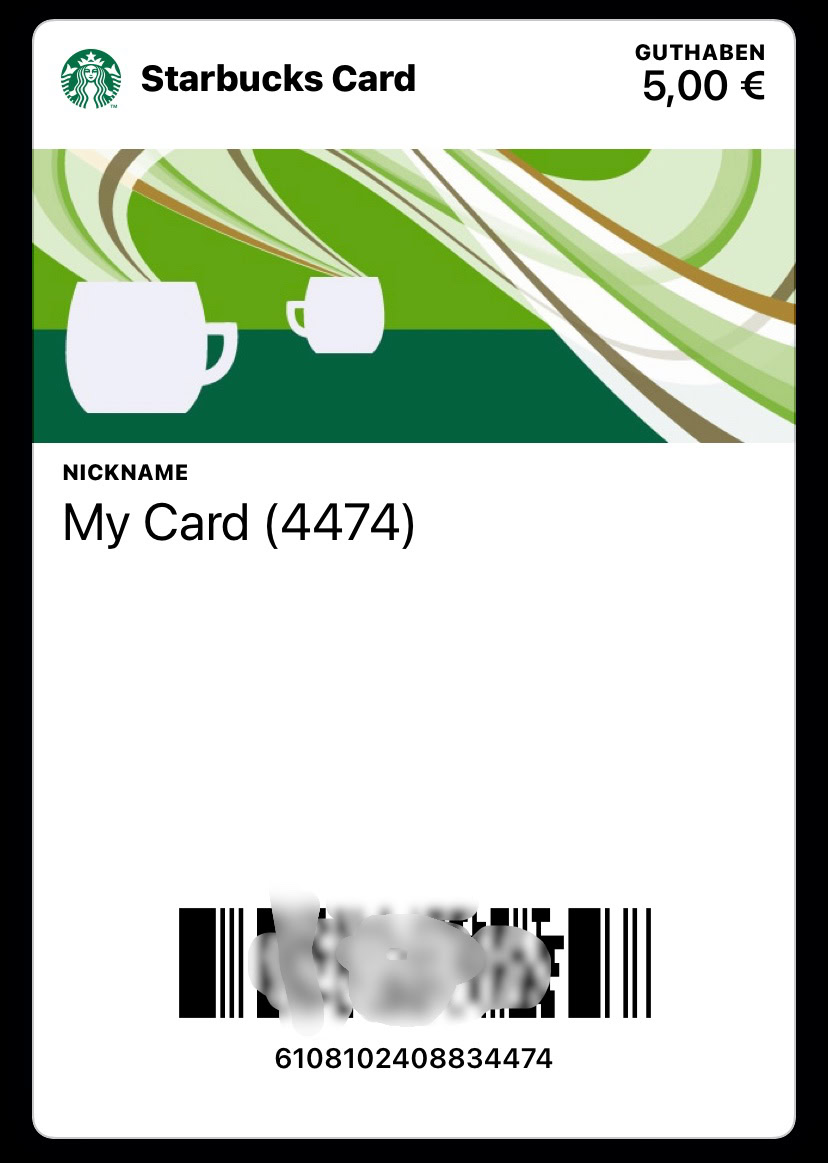
After adding cards to Apple Wallet, they can be used with one of two methods. If the card has a barcode, the retailer or other authorized employee can simply scan the barcode from the iPhone screen. The COVID certificate and the airline boarding passes are good examples of this.
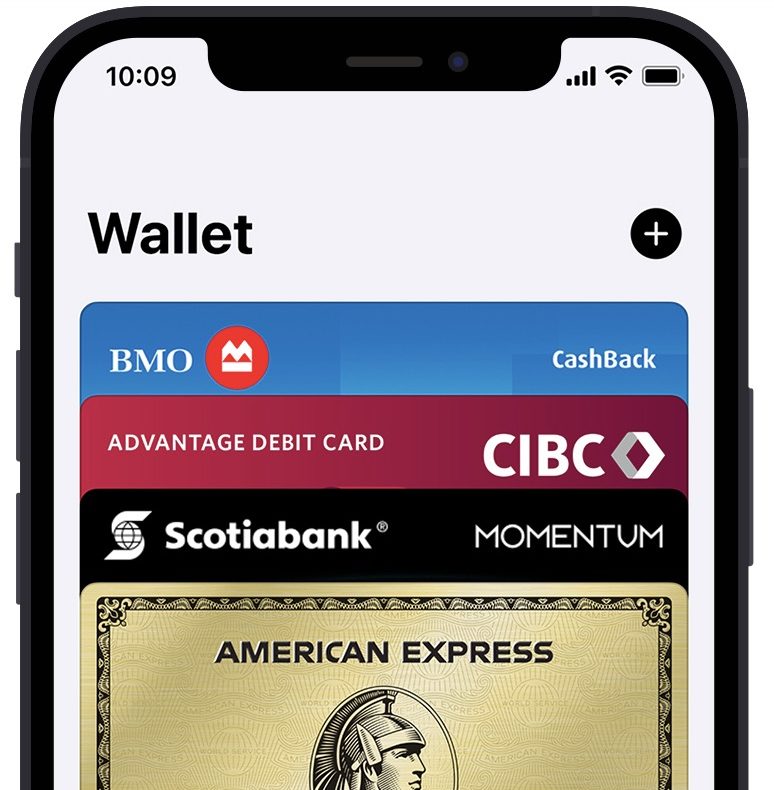
In the case of bank cards and credit cards, payment is made by holding the iPhone containing the Wallet version of the card up to the card reading machine. A connection is made, and the payment goes through, billing your card.
This is accomplished with a technology called NFC (Near Field Communication). Limited to a very short range, NFC makes it possible for the device (in this case, the iPhone) and the card reader to “talk” to one another. The card stored in your phone’s Wallet app can then be billed with the amount the card reader wants to take.
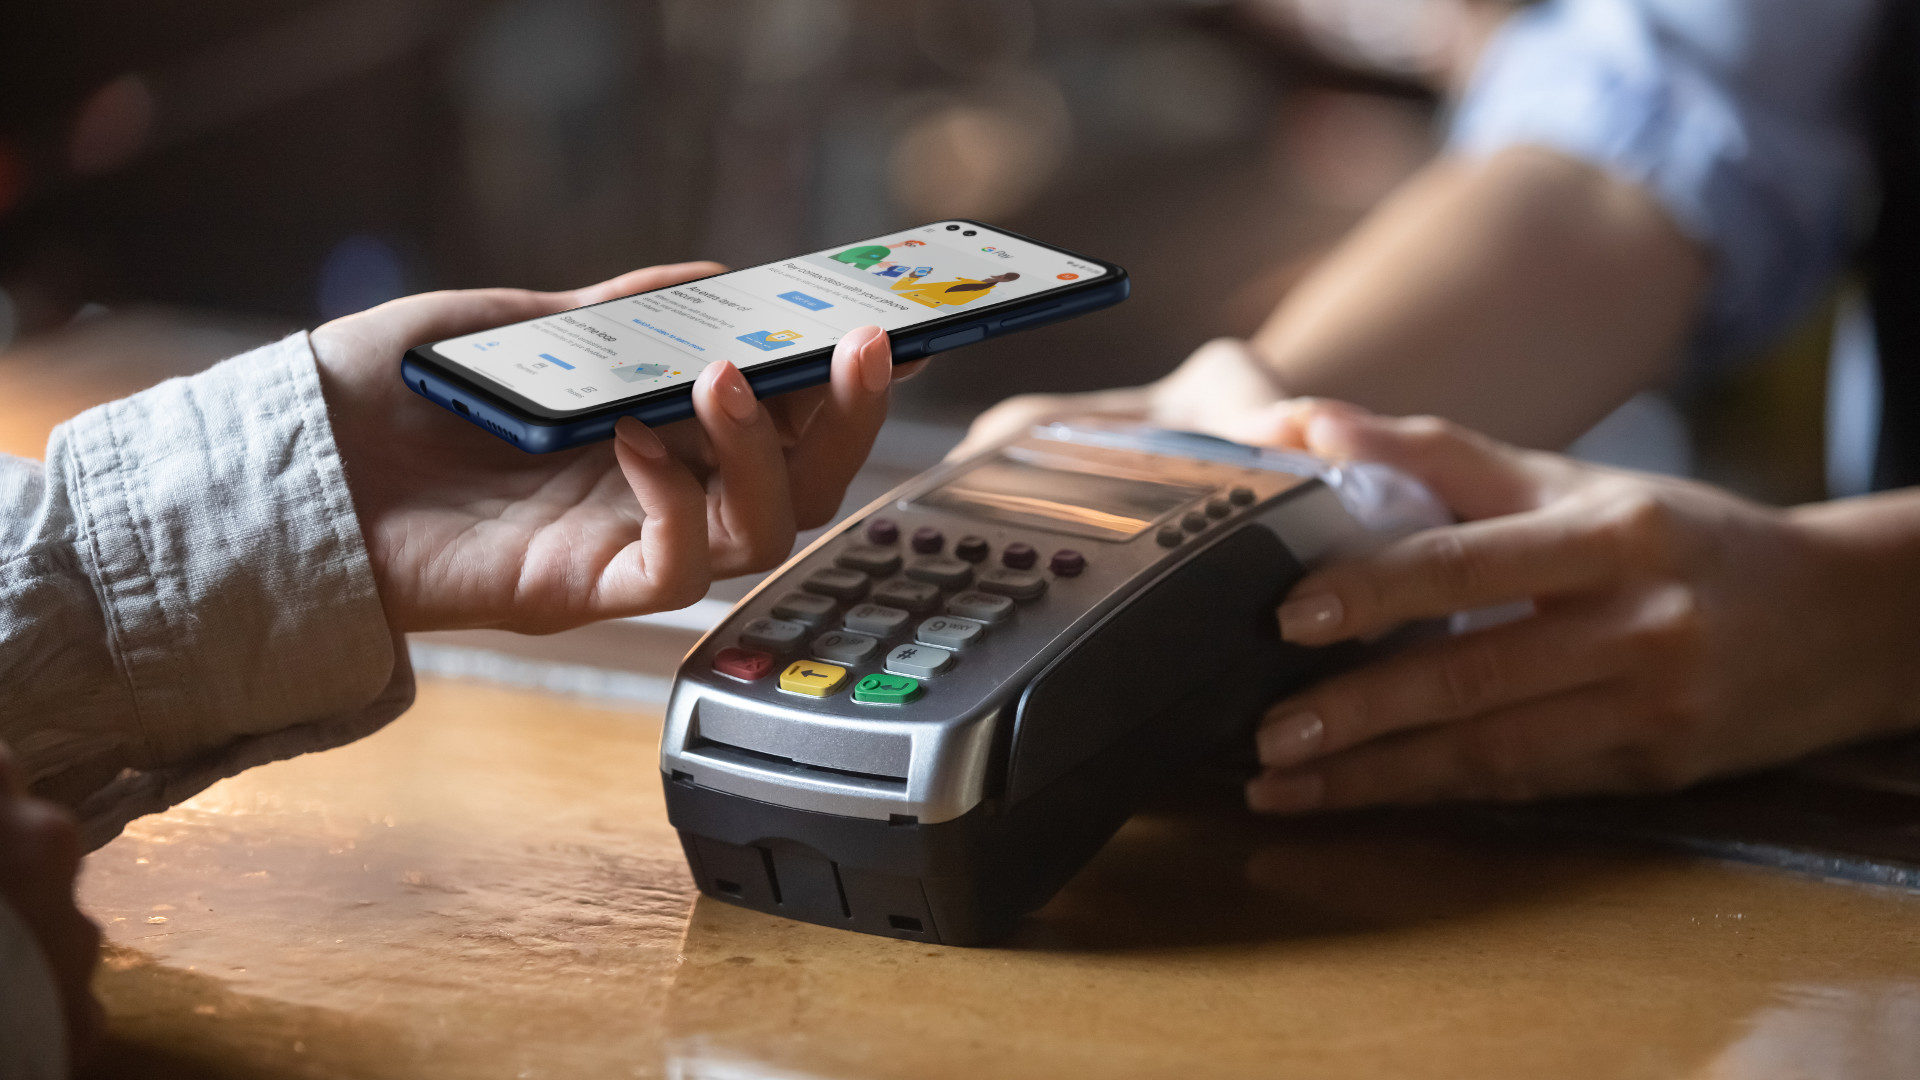
This is called a “contactless payment” because you are not actually producing a physical card and swiping it through the card reader like you usually would. You’re simply holding the iPhone a few centimeters away from the reader and letting NFC make the connection and finalize the payment.
Paying with your iPhone is safe and secure because you must verify the payment with either Face ID, Touch ID, or your passcode. So unless someone knows your passcode or cuts your finger off, they can’t grab your phone and go shopping. In that scenario, you can change your passcode, but getting a new finger might be tricky.
More reading on NFC
Admittedly, this is a rather simplistic explanation of how NFC works. To get a more thorough explanation, it’s best to read our in-depth explainer on NFC. You can also learn more about NFC tags and readers and the best phones with NFC capability (one is the iPhone 13.) NFC is also being developed for unlocking your car with your iPhone.
How to set up Apple Pay
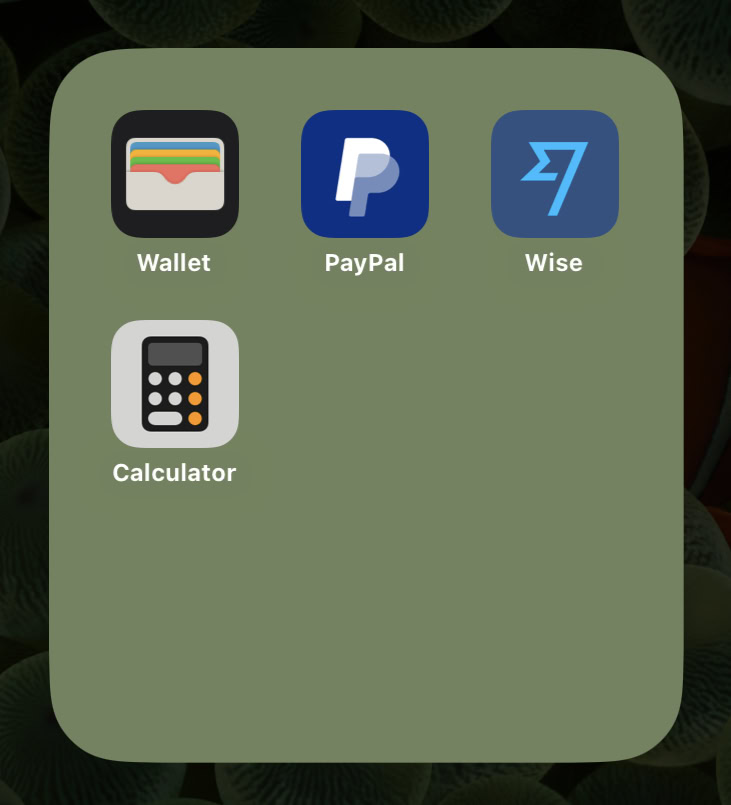
It’s very easy to get started with Apple Pay. Assuming the financial institution or company you wish to add is participating in Apple Pay, start by opening Apple Wallet and tapping the + icon in the top-right corner of the screen.
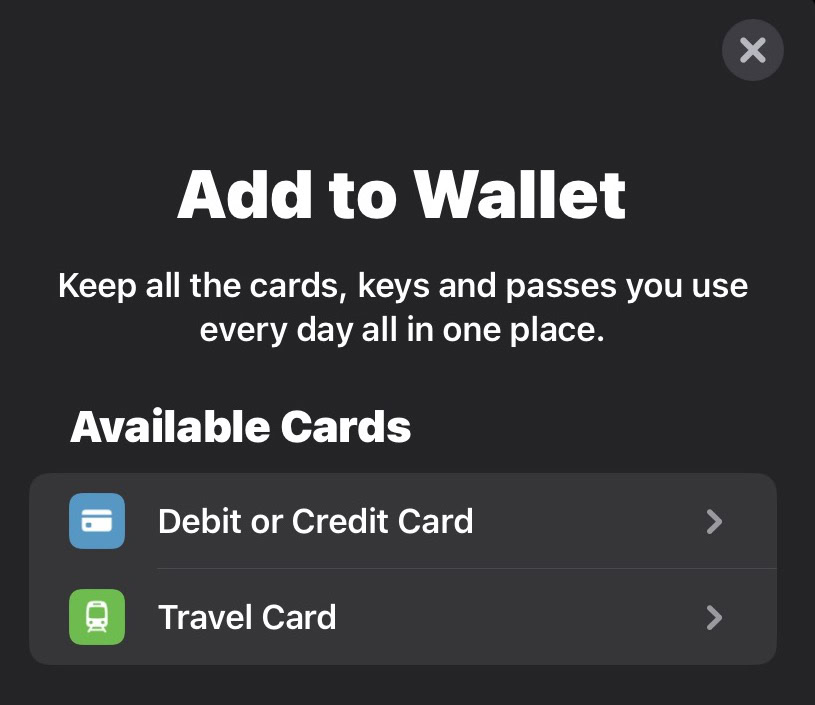
Choose whether it’s a bank card or a travel card. Depending on where you are in the world, this screen will show other different options, such as driving licenses and store loyalty cards. But being in Europe, this is what I currently see on my screen.
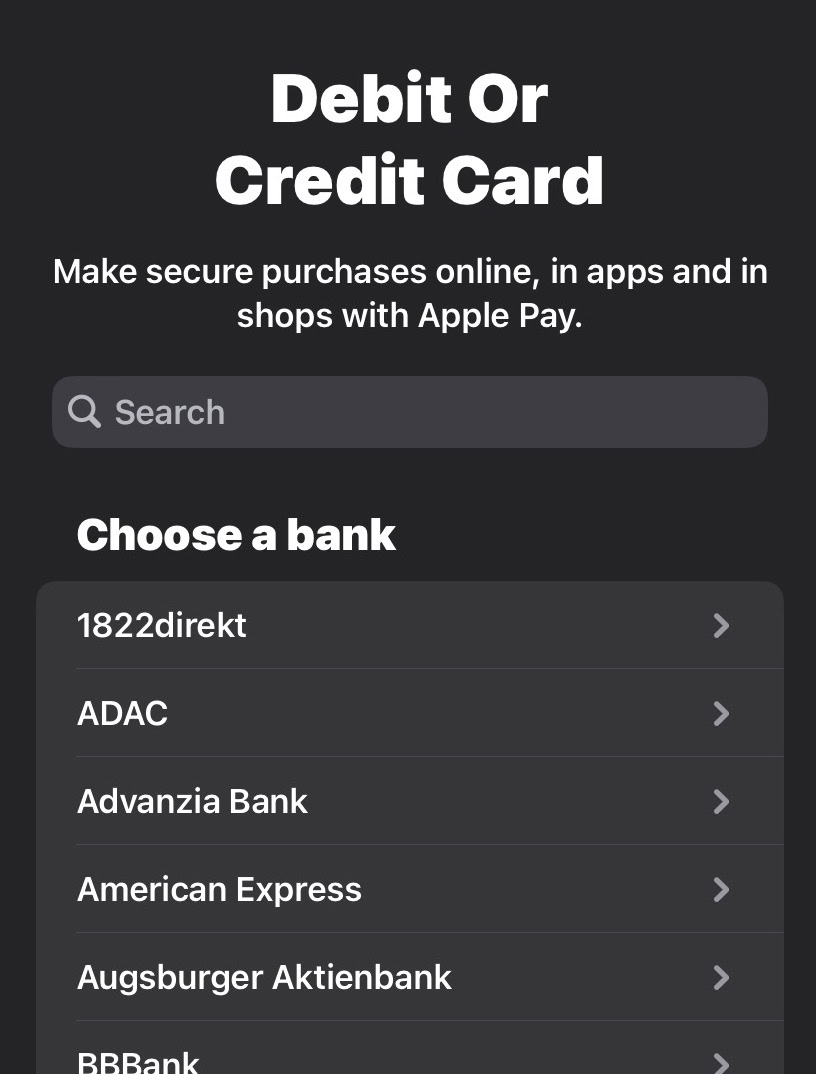
Scroll down the list to find the bank or company you wish to sign up for Apple Pay.
Using the camera reader at the top, zoom in as close as possible to the card, making sure all four card edges appear on the screen. Keep the phone steady, so a clear card scan can be made. The card must have a set of digits on the front for it to work properly. You will also be asked for the secret three-digit number on the back of the card.
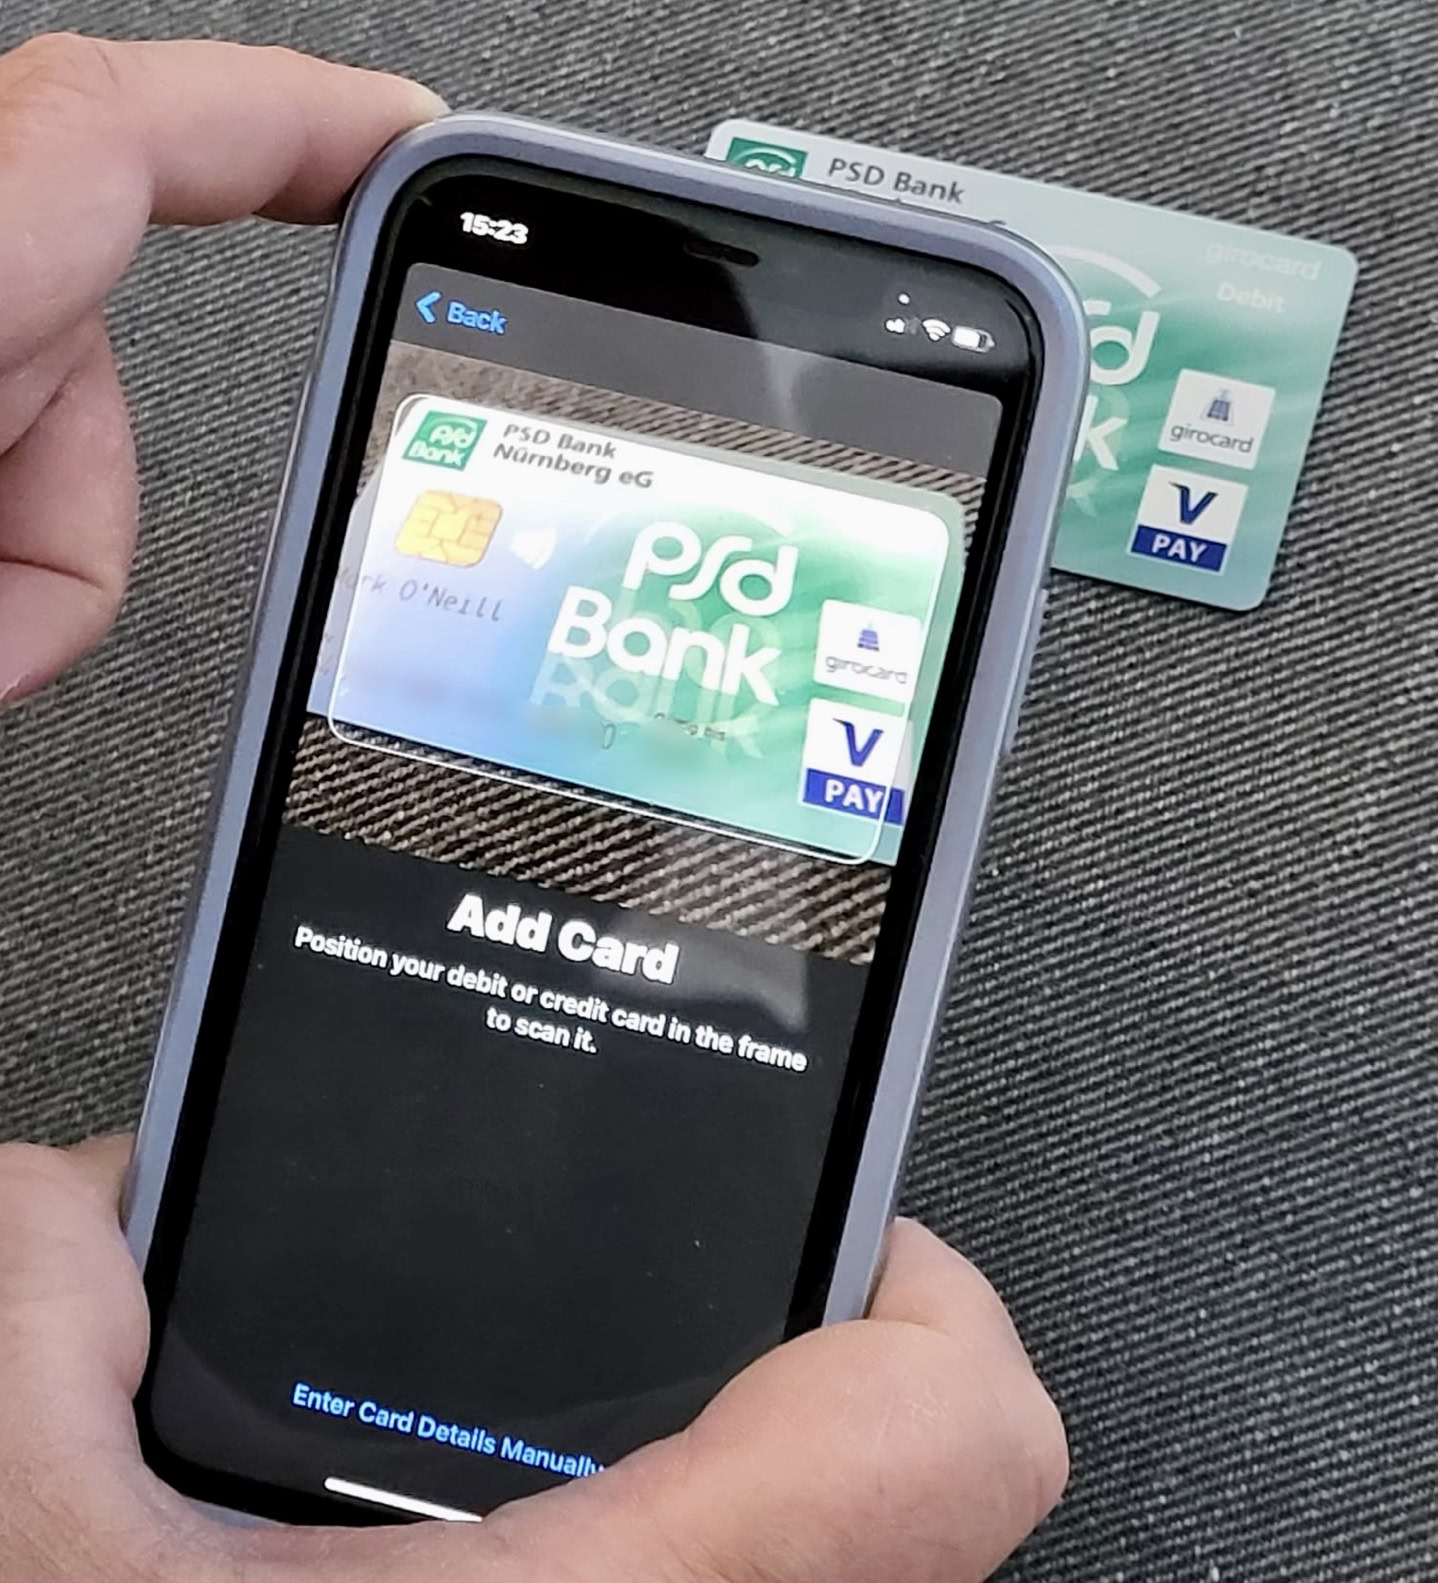
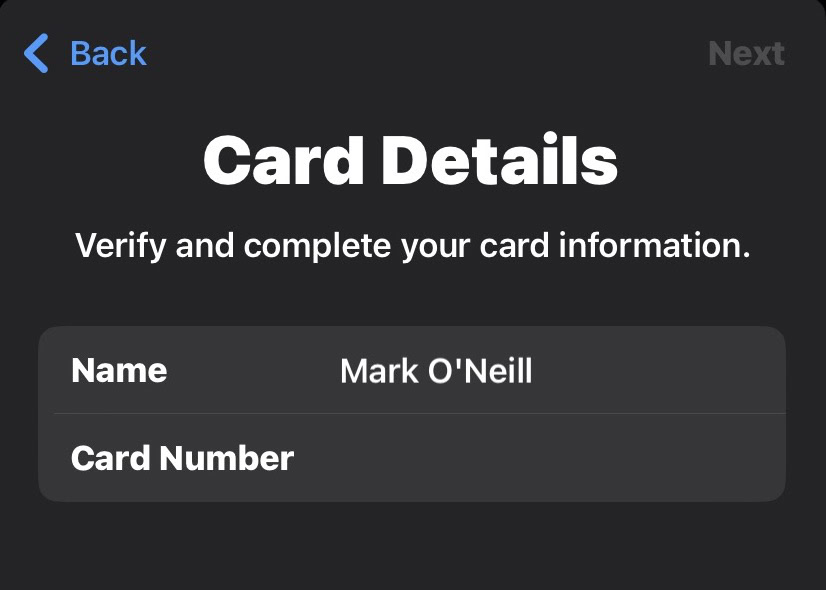
If for any reason, the reader fails to recognize the card, you can enter the card details manually. This merely involves typing in the cardholder’s name, followed by the card number. You will also be asked to enter the secret card number to verify you are authorized to use the card.
Whichever method you use, Apple Wallet will then make a connection with the card provider to check your card details and card status. Once they come back verified, the card will be added to your screen.
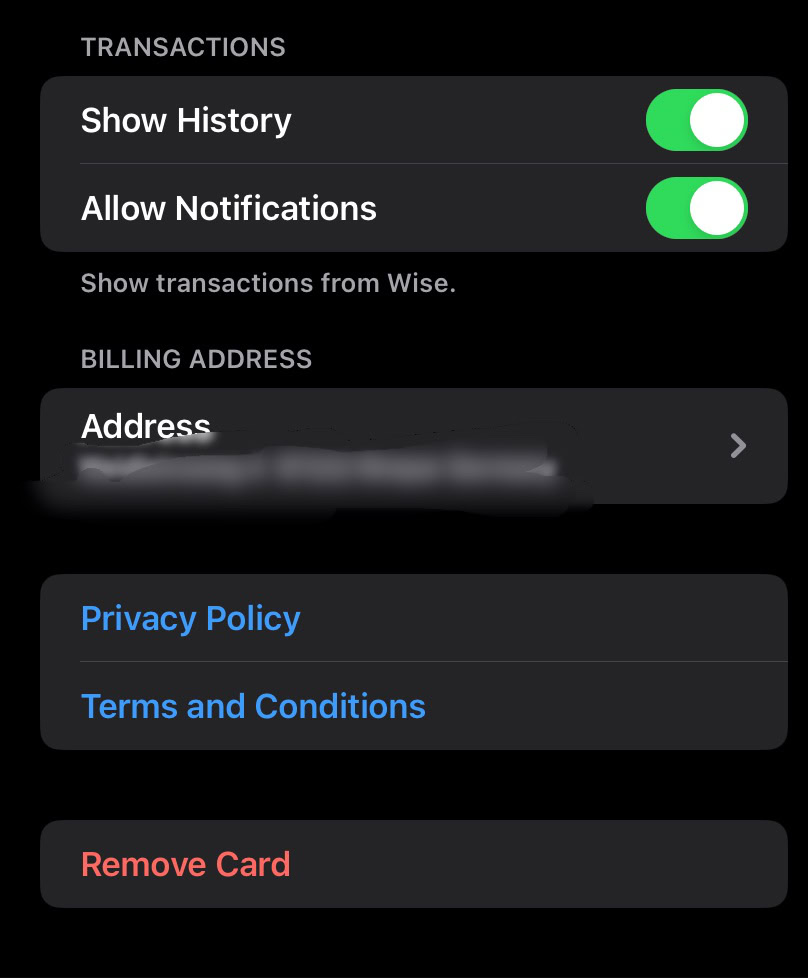
You can then specify if this should be the default payment card (there should always be a default card), and also link the card to your iOS Contact app details, so your billing address, phone number, and other details are always attached.
Adding cards via apps

You can also sometimes add cards directly from the bank or company’s iOS app. Banks such as Wise offer this, as soon as you successfully set up a bank account. In many cases, the process is automated for you, requiring very little effort from you personally. If you see an Add to Apple Wallet button, click it.
How to use Apple Pay
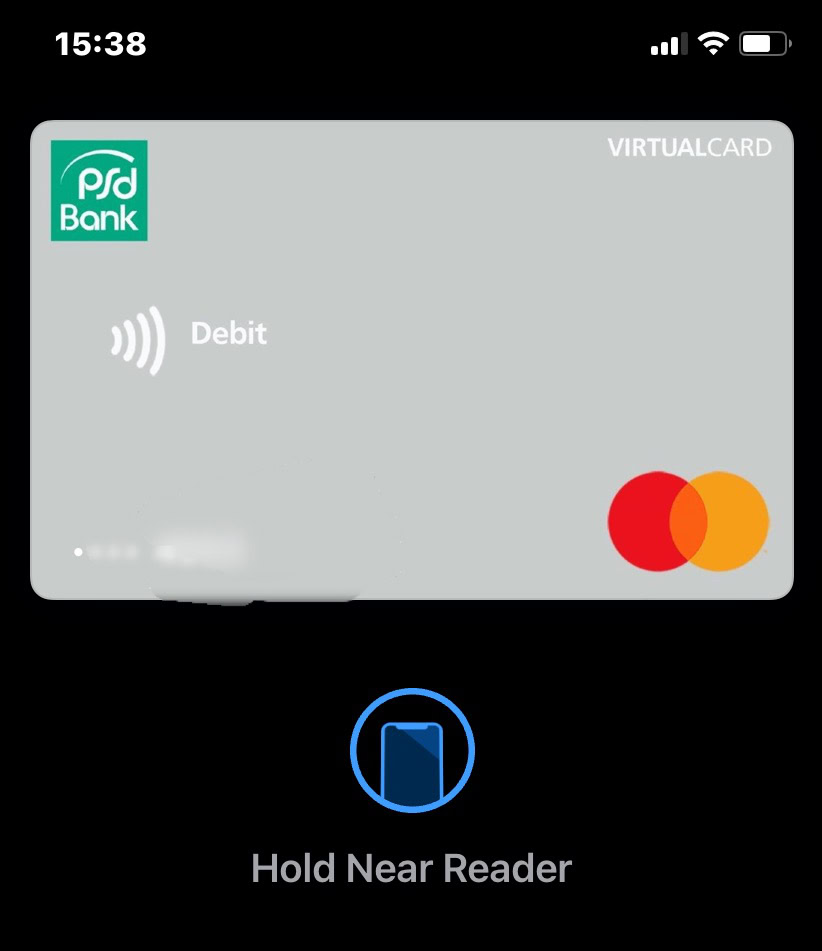
Once you have set up your card, and you’re standing at the checkout ready to pay, wait until the cashier tells you the card reader is ready. When it is, quickly double-click the side power button on your iPhone to bring up the card stored in Apple Wallet. Move to within a few centimeters of the card reader. You’ll hear a beep, the payment will go through, and a notification will appear on your screen.
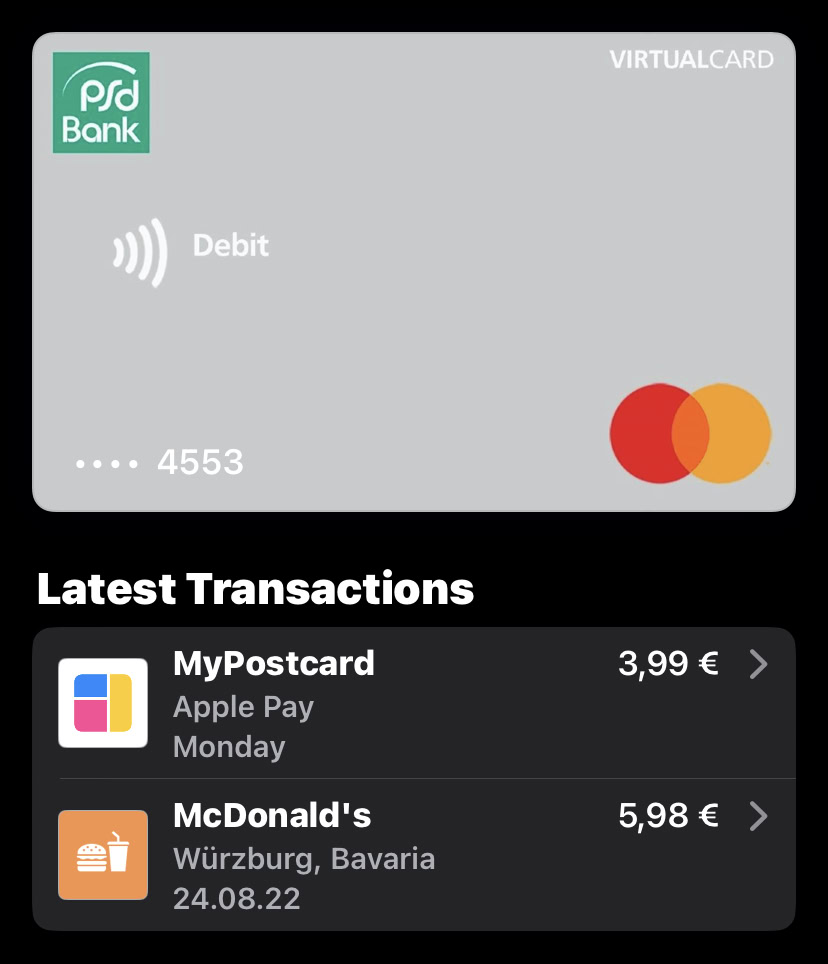
You can also see the latest payments made by tapping the card in your Wallet. The last couple of transactions is always listed underneath the card.
Read more: How to set up and use Apple Pay on your Apple Watch
FAQs
To purchase something with Apple Pay, you must verify the payment with either Face ID, Touch ID, or your passcode. Your card number and identity aren’t shared with merchants, and your actual card numbers aren’t stored on your device or on Apple servers. When you pay in stores, neither Apple nor your device will send your actual card number to merchants.
Apple Pay has not yet rolled out to all countries in the world, and even in the countries that have accepted it, there is no obligation on a bank to offer Apple Pay to its customers. If you go to this Apple page, it shows you which countries have adopted Apple Pay. If your country is there, click it, and you will then see a list of participating banks.
Apple does not charge a fee. However, your bank may. Check with your bank to see what their policy is, regarding contactless payments.
Apple Pay works anywhere contactless payments are accepted. You must have a bank card capable of making contactless payments, though, but most modern bank cards are now capable of this.