Affiliate links on Android Authority may earn us a commission. Learn more.
How to compress video on an iPhone or Android device
Published onMarch 28, 2023
The video quality on smartphones is getting better and better with each new model. This is obviously good for those who want the best possible picture and audio quality. But it’s bad if you have limited storage space on your phone. Even if you have the upper-end 512GB model, doing lots of HD video footage is going to eat away at those gigabytes before you know it. Therefore, it’s handy to know how to compress video on your phone to either optimize storage space or to send the videos to other people.
QUICK ANSWER
To compress a video on iPhone, go into the camera settings and change the video recording presets. You can also change the file format. To compress a video on Android, switch on Storage Saver or open your video camera settings to tweak the settings on a video-by-video basis. On both iPhone and Android, you also have the option of using third-party apps to compress video files.
JUMP TO KEY SECTIONS
How to compress a video on iPhone
There are currently two options on an iOS device. You can either change the recording settings for videos you haven’t made yet, or you can install a third-party video compression app for already-existing videos on your camera roll. Apple currently does not offer a built-in video compression tool. Once you have edited the video and got it down to its lowest possible file size, do one of the following.
Change the video recording settings
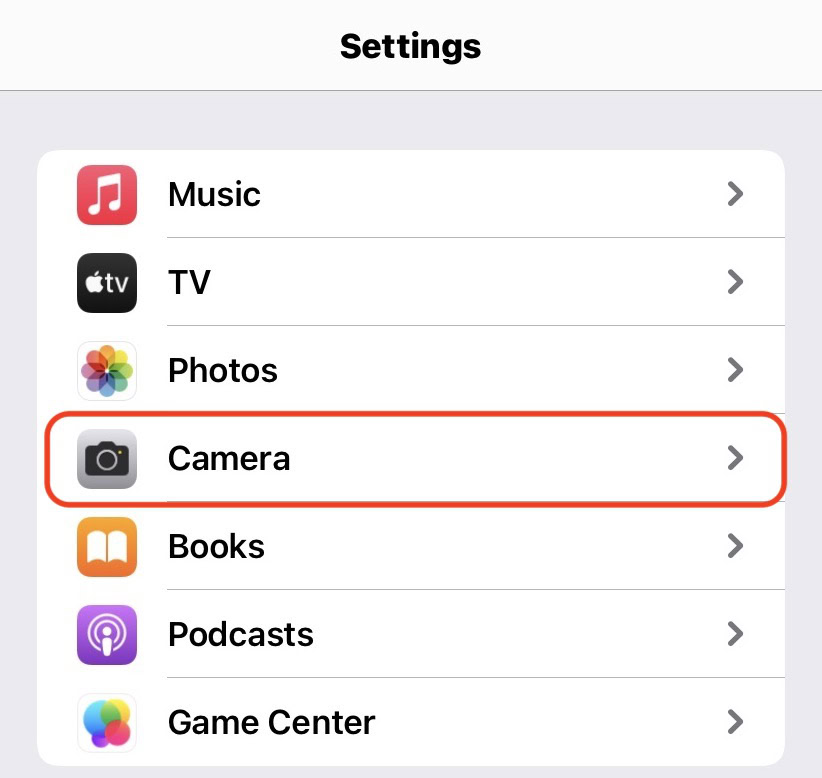
To change the recording settings for future videos, go to Settings >Camera.
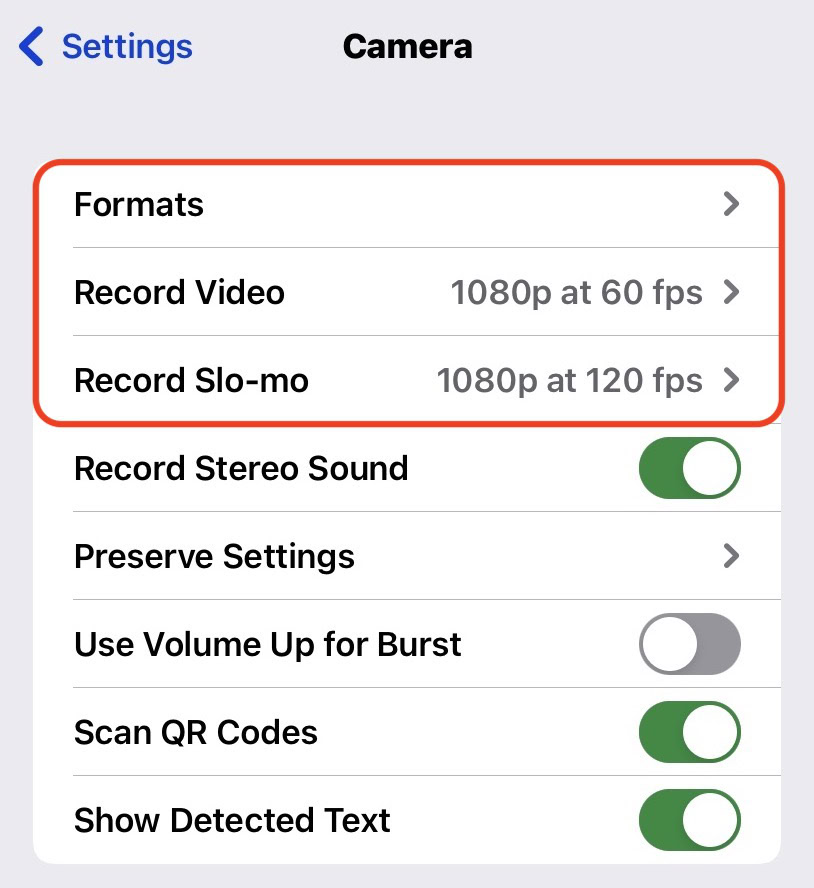
The settings you need to look at will be the first three. Let’s first tap on Formats.
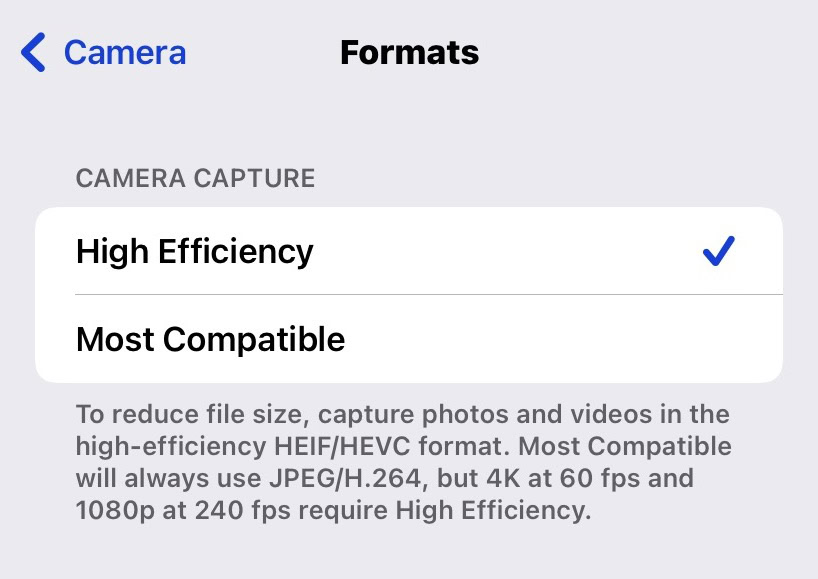
The two options on this screen are High Efficiency and Most Compatible. As Apple says on this screen, to reduce file size, select High Efficiency.
Now let’s look at the Record Video section. Apple very helpfully lists how much space one minute of video would take at the various resolutions. As you can see, 720p HD at 30 fps is the best option for saving space, and unless you’re Steven Spielberg, that is likely to be enough for your home videos.
As a rule of thumb, always select HD instead of 4K, and 30 fps instead of 60 fps, if you want to save space.
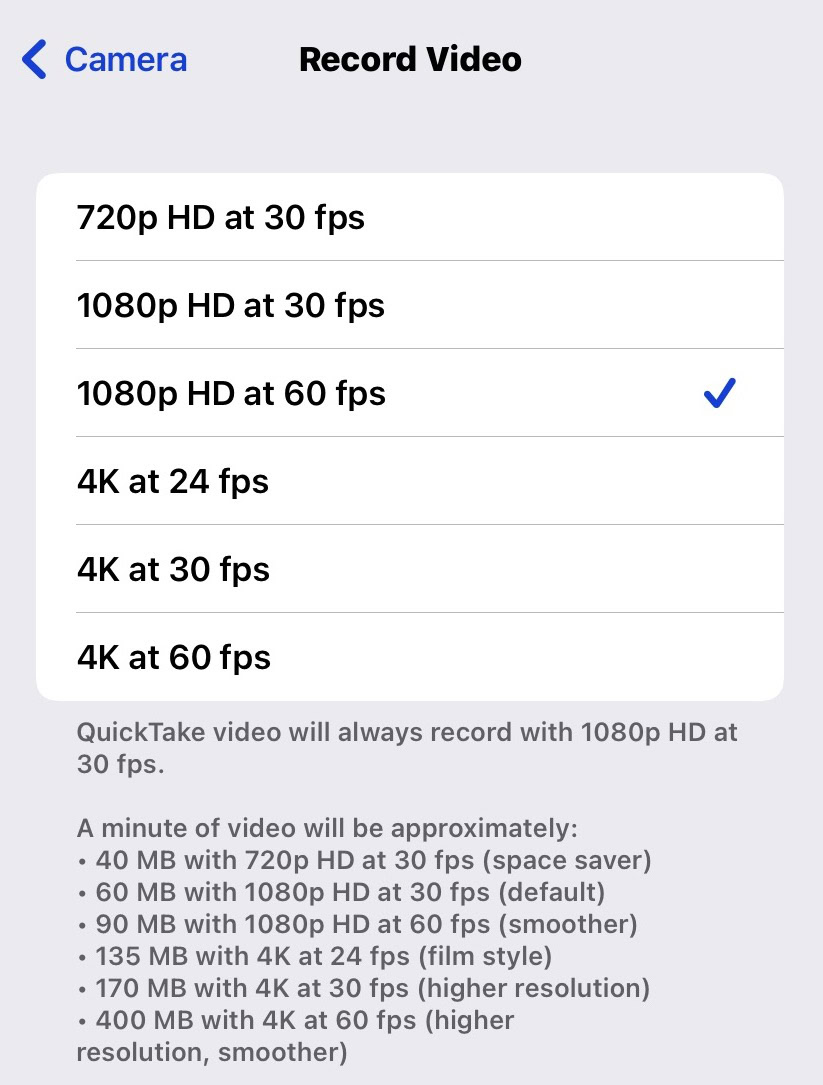
That will help with future videos you take, but what about videos already on your camera roll? How do you compress them for sending to people and saving space on your device?
Use a third-party compression app
For videos already on your phone, you will have to use a third-party video compression app. Apple may eventually decide to introduce this feature themselves, but until that happens, the best tool for the job is something like Video Compress (although there are obviously many other similar apps in the App Store.)
The only thing you need to be warned about is that Video Compress has rather intrusive video ads. So if you intend to use the app a lot, consider paying to remove the ads, otherwise, they will get really irritating really fast.
After installing Video Compress on your phone, tap + to be taken to your Camera Roll to select the video. You will need to grant the app access to your entire Camera Roll.
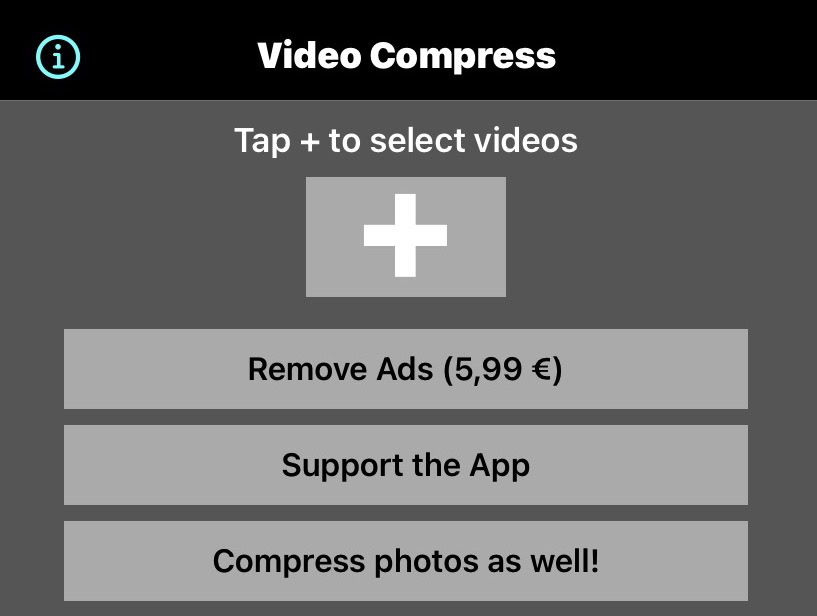
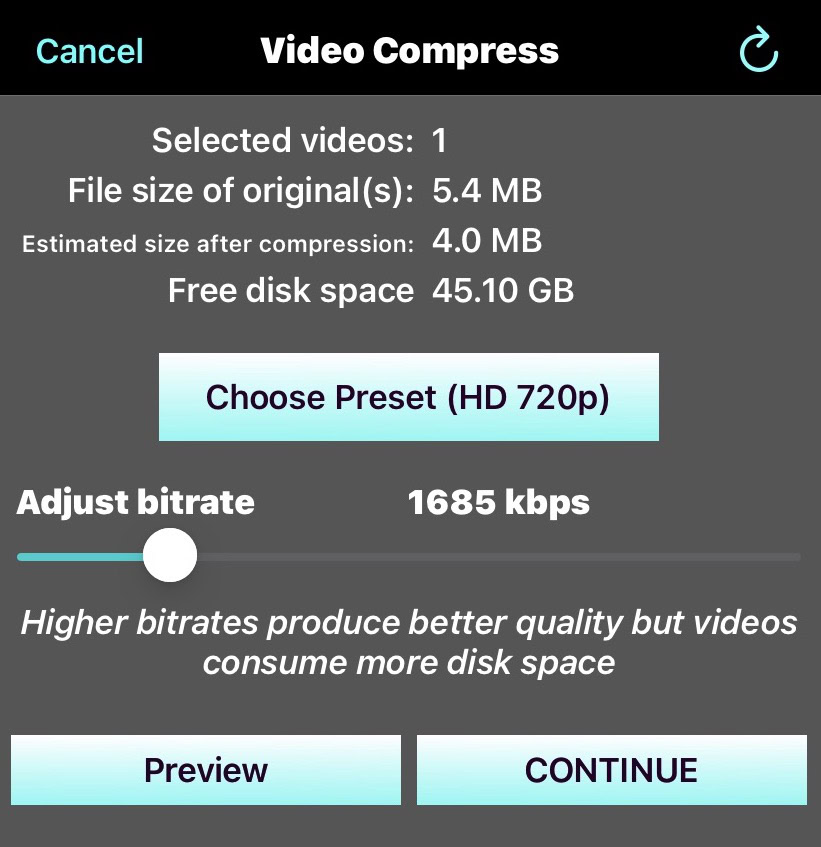
After selecting the video, you will see the file size of the original (this video, though is only 5.4MB, so maybe not the best example.) You now need to tap Choose Preset to choose HD and the screen resolution. Then adjust the Adjust bitrate slider to get the size you need.
As you move it further to the left, the Estimated size after completion will go down, which is your aim. But obviously, the more you decrease the bitrate, the more the picture quality will deteriorate. So you need to play around with it to get the best result you can.
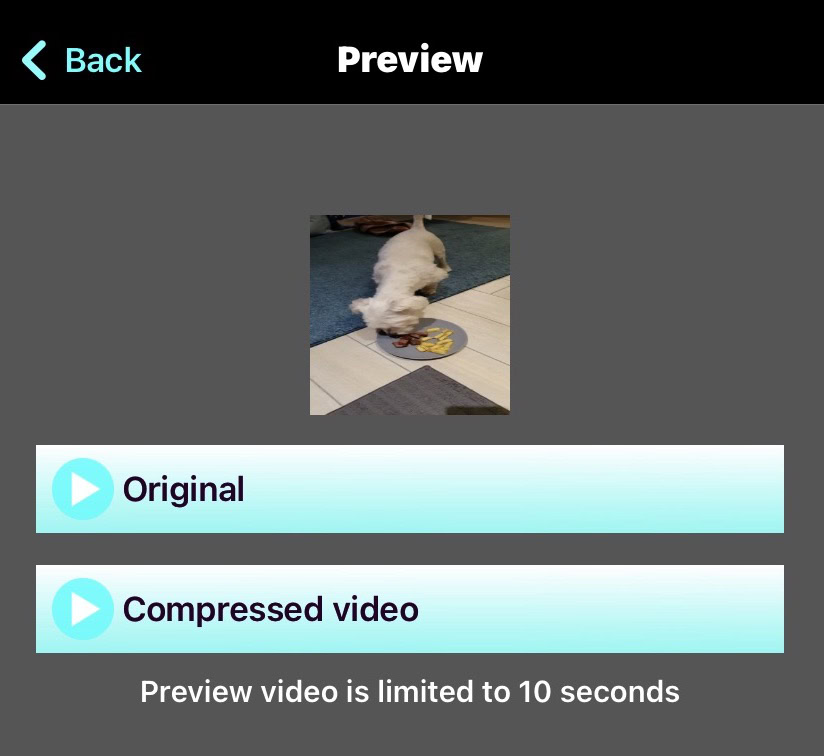
To see how your video would look at the bitrate you chose, you can tap the Preview button. You can then watch the first ten seconds of the original file and ten seconds of the amended file, to compare the two.
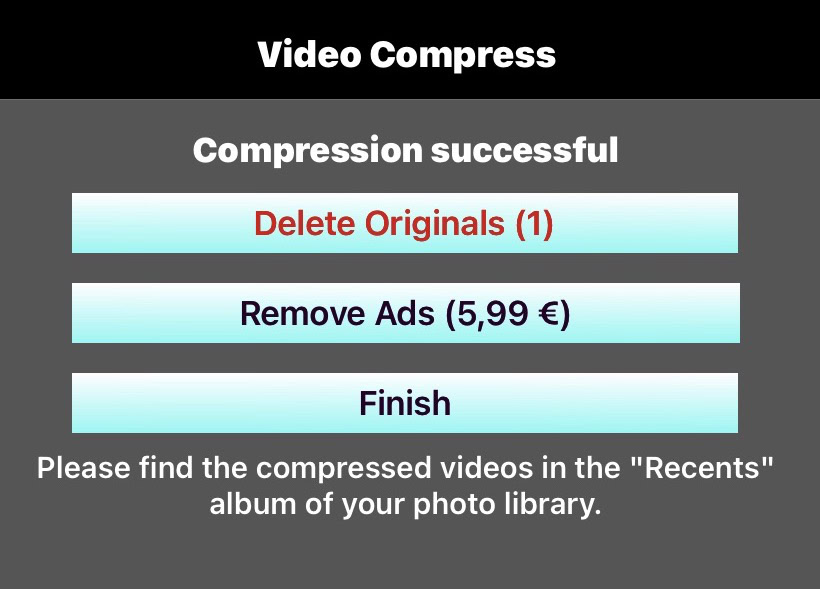
Once you are satisfied, click the Continue button, and the app will make the necessary changes to your video file. It will then place it in your Camera Roll and also give you the option of deleting the original. When everything is done, tap Finish.
How to compress a video on Android
On the Android front, you can also use Video Compress to reduce the size of any videos already on your phone. But for compressing future videos, you need to dive into the settings. The following screenshots were taken on a Google Pixel 4, so if you have another phone model with non-stock Android, the settings may vary slightly.
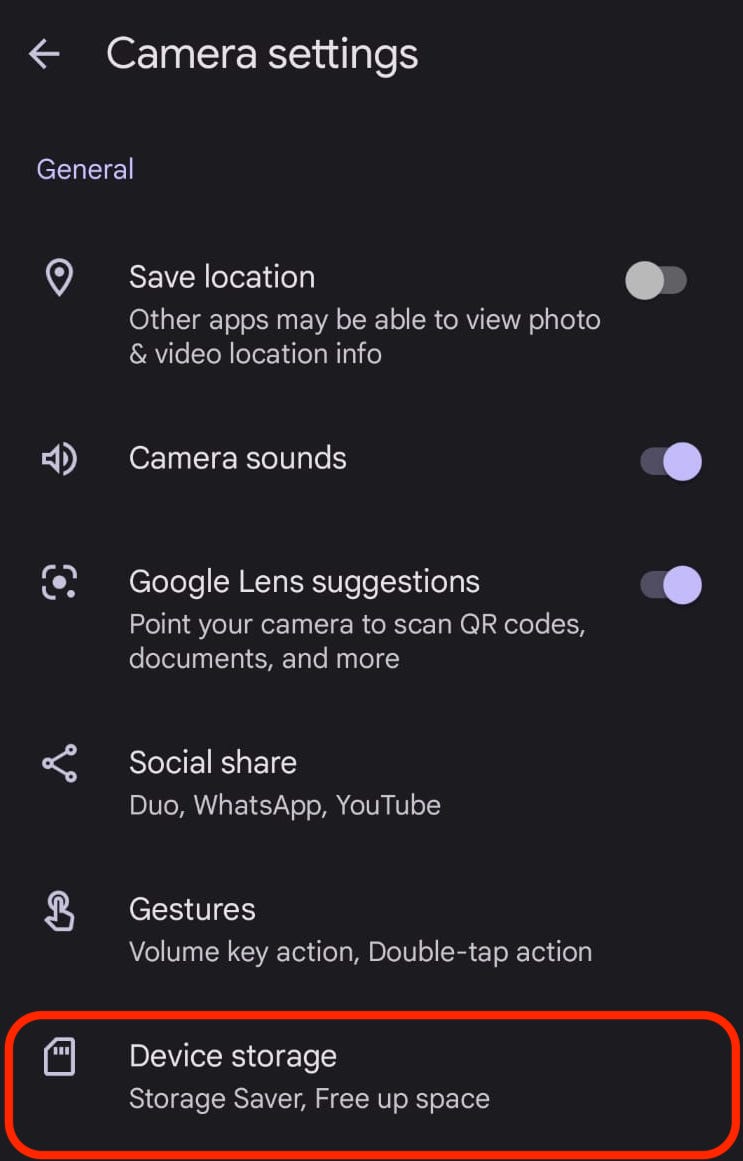
Go into your Camera settings and scroll down to Device storage. Tap that.
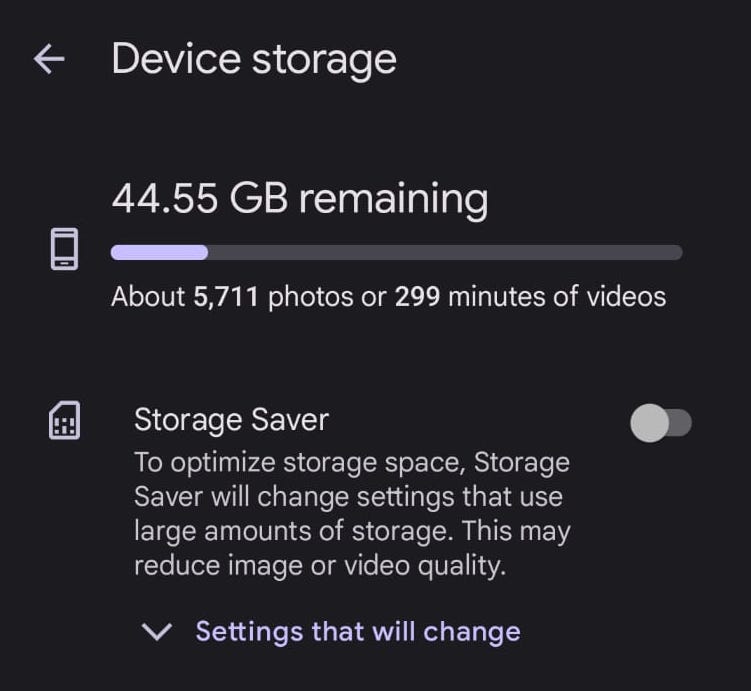
Toggle on Storage Saver. Then tap Settings that will change.
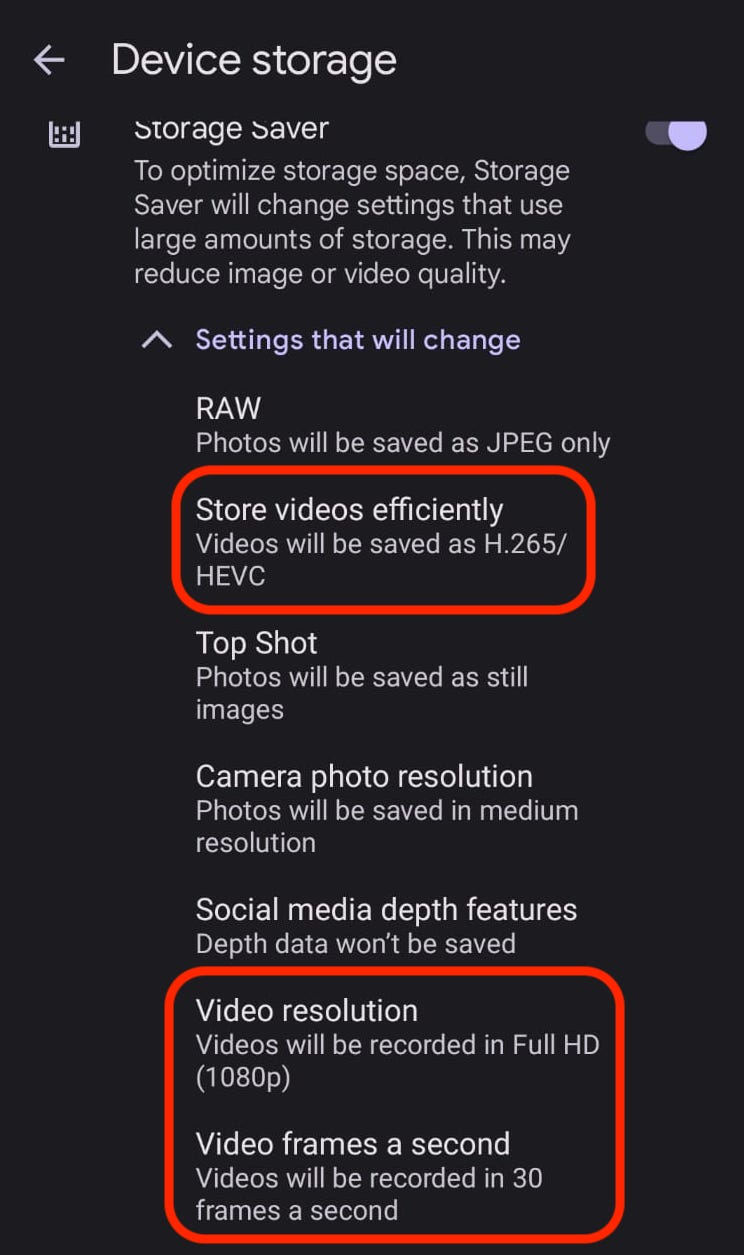
The screen will then give you a list of what will be optimized by Storage Saver. Among them will be three video improvements — a more optimized file format, HD 1080p video resolution, and 30 frames per second.
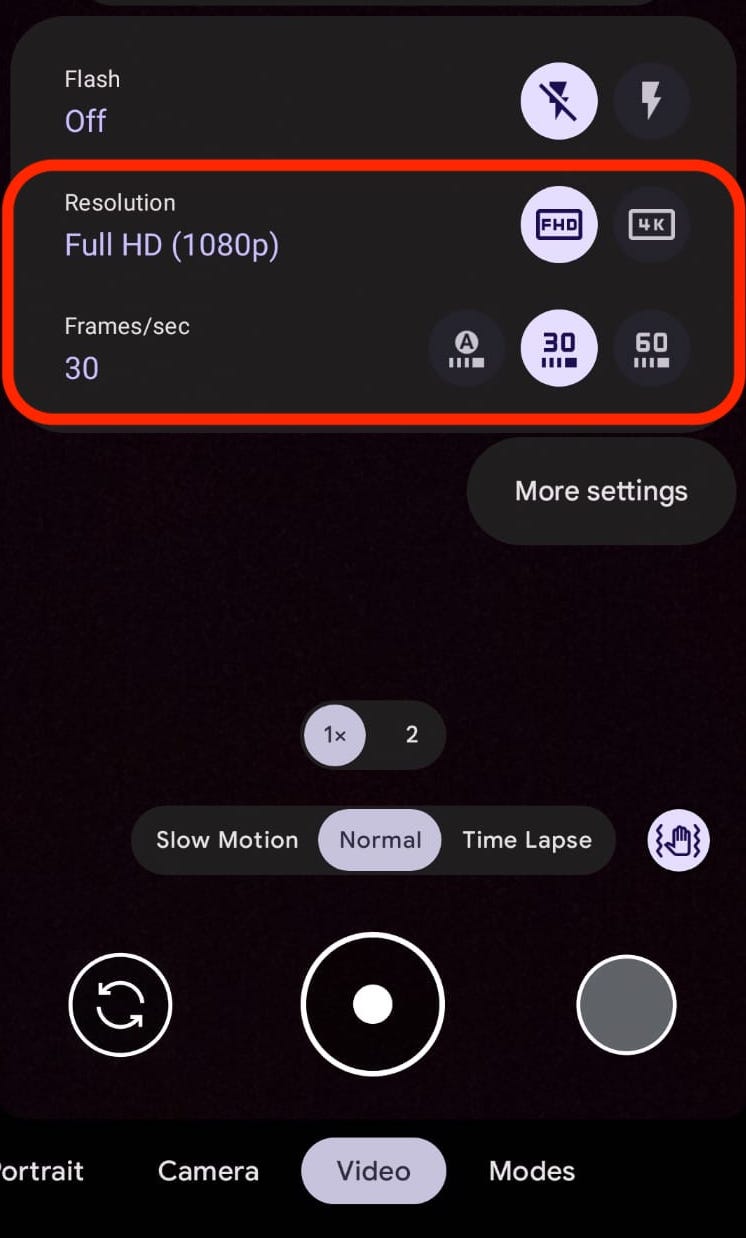
On the other hand, if you would prefer to change the settings per video, then leave Storage Saver off and instead launch your camera. Select Video at the bottom of the screen, and open up the settings there. You can change the Resolution and the Frames/sec. However, if you have Storage Saver on at the time, these settings will be locked.
