Affiliate links on Android Authority may earn us a commission. Learn more.
Converting speech to text: How to create a simple dictation app
Published onApril 20, 2019

Many apps, services, and household gadgets use speech recognition to provide a better user experience and improve accessibility. There are countless Android apps that make use of speech recognition — the most notable of which is Google Assistant — so why not follow suit and add this feature to your own Android applications?
In this article, I’ll share a quick and easy way to get started with Android’s Speech-to-Text Intent, which can be useful in a wide range of applications. For example, you might use speech recognition to automate tedious manual data entry, automatically generate subtitles, or even as the basis for a translation app that “listens” to vocal input, converts it into text, then translates this text and displays the results to the user.
Regardless of the kind of application you create, speech recognition can improve accessibility by providing users with an alternative way to interact with your app. For example, people with mobility, dexterity, or sight issues may find it easier to navigate mobile applications using voice commands, rather than the touchscreen or keyboard. Plus, according to the World Health Organization (WHO), over a billion people have some form of disability, which equates to around 15% of the world’s population. Adding accessibility features to your applications can significantly increase your potential audience.
By the end of this article, you’ll have created a simple Speech-to-Text application that records your voice, converts it into text and then displays that text on-screen.
Building a Speech-to-Text user interface
To start, create a new Android project using the “Empty Activity” template.
We’ll be creating a simple application consisting of a button that, when tapped, triggers Android’s Speech-to-Text Intent and displays a dialog that indicates that your app is ready to accept speech input. Once the user has finished speaking, their input will be converted into text, and then displayed as part of a TextView.
Let’s start by creating our layout:
<?xml version="1.0" encoding="utf-8"?>
<androidx.constraintlayout.widget.ConstraintLayout
xmlns:android="http://schemas.android.com/apk/res/android"
xmlns:app="http://schemas.android.com/apk/res-auto"
   xmlns:tools="http://schemas.android.com/tools"
   android:layout_width="match_parent"
   android:layout_height="match_parent"
   tools:context=".MainActivity">

   <TextView
       android:id="@+id/textOutput"
       android:layout_width="match_parent"
       android:layout_height="wrap_content"
       android:text=""
       android:textColor="#FF0000"
       android:textSize="30sp"
       android:layout_margin="10dp"
       android:layout_marginStart="8dp"
       android:layout_marginEnd="8dp"
       android:layout_marginTop="12dp"
       app:layout_constraintStart_toStartOf="parent"
       app:layout_constraintHorizontal_bias="0.0"
       app:layout_constraintTop_toTopOf="parent"
       app:layout_constraintEnd_toEndOf="parent" />

   <Button
       android:id="@+id/startDictation"
       android:layout_width="match_parent"
       android:layout_height="58dp"
       android:background="#FF0000"
       android:text="Start dictation"
       android:textColor="#ffffff"
       android:onClick="onClick"
       android:layout_marginStart="8dp"
       android:layout_marginTop="260dp"
       android:layout_marginEnd="8dp"
       app:layout_constraintEnd_toEndOf="parent"
       app:layout_constraintHorizontal_bias="0.498"
       app:layout_constraintStart_toStartOf="parent"
       app:layout_constraintTop_toBottomOf="@+id/textOutput" />
</androidx.constraintlayout.widget.ConstraintLayout>
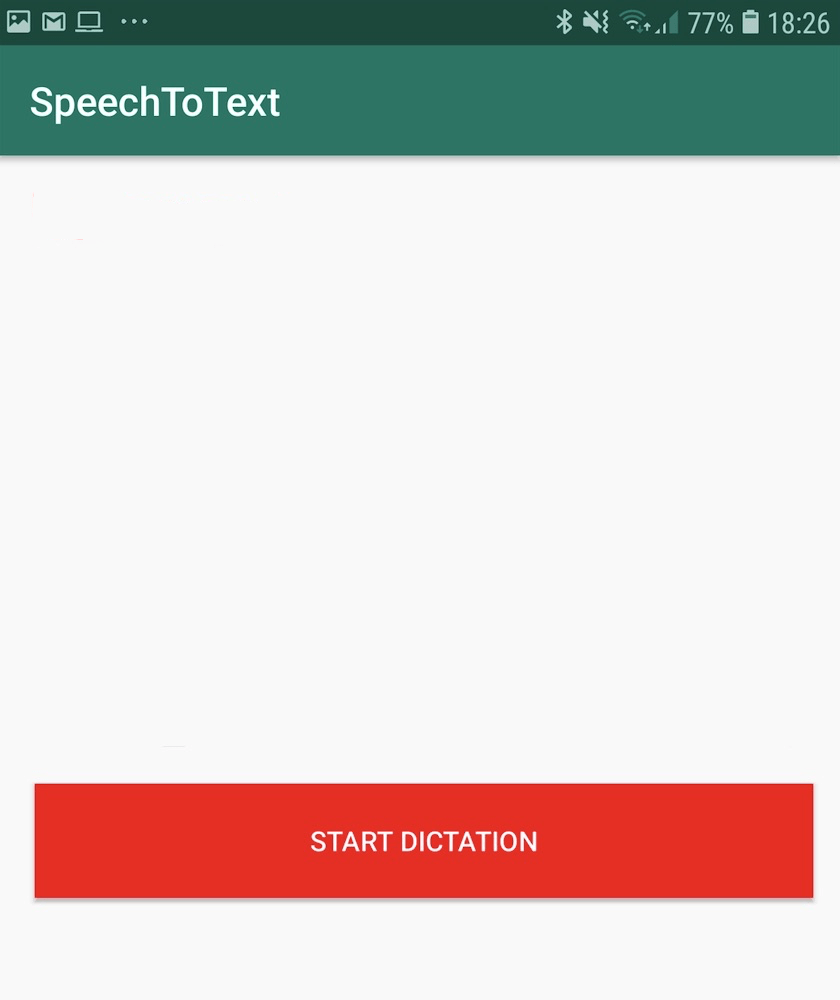
This gives us the following layout:

Adding speech recognition to your Android app
We capture and process speech input in two steps:
1. Start RecognizerIntent
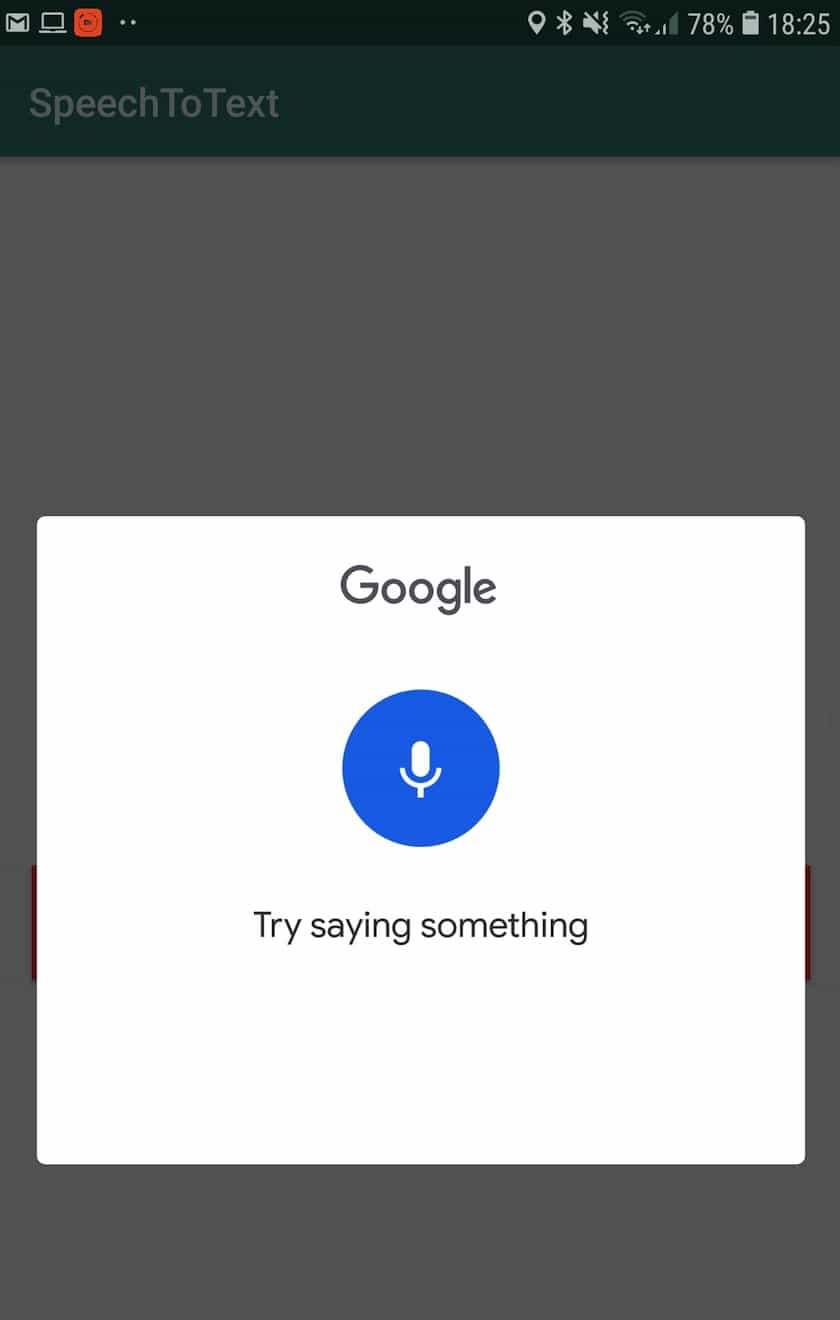
The easiest way to perform Speech-to-Text conversion is to use RecognizerIntent.ACTION_RECOGNIZE_SPEECH. This Intent prompts the user for vocal input by launching Android’s familiar microphone dialog box.

Once the user stops talking, the dialog will close automatically and ACTION_RECOGNIZE_SPEECH will send the recorded audio through a speech recognizer.
We start RecognizerIntent.ACTION_RECOGNIZE_SPEECH using startActivityForResult() with bundled extras. Note that unless specified otherwise, the recognizer will use the device’s default locale.
public void onClick(View v)
   {

//Trigger the RecognizerIntent intent//

       Intent intent = new Intent(RecognizerIntent.ACTION_RECOGNIZE_SPEECH);

       try {
           startActivityForResult(intent, REQUEST_CODE);
       } catch (ActivityNotFoundException a) {

       }
   }
2. Receiving the speech response
Once the speech recognition operation is complete, ACTION_RECOGNIZE_SPEECH will send the results back to the calling Activity as an Array of strings.
Since we triggered the RecognizerIntent via startActivityForResult(), we handle the result data by overriding onActivityResult(int requestCode, int resultCode, Intent data) in the Activity that initiated the speech recognition call.
Results are returned in descending order of speech recognizer confidence. So, to make sure we’re displaying the most accurate text we need to take the zero position from the returned ArrayList, then display it in our TextView.
@Override

//Define an OnActivityResult method in our intent caller Activity//

   protected void onActivityResult(int requestCode, int resultCode, Intent data) {
       super.onActivityResult(requestCode, resultCode, data);

       switch (requestCode) {
           case REQUEST_CODE: {

//If RESULT_OK is returned...//

               if (resultCode == RESULT_OK && null != data) {

//...then retrieve the ArrayList//

                  ArrayList<String> result = data.getStringArrayListExtra(RecognizerIntent.EXTRA_RESULTS);

//Update our TextView//

                  textOutput.setText(result.get(0));
              }
              break;
          }

       }
   }

}
Note that Speech-to-Text doesn’t require an active internet connection, so it’ll work correctly even when the user is offline.
After completing all the above steps, your MainActivity should look something like this:
import android.content.ActivityNotFoundException;
import androidx.appcompat.app.AppCompatActivity;
import android.os.Bundle;
import android.content.Intent;
import android.speech.RecognizerIntent;
import android.widget.TextView;
import android.view.View;

import java.util.ArrayList;

public class MainActivity extends AppCompatActivity {

   private static final int REQUEST_CODE = 100;
   private TextView textOutput;

   @Override
   protected void onCreate(Bundle savedInstanceState) {
       super.onCreate(savedInstanceState);
       setContentView(R.layout.activity_main);
       textOutput= (TextView) findViewById(R.id.textOutput);

   }

//This method is called with the button is pressed//

   public void onClick(View v)

//Create an Intent with “RecognizerIntent.ACTION_RECOGNIZE_SPEECH” action//

   {
       Intent intent = new Intent(RecognizerIntent.ACTION_RECOGNIZE_SPEECH);

       try {

//Start the Activity and wait for the response//

           startActivityForResult(intent, REQUEST_CODE);
       } catch (ActivityNotFoundException a) {

       }
   }

   @Override

//Handle the results//

   protected void onActivityResult(int requestCode, int resultCode, Intent data) {
       super.onActivityResult(requestCode, resultCode, data);

       switch (requestCode) {
           case REQUEST_CODE: {
               if (resultCode == RESULT_OK && null != data) {
                   ArrayList<String> result = data.getStringArrayListExtra(RecognizerIntent.EXTRA_RESULTS);
                   textOutput.setText(result.get(0));
               }
               break;
          }

       }
   }

}Testing your project
To put your application to the test:
- Install your project on either a physical Android device or an Android Virtual Device (AVD). If you’re using an AVD, your development machine must either have a built-in microphone or you can use an external microphone or headset.
- Tap the application’s “Start Dictation” button.
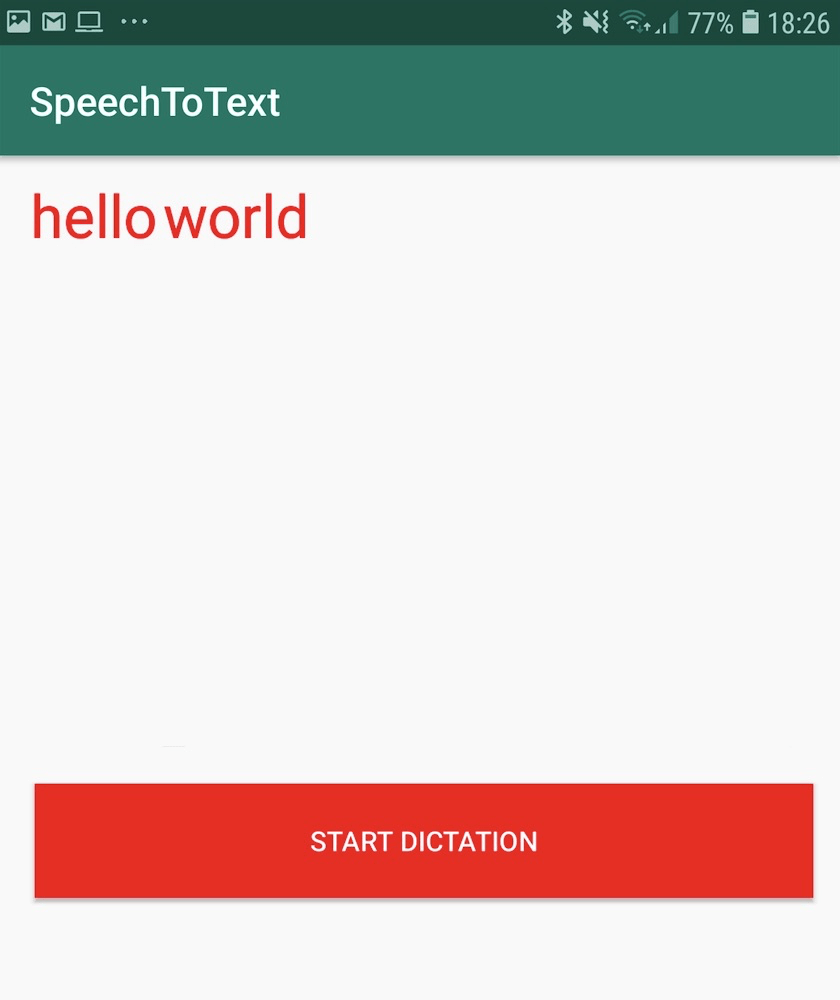
- When the microphone dialog box appears, speak into your device. After a few moments, your words should appear on-screen.

Wrapping up
In this article, we saw how you can quickly and easily add speech recognition to your Android applications, using the Speech-to-Text Intent. Have you encountered any Android apps that use speech recognition in surprising or innovative ways?
Next: Build an augmented reality Android app with Google ARCore