Affiliate links on Android Authority may earn us a commission. Learn more.
How to create your own font
Published onMarch 3, 2023
If you are creating custom signage, invitations, or logos, one way to make your work unique is to learn how to create your own font for it. Calligraphr.com is a very helpful website that will help you do just that. You can create a basic font for free (their paid plan, of course, has more features and allows for more extensive typefaces). Then you can install it on your computer and use it any program that employs your system’s font files. We’ll go over the simple steps below.
QUICK ANSWER
Go to Calligraphr.com and download a font template. You can print it out, fill it in by hand with your new typeface, scan it, and upload it to Calligraphr. It will be turned into a TrueType font and an Open Type font, both of which can be downloaded and installed on a computer for use.
How to create a font using Calligraphr
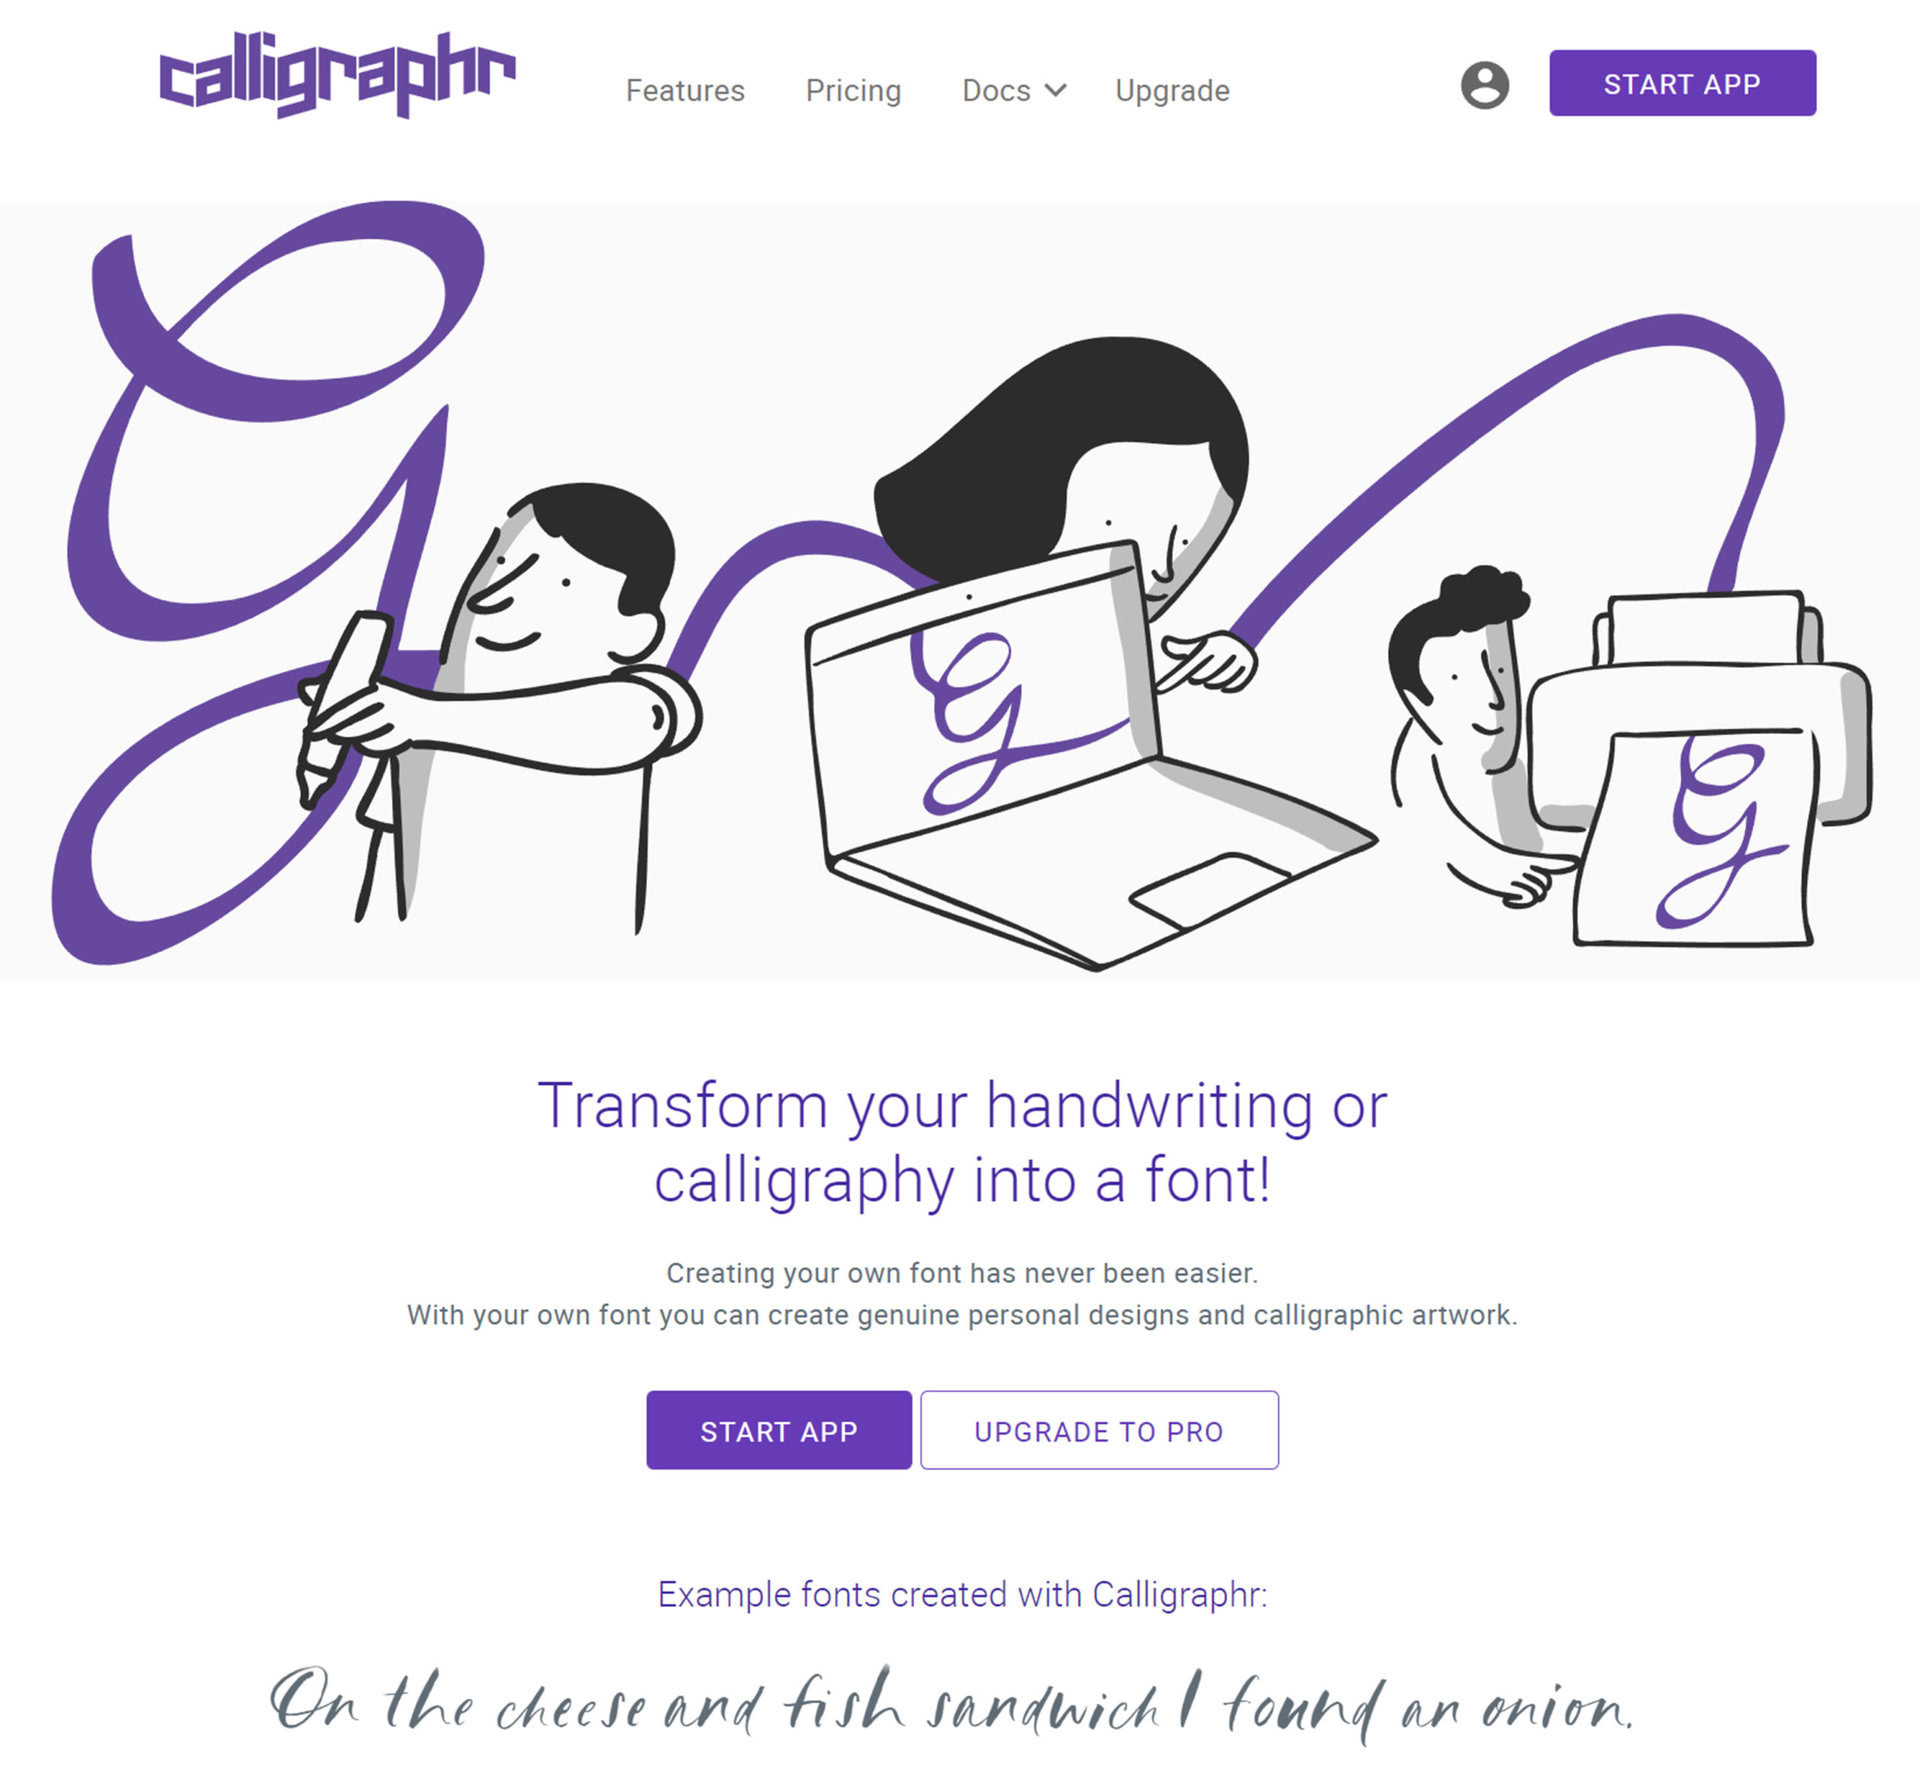
First go to Calligraphr.com. On their home page, click on the link to Start App.
Next, click on the link that lets you Create a template. This will bring up a screen that will let you choose what symbols will be in your font. The free plan only allows for 75 characters per font, so we will stick with Minimal English. Click on Download Template at the top of the page.

When you download the blank template, this is what it will look like. Print out the template, making sure the registration marks at each corner are not hidden or cut off.
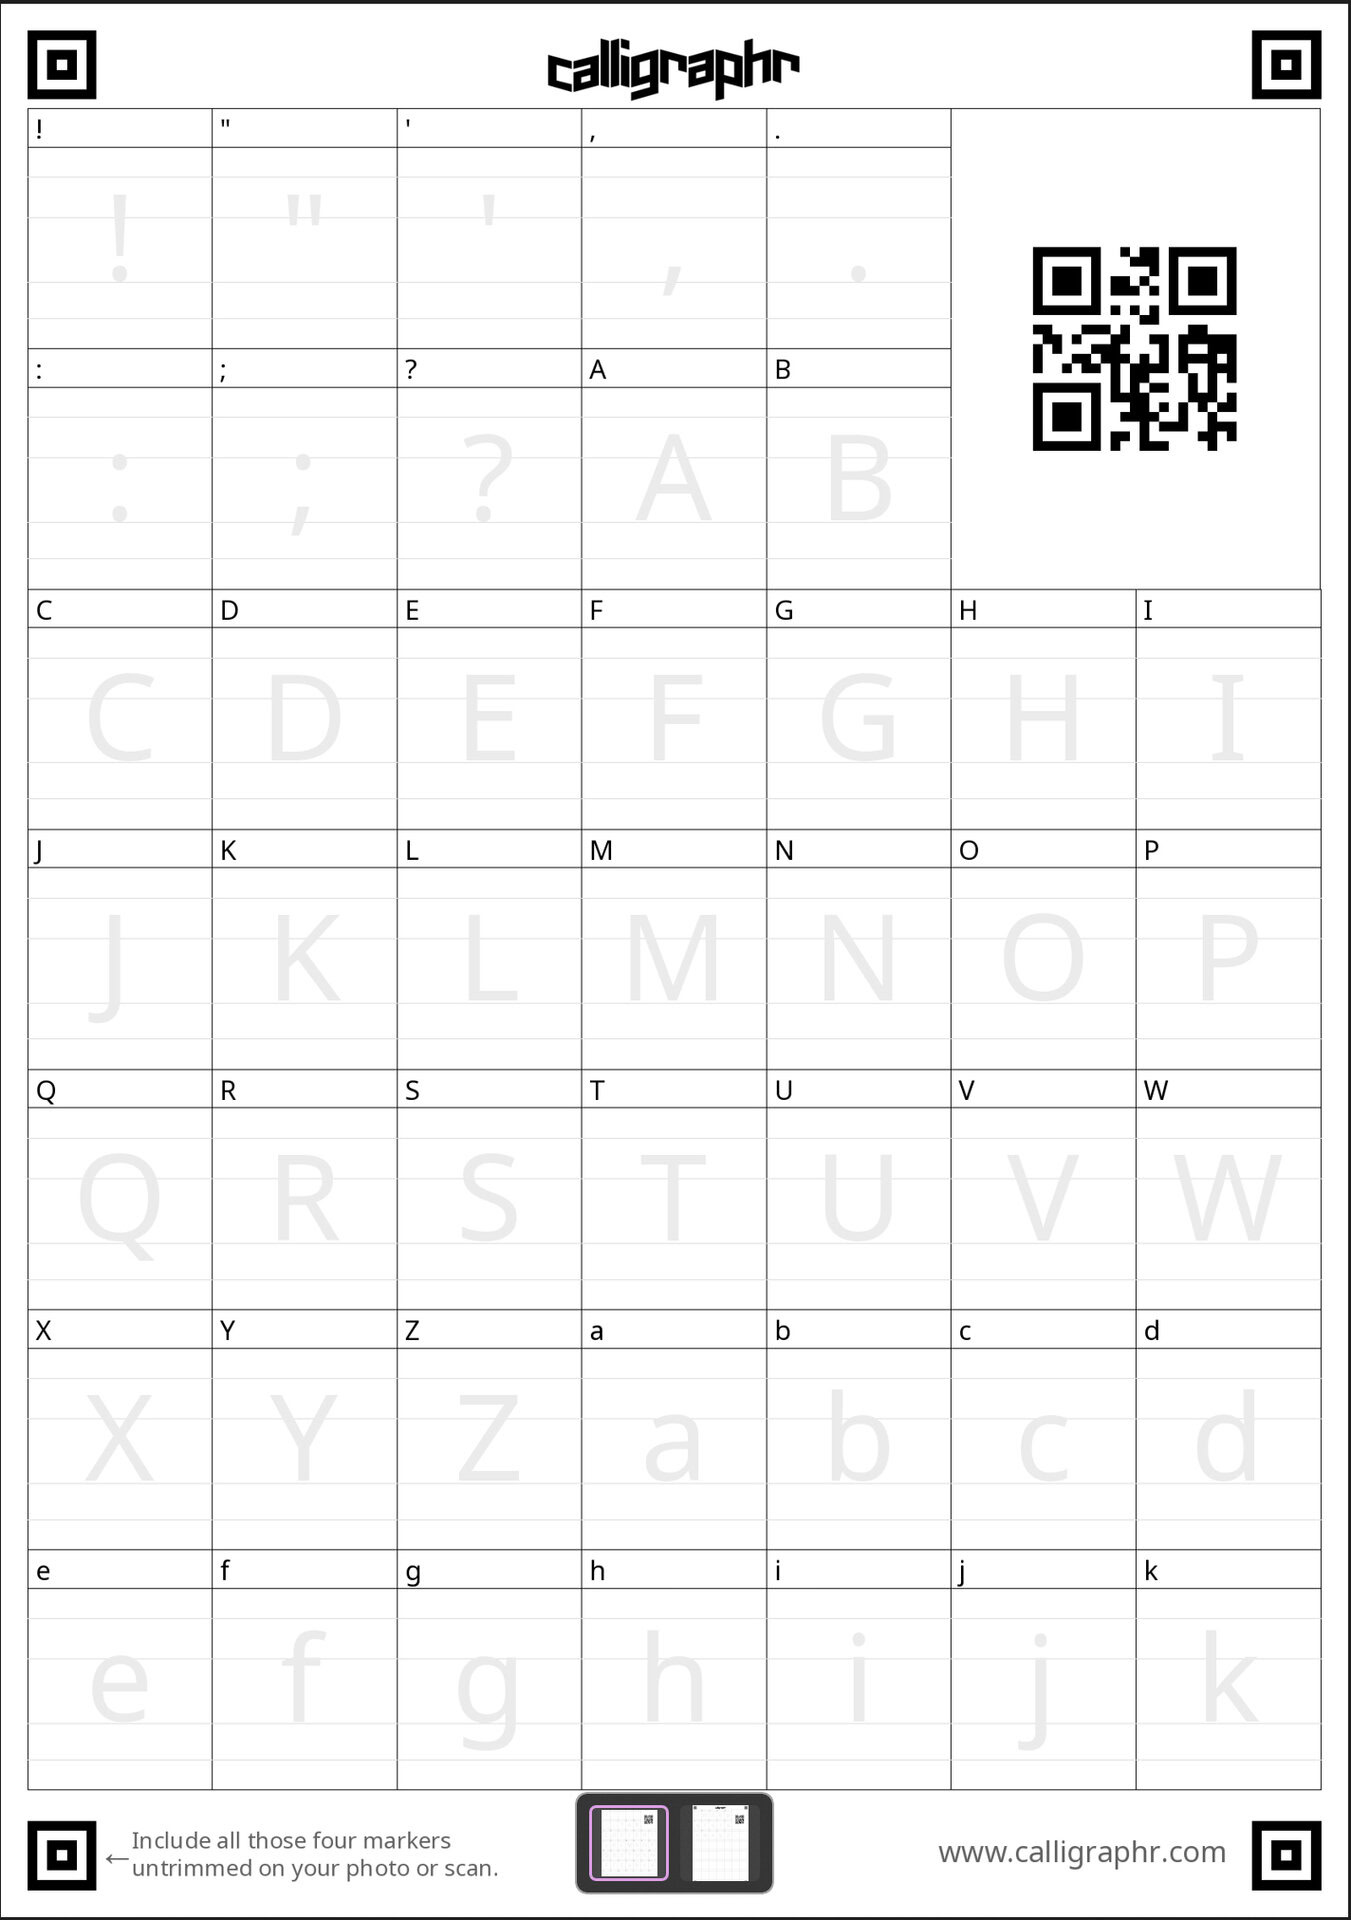
Now the creative part starts. Using your choice of pen, pencil, marker, or brush, create a typeface by hand by drawing each letter and character in the indicated box. There may be two pages to cover the whole alphabet. When you are finished, scan or take a photo of the template. We also found that opening the file of the template in Photoshop and using a drawing tablet or even a mouse to draw the new font worked just fine.
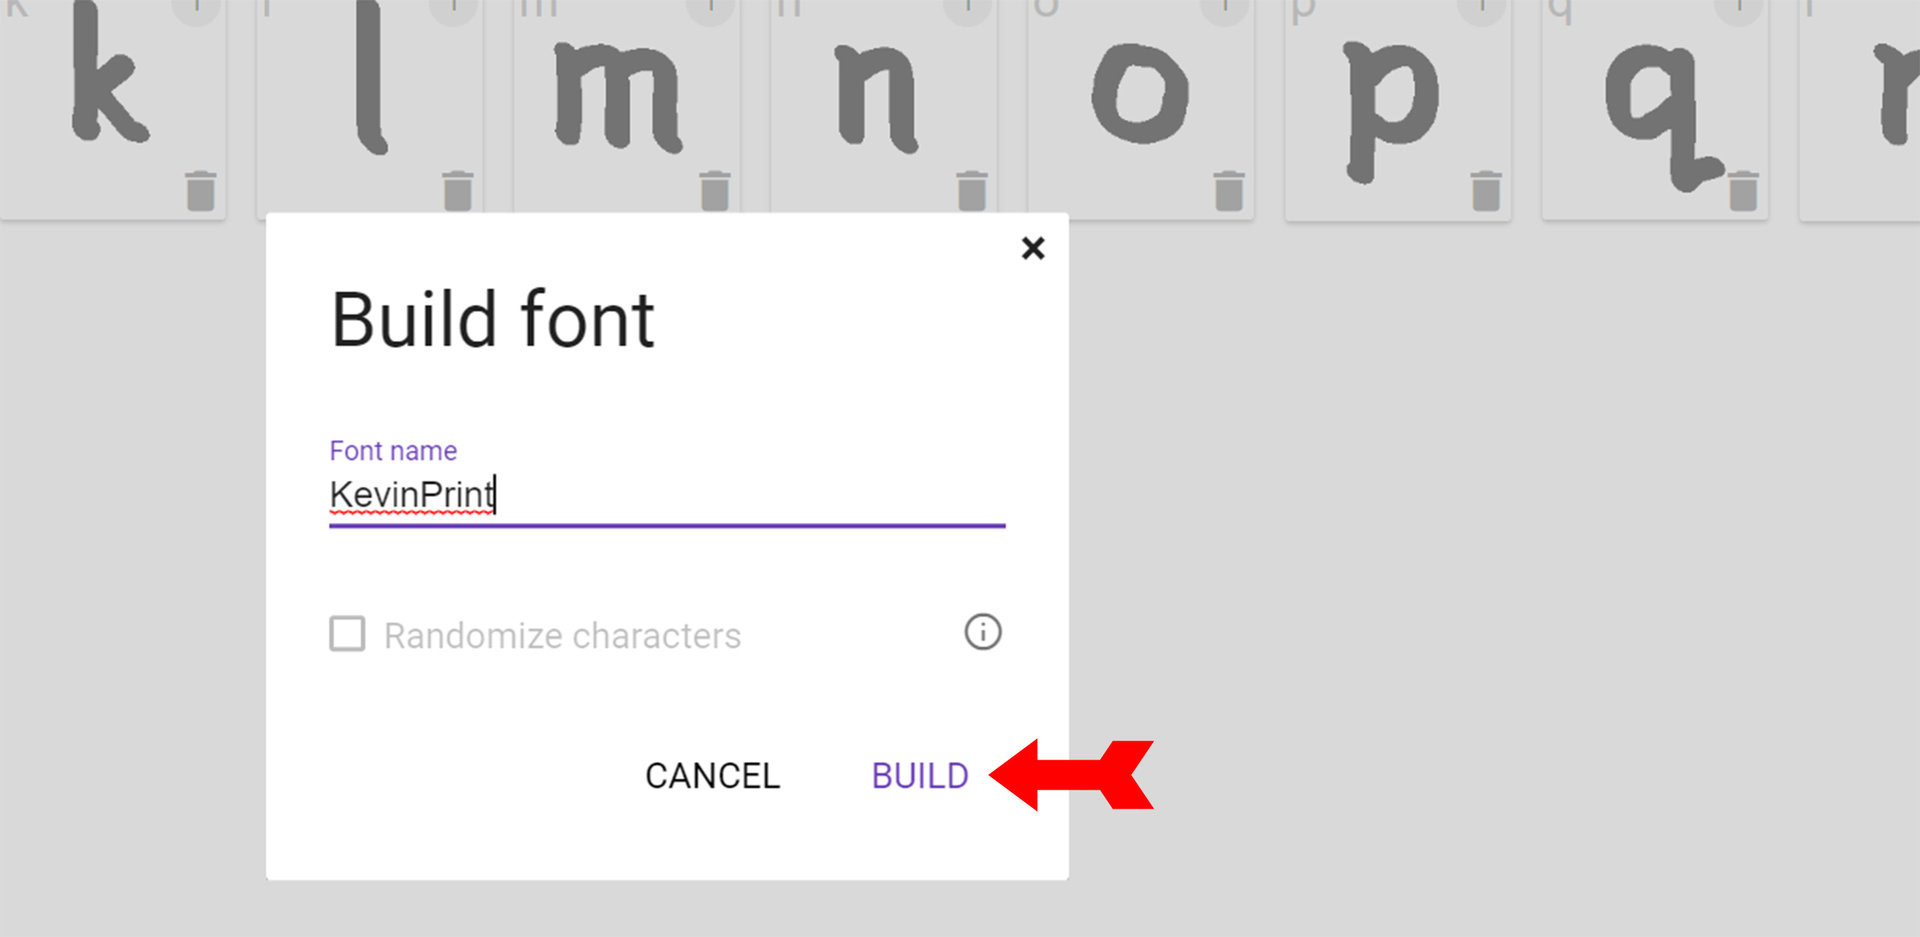
When you have your font template scanned or photographed (or saved as a PNG file if you are using Photoshop), use the Calligraphr site to upload your template. Calligraphr will show you the results of scanning your font. You have the chance to make edits at this point. Otherwise, click on Build Font at the top of the page. Give your font a name and click on Build.
The site will convert your handwritten letters to both TrueType and OpenType fonts that you can download and install on any computer.
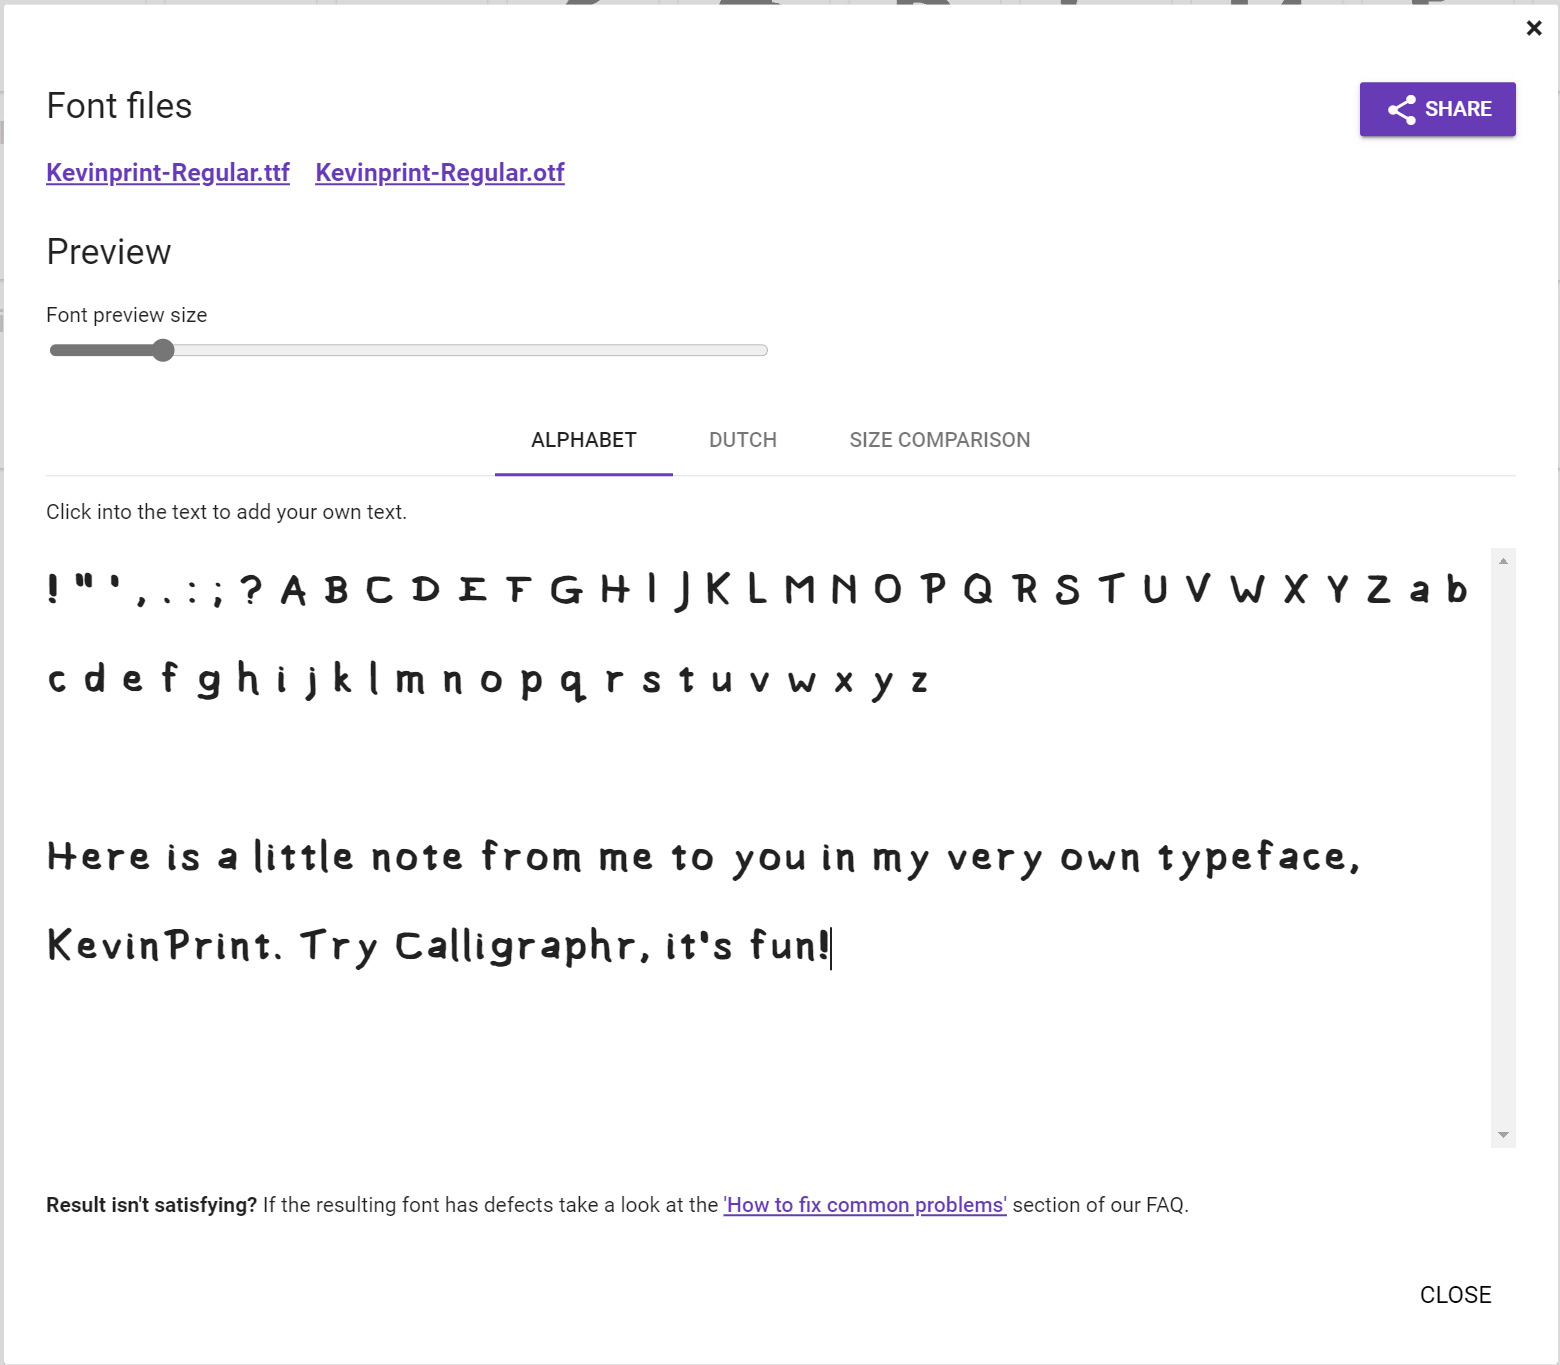
As you can see, creating a new font on Calligraphr is easy and doesn’t take long. Most of all, it lets you generate text you won’t see anywhere else.
Where can I use my new font?
Your font can be used anywhere you would usually see a choice of fonts stored on your computer.
You first need to install your font. We’ve got full instructions on how to install and uninstall fonts on Mac and how to install fonts on Windows 10 and 11, so you can follow these links to find the steps for your operating system of choice.
Once installed, your font should automatically appear among the choices on the software that you are using.
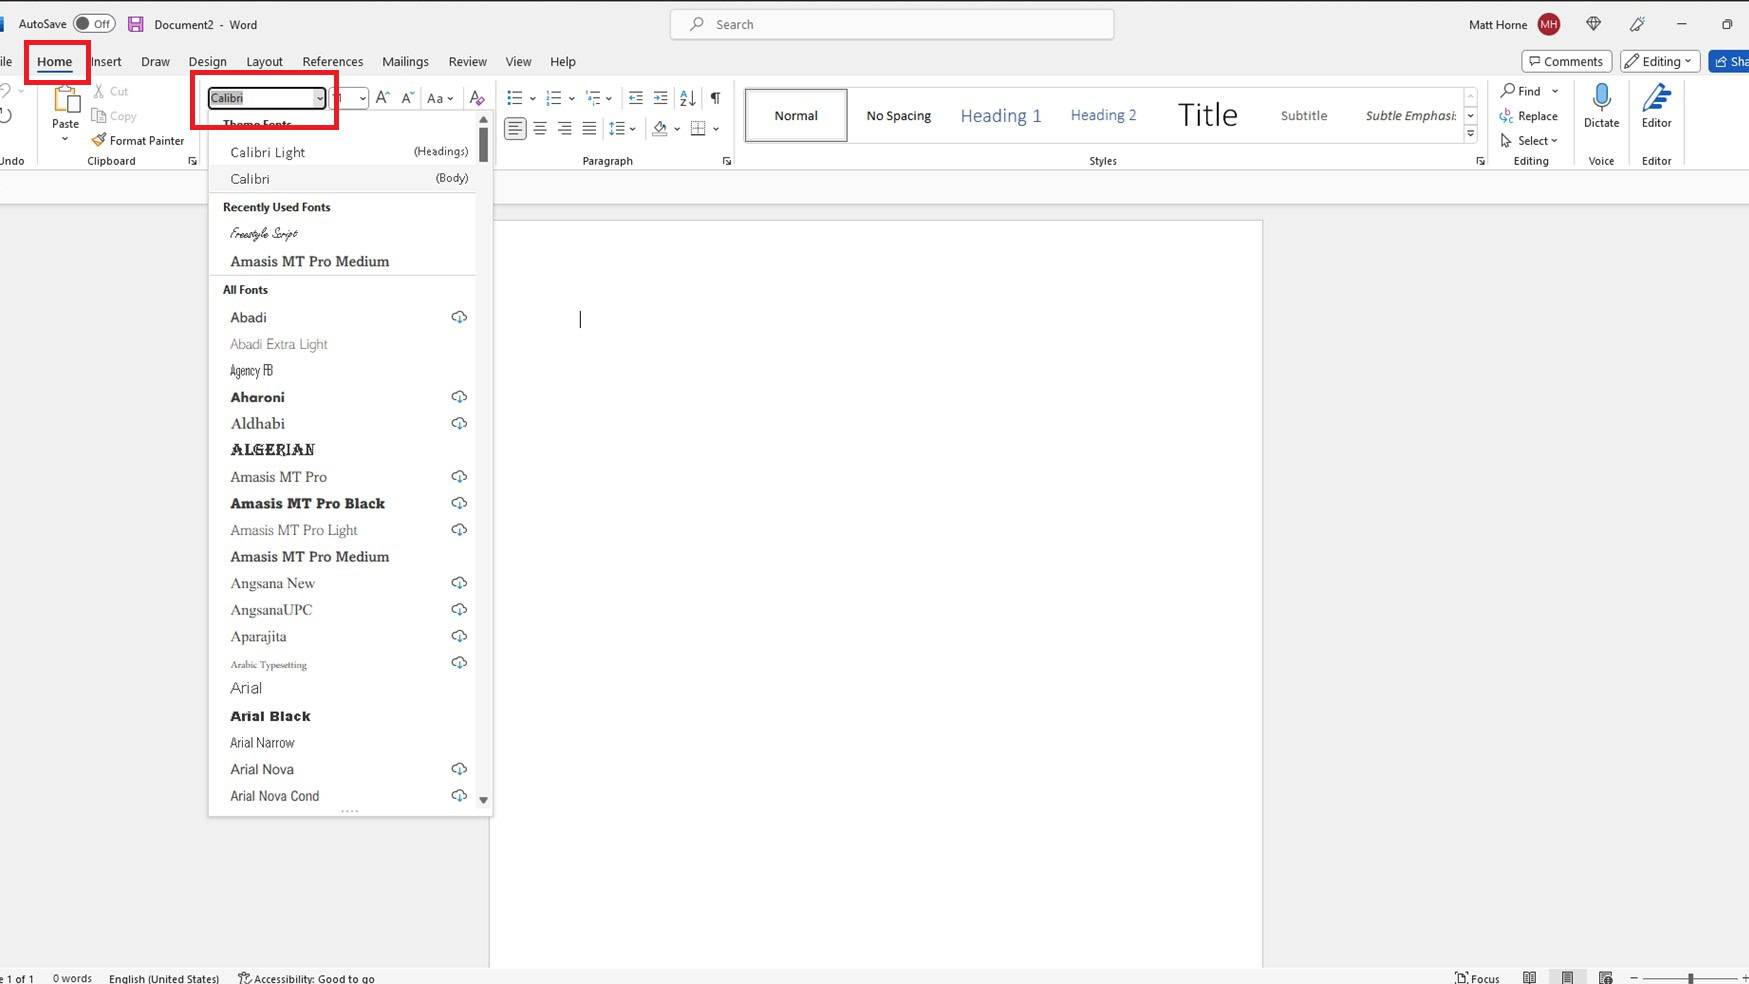
For example, in Microsoft Word, go to the Home tab. You’ll see your current font in the ribbon above the page.
Click on the name of the font. You’ll see a drop-down menu of all the fonts installed on your computer.
Scroll through them until you find your custom font. Click on it to make it the current font.
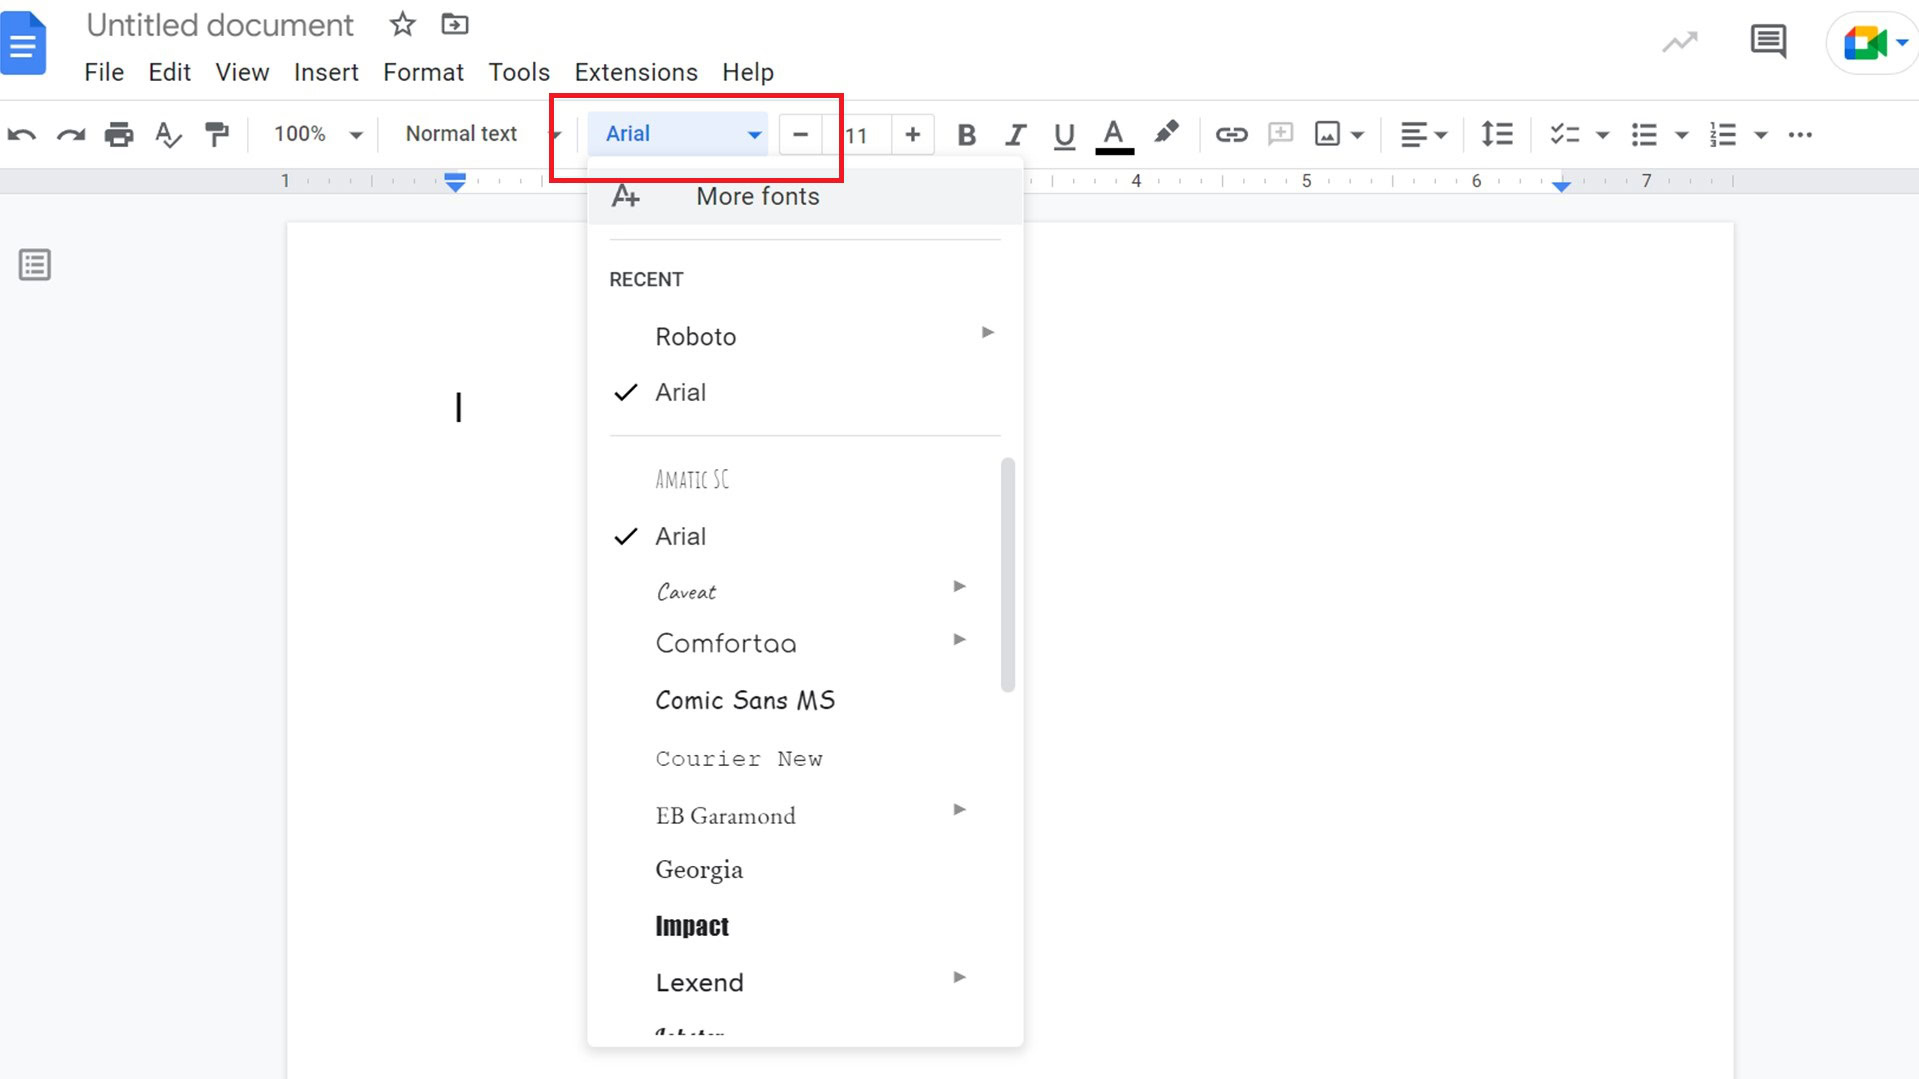
In Google Docs, you’ll see the current font you’re using above the page.
Click on the font. You’ll be presented with the dropdown menu of all the fonts.
Scroll down the list to find your font. When you find it, click on it to select it.
FAQs
You can consider a font to be a subset of its typeface. A font is a specific typeface, at a specific size, with specific modifications. So, Times New Roman is a typeface, and “Times New Roman 18 point italic” is a font.