Affiliate links on Android Authority may earn us a commission. Learn more.
A 10 day program to create your first Android app
Published onApril 25, 2016
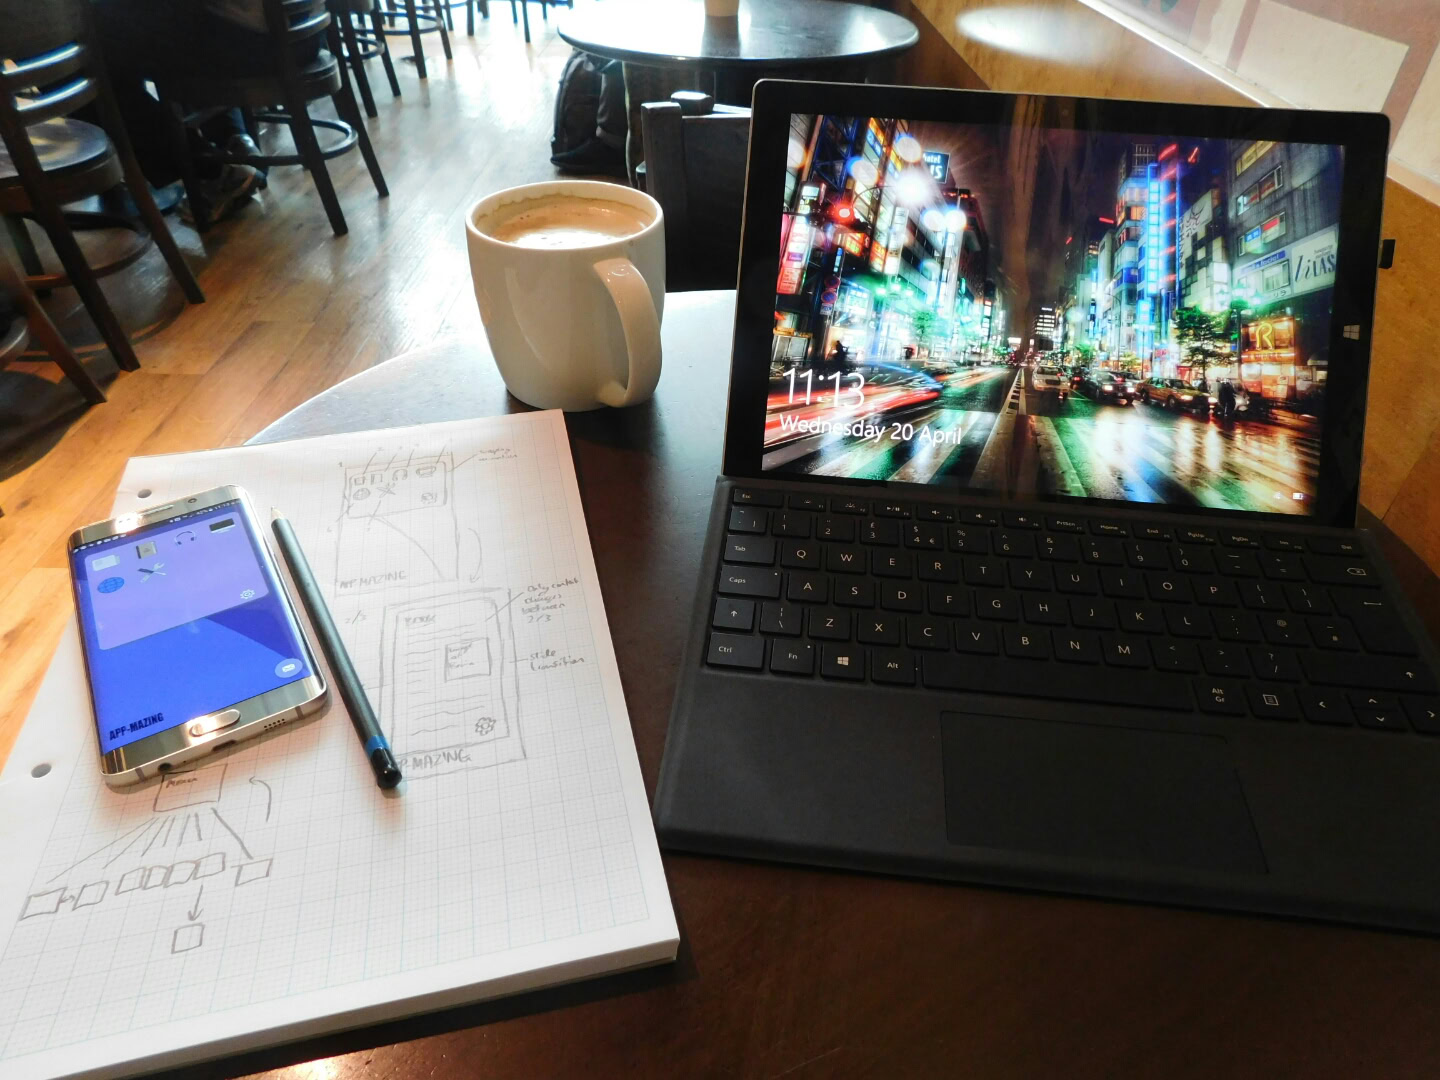
Building your first Android app doesn’t have to be hard. If you aren’t overly ambitious, then you can break the process down into some simple steps and avoid overwhelming yourself in one go. The trick is to make your first app relatively simple and to focus on creating something. Don’t try and create your magnum opus first time around – build something small to learn the ropes and to understand how it all works. This will give you the understanding and the confidence you need to go bigger next time.
In this post, I’ll show you exactly how to do that in 10 simple steps. We’ll go from the initial inception and ideation, all the way through to uploading your app to the Play Store. All you need is a couple of hours in the evening spread out over 10 days and you can officially call yourself an app developer!
Day 1: Ideation
Before you can get started, you obviously need to have an idea of what you’re going to create. Working toward a project makes learning much easier because it creates context and direction. Thus your first step is ideation – coming up with a cool app concept.

The aim here is not to become the next Mark Zuckerberg with a world-changing idea though. Instead, the aim should be to create something that’s as simple as possible while still being fun/interesting. Don’t make it so boring that you don’t want to make it but try to avoid any complex functions as far as possible. Ideally, the app will only require one ‘screen’ (activity) and will involve some simple interactions so that something happens when the user presses a button. Consider it a challenge to make something that’s genuinely useful with the minimum amount of code.
You can build something more complicated in future but to get you started the priority is to get a working app in the store. By the end of day one, you should know what it is you’re going to make and have an idea of how it will function.
Day 2: Drawing a wireframe
Now you know what it is you want to create, you should come up with a basic wireframe for the app. Wireframing is an expression often used in web design but it applies here too. It means drawing a map of the individual screens (if you’re going to have more than one), of the buttons, and of any graphics you’re going to use (like logos, images, backgrounds etc.). This will give you a good outline for everything you need to create.
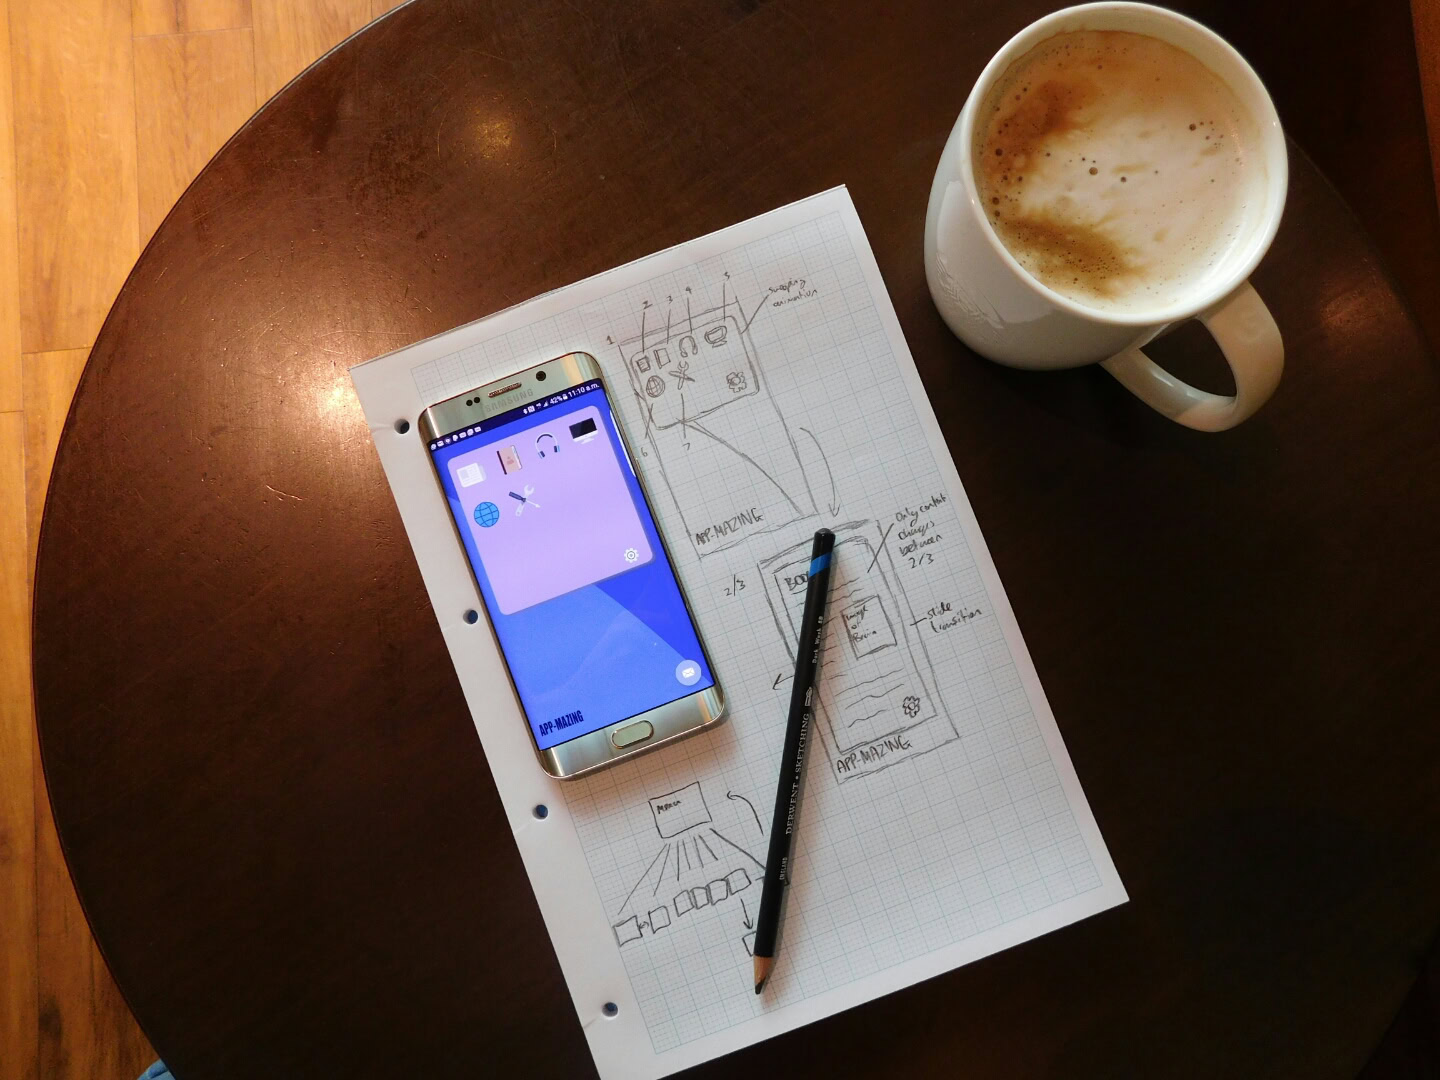
You can find a pretty good guide to creating wireframes from Google here. I recommend going with something a little less complex for your first app though. Don’t worry about following any particular method for creating your plan either – just draw it out in a way that you understand and that comes naturally. Use some grid paper and sketch freely. Either way, by the end of day 2 you should have a sketch of your app and know precisely what graphical elements you’ll need.
Day 3: Choosing your IDE and setting it up
The next step is to choose your IDE and programming language and then get set up. The IDE is your ‘Integrated Development Environment’; a piece of software that provides everything you need to develop your apps. This software will provide the window where you’ll enter your code, it will check it and format it as you type and it will compile everything for you when you’re ready to test it or publish it. The IDE is not the programming language itself though, so depending on the method you’re using you’re also going to need to download the Software Development Kit, which contains the compilers for the programming language itself. Don’t worry about that though, just follow the steps outlined and it will all be handled for you.
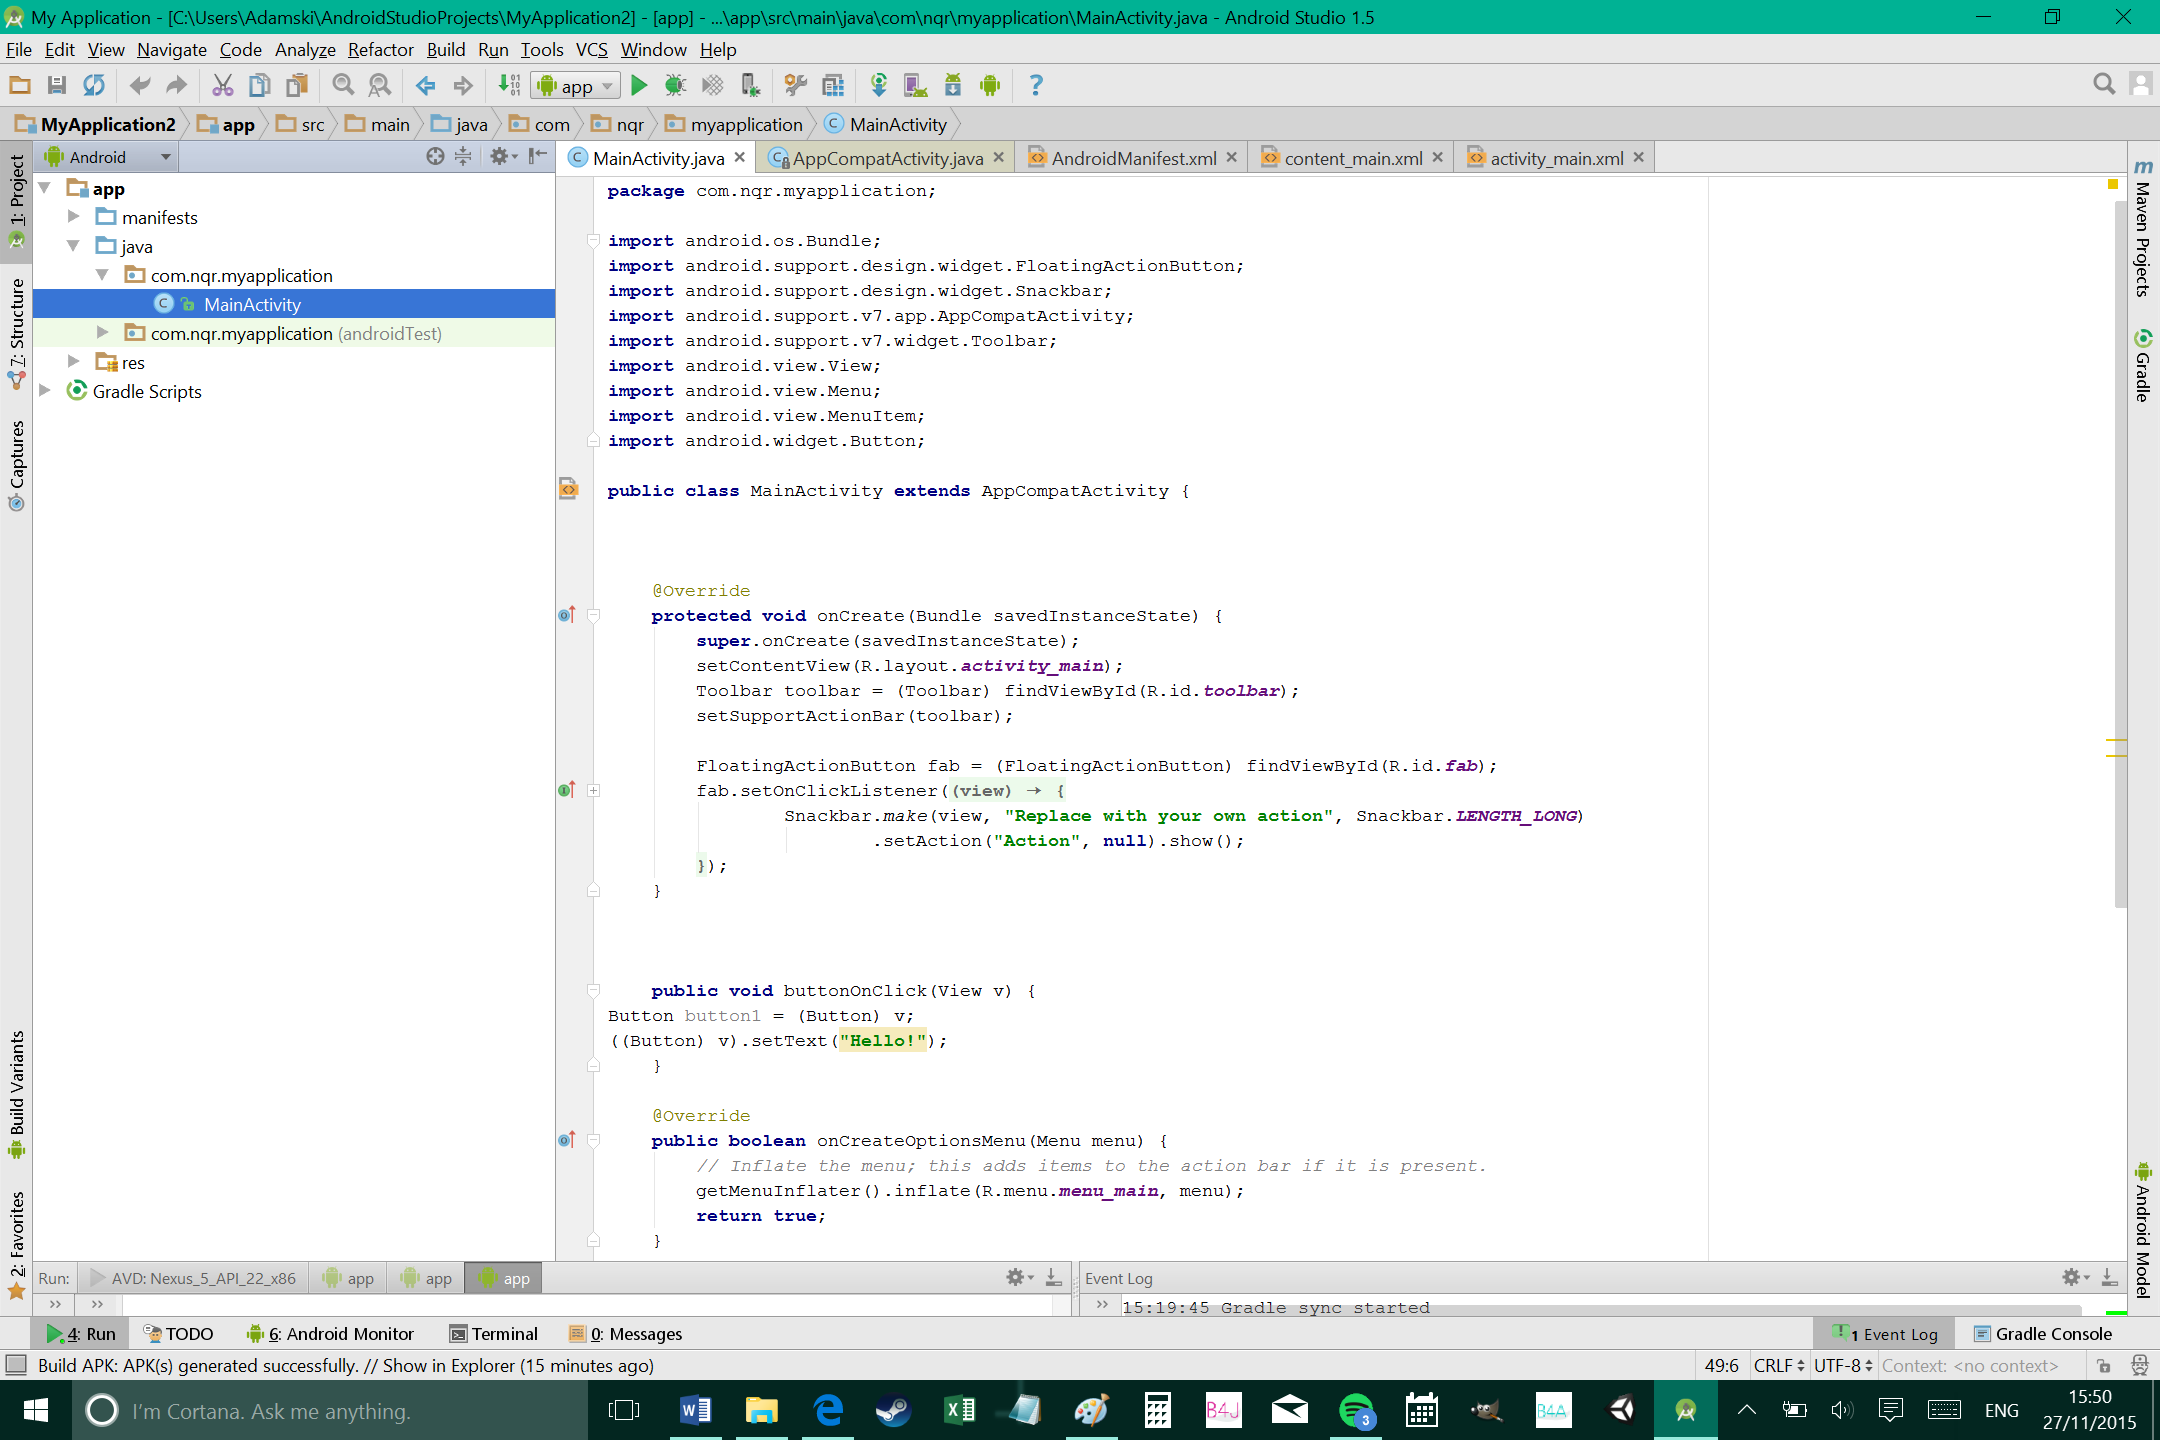
The most common way to build Android apps is to use Android Studio and Java. This is the official method recommended by Google and it will afford you a lot of flexibility while ensuring there’s plenty of support if things go wrong. This is also the method you will need to know if you ever plan on becoming a professional developer. I’ve published a post previously walking through the steps needed to get started with Android Studio. This will show you how to install and set-up everything you need from Android Studio itself, to Java and the Android SDK. Again, don’t worry about it.
There are numerous other options for your IDE and language too however. You may pick Unity and C++ for instance if you want to make a game. Basic4Android is an IDE focused on rapid development that lets you code with BASIC rather than Java. There’s even an IDE that runs on Android called AIDE.
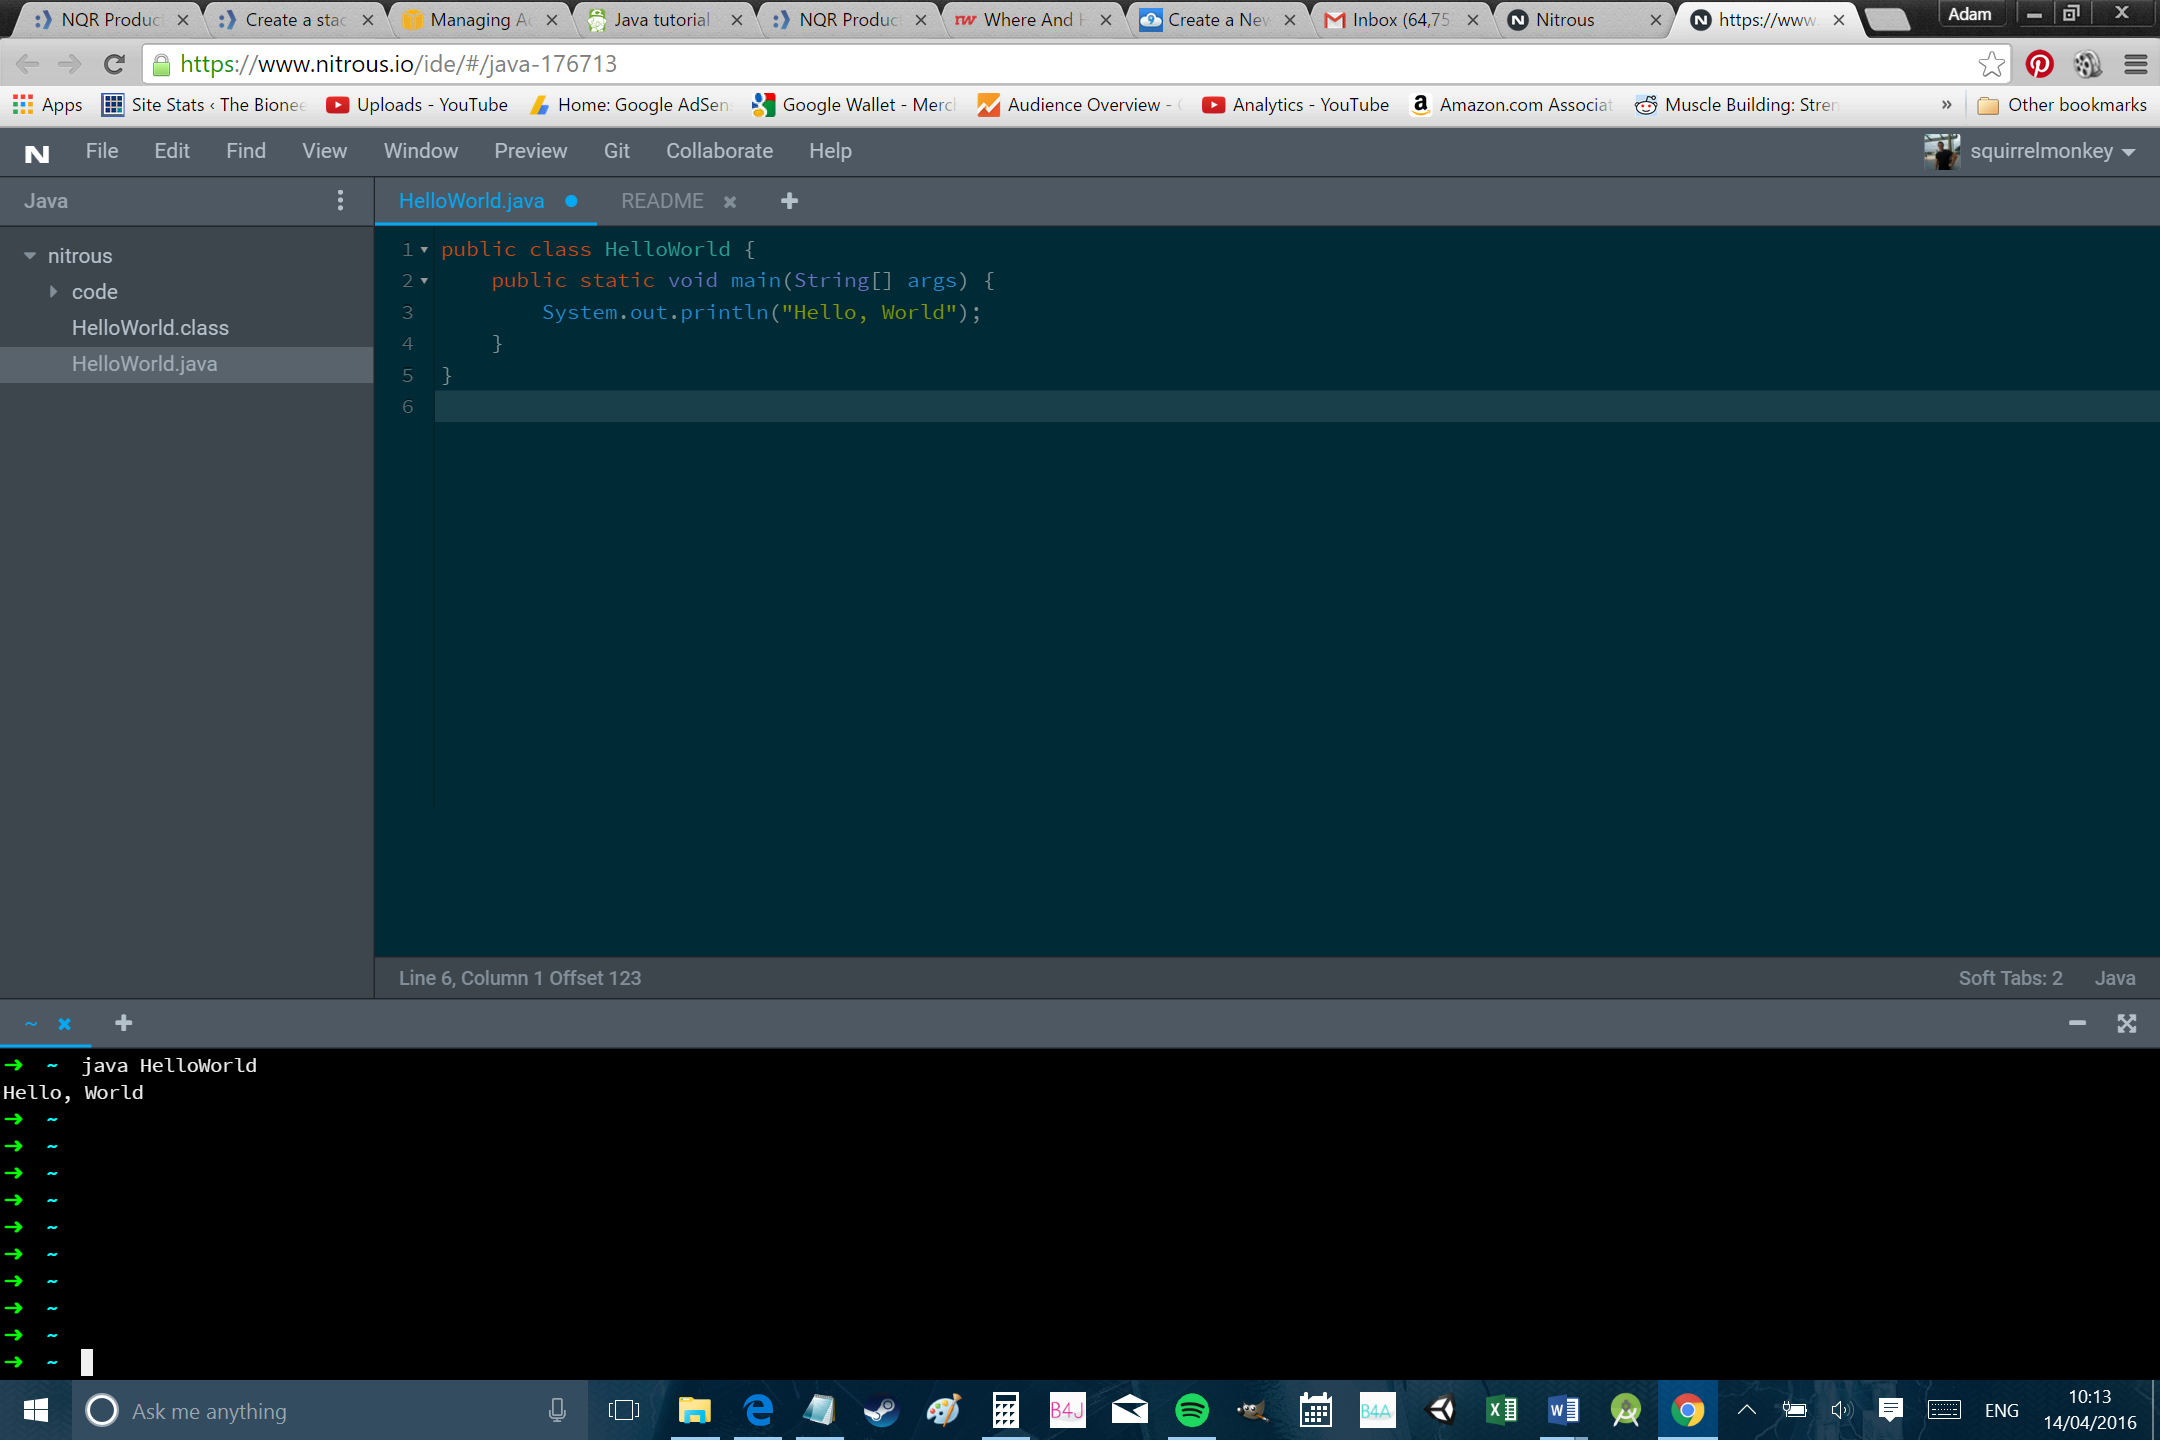
In the vast majority of cases though, I recommend that you use Android Studio for your first app (and the rest of this post will assume that’s the route you’re taking). Walk through the steps I outlined to set that up and try to create your first ‘Hello World’ program by the end of day 3.
Day 4: Learning the basics of Java
As we’re using Android Studio and Java to build our app, it will certainly pay to learn a little Java. There’s no need to becoming a coding wizard at this stage but you should at least know what the formatting looks like and you should be familiar with some simple concepts such as variables, classes and conditional statements.
Sounds terrifying? Don’t worry – it’s a lot easier than you think! Gary Sims and I have been working on a Java tutorial series to teach you the ropes. If you read through those first two posts, then I’m fairly confident you’ll be able to get a grasp of the basics in a day. And don’t worry if it doesn’t all gel right away; we’ll be coming back to this. For now, just read enough to give yourself a basic idea of how Java works and what it’s going to involve. And think about this in the context of your app. What types of variables are you going to need? What operations will come in handy?
And as you do this, revisit your wireframe and make a note of what will happen on each button click. Don’t worry if you don’t know how to connect certain code to certain interactions yet, that will come with time. This is all going to be very abstract at this point!
Day 5: Creating/acquiring your images
That was a bit heavy, so for day five we’re going to come back to doing something a little easier and more fun. Specifically, we’re going to create and acquire the images that we need. You should know exactly what kinds of materials you’ll want based on your wireframe and that will include things like icons, logos and backgrounds.
There’s nothing wrong with using free materials; most professional apps do it!
Some of these things you can build yourself using tools like Adobe Illustrator. Others you’ll probably want to borrow and fortunately, there are tons of free resources where you can find images in the public domain. Check out Icons, fonts, tools and more resources for Android developers for a helpful list. You could even go another route and outsource some aspects of the design.
We’re aiming to do this in an evening remember, so don’t be too ambitious! There’s nothing wrong with using free materials; most professional apps do it!
Day 6: Building the layout
Now you’re going to create your layout in Android Studio using the ‘designer’. This is a tool that lets you simply drag and drop the widgets (also called ‘views’) where you want them on the page. You’ll need to start a new project in Android Studio to do this but there will still be no coding necessary at this point (except maybe a little XML). To start a new project select File > New > New Project. Follow the steps selecting a name for your project and for your activities and choose ‘Empty Activity’.
Now we’re going to be launching the ‘designer’ before starting to arrange where we want our widgets/ views (the buttons, images and text etc.). I’ve written about how to go about this in my tutorial How to build and use a basic Android app for your business and although that post is about creating a business app, the same layout and design principles apply. That post will also show you how to add the graphics you collected to your project.
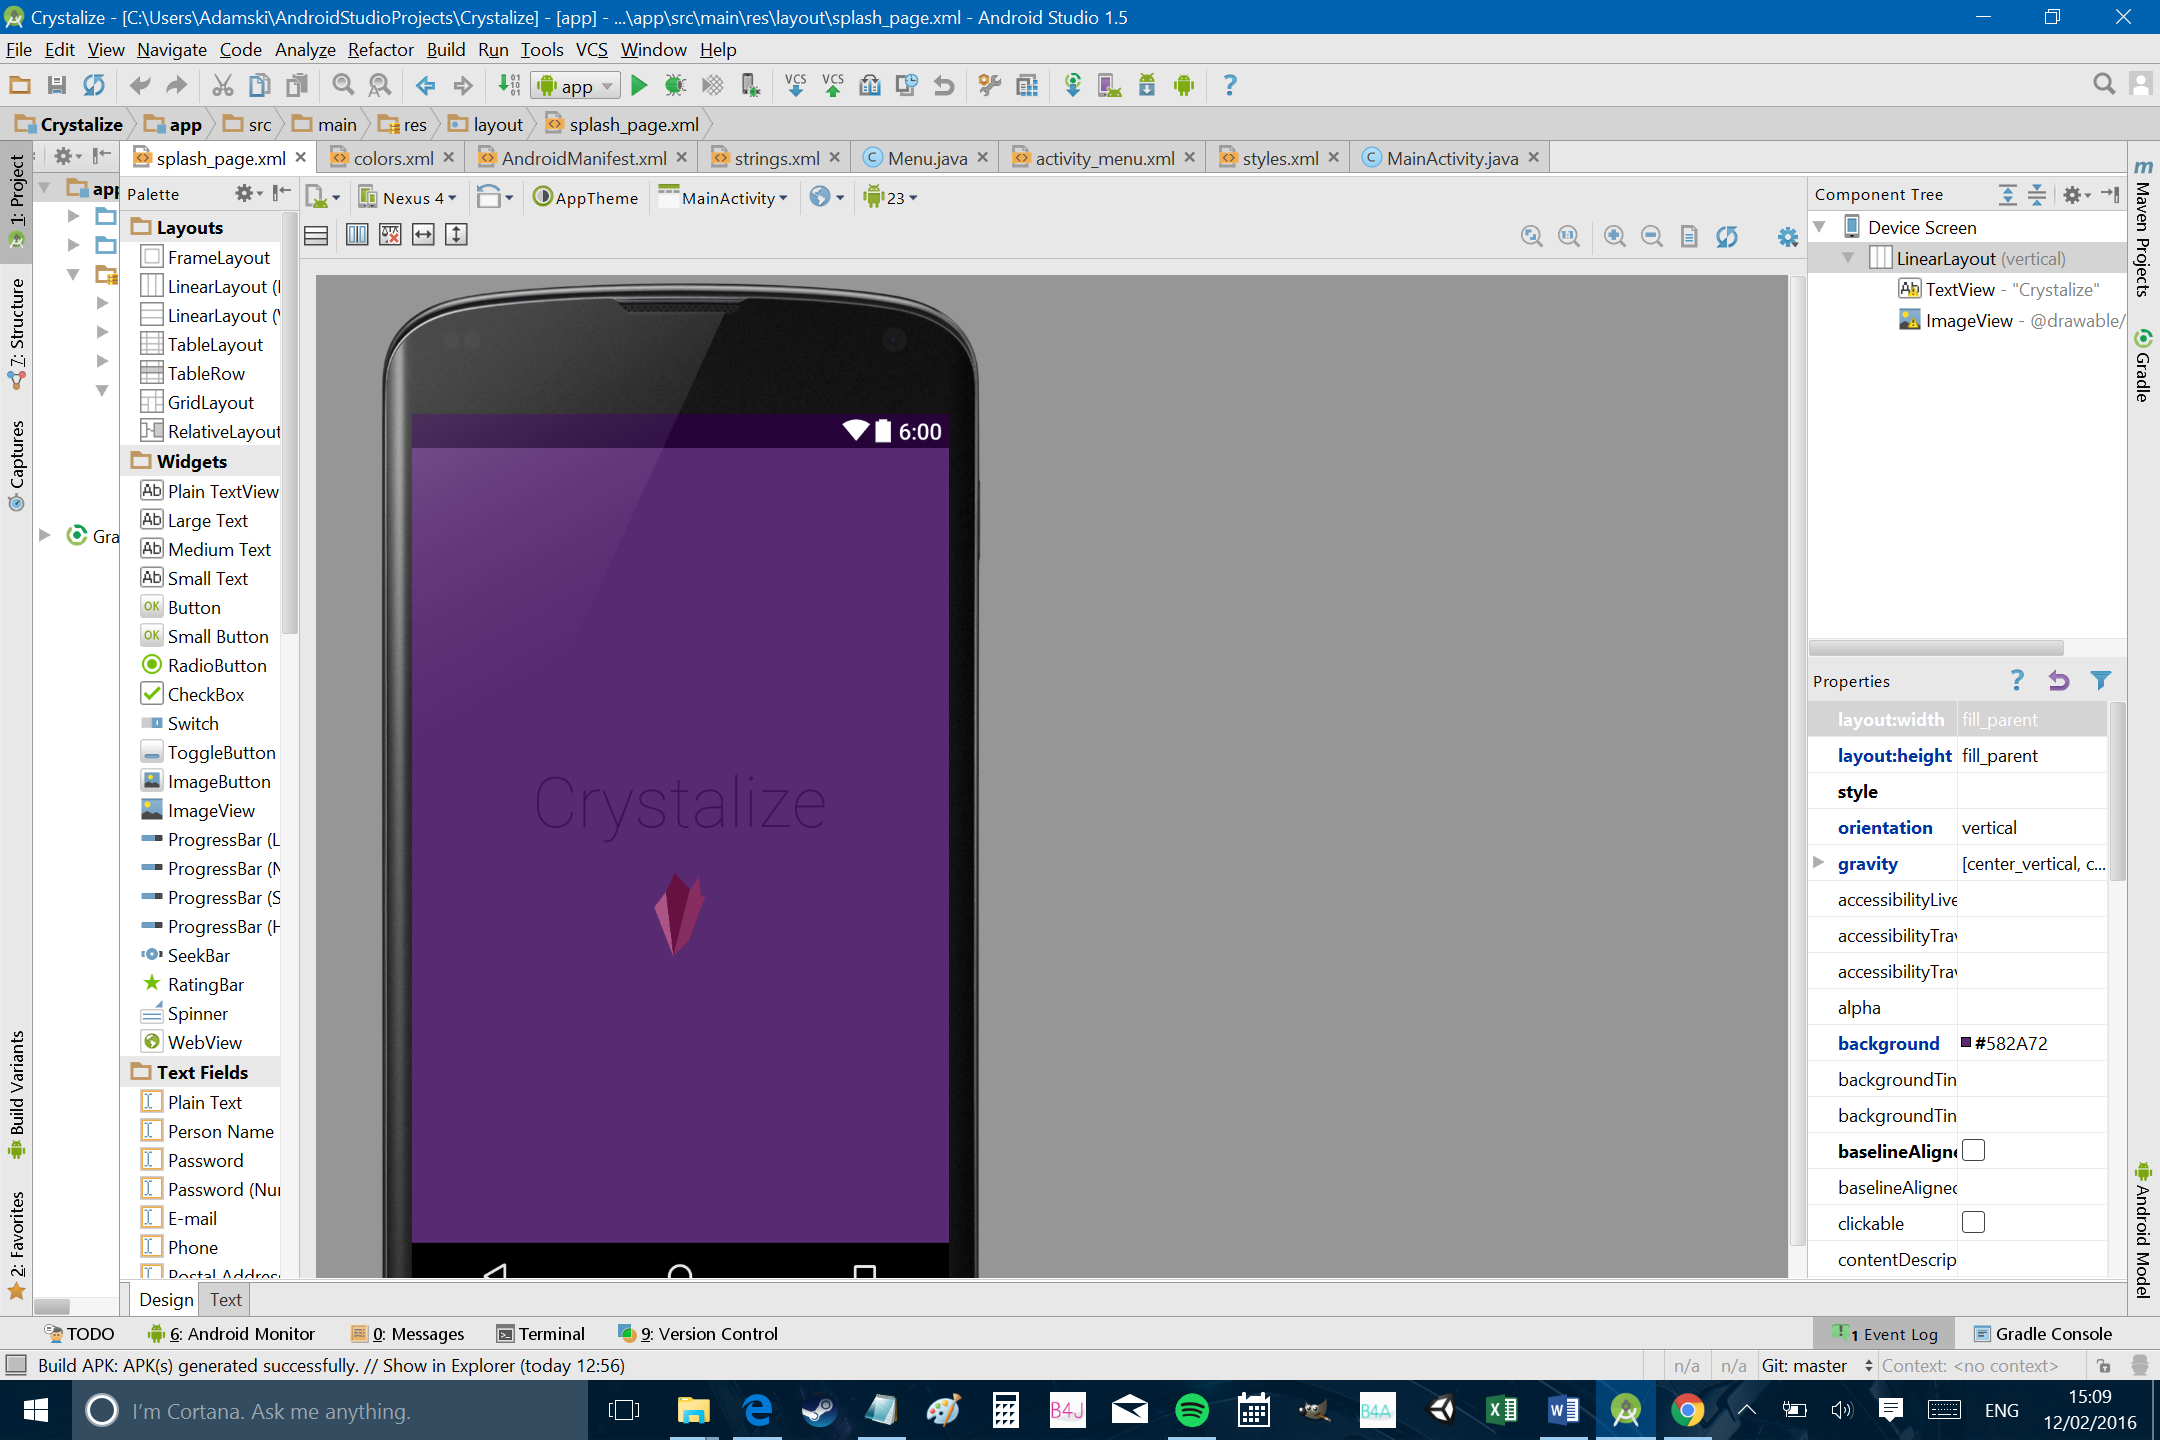
If you need to create more than one screen, then you’ll need to create a new activity. Like I said though, our aim is to make this app as simple as possible and that means limiting the number of activities as much as possible. If you only have one or two screens and you use a minimalistic design, you should be able to finish the basic layouts in a day.
Day 7: Writing the code
Now comes the more challenging part – adding the code. You know the basics of Java and you have your widgets/views already in place. Now you’re going to open the Java file for your main activity and simply create some ‘onClick’ events to add code that will run only when users click a specific button or otherwise take a specific action.
Take what you already know about Java and then read my two-part series on how to build a simple Android app (part two is here). This will show you how to make certain things happen when your buttons are clicked and how to handle things like variables, resources etc. It can also serve as a recap on how to create a new activity and do some other basic bits.
Do as much as you can with what you already understand about Java and what you learn from this post. Don’t worry if the app isn’t finished yet in terms of functionality though – we’ll be adding more tomorrow. Just set up the basic things like operations, variables and button clicks.
As you build your code, you’ll want to test that it’s working. You can either do this by building a ‘debug’ APK and installing it on your device, or by using the AVD (Android Virtual Device) Manager. This lets you run Android apps on your computer so that you can test whether your apps are working or not. This post by Alex Mullis on the Android SDK will show you how to get it up and running.
Day 8: Implementing more advanced functionality
You probably didn’t completely finish your code in one day with only a few hours’ worth of learning Java (unless you’re some kind of prodigy!), so this bit will take a little longer. That’s why I’m setting aside two days to add the code…
By now though, you should have some of the basic functionality in place so that your app responds to button clicks (in one way or another) and perhaps stores some variables.
Next is to add the more advanced functionality that will be specific to your app. For example, you might want your app to play music when a button is clicked. Maybe you want to add some flashy animations. Or perhaps you need to know how to transition from one activity to the other.
With the ability to look up your own solutions and use them, there’s really no challenge you can’t handle.
All these things are relatively easy but I can’t cover all of them here because I don’t know what kind of app you’re making! So instead of giving you fish, I’m going to teach you how to fish… Just identify what it is you need your app to do and then search Google to find advice on how to get that working.
For example, if you want your button to play a sound when you click on it, just search: “Android Studio play mp3 on click”
At the time of writing, that search string brings up a ton of different suggestions from sites like Stack Overflow and YouTube. You don’t even need to understand how the solutions work – just grab the code and paste it into your own app to add the required functionality (replacing any variables as necessary).
With the ability to look up your own solutions and use them, there’s really no challenge you can’t handle. By the end of day 8, your app should be able to do all the things that it needs to do.
Day 9: Adding some extra polish
Being realistic, your app is probably still a little rough around the edges at this point, so you should do some stress testing to make sure it isn’t going to crash all the time and maybe add some polish here and there too.
There are ways to economically test your apps on a range of devices without needing to buy out Carphone Warehouse. I’ve also written a few posts myself looking at how you can give your app that material design look, or more generally how you can ‘pimp your app’ and give it a nice coat of paint.
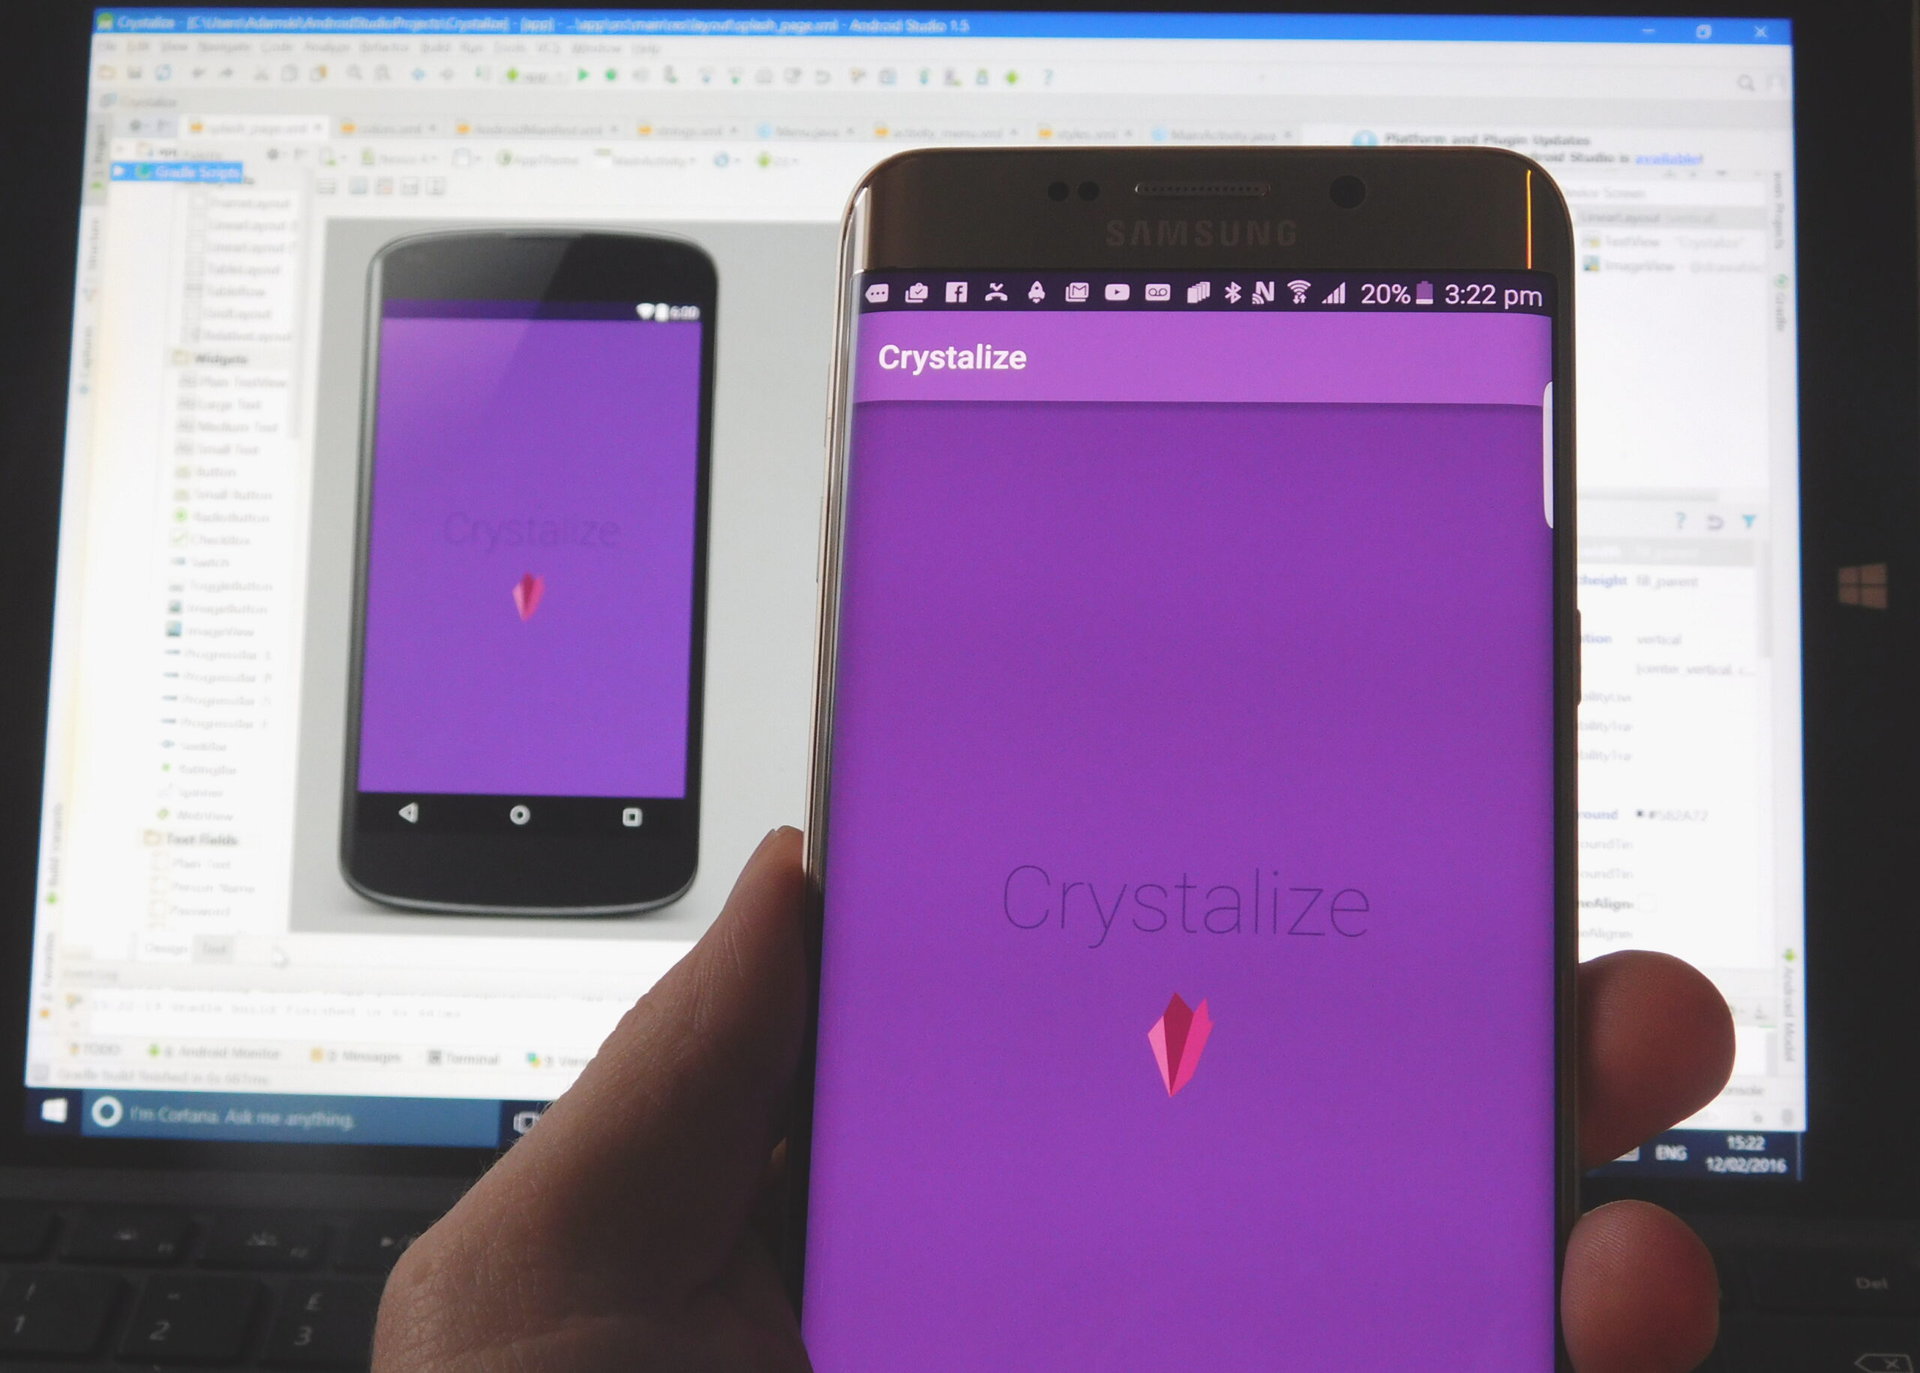
Another tip is to give your app to your friends and family so they can have a go at testing it. Do what needs to be done to make sure your basic app is polished and ready for the prime time.
Day 10: Publishing your app
Finally, you need to publish your app. That means you need to sign your application and create a new APK (the installation file that users will download to use your app). Signing is a form of certification which ensures no one except you can upload updates etc. The official documentation can be found here. You should also view this page to find out how to build a release-ready APK through Android Studio.
Gary has written a post about publishing your first app in the Play Store, it will walk you through the step of uploading the APK to Google. You’ll need to pay a $25 registration fee but it’s a one off and hopefully it will prove to be a smart investment once you’re a billionaire app developer!

As you go through this process, you’ll be required to select a price (free is probably best for now) and to fill out fields pertaining to your app description. You’ll also need to add some screenshots and an icon. For some pointers on how to get your app to stand out in the store, check out how to make your Android app stand out and get noticed.
Day 11: Rest
And on the 11th day, you shall rest! And also watch in eager anticipation as your download counter creeps up and you start getting reviews (hopefully anyway!). Don’t worry if that doesn’t happen though; this is just a learning curve and no matter how things turned out, you should now be much better poised to start on your next project. And regardless of whether you managed all this in ten days, hopefully you now understand the process you need to go through in order to create your own applications. It really isn’t all that hard once you jump in!