Affiliate links on Android Authority may earn us a commission. Learn more.
I customized my Sony DualSense controller: Here's how it went
Published onDecember 25, 2022

The Sony PlayStation 5 is over two years old at this point, but it’s still tricky to get. Thankfully, the official controller for the console — known as the DualSense — is much easier to grab. It’s also widely compatible with PCs, Macs, Android phones, and iPhones, so it’s worth checking out even if you don’t own a PS5.
Although the controller comes in various colors, there’s still plenty of room for more options. As such, you might be looking into trying to customize a DualSense to make it more your own, match your rig, or even be more functional for your needs. You might then wonder if this is a good idea since taking any electronic device apart can be daunting.
I was in this situation recently. I wanted to customize my DualSense to play PC games and was a bit nervous to take the plunge. If you are in the same boat, let me tell you how I got through it all so you can have a better idea of what to expect.
Why would I want to customize a DualSense?

Most people who want to change up the look of their controllers are seeking a new aesthetic experience. However, my approach was a bit more utilitarian. Although I own a PS5 and two DualSense controllers for it, I also own two other DualSense units that I use for PC games.
Steam’s controller support makes the DualSense widely compatible with modern PC games. Unfortunately, it faces a huge problem with older titles: button mismatching. For example, if I play a modern Steam game, the DualSense will work fine, with on-screen buttons matching what’s on the controller itself. On older titles, though, Steam will treat the DualSense as an Xbox controller. This makes the icons that display on-screen associate with the classic Xbox ABXY face buttons. A DualSense doesn’t have these, which leaves me frustrated because I can’t see which button is which.
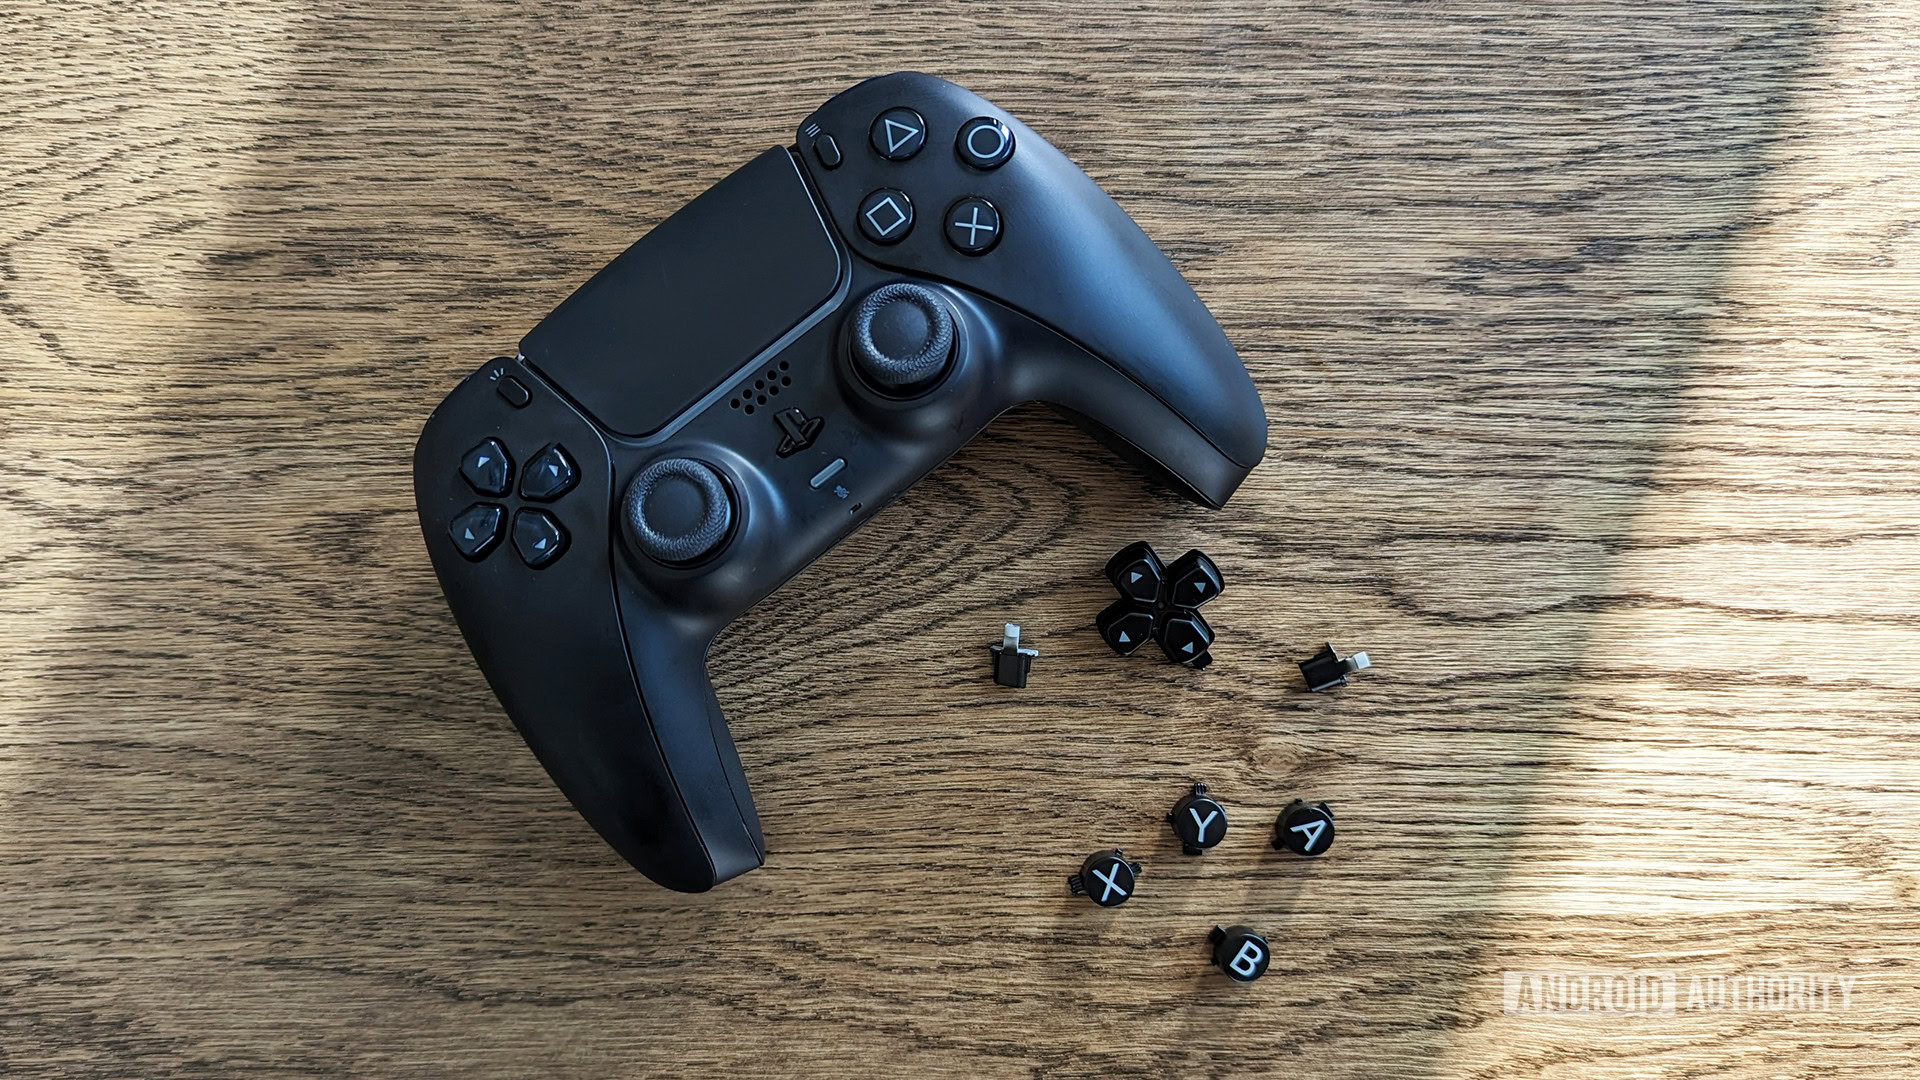
I customized my DualSense with Xbox-style face buttons so on-screen images in PC games would match.
In other words, the game will say “Hit the A button,” and I’ll need to remember that that means the cross button on the DualSense. This really frustrates me.
Hardcore gamers likely have these buttons all memorized and will think I’m crazy. As a more casual gamer, I don’t have them memorized, which can be problematic with games that have quick-time events. That’s when I really need to be able to see the buttons. Also, if you’re wondering why I don’t just buy an Xbox controller instead, there are two reasons for this: gyro support and the touchpad. Xbox controllers don’t have either of these features, and they are especially important to me because I do a lot of console emulation, and having access to a mouse cursor and gyro makes that so much nicer.
All of this is why I bought some DualSense ABXY face buttons from this Etsy seller. Prior to my purchase, I didn’t look into how I would get them into the controller, but I figured it can’t be that hard, right?
The overall process

To do the customization, I followed along with this YouTube video. The controller is out of focus sometimes and the YouTuber says “guys” way too often, but the instructions were clear and only went over the information I needed — nothing more, nothing less.
Thankfully, I only needed a pry tool and a tiny screwdriver. Using a pry tool is always nerve-racking because I’m concerned I’ll break the thin pieces of plastic right off. So I stepped into the process quite nervous.
However, it was actually a lot easier than I expected. Getting each part off was pretty straightforward. And, since you don’t need to mess with any of the circuitry to swap out the buttons, there wasn’t much risk of doing irreparable harm to the device.
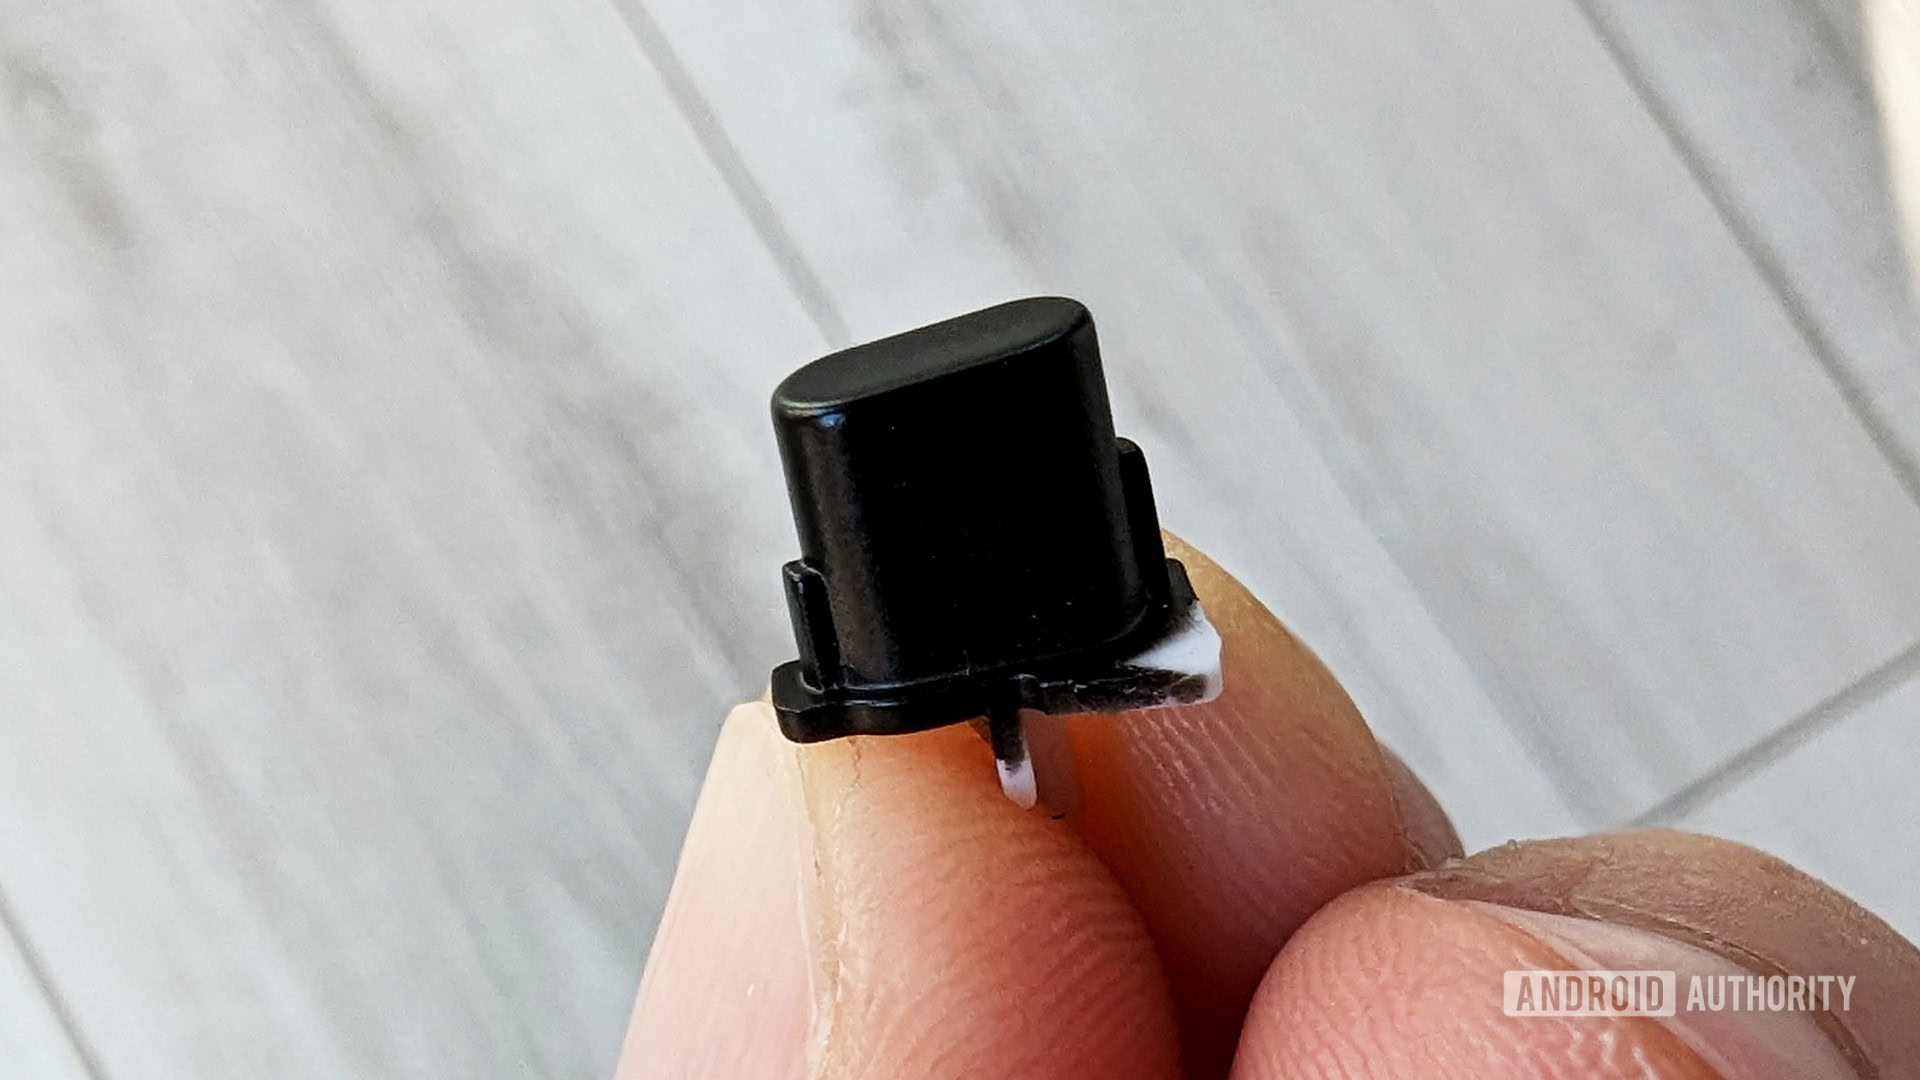
In the photos above, you can see the general steps. You first remove the lower faceplate guard, and then the entire back of the controller. You remove the battery, unplug the ribbon cables of the circuit board, move the circuit board out of the way, and then take off the faceplate. Once that’s off, it’s just a matter of swapping in the new buttons. Then you simply reverse all the steps to put it back together.
The YouTuber does the whole process in real-time during the 15-minute clip, which means it should only take about 15 minutes to do the swap. I went a bit slower but still had everything done in less than 30 minutes. The controller looked great and worked just as well as it did before I disassembled it.
Should you try this at home?

If you’ve ever used a tiny screwdriver to take a gadget apart, you’ll be fine customizing your DualSense controller. It seems complicated because of how many parts you need to remove to get to the faceplate, but it is as simple as unscrewing some screws and snapping off some plastic bits.
What’s more, Sony’s internal design for the controller prevents you from putting any buttons in the wrong place. So you don’t even need to worry about reassembling it only to find that you accidentally put the circle button in the square’s position. It’s pretty much foolproof.

Of course, if you’ve never done anything like this before, you should approach this with caution. Improperly removing the ribbon cables, in particular, could lead to a permanently bricked $70 controller, which would not be good. Also, opening up your controller could void its warranty, so do this at your own risk.
In the end, though, I love how functional my new controller is and I’m very glad I went out on a limb to make this customization happen. My only regret is that I just swapped out the buttons. Now that I know how easy it is, I want to get custom parts for the whole thing! Maybe that will be my next project.
Next: reWASD is the best controller software you’re not using