Affiliate links on Android Authority may earn us a commission. Learn more.
How to create and install a debloated version of Windows 11
Published onAugust 27, 2024
Many users have expressed concern about the default installation of Windows 11, describing it as “bloated” due to the inclusion of numerous unnecessary features and applications. While popular ISO images available for download offer a debloated version of Windows 11, these come with inherent risks. You never truly know what you’re downloading. A safer and more reliable approach is using Microsoft’s official ISO file and tools to customize and streamline your Windows 11 installation as you prefer.
In this article, I will guide you through the process of creating a debloated version of Windows 11 using Microsoft’s official resources. This method ensures that you maintain control over what gets installed on your system, enhancing security and performance.
Debloating Windows 11: The basics
Windows 11 has an unattended installer option, which means that a lot of the options and questions that get asked during the installation process can be predefined. This is useful for installing Windows on many machines and for those who want to trim down the process. This ability to customize the installer goes quite deep and can be pretty complex. You can remove and configure plenty of things during the Windows 11 install.
This guide effectively offers the quickest way to trim down your installation file by using this unattended installer to your benefit through an unattended installation script — a simple XML file.
Step 1: Download the Official Windows 11 ISO File
First, download the Windows 11 ISO file from Microsoft’s official website.
This step is straightforward: select the ISO file and save it to your hard drive.
Step 2: Obtain an Unattended Installation XML File
Next, you’ll need an unattended installation XML file. This file allows you to automate the installation process and customize what gets installed, essentially debloating the Windows 11 install.
Predefined XML files specifically designed to debloat Windows 11 are available online. One reliable source for these files is GitHub, specifically the UnattendedWinstall project. Visit this project, scroll through the available files, download the XML file that best suits your needs, and save it to your hard drive.
Step 3: Create a Bootable USB Drive with Rufus

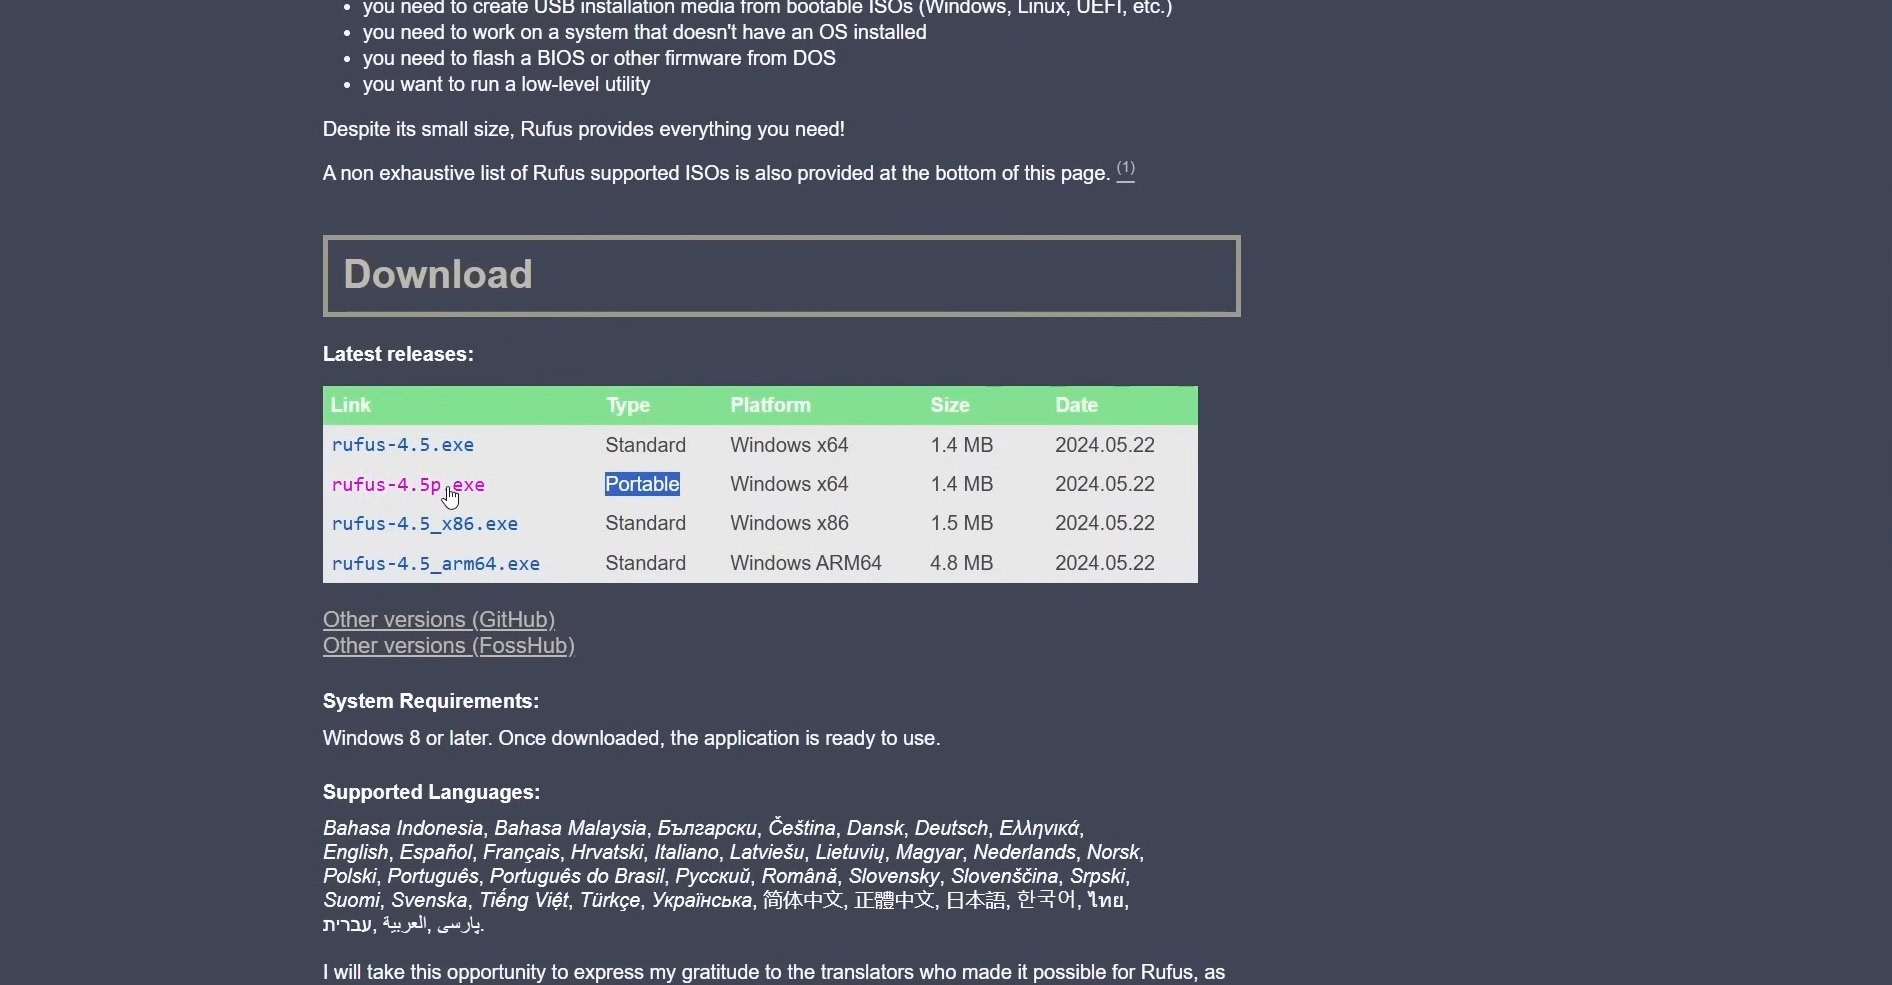
To create a bootable USB drive, download and install Rufus, a popular tool for turning ISO files into bootable USB drives. I recommend using the portable version of Rufus for its simplicity, but you can use any bootable ISO creation tool.
Once Rufus is installed, select the Windows 11 ISO file you downloaded earlier and choose your USB drive. Rufus will ask questions about customizing your Windows 11 installation, but don’t tick any of these boxes. Simply convert the ISO file into a bootable USB drive.
Step 4: Add the Unattended XML File to the USB Drive

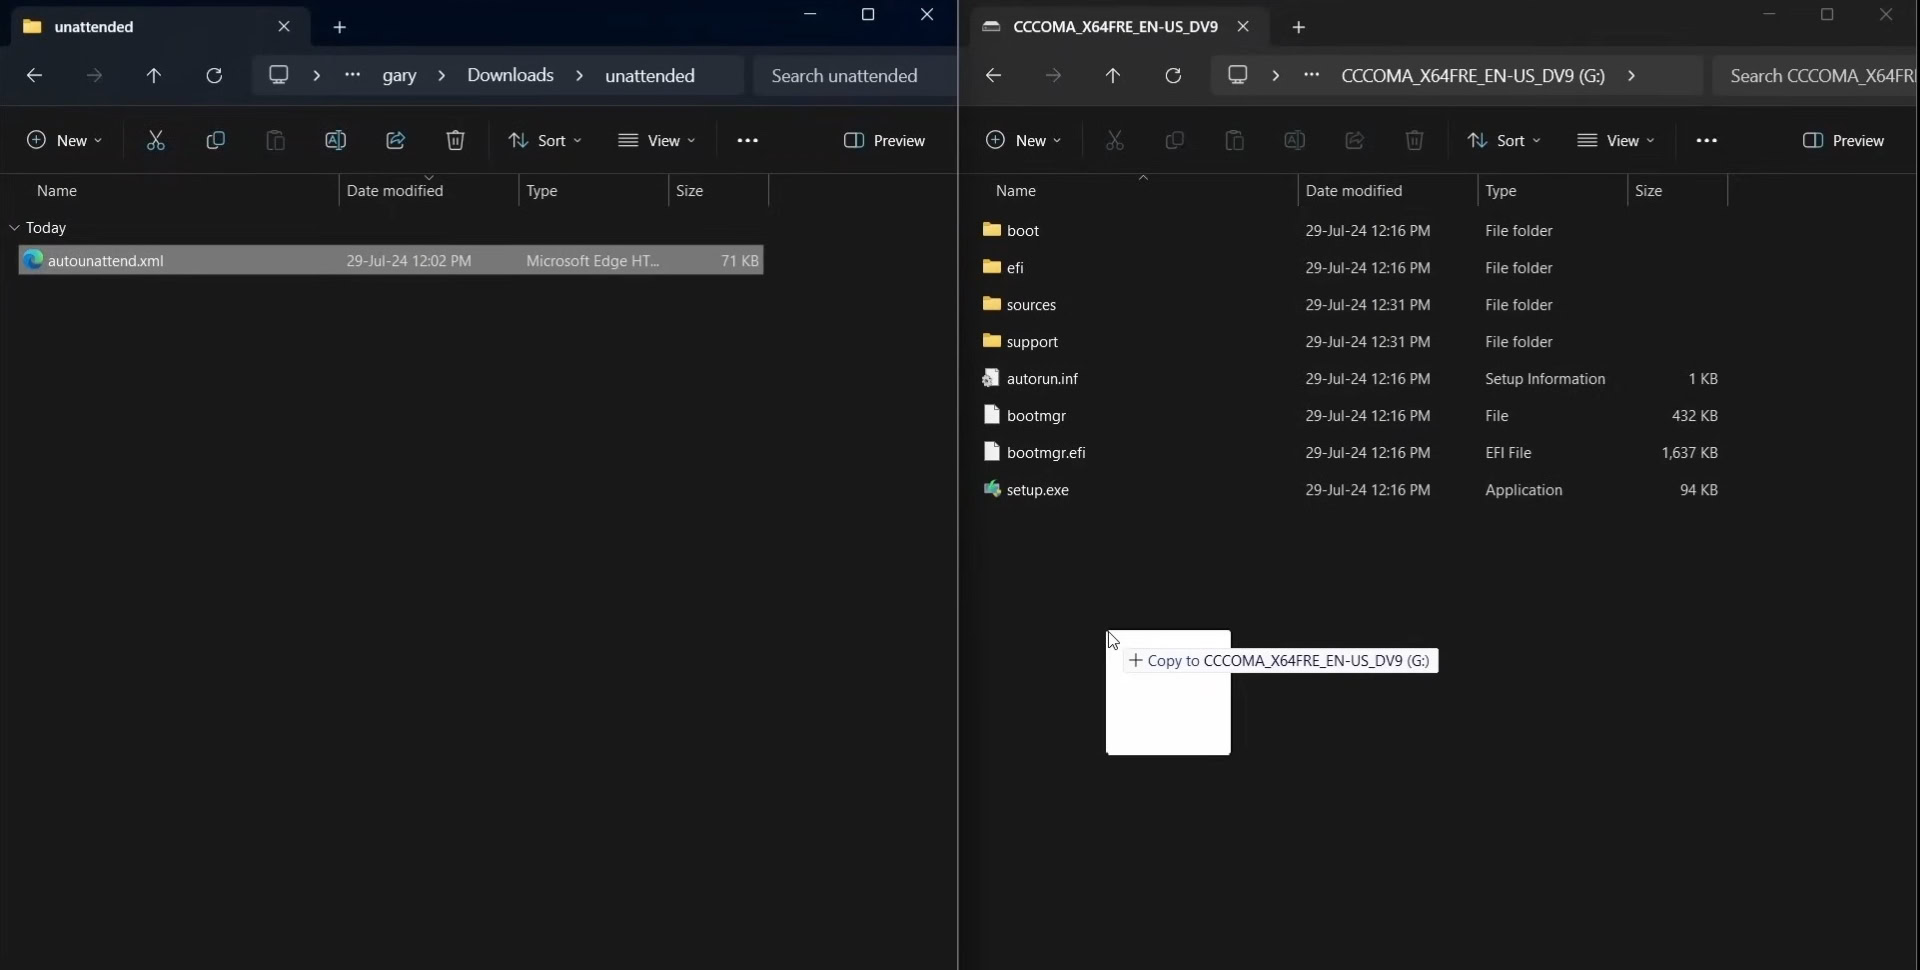
After creating the bootable USB drive, copy the unattended XML file you downloaded in step 2 to the root directory of the USB drive. This step is crucial as it ensures the installation process follows the custom configurations specified in the XML file.
Step 5: Boot and Install Windows 11

Now, boot your machine using the USB drive. The unattended XML file will automate most of the installation process, leaving only a few options for you to configure manually, such as the keyboard layout.
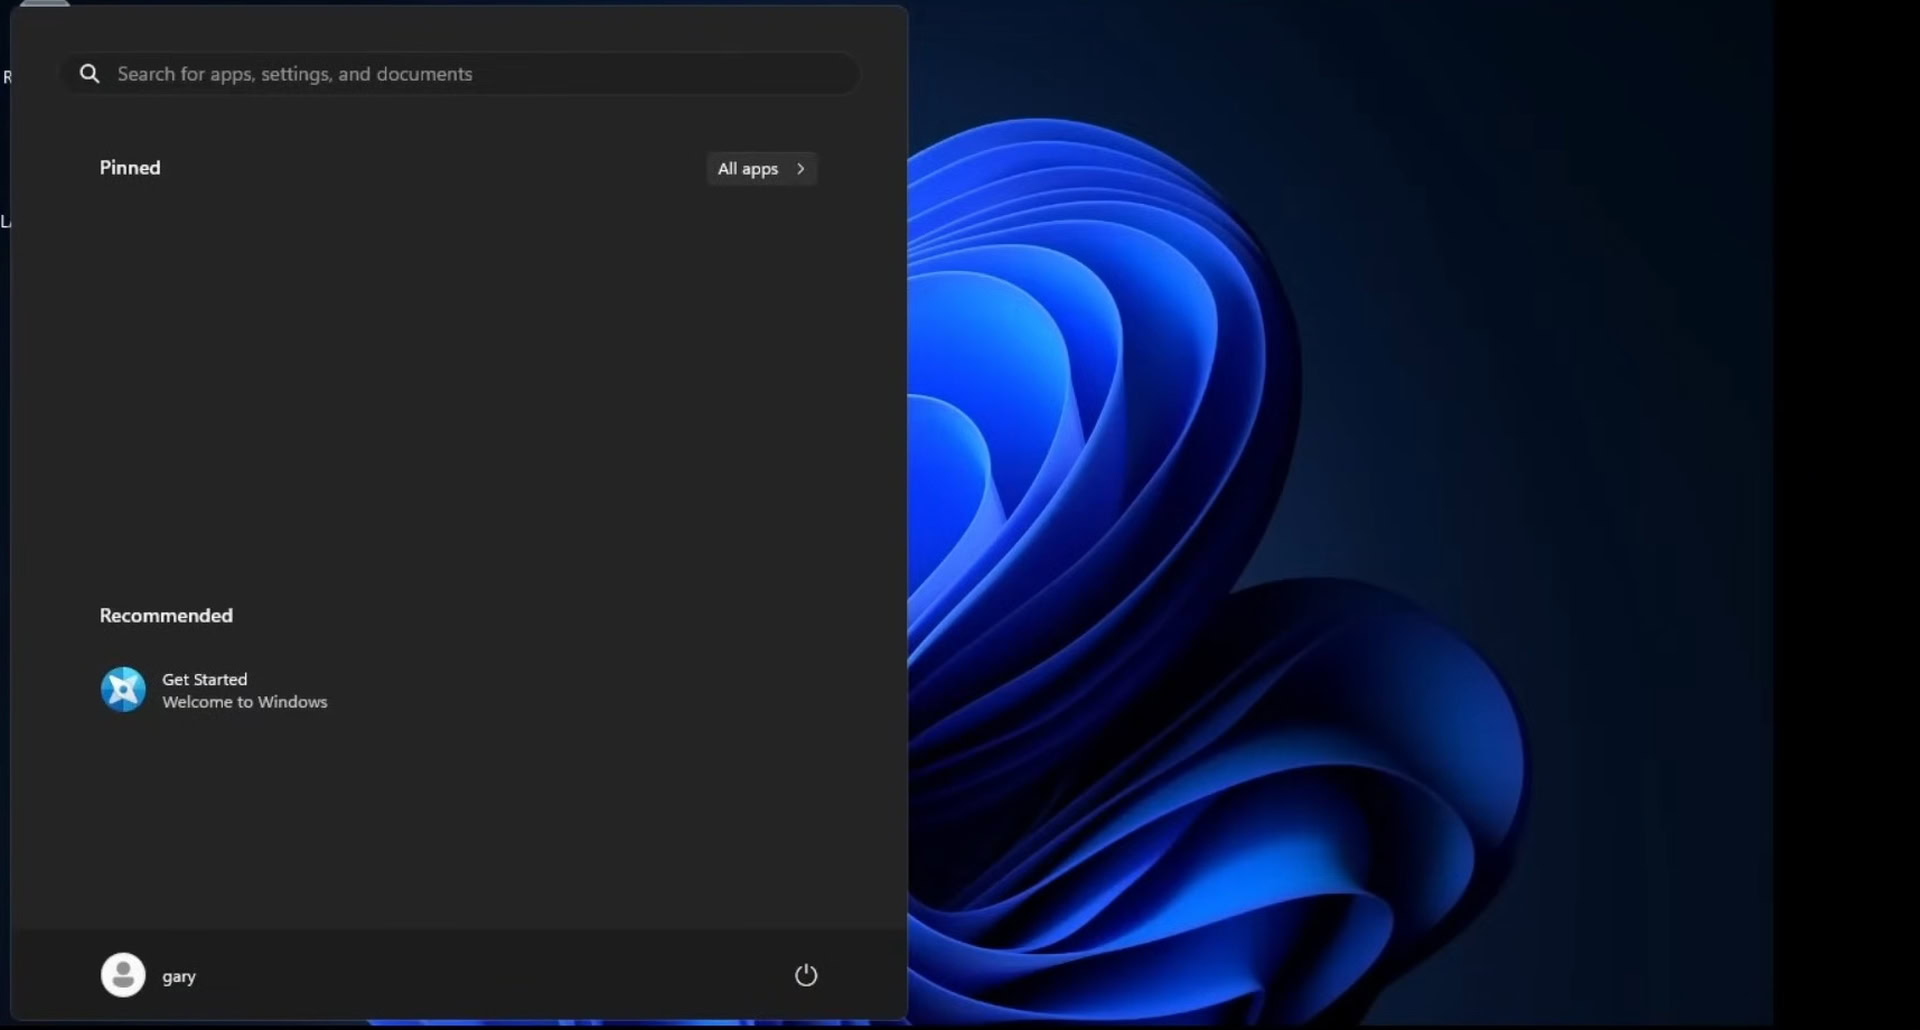
Once the installation is complete, you’ll reach the Windows desktop and notice that hardly anything is installed. This is especially noticeable once you hit the Start button, as seen above. If you go to the task manager, you can see that the OS is using much less memory than it otherwise would.
Of course, you will need to install programs at some point. This particular installation comes with a tool called Chris Titus Tech’s Windows Utility that allows you to install other essential tools, like a browser, document readers, and utilities, through the command line. If your XML does not, you can grab the tool’s install file at the link. Alternatively, you can download the installation files of some popular apps on a USB drive, plug that into your new installation, and install key programs from there.
How to generate a custom debloated version of Windows 11

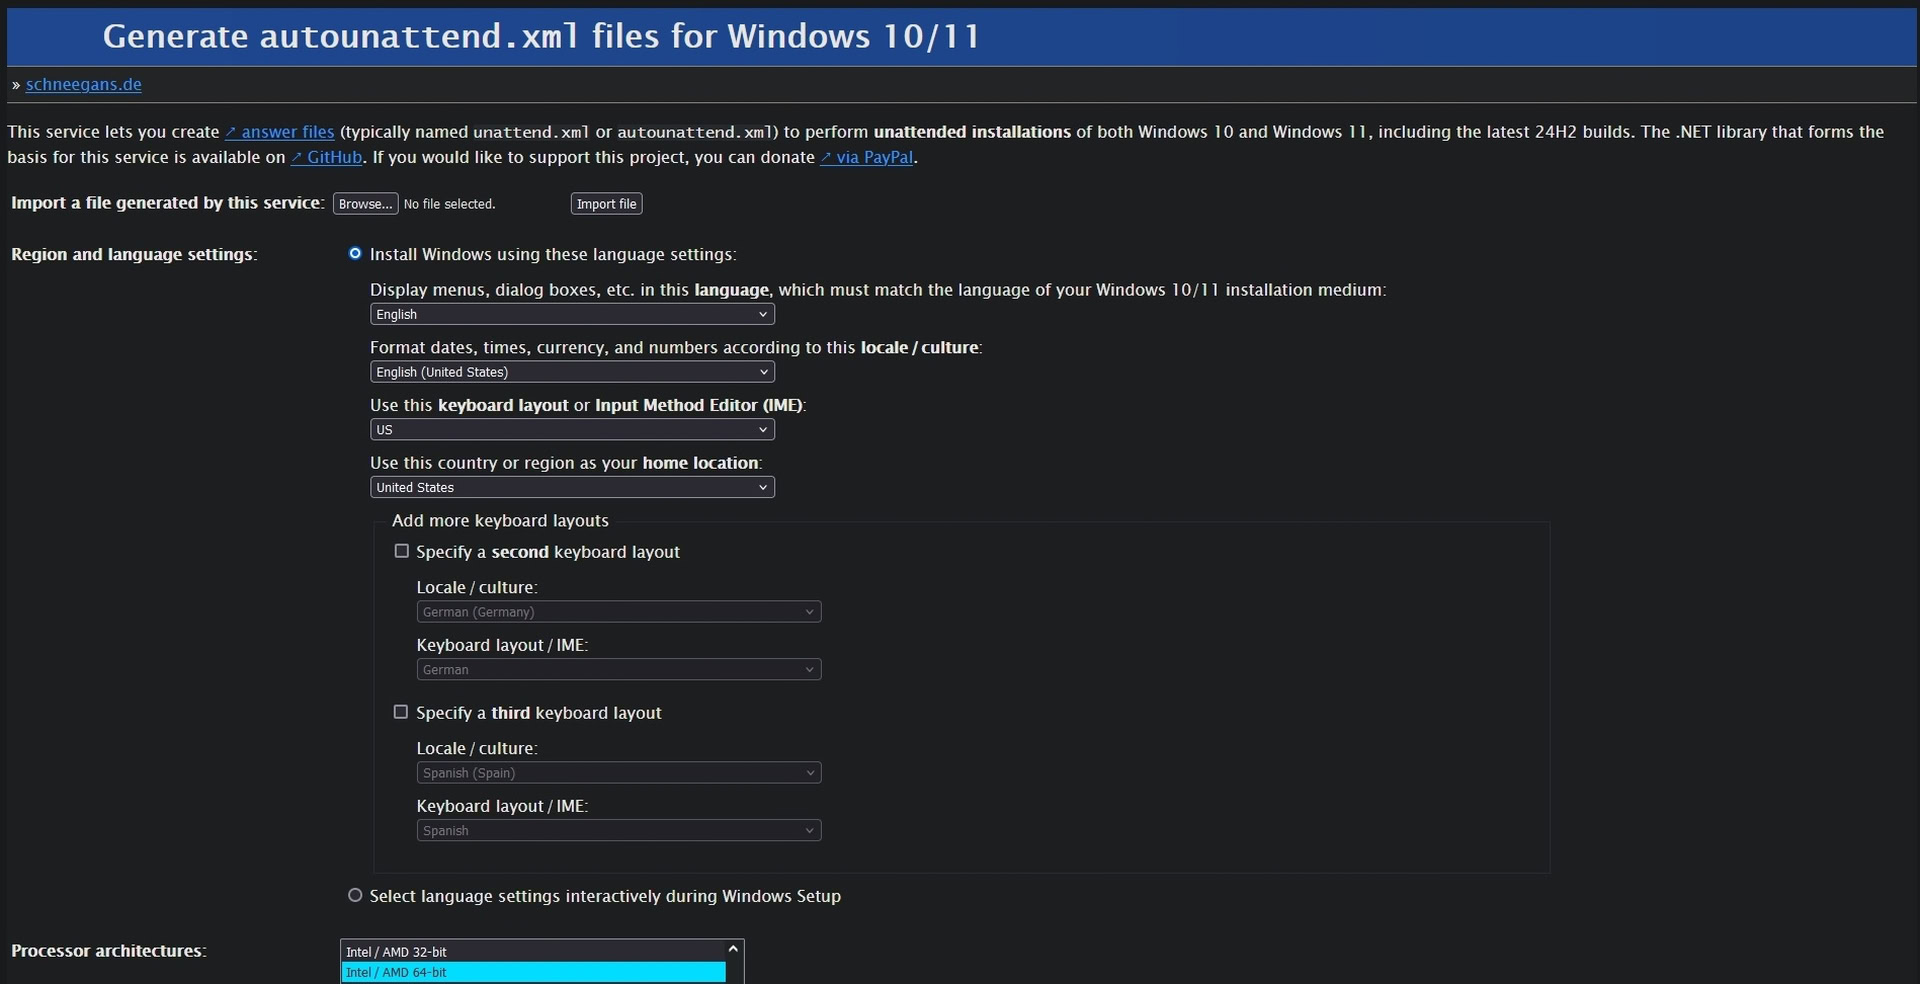
If you want even more control and want to generate your own XML file for a custom debloated Windows 11 install, this site provides that option. It’ll allow you to select or deselect several default settings, remove specific Windows apps that many may regard as bloatware, and add additional information, like profile details. Once complete, the site will generate an XML file based on your choices. From here, you can follow the steps outlined above to create your custom debloated Windows 11 install.
Following these steps, you can create a debloated version of Windows 11 using Microsoft’s official ISO image and tools. This method enhances your system’s performance and ensures higher security.