Affiliate links on Android Authority may earn us a commission. Learn more.
How to delete one or multiple contacts on your iPhone
Published onMarch 24, 2024
It’s always smart to trim and edit your iPhone contacts regularly — apart from keeping things better organized, it avoids potential mistakes, such as accidentally texting your friend John instead of your uncle John. Below, we’ll explain how to delete one or multiple contacts, including merging duplicates.
QUICK ANSWER
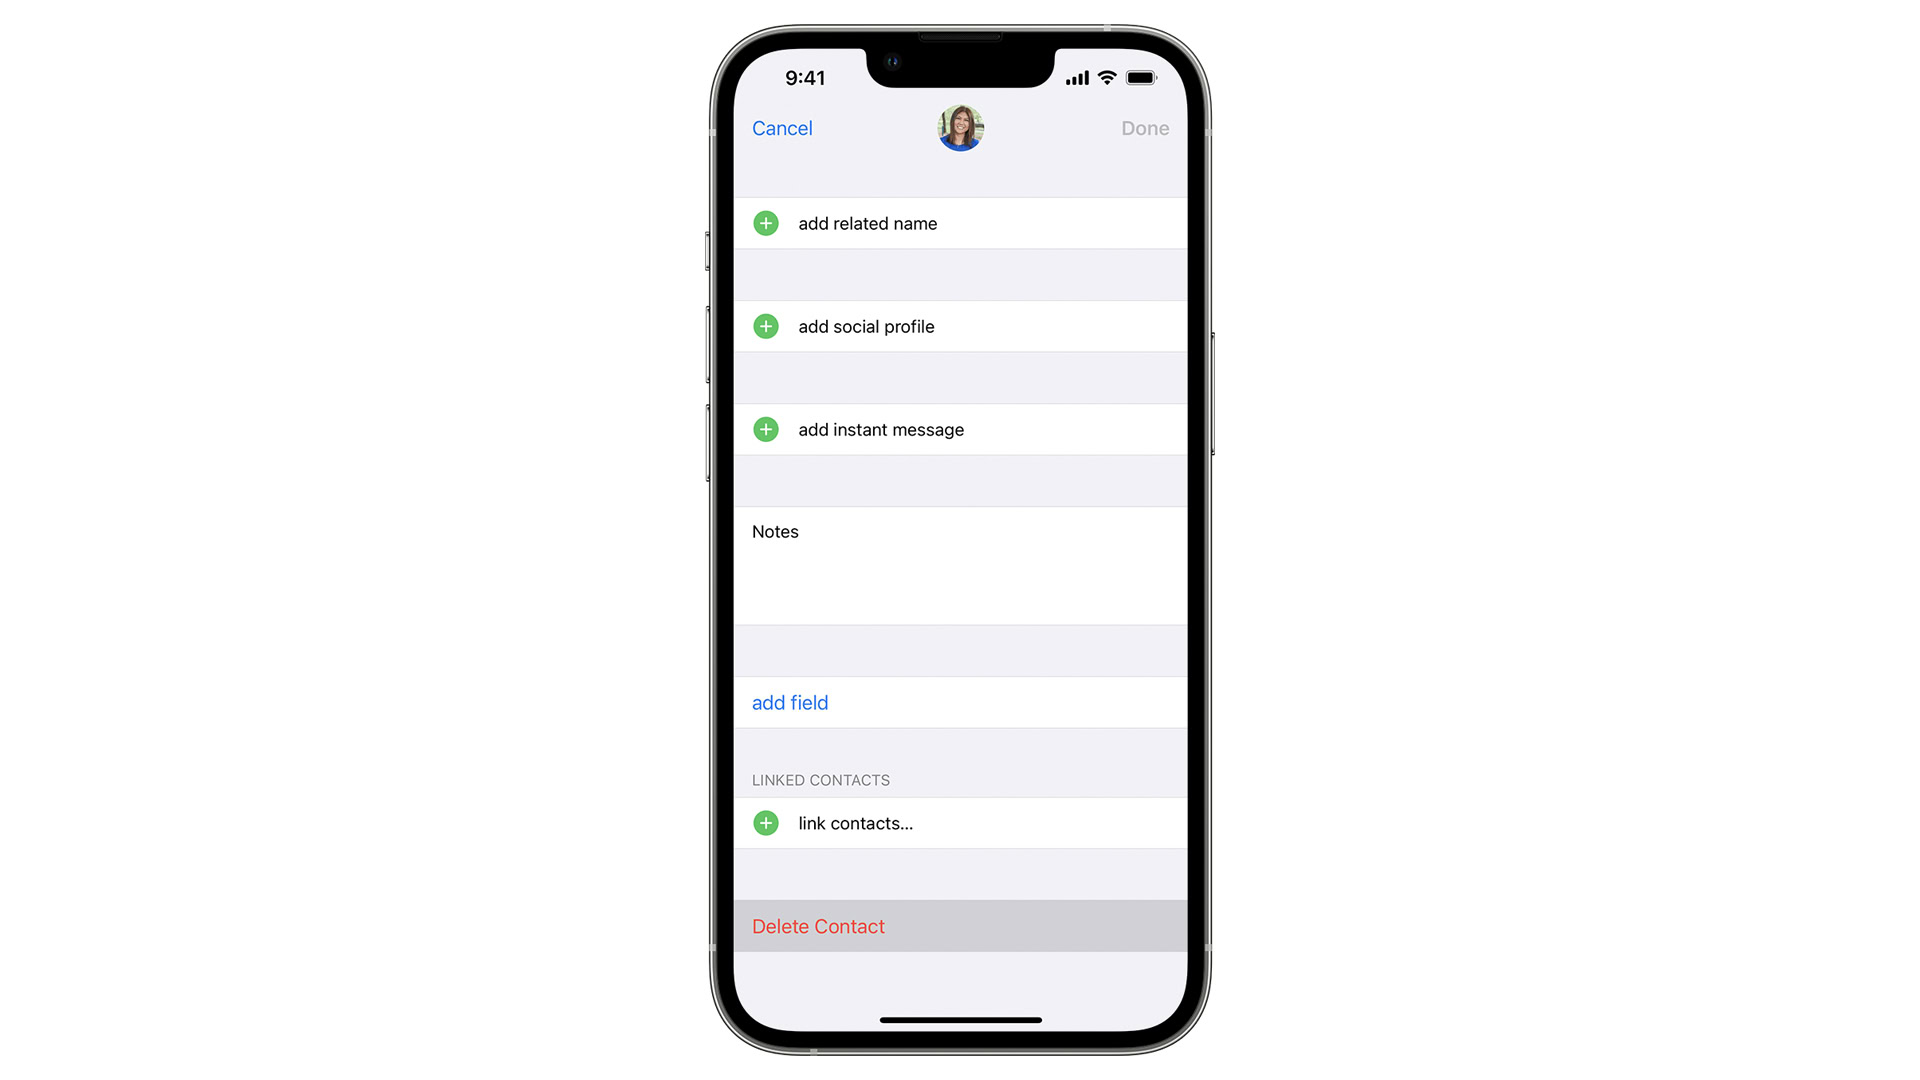
- To delete a single contact, open the Contacts app, select the listing, and then tap Edit. Scroll down and tap Delete Contact.
- You can delete multiple contacts at once by pressing and holding on each one with two fingers, dragging to select a group if necessary, and then tapping and holding with a single finger to bring up the Delete Contacts option.
JUMP TO KEY SECTIONS
How to delete a single contact on your iPhone
There’s not much of a trick to this one, so you’ve probably already figured it out.
- Open the Contacts app.
- Select the contact you want to delete.
- Tap Edit, then scroll down and tap Delete Contact. As a failsafe, you’ll be asked to confirm.

How to delete multiple contacts on your iPhone
Apple doesn’t make this as easy as it should be or even offer official instructions. But it can be done.
- Open the Contacts app.
- Find one or more contacts you want to delete, then press and hold the first contact with two fingers. If there are others next to it you want to delete, hold and drag to select them.
- Repeat the second step until all the contacts you want to delete are highlighted.
- With a single finger, press and hold on one of the highlighted contacts until a pop-up menu appears.
- Choose Delete Contacts.
How to delete all contacts on your iPhone
This is a drastic step that’s usually unnecessary and should be avoided, even if you’re transferring contacts to Android or dealing with an avalanche of duplicates. When scorched earth is the way you want to go, however, here’s what to do:
- If you’re currently syncing third-party (non-iCloud) contacts to your iPhone, you’ll need to disable that feature.
- Go to Settings > Contacts > Accounts.
-
- Choose an account, then turn off the Contacts toggle. Repeat as necessary.
- Next, go to icloud.com/contacts on a computer, and log in using your Apple ID.
- In the list of contacts, click on the three-dot icon (…) to choose Select All Contacts.
- Click Delete Contacts and confirm.
How to delete duplicate contacts on iPhone
- If the Contacts app detects two or more entries with identical first and last names, you’ll see a Duplicates Found button beneath your card at the top of a contacts list, choose View Duplicates.
- Select individual contacts to examine and/or merge pairs.
- If you’re confident everything displayed is a duplicate, you can tap Merge All instead.
Why can’t I delete a contact on my iPhone?
There’s a possibility that it’s been designated as “read-only.” If you run into that problem, you may need to force iCloud contacts to re-sync. Try this:
- Go to Settings > Apple ID > iCloud.
- Under Apps using iCloud, hit Show All if necessary.
- Toggle off Contacts. When prompted, choose Delete from My iPhone. Don’t worry — your contacts will still be preserved in iCloud.
Another thing to try is deleting the contact from icloud.com/contacts/. If you’re not blocked there, the deletion should sync back to your iPhone.
Can you recover deleted contacts on an iPhone?
Yes, and relatively painlessly. Do the following:
- Visit icloud.com and sign in with your Apple ID.
- Scroll down to the bottom of the page, then click Data Recovery.
- Choose Restore Contacts, and pick a date before you delete the contacts you’re worried about.
- Click Restore to begin the fix. Note that any contact changes made after the date you picked will be reversed, not just deletions.