Affiliate links on Android Authority may earn us a commission. Learn more.
Developing with the Google VR SDK and NDK
Published onJune 21, 2016
What do the Google VR SDK and NDK offer?
Getting everything set up
Testing the Treasure Hunt sample app
Understanding the code to make VR work
<?xml version="1.0" encoding="utf-8"?>
<manifest xmlns:android="http://schemas.android.com/apk/res/android"
package="com.google.vr.sdk.samples.treasurehunt"
android:versionCode="1"
android:versionName="1">
<uses-permission android:name="android.permission.INTERNET" />
<uses-permission android:name="android.permission.NFC" />
<uses-permission android:name="android.permission.VIBRATE" />
<uses-permission android:name="android.permission.READ_EXTERNAL_STORAGE" />

<!-- Make accelerometer and gyroscope hard requirements for good head tracking. -->
<uses-feature android:name="android.hardware.sensor.accelerometer" android:required="true"/>
<uses-feature android:name="android.hardware.sensor.gyroscope" android:required="true"/>

<uses-sdk android:minSdkVersion="19" android:targetSdkVersion="22"/>
<uses-feature android:glEsVersion="0x00020000" android:required="true" />

<!-- VR feature tags. -->
<uses-feature android:name="android.software.vr.mode" android:required="false"/>
<uses-feature android:name="android.hardware.vr.high_performance" android:required="false"/>

<application
  android:allowBackup="true"
  android:supportsRtl="true"
  android:icon="@drawable/ic_launcher"
  android:label="@string/app_name">
    <activity
    android:name=".TreasureHuntActivity"
    android:label="@string/app_name"
    android:screenOrientation="landscape"
    android:configChanges="orientation|keyboardHidden|screenSize" >
    <intent-filter>
      <action android:name="android.intent.action.MAIN" />
      <category android:name="android.intent.category.LAUNCHER" />
      <category android:name="com.google.intent.category.CARDBOARD" />
    </intent-filter>
    </activity>
</application>
</manifest>
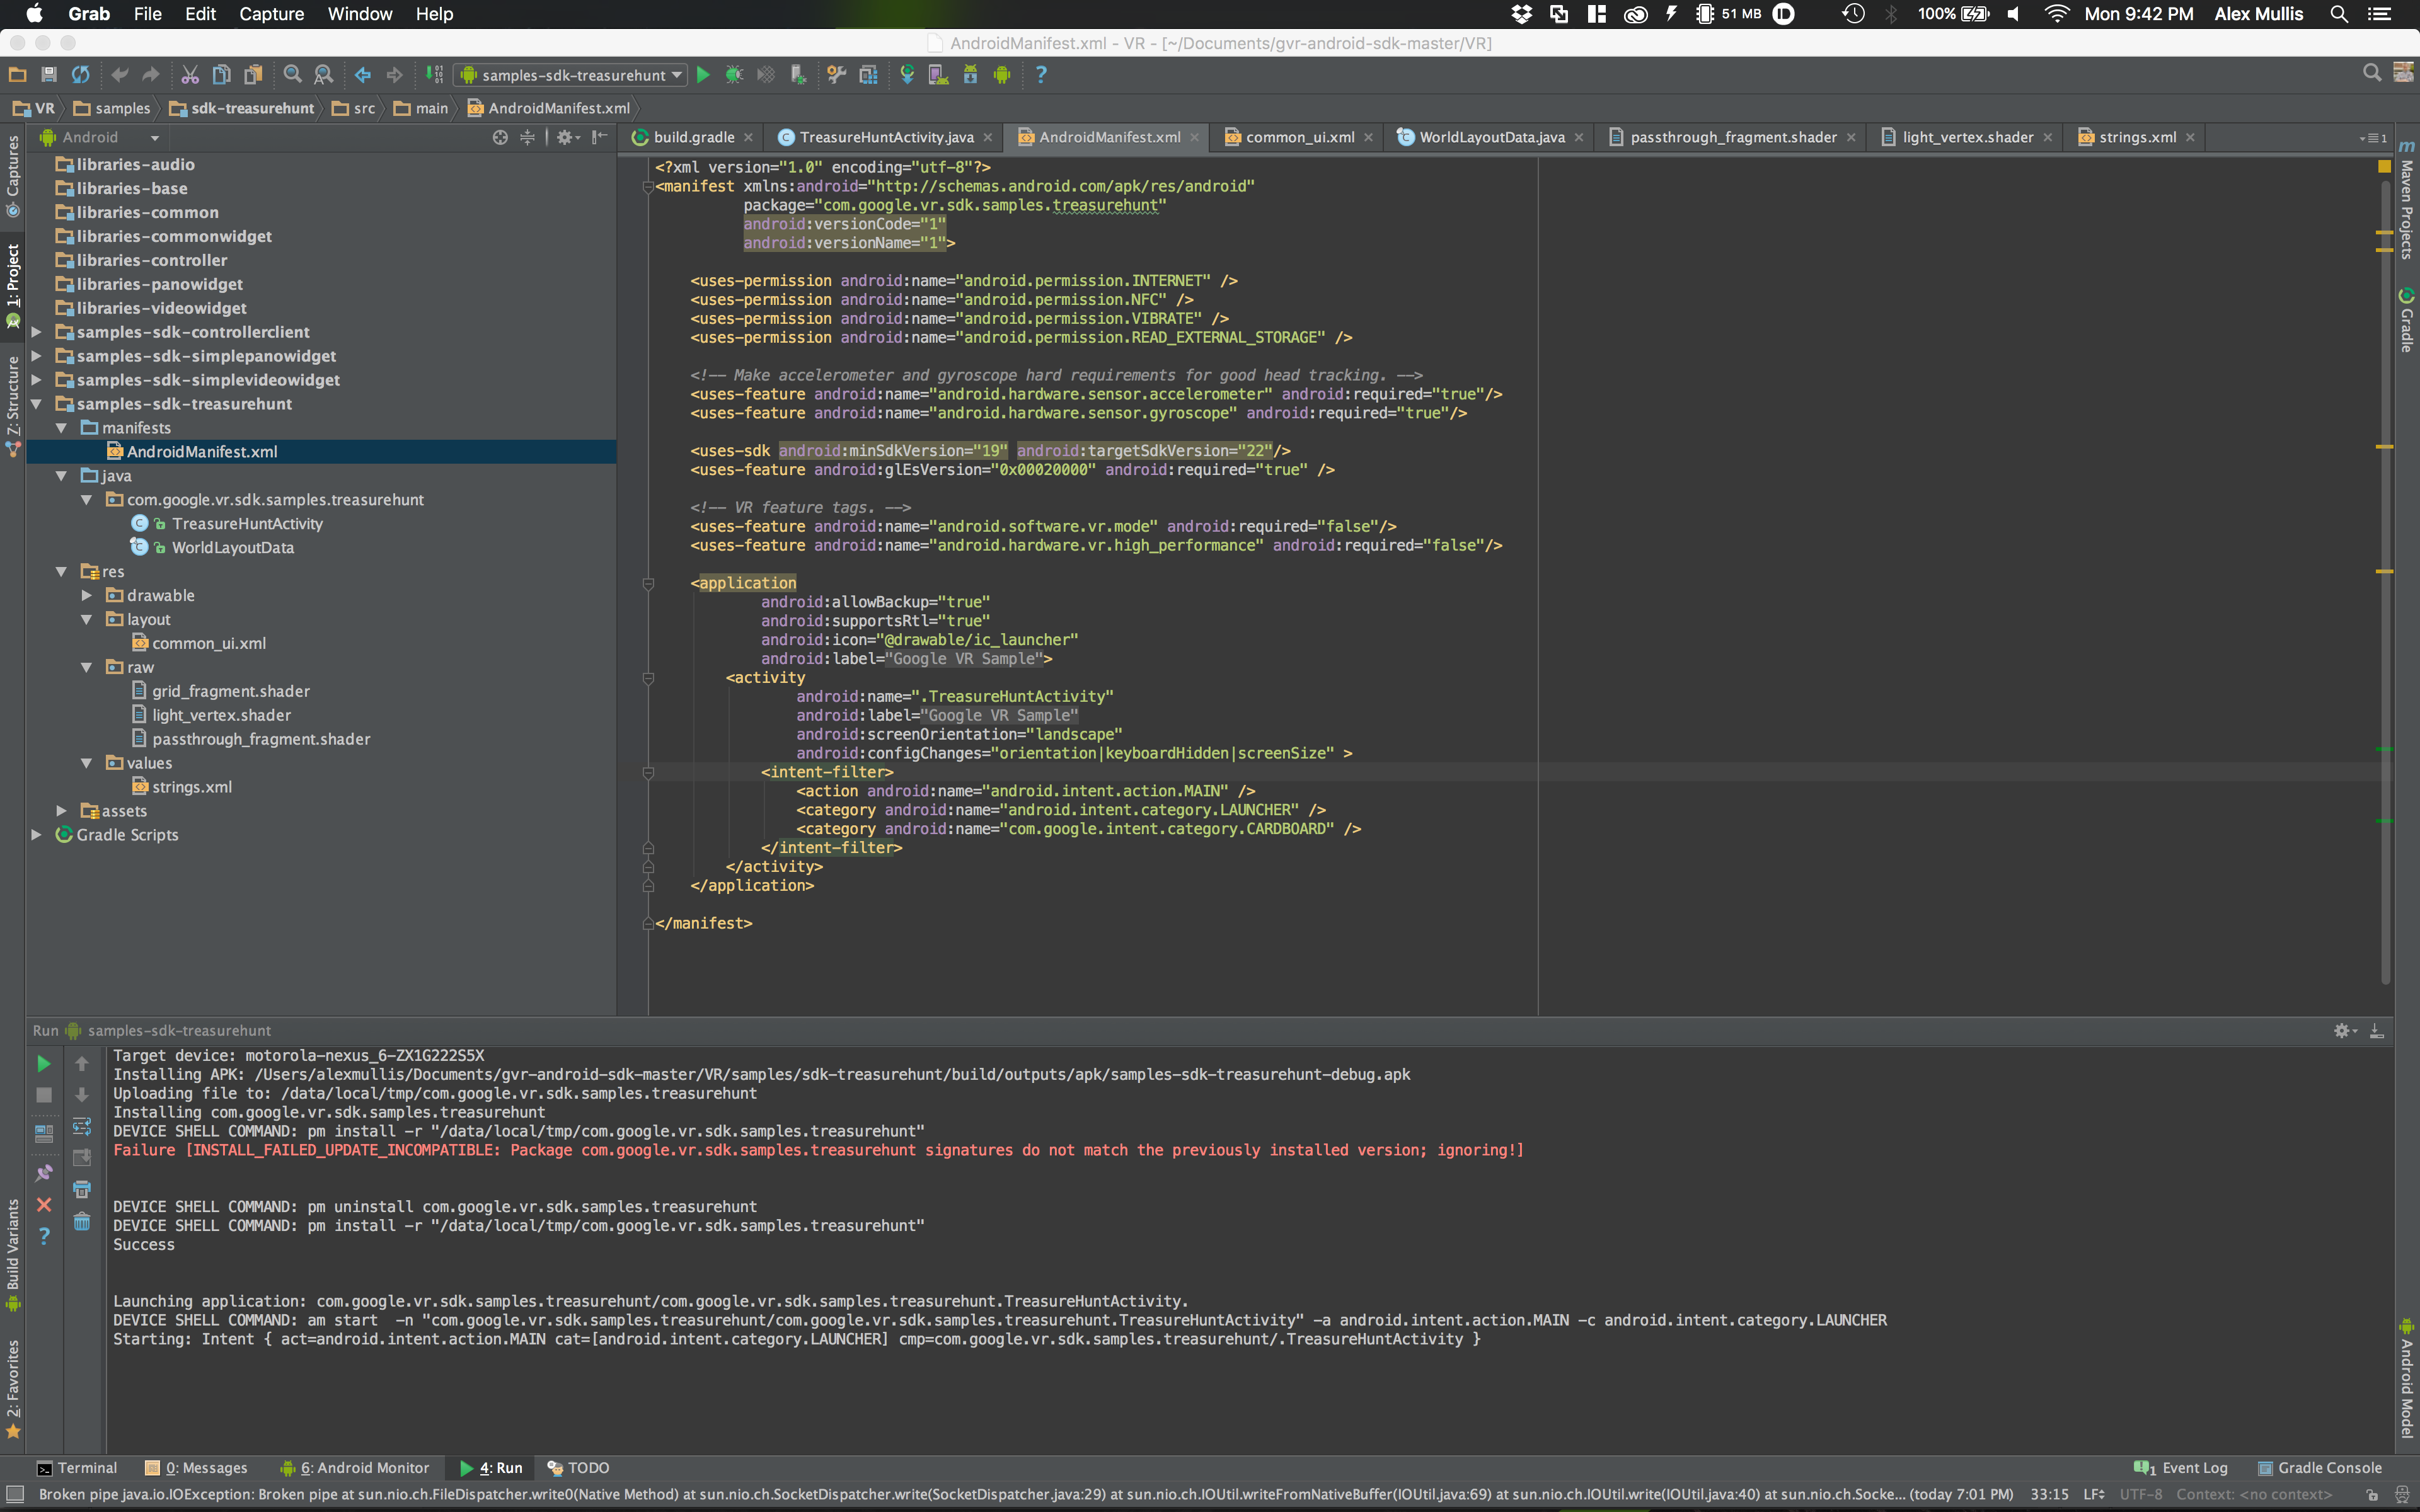
Starting from the top, the permissions needed are as follows: NFC, External storage reading and vibration. The minimum SDK version needs to be 19, or KitKat for VR to work. The next line may be new to you, but this is where the minimum OpenGL version is defined. Devices that don’t supports OpenGL 2.0 or high can’t run VR apps. Moving down to the intent-filter, the main thing to note is “com.google.intent.category.CARDBOARD” which will enable the ability for the app to be visible in Google’s Cardboard app as a compatible Cardboard app.
GvrActivity – This is the starting point for making a VR app with the Google VR SDK. Notice that the TreasureHuntActivity extends GvrActivity in the app code. This activity handles most of what is needed to interact with VR devices and to get everything working. It is good to note that this activity uses “sticky immersive mode”, which hides the system UI and makes the app full screen, this activity only works in this mode, so don’t change this attribute!
GvrView – Everything that has to do with the user interface is rendered in a view in Android, and VR is no different. GvfView renders the scene in stereo, meaning there are two separate scenes rendered on the screen, one for each eye. Here is a snippet from the activity layout XML (common_ui in the sample app) in the res-layout folder. You would need to add this yourself if you were starting from scratch:
<com.google.vr.sdk.base.GvrView
android:id="@+id/gvr_view"
android:layout_width="fill_parent"
android:layout_height="fill_parent"
android:layout_alignParentTop="true"
android:layout_alignParentLeft="true" />
This gets everything ready to go for the layout. Next up is the main activity code that goes in the OnCreate() method:
**
* Sets the view to our GvrView and initializes the transformation matrices
* we will use to render our scene.
*/
@Override
public void onCreate(Bundle savedInstanceState) {
super.onCreate(savedInstanceState);
setContentView(R.layout.common_ui);
GvrView gvrView = (GvrView) findViewById(R.id.gvr_view);
// Associate a GvrView.StereoRenderer with gvrView.
gvrView.setRenderer(this);
// Associate the gvrView with this activity.
setGvrView(gvrView);

// Initialize other objects here.
...
}
Now that GvrView is set up, we can dive into the GvrView.StereoRenderer which includes two methods: onNewFrame(), which is called everytime the app renders and onDrawEye(), which is called for each eye with different eye parameters. Examples of these can be found in Google’s Understanding the Treasure Hunt sample game documentation.
Spatial Audio – This is a 3D audio that makes it seem like you are hearing something at any point in 3D space through standard stereo means, this can be defined in the OnCreate as:
gvrAudioEngine =
new GvrAudioEngine(this, GvrAudioEngine.RenderingMode.BINAURAL_HIGH_QUALITY);
Inputs – There is also the ability to handle inputs from the user, like the button on most Google Cardboard devices. This can be achieved in the onCardboardTrigger() method in the main activity of your app, a simple example is:
/**
* Called when the Cardboard trigger is pulled.
*/
@Override
public void onCardboardTrigger() {
    if (isLookingAtObject()) {
        hideObject();
    }

    // Always give user feedback
    mVibrator.vibrate(50);
}
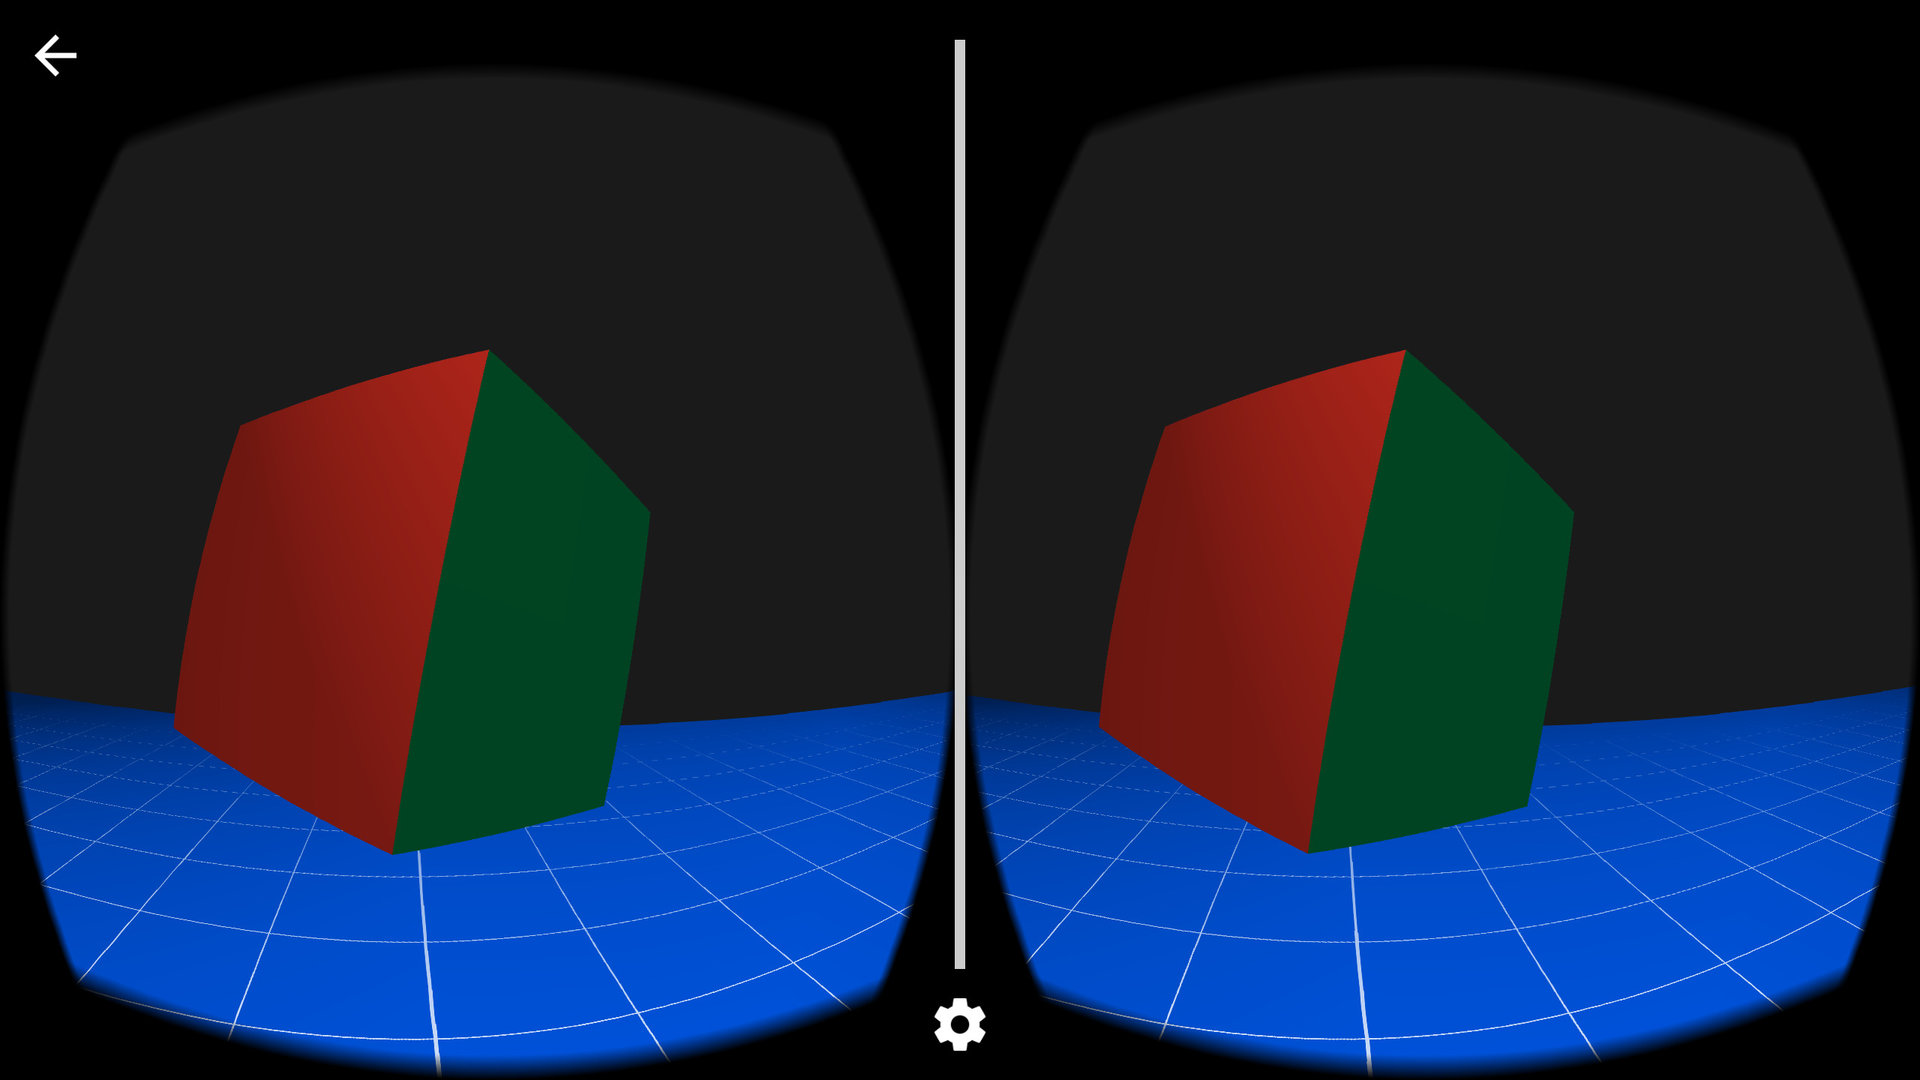
This checks to see if the user is looking at the cube and to hide the cube if they are and press the button, as well as vibrate the device.
The TreasureHunt sample goes a lot more in depth than just the basics, including rendering the cubes, which is done in the “WorldLayoutData” file. Here the coordinates and colors are defined in floating point values. There are also the implementation of OpenGL shaders as .shader files. These shaders mainly deal with what type of light is reflected off of the material of the cubes and the like. For more information then check out the official documentation for OpenGL shaders. Everything else is in standard Android fashion, so if you have experience with normal Android development, it will be easy to grasp the rest of the files included in the sample.
Wrap Up
Developing for virtual reality is a little different from regular Android development, with the only real learning curve being OpenGL development and possibly native development if you go down that road. It is probably a good idea to start out with regular Android development or to use an engine if you are just starting out. The good news is it isn’t as hard as you think, to get started with 3D game development then read our how to write a 3D game for Android using Unreal Engine guide, or maybe check out our how to create your first Gear VR app tutorial.
Are you interested in VR or even making apps for VR? Let us know in the comments below! Also, be sure to stay tuned to VR Source for everything VR!