Affiliate links on Android Authority may earn us a commission. Learn more.
How I made my own Hue light strips for cheap
Published onApril 30, 2022
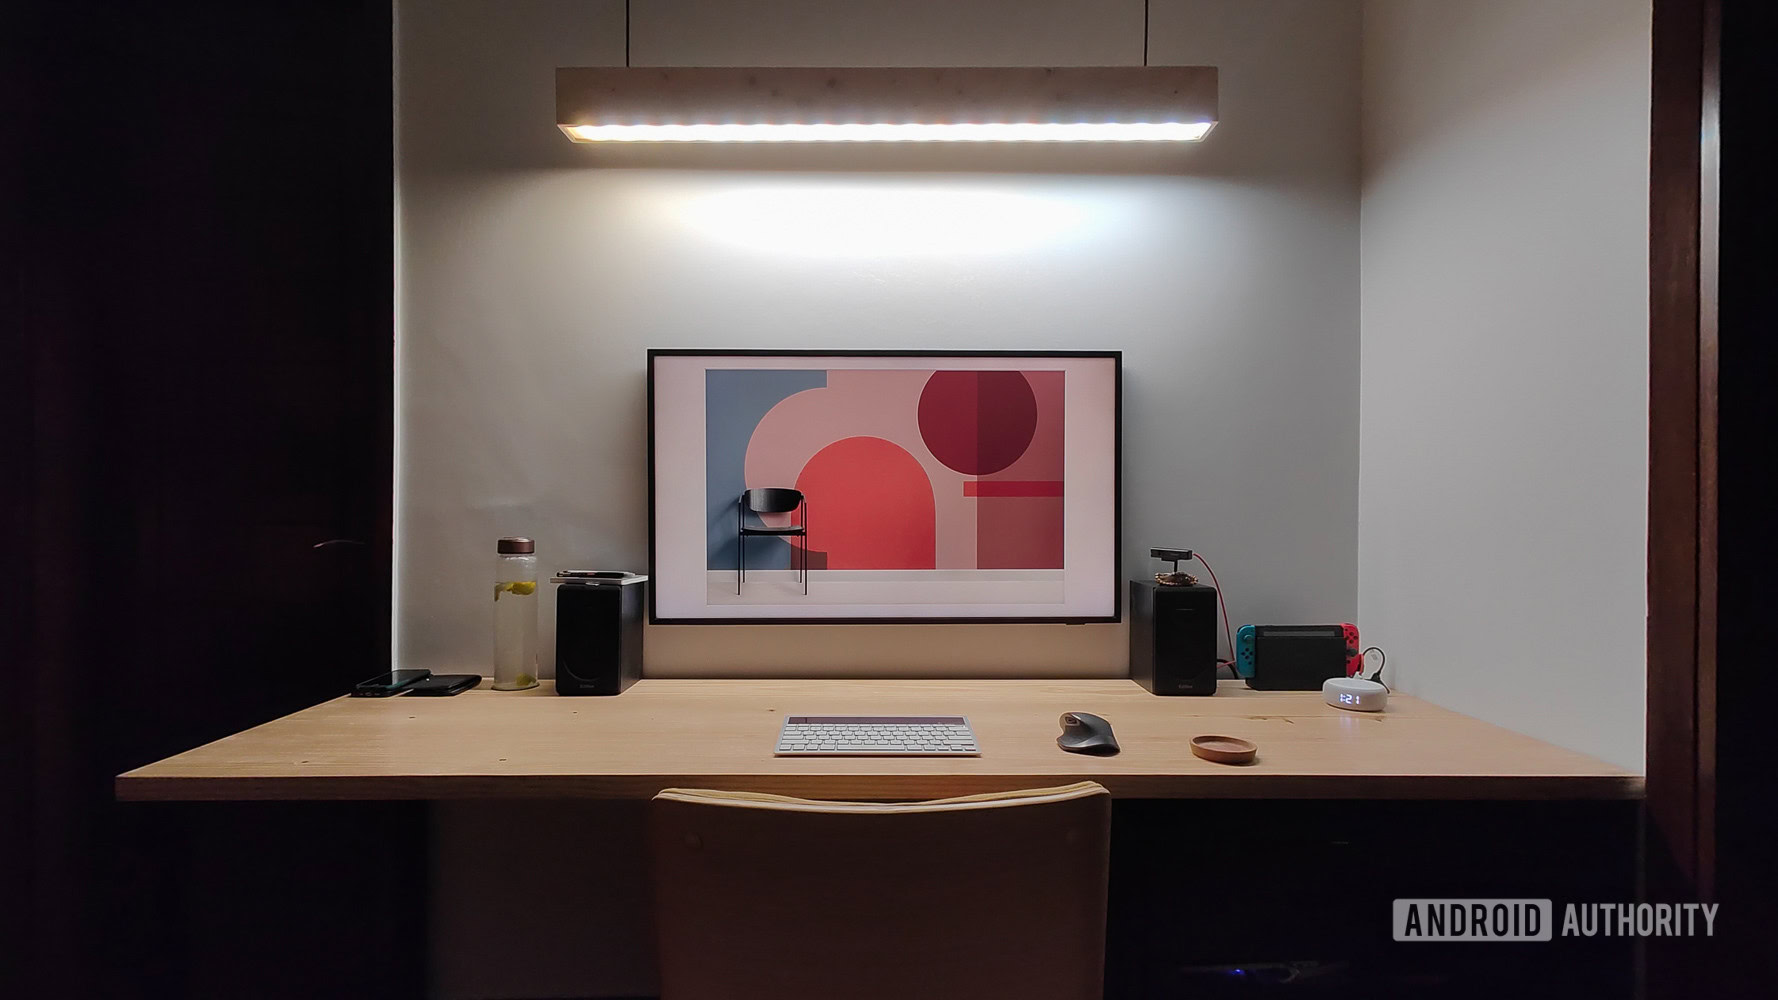
I’ve experimented with a variety of remote work arrangements over the last decade. From a bedroom setup to a couch or a dining table, I’ve done it all. But when I recently started rebuilding my home office, I knew good lighting and enough of it was going to be essential. This was all the more important because despite having large windows, my apartment just doesn’t get enough natural light. It’s well documented that lighting can affect mood, productivity, and mental health.
Our picks: The best smart bulbs | The best smart lamps
However, as a smart home buff, there was no way I would be satisfied by a few table lamps. Sure I wanted excellent lighting, but I also wanted to build automations around the lighting fixtures. I needed my lights to switch on the moment I walked into the room. Someone at the front door? I’d want my DIY linear light to blink. Hosting a party? How about cranking up the RGB fade effects. You catch my drift. Now, Philips Hue lights can achieve a lot of that. The catch is — it is incredibly expensive to buy into the system.
I wasn't going to let expensive Hue strips get in the way of my smart light plans.
For the meters of LED strips I was going to need to achieve my goal, buying into the Hue platform would’ve required me to take out a small loan. However, an expensive light wasn’t going to get in the way of my hopes and dreams. Like any self-respecting tinkerer, I knew the answer. It was time to dig out the soldering iron and build my own smart LED lights.
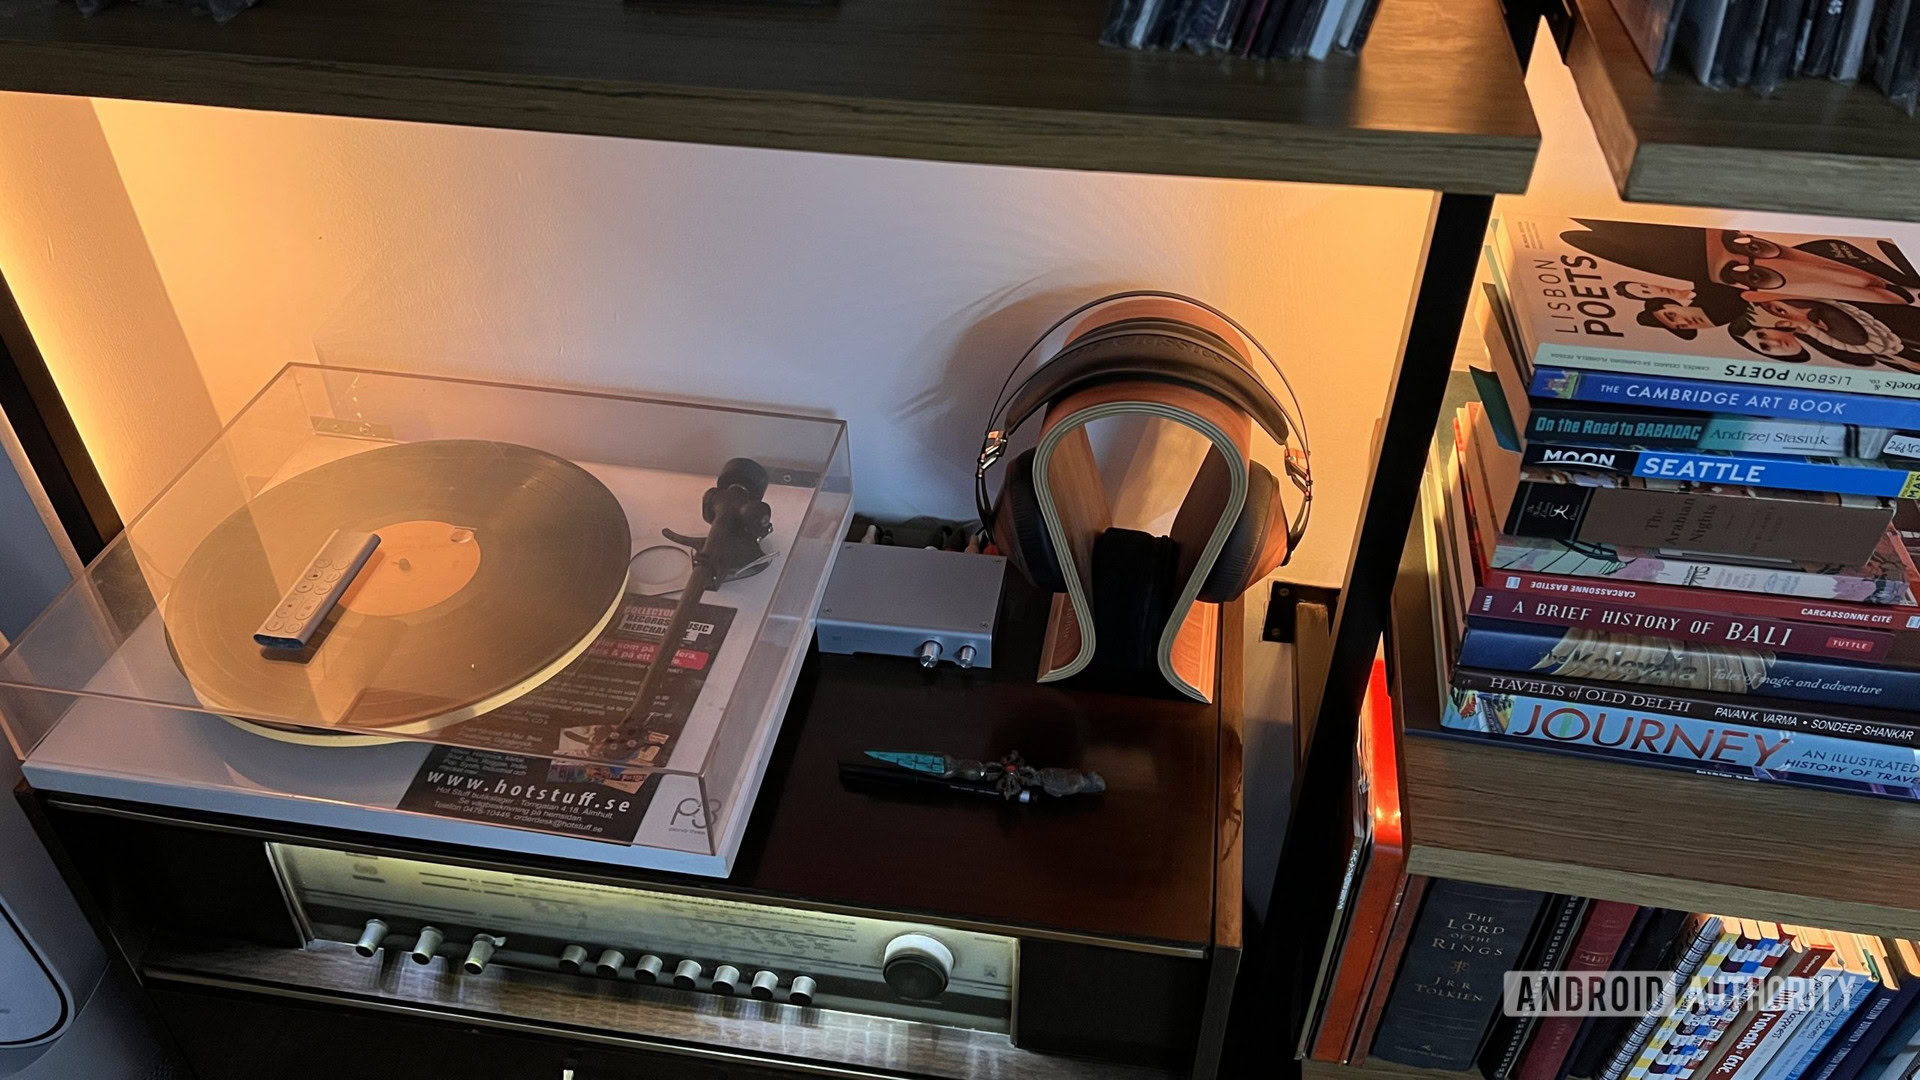
A smart LED strip is pretty simple by design. It uses a combination of LED diodes, a controller board, and a power supply. Individually addressable LEDs let you get much of the same effects as Hue lights because they can be controlled, well, individually. In fact, you can think of them as individual pixels in a long chain. It is possible to change colors or control the state of each individual LED on the strip. Moreover, you can mix and match them to generate shades or interesting effects.
For my purpose, I chose a combination of SK812 ($54) and WS2812B ($32) strips for my desk and ambient lighting. The only functional difference between the two is that the former adds an extra white diode for better control over white lighting.
Setting up your own system avoids proprietary lock-in and lets you easily integrate the lights into many home automation platforms.
With the LED strips sorted, the next step was to choose a controller. Sure it is possible to get Wi-Fi-based controller boards from Amazon, but if you are building something, you might as well go the whole hog. Pre-built controller boards might ship with their own apps, or come with a remote, but they lack the versatility of being able to plug into existing systems. Building your own controller also means that you can synchronize multiple light strips to match settings, bridge the lights into a home automation software, and add more functionality over time. It’s the obvious route to take.
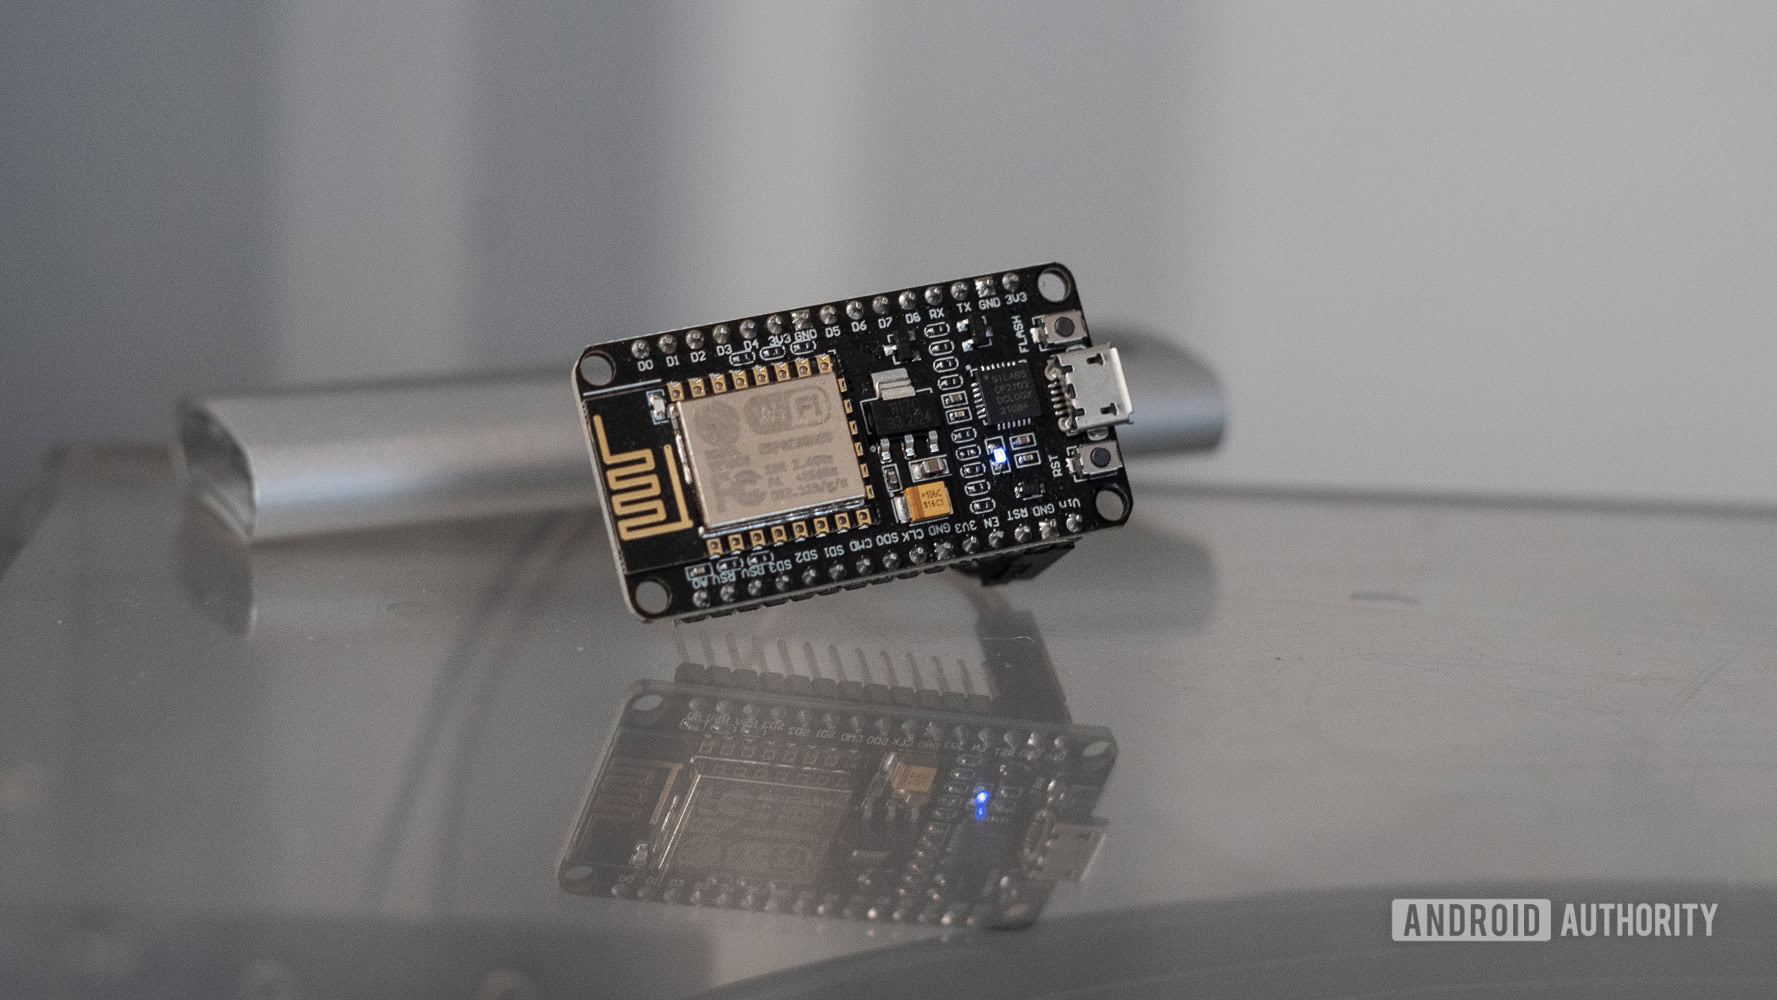
Since I was basing my project on the open-source WLED software, I opted to go for the cheap-as-chips ESP8266-based Node MCU. This $10 board supports Wi-Fi, powers on via micro-USB, and has more than enough smarts to control almost a thousand LEDs. It would be more than sufficient for my needs.
Installing the software onto the controller couldn’t have been easier. It’s a simple matter of connecting the Node MCU to your computer over USB, heading over to the WLED website, selecting your board, and tapping install. Once installed, the board will even create its own access point to pair with your home Wi-Fi network.
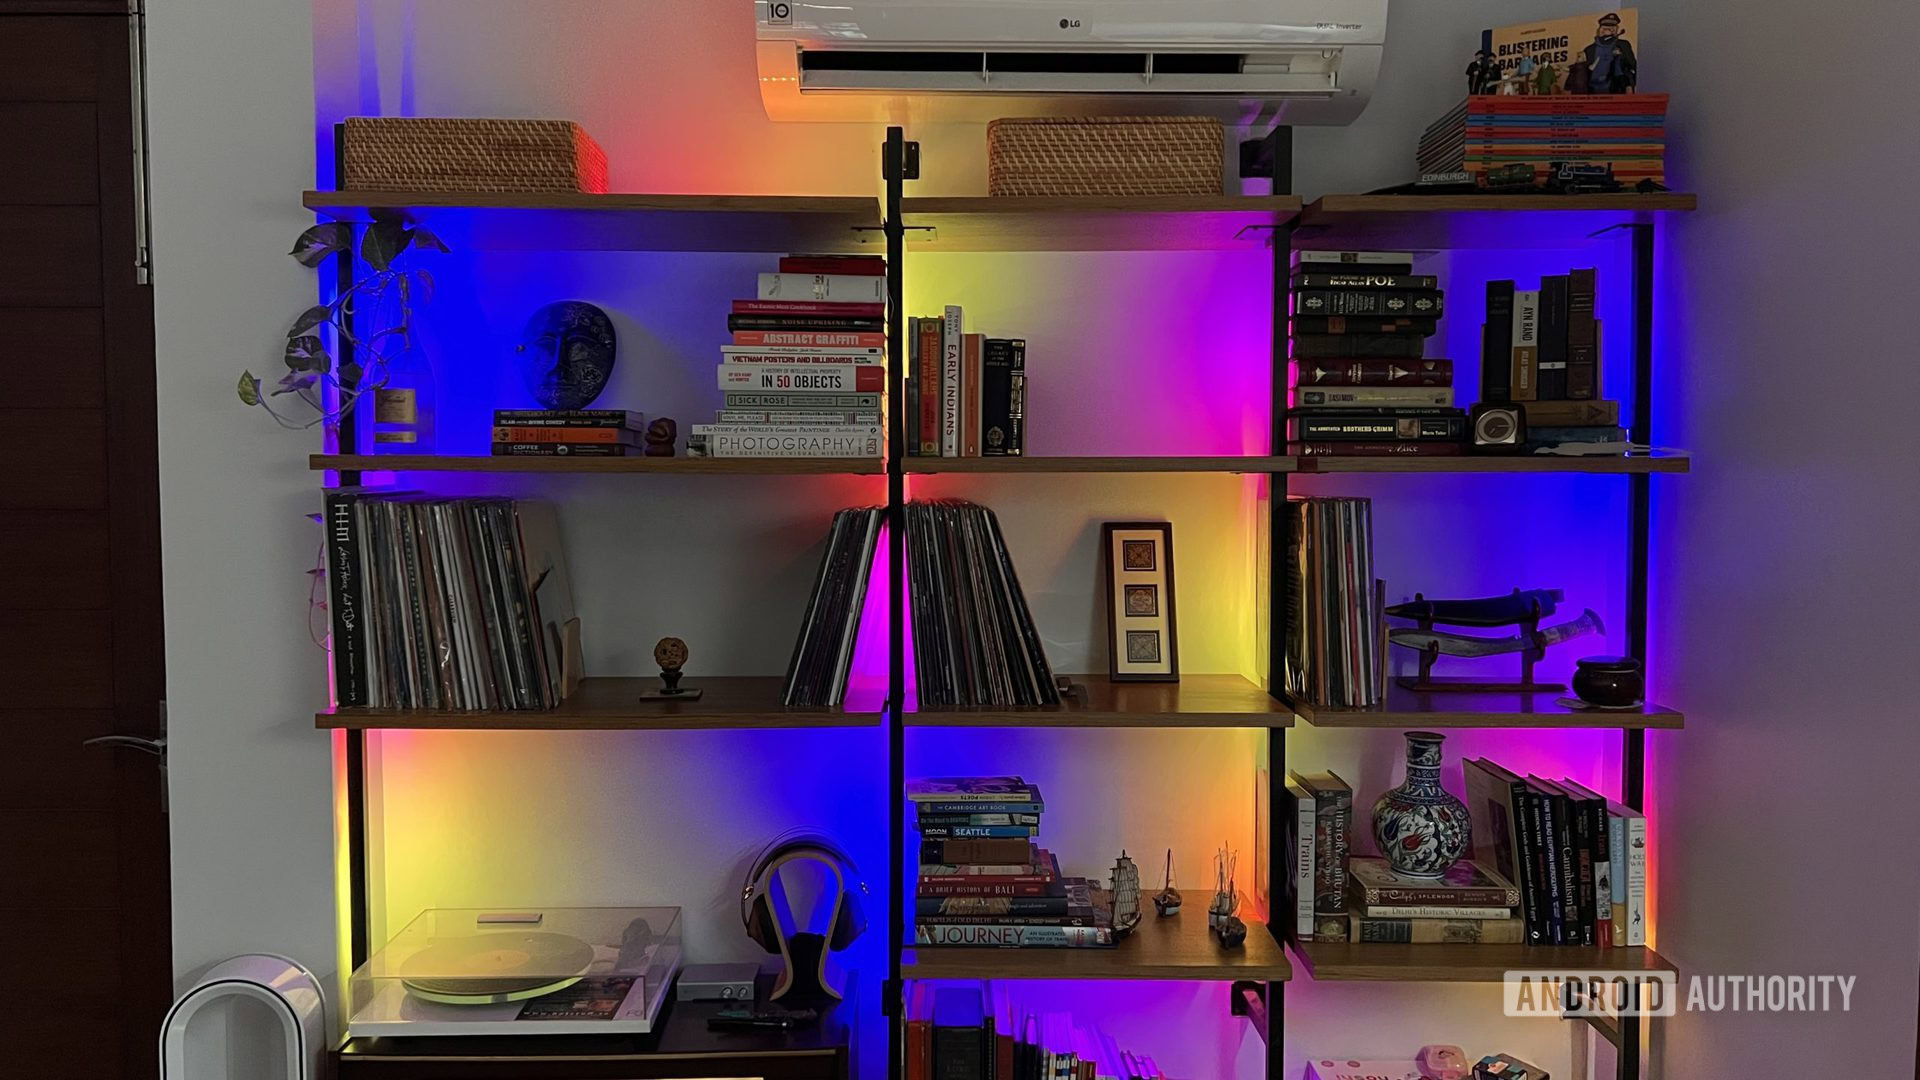
From there, getting the board connected to my LED strip was a straightforward matter of connecting three cables. One for positive, another for negative, and a third for the actual data connection between the controller and the LEDs. I tossed in an external power supply as well since my bookcase had close to 500 LEDs.
That’s it. For a total cost of approximately $60, i.e. less than a single 2m long Philips Hue strip, I was able to make my own Wi-Fi controllable RGB lights. Between my bookcase and the task light above my desk, I’ve got a total of 14m of lighting, something that would have cost me close to $700 had I opted for the Hue ecosystem.
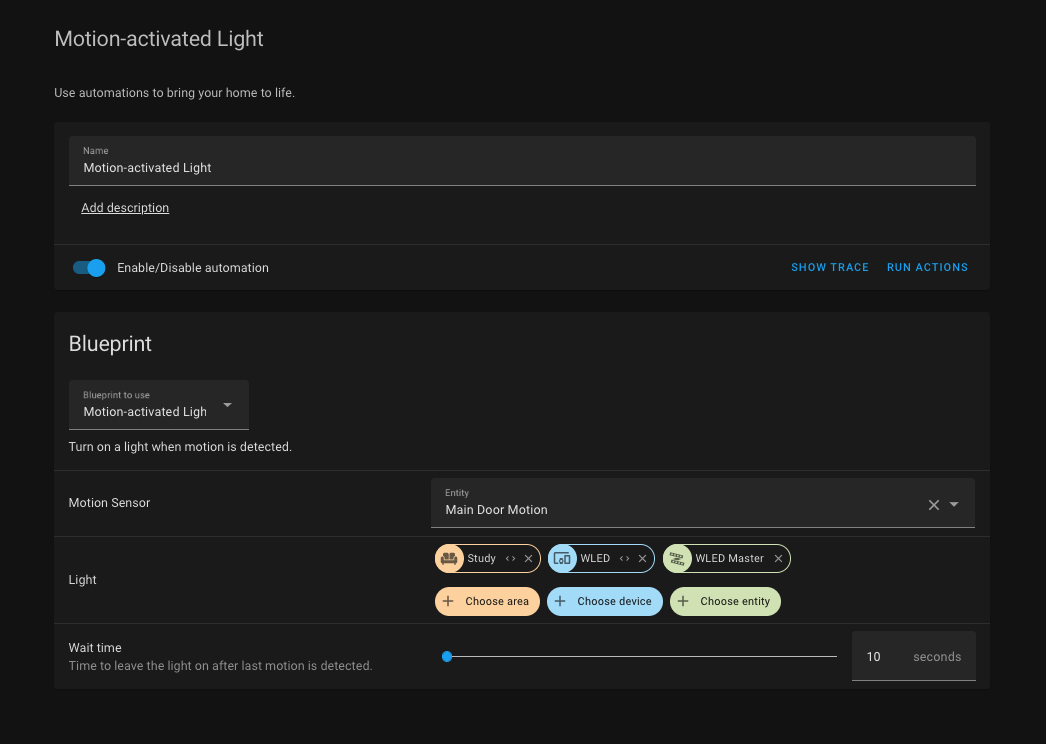
Not only can the lights be controlled over Wi-Fi, but they also come with an app and show up as an LED strip when paired with an Alexa-based speaker. What’s more important to me, however, is the fact that the lights integrate beautifully into my Home Assistant install. I can build whatever automation comes to my mind and tie it into any light on my network.
Dig in: Here’s how I consolidated my smart home using Home Assistant
I’ve already built an automation that takes motion detection input from the camera above my front door to toggle on the light in my study. Moreover, the system is infinitely extensible using any other additions I might make in the future. It’s this simplicity and extensibility that are a true selling point for taking the DIY approach towards any electronics, including smart light strips.
My smart lighting system is infinitely extensible with any other additions I might make in the future.
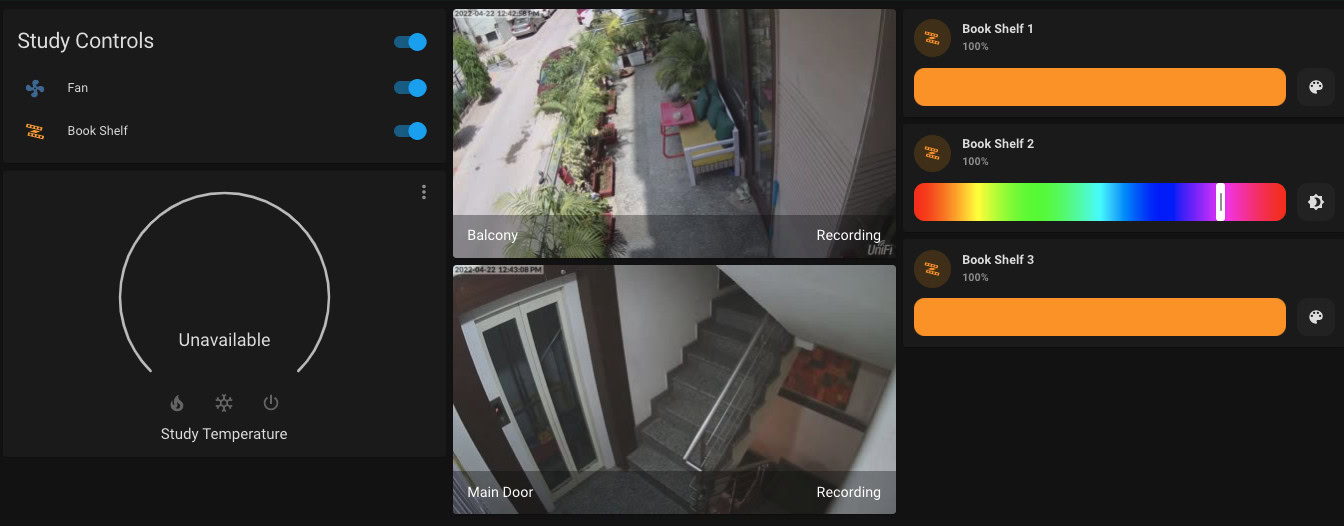
I get the appeal of buying into the Hue ecosystem. The company has invested massively into building a large portfolio of switches, toggles, and accessory products that work with the lights. However, DIY RGB lights built on the WLED project can achieve all of that and more when used in combination with Home Assistant. The software ships with over 100 different built-in light scenes that go well beyond simple brightness and color controls. Using Home Assistant opens up the lights for control to any device that can be plugged into the home automation software. Of course, that means any and all Zigbee-based products including those sold under the Hue badge. My motion detection automation, for example, is taking input data from a Ubiquiti Protect camera. This just wouldn’t be possible using Hue lights.
Look, I get that the DIY approach can appear daunting. But the sheer amount of documentation available on the internet makes it much less of a challenge. Not only can you save a bit of money going the DIY route, but it is a great learning experience over a fun weekend project. As for me, I’m already looking for nooks and crannies to stuff RGB lights in.
Go further: I ditched consumer Wi-Fi routers and I recommend you do too