Affiliate links on Android Authority may earn us a commission. Learn more.
DJI OM 4 review: A smartphone gimbal that might take things too far
Published onNovember 1, 2021
DJI OM4
What we like
What we don't like
DJI OM4

In 2019, DJI bowled us over with the launch of the Osmo Mobile 3. It quickly became our favorite smartphone gimbal, mostly due to its novel ability to fold up. Now, in our DJI OM 4 review, we’re taking a look at the follow-up.
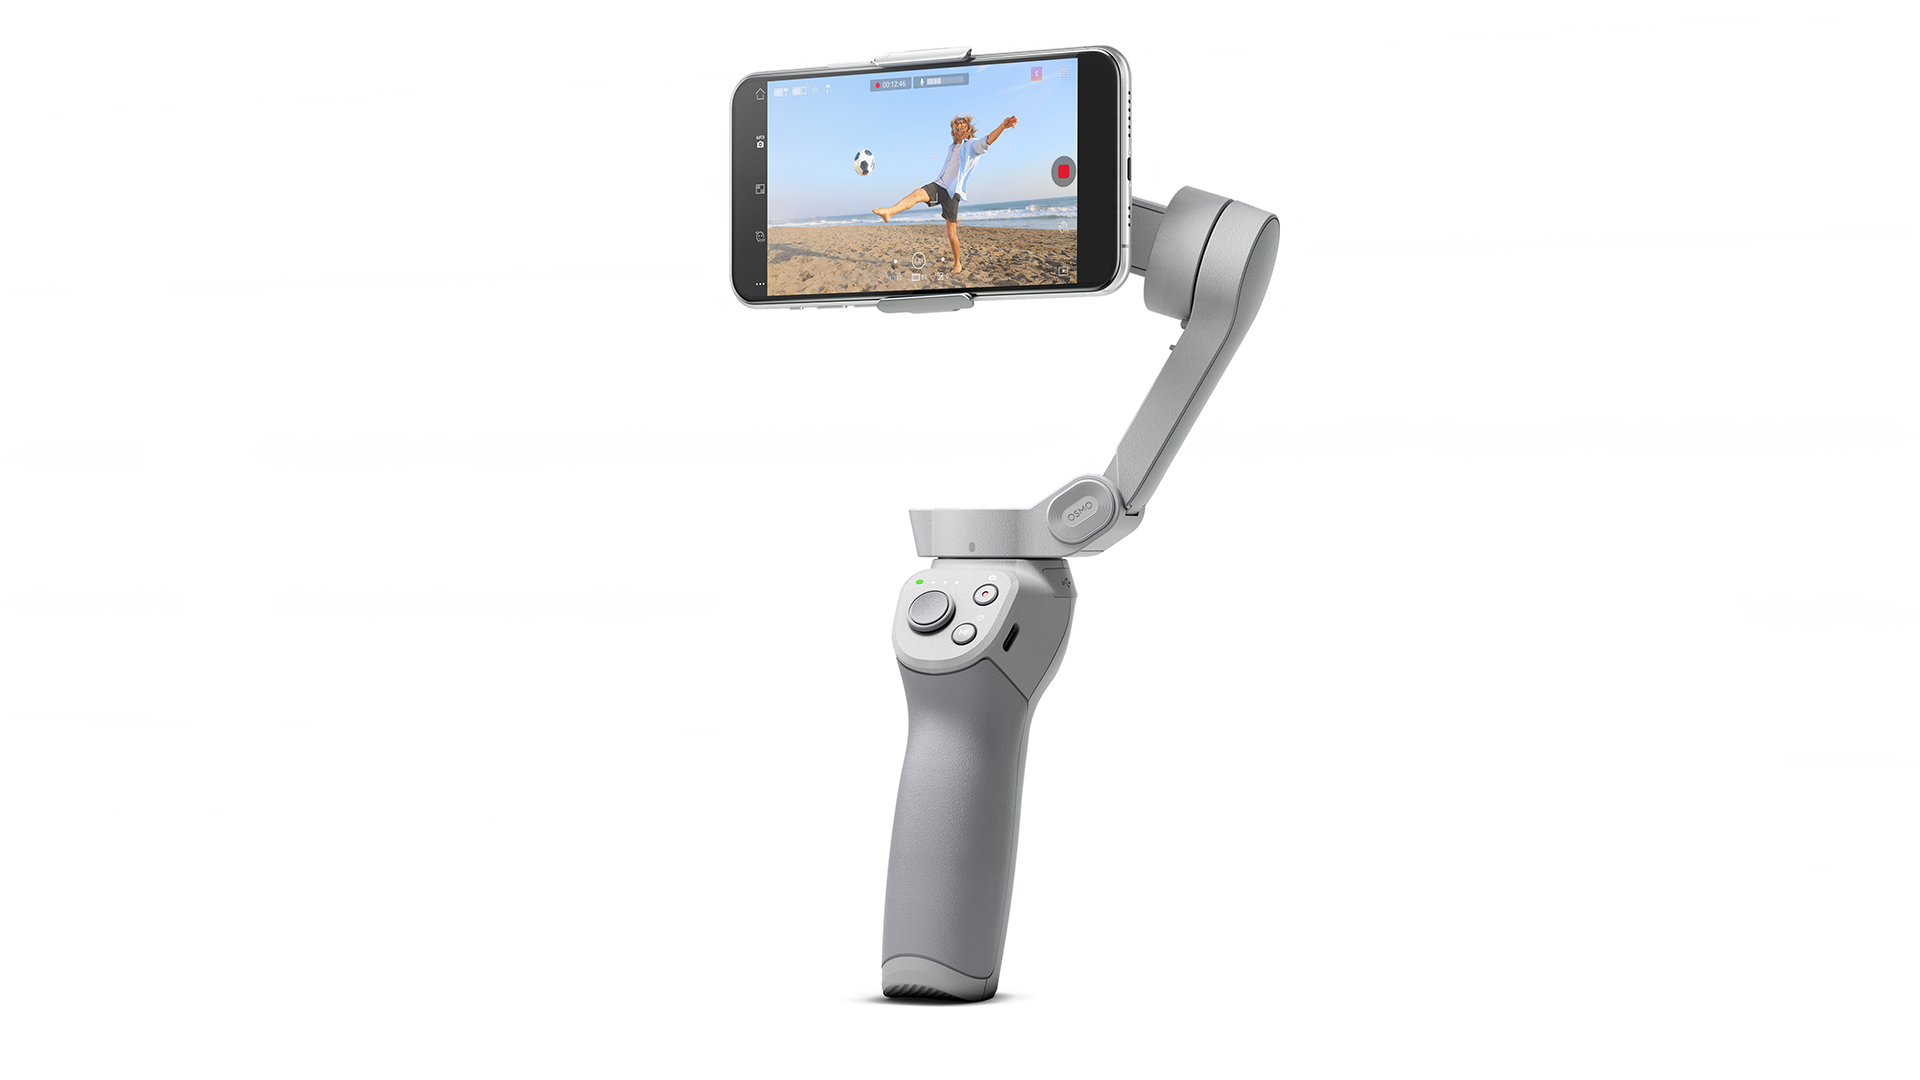
Thankfully, DJI left the bulk of the new gimbal’s design unchanged. However, it added one big new feature: a magnetic mount on the gimbal arm. This allows for quick access to your phone without needing to reset the gimbal.
The big questions are whether or not this magnetic mount works as well as DJI hopes it will — and whether or not it’s worth the price increase.
Update, November 2021: This review was updated to include info related to the DJI OM 4 SE.
DJI OM 4 review: The big picture
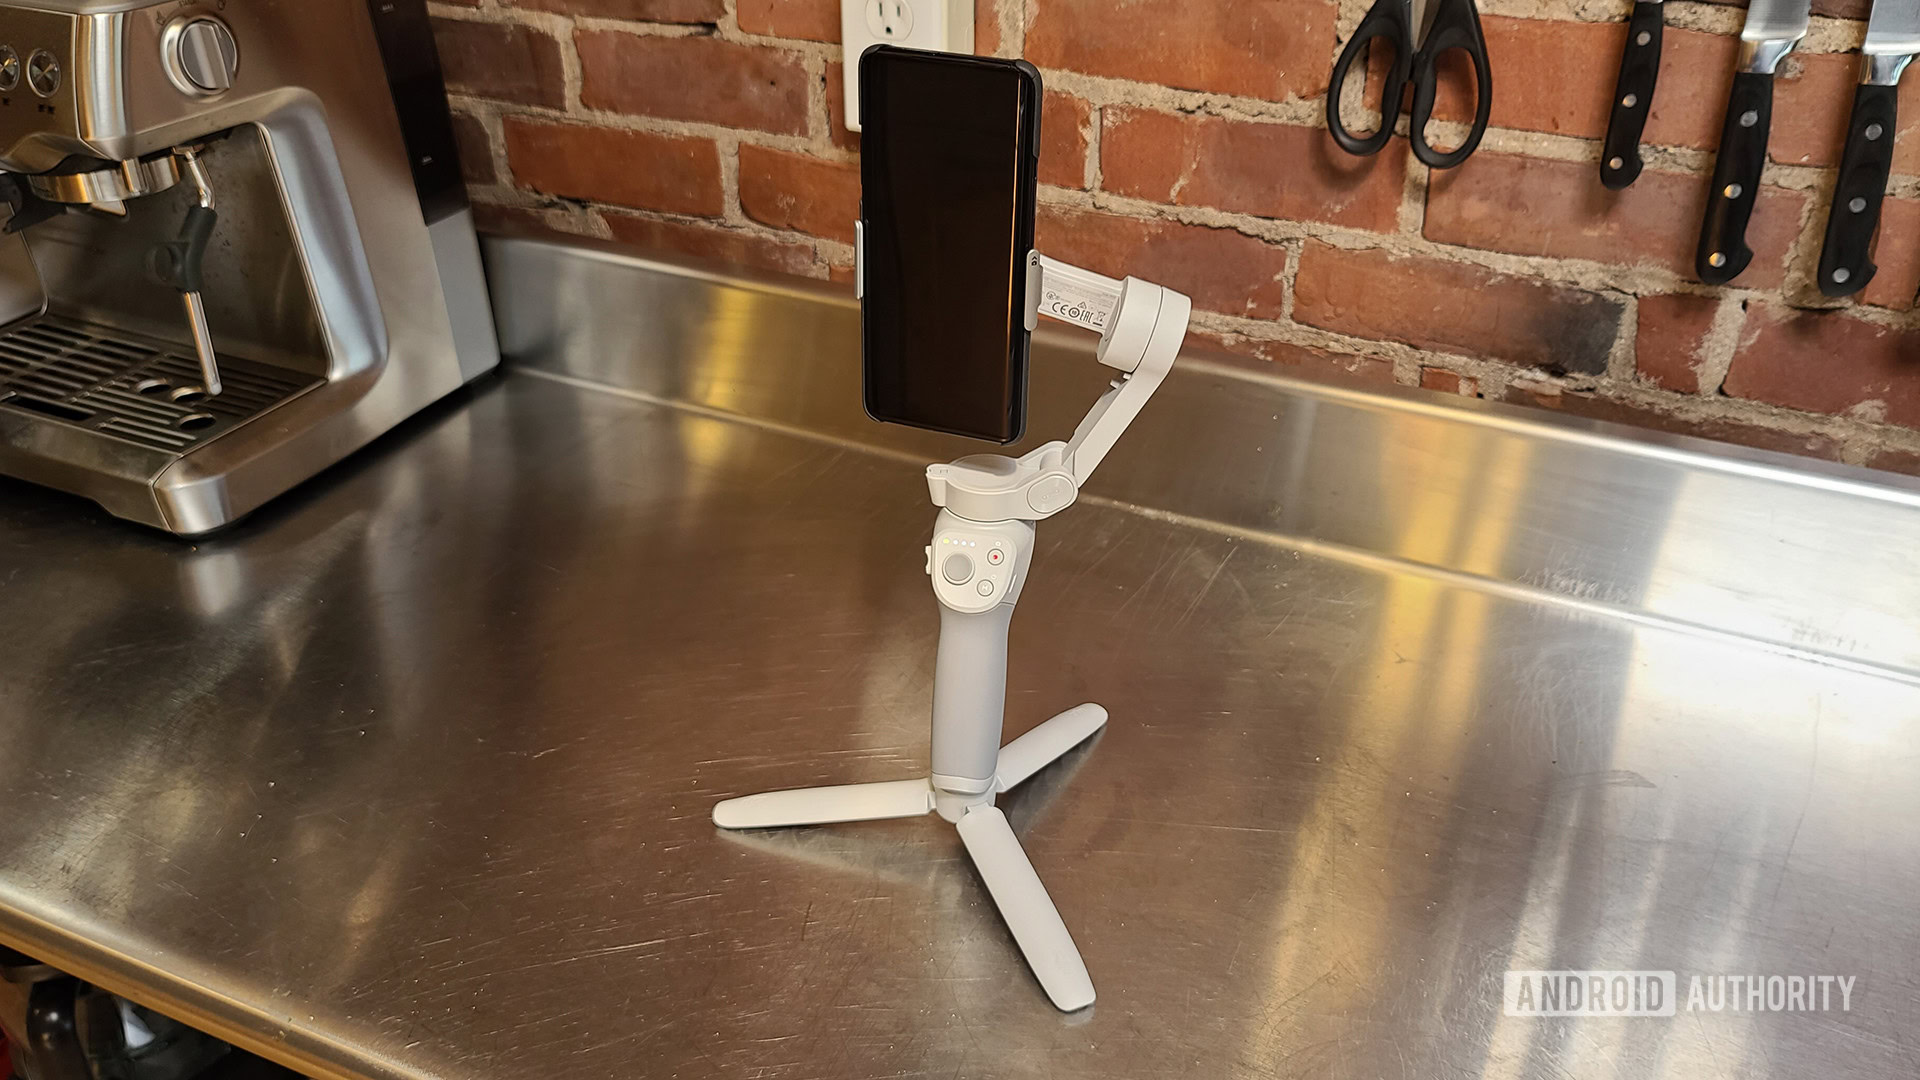
The only significant difference between the DJI OM 4 (DJI Osmo Mobile 4) and last year’s Osmo Mobile 3 is the new magnetic arm mount. The OM 4 has a slightly different color and different button placements, but otherwise, the two models are nearly identical.
With that in mind, the magnetic mount is the true selling point for the OM 4. If you love the idea of being able to snap your smartphone onto your gimbal and then easily snap it off, you likely are already sold. I’ll get into the specifics of the magnetic mount in a bit.
Related: The 5 best smartphone gimbals to spend your money on
For anyone who doesn’t understand why a magnetic mount would be advantageous, it all comes down to calibration. For the gimbal to know your smartphone is level and correctly positioned you need to calibrate the gimbal using its companion app. Every time you take the phone off, you need to re-calibrate when putting it back, as it is inevitable that you won’t re-attach it in the exact same position. The magnetic mount, as I’ll discuss later, solves this problem by ensuring that your phone does, in fact, go back exactly where it once was. As such, you’ll only need to calibrate once per filming session.
Due to the DJI OM 4 and the Osmo Mobile 3 being so similar aside from this mount, though, I’m not going to repeat a lot of the stuff I covered in last year’s review. I highly recommend giving that a read if this is your first time shopping for a gimbal or if you are unfamiliar with DJI’s lineup. We also have an article going over the best smartphone gimbals on the market, which is essential reading for first-time buyers.
What’s in the box?
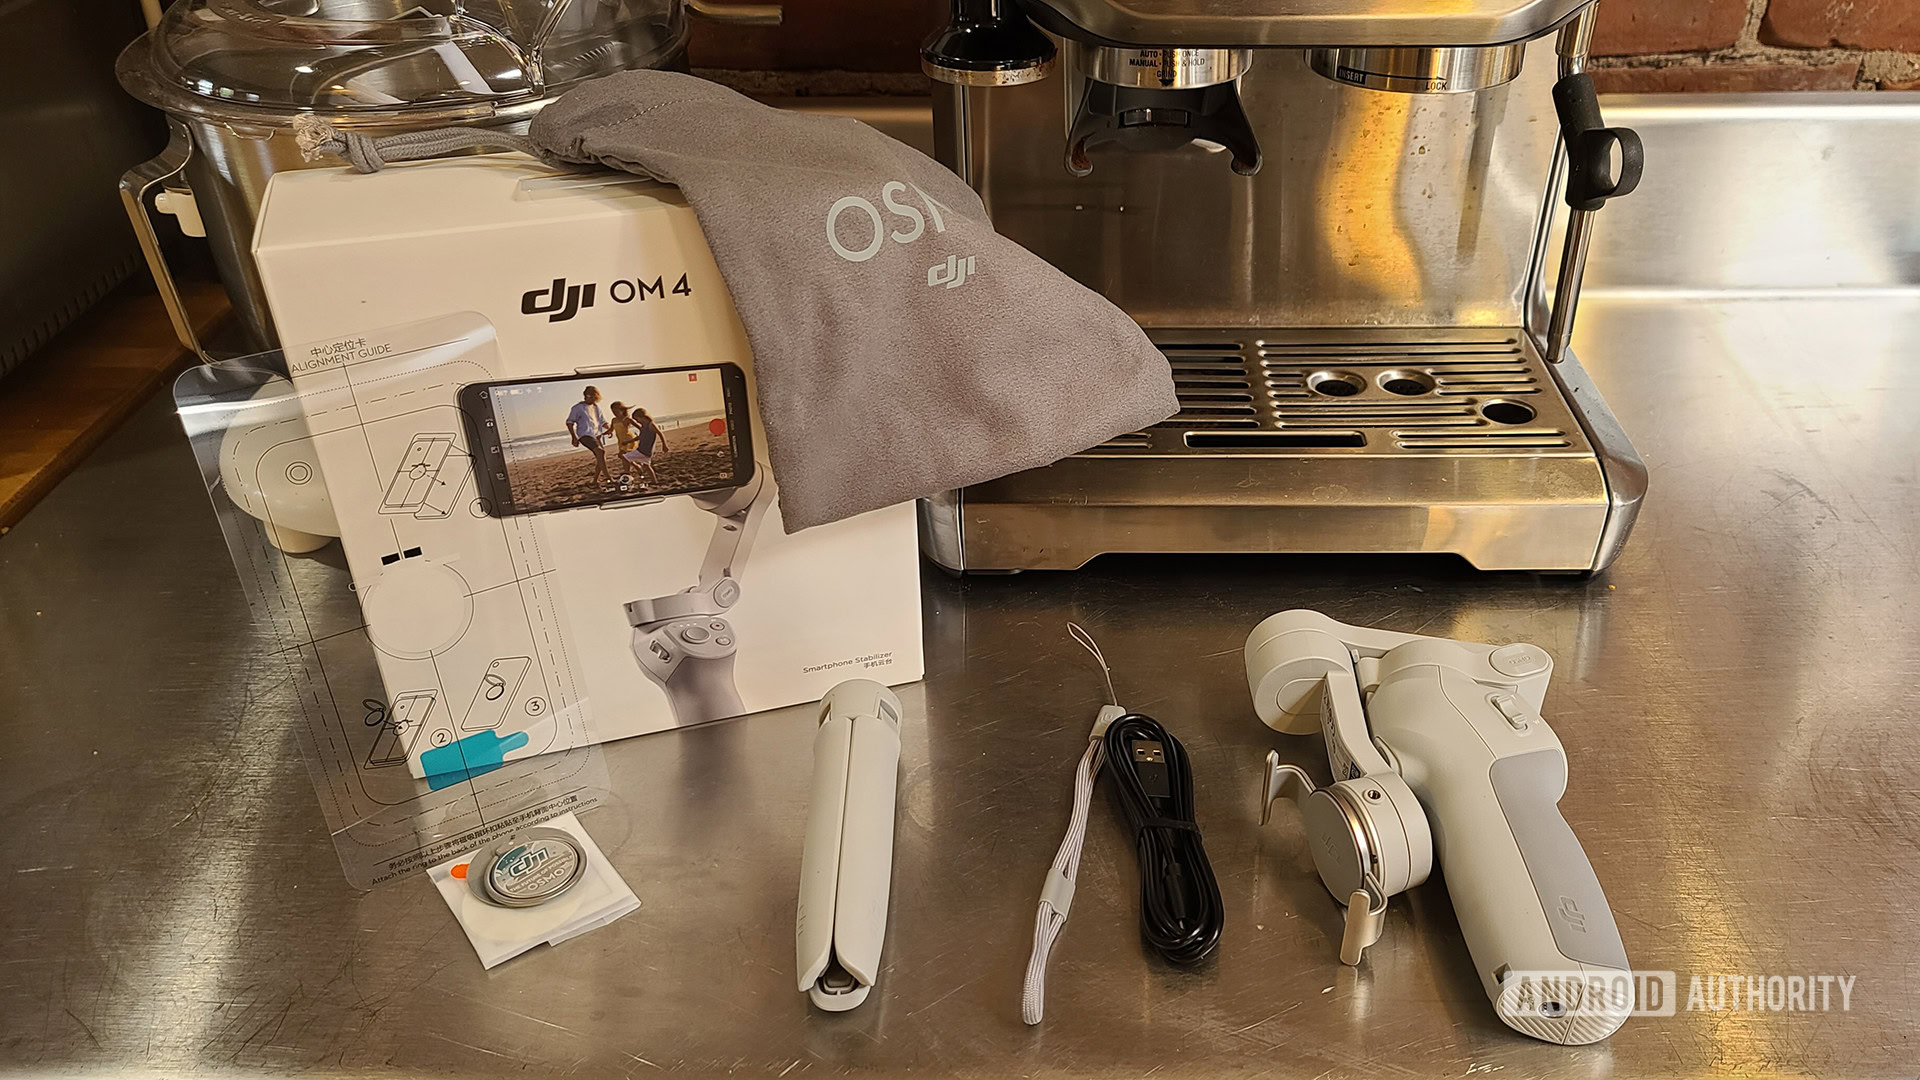
- DJI OM 4 smartphone gimbal
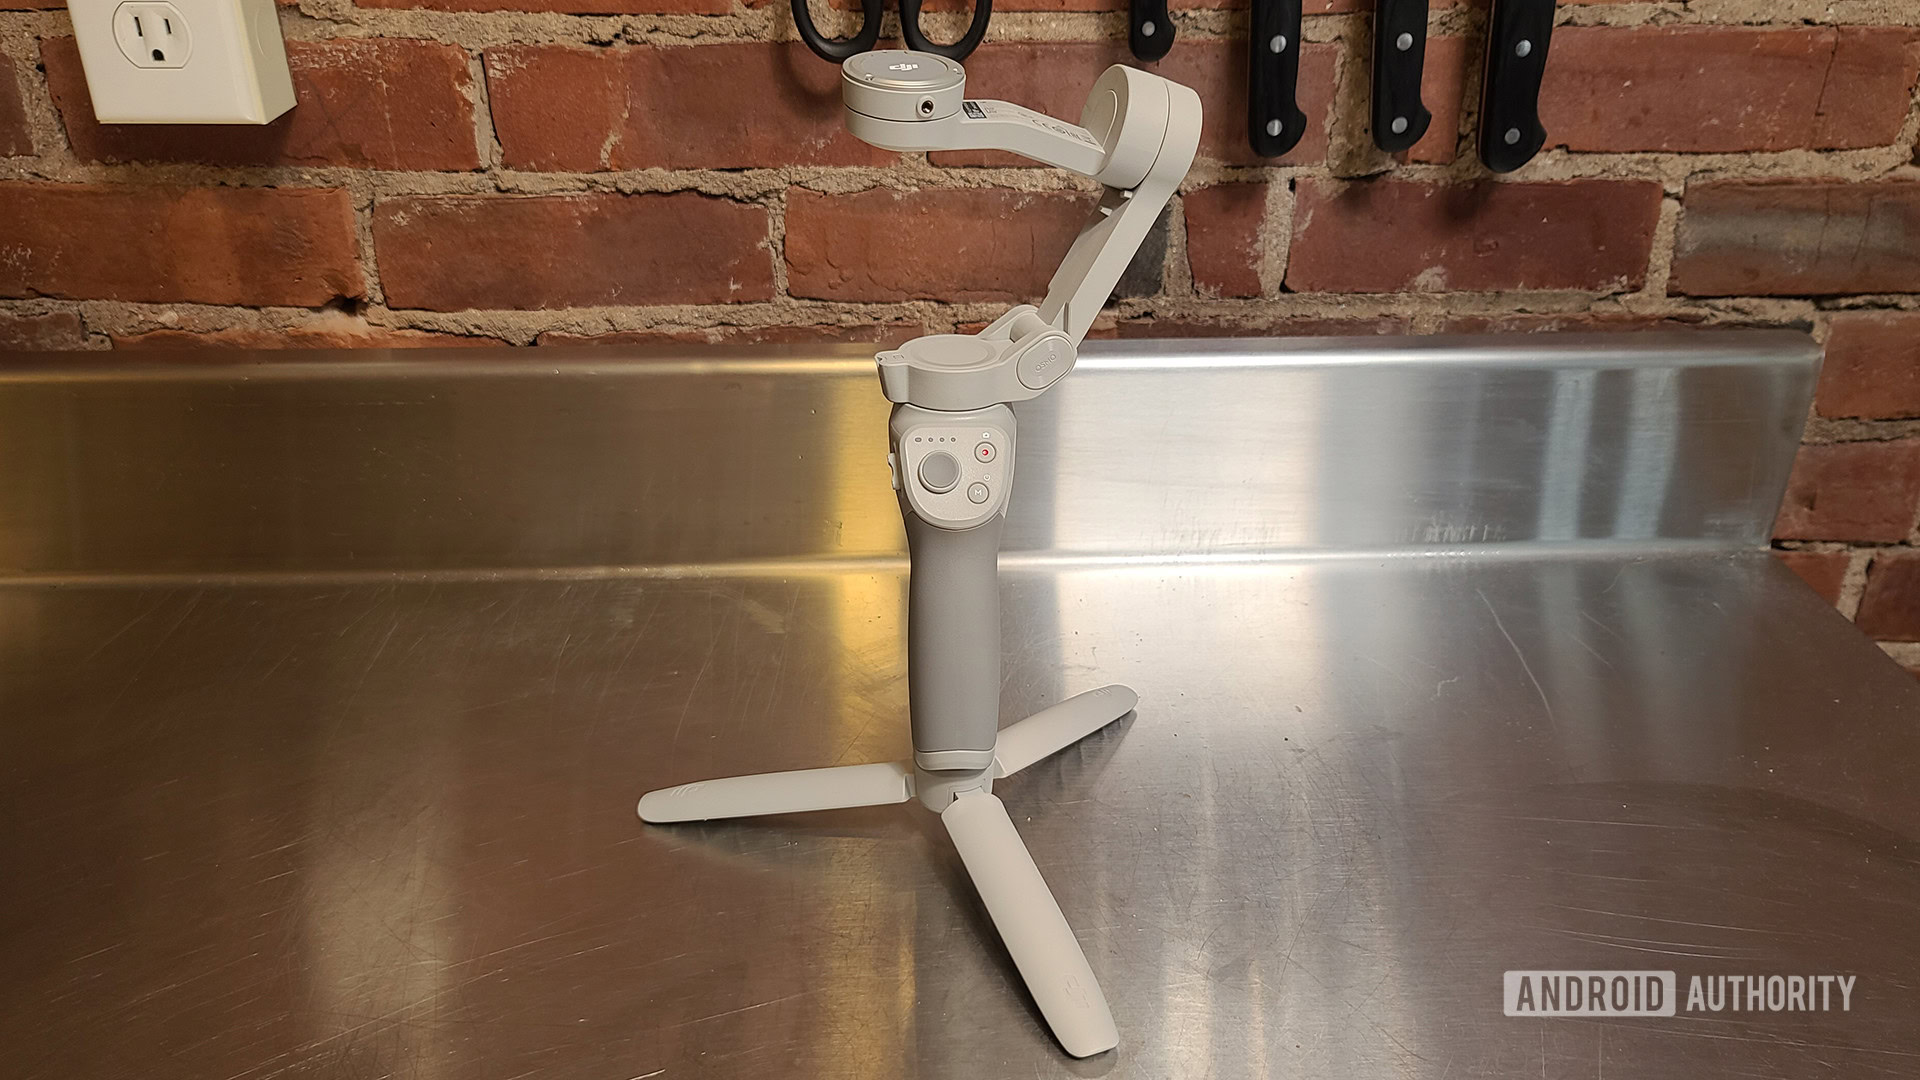
- Tripod stand
- Removable wrist strap
- USB-C to USB-A cable
- Magnetic ring to attach to your smartphone
- Tools and guides for attaching the ring
- Magnetic clamp for attaching a phone
- Soft carrying bag
Unlike in 2019, there is only one version of the DJI OM 4. For the Osmo Mobile 3, DJI offered a regular kit with just the basics and then a Combo kit with a hardshell case, a tripod stand, and more. In 2020, however, the OM 4 comes in just one package — and it doesn’t contain a hardshell case.
The lack of a hardshell case is disappointing, though DJI probably has a reason for leaving it out. Regardless, it does simplify your purchase as you don’t need to decide between a regular or deluxe package. What you see is what you get.
Do note that DJI later launched the OM 4 SE. This model is exactly the same as the OM 4 but omits the magnetic ring. It is $30 cheaper than the list price of the regular package.
Design and specs
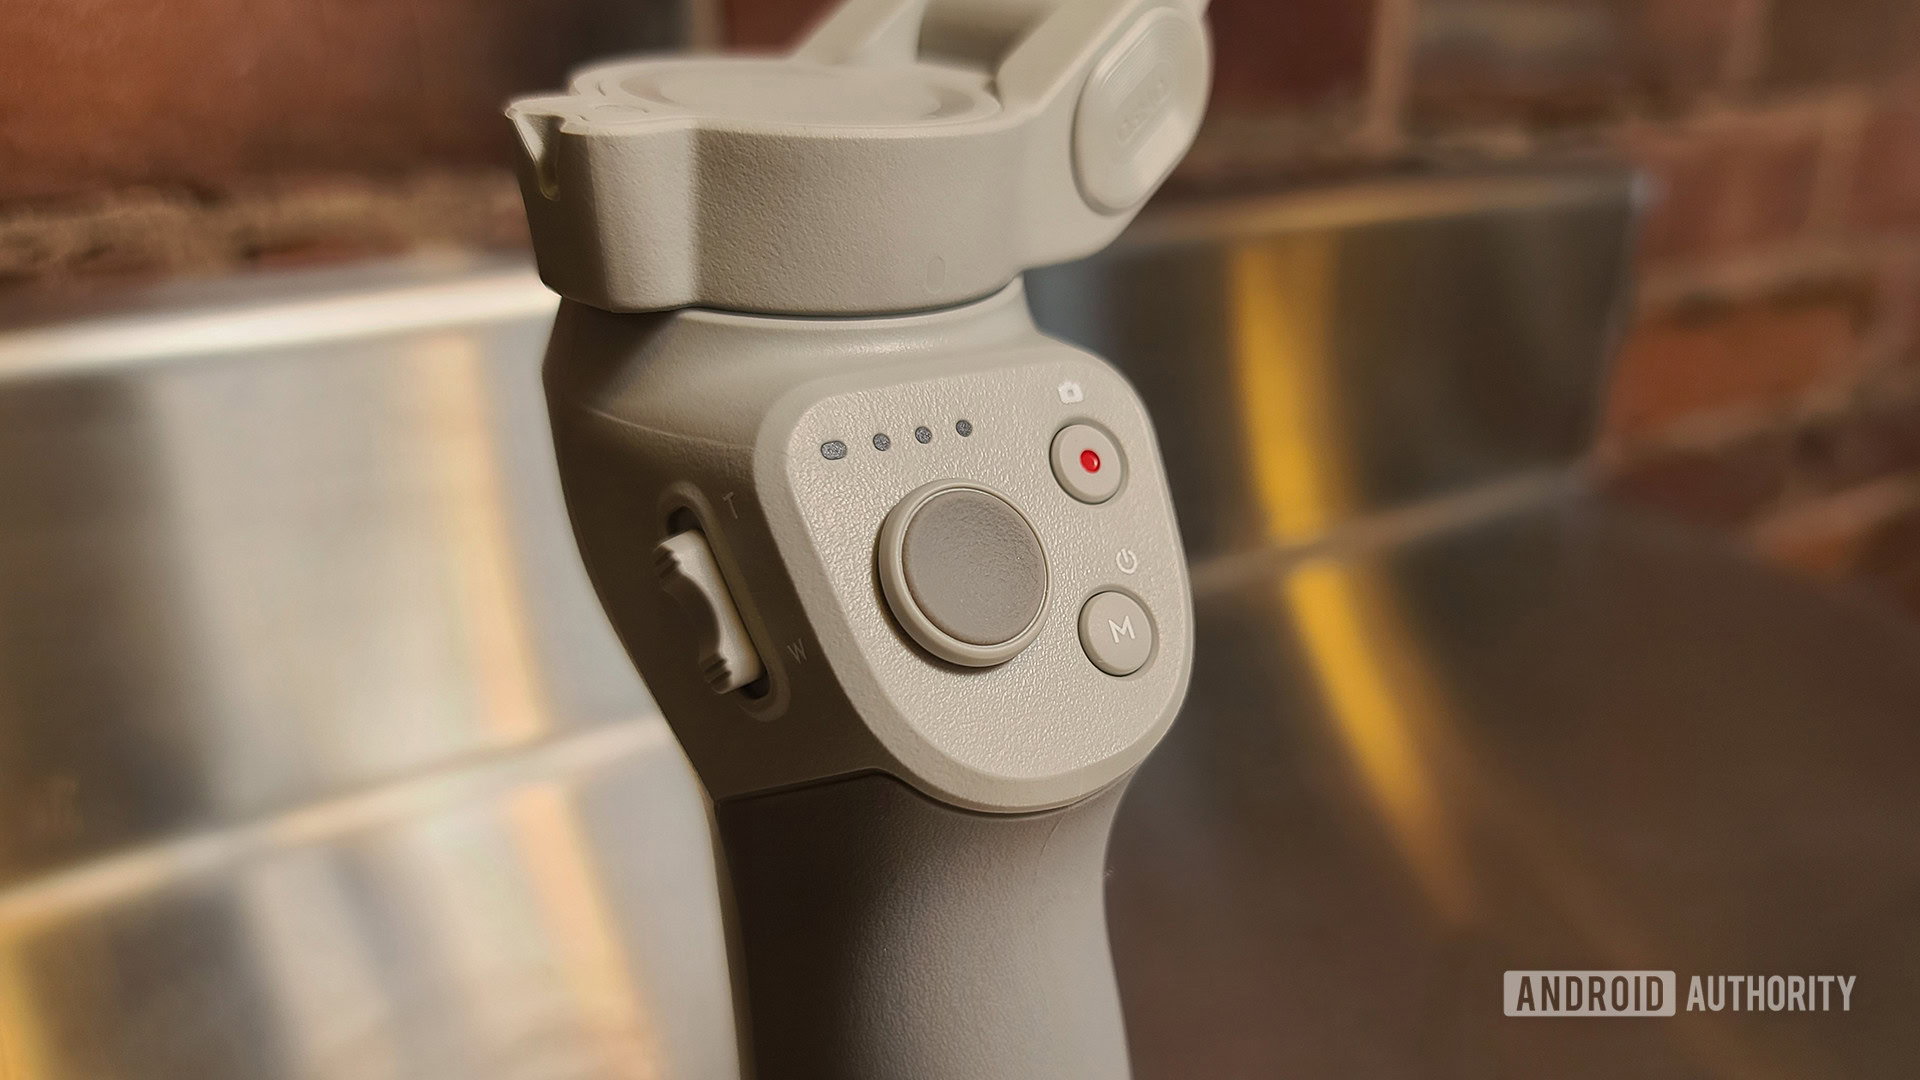
- Unfolded: 276 x 119.6 x 103.6mm
- Folded: 163 x 99.5 x 46.5mm
- 390g (without clamp or ring attached)
- 423g (with magnetic clamp)
- 2,450mAh battery (USB-C charging)
- ~15 hours operating time
- 2.5 hours to fully charge (w/10W charger)
- Bluetooth LE 5.0
As with the Osmo Mobile 3, the DJI Osmo Mobile 4 is almost entirely made of plastic. However, it doesn’t feel at all cheap — there’s no question that the gimbal is a premium device when you are holding it.
DJI upgraded the internal motor of the gimbal, which allows the gimbal arm to handle larger, heavier phones. Last year, the limit was at 230g for compatible smartphone weight, but the OM 4 can handle a phone that weighs over 300g.
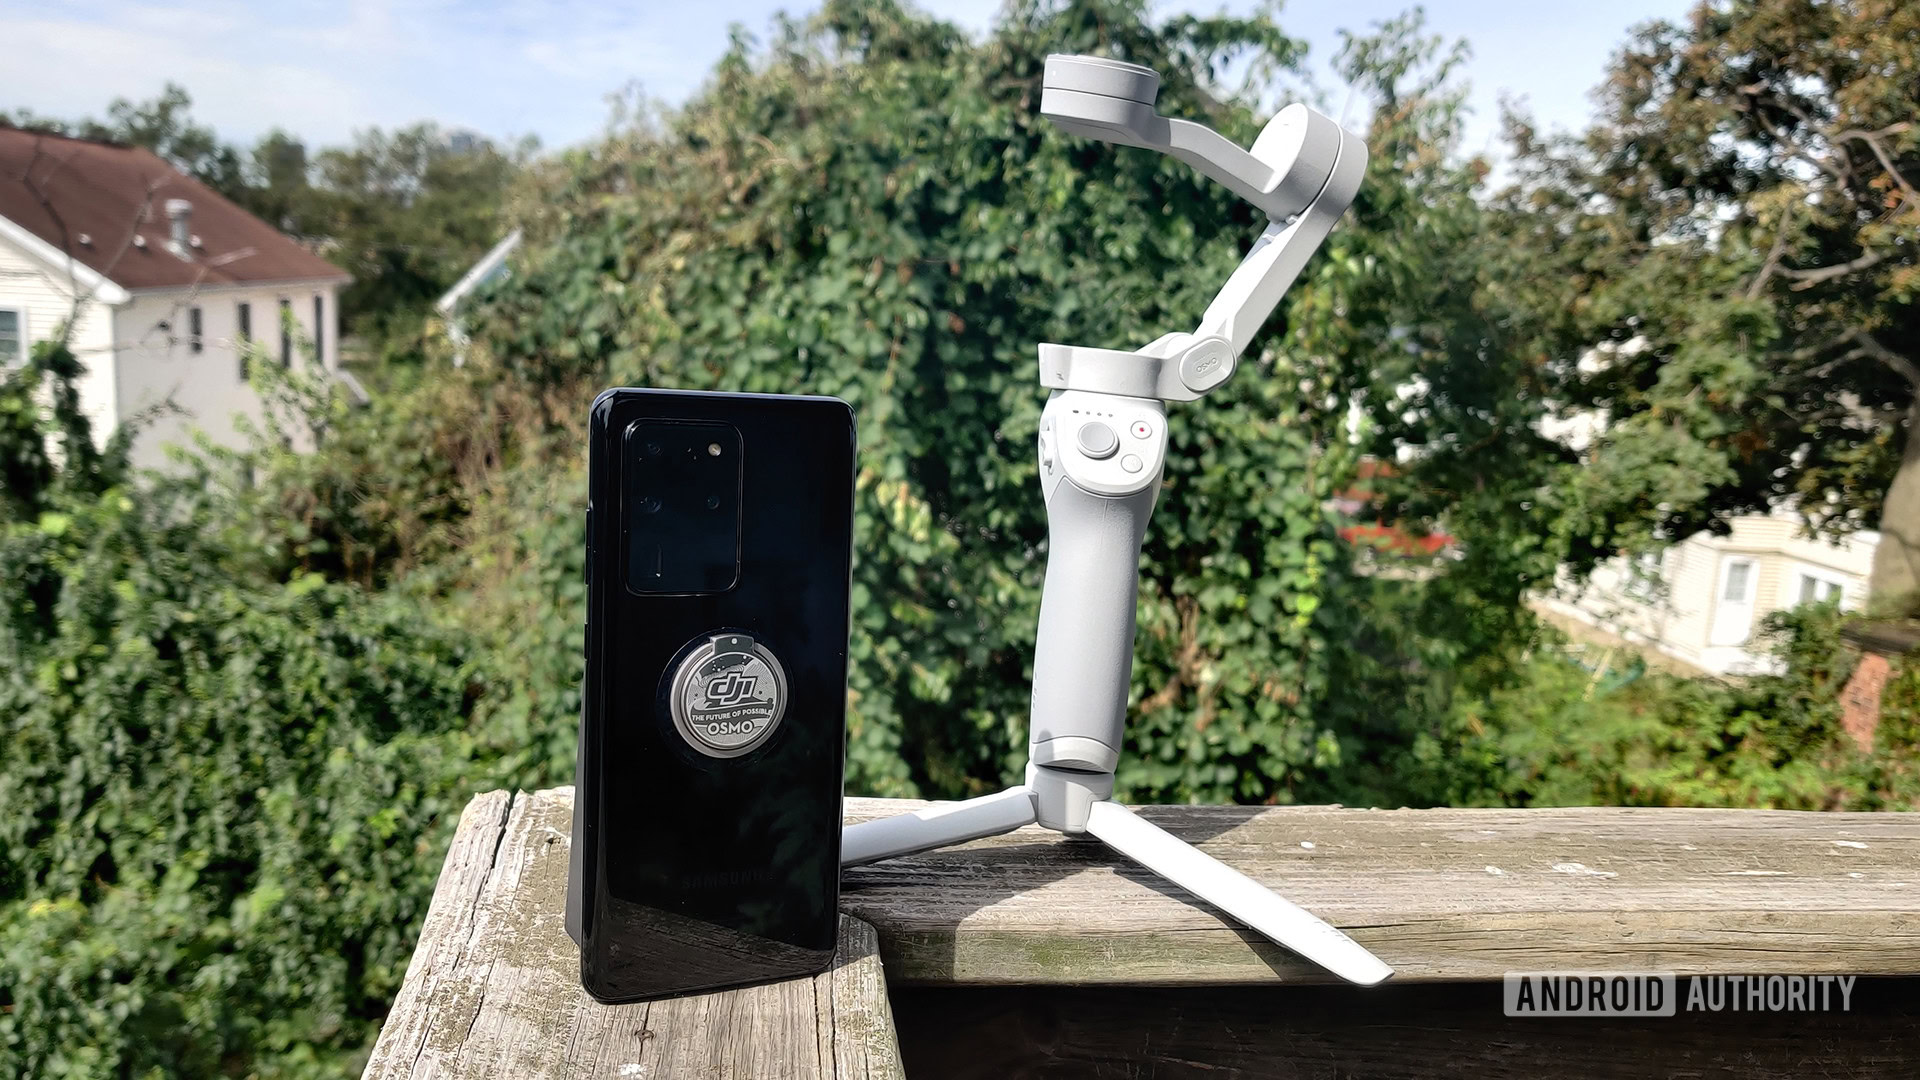
I used the gimbal with a Samsung Galaxy S20 Ultra, which is one of the heavier phones on the market (220g). The gimbal had no issues handling it.
The two magnetic mounts
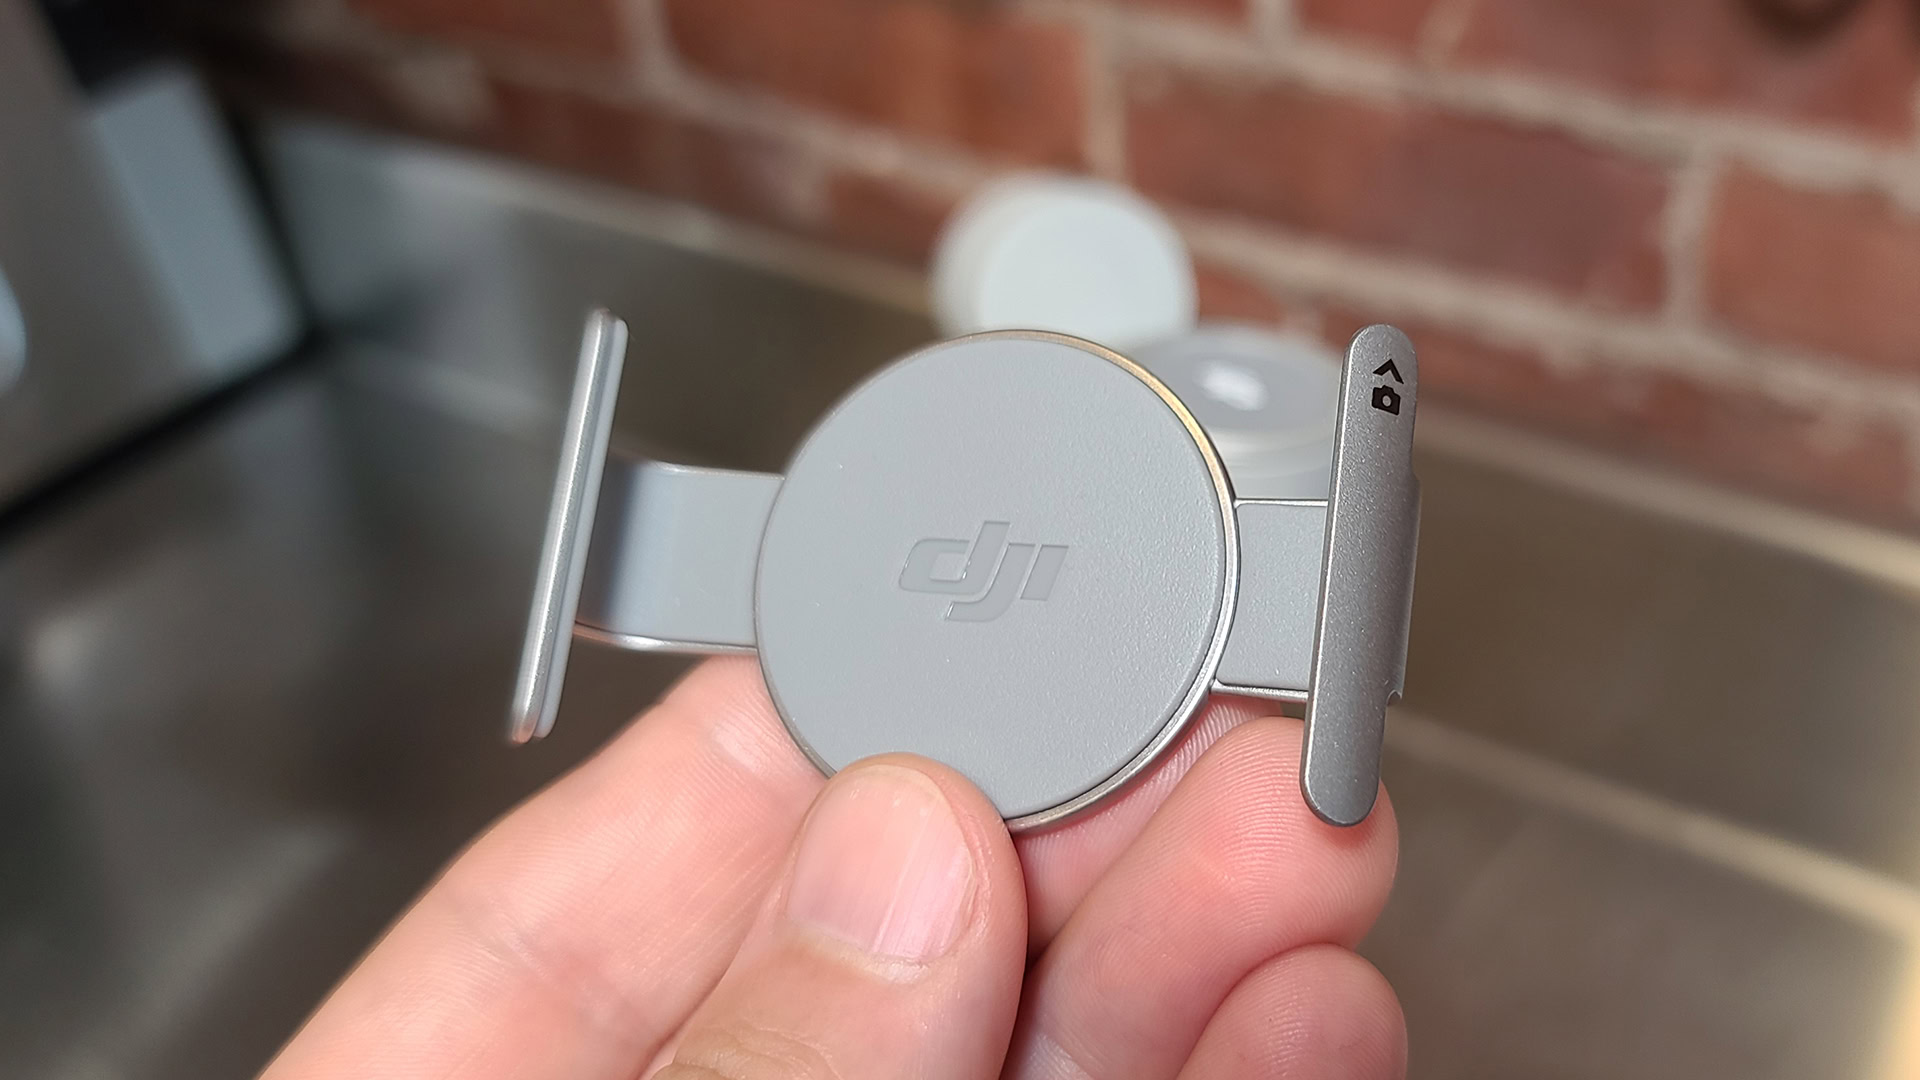
There are two types of magnetic mounts included in the box with the DJI OM 4. The first is a metal clamp (above). You snap it around the edges of your phone (your phone needs to be less than 84mm wide and less than 10mm thick) and then snap the clamp to the magnetic arm mount of the gimbal. The clamp is pretty heavy-duty, but it can’t handle much in the way of thickness. In other words, your phone is likely going to need to be naked or in a very slim case for the clamp to work correctly.
Related: 5 smartphone photography tips guaranteed to give instant results
With the clamp on your phone, you can snap your phone on or off the gimbal arm whenever you like. The advantage of this is that each time you snap the phone back on, it will be in exactly the same place it was when you took it off. This eliminates the need for you to re-calibrate the gimbal every time you remove your phone. For long shoots, this could save you tons of time.
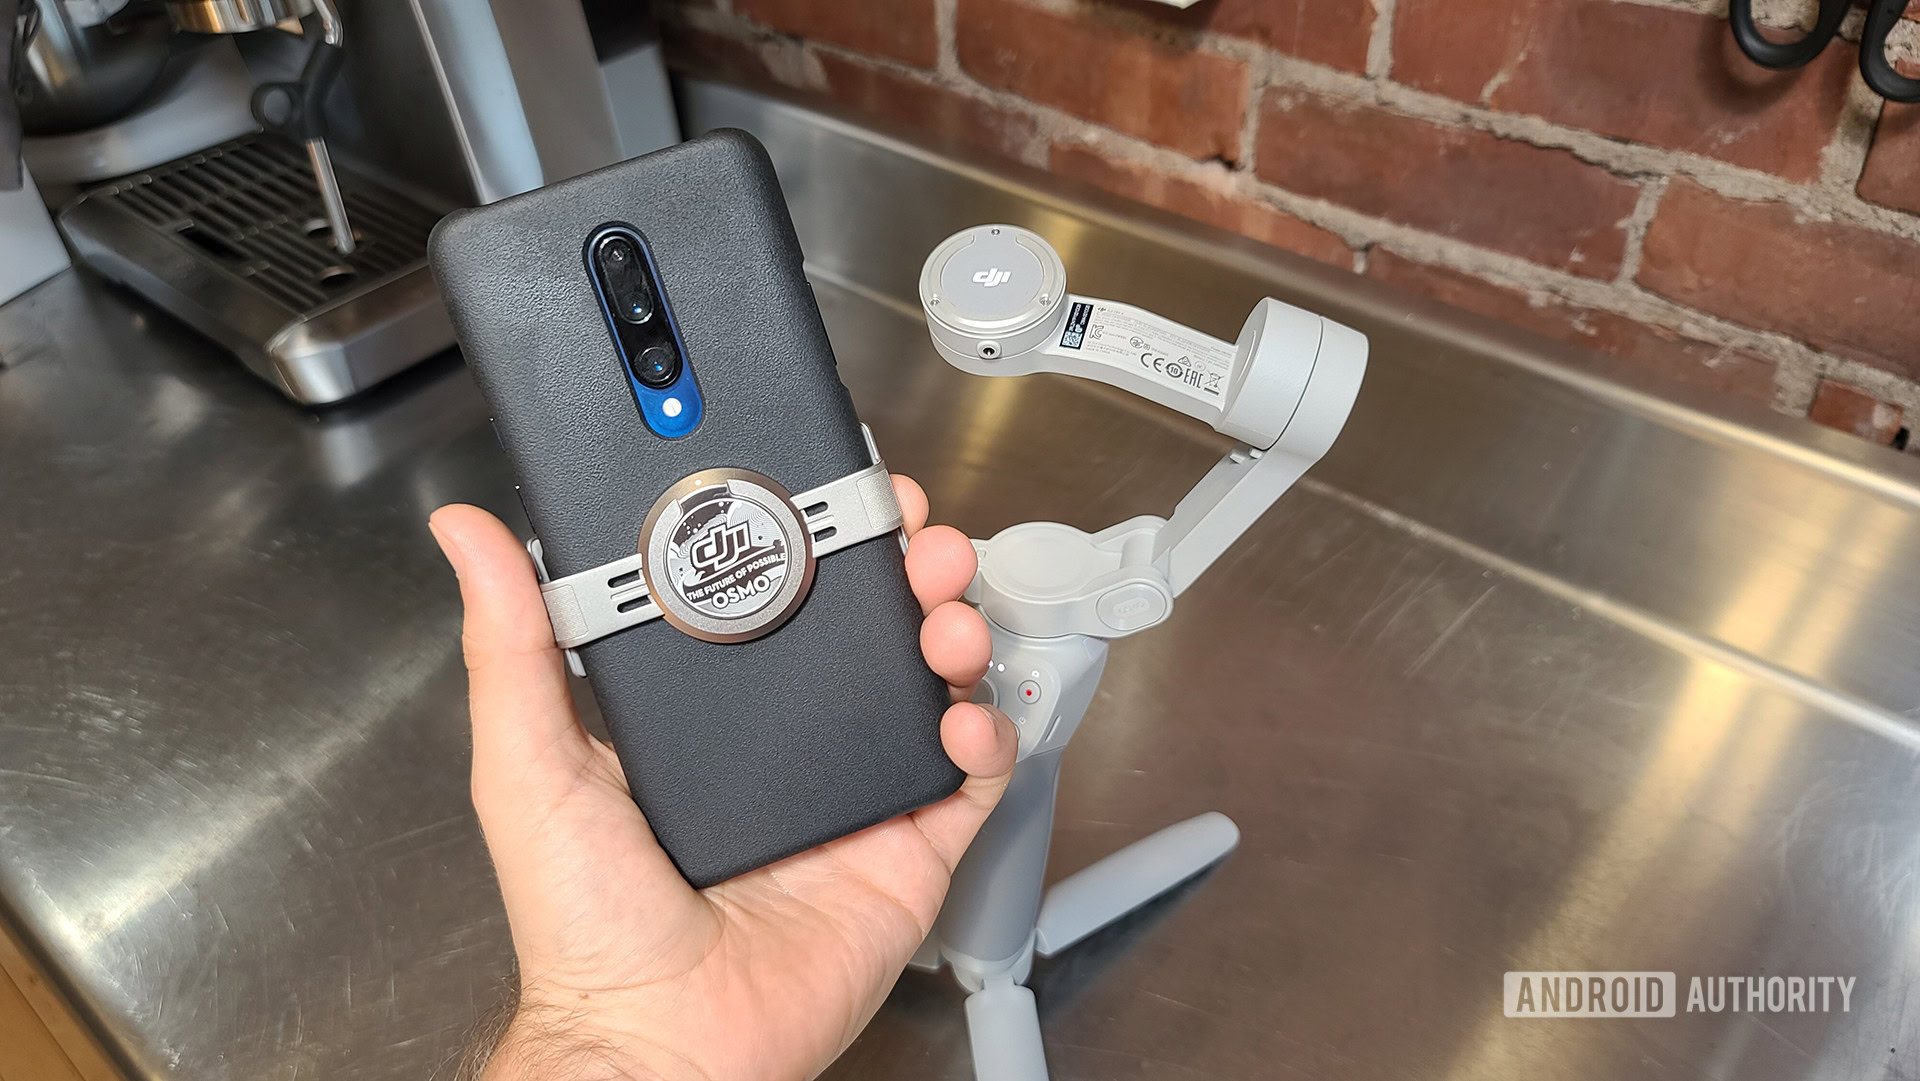
Also included in the box is a magnetic ring holder, which takes things a step further than the clamp. With the ring, you actually stick it to the smartphone directly, where it will permanently live. It’s almost like an all-metal PopSocket. Once it’s attached, you can snap your phone straight onto the gimbal whenever you need to without needing to clamp it first.
DJI provides cleansing wipes, protective stickers, and a guide to help attach the ring to your phone.
Be aware that the newest version of the OM 4 is the DJI OM 4 SE, and it omits the magnetic ring holder.
Issues with the magnetic mounts
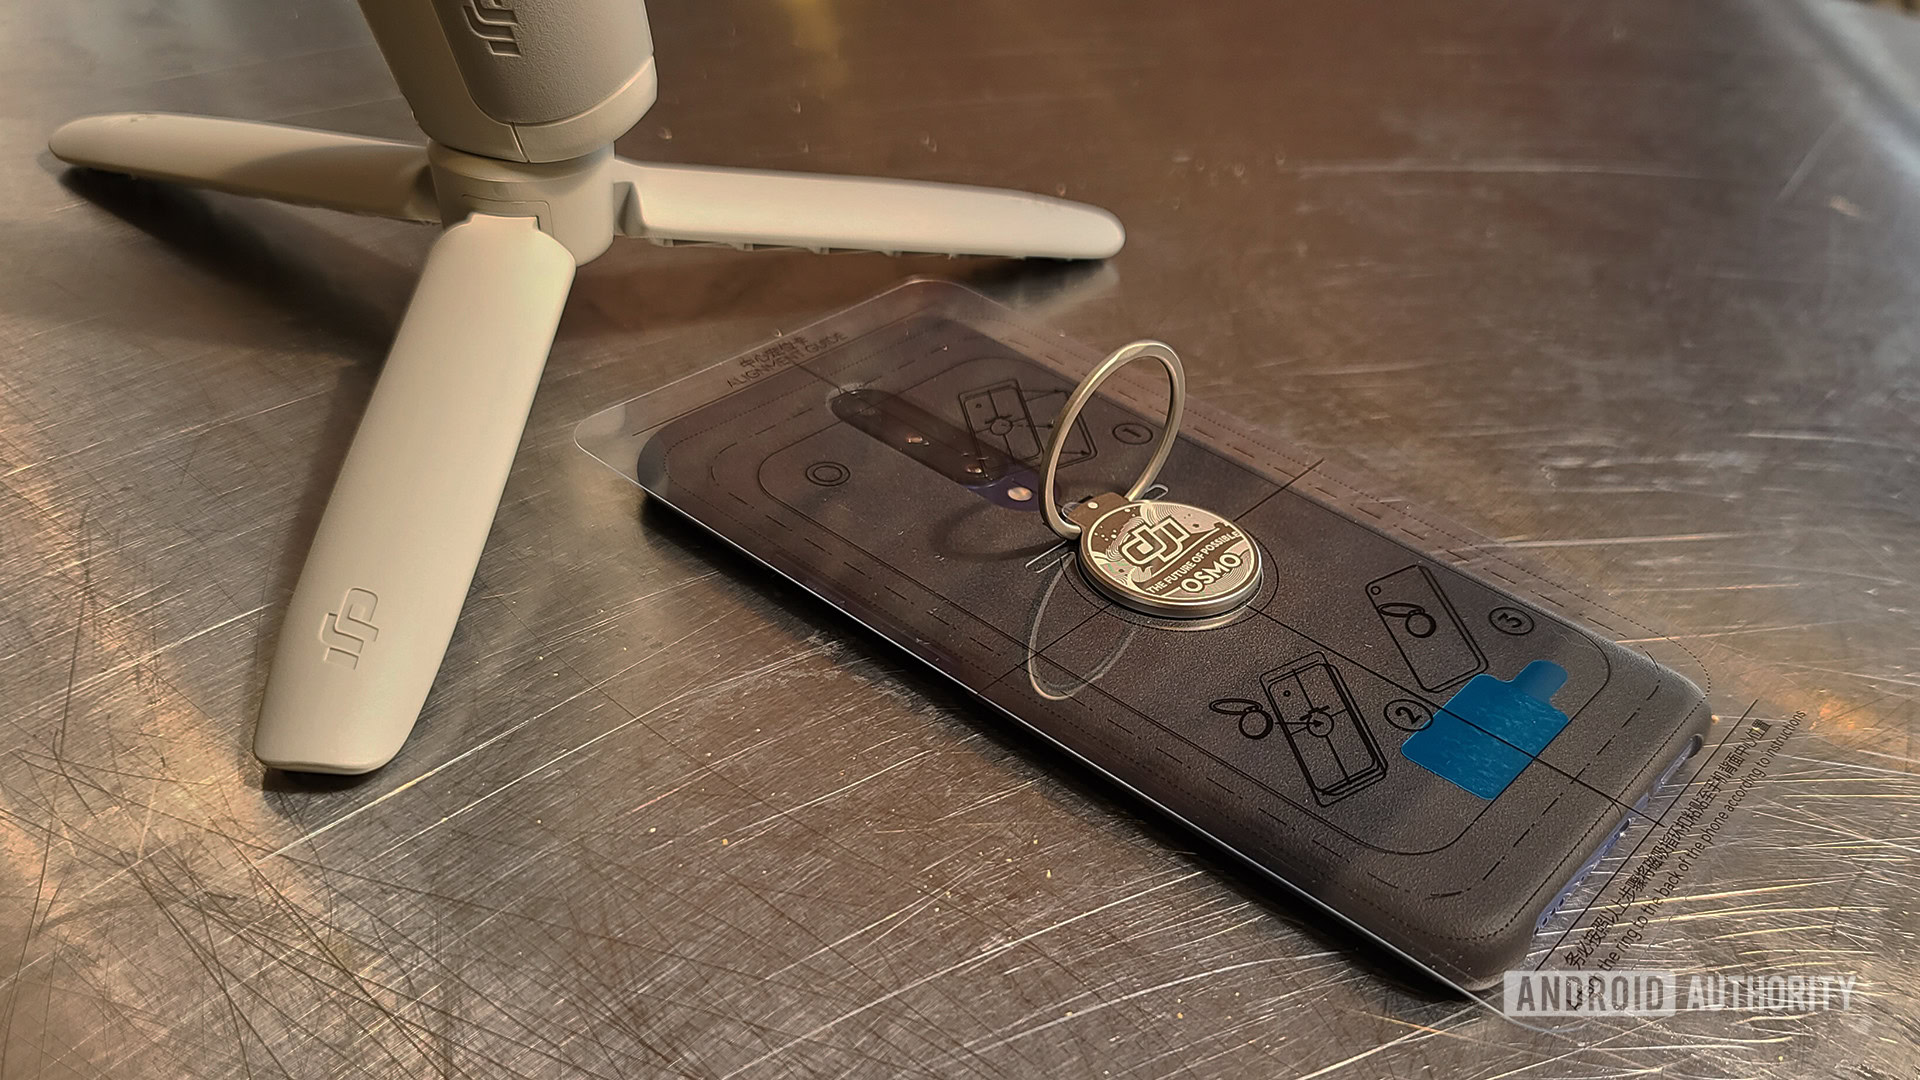
There are probably people reading this thinking, “Nope, no way am I sticking a magnetic hunk of metal to the back of my phone.” I’m right there with you. For this review, I did use the ring on the back of the Galaxy S20 Ultra. The very first time I tried to snap the device to the mount it didn’t connect properly (see GIF below.)
I wanted to charge the Galaxy S20 Ultra before I went out to shoot some footage. I have a charging dock on top of my metal PC tower and put the phone there for a top-up. I totally forgot that the ring was attached to the phone, so a high-powered magnet was attached to my PC for an hour. WHOOPs.
I also hated having the ring there all the time as it causes the phone to wobble on my desk. This is a serious pet peeve.
You might be thinking about putting the ring onto a case to avoid all this, but nope — it needs to be on the smartphone glass itself. This prevented me from protecting my $1,400 smartphone. Yikes.
The bottom line here is that the ring mount is only for the most dedicated of gimbal users. If you’re using a gimbal a lot (like, daily) and have a dedicated smartphone for capturing video, the ring mount might be an ideal solution. In any other situation, though, you’ll likely want to stick with the clamp.
Video examples
Since the DJI OM 4 and the Osmo Mobile 3 share a design and most features, I am only going to cover new things this gimbal can do.
In order to best take advantage of the DJI OM 4, you’ll need the DJI Mimo app. This very large (over 200MB) app acts as both a camera app and a controller for the gimbal itself. Because camera settings, gimbal settings, user settings, and editing settings are all in one app, it can get pretty confusing. I am happy to say that the Mimo app has only gotten better and easier to use over time, but it’s still a bit of a mess.
Dyna-Zoom
This mode uses background perspective to create a dynamic zoom experience. You’ve likely seen this effect in movies and TV shows tons of times, where the camera moves in/out so the background of the scene changes but the subject (usually an actor) stays centered in the frame.
While this is a cool idea, it didn’t work out so well. Here’s how it looks:
Because Dyna-Zoom depends on your smartphone camera’s zoom, the quality is invariably going to be low. Under great conditions and with the right background, this could end up looking really cool and professional. However, I tried this a few times and this was the best one I got.
Story Mode
This mode is probably the best thing about the DJI Mimo app, and it’s seen a ton of upgrades since last year. Story Mode allows you to quickly make pro-looking edits on the fly, complete with a soundtrack. You simply follow the app’s instructions to create each aspect of the clip and then the app puts it all together for you. Once you’re done, you can share it to your social media instantly.
Here’s a story I shot; it took me about 4 minutes total.
One of the best upgrades is a very clear way to remove the DJI watermark and ending card from your stories. Previously, the tool to remove these wasn’t easy to find. Now, when you make your first story, the app will ask you if you want to remove the watermark and ending card. It will also ask if you want to keep them off permanently. This is a terrific change.
Without a doubt, Story Mode is the star feature of DJI’s gimbal series.
Other features are mostly the same
The other shooting modes in the Mimo app are stuff you would expect from any other gimbal: stills, video, timelapse, motionlapse, and panorama. DJI’s other specialized features — such as hyperlapse and Active Track — are pretty much unchanged here.
It’s a shame Active Track hasn’t made more advancements. This should be the best feature of the Mimo app, but it consistently comes up short. If your subject is too far away or moves too quickly, Active Track will invariably fail to follow it. Check out the GIF below of me trying to get Active Track to lock on to my girlfriend, who was apparently too small in the frame:
I got the feature to work just fine when she was closer, but Active Track also failed if she started to run. If DJI can make Active Track better, it will be a killer feature. For now, it’s a fun perk when you can get it to work correctly.
Value and alternatives
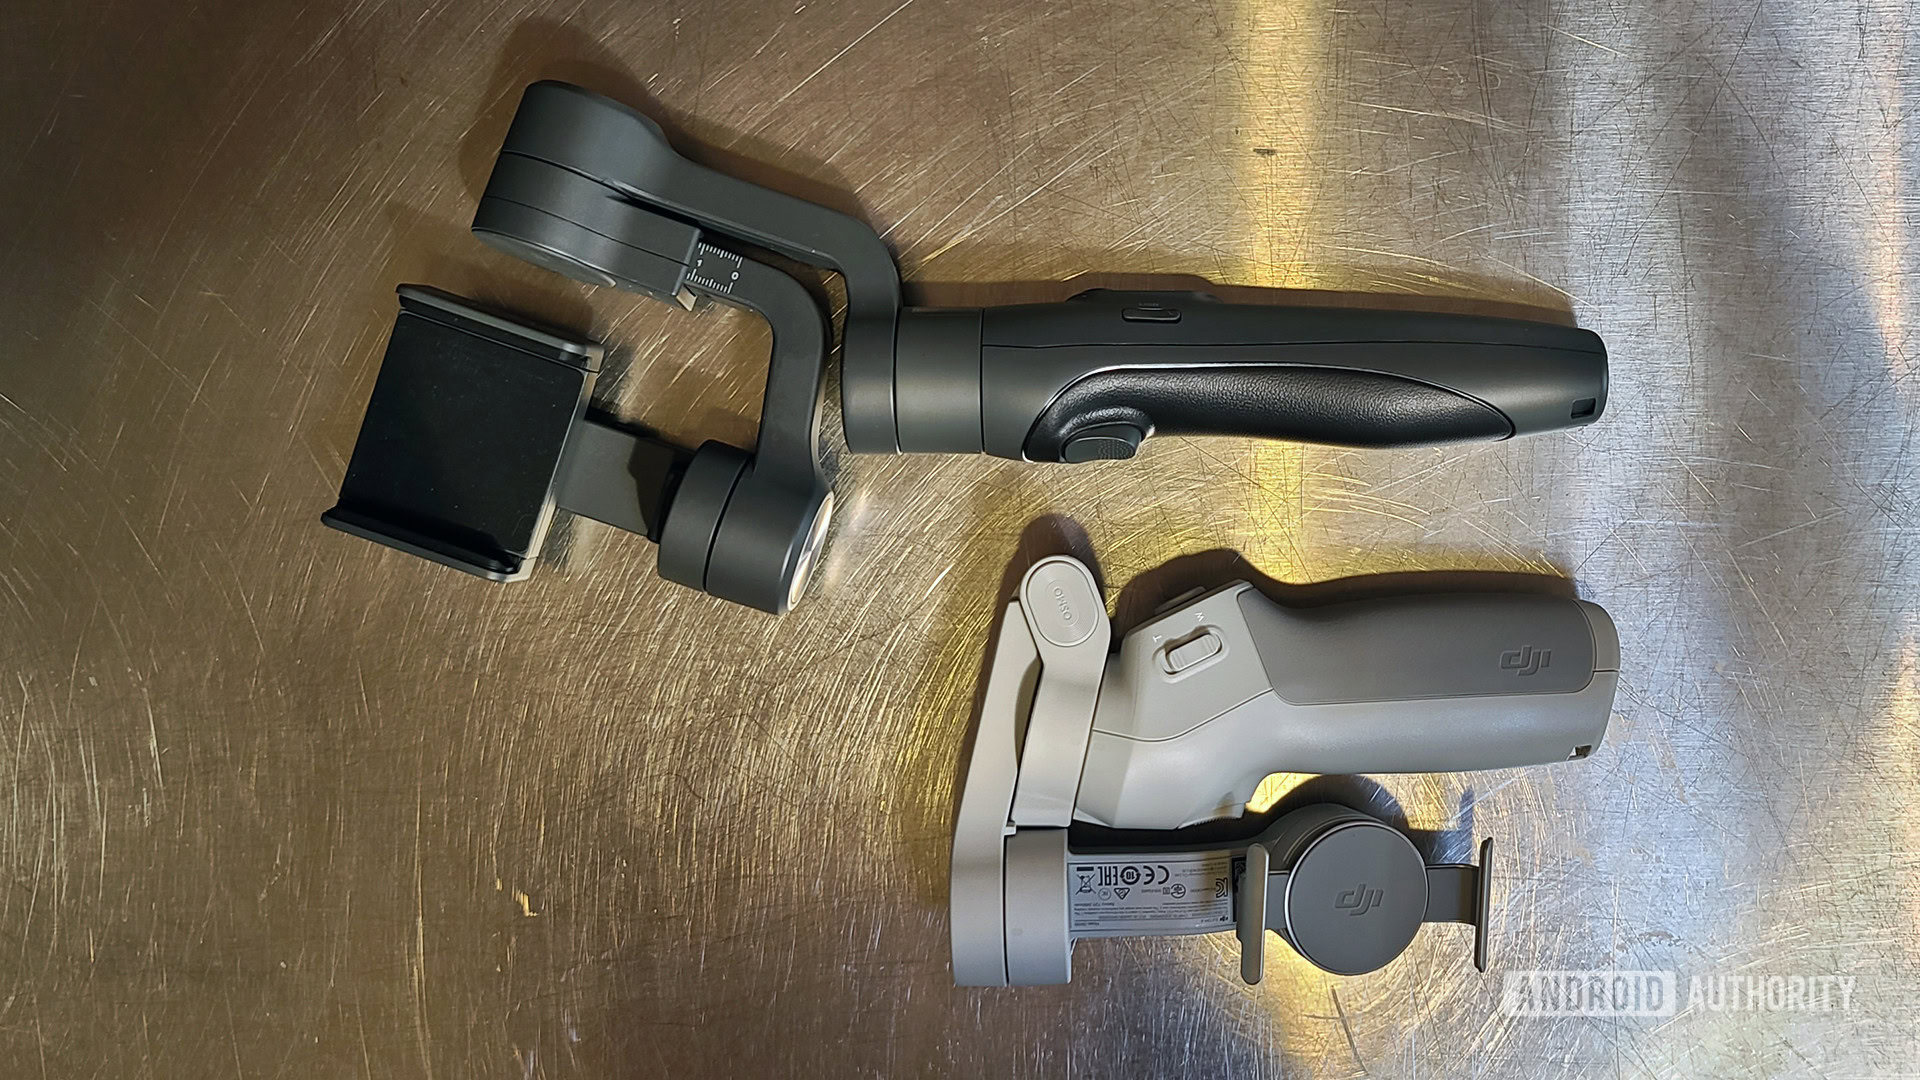
The DJI OM 4 is not a cheap gimbal. At $149, it is $50 more expensive than a lot of competitor gimbals. It’s also $30 more expensive than last year’s Osmo Mobile 3 and $10 more expensive than the deluxe kit of that same device.
However, the DJI OM 4 SE — which is the same as the OM 4 but minus the magnetic ring clamp — is only $119. This is a much more competitive price. Losing out on the magnetic ring isn’t that big of a deal either, since it’s not something we’d recommend most people use.
Keep in mind that, if you are a casual videographer who uses a gimbal a few times a month, you likely don’t need any kind of magnetic mount. One of the Osmo Mobile 3 kits will save you even more cash and still deliver a terrific experience.
As for alternatives from other brands, you can check out some of our other gimbal reviews below:
DJI OM 4 review: The verdict
The DJI OM 4 (DJI Osmo Mobile 4) has all the things that made the Osmo Mobile 3 great. In essence, the OM 4 should be a shoo-in since it’s the great gimbal DJI gave us last year but with a new magnetic mounting feature.
However, attaching a stick-on magnet to the back of my phone isn’t something I would ever want to do. Using the magnetic clamp is a much better alternative. However, the clamp likely involves removing the phone’s protective case. That makes me incredibly nervous about dropping the whole kit and having my glass sandwich phone shatter to bits.
The bottom line here is that it appears DJI added the magnetic mount system to cater to serious videographers, vloggers, and influencers who may use a gimbal every single day. If you are not in one of those categories, save yourself the cash and grab the Osmo Mobile 3. If you love the magnetic mount, please look for the OM 4 SE, as it is a better value. If you’ve got money to burn, check out the superior DJI OM 5.