Affiliate links on Android Authority may earn us a commission. Learn more.
How to format a USB drive on Windows and Mac
Published onMay 3, 2023
The older and more used a USB flash drive becomes, the more likely it will be that it will have to be formatted eventually. Formatting a USB drive is something that can be done really quickly and will likely result in speed and other performance improvements. Here is how to format a USB flash drive on Windows and Mac.
QUICK ANSWER
To format a USB drive, insert it into your Windows or Mac machine. On Windows, right-click the drive and select Format. On a Mac, open Disk Utility and select Erase. Doing so will erase all existing content on the drive.
JUMP TO KEY SECTIONS
Windows
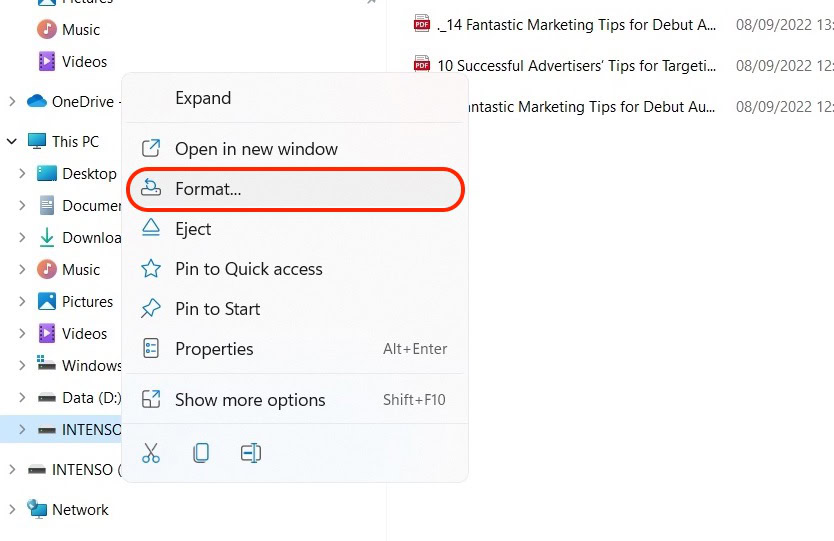
To format a USB drive on Windows, insert the drive and right-click on it in Windows File Explorer. Select Format.
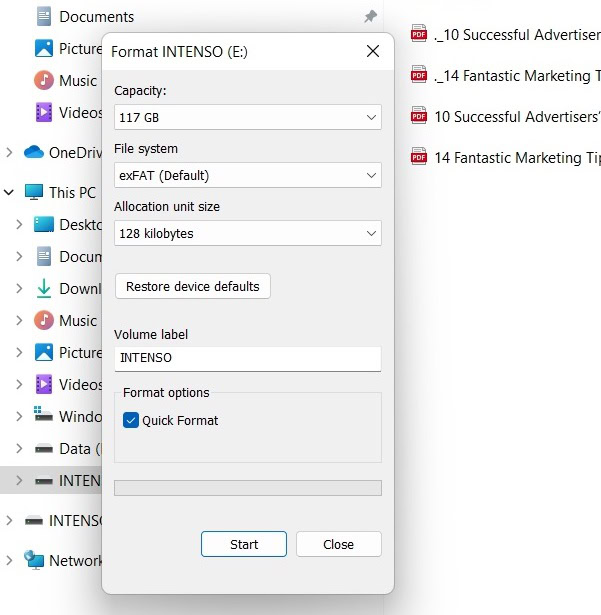
You can more or less leave the presets as they are unless you have a compelling reason to change any of them. Nine times out of ten, you can keep Quick Format ticked. Quick Format is around five seconds — Regular Format can take hours and is only really necessary if you are experiencing technical problems with the drive. Click Start to begin the formatting process.
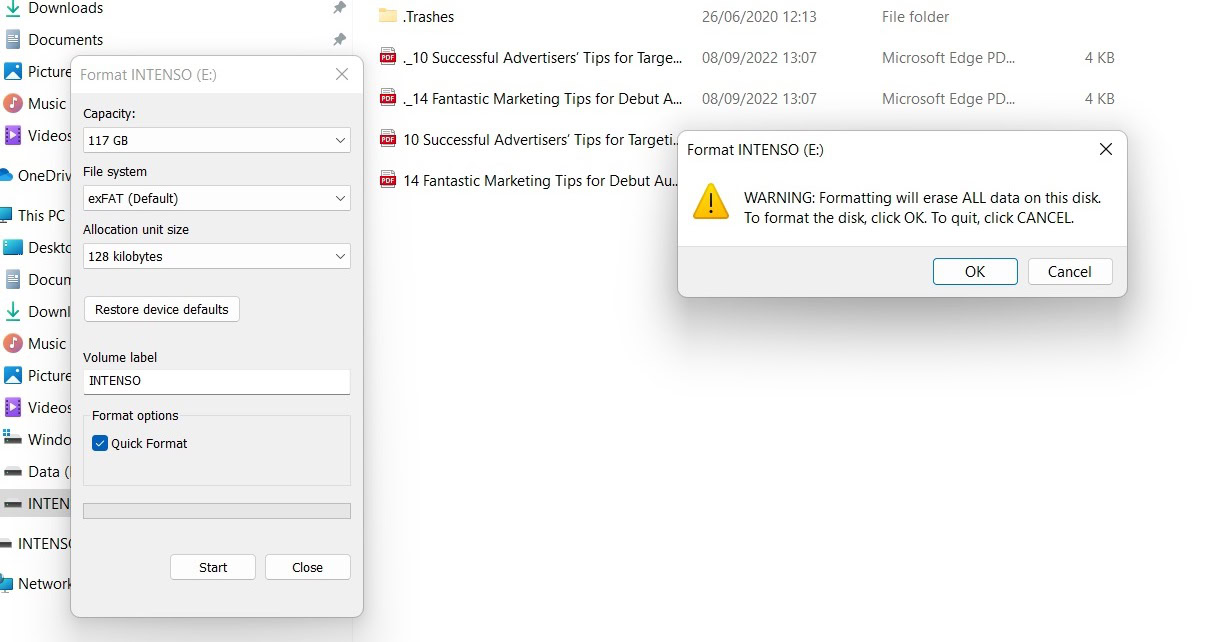
First, you will receive a warning that all existing data on the drive will be erased. So if you need that data and you haven’t already backed it up, cancel the formatting process and do that first.
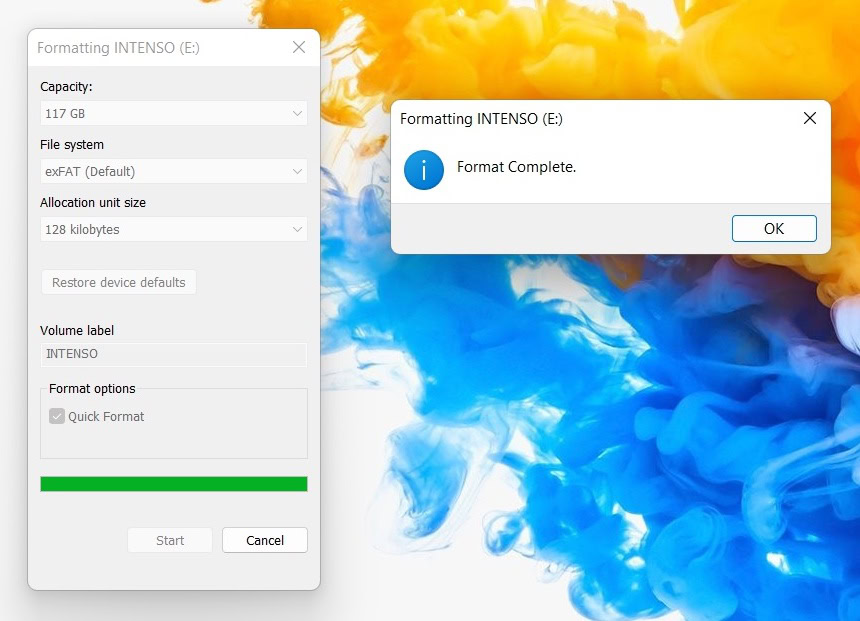
Quick Format usually only takes around five seconds, and when it’s finished, you will get a confirmation window.
Mac
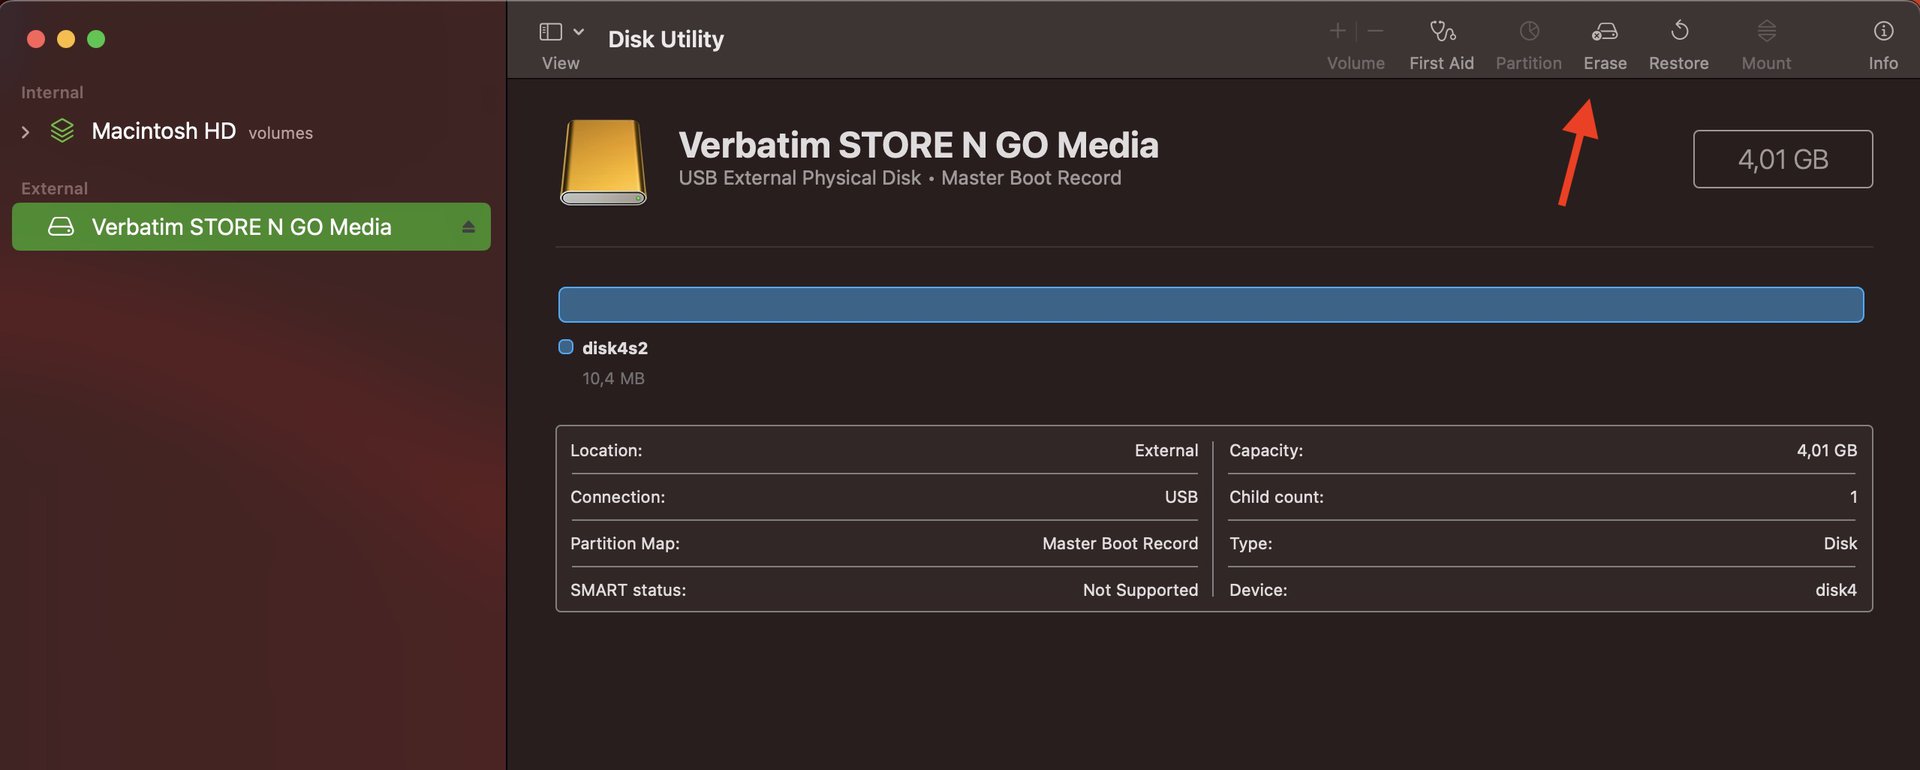
You can format a USB drive on macOS using the built-in Disk Utility. You’ll find it in the Applications folder. Start it up, and assuming your USB drive has already been inserted into the machine, you will see it under the External section. Note that Mac machines no longer natively support USB flash drives, so you would need an adapter like this one.
Click Erase in the top right-hand corner of Disk Utility.
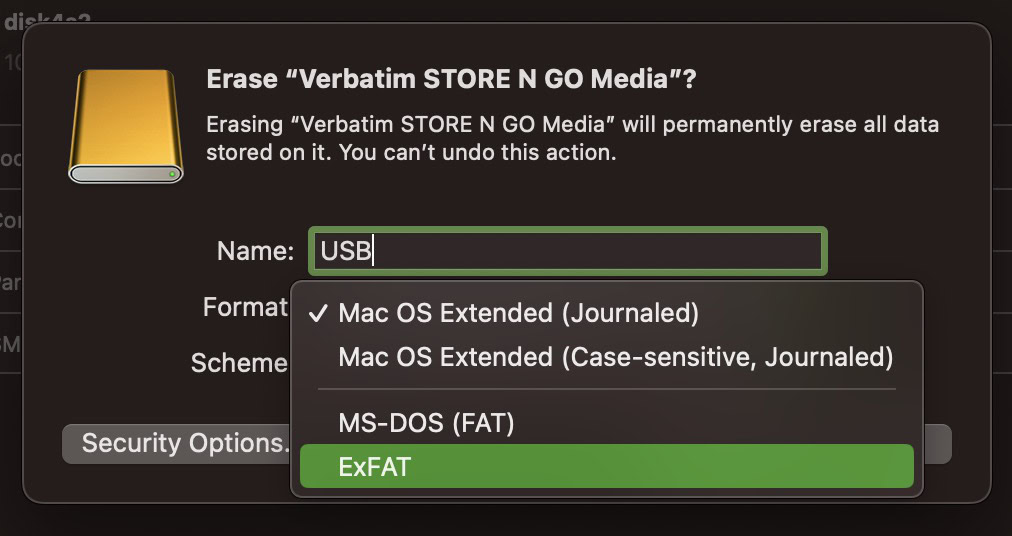
You can now change the details of the drive if you want. Under Format, I usually use exFAT, which is usable on both Mac and Windows machines. Under Scheme, it’s preferable to use GUID Partition Map. When you have selected your options, click Erase at the bottom of the window.
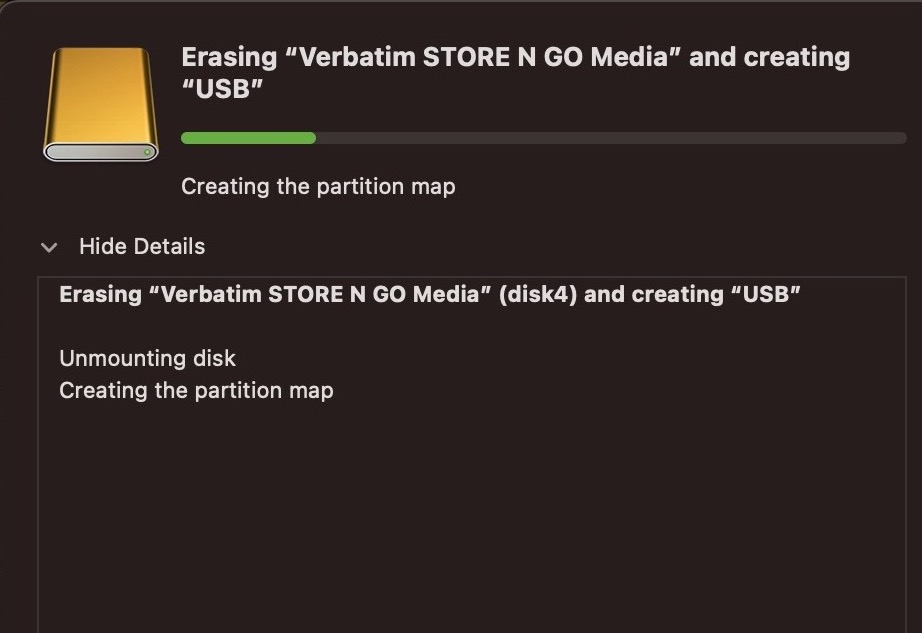
You will now see a new window with a progress list. This usually goes really fast.
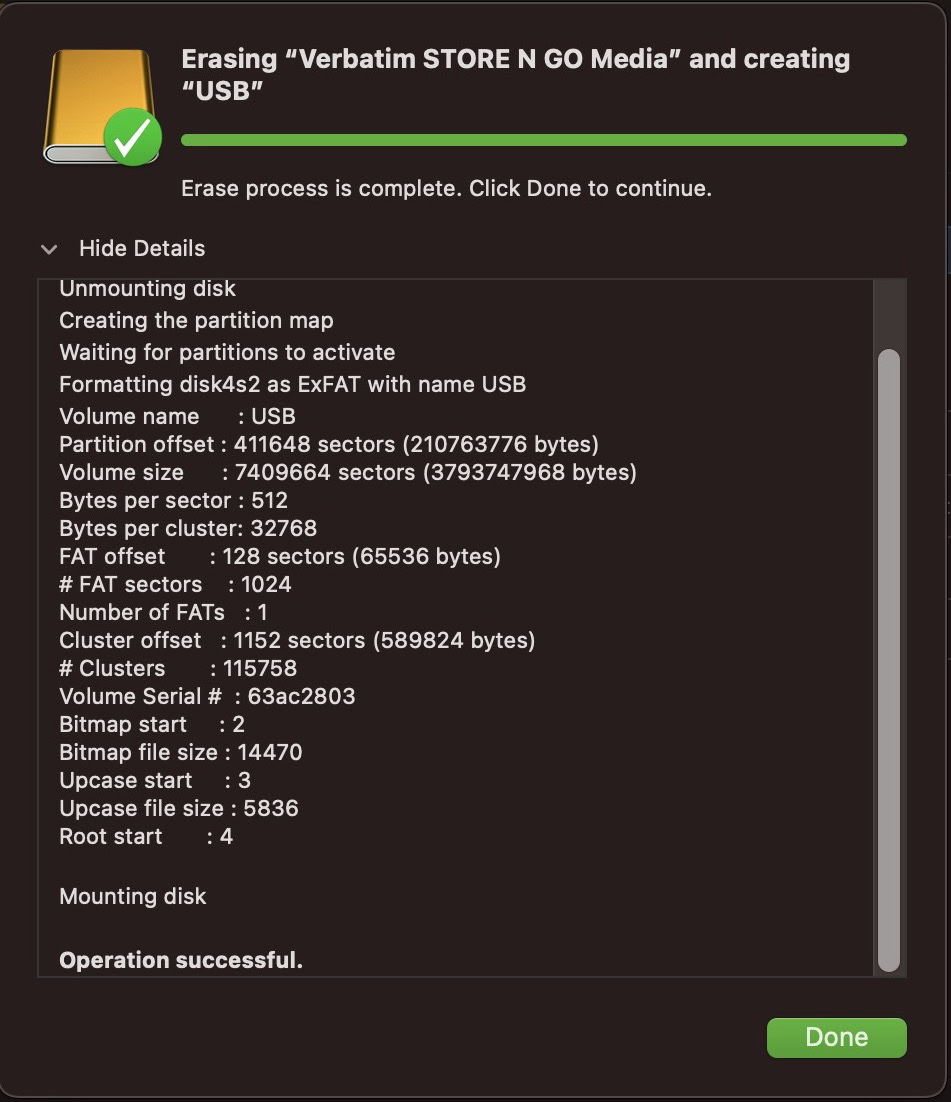
When the Erase process has been completed, click Done at the bottom. That’s the formatting of the drive finished.
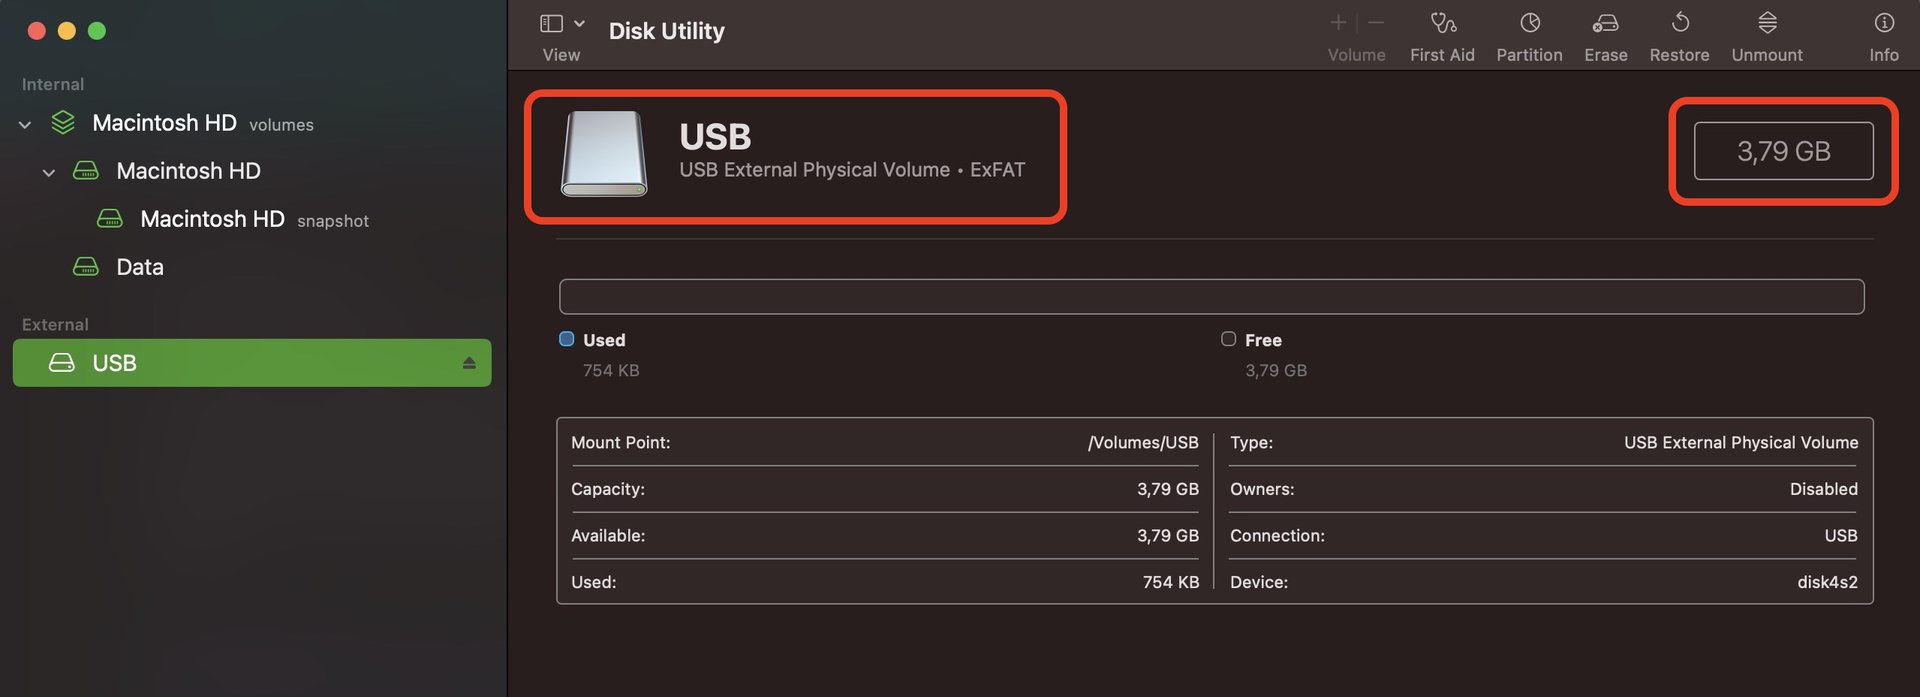
If you now examine the USB drive in Disk Utility again, you will see that the drive is now correctly reformatted as exFAT, and you have the flash drive’s memory space back again. Click the black arrow next to the device’s name in External to safely eject the USB drive.
FAQs
Yes, the formatting process will delete everything stored on the USB flash drive.
Usually, no. However, if you want to change the partition on the drive, or change it to an OS-specific format, then you will have to re-format it.
Assuming you only intend to use the flash drive on a Mac, it’s best to use macOS Extended (or HFS+ to use its official name).
It depends on a variety of factors. No one size fits all. NTFS is the best format for the Windows operating system. exFAT is best for more efficient power and memory management. It also allows you to use a flash drive on both Windows and macOS.
exFAT does not offer journaling functionality and other advanced features built into NTFS.