Affiliate links on Android Authority may earn us a commission. Learn more.
Google Pixel 7a review: Setting the (Real) Tone
Published onNovember 2, 2023

Google Pixel 7a
What we like
What we don't like
Our scores

Google Pixel 7a
Flagships might get all the attention, but smartphone battles are won and lost in the middle — er, mid-range. OEMs look for ways to close the gap on their premium offerings while still trying to hit approachable price points and balancing the cuts that must be made along the way. Google is no stranger to this, with its Pixel A series always landing among the best budget Android phones you can buy, but what happens when it raises the bar to within $100 of its most complete flagship to date? Find out in our Google Pixel 7a review.
Update, November 2023: We’ve updated this Pixel 7a review to include details of the Android 14 update, new competition, and more.
Google Pixel 7a review: What you need to know
- Google Pixel 7a (8GB/128GB): $499 / £449 / €509 / CAD $599
Google launched the Pixel 7a in May 2023 as part of its annual Google I/O presentation. It landed as the cheapest member of the Pixel 7 family and the direct successor to the Pixel 6a just ten months after that phone’s launch, though it won’t be replacing it in Google’s lineup quite yet. Instead, the Pixel 7a will retail for $499 — a $50 bump over its predecessor’s launch price — with the Pixel 6a dropping to a budget-friendly $349.
Google’s ever-reliable mid-range offering follows its tried-and-true formula of pulling key features from its flagship cousins while cutting a few corners to keep the costs slightly lower. The gap is even tighter this year, though, as the Pixel 7a picks up more “premium” features like wireless charging, an extra 2GB of RAM, and Face Unlock.
Before we get to those added goodies, let’s start with the hardware. The Pixel 7a hasn’t changed much in size or materials, offering a 6.1-inch flat OLED panel made of Gorilla Glass 3. The display now has a smoother 90Hz refresh rate to go with the Full HD+ resolution (1,080 x 2,400), an upgrade from the previous 60Hz. Outside of the Gorilla Glass panel, the Pixel 7a features a tactile alloy frame and a 3D thermoformed composite back panel — regularly known as plastic. Regardless of the materials, the Pixel 7a has an IP67 rating for water and dust resistance.
The smallest, most affordable member of the Pixel 7 family now has extra RAM, a faster refresh rate, and wireless charging — a first for the Pixel A lineup.
Sticking to the small but mighty theme, the Pixel 7a offers the smallest battery of the Pixel 7 family and sacrifices a few milliamp hours compared to the Pixel 6a, dropping to 4,385mAh. It matches the Pixel 6a with 18W wired charging through the USB-C 3.2 port but adds 7.5W Qi wireless charging to the mix — a first for the Pixel A series. Google’s mid-ranger comes in a single configuration with 8GB of RAM, 128GB of fixed storage, and the Tensor G2 chipset under the hood — check out our Pixel 7a specs breakdown for more info and comparisons.
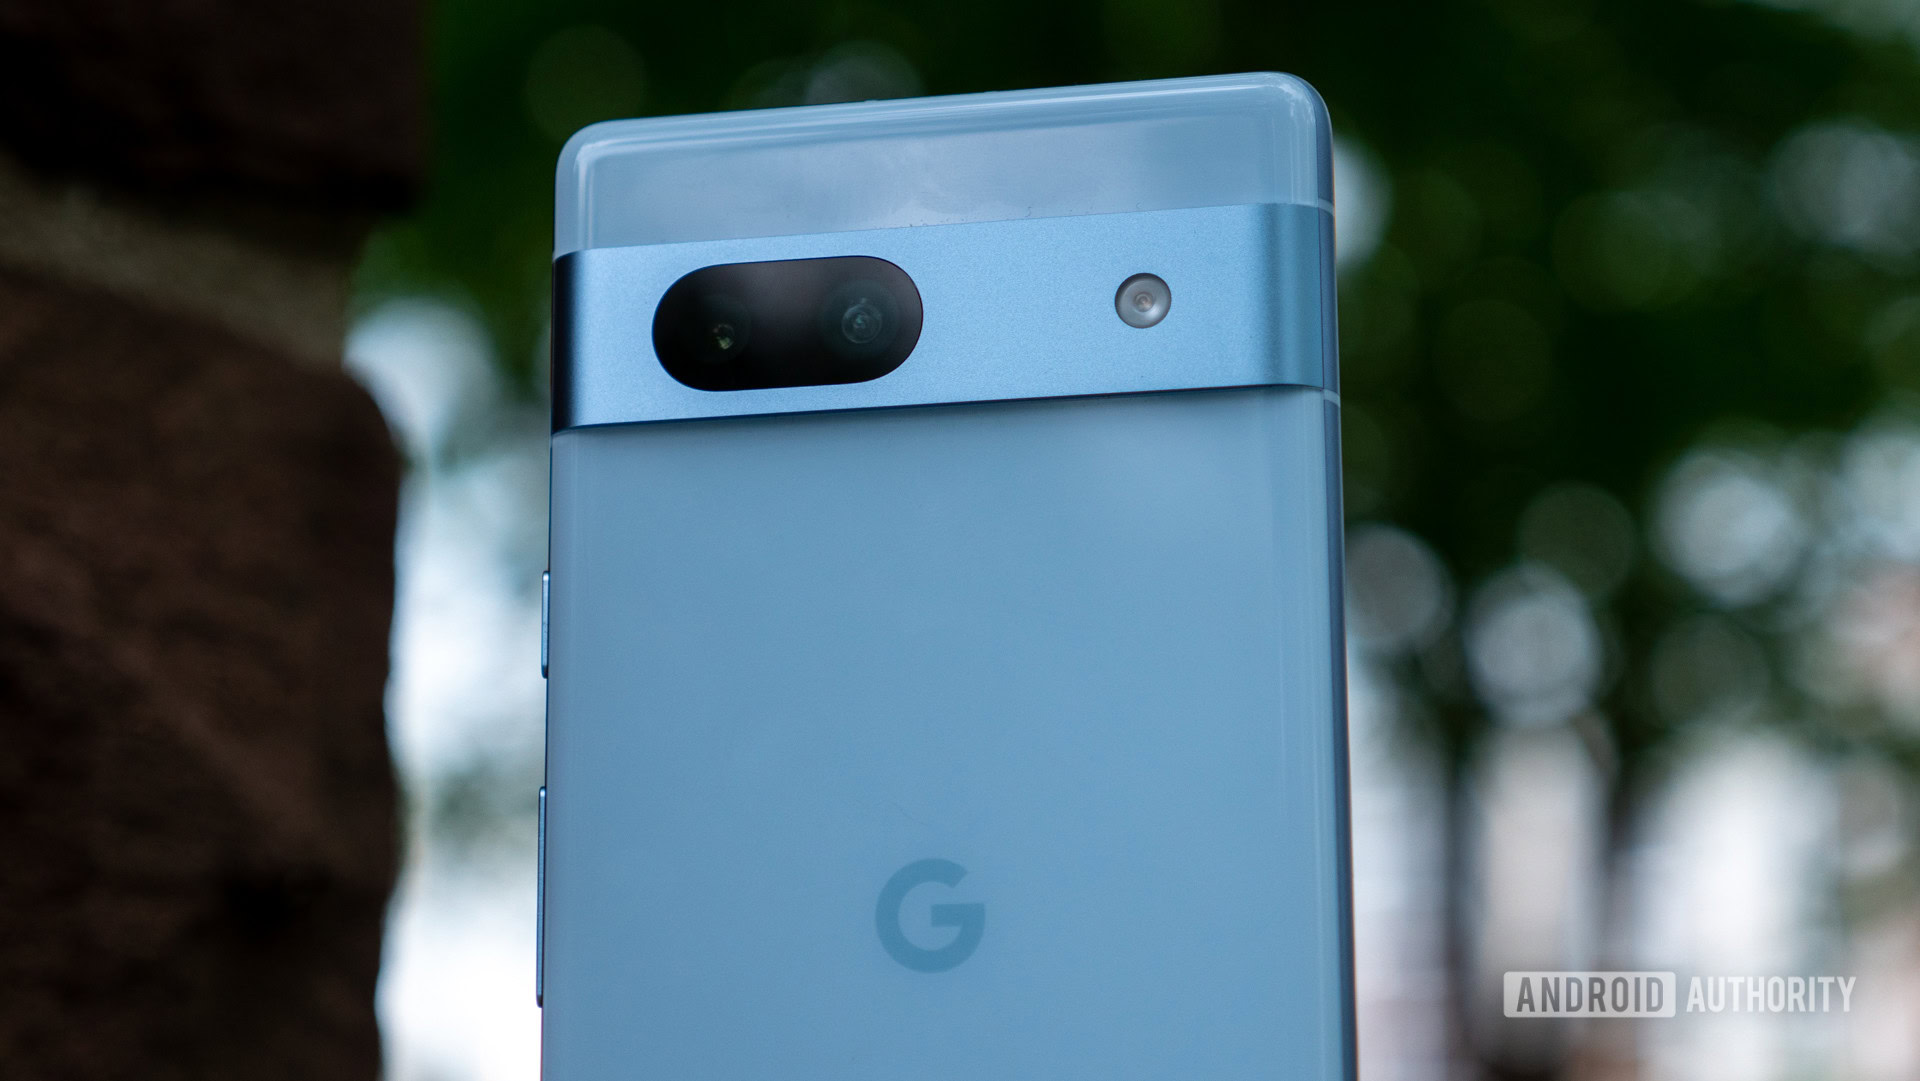
Like the premium Pixel 7 pair, the Pixel 7a now has a tactile alloy visor protecting its camera bar, which houses some of the phone’s most notable upgrades. Gone is the trusty 12.2MP primary and 12MP ultrawide duo of the Pixel 6a, with many, many megapixels in its place. The Pixel 7a combines a 64MP primary camera — the highest megapixel count of any Pixel camera to date — with a 13MP ultrawide camera and a 13MP punch-hole selfie camera on the front.
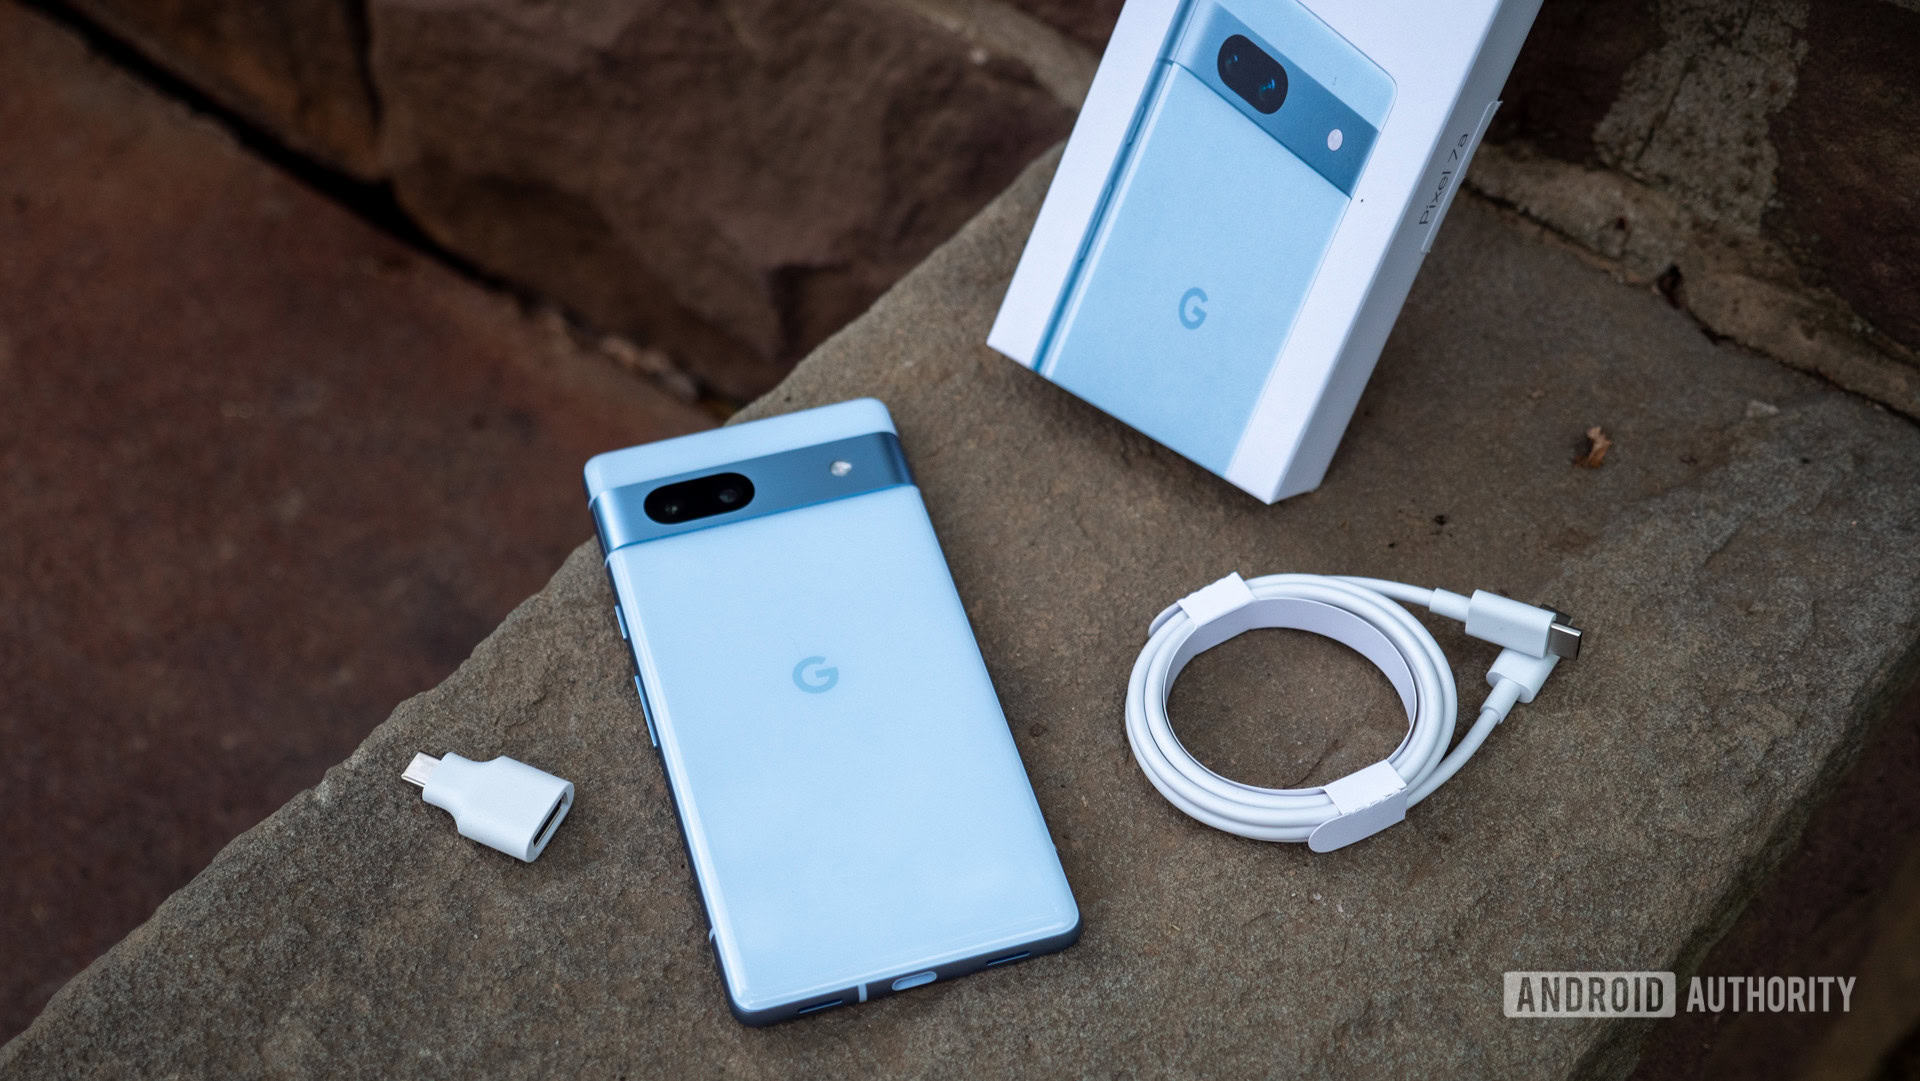
Slim, light packaging is the trend right now, and Google is playing it safe. The Pixel 7a comes bundled with a one-meter USB-C cable, Quick Switch Adapter, SIM ejector tool, and some simple paperwork in a small, white box.
Although the Pixel 7a brings meaningful improvements to key features, it faces tough competition. Samsung’s Galaxy A54 5G now has a slight edge on price and software support but doesn’t match the Pixel’s wireless charging or camera processing chops. The Apple iPhone SE (2022) is an option if you’re willing to consider iOS, too. However, like the Pixel 6a before it, Google’s most formidable competition comes from its own Pixel 7 and the newly-reduced Pixel 6a. The former costs just $100 more and gains a bigger battery, faster wireless charging, and more premium build materials, while the latter lets you walk away with a Pixel phone with an extra $150 still in your pocket.
The Google Pixel 7a launched for open sales on May 10 in over a dozen countries. It’s available in the US and Canada, as well as throughout Europe and Australia, Japan, Singapore, Taiwan, and India. Google’s mid-ranger is widely available in three colors: Snow, Charcoal, and Sea. There’s also a Google Store-exclusive Coral version, though it’s unavailable in Japan and India. We received both the Snow and Sea models, which can be seen pictured throughout this review.
Google Pixel 7a design: What’s changed since the Pixel 6a?
As Roger Daltry, singer of The Who, might say: “Meet the new design, same as the old design.” Google is well known for porting its flagship traits to the Pixel A series, so there’s very little surprise when you pick up the Pixel 7a for the first time. It’s kind of like a younger sibling who watches their big brothers and sisters head off to school and then tries to put on their clothes and act like one of the cool kids. The camera bar, the boxy design, and the comfortable alloy frame are all there, like they are on the Pixel 7, just a bit smaller and a bit less polished. Also, like the flagship models, the Pixel 7a comes in single-color finishes. It’s not a bad look — especially if you opt for Sea or Coral — but I’m still waiting for something really funky from Google like another two-tone “panda” Pixel.
One benefit to the phone’s almost-identical design to the Pixel 7 — a device I’ve tested extensively over the past few months— is that I could just about find all of the Pixel 7a’s buttons and ports with my eyes closed. Both the power key and the volume rocker reside on the right side of the alloy frame, but they’re mounted slightly lower, making them easier to reach when wielding the phone with one hand. The Pixel’s single SIM tray is the only scar on the left edge, while the bottom-mounted USB-C port is flanked by speakers and the microphone, as is tradition. Google brought back its 3D thermoformed composite for the rear panel, too. There’s not much reason to call it anything fancier than the plastic that it is, but it doesn’t feel cheap in the hand.
Google’s Geordie La Forge-esque camera bar also benefits from the updated design, taking on a look that’s almost indistinguishable from the Pixel 7. The Pixel 7a’s two lenses peek out from an oval cutout on the otherwise alloy visor (which is set to stunning, get it?), joined only by the flash. Overall, it helps to minimize the appearance of the camera bar itself and probably stands up better than the previous glass should your Pixel take a tumble — but we highly recommend buying a Pixel 7a case either way. Even if you drop your phone, the camera bar is almost flat, sticking out no more than a millimeter from the rear plastic.
Google's Pixel 7a is a joy to use one-handed, and the upgraded display is vibrant and smooth from top to bottom.
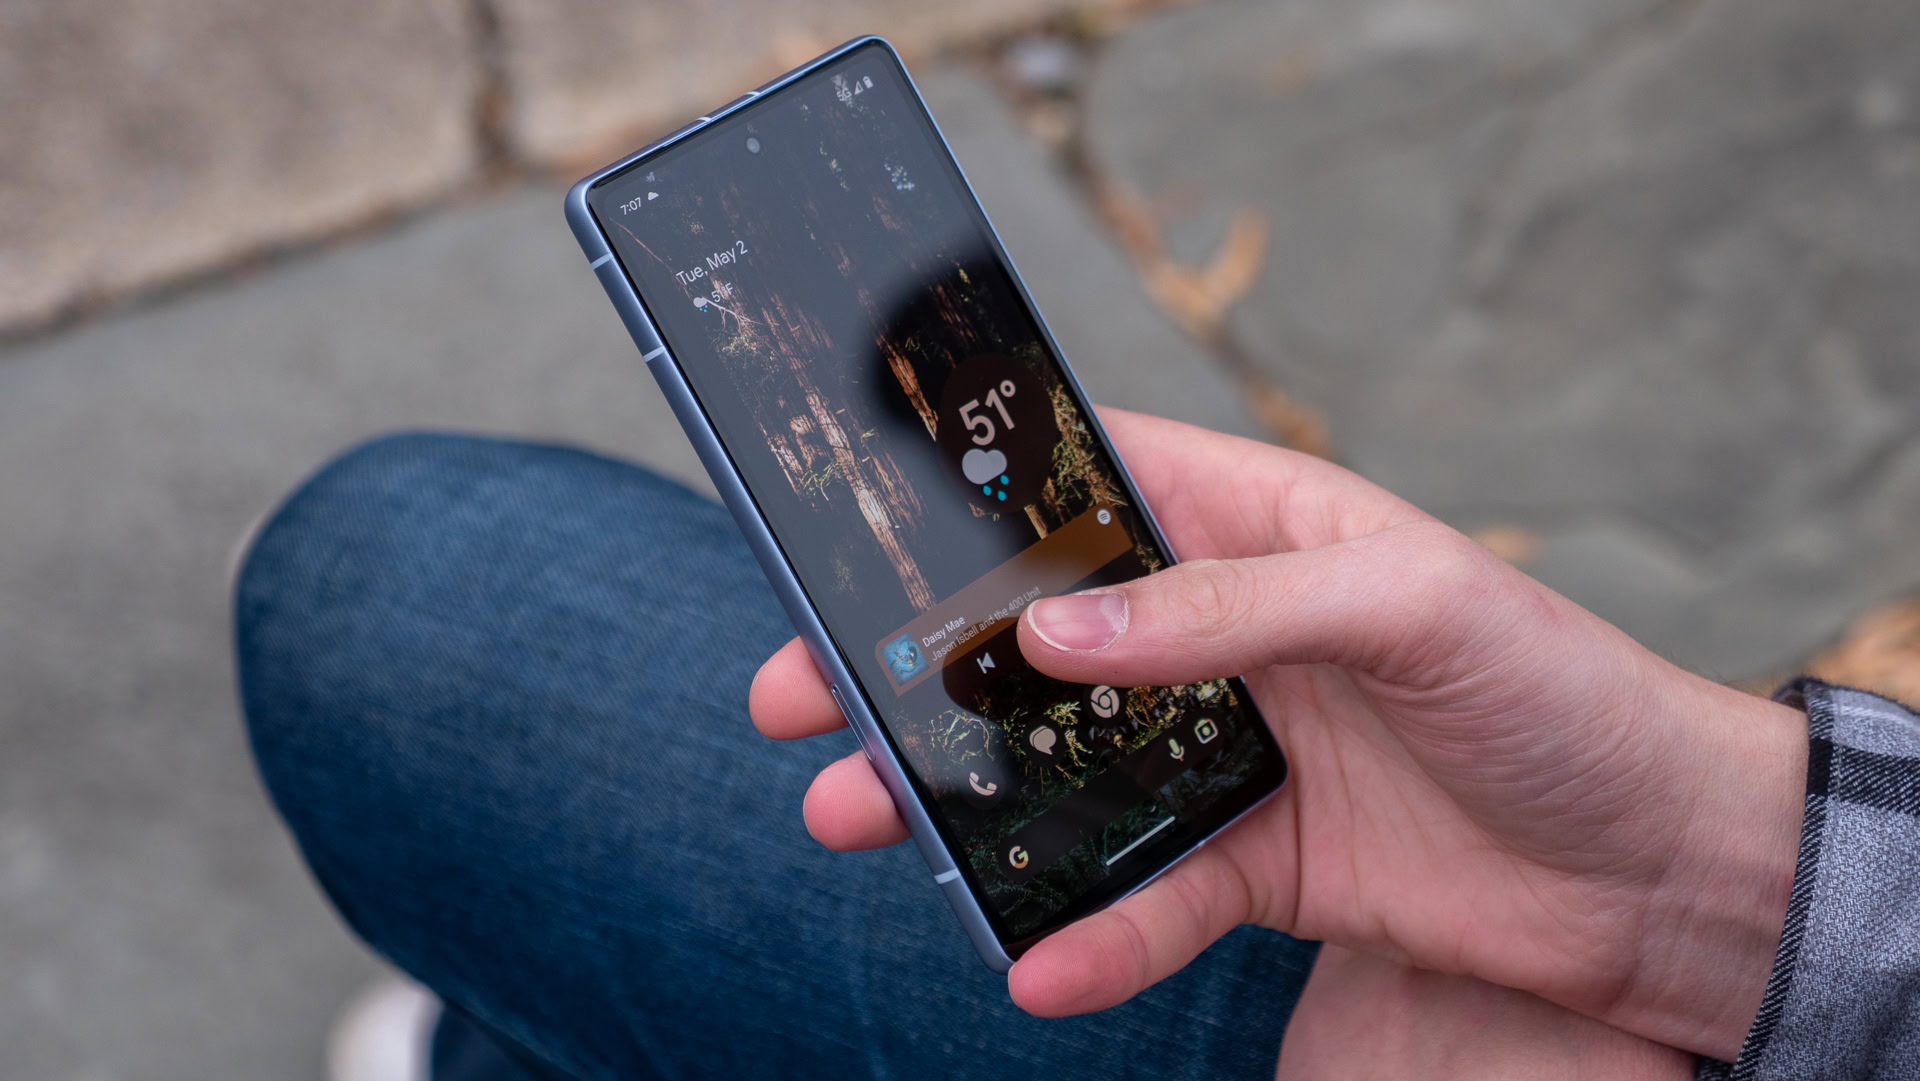
At first, it might look like Google kept the same 6.1-inch Full HD+ OLED panel from the Pixel 6a, too, but that’s not entirely true. Where the Pixel 6a came with a 60Hz refresh rate, the Pixel 7a now sports a faster 90Hz panel for smoother animations, and I could immediately tell the difference under my finger with a few swipes and scrolls. However, the Pixel 7a is locked to 60Hz out of the box, so you’ll have to head into the settings app to toggle the full rate. It’s not difficult — open the Display section and scroll down to Smooth Display — but it’s an odd default setting given the improved display. Otherwise, the Pixel 7a is still wrapped in noticeable bezels, though I can’t figure out if they’re thicker than the previous generation or if they stick out a bit more against the light blue frame on the Sea finish.
The long-overdue upgrade to a 90Hz refresh rate puts the Pixel 7a ahead of rivals like the iPhone SE (2022), but it still falls behind others like the Samsung Galaxy A54 5G with its 120Hz rate. Even Motorola’s budget crowd is getting in on the 120Hz game, with the Moto G Power 5G picking up a smooth panel. Google’s OLED is also made of the aging Gorilla Glass 3 grade from Corning, which lags behind Samsung’s more refined and durable Gorilla Glass 5 sandwich.
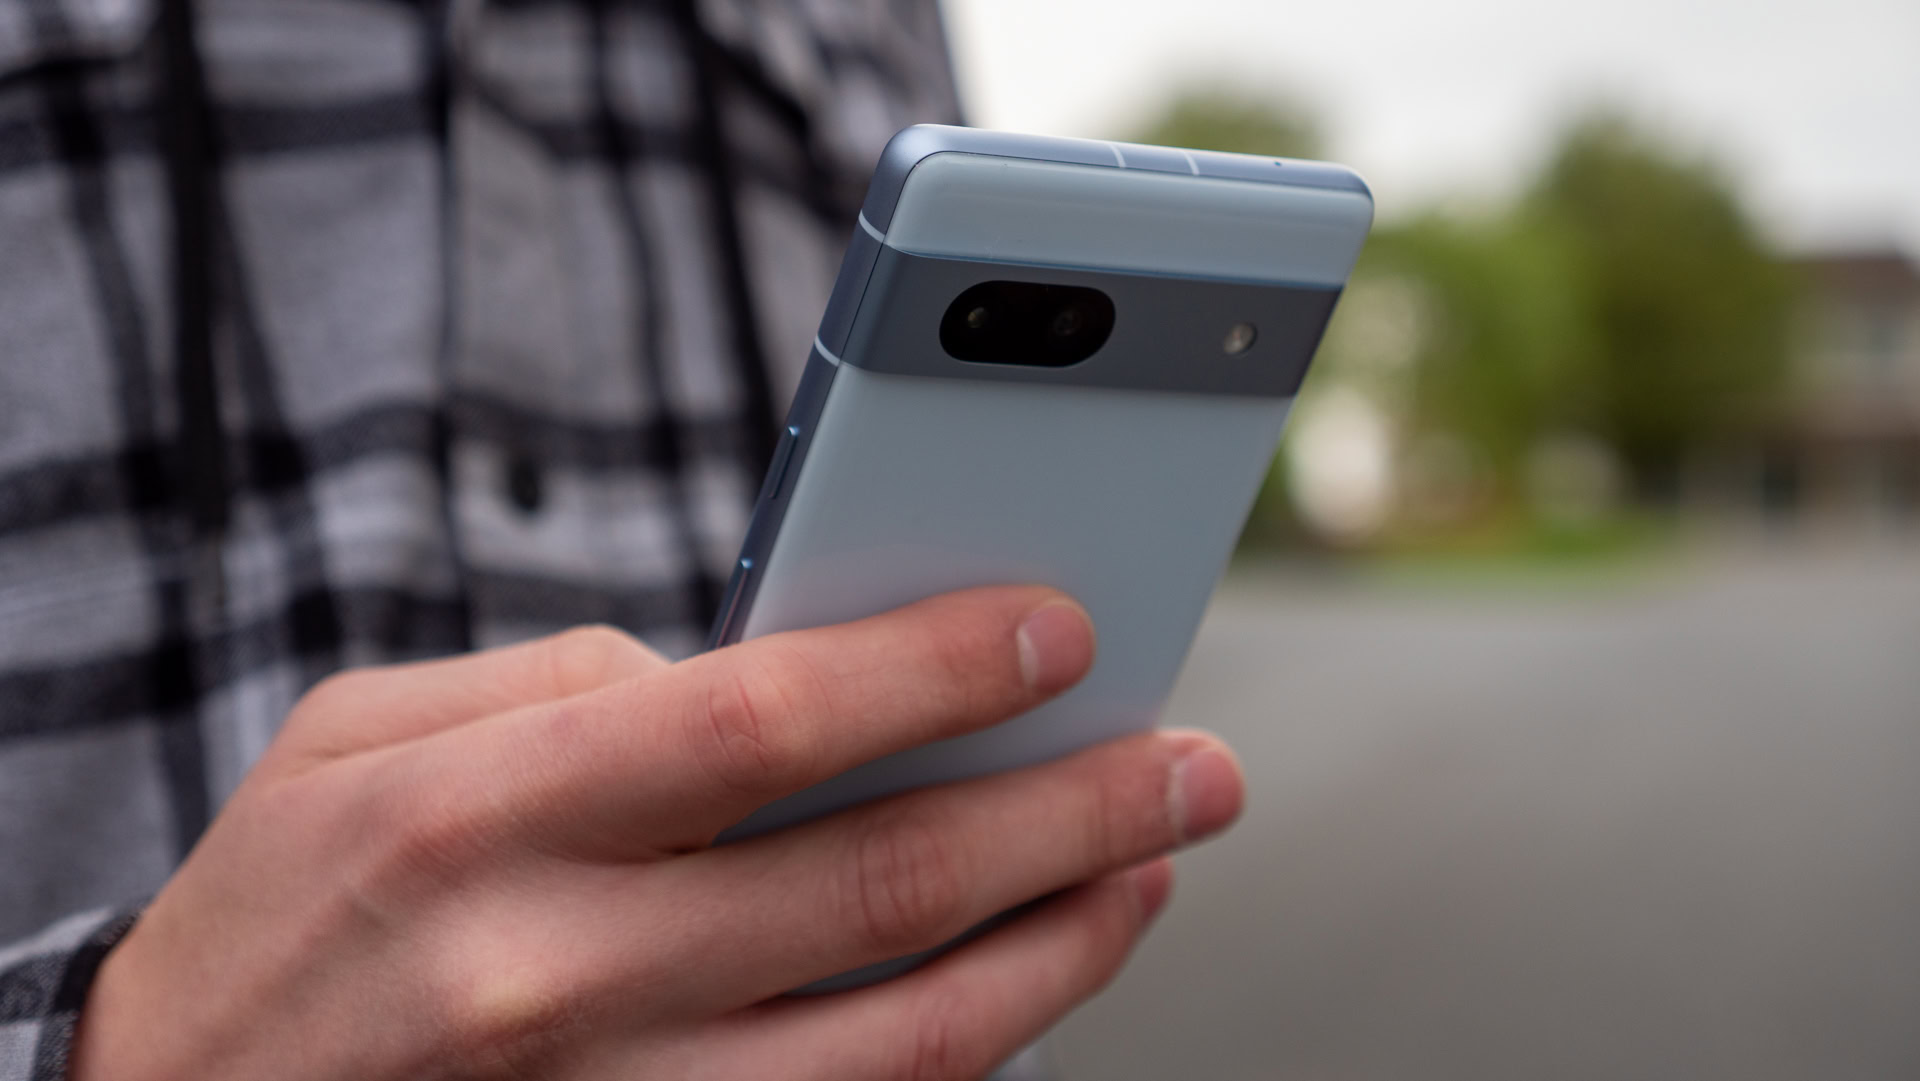
While the Pixel 7a’s materials might not be cutting edge, especially given the $50 price increase, its feeling in hand is almost perfect. The alloy frame is slightly rounder than the previous Pixel 6a and bleeds into the plastic back almost seamlessly. It feels noticeably softer in the palm of my hand than the Galaxy A54 5G’s sharp transition from its plastic frame to the flat rear glass. There’s a slight heft to the Pixel 7a as well, which makes it feel a bit sturdier than either the Galaxy A54 5G or Pixel 6a. I wouldn’t call it hefty, just sturdy.
Before anyone complains, no, there is no headphone jack. No, there isn’t a microSD slot, and you can’t remove the battery. However, the Pixel 7a is IP67 rated, so you’ve got some reassurance against any water and dust damage.
Google Pixel 7a performance: Benchmarks and testing
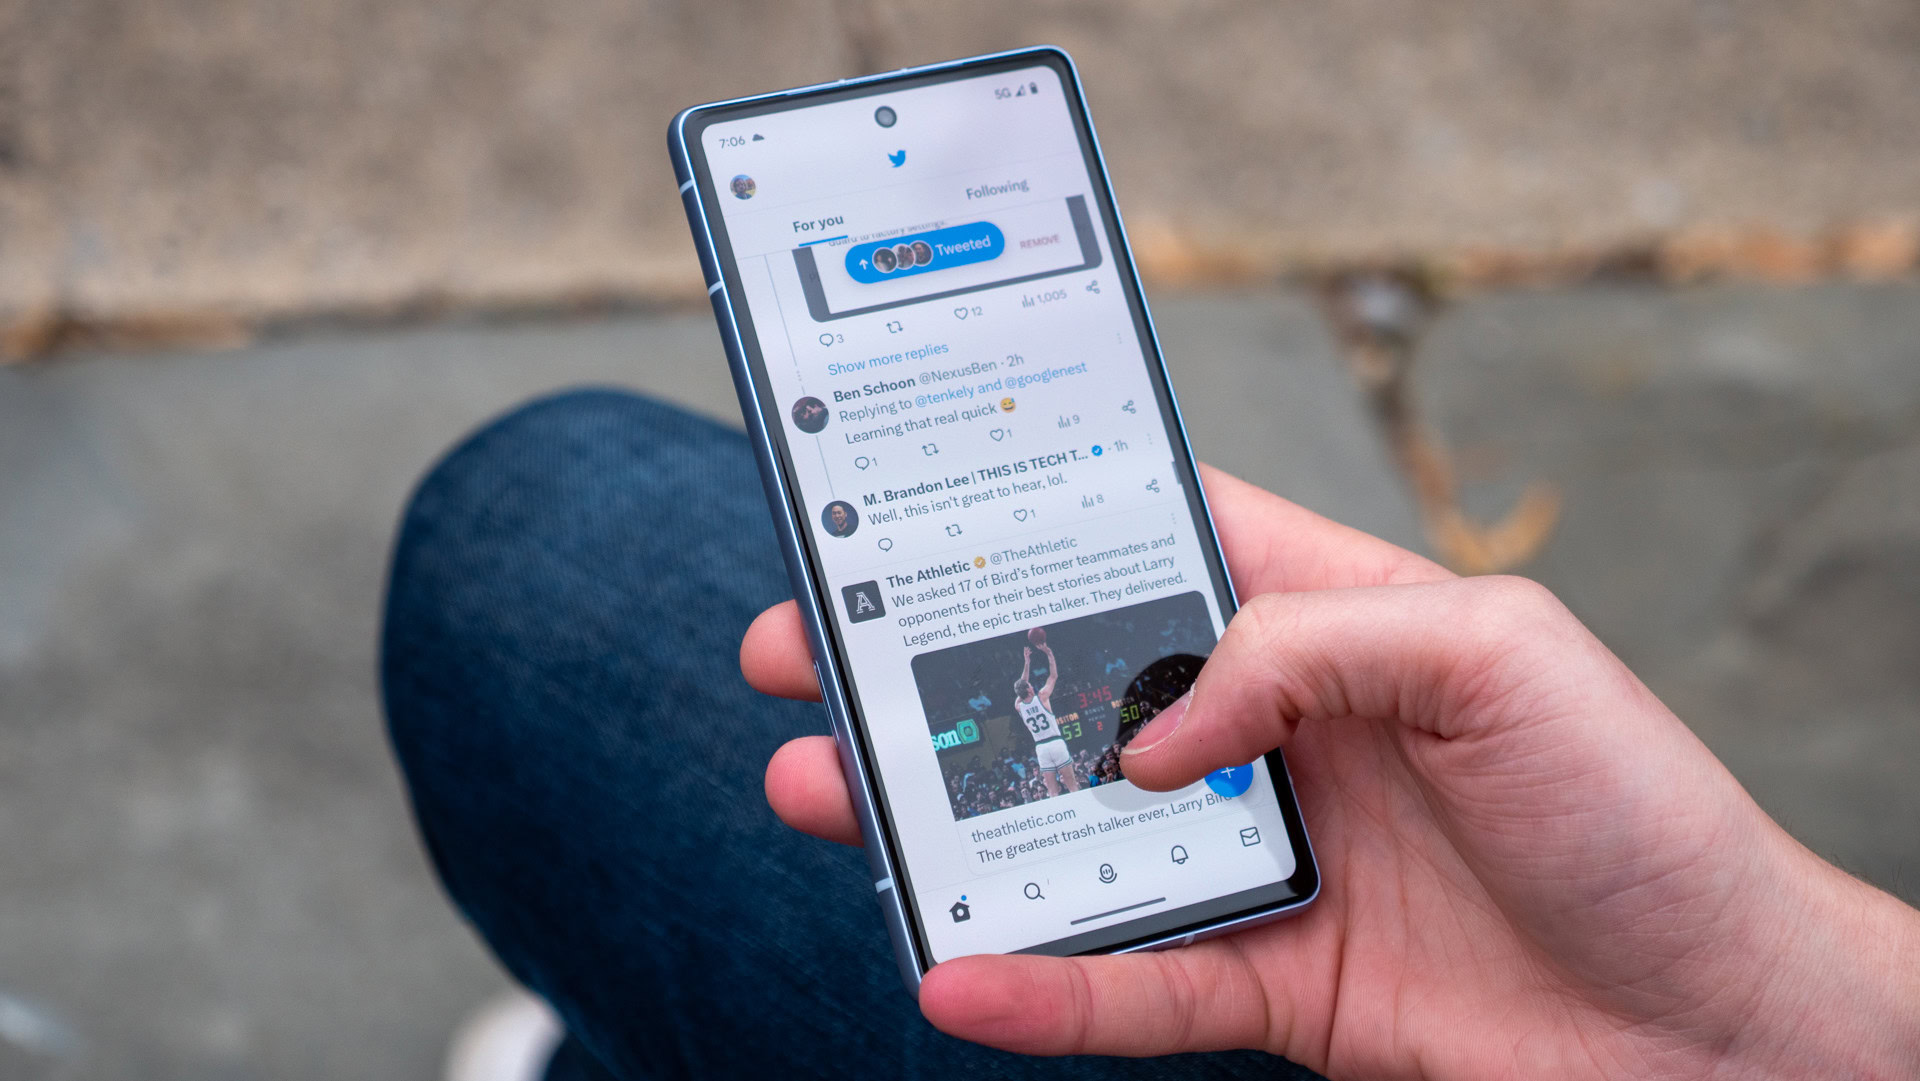
Google infused its Pixel A series with an extra kick when it moved to its in-house Tensor silicon on the Pixel 6a. It brought improvements to image processing, adaptive charging, and all-around performance, even if we had concerns over how well the Tensor operated under heavy load. Google has now had an extra year to fine-tune its chipset, but how much improvement does the Tensor G2 bring?
I’ll be frank — the Pixel 7a doesn’t feel more powerful than its predecessor in practice. It doesn’t have to, though, since the Pixel 6a rarely stuttered or struggled with day-to-day tasks. I’ve still been able to cover my bases for regular use, including Nike Training Club workouts, social media scrolling to keep up with Google’s endless I/O announcements, and hours of Spotify streaming via Bluetooth while I’m running, driving, or writing. The Pixel 7a doesn’t lag through any of that; it just heats up instead.
While the Tensor G2 is a powerful chipset, it still hasn’t figured out its thermal management. I still run into some pretty intense heating issues, primarily when gaming. Although it’s my favorite little time-waster at the moment and it ran just fine in my tests, I’ve had to remove Warhammer 40,000 Tacticus from my Pixel 7a just for the sake of battery life. A half-hour of entertainment warmed my phone and drained my battery to the point where I considered how early was too early to toggle Battery Saver. It also seems like most of the Pixel 7a’s heat goes to its alloy frame rather than its plastic back, which quickly becomes too warm to hold comfortably, especially in direct sunlight.
Google’s Tensor G2 chipset may be a powerful upgrade over the previous mid-range Snapdragon chipset days, but it doesn’t bring blinding benchmark improvements over the original Tensor. Instead, the Pixel 7a lands almost directly next to its predecessor on our leaderboard for CPU results. Its Geekbench 6 single-core score is just 2% away from its predecessor, with multi-core performance landing just 3% apart. These gaps are small enough that they could easily flip if the tests were re-run on a cooler or warmer day.
Although the Pixel 7a doesn’t run laps around its predecessor, it keeps pace with Google’s flagship Pixel duo. It lands next to the Pixel 7 on the PCMark Work 3.0 score and the 3DMark Wild Life benchmark. The similarities make sense, given the almost identical configurations on both devices. Both our Pixel 7 and Pixel 7a came with 8GB of RAM and 128GB of onboard storage, as well as the Tensor G2 chipset. The Pixel 7a follows a similar pattern over the Wild Life Stress Test, too, starting off strong before losing steam after five or six runs as the Tensor G2 warms up, though it’s far more consistent than Google’s 2021 flagship, the Pixel 6.
As mentioned above, the Google Pixel 7a carries 8GB of RAM and 128GB of storage in its only configuration. This is a boost of an extra 2GB of RAM, though we’d still like to see higher storage options for those that might want it. That additional RAM brings the Pixel 7a even closer to its flagship counterpart, as demonstrated above, and it never felt like the memory was inadequate for my needs as I don’t notice any apps closing too aggressively in the background. Google’s mid-ranger comes with upgraded Bluetooth connectivity in the form of 5.3, and most models support Wi-Fi 6E for fast local network connections (if you’re in India, Taiwan, or Singapore, you’re limited to Wi-Fi 6). Importantly, any modem issues left over from the previous generation have been remedied; I’ve had no problems taking calls or switching between Wi-Fi, LTE, and 5G.
Google Pixel 7a battery life and charging tests
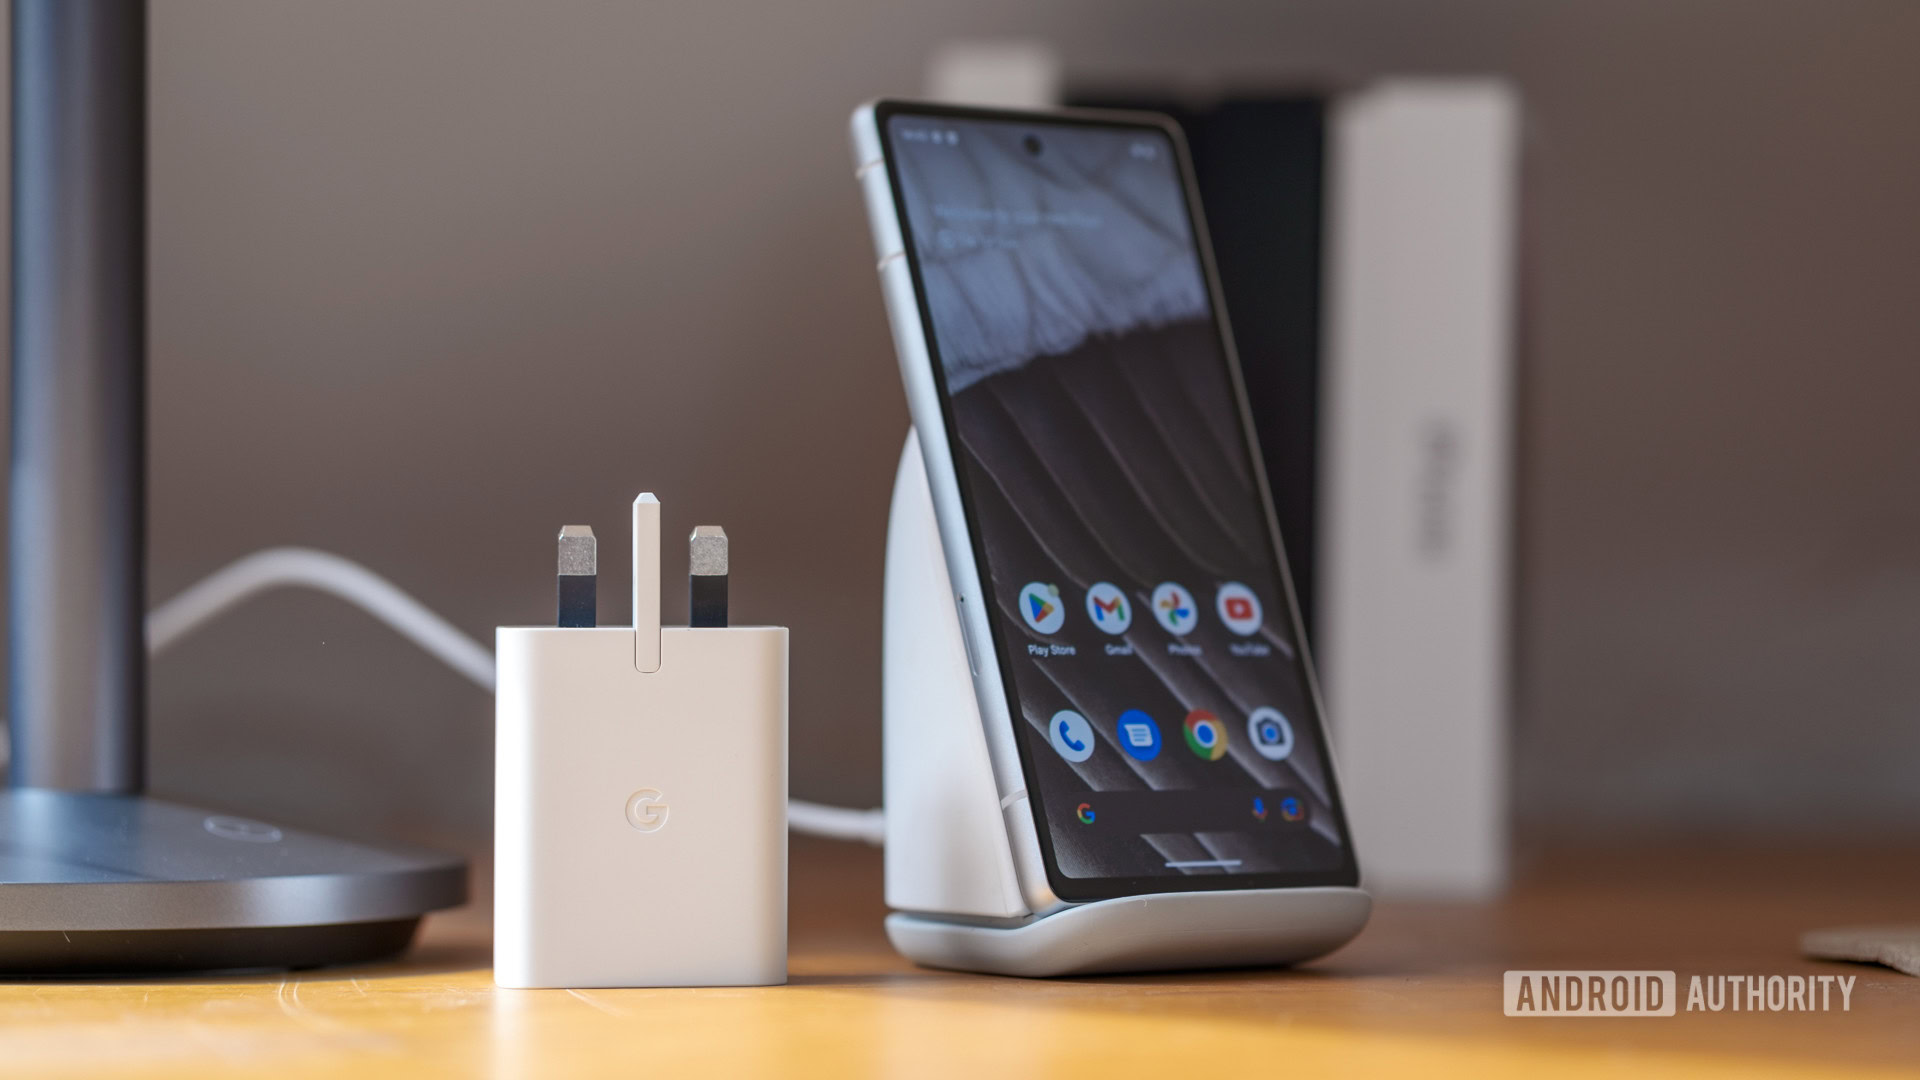
One of our main knocks against the Google Pixel 6a was its struggle to make the most of its battery and charging setup. Google claimed that it was equipped for more than 24 hours of battery life, a mark that we struggled to hit without religious use of Battery Saver mode. The Pixel 7a didn’t have to clear a high bar to show improvement, but we still had our concerns about how the Tensor G2 would chew through a charge. Then, Google trimmed the battery capacity. The Pixel 7a dropped from a 4,410mAh cell to a 4,385mAh cell — not much, but every last milliamp hour counts.
I haven’t spent enough time with the Pixel 7a to form a complete picture; a week is barely long enough to create consistent usage patterns for Adaptive Battery to really kick in. However, the early returns aren’t encouraging. Google still claims its battery can power beyond the 24-hour mark, and I still can’t quite get it there. Granted, I toggled my display up to the 90Hz option, which chugs through a bit more juice, but you shouldn’t have to neuter your hardware experience to keep your phone alive until bedtime.
My usage of the Pixel 7a is no different than with any other phone when I test them for review — I bounce between social media, Spotify streaming, and light gaming throughout my day. During a typical workday with the Pixel 7a, this was just fine. I could make it to bedtime with maybe about 20% of a charge left over. On a more intense day, like one that included a roundtrip to Baltimore with Spotify streaming over Bluetooth the entire way, 20% would have been a dream. Instead, I toggled Battery Saver before I left the city and got home with just about 4% to spare. I pulled the Pixel 7a off its charger at about 8:00 AM that day and returned home around 10:00 PM, good for a modest 14 hours away from a charger.
We finally have wireless charging on the Pixel 7a, but when it takes three-to-four hours to charge, was it really worth it?
Stop us if you’ve heard this before, but Google’s Tensor chipset isn’t exactly cool under pressure. The Tensor G2 is no different, warming up when pushed by everything from YouTube Shorts to the camera app to being used outside on a sunny day. It means that once your battery starts to tick down, it plummets. I had to turn off the Pixel 7a’s battery percentage indicator to keep myself from stressing over how quickly the charge falls away.
Days with heavier usage led to shorter returns, especially if they included gaming. Some titles, like Candy Crush, were fine and didn’t fire up the Tensor too much, but others, like Genshin Impact or Warhammer 40,000 Tacticus, caused me to put the Pixel 7a down for a rest every half hour to let it cool down.
When you drain your Pixel 7a down to nothing — which will happen almost daily — you have an exciting new option to get it powered back up again: wireless charging. Yes, the Pixel 7a finally supports Qi wireless charging, a first for the series. Before you get too excited, it’s limited to just 7.5W. I know I just finished calling wireless charging an exciting new addition, but it’s a sore letdown in practice. I placed my Pixel 7a at 10% charge on a 10W Anker pad just after noon one Sunday, and it took more than four hours to get back to full strength. It’s a convenience, but not one I’m likely to use again. Hoping it’ll be faster if you have Google’s own Pixel Stand (2nd gen) on hand? Sorry, that’s still over three hours.
For those in a bit more of a hurry, the Pixel 7a also offers 18W wired charging, which matches the previous Pixel 6a. This was my preferred method for charging during my review period, though I typically tapped into the overnight Adaptive charging to hit 100% in time for my morning alarm. When I charged during the day to see how long it took, the Pixel 7a let me down. I hooked it to a compatible USB Power Delivery PPS charger (though you technically only need a regular Power Delivery plug to hit the max charging) and sat down. One full Chelsea FC match later (including halftime), it was finally full. I stopped my timer after a very disappointing two hours and two minutes and all but promised myself never to charge during the day again. The slowest part of the charging process is the last 25%, but even getting to 75% takes a full hour, so you’ll also want to make sure that you have a compatible charger for your Pixel 7a.
Google Pixel 7a camera review: Is it the best budget camera phone?
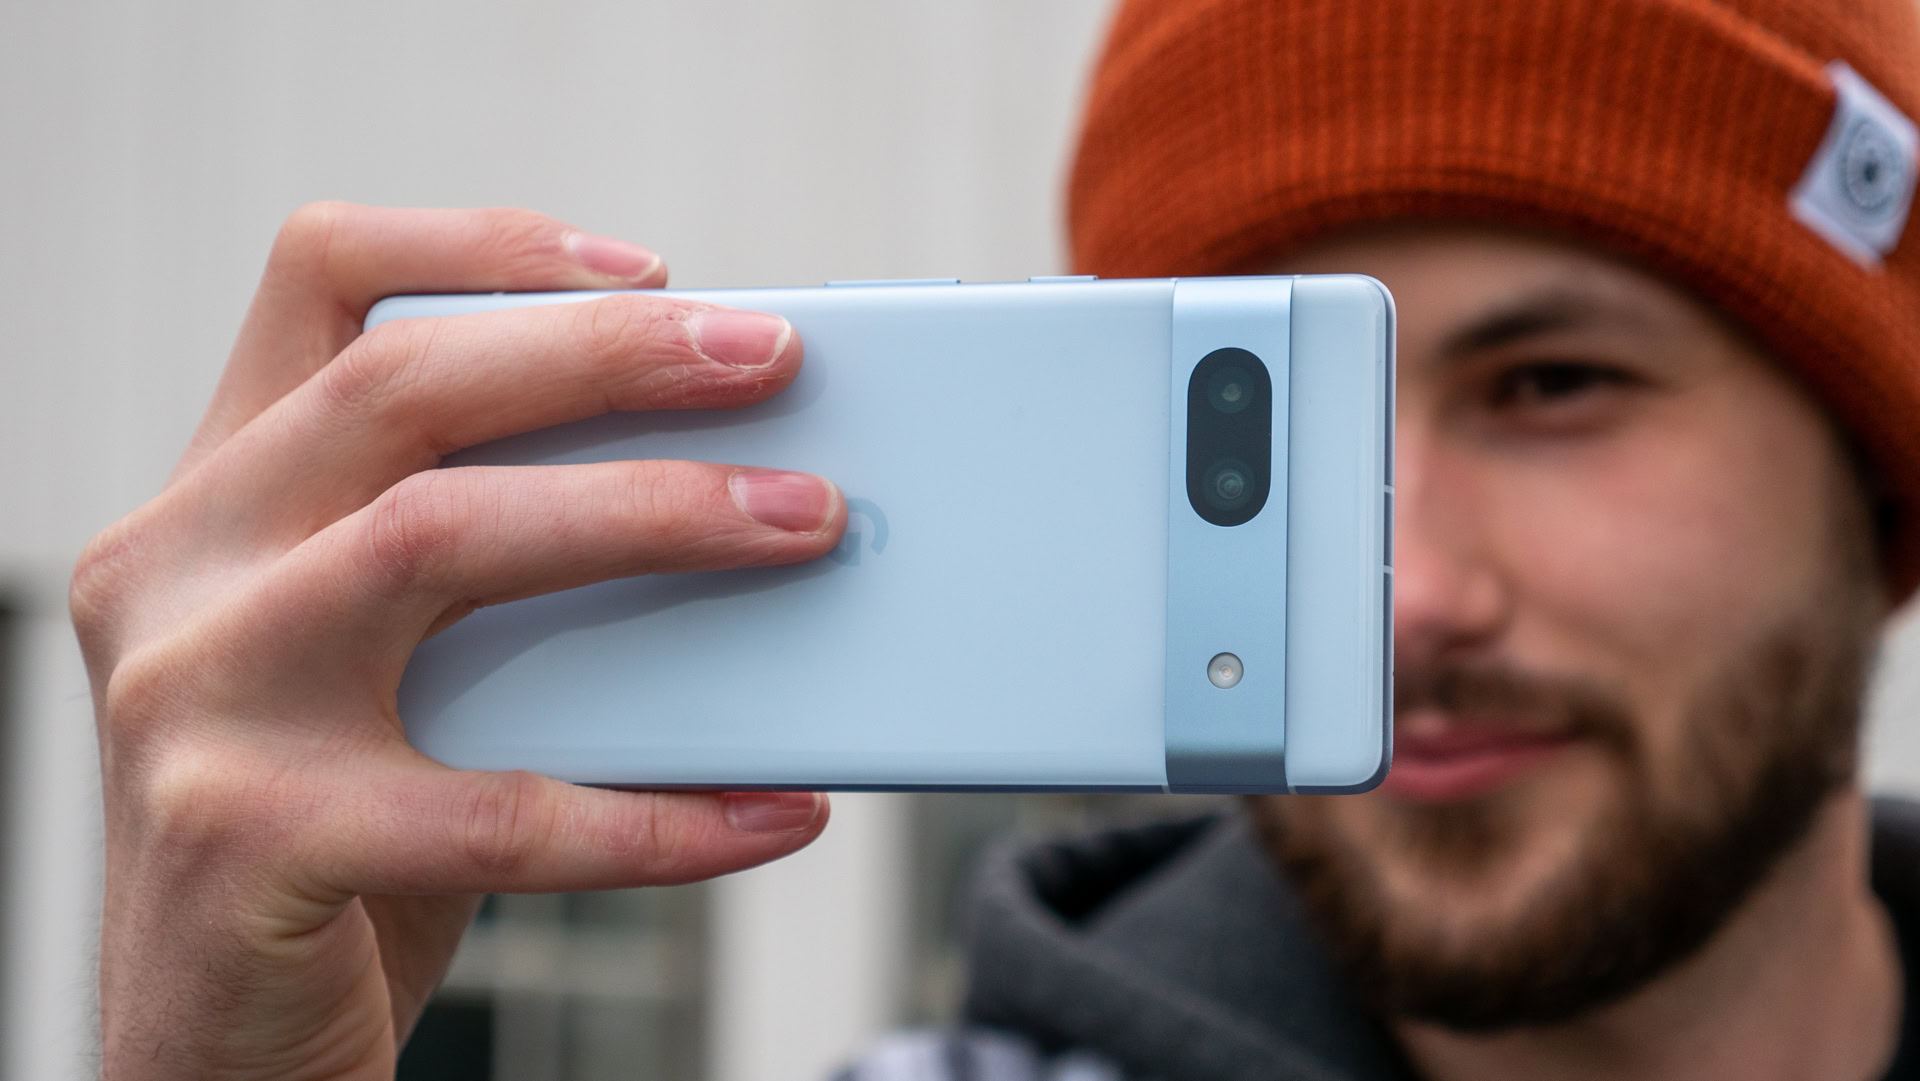
Google isn’t usually one to rock the boat with its camera hardware. It stuck to a reliable 12MP and 12.2MP (or sometimes 16MP) duo for years, keeping its Pixel A series cemented among the best budget camera phones. Those days are now over. They’re so over, in fact, that you won’t find a single 12MP camera on the Pixel 7a. Not one. Instead, there’s a brand-new 64MP sensor holding down the camera bar.
While the sizable megapixel bump might sound impressive, we all know that more megapixels don’t necessarily mean better snaps. The Pixel 7a turns to pixel binning to make the most of its 0.8μm pixels, which are smaller than the previous 1.4μm pixels on the 12.2MP primary camera. Google’s ultrawide shooter got a bump, too, rising from 12MP to 13MP and expanding to a 120-degree field of view.
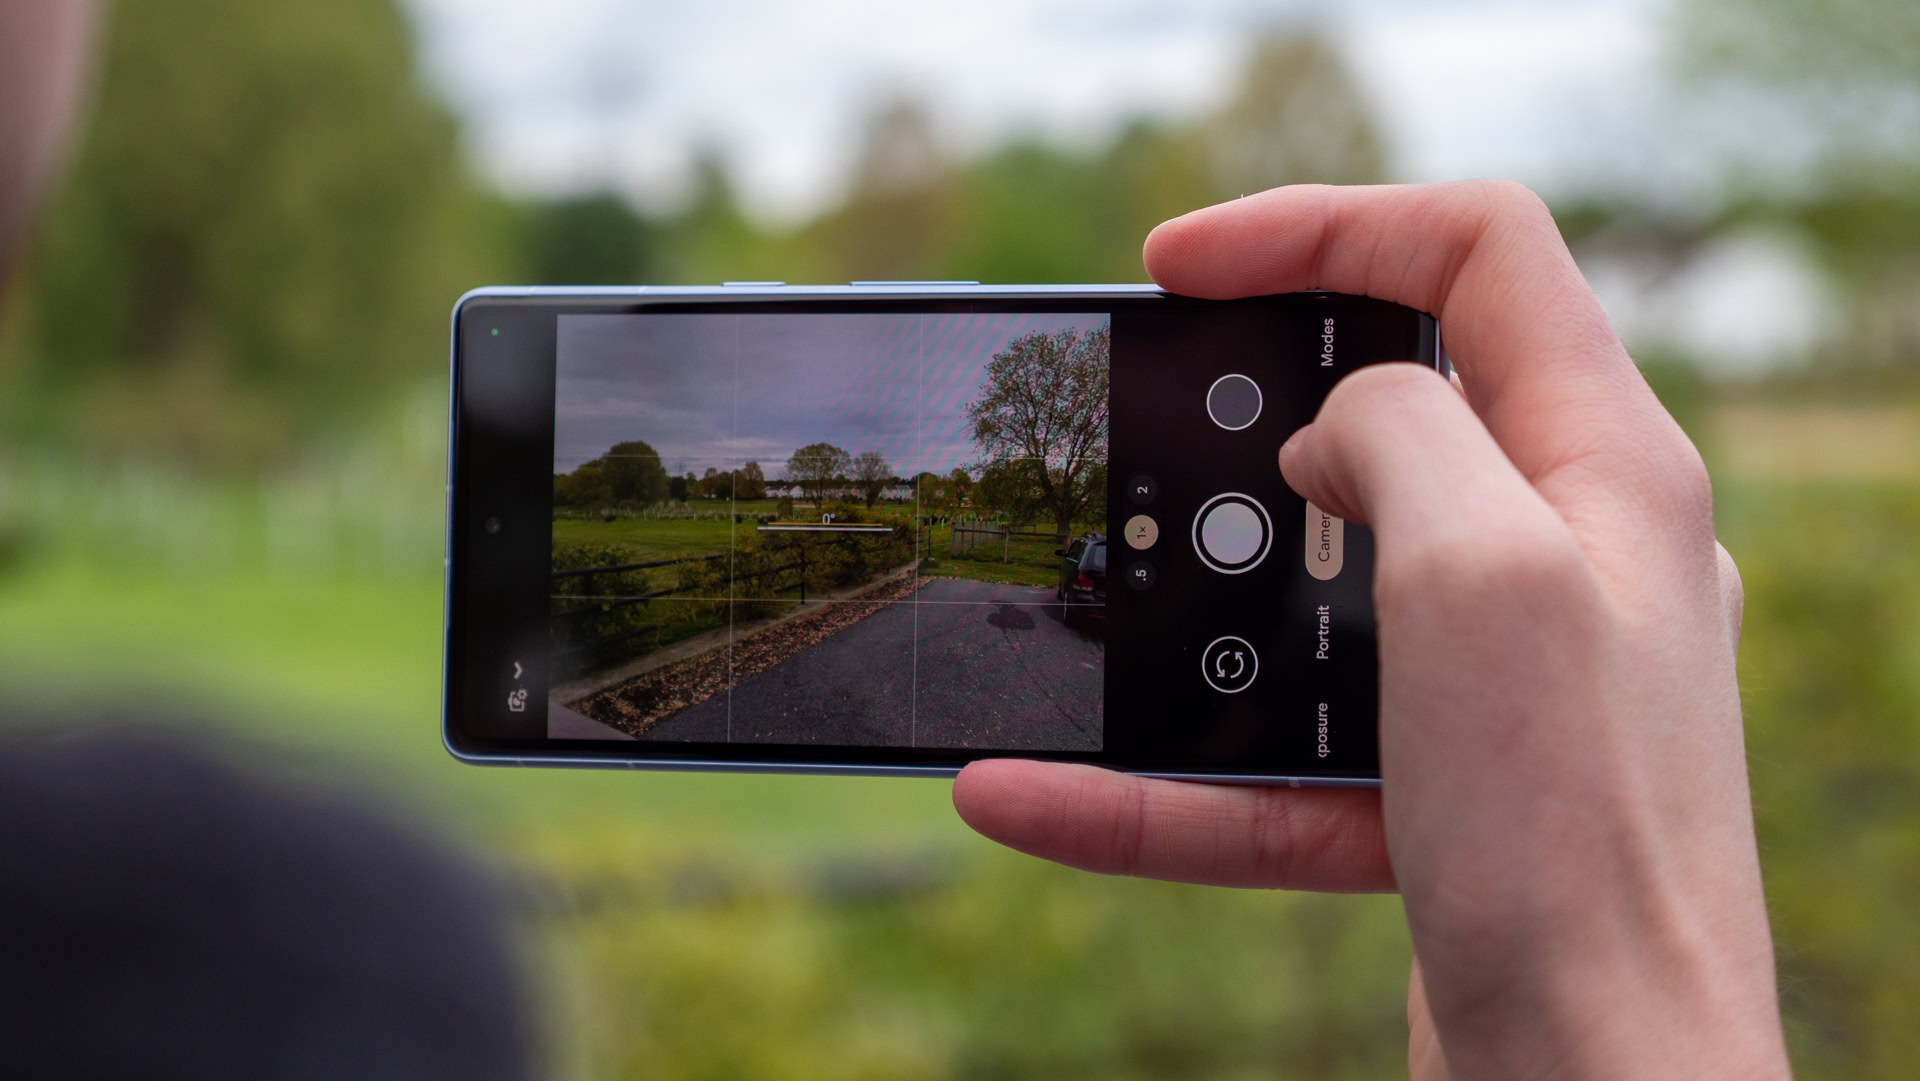
What hasn’t changed is Google’s fire-and-forget camera app. There are still no manual controls to sink your teeth into — just select your shooting mode and tap away. Outside the usual Camera and Portrait options, Google’s Long Exposure and Night Sight features hold their own tabs along the bottom edge, with extras like Panorama and Lens hidden under Modes.
As was the case with the Pixel 6a, the Tensor chipset does a lot of the heavy lifting to keep the camera punching above its mid-range price tag. The upgraded primary sensor helps too, but the processor is the icing on top. The Tensor G2 is loaded with clever editing tricks like Magic Eraser and Real Tone, though it doesn’t introduce much in the way of new tricks. Of course, the existing features are second to none, as you’ll see in a few minutes, but I’ve noticed a gap between tapping the shutter button and getting your final image. You might spend a second or two watching your image process before it’s truly ready — not long, but it can feel like an eternity to ensure you got your shot. The Pixel 7a also picked up the Palm Timer feature from the June feature drop, which allows you to self-time shots using the palm of your hand.
There is no shortage of megapixels on the Pixel 7a and the cameras deliver the classic Google goods.
As is often the case when I’m testing the best camera phones, I spent most of my time with the Pixel 7a’s 64MP primary sensor. I found that the 80-degree field of view fits just enough of a scene without any distortion around the edges, and it holds onto details nicely. Spring in Pennsylvania and Maryland means a break from the gray days of winter and plenty of blue and green hues for the Pixel to recreate. The Pixel 7a generally sticks to a lifelike color profile, nailing the murkiness of Baltimore’s harbor water and the cloud coverage over the Beacon Feeds mill on the bottom row. Other scenes, like the bottom side of the pagoda in Patterson Park, take on a bit more saturation, but not so much that it feels unnatural.
Google’s portrait detection is excellent, too. Some mid-range phones (looking at you, iPhone SE), struggle outside of human subjects, but the Pixel 7a had no such trouble. Yes, the bust in the bottom row is spot-on, but so are the binoculars and the farm sign, even though the latter is set against a similarly brown background. The bokeh is soft but not too soft, and the background colors are accurate, though the green shades might be a bit punchy.
The Pixel 7a’s 13MP ultrawide camera is slightly wider than the Pixel 6a’s, shifting from a 114-degree to a 120-degree field of view. You can fit a little more into your shots, giving the same pagoda seen above a bit more sense of scale. It stretches off a bit further into the sky, but there’s no noticeable change in color profile from the primary camera. I also relied on the ultrawide camera to fit the front of Baltimore’s Broadway Market into the frame, as the primary camera only stretched across about two-thirds of the building without me standing in the middle of the street. Unfortunately, the Pixel 7a doesn’t support macro mode from its ultrawide sensor, unlike the standard Pixel 7.
Despite the Pixel 7a’s serious bump in megapixels, there’s no corresponding bump in zoom capability. It’s now capable of up to 8x zoom compared to the Pixel 6a’s 7x maximum, but the difference isn’t noticeable. The camera app offers three toggles for ultrawide (0.5x), standard (1x), and zoom (2x), with everything else demanding some careful pinching and squeezing. There’s no change in color recreation across the four samples below and Google’s software is doing a decent job without a dedicated telephoto lens, but the limits of digital zoom show as the finer details start to break down when you hit 4x zoom and get even worse at 8x. You can still make out the deck furniture and some of the roof details, but the Tensor G2 seems to be relying heavily on processing and sharpening, especially on the brick wall. I wouldn’t hesitate to post 1x or 2x images to social media, but I wouldn’t share my 8x zoom results if I could help it.
Night Sight kicks in early and often on the Pixel 7a, but it’s not a bad thing in my experience. It seldom opts for the full six-second timer, instead preferring three seconds, returning images that walk the line between ambient and well-lit. The image of Lancaster’s Central Market brings accurate colors to the brick walls while keeping just enough of a glow around the strings of lights. Likewise, the orange moped was on a darker street, but the Pixel 7a still recreated plenty of detail in the headlight and the window display in the background. Night Sight also works from ultrawide to 8x zoom, so you shouldn’t have to worry about capturing a scene.
As mentioned above, the Tensor G2 is the star of the Pixel 7a’s image-processing smarts, bringing back features like Magic Eraser, Face Unblur, and Long Exposure. I spent most of my time with Magic Eraser and Long Exposure, mainly because I prefer to spend my time on hikes before the weather gets too warm. Magic Eraser picked up a camouflage feature on the Pixel 6a, and it’s back for the Pixel 7a. It works well, as seen in the image below, but I still prefer the base Magic Eraser. Although Magic Eraser missed a tiny piece of the top of my water bottle, you’d hardly notice it unless you were looking for it, while the camouflaged water bottle is still easy to spot.
The Tensor’s Long Exposure option is excellent, too. It requires just two or three seconds of exposure to turn the image on the left into the image on the right, blurring the moving water while keeping trees and rocks tack-sharp. Long Exposure requires you to hold your Pixel 7a completely still, much like Night Sight, but I had no problems propping it on the side of a bridge for the image below.
As part of its overhaul, Google bumped its selfie camera from 8MP to 13MP. We didn’t have any complaints about the previous generation sensor, and there aren’t any new issues to report. Some clouds are washed out in the standard selfie, but key details like my face, clothing, and the close background are accurate. You can pick out several shades of green in the trees and bushes and countless tangled branches. Google’s portrait identification is spot on, too, accurately tracing my hair and the edges of my shirt while ignoring the wood railing behind me. The Pixel 7a even accounted for the bottom of my hair in spots where I couldn’t be sure if it was curls or rocks over my right shoulder.
There are a few video updates in store for the Pixel 7a, too. It now supports 4K recording at 30fps from the selfie and ultrawide lenses, while the primary sensor continues to reach a little higher with 4K at 60fps. Google’s selfie video upgrade is the main talking point here, as the Pixel 6a capped off with just 1080p resolution at 30fps. The Pixel 7a doesn’t support Cinematic Blur — video portrait mode — but it does support Cinematic Pan on both the primary and ultrawide cameras, though the ultrawide lens is limited to 1080p.
For under $500, you can't get a better camera phone than the Pixel 7a.
At the end of the day, the Pixel 7a’s camera setup is still one of its main selling points. It continues to milk every last ounce of quality out of its primary and ultrawide setup and now carries the most megapixels of any Pixel so far. The Tensor G2 processor imbues it with editing modes and processing smarts for days, even if it skips a few of the most advanced flagship features. For under $500, you can’t get a better camera phone than this.
In October 2023, Google rolled out a few changes to the Pixel camera app. It received a new UI that simplifies and streamlines the experience, whether selecting video or stills capture or scrolling to find the right setting.
You can also check out full-size versions of these camera samples (and many more) in this Google Drive folder. Want even more Pixel 7a snaps? Head over to our Pixel 7a camera shootout where we pit the phone against the Pixel 7 and the Pixel 6a.
Anything else?
- Haptics: Google has built a reputation for its impressive haptics over the years. However, good vibrations are never guaranteed in the budget tier. Thankfully, the Pixel 7a delivers a good buzz, whether you’re typing or just receiving a notification.
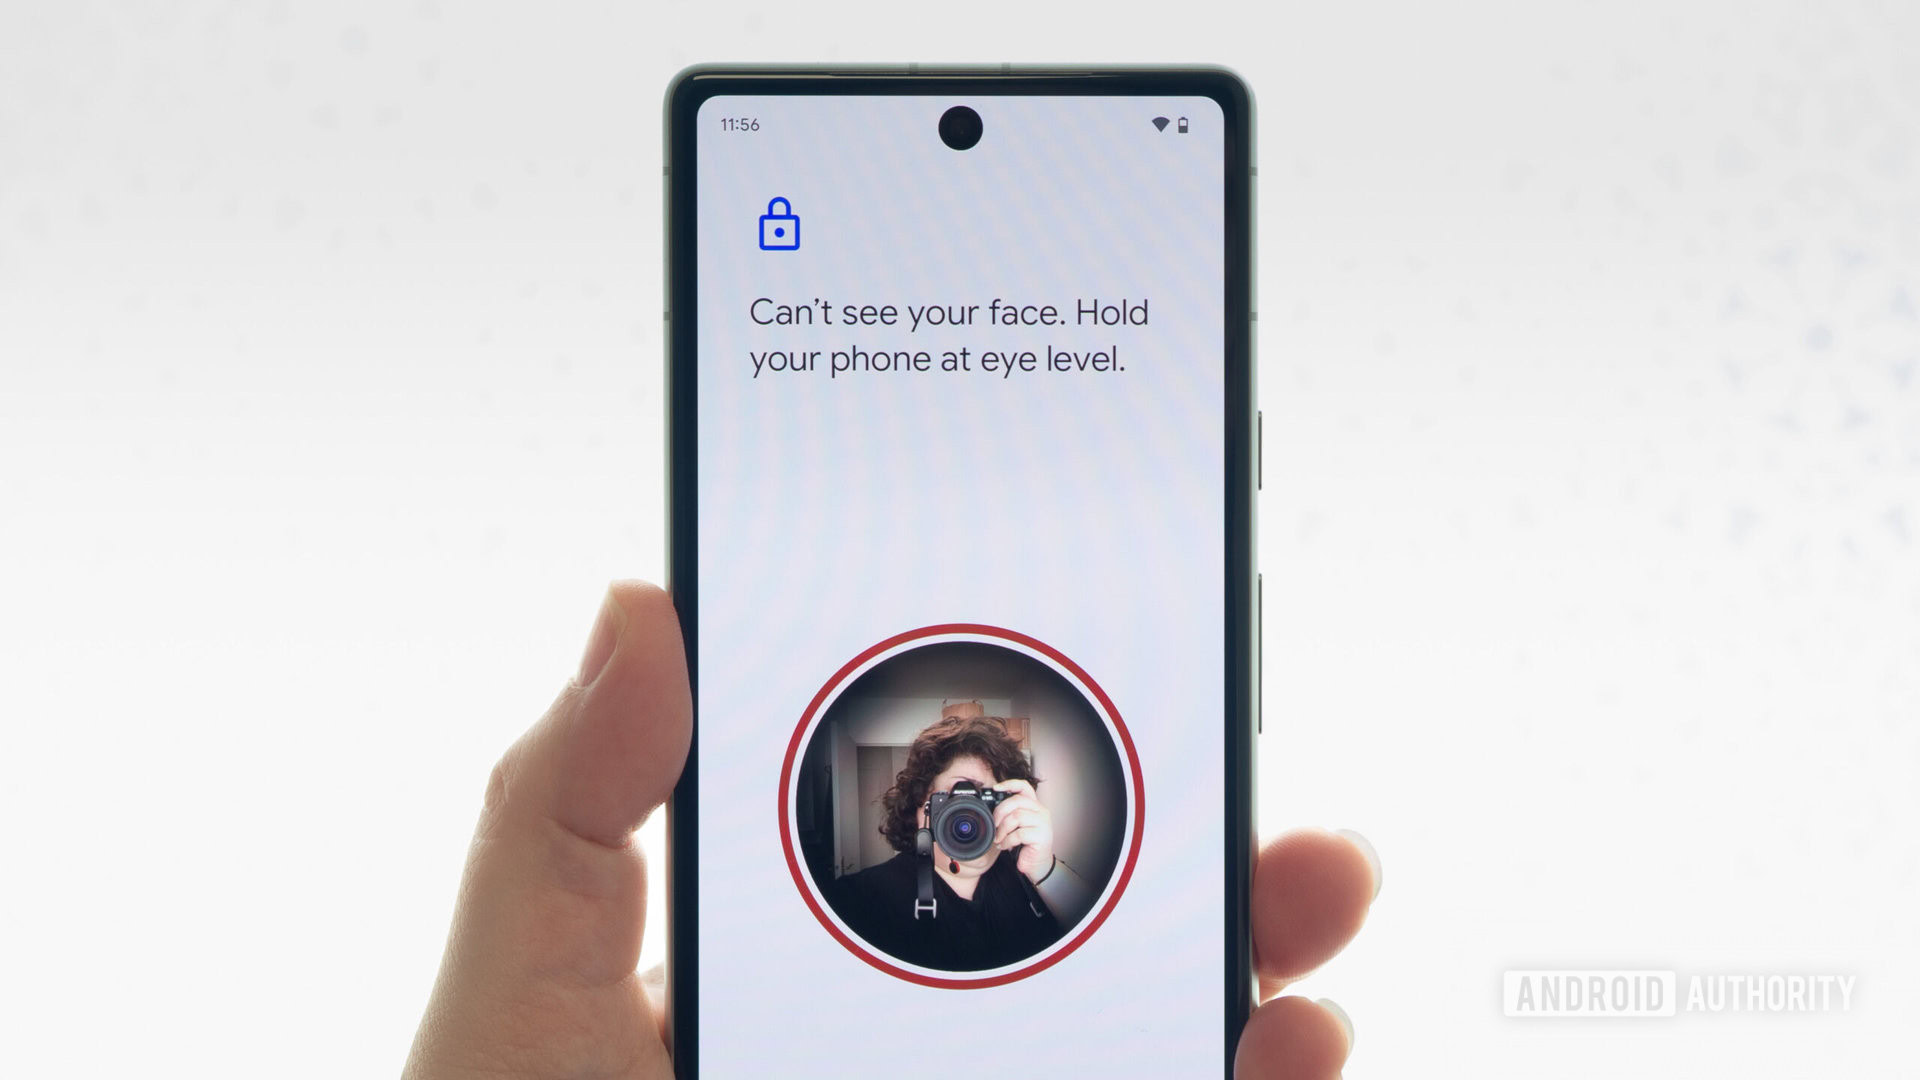
- Biometrics: The Pixel 6a restored a little faith in Google’s fingerprint reader in 2022 after the Pixel 6’s awful scanner, but I was still a little nervous while setting up the Pixel 7a. Thankfully, I haven’t noticed any issues with the sensor, which has been quick and accurate so far. The Pixel 7a also picked up Face Unlock, which you can see above. It’s software-based, so not as secure as Apple’s Face ID or Google’s Pixel 4-era iteration, but it saves time if you have messy hands and would rather skip the fingerprint sensor.
- Audio: Google’s mid-range Pixel 7a offers stereo speakers, pairing its earpiece with a single down-firing unit. The duo is, to my ear, louder than it was on the Pixel 6a, easily filling a room at full volume. I found it easy to pick out different instruments from the two speakers, with songs like Jason Isbell’s Cast Iron Skillet taking on a basic spatial audio sound. Bass notes tend to struggle at high volumes, as is common on smartphones, but the sound is good enough that you don’t need a Bluetooth speaker while you take a shower. There’s still no headphone jack, but Bluetooth 5.3 LE offers reliable connectivity for speakers and headphones.
- Software: The Google Pixel 7a ran on Android 13 for the duration of my testing, receiving one update shortly after arrival as part of the review program. Pixel UI remains one of my favorite Android skins, offering a light, simple appearance that’s stuffed to the brim with Tensor-powered features. Google’s Material You themes continue to improve, with color-matched icons that reach beyond the first-party apps of previous software versions. There aren’t many new wrinkles on the Pixel 7a because we’ve already experienced Android 13 on the Pixel 6 series and Pixel 7 series, but that also means you get a familiar bevy of conveniences like offline Google Assistant voice typing, Now Playing, Live Caption, and — perhaps best of all — no unwanted bloatware. The phone has since received its Android 14 update.
- 5G: The Pixel 7a’s Tensor G2 chipset comes prepared for 5G networks, and I had no problems getting set up on Verizon’s network. That said, the unlocked model only comes equipped with sub-6GHz connectivity. You’ll have to shop directly from Verizon to tap into Big Red’s mmWave speeds, which will set you back an additional $50. It may not make much of a difference if you live outside of the US or even outside of a major US city.
- Connectivity: Google’s Pixel 7a comes well-equipped with many of the latest connectivity standards, though your Wi-Fi options will vary by country. Buyers in the US, much of Europe, Australia, and Japan will have access to Wi-Fi 6E, while shoppers in Taiwan, Singapore, and India will have Wi-Fi 6 instead. All models carry Bluetooth 5.3 (with Bluetooth LE), NFC for Google Pay and Nearby Share support. Unfortunately, the Pixel 7a still skips out on ultra-wideband support (UWB), which won’t be much of an issue at launch, but may disappoint some folks if/when Google’s long-rumored AirTag rival hits the market.
- Updates: Solid update commitments are slowly becoming the rule rather than the exception, and Google’s Pixel family is helping to lead the charge. The Pixel 7a promises five years of Pixel updates, which combines three years of Android version support with five years of security coverage. It’s not quite as good as Samsung’s four years of Android version support, but it will keep the Pixel 7a feeling fresh through 2026 or longer, and the promise of Feature Drops mean you’ll get new things to try out every now and again. The June Feature Drop brought a few new features first shown off at Google I/O, including emoji wallpapers, the palm timer in the camera, and improved Recorder labeling functions. October’s drop included new monochromatic theme options, new editing options for wallpapers and widgets on the lock screen, charging accessory notifications, and app streaming for Chromebook users.
Google Pixel 7a specs
| Google Pixel 7a | |
|---|---|
Display | 6.1-inch OLED FHD+ 2,400 x 1,080 20:9 aspect ratio 90Hz refresh rate 429ppi HDR support Gorilla Glass 3 cover |
Processor | Tensor G2 Titan M2 coprocessor |
RAM | 8GB LPDDR5 |
Storage | 128GB UFS 3.1 No microSD card support |
Power | 4,385mAh battery (typical) 18W wired charging 7.5W wireless charging Battery Share not supported |
Cameras | Rear: - 64MP wide primary sensor (0.8μm, ƒ/1.89, 80-degree FoV, 1/1.73" image sensor size, Super Res Zoom up to 8x) - 13MP ultrawide (1.12μm, ƒ/2.2, 120-degree FoV) Front: - 13MP wide (1.12μm, ƒ/2.2, 95-degree FoV) |
Video | Rear: - Primary: 4K at 60/30fps, 1080p at 60/30fps - Ultrawide: 4K at 30fps, 1080p at 60/30fps Front: - Primary: 4K at 30fps, 1080p at 30fps |
Software | Pixel UI Android 13 3 Android updates 5 years of security updates |
IP rating | IP67 |
Biometrics | In-display fingerprint scanner Face unlock |
Connectivity | All countries: - Dual-SIM (1x nano-SIM + 1x eSIM) - 5G sub6 - Bluetooth 5.3 - NFC US, CA, UK, EU, AU, and JP only: - Wi-Fi 6E (802.11ax) with 2.4GHz + 5GHz + 6GHz TW, SG, and IN only: - Wi-Fi 6 (802.11ax) with 2.4GHz + 5GHz |
Network | Model GWKK3: - GSM/EDGE: Quad-band (850, 900, 1800, 1900 MHz) - UMTS/HSPA+/HSDPA: Bands 1,2,4,5,6,8,19 - LTE: Bands B1/2/3/4/5/7/8/12/13/14/17/20/25/26/28/29/30/38/40/41/48/66/71 - 5G Sub6: Bands n1/2/3/5/7/8/12/14/20/25/28/30/38/41/48/66/71/77/78 Model GHL1X: - GSM/EDGE: Quad-band (850, 900, 1800, 1900 MHz) - UMTS/HSPA+/HSDPA: Bands 1,2,4,5,6,8,19 - LTE: Bands B1/2/3/4/5/7/8/12/17/18/19/20/21/25/28/32/38/39/40/41//42/66 - 5G Sub6: Bands n1/2/3/5/7/8/12/20/25/28/38/40/41/66/75/76/77/78/79 Model G0DZQ: - GSM/EDGE: Quad-band (850, 900, 1800, 1900 MHz) - UMTS/HSPA+/HSDPA: Bands 1,2,4,5,6,8,19 - LTE: Bands B1/2/3/4/5/7/8/12/13/14/17/20/25/26/28/29/30/38/40/41/48/66/71 - 5G Sub6: Bands n1/2/3/5/7/8/12/14/20/25/28/30/38/41/48/66/71/77/78 - 5G mmWave: Bands n260/n261 Model G82U8: - GSM/EDGE: Quad-band (850, 900, 1800, 1900 MHz) - UMTS/HSPA+/HSDPA: Bands 1,2,4,5,6,8,19 - LTE: Bands B1/2/3/4/5/7/8/12/17/18/19/20/21/25/28/32/38/39/40/41//42/66 - 5G Sub6: Bands n1/2/3/5/7/8/12/20/25/28/38/40/41/66/75/76/77/78/79 |
Ports | USB-C 3.2 Gen 2 Single nano-SIM |
Dimensions | 152 x 72.9 x 9mm |
Weight | 194g |
Materials | Plastic back Gorilla Glass 3 front Aluminum alloy frame/visor |
Colors | Charcoal, Sea, Snow (All countries and retailers) Coral (Select countries and retailers) |
In the box | USB-C to USB-C cable (USB 2.0, 1m) Quick Switch Adapter Support Card SIM tool |
Value and competition
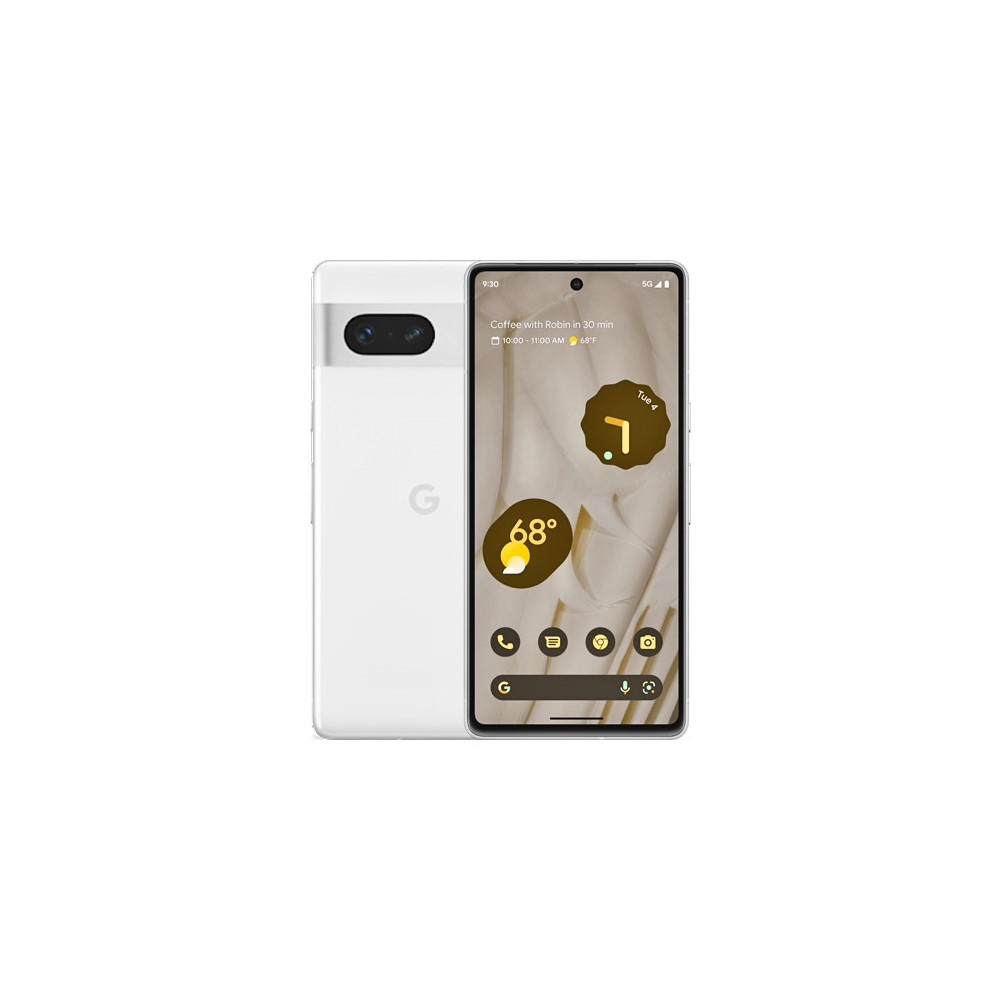

The Pixel A series has always been a top pick for its value. Google kept the price locked at $449 for a few years while adding more and more flagship features, bringing its entries closer and closer to the flagship range. Now, the Pixel 7a finds itself in an increasingly tricky spot. It offers a few upgrades on top of the existing Pixel 6a but comes bogged down with a $50 price bump. I don’t think $499 is necessarily asking too much for what the Pixel 7a offers, yet I struggle to call it a slam dunk in the face of a very competitive overall market.
Some of the best Pixel 7a alternatives come from within its own family. Google is keeping its previous Pixel A entry on the market for the first time, giving the Pixel 6a ($314 at Amazon) a nice price cut for those who might not need wireless charging or care about the faster refresh rate display. At just $349, the Pixel 6a offers more than enough to entice you into saving money, pairing the original Tensor chip with a slightly older camera setup and bringing back a version of the Sage colorway we loved from the Pixel 5. It definitely feels a little more compromised in daily use compared to the more fully-featured Pixel 7a, but you won’t find Google’s powerful image processing at a better price.
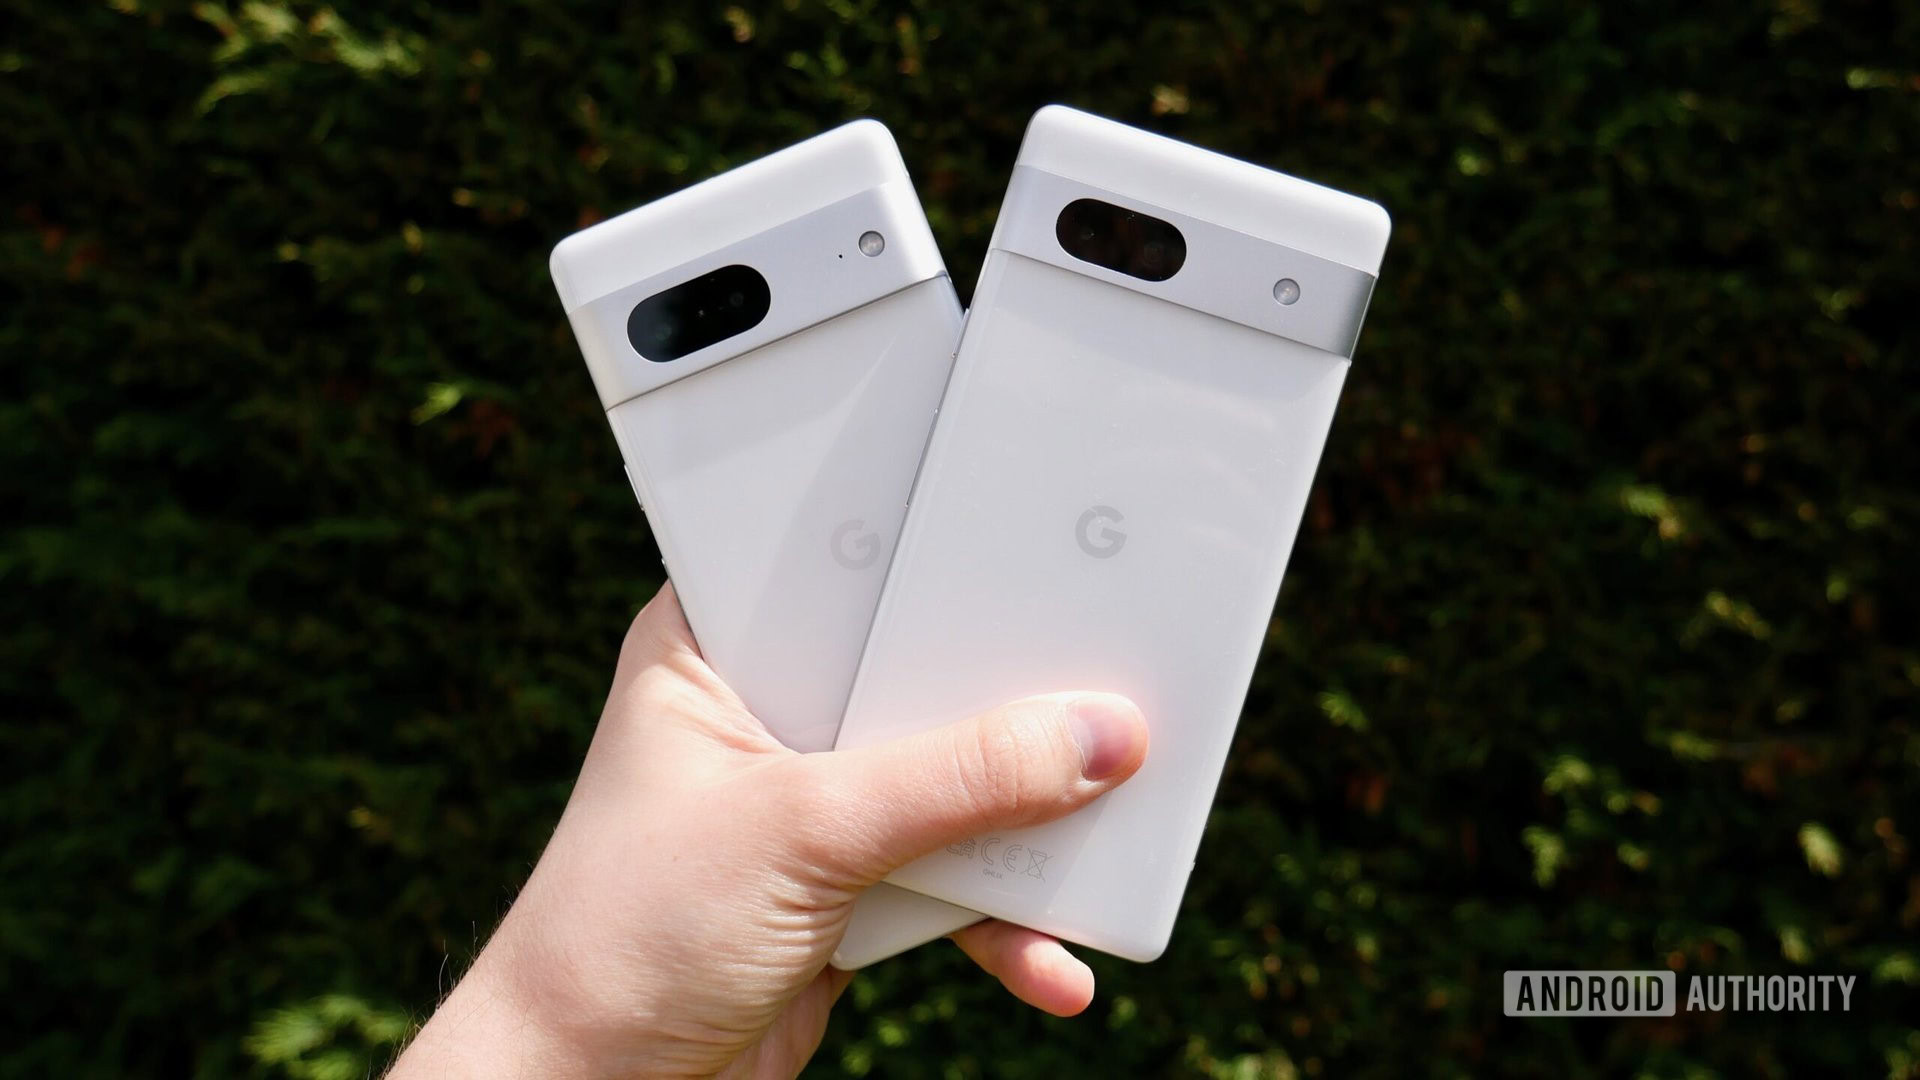
On the other hand, if you’re willing to spend a little extra money, the Pixel 7 ($545 at Amazon) is just $100 more expensive, and it’s a steal. For your money, you get a larger display, improved materials (Gorilla Glass Victus on both sides), and faster charging, both wired and wireless. The Pixel 7 shares the same Tensor G2 chipset, 8GB of RAM, and 128GB of base storage, but it’s hard to argue with the extra polish and more expansive camera features. Yes, the Pixel 7 is a little tougher to use with one hand, but it’s also frequently on sale, which makes the gap even tighter and harder to ignore.
Now that the Pixel 8 ($699 at Amazon) is official, it’s also worth consideration. It improves on almost every aspect of the Pixel 7 but does demand a $100 premium. This makes it much pricier than the Pixel 7a, so if you’re on the fence, it might be worth waiting for the Pixel 8a to debut before committing.

Google’s top competition from outside its own walls comes from the other famous A series: Samsung’s Galaxy A series. The Samsung Galaxy A54 5G ($379.5 at Amazon) beat the Pixel 7a to market, carrying its own unique set of tweaks and upgrades. Like the Pixel 7a, Samsung has moved its premium mid-ranger closer to its flagship lineup. The Galaxy A54 5G now looks and feels like a Samsung Galaxy S23 device, only with Gorilla Glass 5 and a plastic frame instead of Gorilla Glass Victus and Armor Aluminum. Samsung also trimmed a camera from its $450 competitor, axing its depth camera to bring its appearance closer to that of a flagship device. Unlike the Pixel 7a, however, Samsung’s in-house Exynos 1380 chipset doesn’t have the same performance headroom, and the sluggish 4K/30fps video cap ensures the Pixel 7a is a better-balanced camera phone.
Motorola has perhaps the widest array of Android competitors scattered around the Pixel 7a’s price point, but the most logical competitor is the Moto G 5G (2022) ($189 at Amazon). It’s a straightforward mid-ranger without extra perks like the stylus on the Moto G Stylus 5G ($239.99 at Amazon), but while it matches the Pixel 7a with a 90Hz refresh rate, you’ll have to make too many concessions regarding update support, video recording quality, even slower charging, and a dim screen. Here’s hoping the 2023 model can up its game.
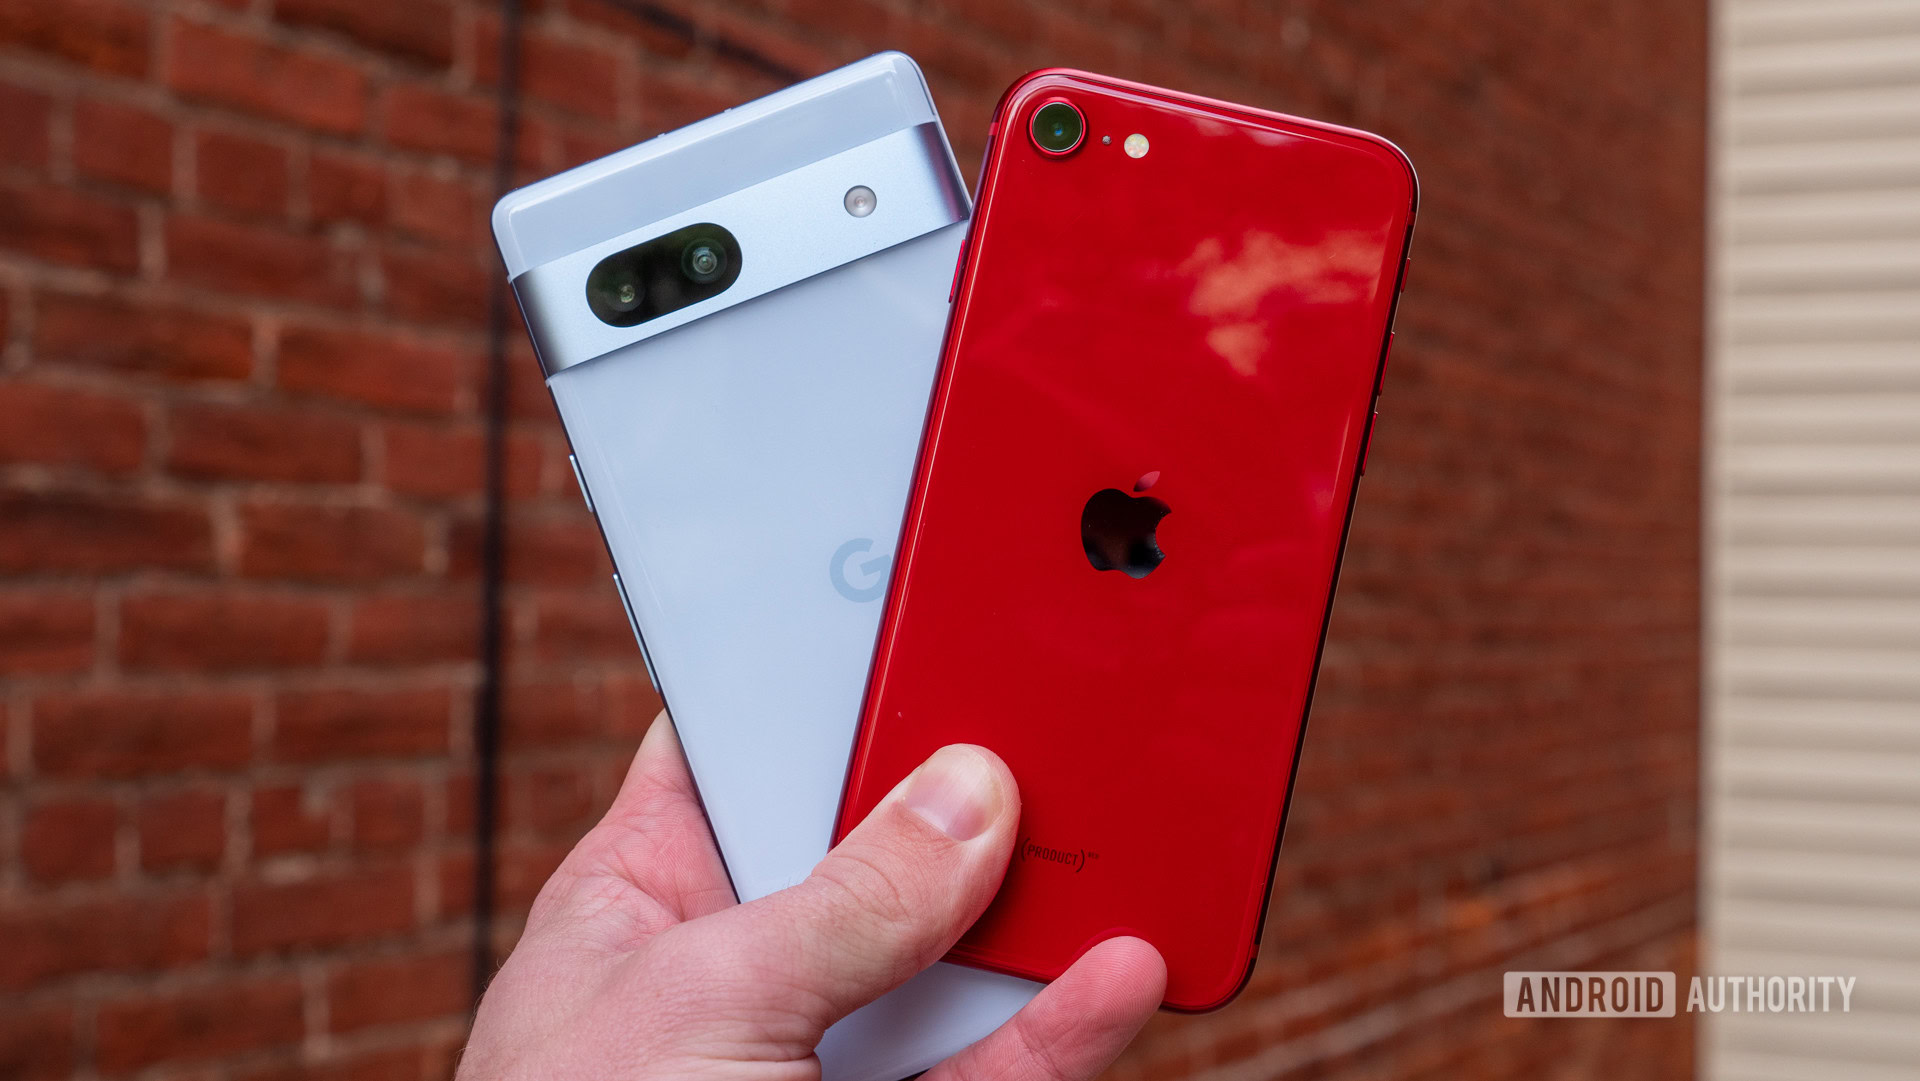
If you’re willing to try iOS, Apple’s iPhone SE (2022) ($429 at Amazon) remains the most comparable option. It now has more of an advantage in pricing, but the Pixel 7a comes out on top throughout the hardware and software experience. Apple’s A15 Bionic blazes through everything you put in front of it, but you have to be comfortable using the tiniest display on the market — a badly dated 4.7-inch, 720p LCD panel. The iPhone SE (2022) carries just one rear camera, which isn’t tuned for portrait mode beyond human subjects and carries just 12MP for you to work with. On the bright side, Apple offers software updates longer than just about anyone, meaning that the iPhone SE (2022) will probably receive support well after the Pixel 7a’s five years of Pixel Updates have run out.
If you’re shopping outside the US, you have even more options. The Nothing Phone 1 (£399.99 at Amazon) is an eye-catching pick — literally — thanks to the rear Glyph Interface and its iPhone-like design. Other global options include the Redmi Note 12 Pro Plus ($350 at Amazon), with its blistering 120W charging and 200MP primary camera, or the Poco F5 Pro ($460.2 at AliExpress), which offers a Snapdragon 8 Plus Gen 1 chipset and up to 12GB of RAM without putting too much hurt on your wallet.
Should you buy the Pixel 7a?
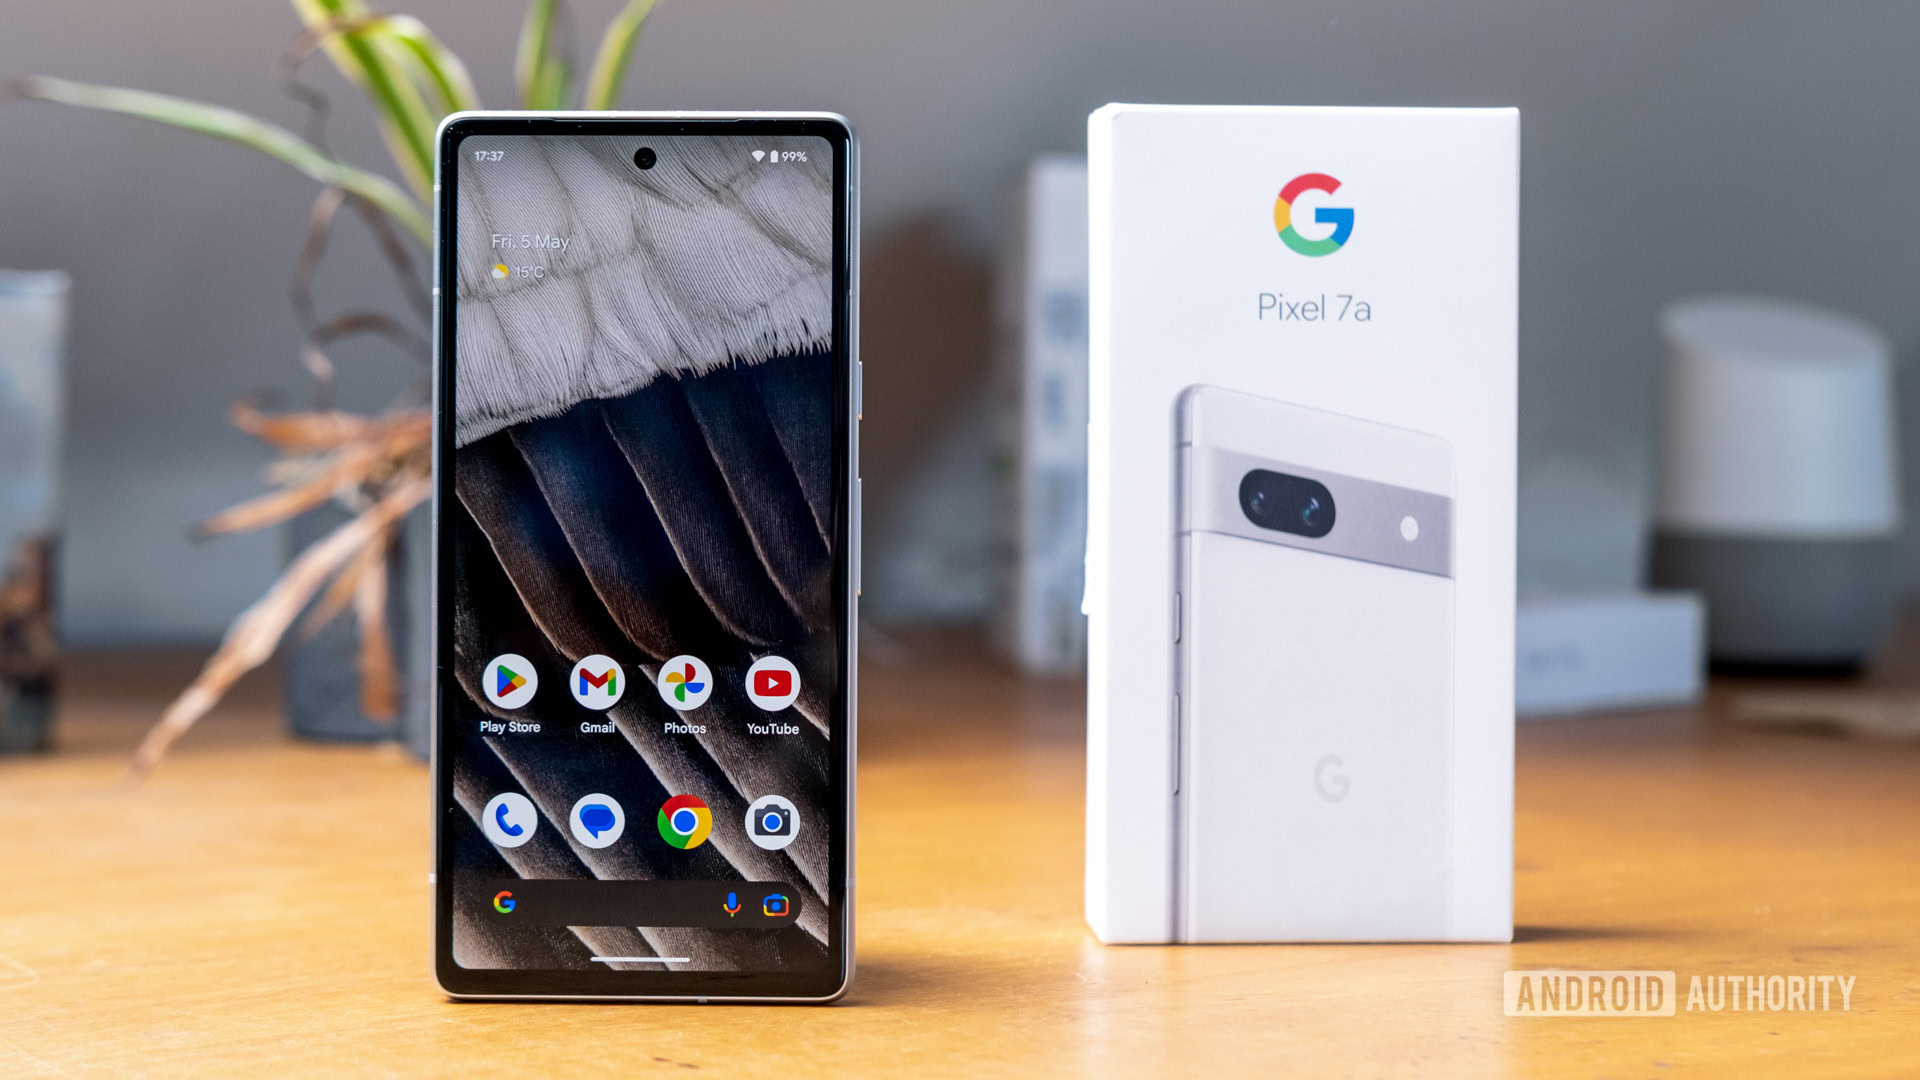
There’s no doubt in my mind that the Pixel 7a is Google’s most polished, most complete mid-range offering to date. It pairs a form factor that melts comfortably into one hand with a Tensor G2 processor that’s so smart I didn’t want to put it down (at least until it got too hot). Google even introduced tangible upgrades like a 64MP primary camera, 90Hz refresh rate, and wireless charging — all three firsts for the Pixel A series. It’s up to its ears in features that make life more convenient, and yet I’m not sure that the Pixel 7a goes far enough.
Where Google’s previous $449 price point was good enough to paper over some of its cracks, the Pixel 7a now demands a full $500, sitting just a Benjamin shy of the flagship-tier Pixel 7. It asks you to tolerate 18W wired charging that sticks you at an outlet for at least two hours or more than three with the all-new wireless support. While the Tensor G2 is still a brilliant chipset ready to do your thinking for you, it’s also a thermal hog, requiring that you carefully balance your entertainment with enough relaxation to keep the Pixel 7a cool.
The Pixel 7a is Google's most polished mid-range phone to date.
The real kicker is that the Google Pixel 7a is sandwiched between two close relatives in terms of price, both of which arguably offer better bang for your buck. And yet, at the same time, it’s an easy winner over mid-range rivals from Apple, Samsung, and Motorola thanks to its combination of smarts and style. At the end of the day, the Pixel 7a is like a middle child that gets forgotten while it’s at home but still shines as one of the most popular kids in school. Those kids exist, right?


Google Pixel 7a review: FAQ
Yes, the Pixel 7a supports Qi wireless charging at up to 7.5W.
The Pixel 7a comes with an IP67 rating for water and dust resistance, though it’s not truly waterproof.
No, the Pixel 7a comes with a USB-C cable and a Quick Switch Adapter, but no charger.
Yes, the Pixel 7a comes with both a single nano-SIM tray and support for eSIM.
No, the Pixel 7a offers 128GB of fixed storage without a microSD slot. You’ll have to use cloud storage if you want to save additional photos and files.
No, the Pixel 7a comes with a 6.1-inch display, which is smaller than the Pixel 7’s 6.3-inch display.