Affiliate links on Android Authority may earn us a commission. Learn more.
Google TV Streamer tips and tricks: Make the most out of your streamer!
December 26, 2024
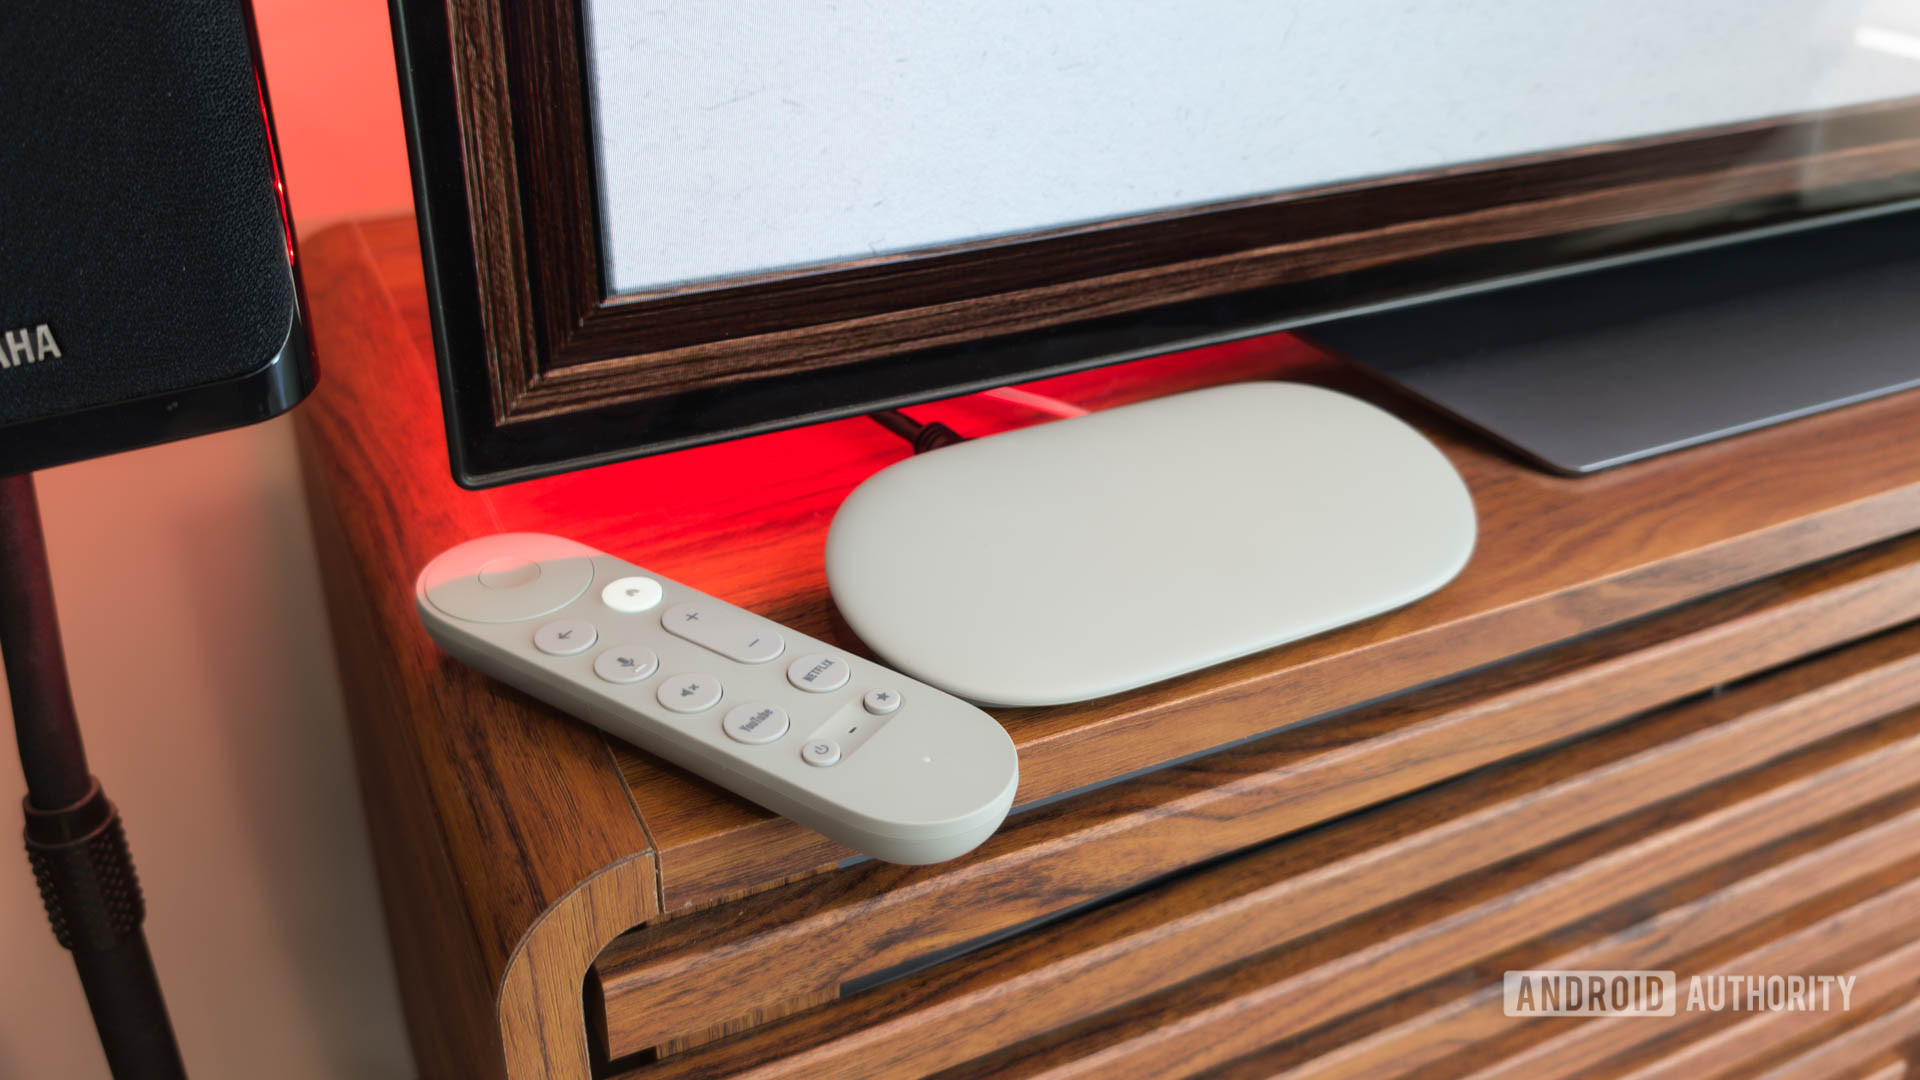
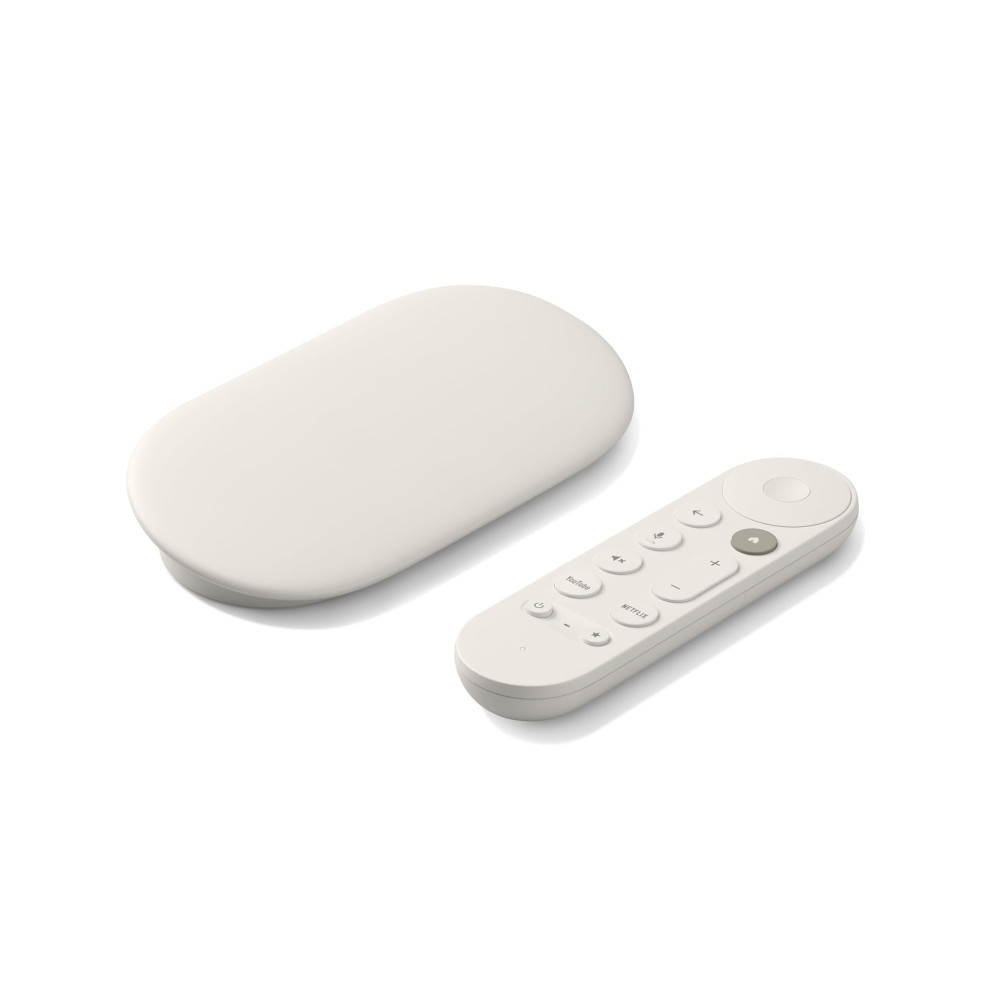
The Google TV Streamer was one of the more surprising new products we saw from Google in 2024. Google had been fully invested in the small, dongle-like Chromecast for a decade, so it wasn’t totally expected that it would launch a more traditional streaming box. Regardless, thanks to its unique features, solid performance, and fair price, it was one of my favorite new Google devices of the year.
If you just got yourself a Google TV Streamer, you might wonder what you can do with it. Thankfully, Google’s onboarding process, which you go through when setting up the streamer for the first time, gives you a terrific overview of its capabilities. You can see suggested content, create a watchlist, generate AI screensavers, turn your TV into a giant digital photo frame, and more. However, there are some things you can do with the Google TV Streamer that the onboarding sequence doesn’t hit on (or doesn’t explain just how much you can do).
With that in mind, here are some Google TV Streamer tips and tricks! Once you’ve got the streamer up and running, explore these to maximize the capabilities of your new device. Still don’t have a Google TV Streamer? Hit the button in the box below to grab one of the best 2024 tech devices!
Make sure you use HDMI-CEC
This is one of the most essential things that pretty much everyone should do with the Google TV Streamer because it will affect so many other things on this list. The appropriate setting is usually active by default, but sometimes it’s not or may have been accidentally turned off.
For those of you unaware, HDMI-CEC (which stands for “Consumer Electronics Control”) allows one device to transmit instructions to another device over an HDMI cable connecting them. In the case of the Google TV Streamer, this allows it to tell your TV to turn on or off, switch inputs, increase/lower the volume, and much more. In other words, with this active, you can use your Google TV Streamer remote to control both the streamer and the TV, which is certainly convenient.
To activate HDMI-CEC, hold down the Home button on your remote and then click the All Settings icon next to your profile picture. Then, navigate to Display & Sound > HDMI-CEC and ensure it is enabled.
Use the customizable button (and customize other buttons)
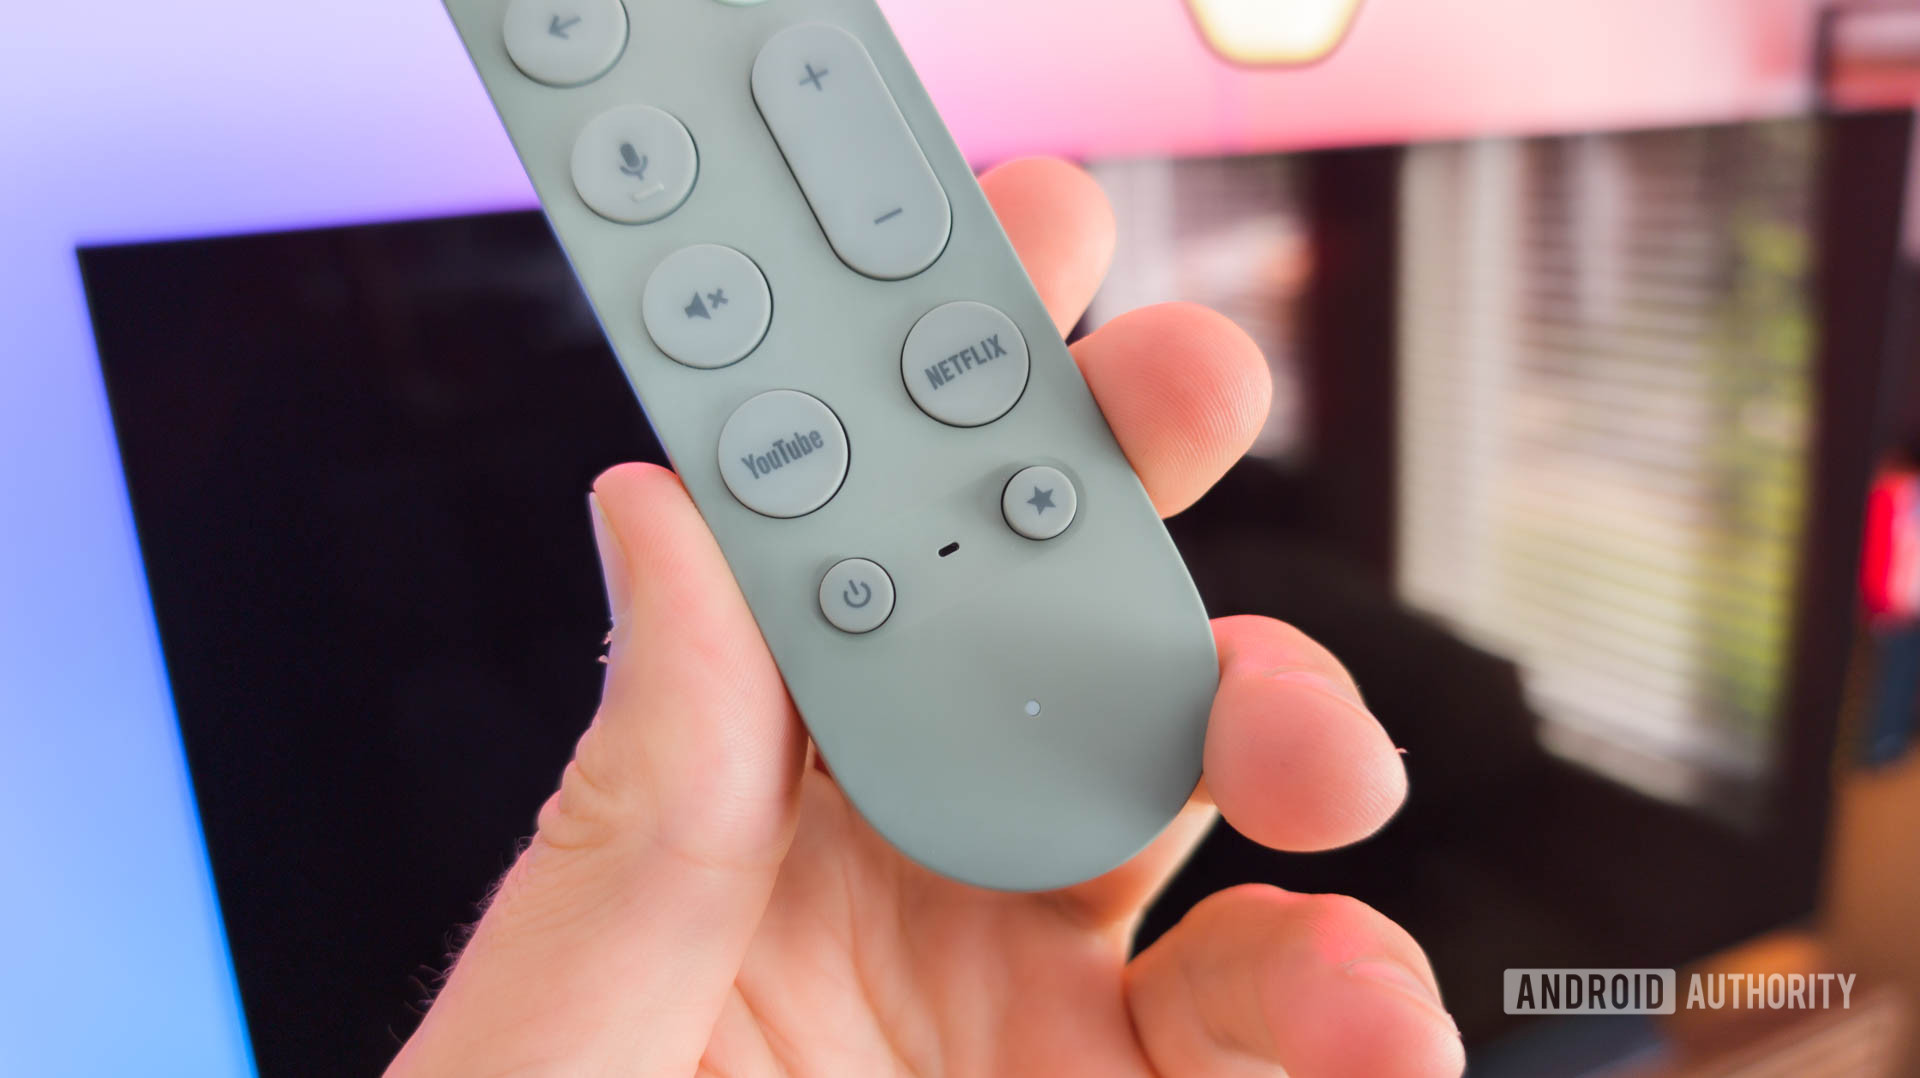
During onboarding, the Google TV software will tell you how to customize the “star” button on the new remote that comes with the streamer, which Google officially calls the customizable button. This is one of those screens many people will skip by, but it’s one of the more important settings to tweak.
By default, Google has this button set to launch your Google Home panel, which we’ll touch on more in a later section. However, you can very easily launch the Google Home panel without using the customizable button: hold down the Home button on the remote and then navigate to the Google Home tile. It’s not as easy/fast as just hitting the customizable button, but unless you use the Google Home panel a lot, there are better things you can do with the customizable button instead.
The customizable button is a powerful tool. Make sure you're using it for what works best for you!
I recommend using it as what it was on the Chromecast with Google TV: an input switcher. With HDMI-CEC enabled, you can use your Google TV Streamer remote to swap to different TV inputs, allowing you to jump to your gaming console, Blu-Ray player, etc., without needing to use your TV’s native remote. In my house, we don’t even have the TV remote out anymore — we only use the Google TV remote. It’s great!
Alternatively, you can set it up to launch a favorite app, keeping in mind that there are already dedicated YouTube and Netflix buttons. But if you have a different streaming platform you want to get to quickly, you can set the customizable button to do that.
If you want even more control over what your remote buttons do, third-party apps can give you a lot of power.
In either case, to set this up, hold down the Home button and navigate to the All Settings icon next to your profile photo. Scroll down to Remotes & Accessories and then down to Set up remote buttons. Here, you can change the customizable button to do whatever you think is best.
Google only officially allows you to do these three things with the customizable button, but thanks to Android TV’s semi-open nature, you can do much more unofficially. Check out the Button Mapper app, which lets you make your remote buttons do many incredible things. Unfortunately, the app’s free version is quite limited, but as long as you can handle a few bucks to unlock all its features, it’s a powerful tool for the Google TV Streamer. If you’re at a loss on how to get the Button Mapper app on the streamer, keep reading!
Use your phone to your advantage
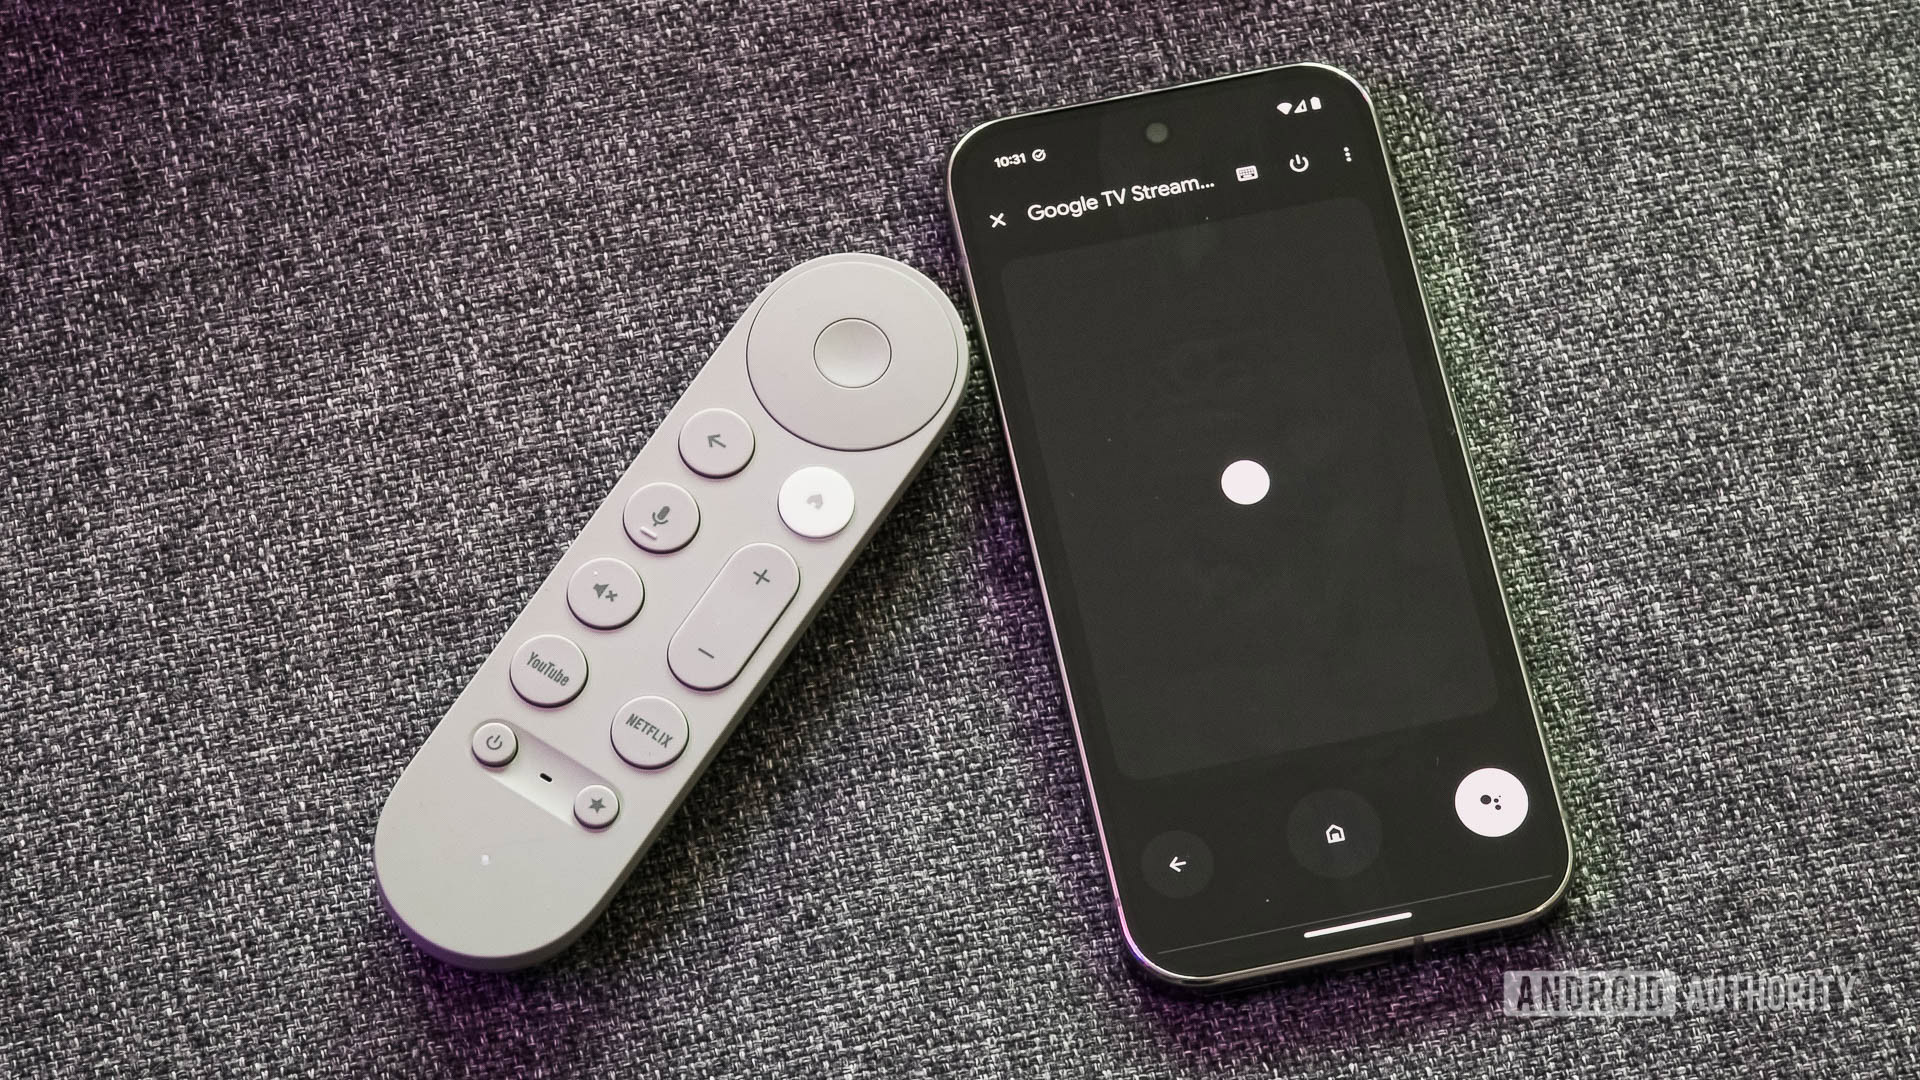
The remote that comes with the Google TV Streamer is really good, but it’s missing something: a full keyboard. Obviously, that would be ridiculous for it to have, but when searching for content or typing in passwords, having one sure would be nice. Thankfully, you can use your phone for this.
In the Google Home app on your phone or tablet, head to the Devices section and then find the Google TV Streamer tile and tap it. Hit the Open Remote button you find there. If it’s your first time using this, you’ll need to link your phone to the streamer by inputting a six-character code that appears on your TV. Once you do, you’ll have the core features of the hardware remote right there on your phone.
Use your phone to control the Google TV Streamer, have access to a full keyboard, and easily find apps.
With this digital remote, you can do the basics: navigate around, select things, turn the volume up/down, trigger Google Assistant, etc. At the top of the remote interface on your phone, you’ll see a keyboard icon. Tap that anytime you don’t have the patience to use the hardware remote’s directional pad.
You can also use your phone to install apps. The Google Play Store app on Google TV is, in a word, abysmal. Finding what you want is difficult, and navigating around is slow and clunky. For example, if you want to install the Button Mapper app mentioned in the previous section, good luck with that on the TV itself. Instead, I recommend finding the app using the Google Play Store installed on your phone. Assuming the Google account on your phone is the same as the one on the streamer, you can tap the drop-down arrow next to the Install button on an app’s page and then push the install to your streamer. This is way faster and much more convenient. Just keep in mind that apps that don’t support Android TV won’t be able to be installed with this method.
Go ad-free with Dispatch on the Google TV Streamer
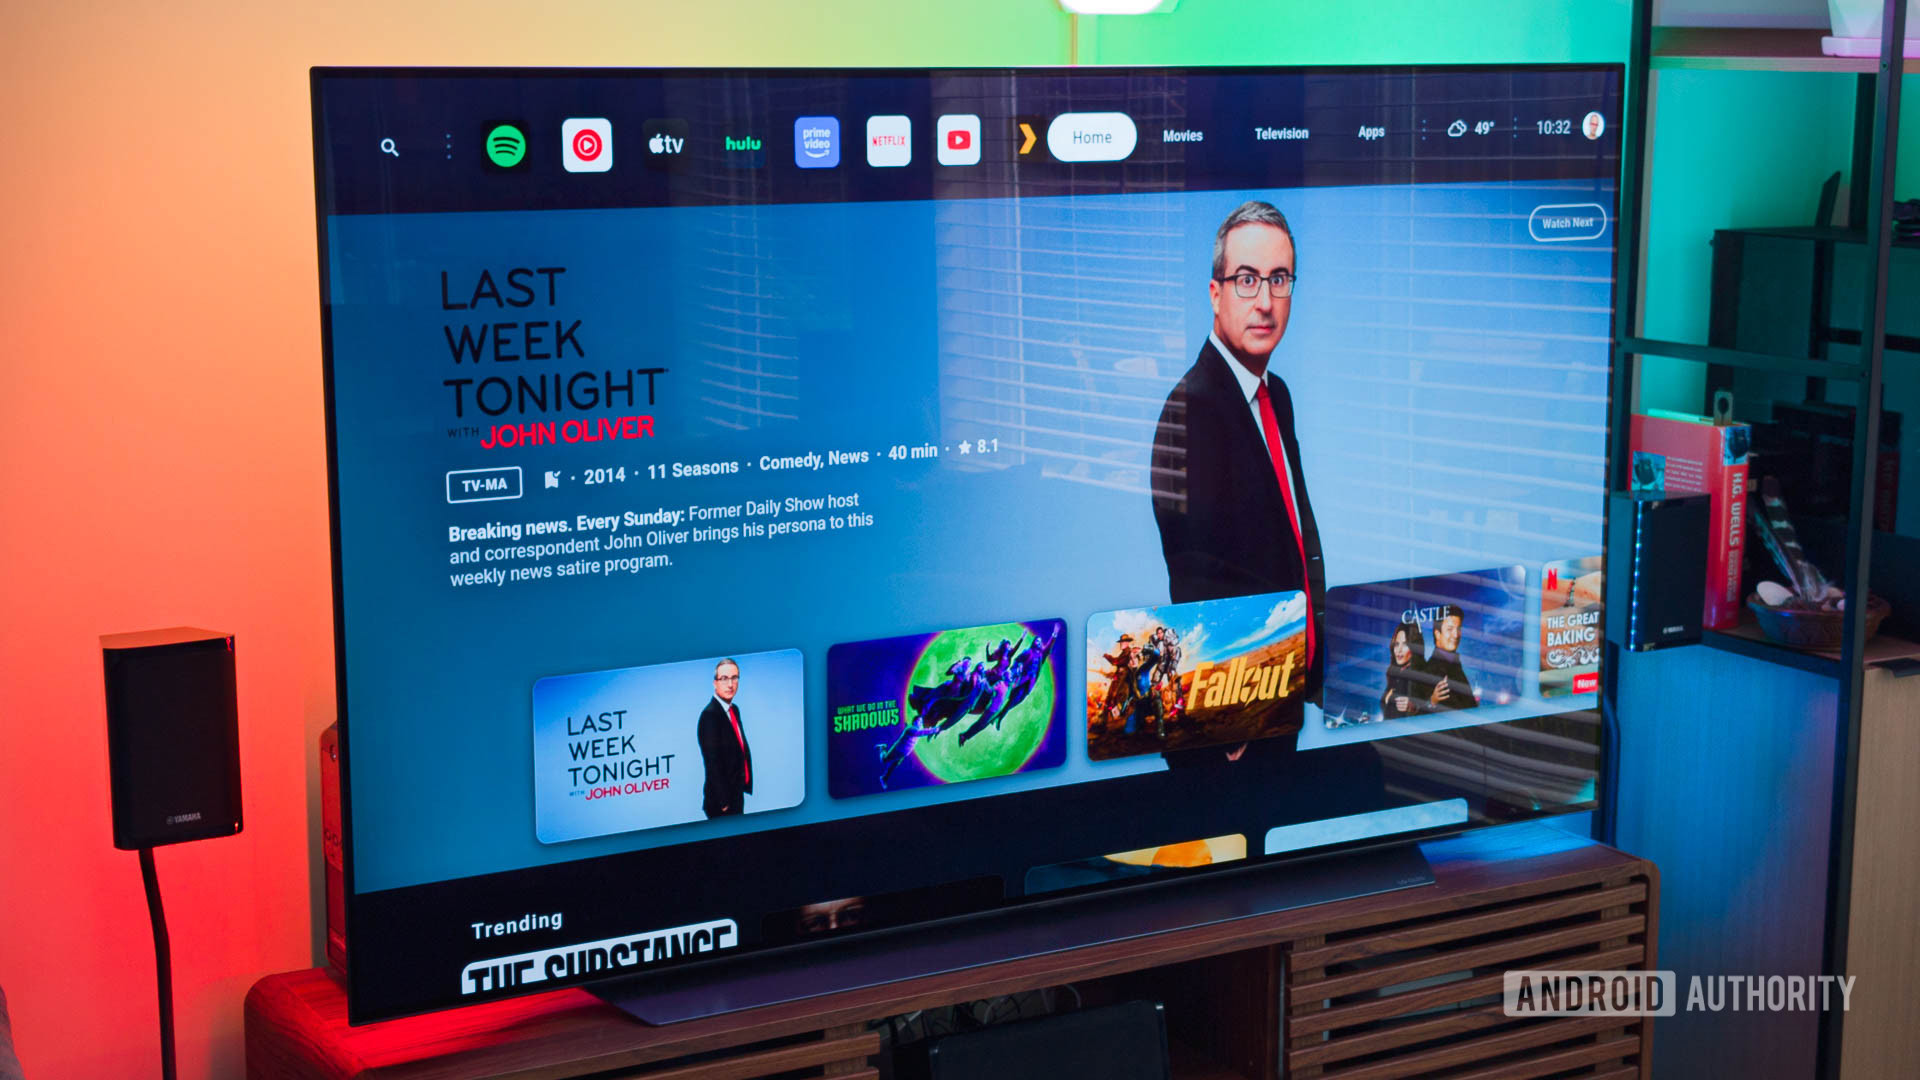
While the main Google TV interface is not terrible, it is filled with ads. Even some of the things that aren’t blatant ads are still ads, such as the various bits of suggested content that subtly push you to subscribe to yet another streaming service.
If, like me, you don’t appreciate this, there are two things you can do. The first is simple and will remove most of the ads, while the second is more complicated, but will remove literally every ad. We’ll leave it to you which one you prefer.
The first method is to turn on the built-in “apps-only mode.” Do this by holding down the Home button on your remote and navigating to the All Settings icon next to your profile photo. Once there, navigate to Accounts & Sign-in > [Your Profile] and then scroll down to enable “apps-only mode.” Now, suggested content won’t be nearly as prominent throughout the Google TV interface.
You can turn off suggested content within the streamer's settings, but if you want a clean, completely ad-free experience, give Dispatch a shot.
Unfortunately, this doesn’t entirely stop ads from appearing. To go nuclear on ads, I recommend using an app called Dispatch. This app was designed to make Plex servers the focus of the Android TV interface, but you don’t need to be a Plex user to take advantage of its capabilities. When you install it, you’ll see instructions on how to turn off the default Google TV interface and replace it with Dispatch. Once you do, every time you turn on your Google TV Streamer, it will bypass the default interface and go to Dispatch, which has zero advertisements. What’s more, you can still instruct Dispatch to deliver suggested content from the streaming services you already subscribe to, so if you don’t like ads but do still want the occasional recommendation, that’s still possible.
Dispatch comes with a free two-week trial. After that, you’ll need to pay a one-time fee to unlock a lifetime license, which is currently set at $9.99. I did this and don’t regret it one bit.
You can play games on the Google TV Streamer, but beware
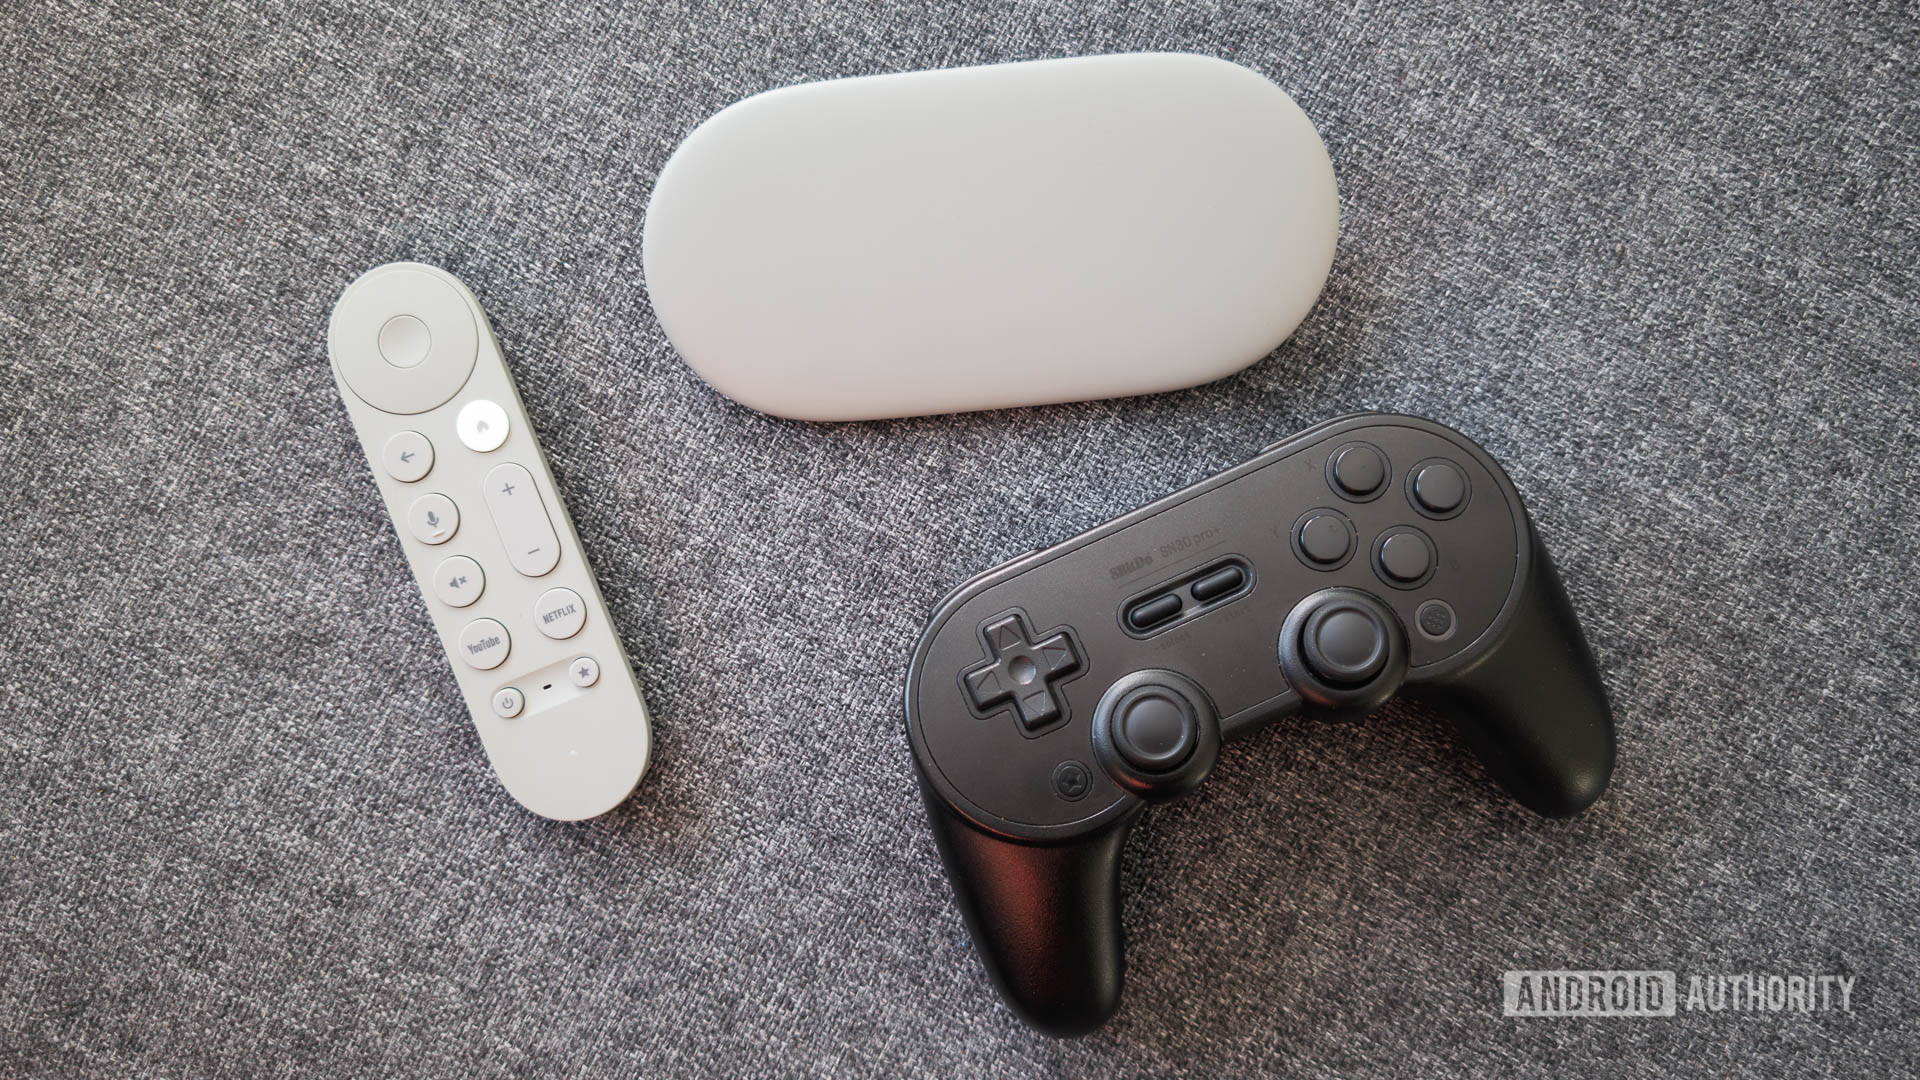
As with all other Google TV devices, the underlying software on the Google TV Streamer is just Android TV, which is, of course, based on Android. That means many Android apps and games that work on phones and tablets can also work on your TV. This might make you think that the Google TV Streamer could be an incredible gaming device, allowing you to play mobile-first games, emulated console games, and more on your giant TV.
However, this isn’t as simple as it would seem. First, not every app/game on the Play Store is optimized for TVs. As such, Google only allows for a small number of apps/games to be installed on Android TV, so your favorite titles might not work.
Second, the MediaTek MT8696 SoC powering the Google TV Streamer is weak. Sure, it’s fine for launching movies and TV shows, but it’s not good for gaming. So, even if you can get your favorite titles installed, your gameplay experience will be rough.
While it is possible to play games on the Google TV Streamer, we don't recommend it.
Finally, controller support is available, but the latency is awful. This makes it difficult to enjoy any fast-paced titles such as racing sims, platformers, action-adventure games, etc.
Really, the only types of games I can recommend one should play on the Google TV Streamer would be things like old-school RPGs — games that don’t rely on fast inputs, highly detailed graphics, or fast framerates.
All of this makes the Google TV Streamer pretty terrible for gaming. If you want a more in-depth examination of my experience with this, be sure to check out the previous link.
You can add more storage to the Google TV Streamer, with caveats
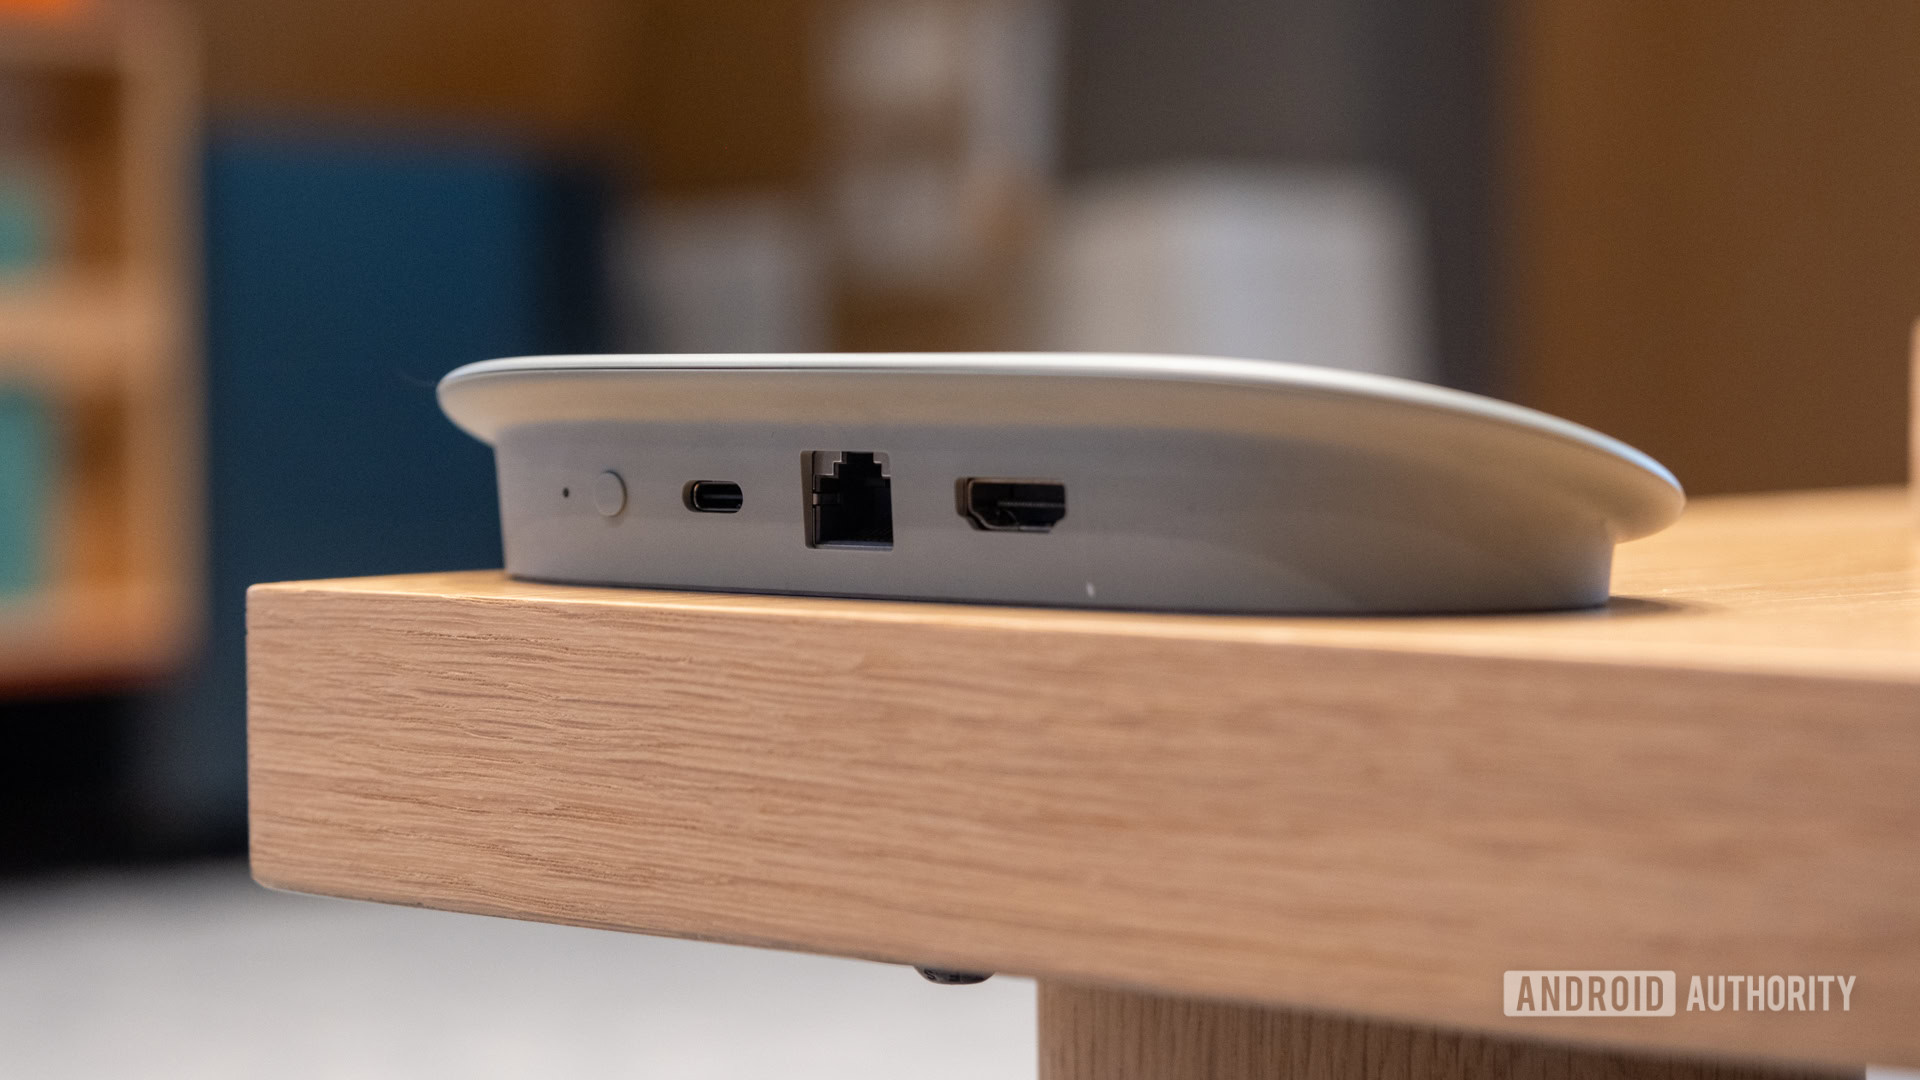
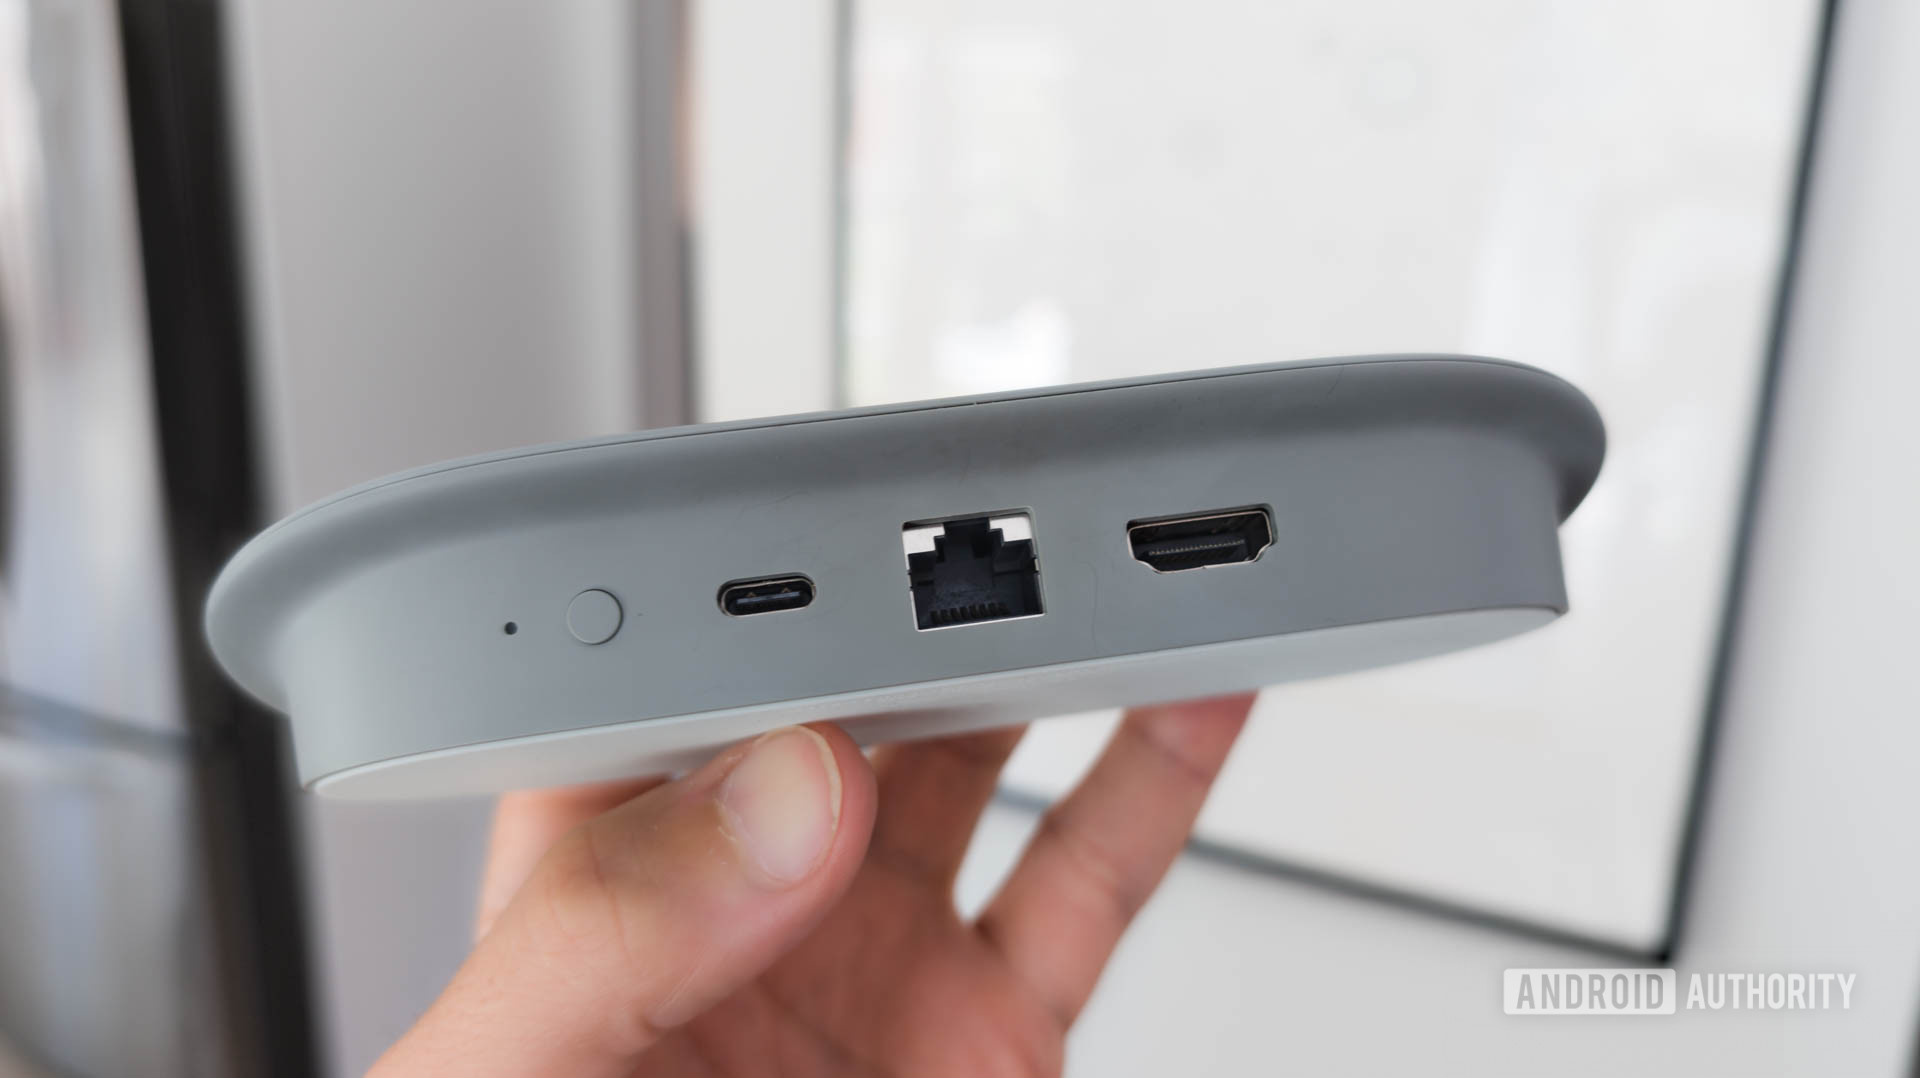
When the Google TV Streamer launched, one of the first things we noticed was that it only had one USB-C port on the back. This port provides power to the streamer. With no second port for storage, in official terms, Google does not support expandable storage on the streamer. In fact, during our briefing on the product, we specifically asked Google if you could use the lone USB-C port for storage, and it told us no — it’s only for power.
However, once the device landed at retail, people started figuring out that you could add additional storage to the device. Unfortunately, it’s not a very straightforward process. First, you’ll need a powered USB dongle, such as this one from Amazon. You plug that dongle into the USB port on the back of the streamer and then provide power to the dongle using the cable and adapter you would typically use with the streamer. Next, you’ll need a USB stick (like this one from Amazon). Format that USB stick to exFAT (not NTFS), load whatever you want onto it, and then plug it into the USB hub. The Google TV Streamer will recognize this as additional storage.
Google designed its streamer in such a way that adding more storage to it is difficult. However, it can be done.
While this does work to expand storage on the streamer, it doesn’t work for much else. Current versions of Android TV do not support file explorers, so accessing things you’ve put on your USB stick will be difficult, if not impossible. Still, if you’re determined to toy with your streamer and expand what it can do, you have options here.
Honestly, though, if expandable storage is what you really want, just buy an NVIDIA Shield TV ($149 at Amazon).
Miscellaneous smart home tricks for the Google TV Streamer
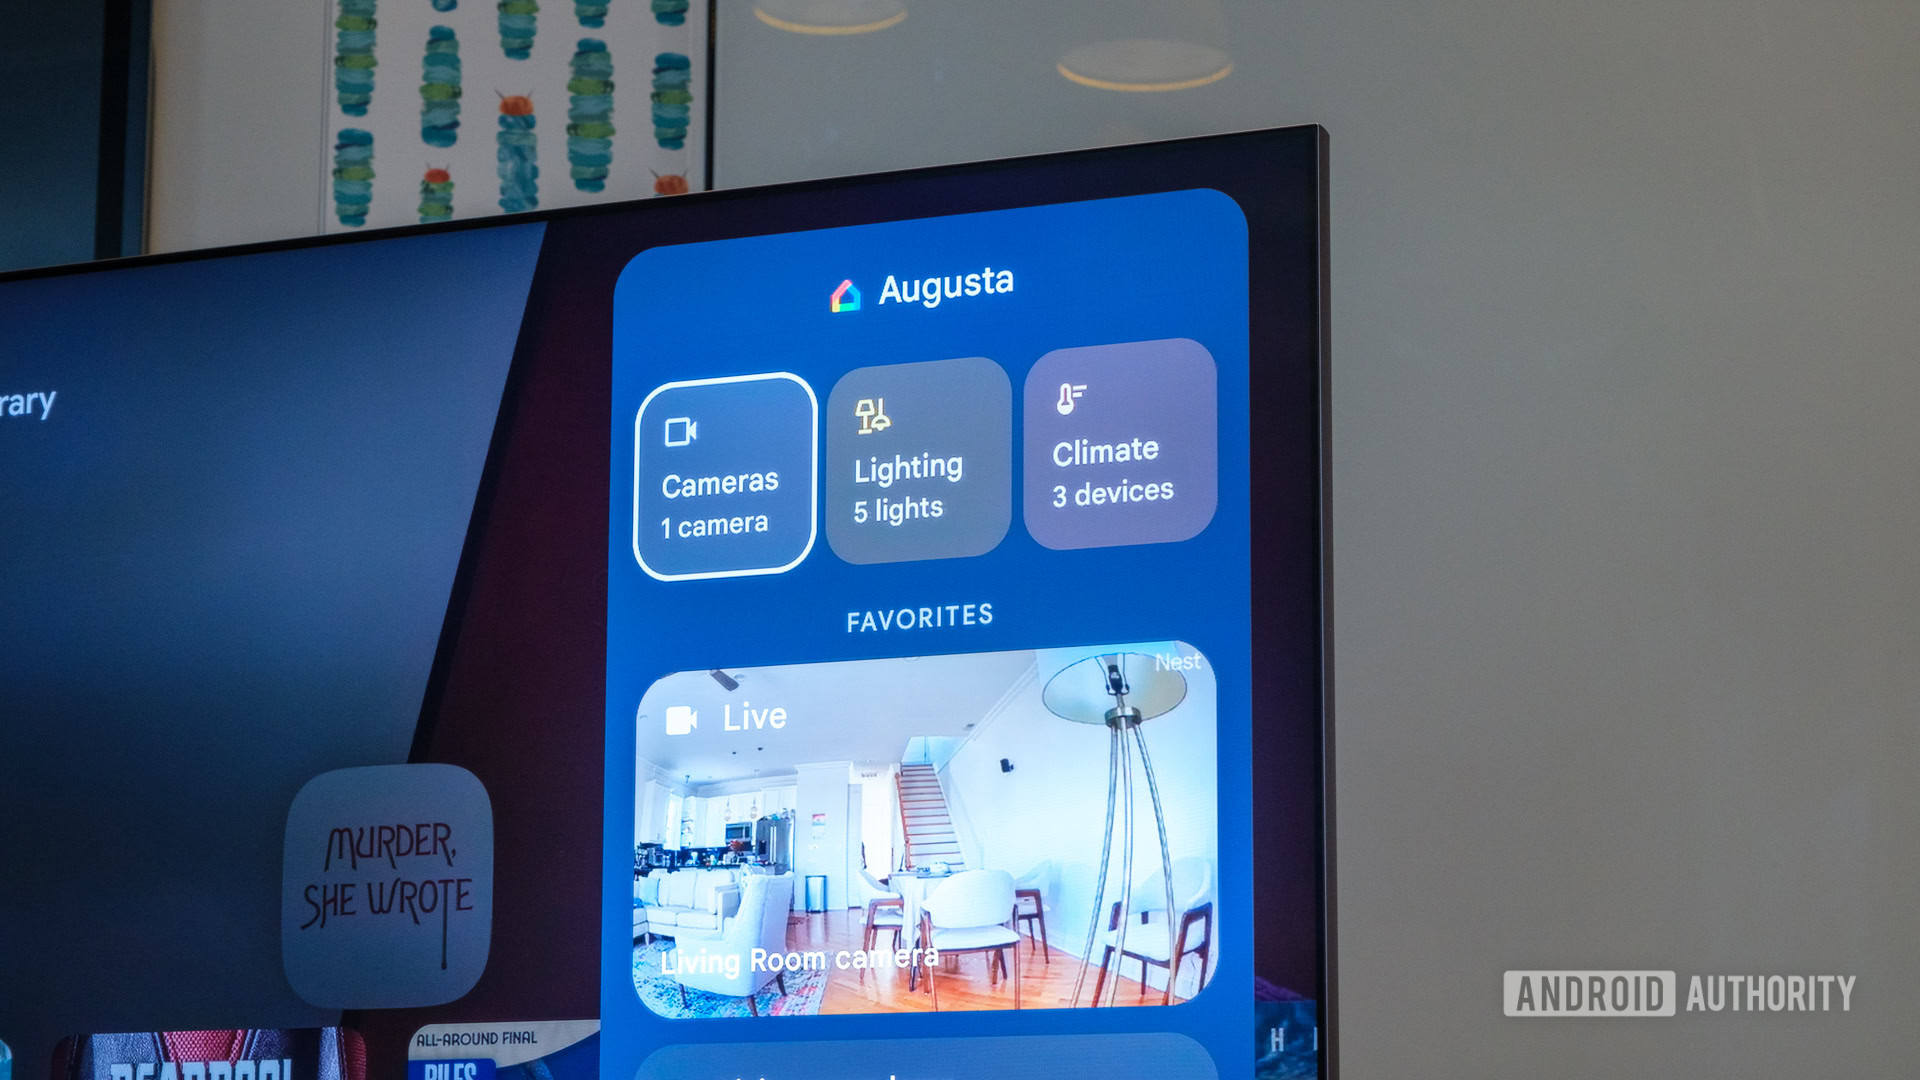
One of the key differentiators between the Google TV Streamer and every other streamer on the market — including all other Google TV devices — is how tightly it can integrate with your smart home. The previously mentioned Google Home panel, shown above, allows you to see camera feeds, turn lights on or off, and change the thermostat all from your TV screen. This is currently exclusive to the Google TV Streamer.
This is excellent news for people already in the Google smart home ecosystem. But if you’re one of the millions who have yet to start a smart home, the Google TV Streamer is now the perfect device to get you on that path!
Here are some things you can do with the streamer as related to your wider smart home:
- Thread border router: The Google TV Streamer can be a hub for your Thread/Matter devices. If you have a Thread-supported device (such as a lightbulb) that needs a hub to work, you don’t need a separate hub. The streamer can be the hub, saving you from buying yet another thing to plug into a wall outlet.
- Speaker groups: If you have other Chromecast-enabled devices in your home, you can create a speaker group. For example, if you have a Nest Audio speaker ($99.99 at Best Buy), a Nest Mini speaker ($29.99 at Best Buy), and the Google TV Streamer, you can group them all together in the Google Home app. This will allow you to play music or podcasts on all three systems simultaneously. You can then add more speakers as you go, filling your whole home with sound.
- Google Nest doorbell alerts: If you have the wired Nest Doorbell ($179.99 at Google) or wireless Nest Doorbell ($179 at Amazon), you can program your Google TV Streamer to automatically show your doorbell’s video feed when someone comes knocking. This interrupts what you’re watching, obviously, but it’s a great way to know who’s at the door as soon as they ring the bell.
Do you already own a Google TV Streamer? Did we miss any tips or tricks for it? Let us know in the comments!