Affiliate links on Android Authority may earn us a commission. Learn more.
Tips and tricks I learned setting up my home Wi-Fi mesh network
Published onAugust 14, 2022

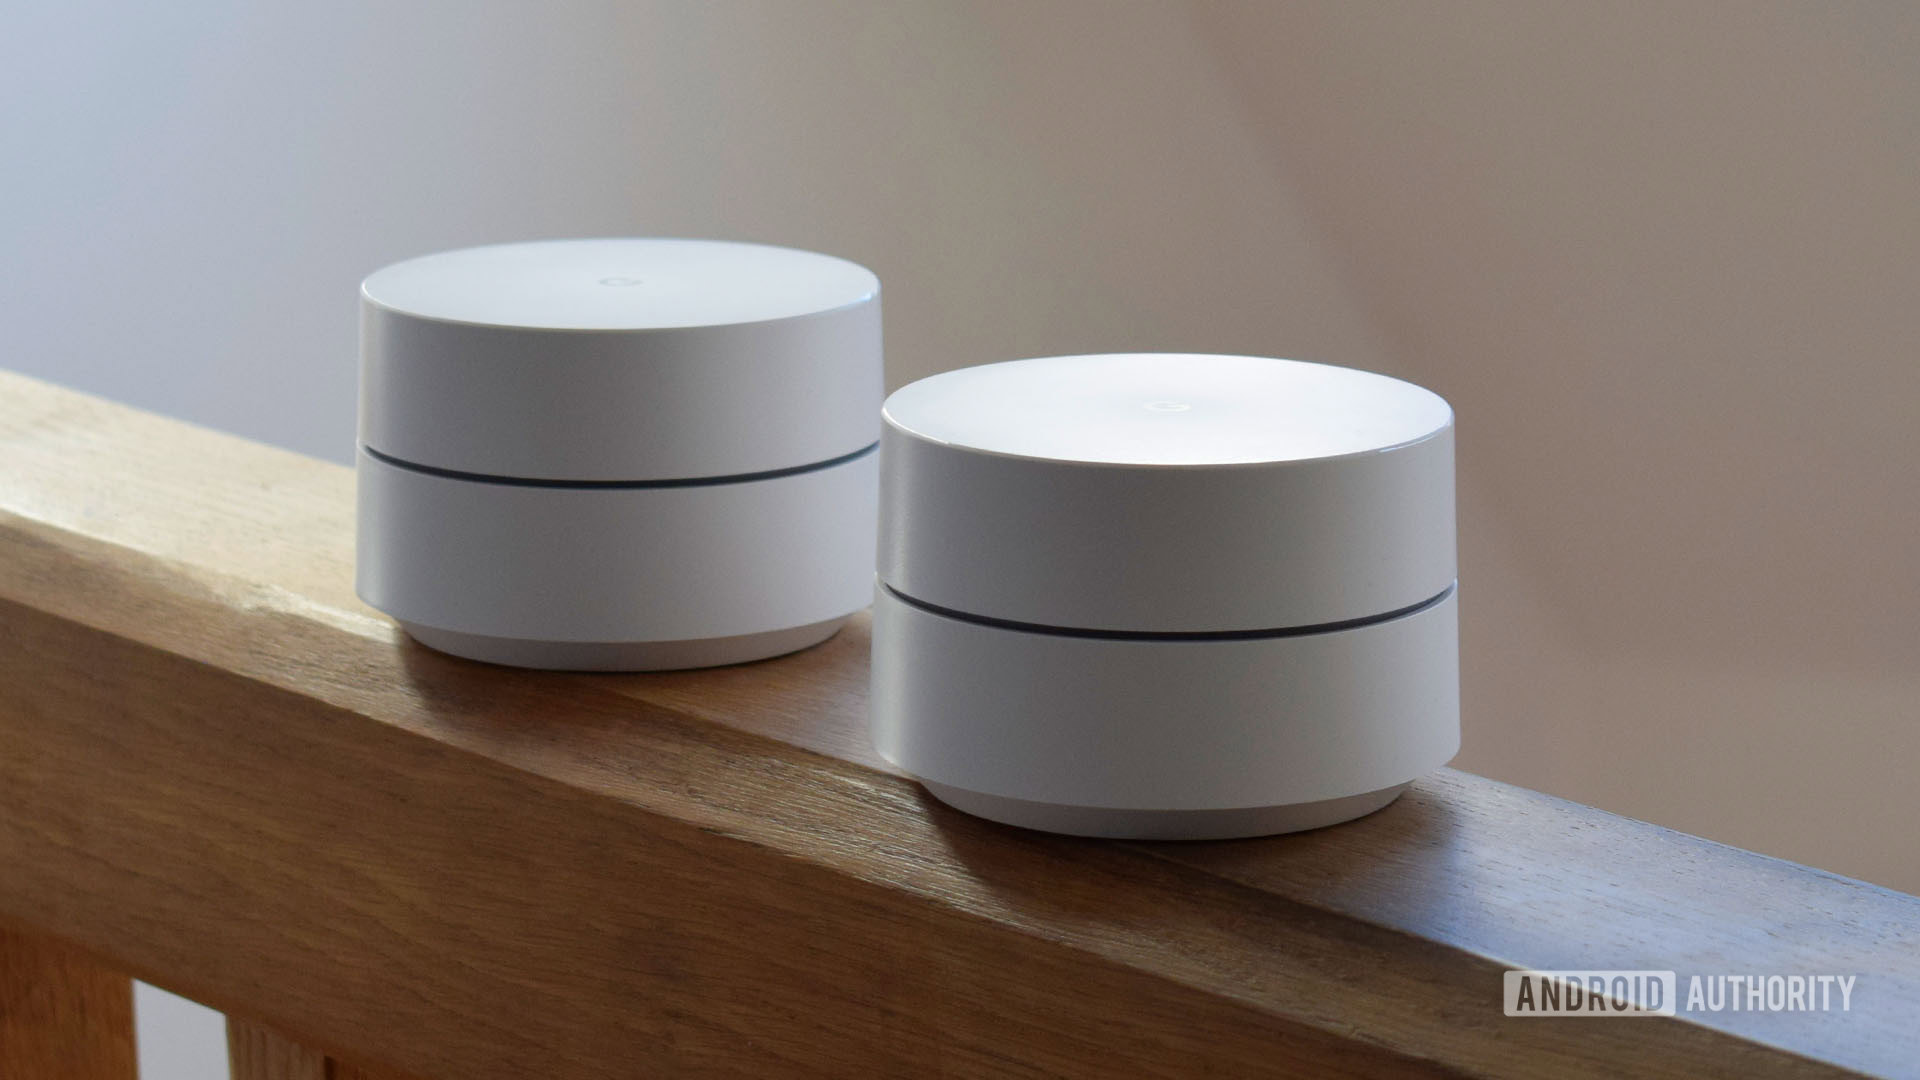
Building the optimal home Wi-Fi network can feel like a never-ending process of trial and error. I’ve recently experienced just such a sense of frustration and elation while upgrading my fiber broadband package, and at the same time replacing a pair of first-gen Google Wifi hubs with a new mesh router setup.
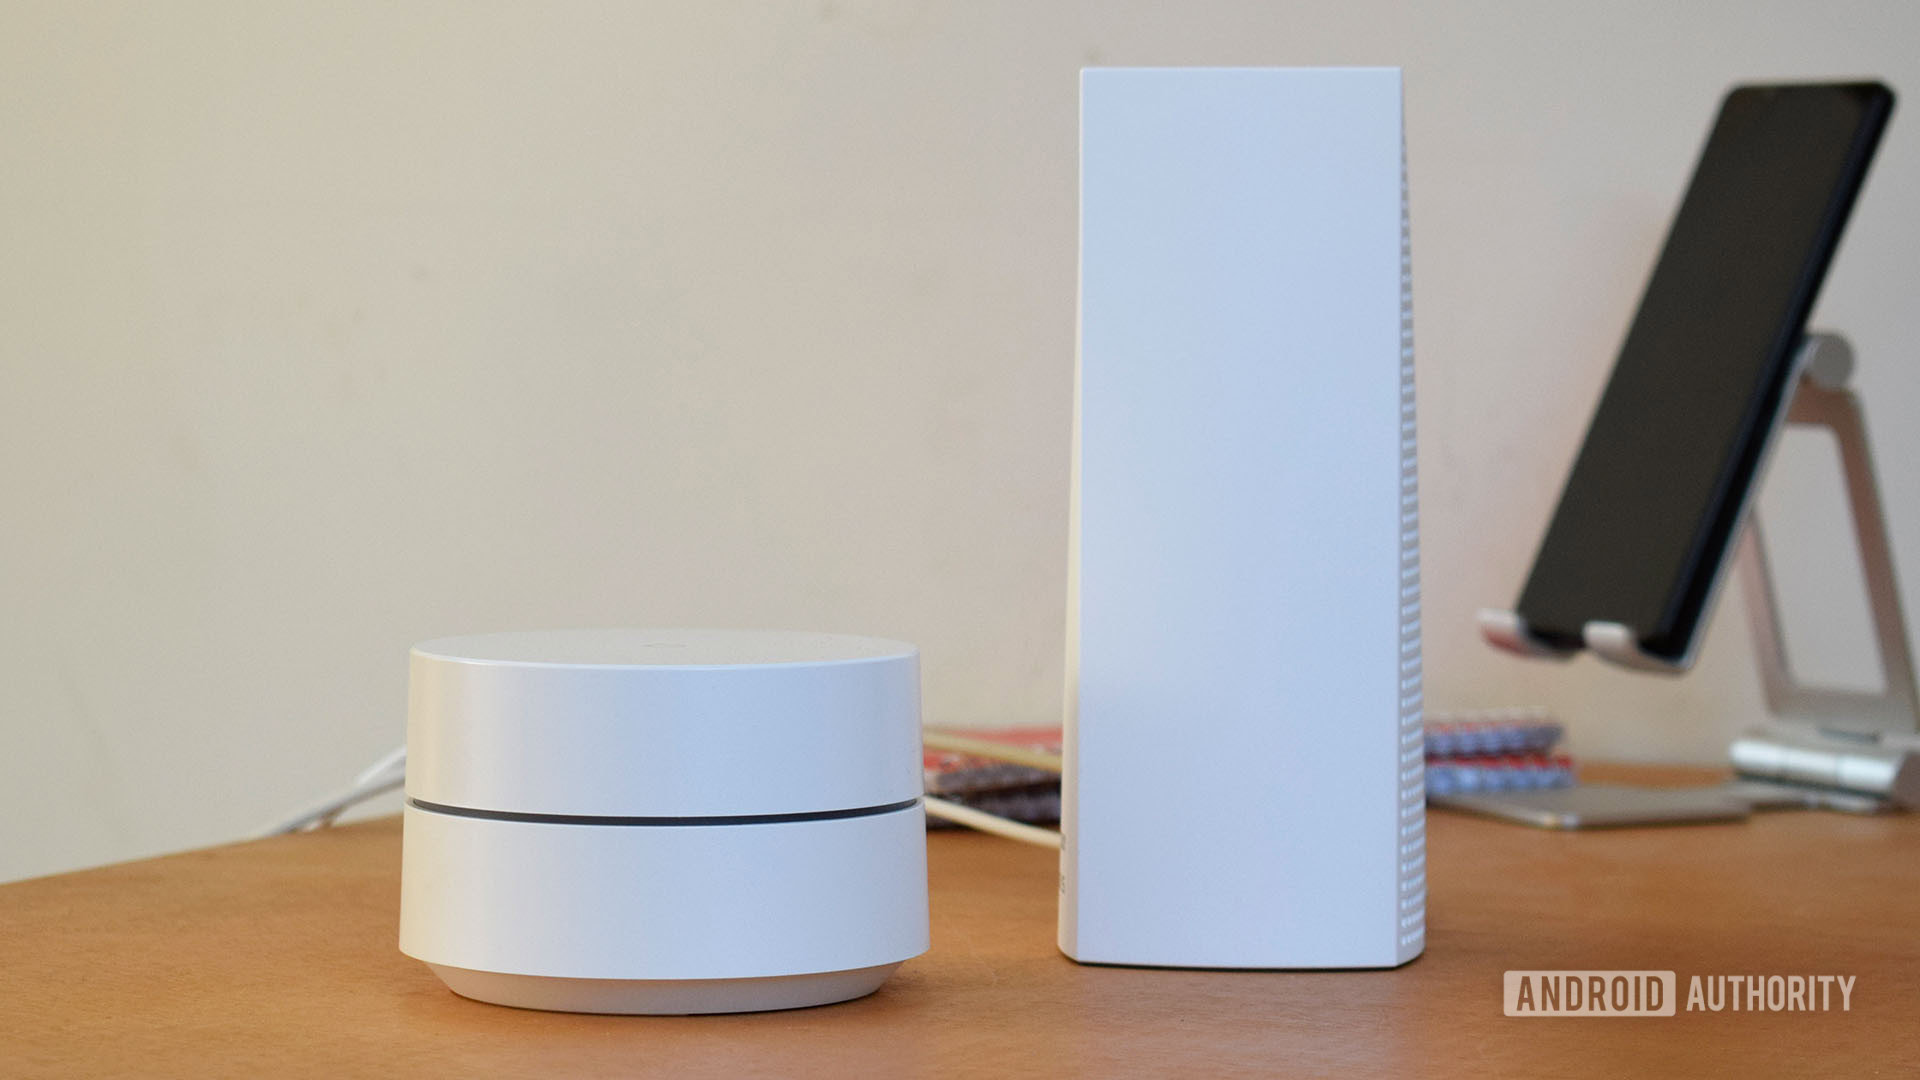
Switching over to a pair of Linksys Velop Mesh Home access points has vastly improved my Wi-Fi experience, not just for internet use but local network speeds and latency too. Even though, on paper, it appears that the Google Wifi package offered essentially all of the same core features and specifications. Lesson learned — read the finer details.
So what ended up making all the difference? Read on to find out.
See also: Google Nest Wifi vs Google Wifi
TLDR: Essential home Wi-Fi mesh setup tips
If you’re in a hurry, let’s get straight to the point. Here’s what I discovered while revamping my home Wi-Fi mesh network, plus some tricks that might help with yours.
- Tri-band rather than dual-band access points are much faster and more reliable. Don’t quibble, spend your money on getting this right — it’s the single biggest improvement you can buy.
- Invest in mesh hubs with multiple powerful antennas and amplifiers — the more the better really. They produce a robust signal that can easily penetrate a wall or perhaps two, making it far easier to build a reliable mesh.
- Limit the distance between hubs where possible to ensure a strong connection and therefore fast data speeds between them. Your home mesh is only as strong as your weakest link.
- You can use a network analyzer app to check the signal strength around your home. This is helpful when looking for ideal places to put an extender hub as well as to check the coverage strength of your network.
- Don’t be afraid of using longer ethernet cables to place hubs where you need them. Just remember, buy a Cat6 cable so you don’t bottleneck those 1Gbps ethernet ports.
For additional tips, tricks, and need-to-know essentials on mesh networking, check out our detailed guide.
Building my home Wi-Fi network

Before going any further, I should explain a little about my weird home internet setup. My fiber line comes into an upstairs office on the far side of my house, while the living room and bedrooms are at the other end of the house. Hitting the most regularly occupied rooms (and my Ring doorbell) with a single Wi-Fi router is virtually impossible. The connection quality in the most used rooms had been ultra-poor due to the thick brick walls of this old house.
To solve this problem, I moved over to a pair of first-gen Google Wifi hubs some time ago. On paper, the original Google Wifi hub looks like a pretty decent piece of kit for mesh working, and it is certainly suitable for a 100Mbps or so broadband package. Not to mention its simplicity of setup and use. However, I initially struggled to strike the right balance of hub-to-hub speed and coverage with two Google Wifi hubs. No doubt a familiar feeling for those of you who’ve set up your own home Wi-Fi meshes.
To set up the strongest possible network, I used this Wi-Fi signal scanning app to track signal strength and identify ideal areas to place the access points. It’s simply a case of trial and error, moving the hubs around my home and observing how the position affects signal strength. I tried various layouts but the Google Wifi’s 5GHz band struggled to provide decent speeds through more than one wall.
Although the setup improved network coverage over my original single router, speeds and latency were still an issue. In fact, I ended up trading down peak speeds in some parts of my house versus my non-mesh setup for better overall coverage throughout my house. The reason for this is that mesh networks steer devices towards the access point with the strongest signal. However, mesh point connections that aren’t sufficiently robust act as a speed bottleneck — exactly the problem I was experiencing.
Mesh networks offer better coverage but data speeds are only as good as the weakest link in the mesh.
Besides buying more hubs, the best setup I could come up with was to run an ethernet cable downstairs from my office to the kitchen and then plug in the second Google Wi-Fi point in the living room just one wall away. Although this worked fine and provided 5GHz to most of the house, my WLAN speeds still fell below 150mbps in the living room and sometimes below 50mbps or so in the bedrooms. Sending big files over WLAN was actually more sluggish than before but I resigned myself to the fact this is the best I could do. After all, those speeds were OK for an 80Mbps fiber connection.

When switching to the Linksys Velop, I took the opportunity to start from scratch. Much to my surprise, I no longer need to run an ugly ethernet cable downstairs. The first router remains up in the office yet provides a robust enough signal to hit a second access point down in the kitchen, a layout that was too slow with the Google Wifi points. Even with this seemingly less ideal setup, at least from a home layout perspective, coverage is just as good as before, and WLAN speeds are in excess of 300Mbps in my living room and regularly hit above 100Mbps in my farthest bedroom.
Switching to more capable access points has improved Wi-Fi speed and strength.
I’m sure I could optimize the layout a little more. Even so, it’s a remarkable improvement that allows me to leverage a much faster fiber package and ensures that my various smart-home doodads all have a robust connection too. But it’s quite odd that simply replacing two 5GHz mesh access points with two different ones has made quite such a difference, so what’s really happening?
Why is this mesh setup so much better?

While a lot of variables have changed, the biggest improvement has come about from switching from dual-band to tri-band mesh access points. It’s a surprisingly easy specification to overlook when picking out a product, especially next to all the talk of 5GHz and 6GHz bands, band steering, and MIMO antennas. However, it’s actually the most important feature you can spend money on when building a home mesh network.
In a nutshell, simultaneous tri-band provides an additional 5GHz band reserved for hub-to-hub communication, freeing up the original 5GHz band for all your devices. Dual-band Wi-Fi hubs have to share their bandwidth between themselves and your gadgets, slowing down data speeds and clogging up their available network capacity. This explains why my 5GHz LAN connections were still quite slow when using Google Wifi, even though the signal strength appeared to be strong.
Tri-band Wi-Fi technology is the single most important mesh feature you can spend money on.
In reality, dual-band mesh hubs are more like simple range extenders — fine in some instances but to be avoided if peak speed or a complex mesh is your goal. Check out the video below for a closer look at the ins and outs of tri-band mesh networking.
The Linksys hubs also seem to produce more powerful, further-reaching 2.4GHz and particularly 5GHz bands. This additional power and extended range make it far easier to build a suitable mesh network with just a couple of hubs, rather than relying on three or four cheaper, lower power models to cover the same area. This is also a boon for the various smart home products I have dotted around my home, which are all seeing much more robust connections and fewer connection dropouts.
All that said, my home networking needs are bound to be a bit different from yours. While the Google Wifi may not have been brilliant for my use case, I can’t argue with its ease of installation and handy Google Home app integration. The Linksys system is not so easy to set up and the Android app is laggy, but the more powerful hardware and configuration options are better suited to my needs.
Related: The best Wi-Fi extenders you can buy
As for my key takeaway from this whole experience — don’t skimp on the core specifications when building a robust and fast home Wi-Fi mesh network. If you’re looking for the right hardware to power your home Wi-Fi setup, check out Android Authority’s guide to the best Wi-Fi routers.