Affiliate links on Android Authority may earn us a commission. Learn more.
How to add fonts to Microsoft Word
Published onApril 21, 2023
Want to change up the look of your documents? Here’s how to add fonts to Microsoft Word.
QUICK ANSWER
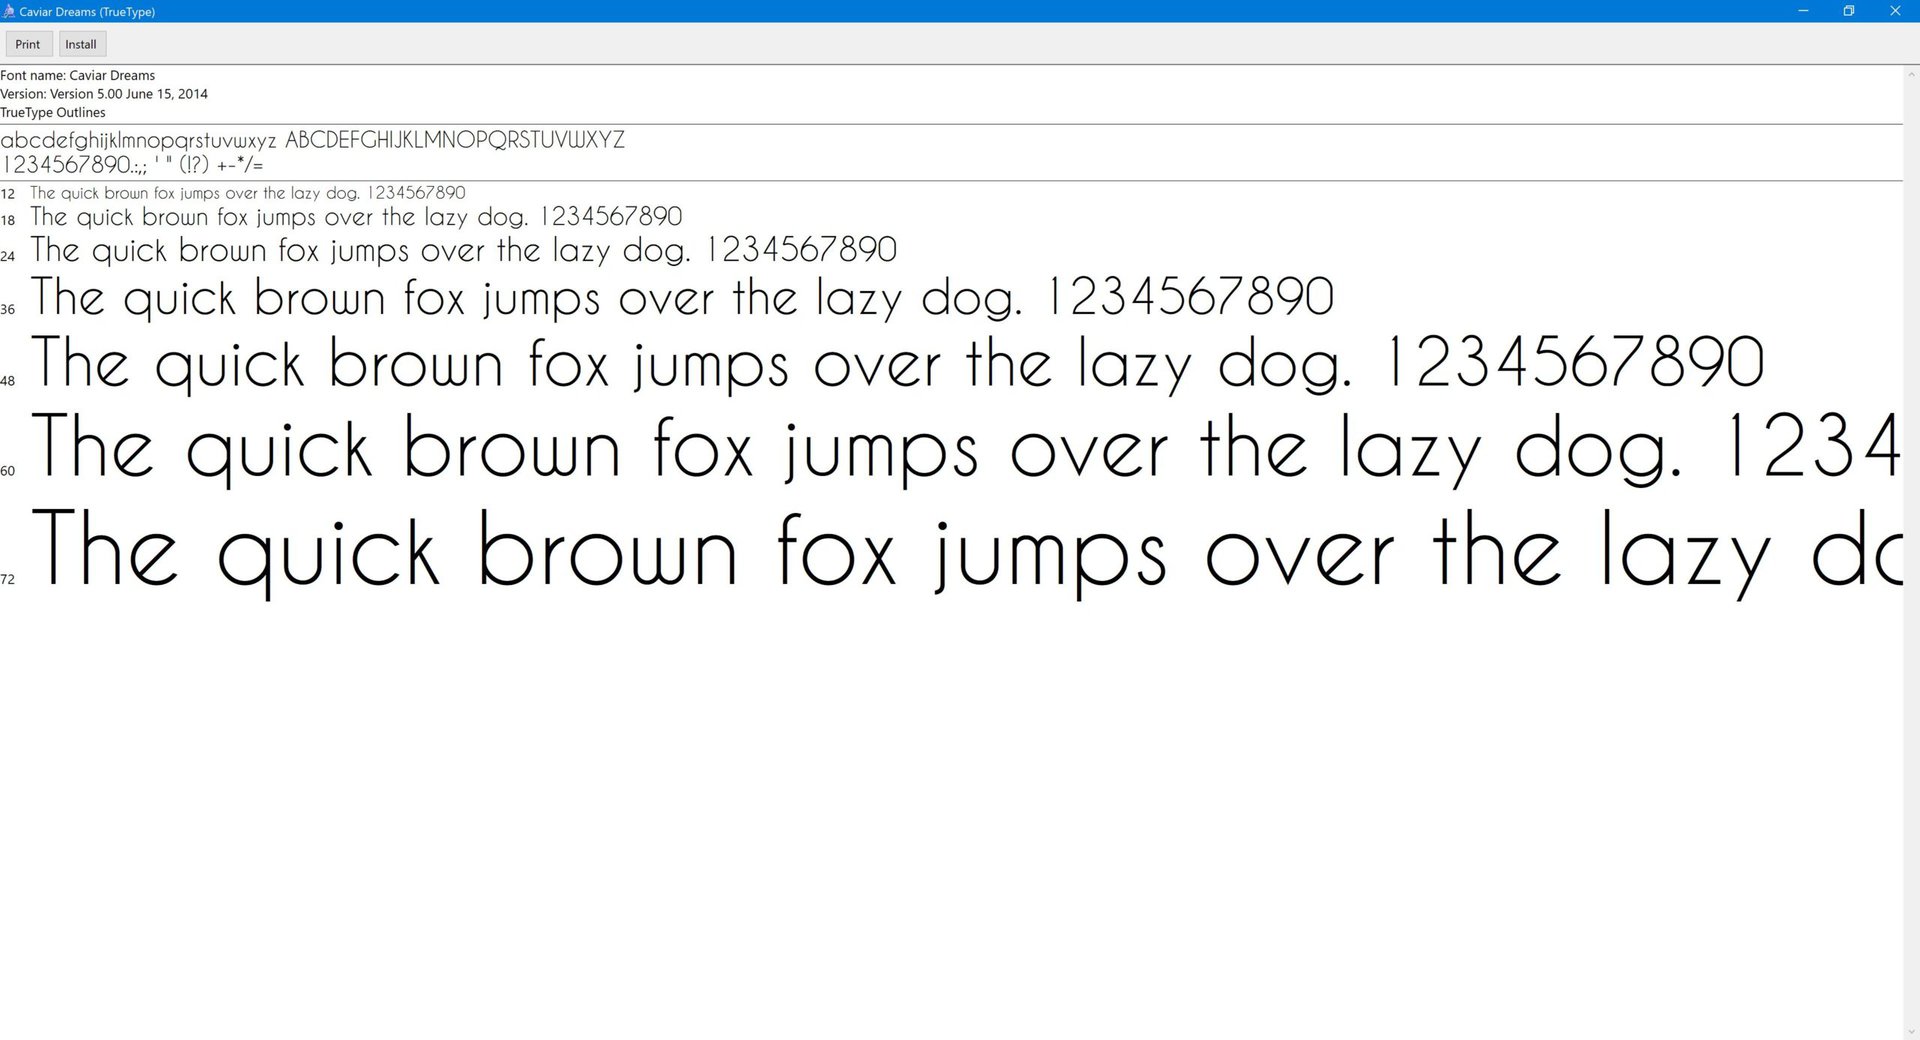
On Windows, download the font you want, and extract it if it's in a zip. Next, double-click the font to open it in Font Previewer. Then, click the Install button. Close Font Previewer; if Word is open, close and reopen it.
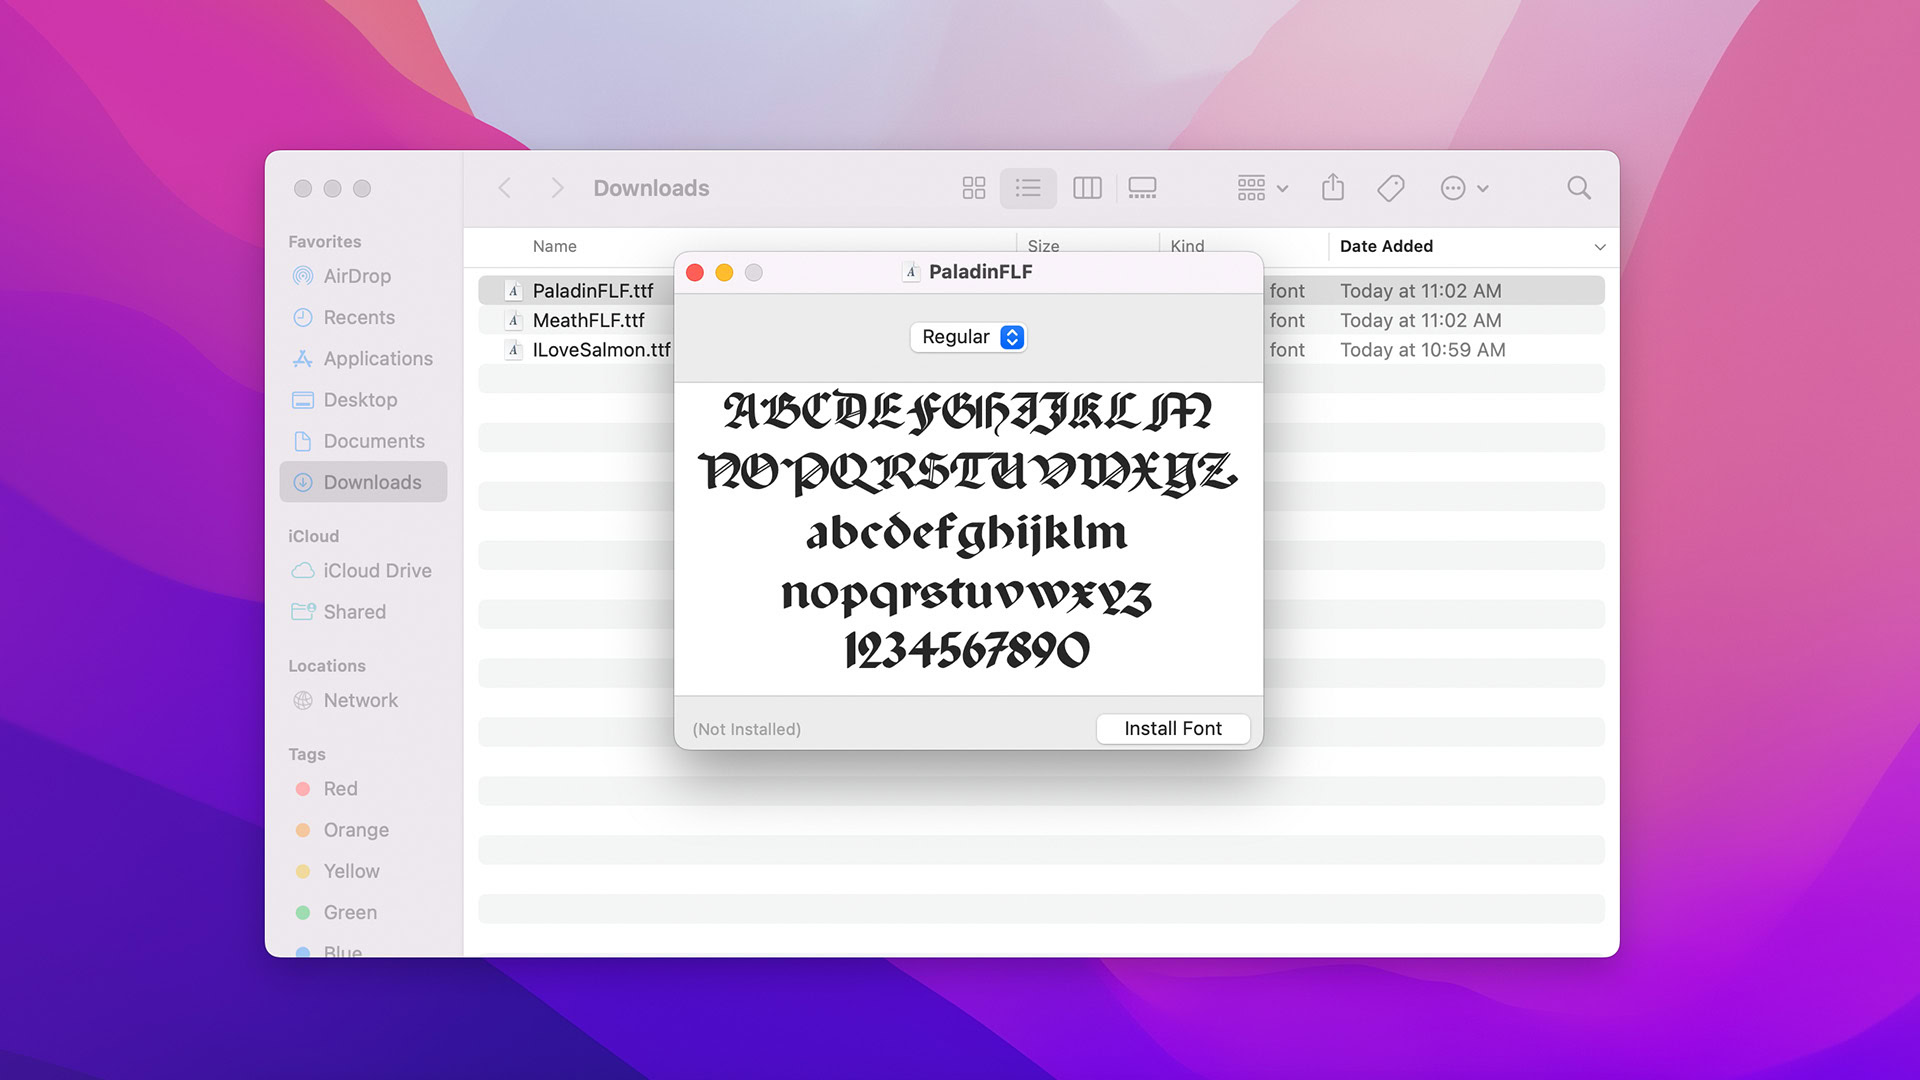
On a Mac, download the font you want, and extract it if it's in a zip. Next, double-click the font to open it. Then, click the Install Font button. Font Book will open; close it. And if Word is open, close and reopen it.
JUMP TO KEY SECTIONS
How to add fonts to Word on Windows

To add fonts to Word on Windows, you need to add them to Windows first. Here’s how:
- Download the font you want; extract it if it’s in a zip.
- Double-click the font to open it in Font Previewer.
- Click the Install button.
- Close Font Preview; if Word is open, close and reopen it. The new font should now be available.
The newly installed font will only be available in freshly opened applications. If you want everything to be able to use it, it’s easiest to restart your computer.
How to add fonts to Word on a Mac

The process to install a font on macOS is pretty similar to Windows:
- Download the font you want; extract it if it’s in a zip.
- Double-click the font to open it.
- Click on Install Font. This will open the Font Book.
- Close Font Book. If Word is open, close and reopen it. The new font should now be available.
The newly installed font will only be available in freshly opened applications. If you want everything to be able to use it, it’s easiest to restart your computer.