Affiliate links on Android Authority may earn us a commission. Learn more.
How to change AirPod Pro tips
Published onFebruary 8, 2023
There are plenty of tips and tricks for making sure you get the best AirPods experience, and today, we’re looking at how to change your AirPods Pro ear tips. Finding the right ear tips for your ears will optimize sound quality, noise-cancelling, and comfort. Let’s walk through how to change your AirPods Pro tips, and how to choose the right size.
QUICK ANSWER
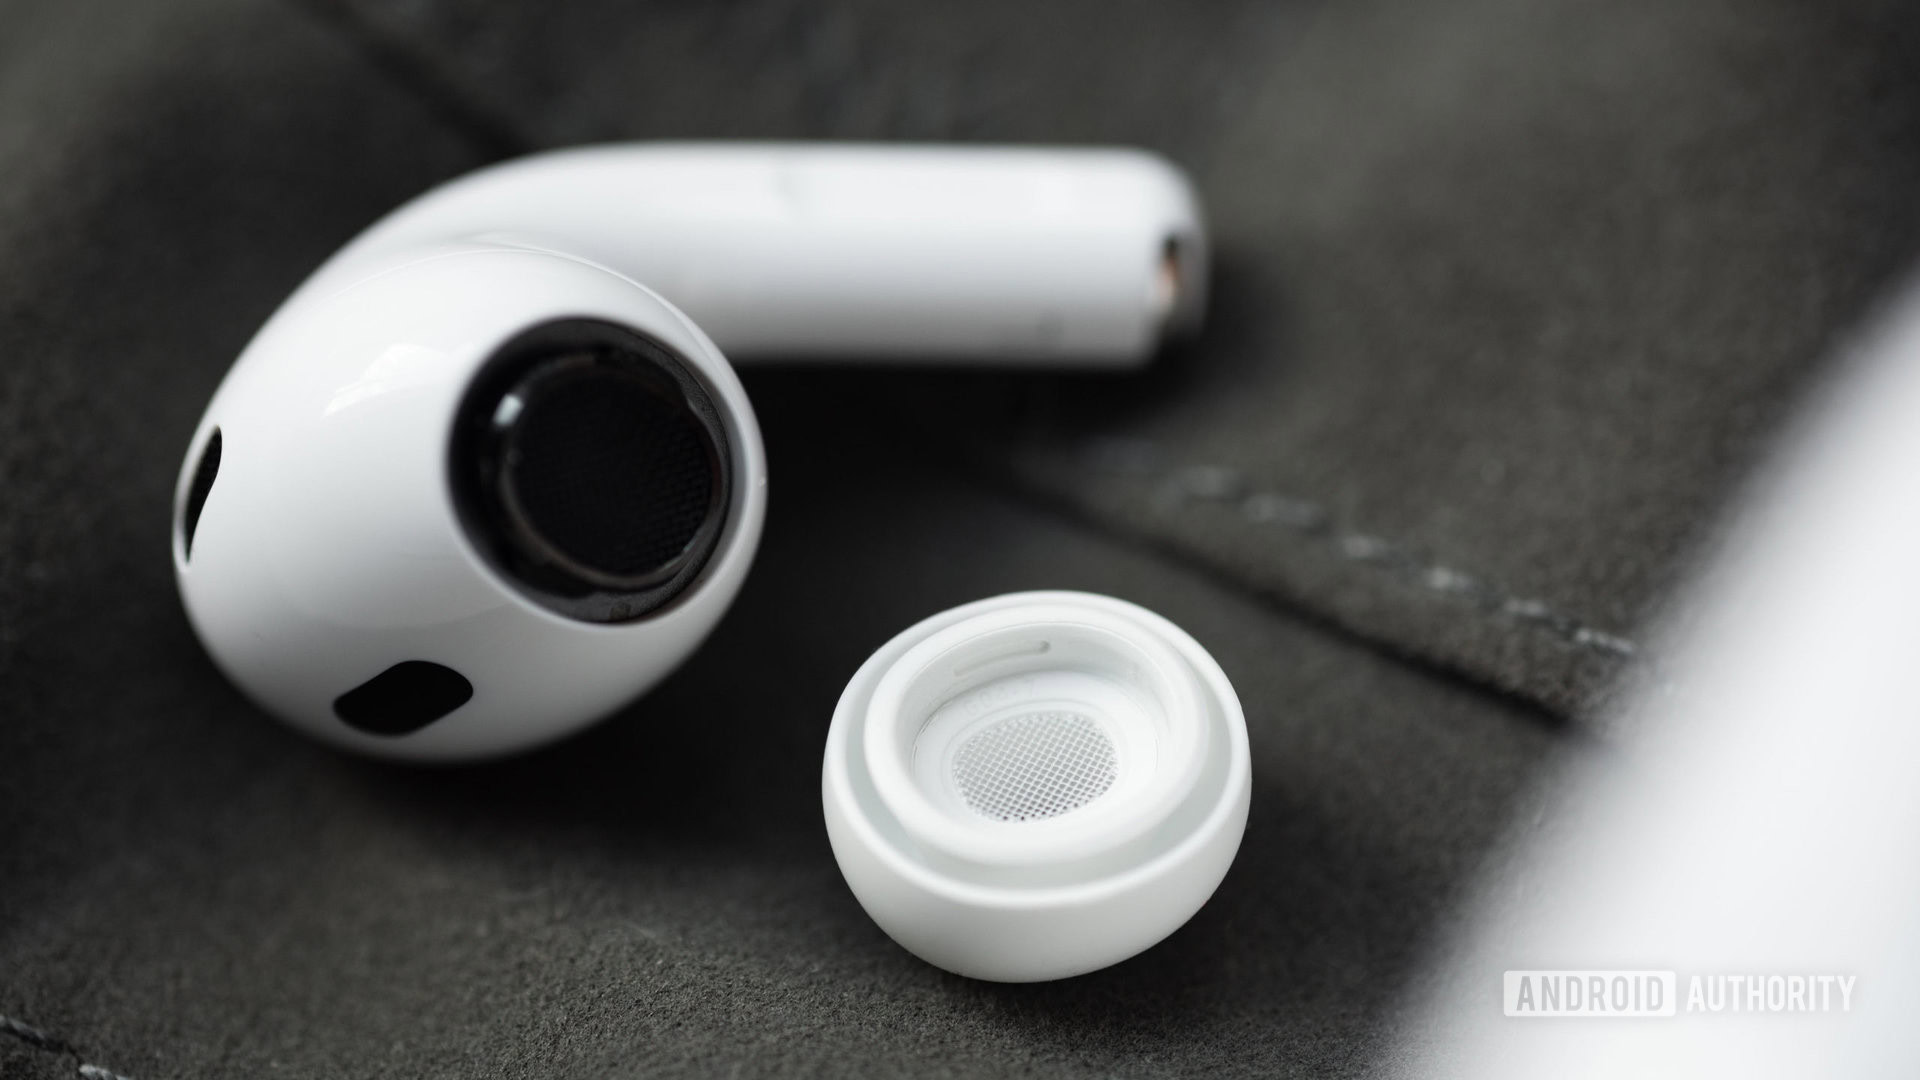
To replace your AirPods Pro ear tips, pinch the ear tip at the bottom and pull gently until it pops out. Then, place the new ear tip into the slot around the audio driver. Ensure the ear tip clicks into place and stays secure, then repeat with the other earbud.
JUMP TO KEY SECTIONS
How to change ear tips on AirPods Pro

Changing your AirPods Pro ear tips is fairly simple, but requires a gentle hand. Whether you want to get a better fit with your AirPods Pro or simply want to use a fresh set of tips, here’s how to change the ear tips:
- Pinch the ear tip at the bottom and pull gently until it pops out.
- Pick your desired ear tip and line it up with the circular indent around the AirPods Pro nozzle.
- Insert the ear tip. You’ll feel it “click” or “pop” into place.
- Repeat these steps for the other earbud.
Remember to remove or insert ear tips onto your AirPods Pro gently. You shouldn’t have to tug hard to remove them or press hard to insert new ear tips. During the changing process, you’ll want to ensure you’ve chosen the right size ear tips.
How to choose the right size AirPod Pro tips
As you install different ear tips on your AirPods Pro, you may want to experiment with what ear tips fit your ears best. The AirPods Pro (1st generation) come with small, medium, and large tips, while the second-generation AirPods Pro also include an extra-small option. If you’re someone who historically uses the tips preinstalled on earphones, Apple’s default medium ear tips should work best for you. Listeners who fall in the smaller or larger end of the spectrum may need to experiment a bit more.
You can tell that your ear tips fit properly because they don’t shake out when you move your head or wiggle your ears. Earbuds that are too small for your ear canals will fall out or feel loose, and ear tips that are too large may cause discomfort and place too much pressure on your ear canals. Getting a good fit will block out background noise, promoting better perceived sound quality and noise-cancelling.
How to use the Apple ear tip fit test for AirPods Pro
Apple makes the trial and error process very simple with its ear tip fit test on iOS. To begin Apple’s ear tip fit test, do the following:
- Open Settings > Bluetooth > Press the “i” button next to your AirPods Pro > Ear tip fit test.
- Your AirPods Pro will start playing sound to observe how much audio leaks out. Stay still while the test completes.
- The test will tell you if your fit is sufficient, or if you need to try a different size.
- Repeat until the test says you’ve found a good fit.
If you’ve tried all of the ear tip sizes and you’re still not getting a good result for each ear, you may need to use one size for your left ear and another size for your right. This is completely normal, as we’re all asymmetrical.
FAQs
No, Apple’s one-year warranty doesn’t cover accidental damage. It does cover manufacturing defects, however. So if your AirPods Pro came with damaged tips from the factory, that’s covered. But damage from normal use isn’t covered, and AppleCare+ doesn’t cover ear tip replacement either.
No, the ear tip design and slot on the earbuds to receive them are unique to the AirPods Pro. As a result, ear tips from other brands of earbuds likely won’t fit.