Affiliate links on Android Authority may earn us a commission. Learn more.
How to create an SMS app part one - sending and receiving messages
Published onOctober 13, 2016
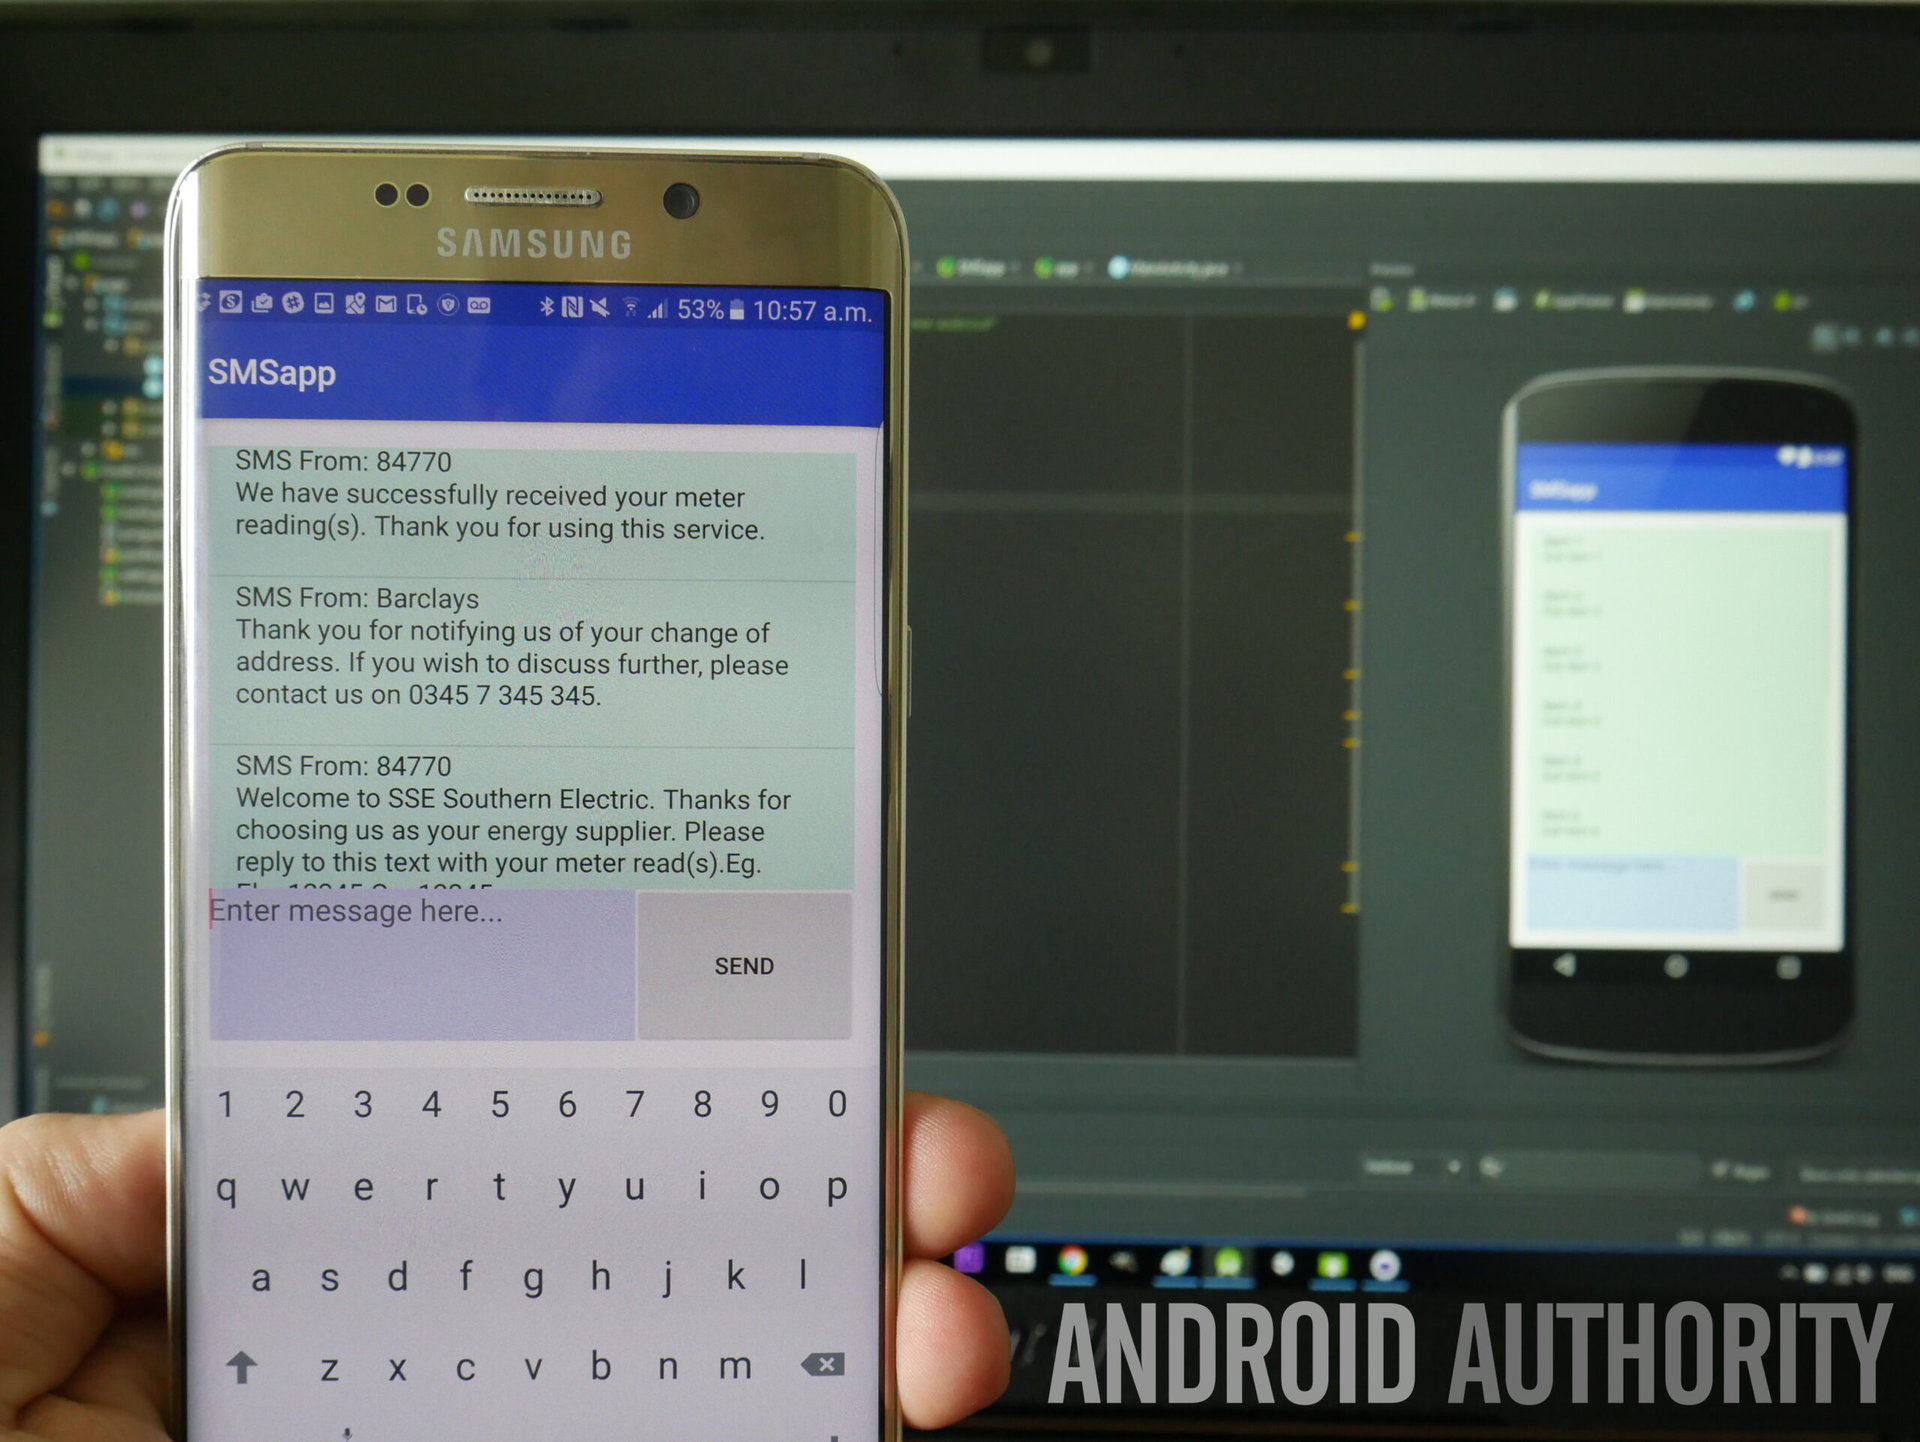
Remember when phones were just phones? While you might use your Android device for pretty much anything but sending and receiving text messages most of the time (even to the point of preferring WhatsApp and other tools for written communication); SMS is still technically one of your phone’s primary uses at heart. And with that in mind, this is still a fundamental skill for us to learn as developers.
In this two-part tutorial, we will look at how you can go about creating a basic app that will send and receive SMS content, as well as how to retrieve messages from the inbox and navigate Android’s new permissions system. In part two we’ll explore how to work with background services and categorize our messages…
Note: You can get the full source code from GitHub here and I highly recommend looking through it as you read. This is a slightly more complicated project and so it will help to have it there in front of you while you read.
The basics
Like the last tutorial (how to build an image gallery app), I will be jumping into this assuming that you have a basic familiarity with Android Studio and Java. If that is not the case, then I invite you to check out this post on getting started with Android development and this post on creating a very basic Android app. And also check out Gary’s Java tutorial here. With that out of the way, let’s get down to business!
First, we’re going to create a new project using an empty activity as our starting point. Once that’s ready, head over to the activity_main.xml and use the design view to drag and drop your UI. This will utilize three elements: a ListView for showing our messages, an EditText for editing new ones and a send button for sending them. Space these out nicely and maybe add a splash of color. I will leave that in your capable hands.
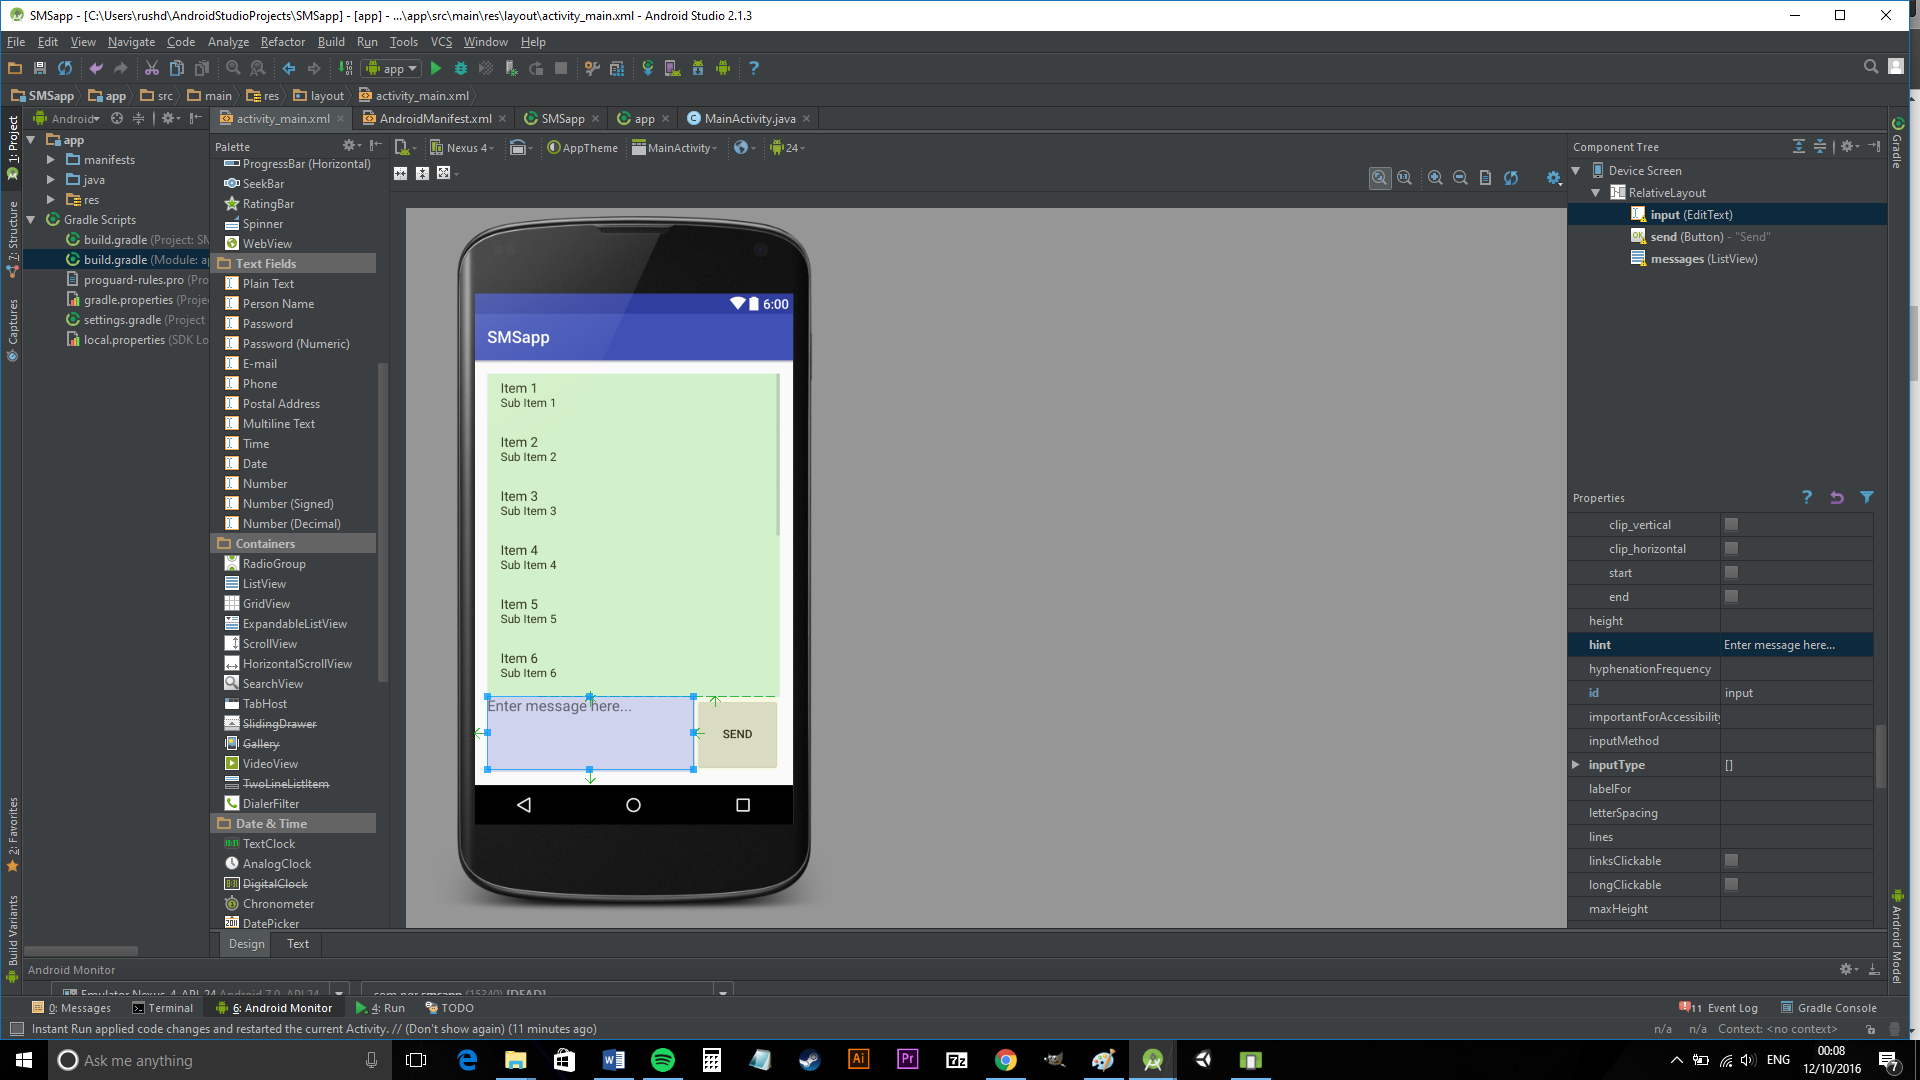
So that you can follow along in the code, I gave these the ids: messages, input and send.
Next, we’re going to need to add some things to our Android Manifest, so that our app has permission to get and send messages:
<uses-permission android:name="android.permission.READ_SMS" />
<uses-permission android:name="android.permission.SEND_SMS" />
<uses-permission android:name="android.permission.RECEIVE_SMS" />
Ah, if only it were that easy though…
Fun with permissions
What’s great news for Android users is that Android 6 comes with some new rules for permissions. Specifically, apps that could potentially be harmful to your privacy now also need to request permission at runtime, meaning that users will be shown a dialog asking if they indeed want to allow apps to do things like accessing their SMS messages.
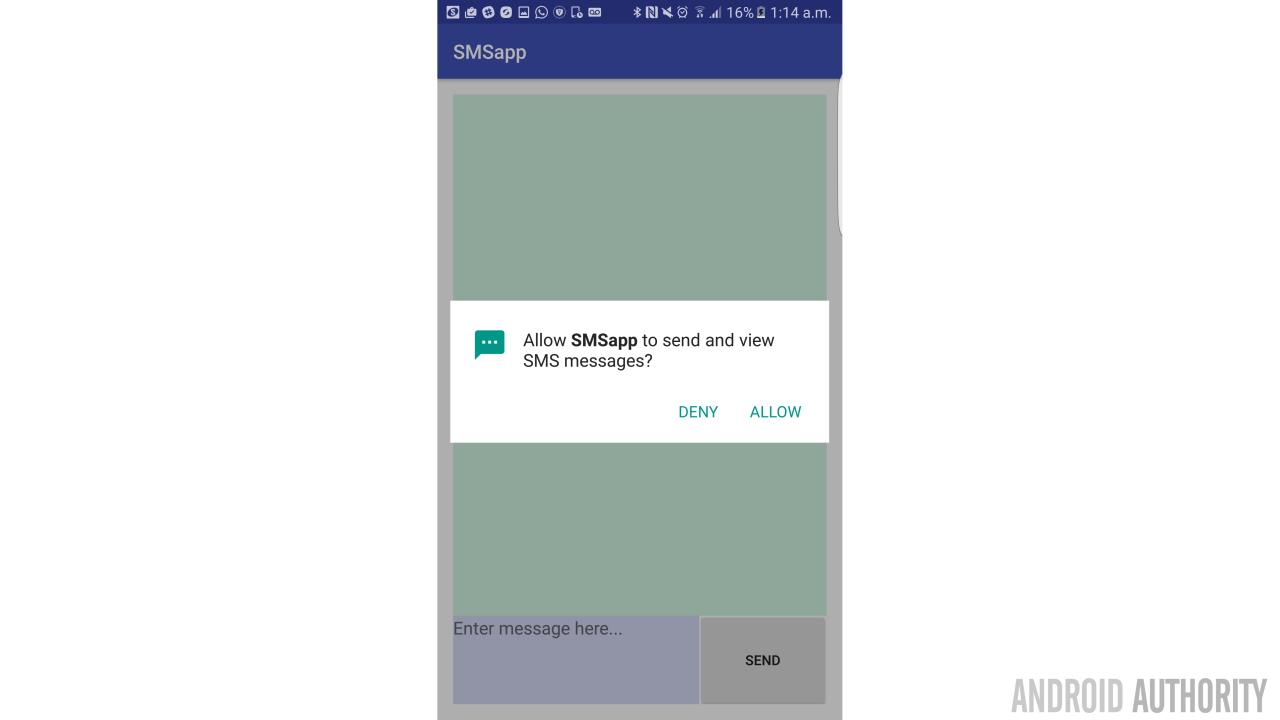
While extra security is good news for users, it’s a royal pain for developers as it means we now need to go through extra steps to access basic functionality. Specifically, we need to bring up our runtime permission request. To do this, we’re going to need to make two new methods:
private static final int READ_SMS_PERMISSIONS_REQUEST = 1;

public void getPermissionToReadSMS() {
        if (ContextCompat.checkSelfPermission(this, Manifest.permission.READ_SMS)
                != PackageManager.PERMISSION_GRANTED) {
            if (shouldShowRequestPermissionRationale(
                    Manifest.permission.READ_SMS)) {
                Toast.makeText(this, "Please allow permission!", Toast.LENGTH_SHORT).show();
            }
            requestPermissions(new String[]{Manifest.permission.READ_SMS},
                    READ_SMS_PERMISSIONS_REQUEST);
        }
    }

@Override
public void onRequestPermissionsResult(int requestCode,
                                       @NonNull String permissions[],
                                       @NonNull int[] grantResults) {
    // Make sure it's our original READ_CONTACTS request
    if (requestCode == READ_SMS_PERMISSIONS_REQUEST) {
        if (grantResults.length == 1 &&
                grantResults[0] == PackageManager.PERMISSION_GRANTED) {
            Toast.makeText(this, "Read SMS permission granted", Toast.LENGTH_SHORT).show();
            refreshSmsInbox();
        } else {
                 Toast.makeText(this, "Read SMS permission denied", Toast.LENGTH_SHORT).show();
                }

        } else {
            super.onRequestPermissionsResult(requestCode, permissions, grantResults);
        }
    }
What’s happening here, is that we’re checking to see whether the permission is granted already and if it’s not, we’re checking whether we need to explain the situation to the user. If so, then we’re displaying a toast message and either way, we’re then actually doing the asking.

We handle the response via onRequestPermissionResult. Our toast message confirms the answer and if it is positive, we’re then using our next new method, refreshSmsInbox. We only want to launch this once we’re sure that our permission has been granted, otherwise it will end in tears. The good news is that older versions of Android don’t need these hijinks but if you want to future-proof your app, you’re going to need to give this a go.
Note: Remember to import classes as you need them! If code appears in red, select it and press ALT+ENTER to find the option.
Displaying messages
Our onCreate is going to look like so:
public class MainActivity extends AppCompatActivity {

    ArrayList<String> smsMessagesList = new ArrayList<>();
    ListView messages;
    ArrayAdapter arrayAdapter;
    private static final int READ_SMS_PERMISSIONS_REQUEST = 1;

    @Override
    protected void onCreate(Bundle savedInstanceState) {
        super.onCreate(savedInstanceState);
        setContentView(R.layout.activity_main);
        messages = (ListView) findViewById(R.id.messages);
        input = (EditText) findViewById(R.id.input);
        arrayAdapter = new ArrayAdapter<>(this, android.R.layout.simple_list_item_1, smsMessagesList);
        messages.setAdapter(arrayAdapter);
        if (ContextCompat.checkSelfPermission(this, Manifest.permission.READ_SMS)
                != PackageManager.PERMISSION_GRANTED) {
           getPermissionToReadSMS();
        } else {
           refreshSmsInbox();
   }
}
This is initializing an ArrayAdapter, finding our messages ListView and setting the latter to display the former. In short, it means that messages is going to display arrayAdapter – which we’re going to use to make our inbox messages presentable.
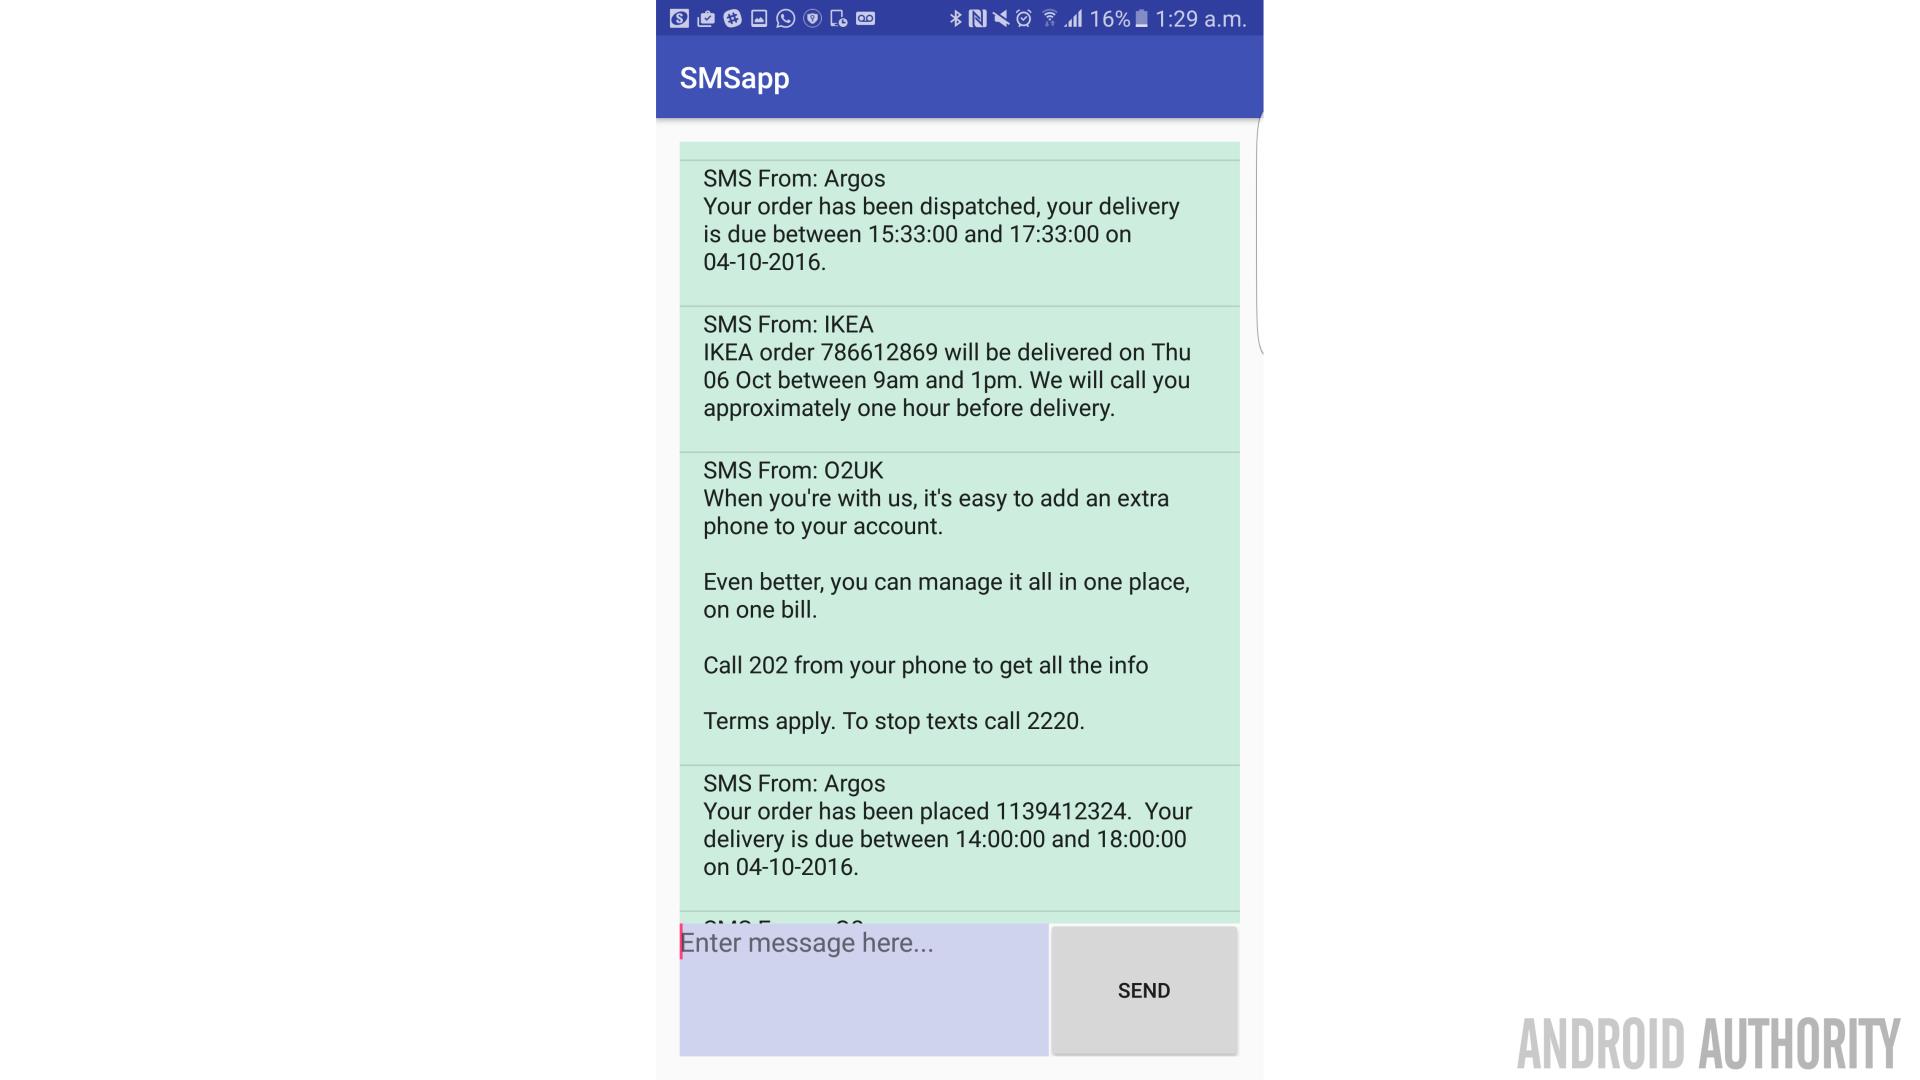
So all that’s left is to actually get those messages. That’s why we’re grabbing permission right when the app launches and then if that all goes smoothly, heading over to refreshSmsInbox. And if the user has previously run the app, then we’ll be able to see that the permission is already granted and skip that stage. Once we get to refershSmsInbox, it looks like so:
public void refreshSmsInbox() {
    ContentResolver contentResolver = getContentResolver();
    Cursor smsInboxCursor = contentResolver.query(Uri.parse("content://sms/inbox"), null, null, null, null);
    int indexBody = smsInboxCursor.getColumnIndex("body");
    int indexAddress = smsInboxCursor.getColumnIndex("address");
    if (indexBody < 0 || !smsInboxCursor.moveToFirst()) return;
    arrayAdapter.clear();
    do {
        String str = "SMS From: " + smsInboxCursor.getString(indexAddress) +
                   "\n" + smsInboxCursor.getString(indexBody) + "\n";
        arrayAdapter.add(str);
    } while (smsInboxCursor.moveToNext());
}
This time it is relatively simple: we’re using the Uri to get messages from the inbox and we’re grabbing the body and address. We’re using the cursor to go through each message, combining those two elements into a string (over two lines – ‘\n’ means new line) and then populating the ListView with them. This now gives us a list of literally all our messages, which isn’t exactly conventional for a messaging app… but hey ho!
Sending messages
Sending messages is thankfully going to be even simpler and partly this is because permissions in Android are organized as groups. If you request permission for one thing in the group, then you automatically gain permission for all actions in that group (which does present some security issues, actually). In this case, because we asked for permission to view our user’s messages, that means we don’t need to ask for permission again in order to send them!
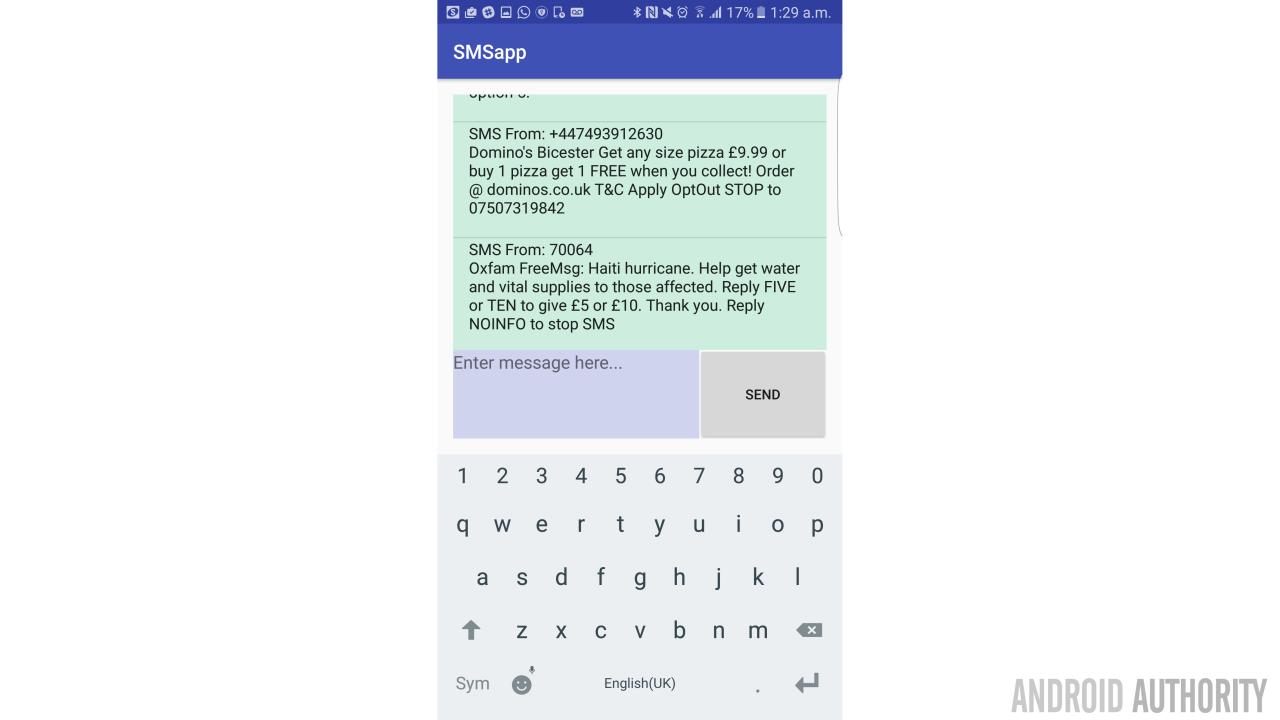
Thus, we can use a simple onClick on our button and then send our messages:
EditText input;
SmsManager smsManager = SmsManager.getDefault();

public void onSendClick(View view) {

   if (ContextCompat.checkSelfPermission(this, Manifest.permission.SEND_SMS)
                              != PackageManager.PERMISSION_GRANTED) {
       getPermissionToReadSMS();
   } else {
       smsManager.sendTextMessage("YOUR PHONE NUMBER HERE", null, input.getText().toString(), null, null);
       Toast.makeText(this, "Message sent!", Toast.LENGTH_SHORT).show();
   }
}
I recommend adding your own number for now. This bit really is that simple, which makes a nice change!
Intercepting messages
It wouldn’t be a very good SMS app if you had to refresh it every time you got a new message though! And that’s why we need to be able to intercept incoming messages too. To do this, we first need to add a bit of code at the start of our MainActivity.java. This will help us to communicate between classes and should look as follows:
public static MainActivity instance() {
    return inst;
}

@Override
public void onStart() {
    super.onStart();
    inst = this;
}
Now we need to create a new Java Class, called SmsBroadcastReceiver. This is going to contain the following code:
public class SmsBroadcastReceiver extends BroadcastReceiver {

    public static final String SMS_BUNDLE = "pdus";

    public void onReceive(Context context, Intent intent) {
        Bundle intentExtras = intent.getExtras();

            if (intentExtras != null) {
            Object[] sms = (Object[]) intentExtras.get(SMS_BUNDLE);
            String smsMessageStr = "";
            for (int i = 0; i < sms.length; ++i) {
                String format = intentExtras.getString("format");
                SmsMessage smsMessage = SmsMessage.createFromPdu((byte[]) sms[i], format);

                String smsBody = smsMessage.getMessageBody().toString();
                String address = smsMessage.getOriginatingAddress();

                smsMessageStr += "SMS From: " + address + "\n";
                smsMessageStr += smsBody + "\n";
            }

            MainActivity inst = MainActivity.instance();
            inst.updateInbox(smsMessageStr);
        }
    }
}
This will spring into action whenever a new SMS is received (as long as the app is open) and will then look at the data that’s coming in and arrange it into a useful string made up of who the message is from and the actual content. just like before.
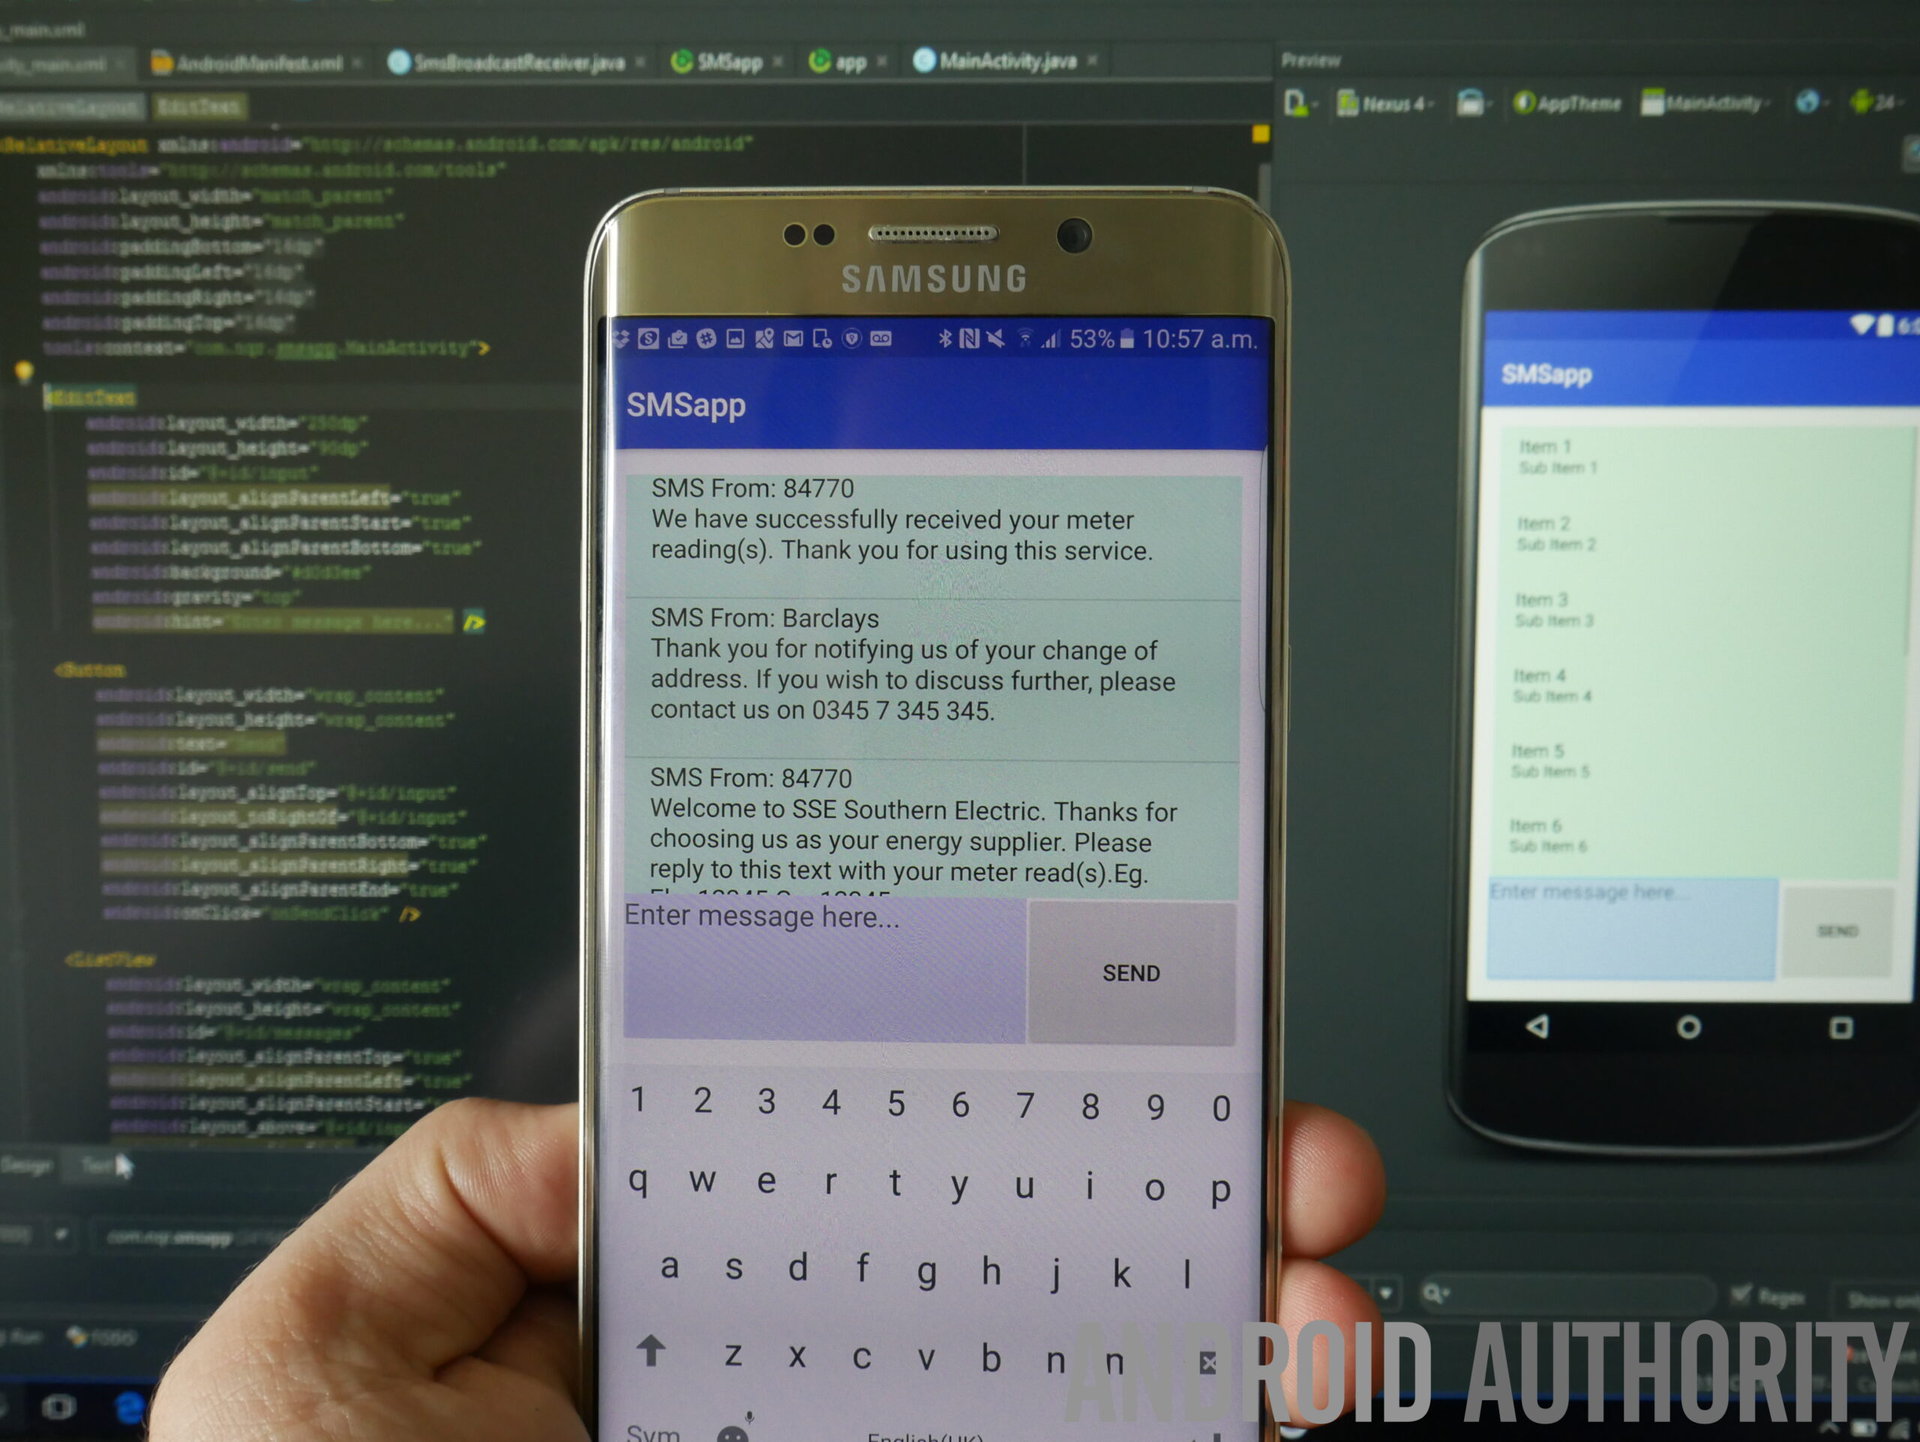
And finally, you need to add this to your manifest, inside the application tag but outside the activity tag.
<receiver android:name=".SmsBroadcastReceiver" android:exported="true" >
    <intent-filter android:priority="999" >
        <action android:name="android.provider.Telephony.SMS_RECEIVED" />
    </intent-filter>
</receiver>
As you used your own number to send the SMS, you’ll find that any messages you send should automatically appear in your ListView, confirming that this has all worked just nicely. Or not. That is definitely also possible…
Next time: making this into a useful app
You now have a fairly functional SMS app, that will allow you to view all the messages on your phone and send new messages to yourself. Super useful…
Next time, we’ll look at turning this basic building block into something we can actually use. To do that we will need to setup the app so that it is constantly on the lookout for new messages, so that it doesn’t have to be open to work. We’ll explore how to use background services to that end.
We’ll also be tidying up the UI, categorizing messages by sender and letting the user decide who the recipients for their messages should be. Maybe we’ll add some contact icons as well, rather than just having a wall of text.
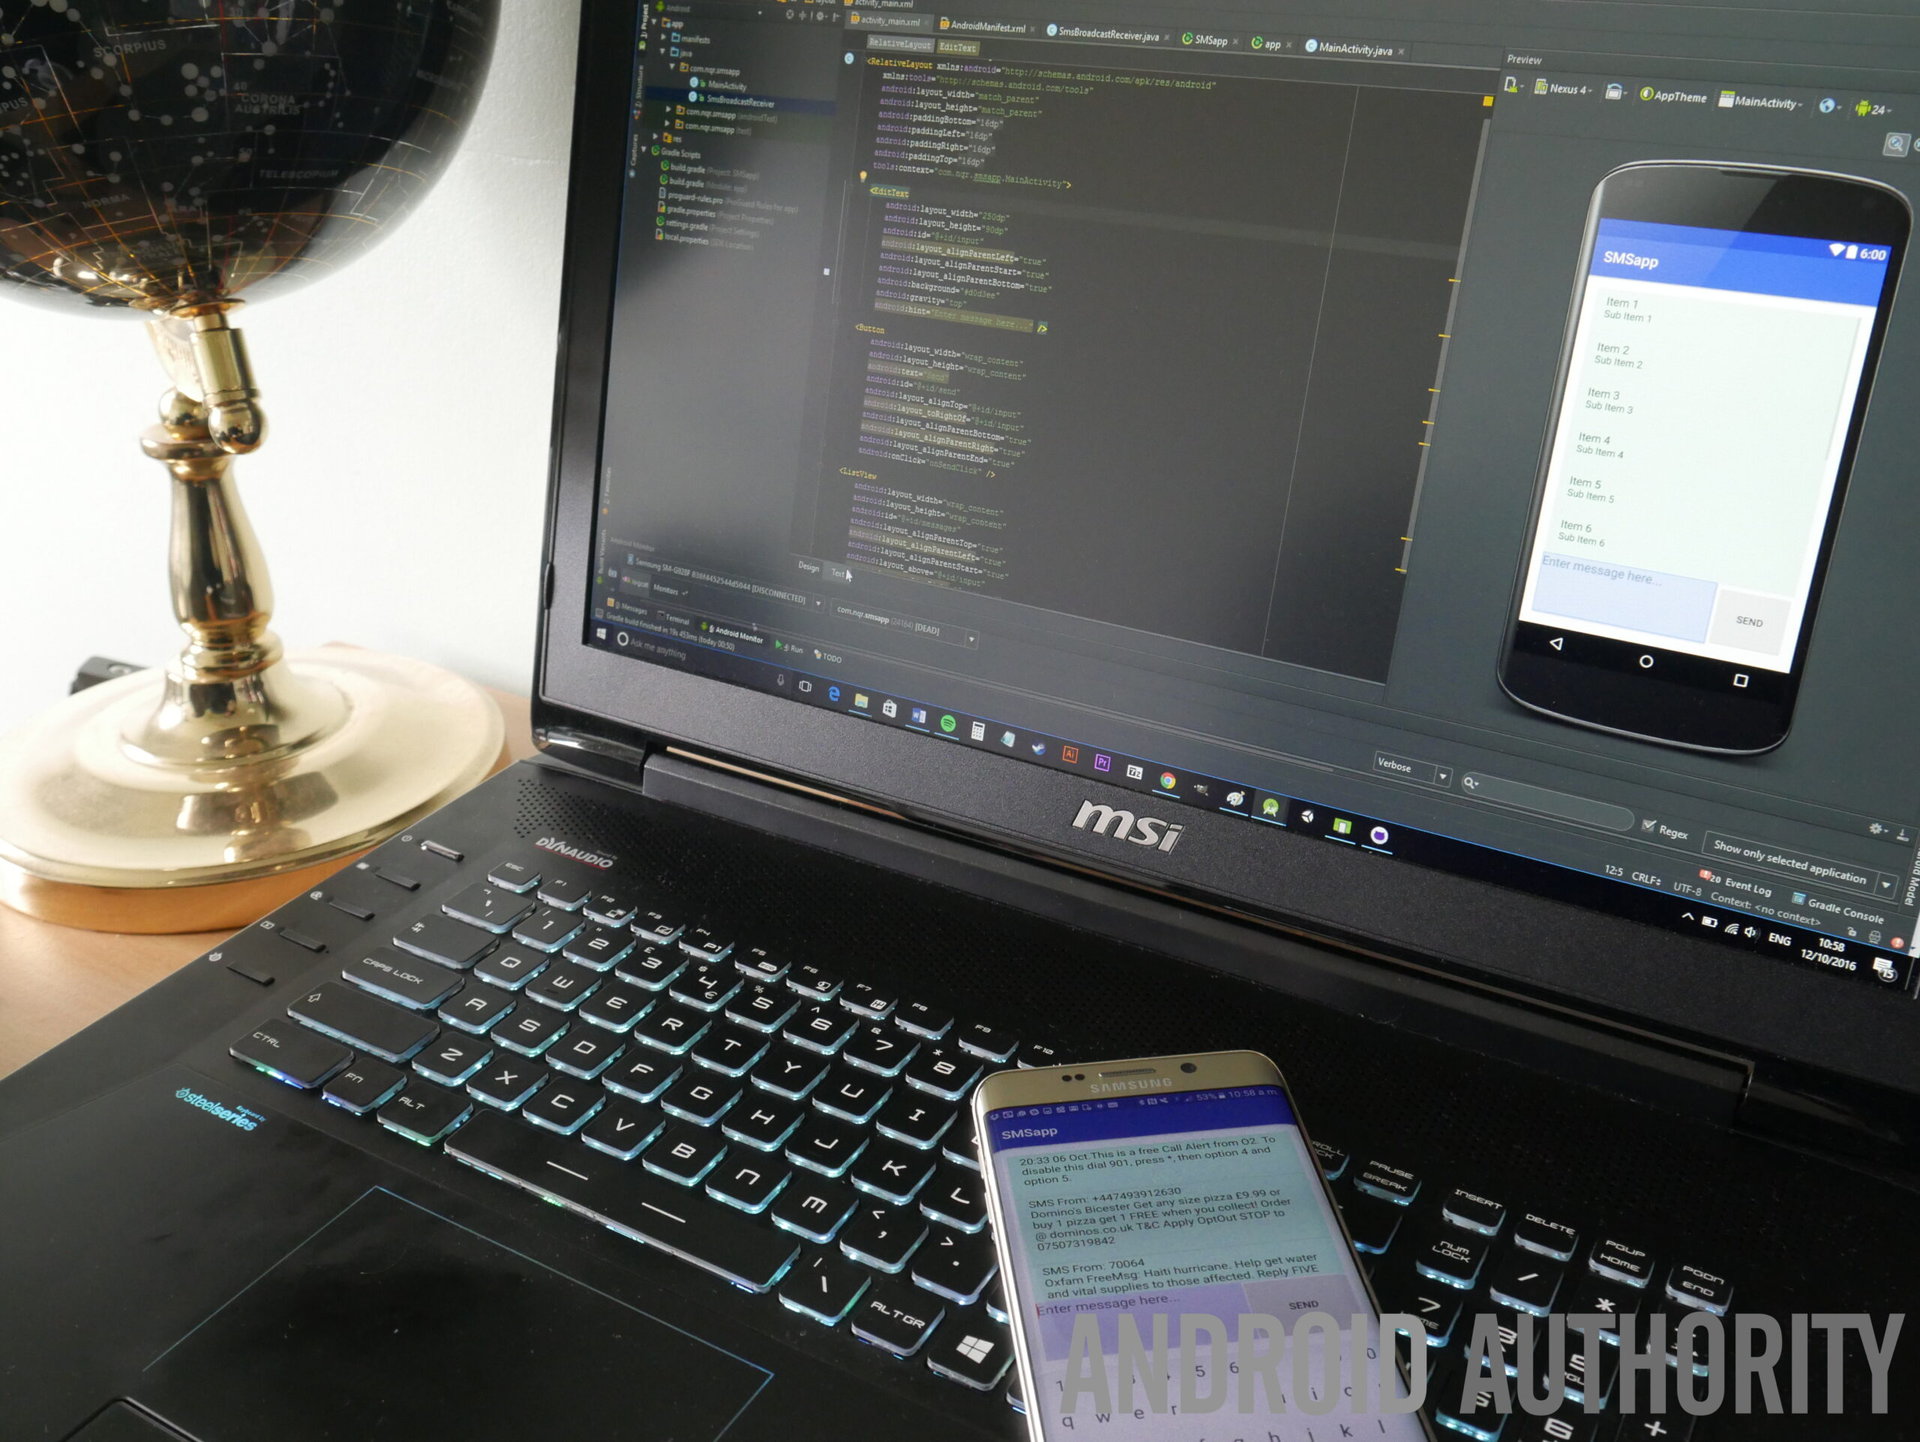
By doing all this, we will hopefully be able to build a fully functional messaging app just like the one that came pre-loaded on your phone. From there, you can head off and give it your own flare. But why stop there? Why not veer off the beaten path and try something completely different? How about building a tool for organizing your SMS messages? Or for backing them up? What about a private one-to-one messaging service that deletes the messages immediately as you send them to a single person in your inbox? There are loads of options, so get inventive!
For now, hopefully this has given you an introduction to some basic concepts that you can bring to your next project, whether that’s an SMS app or something else entirely. Next time, we’ll expand those concepts into something fully functional. See you then!