Affiliate links on Android Authority may earn us a commission. Learn more.
How to fix "Failed to obtain IP address" error on Android
Published onSeptember 17, 2023
Those who have encountered the “Failed to obtain IP address” error on Android are not alone. It seems to bug users of all Android phones and software versions. We’ll tell you why you’re getting the annoying error and how to fix it.
Why am I getting the “Failed to obtain IP address” error?
The “Failed to obtain IP address” error is one of the most common Android issues. It usually shows up when accessing a Wi-Fi network, whether it is new or one you have saved on your device. This error message means the router has problems issuing an IP address to your device. As long as the issue persists, the user can’t access the internet using that Wi-Fi network.
Some users experience this error message differently. It can show up as “Obtaining IP address,” but the problem is the same, regardless.
Editor’s note: All instructions in this guide were compiled using a Google Pixel 7 running Android 13. Remember, steps may differ depending on your hardware and software.
Forget the network
You should first try to forget the network and sign into it again. The steps are simple, and sometimes, this is all it takes to eliminate the “Failed to obtain IP address” discrepancy.
How to forget a network on Android:
- Open the Settings app.
- Select Network & internet.
- Select Internet.
- Find the network you can’t connect to, and tap on the Gear icon next to it.
- Select Forget.
- Log into the Wi-Fi network again.
Restart the phone
This is always one of the first solutions in troubleshooting guides, and for good reason. While it may seem silly, restarting your phone seems to fix most problems magically. Give it a try!
How to restart Android devices:
- Simultaneously press the side and volume up buttons
- Tap on Restart.
Restart the router

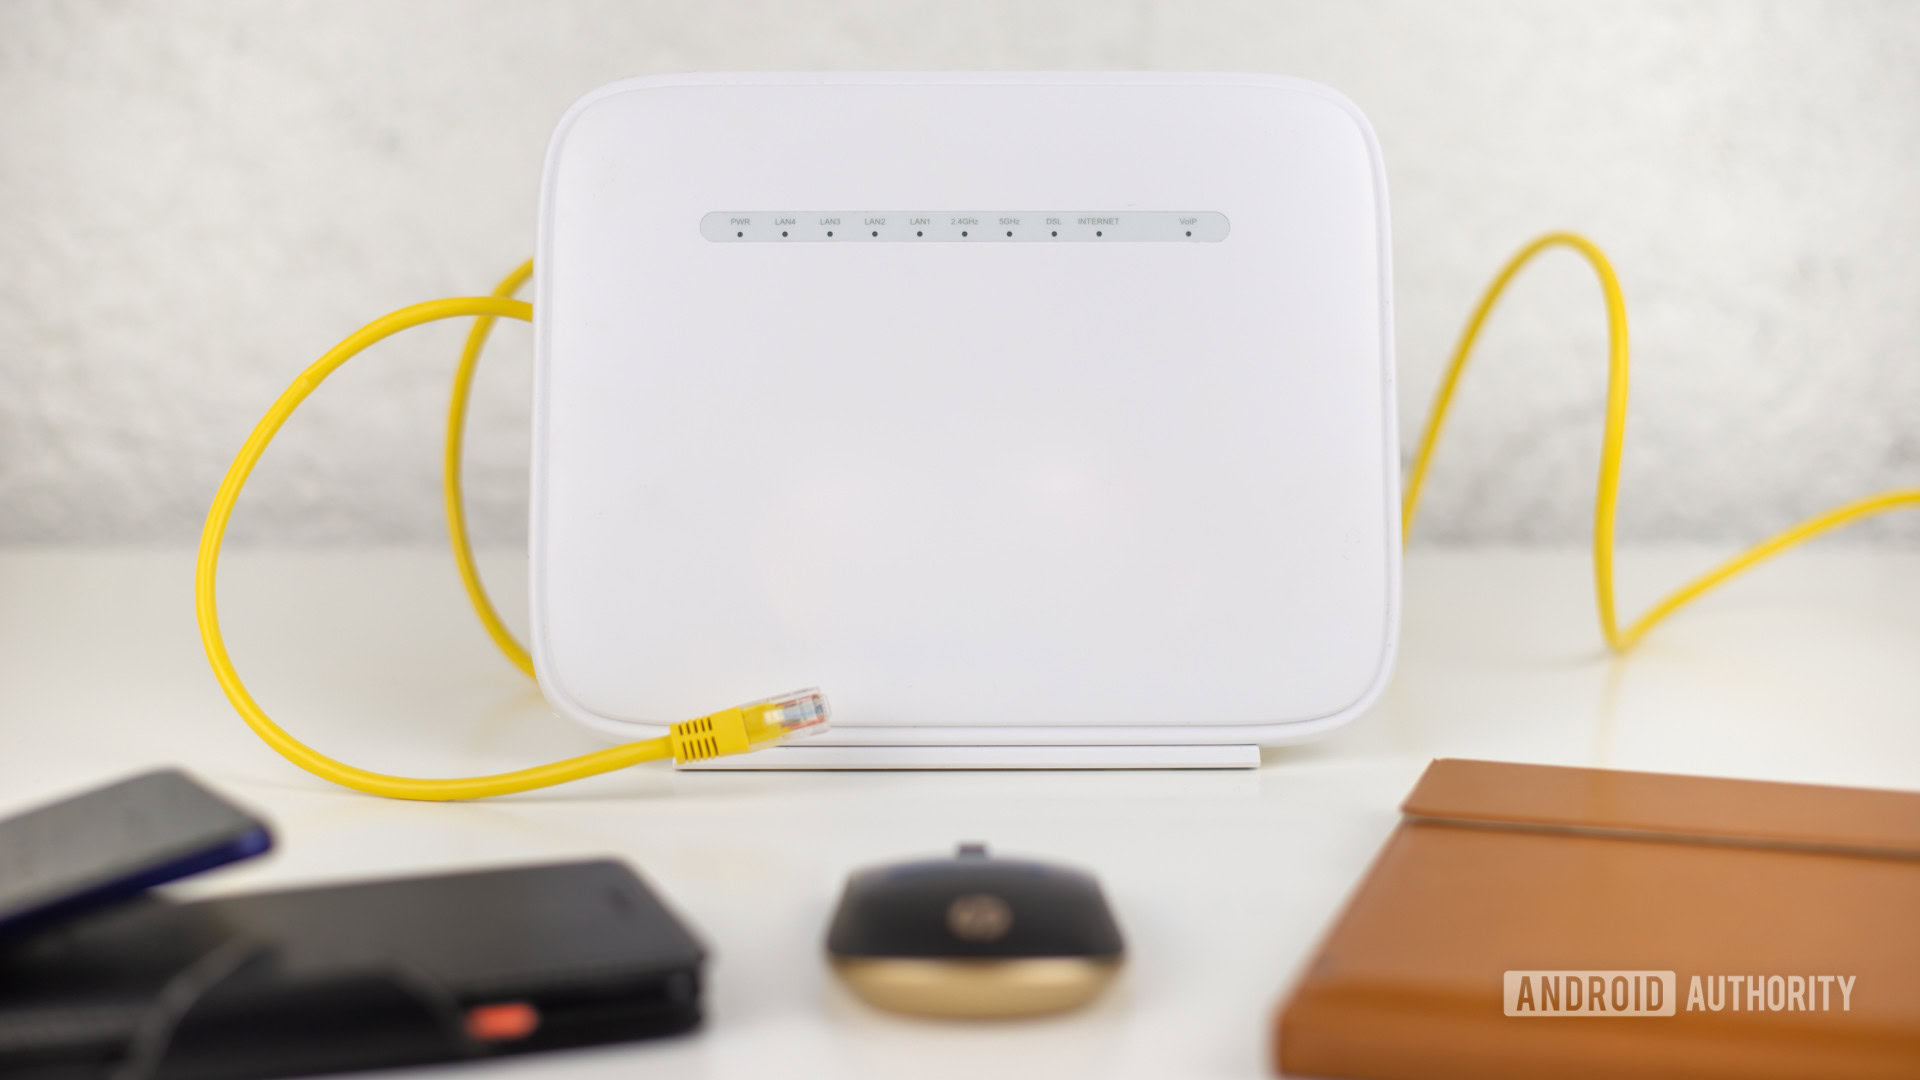
The router could be the culprit if the phone is not the problem. Try restarting it and see if that fixes the issue. Most routers have a reset button, and many modern ones can be restarted using the official app. If yours doesn’t have these features, you can disconnect it, leave it unplugged for about a minute or so, and plug it back in.
Rename your Android device
We are unsure why this would help, but many users claim it can solve the issue. The process is simple, too, so it’s worth a shot.
How to rename your Android device:
- Open the Settings app.
- Select About phone.
- Tap on Device name.
- Change the name to anything you wish and select OK.
- Try and reconnect to the network.
Turn Airplane mode on and off
Doing this forces the router to reconfigure your connection. It may also fix any other bugs your phone may have. Try turning Airplane mode on for a bit, then turn it back off.
How to turn on Airplane mode:
- Open the Settings app.
- Go into Network & internet.
- Toggle on the Airplane mode option.
You can almost always find the option in your notification area tiles or quick settings.
Use WPA2-PSK encryption
Some devices don’t work very well with certain types of encryption, including AES and TKIP. Go to your router settings and switch over to WPA2-PSK. Every router works differently, so we can’t give you step-by-step instructions, but you can refer to your user guide for specific instructions.
Is the MAC filter on?

Wi-Fi administrators often use MAC addresses to whitelist or blacklist devices on their network. If your device is not on the whitelist, or is on the blacklist, it won’t connect to the internet. The solution would be to either turn your router’s MAC filter off, remove your device from the blacklist, or add it to the whitelist. Again, instructions are different for every router, so look for steps in your user guide.
Assign a static IP address
Most devices don’t need a static IP address, but certain services require it. Especially those that need to remind your IP for security reasons. When your IP address changes, you may be running into some issues, so try a static IP address to see if that fixes your network issues. You can learn more about this in our guide to changing IP addresses.
How to assign a static IP address to your Android phone:
- Open the Settings app.
- Select Network & internet.
- Select Internet.
- Tap on the Gear icon next to the network you can’t connect to.
- Hit the pencil icon near the top-right corner.
- Select Advanced options.
- Look for IP settings and tap on the drop-down menu.
- Select Static.
- In the IP address, change the last number to any number between one to 225.
- Hit Save and try to connect again.
Clear Google Play Services cache
Clearing the cache seems to be involved in every troubleshooting guide, and it’s because it involves so many things around your phone. Give it a try and see if it helps.
How to clear the cache on an Android app:
- Open the Settings app.
- Select Apps.
- Go into See all apps.
- Find and tap on Google Play Services.
- Select Storage & cache.
- Select Clear cache.
- Try to connect to the same Wi-Fi again.
Factory data reset
If all else fails, and the problem persists for an extended time, you might want to consider doing a factory data reset on your Android phone. This will delete everything in your phone and bring it back to its factory state (software-wise). Make sure to back up any important files before proceeding.
How to perform a factory data reset on Android:
- Open the Settings app.
- Select System.
- Tap on Reset options.
- Select Erase all data (factory reset).
- Tap on Erase all data.
- Enter your PIN.
- Confirm by tapping on Erase all data.
- Let the phone do its thing until it restarts.
- Set up your phone and try to connect to the network.
Are you still having issues with the dreaded “Failed to obtain IP address” error message? Maybe it’s time to dig deeper into your network and see if something more significant is causing the problem. We have a guide on common Wi-Fi problems and how to fix them. Please give it a read! You can also seek professional help from JustAnswer, an Android Authority partner.