iPhone and iPad
There's a reason iPhones and iPads are so popular. Get honest impressions and reviews right here.
Reviews
Versus
Features
Guides
How-to's
All the latest
iPhone and iPad news
Pixels and iPhones have plenty in common, and a lot of you don't know about it
Tushar MehtaDecember 23, 2025
0

The iPhone 16e proves that Apple will never beat Android at budget phones
Ryan HainesDecember 21, 2025
0
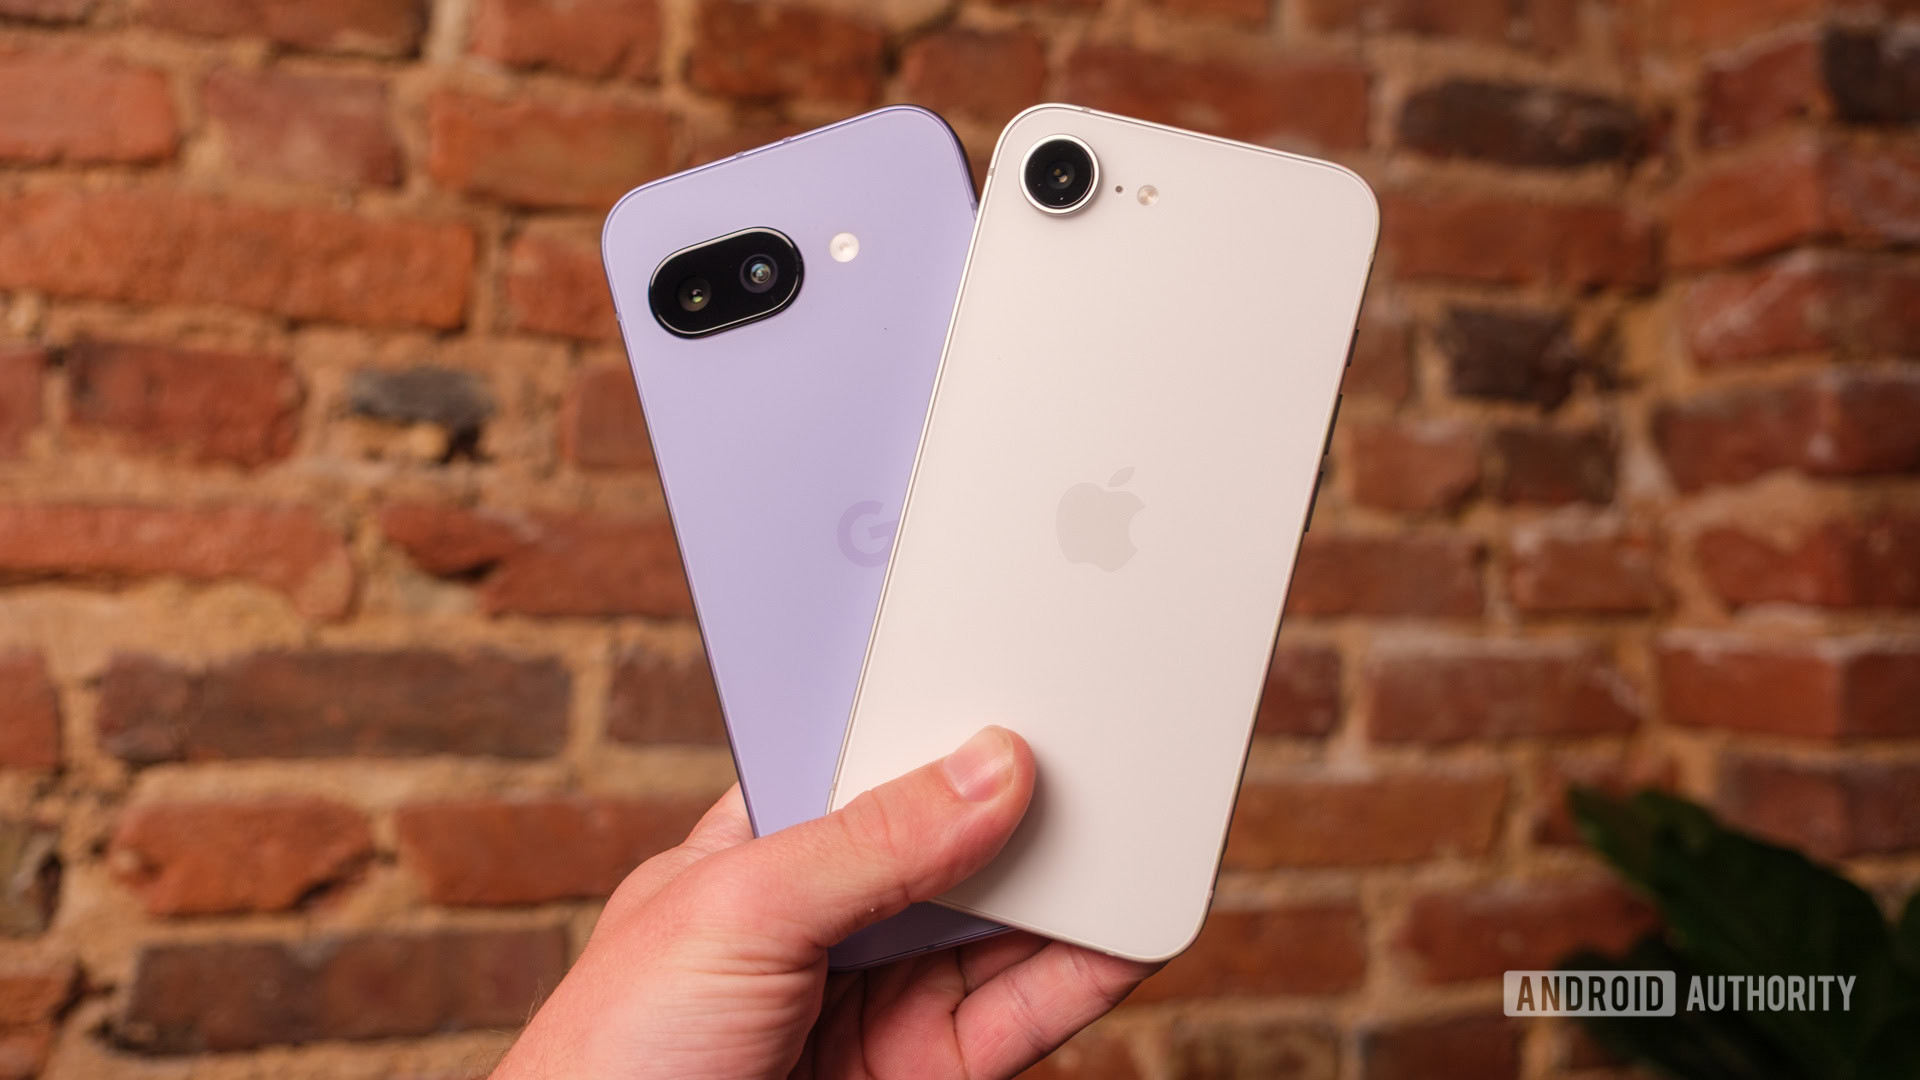
Android not receiving texts from iPhone? Here's how you can try to fix it
Roger FingasDecember 19, 2025
0
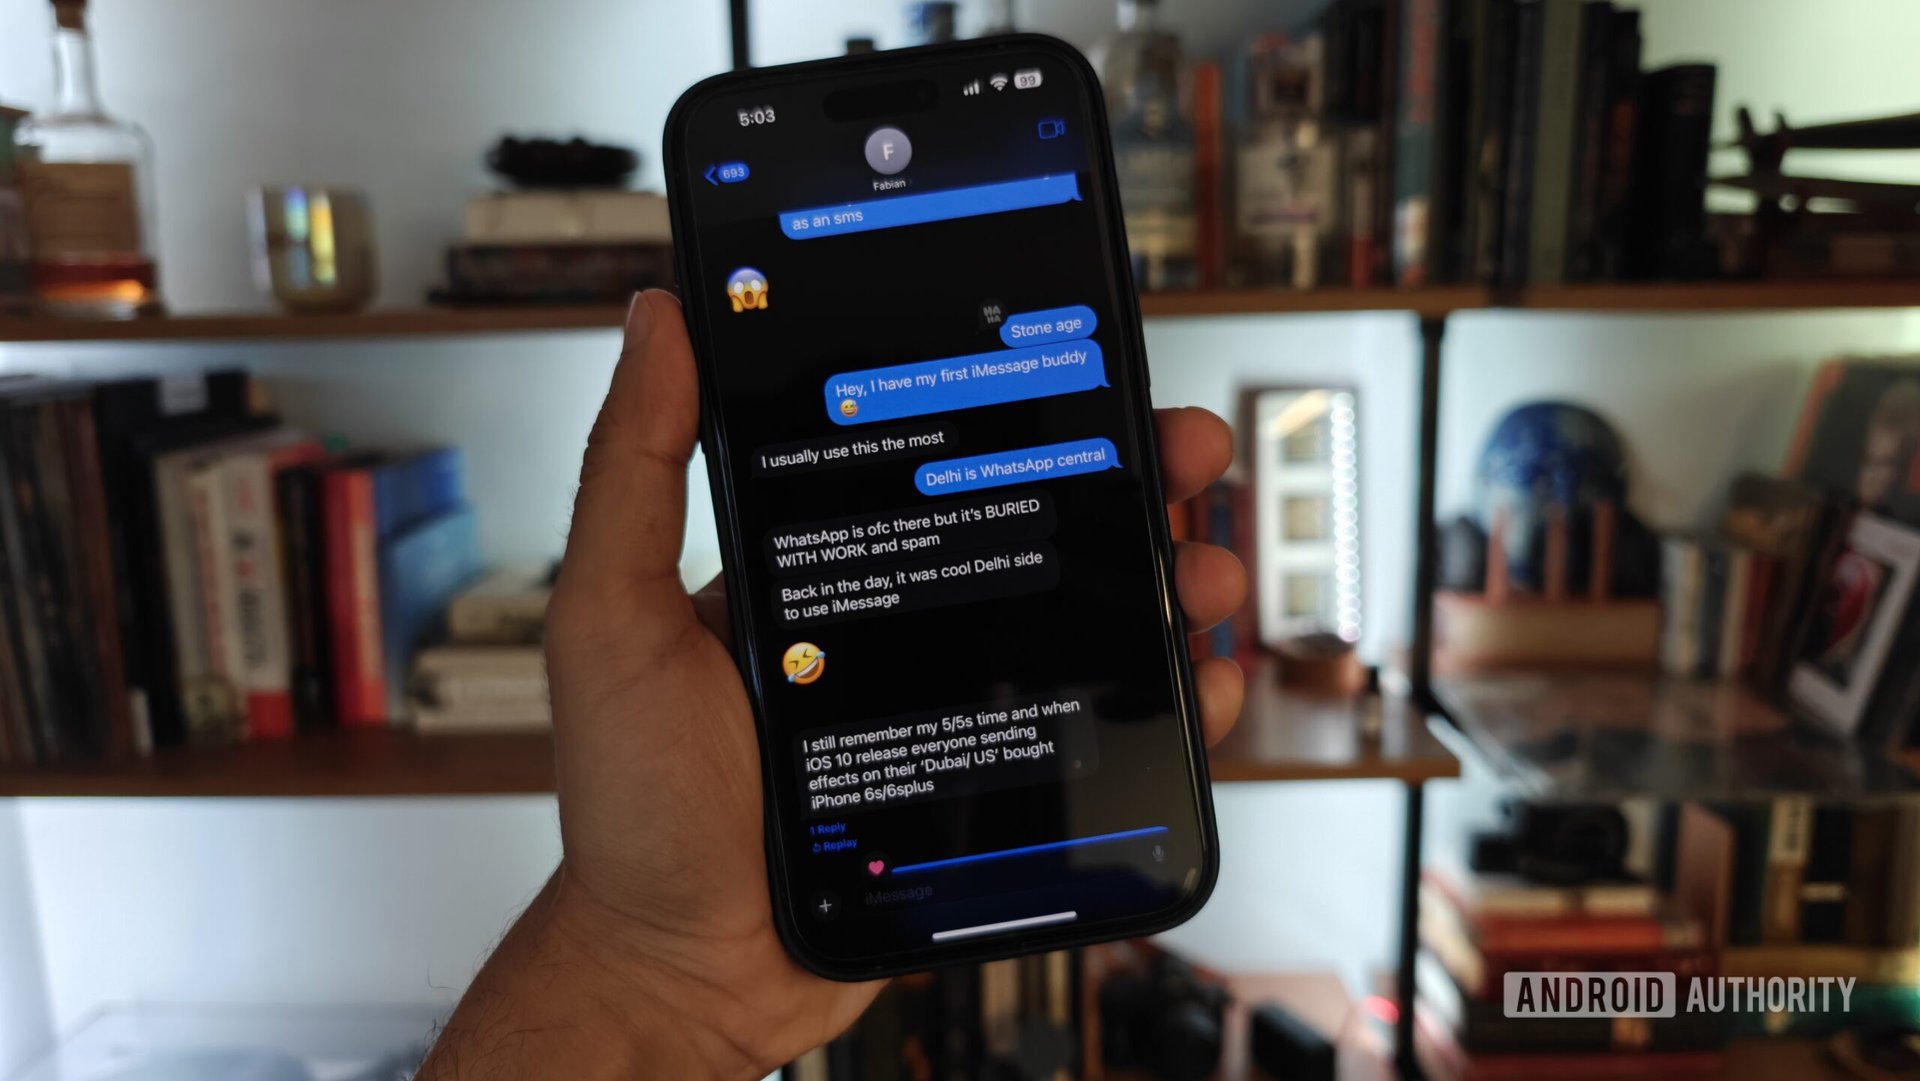
Unlocked phones vs carrier phones: What are the differences and benefits?
C. Scott BrownDecember 19, 2025
0
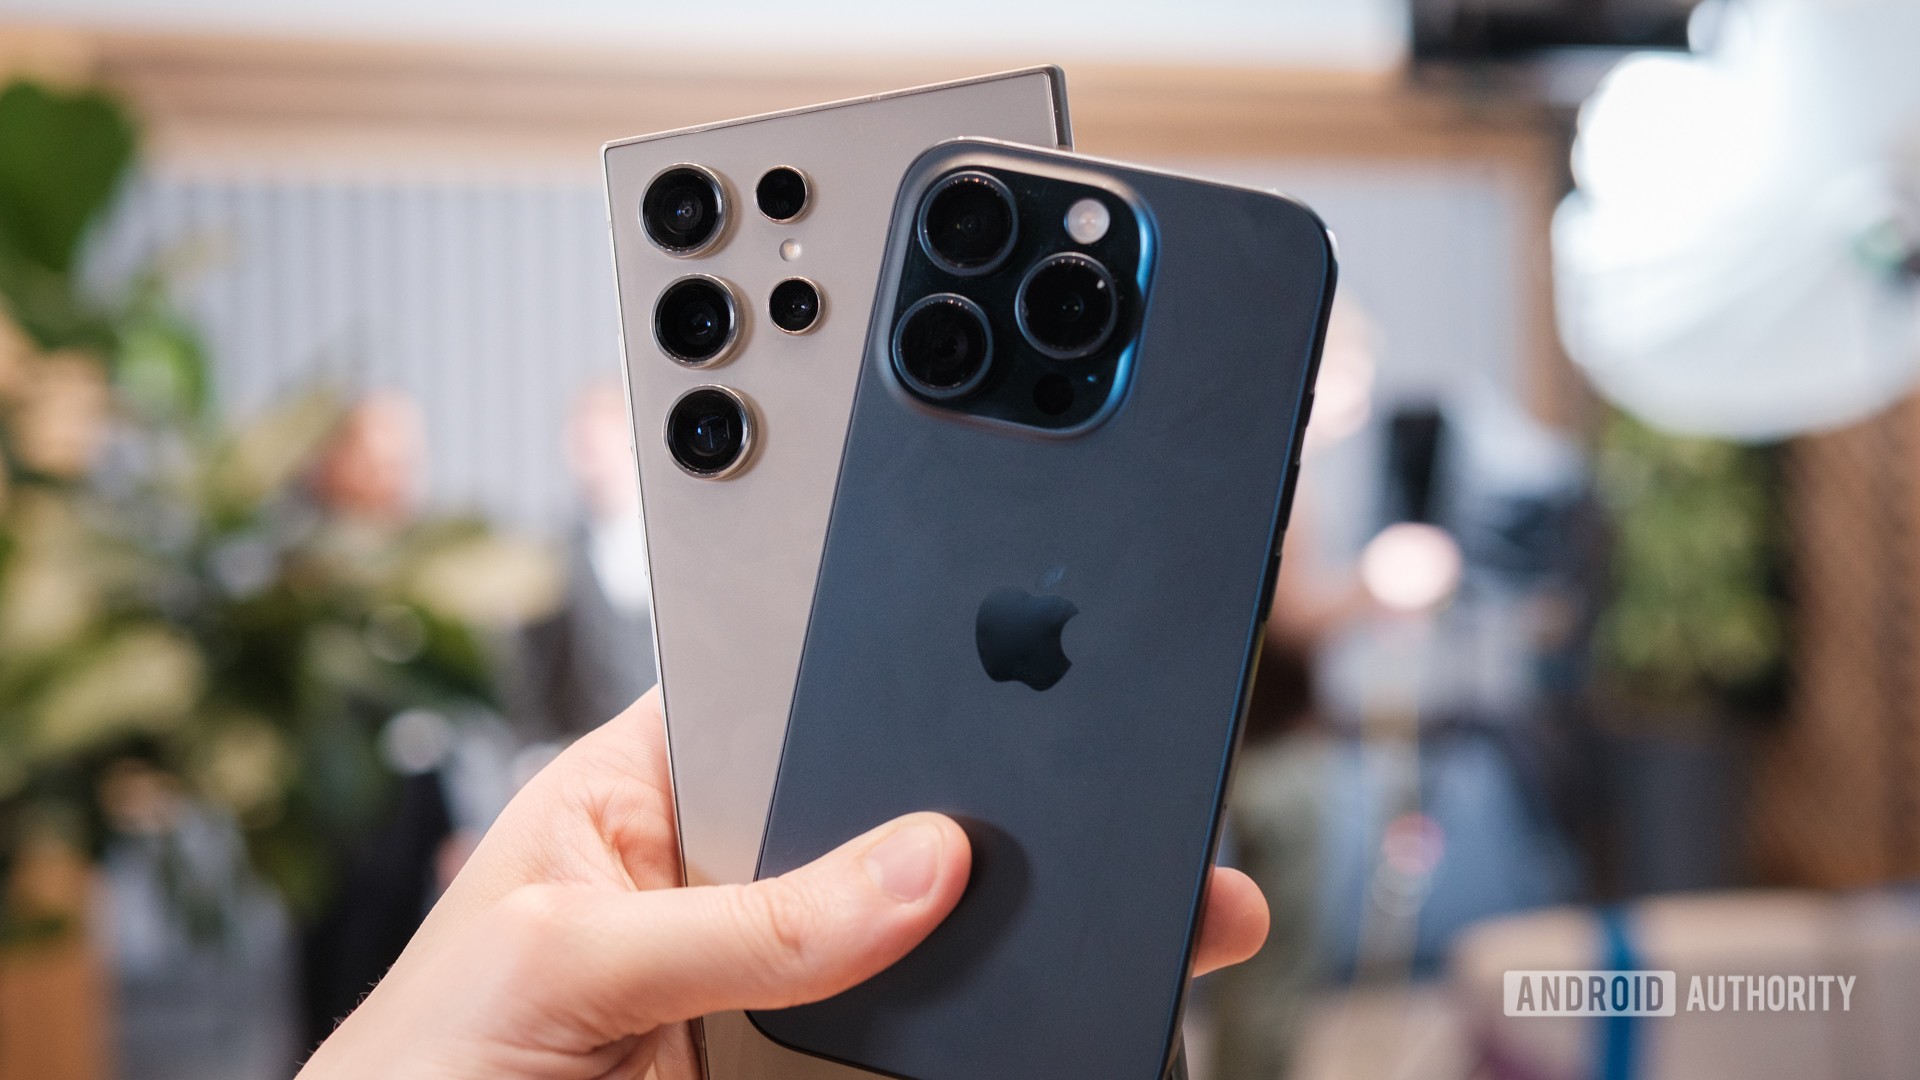
As an Android fan, here's why the iPhone 17 was 2025's most important smartphone
Joe MaringDecember 18, 2025
0
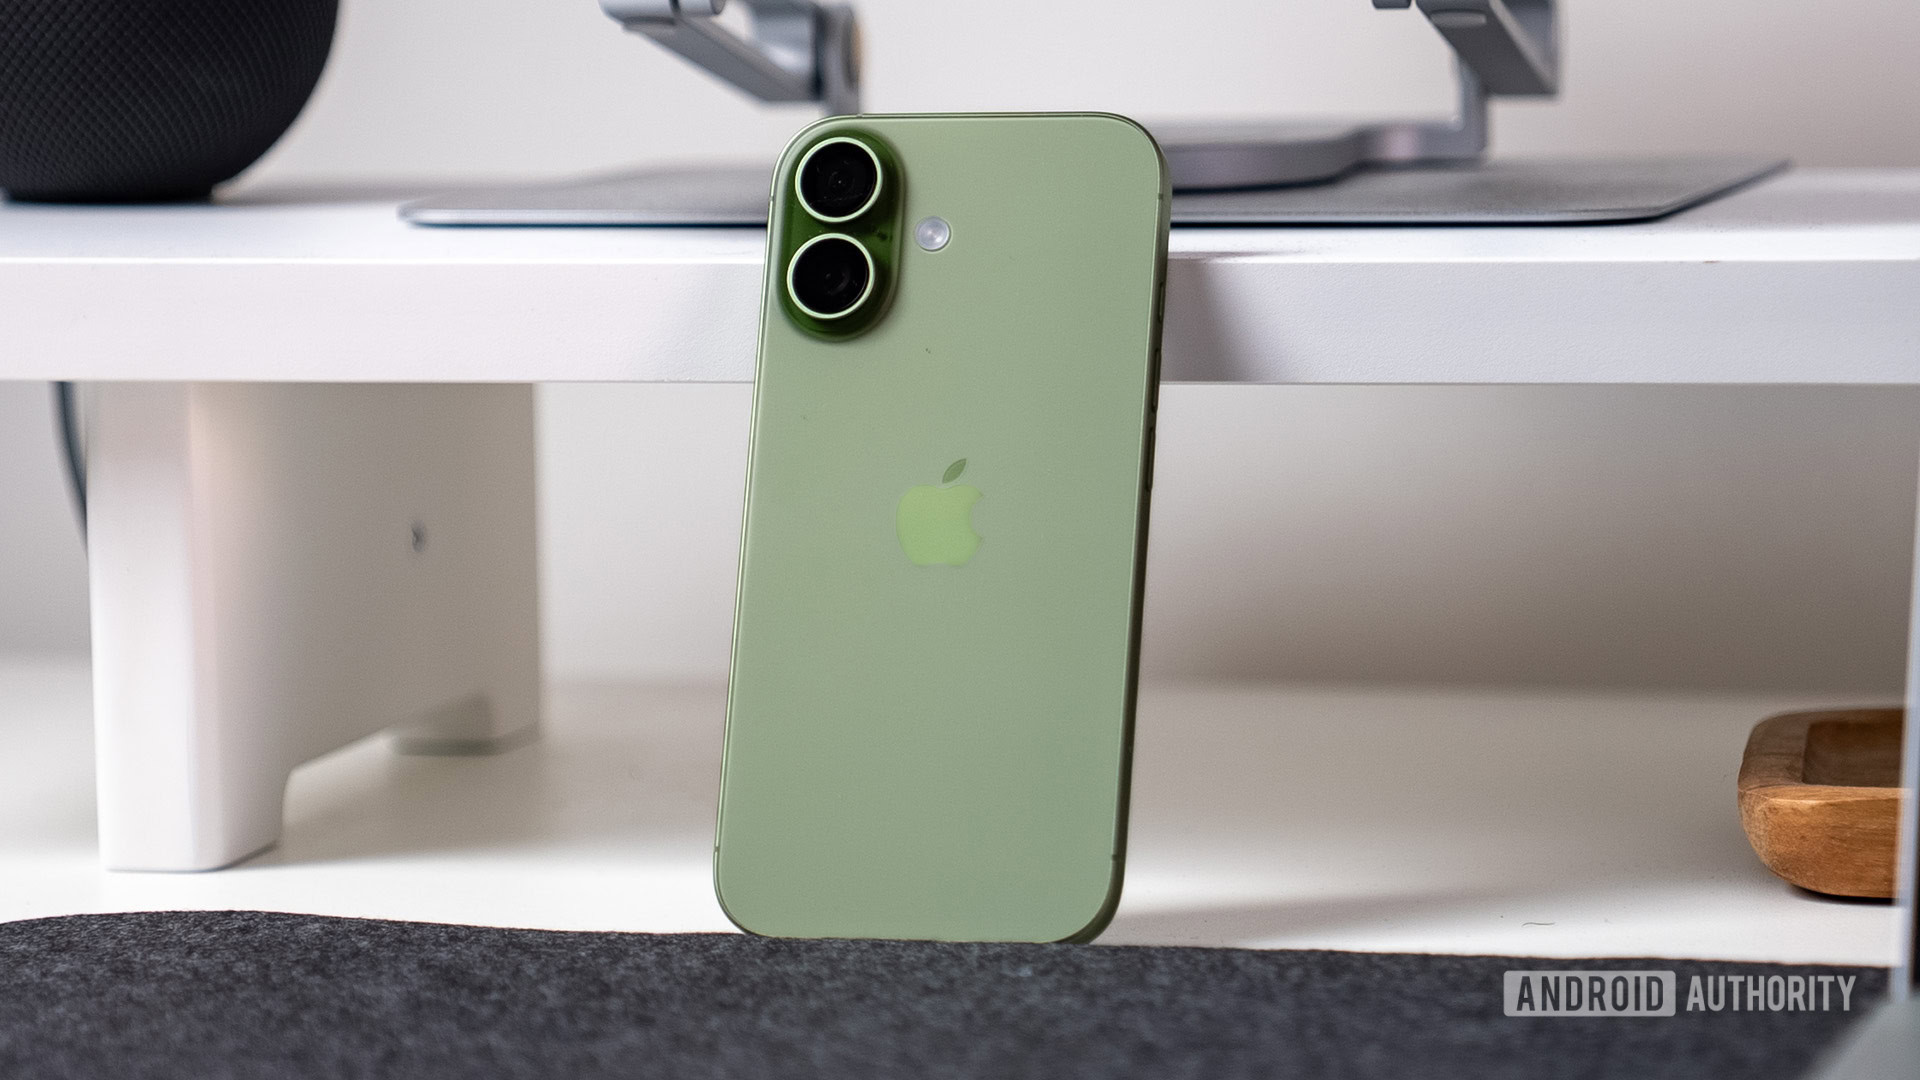
iPhone price history: How Apple's pricing changes (inflation included)
Zak KhanDecember 17, 2025
0
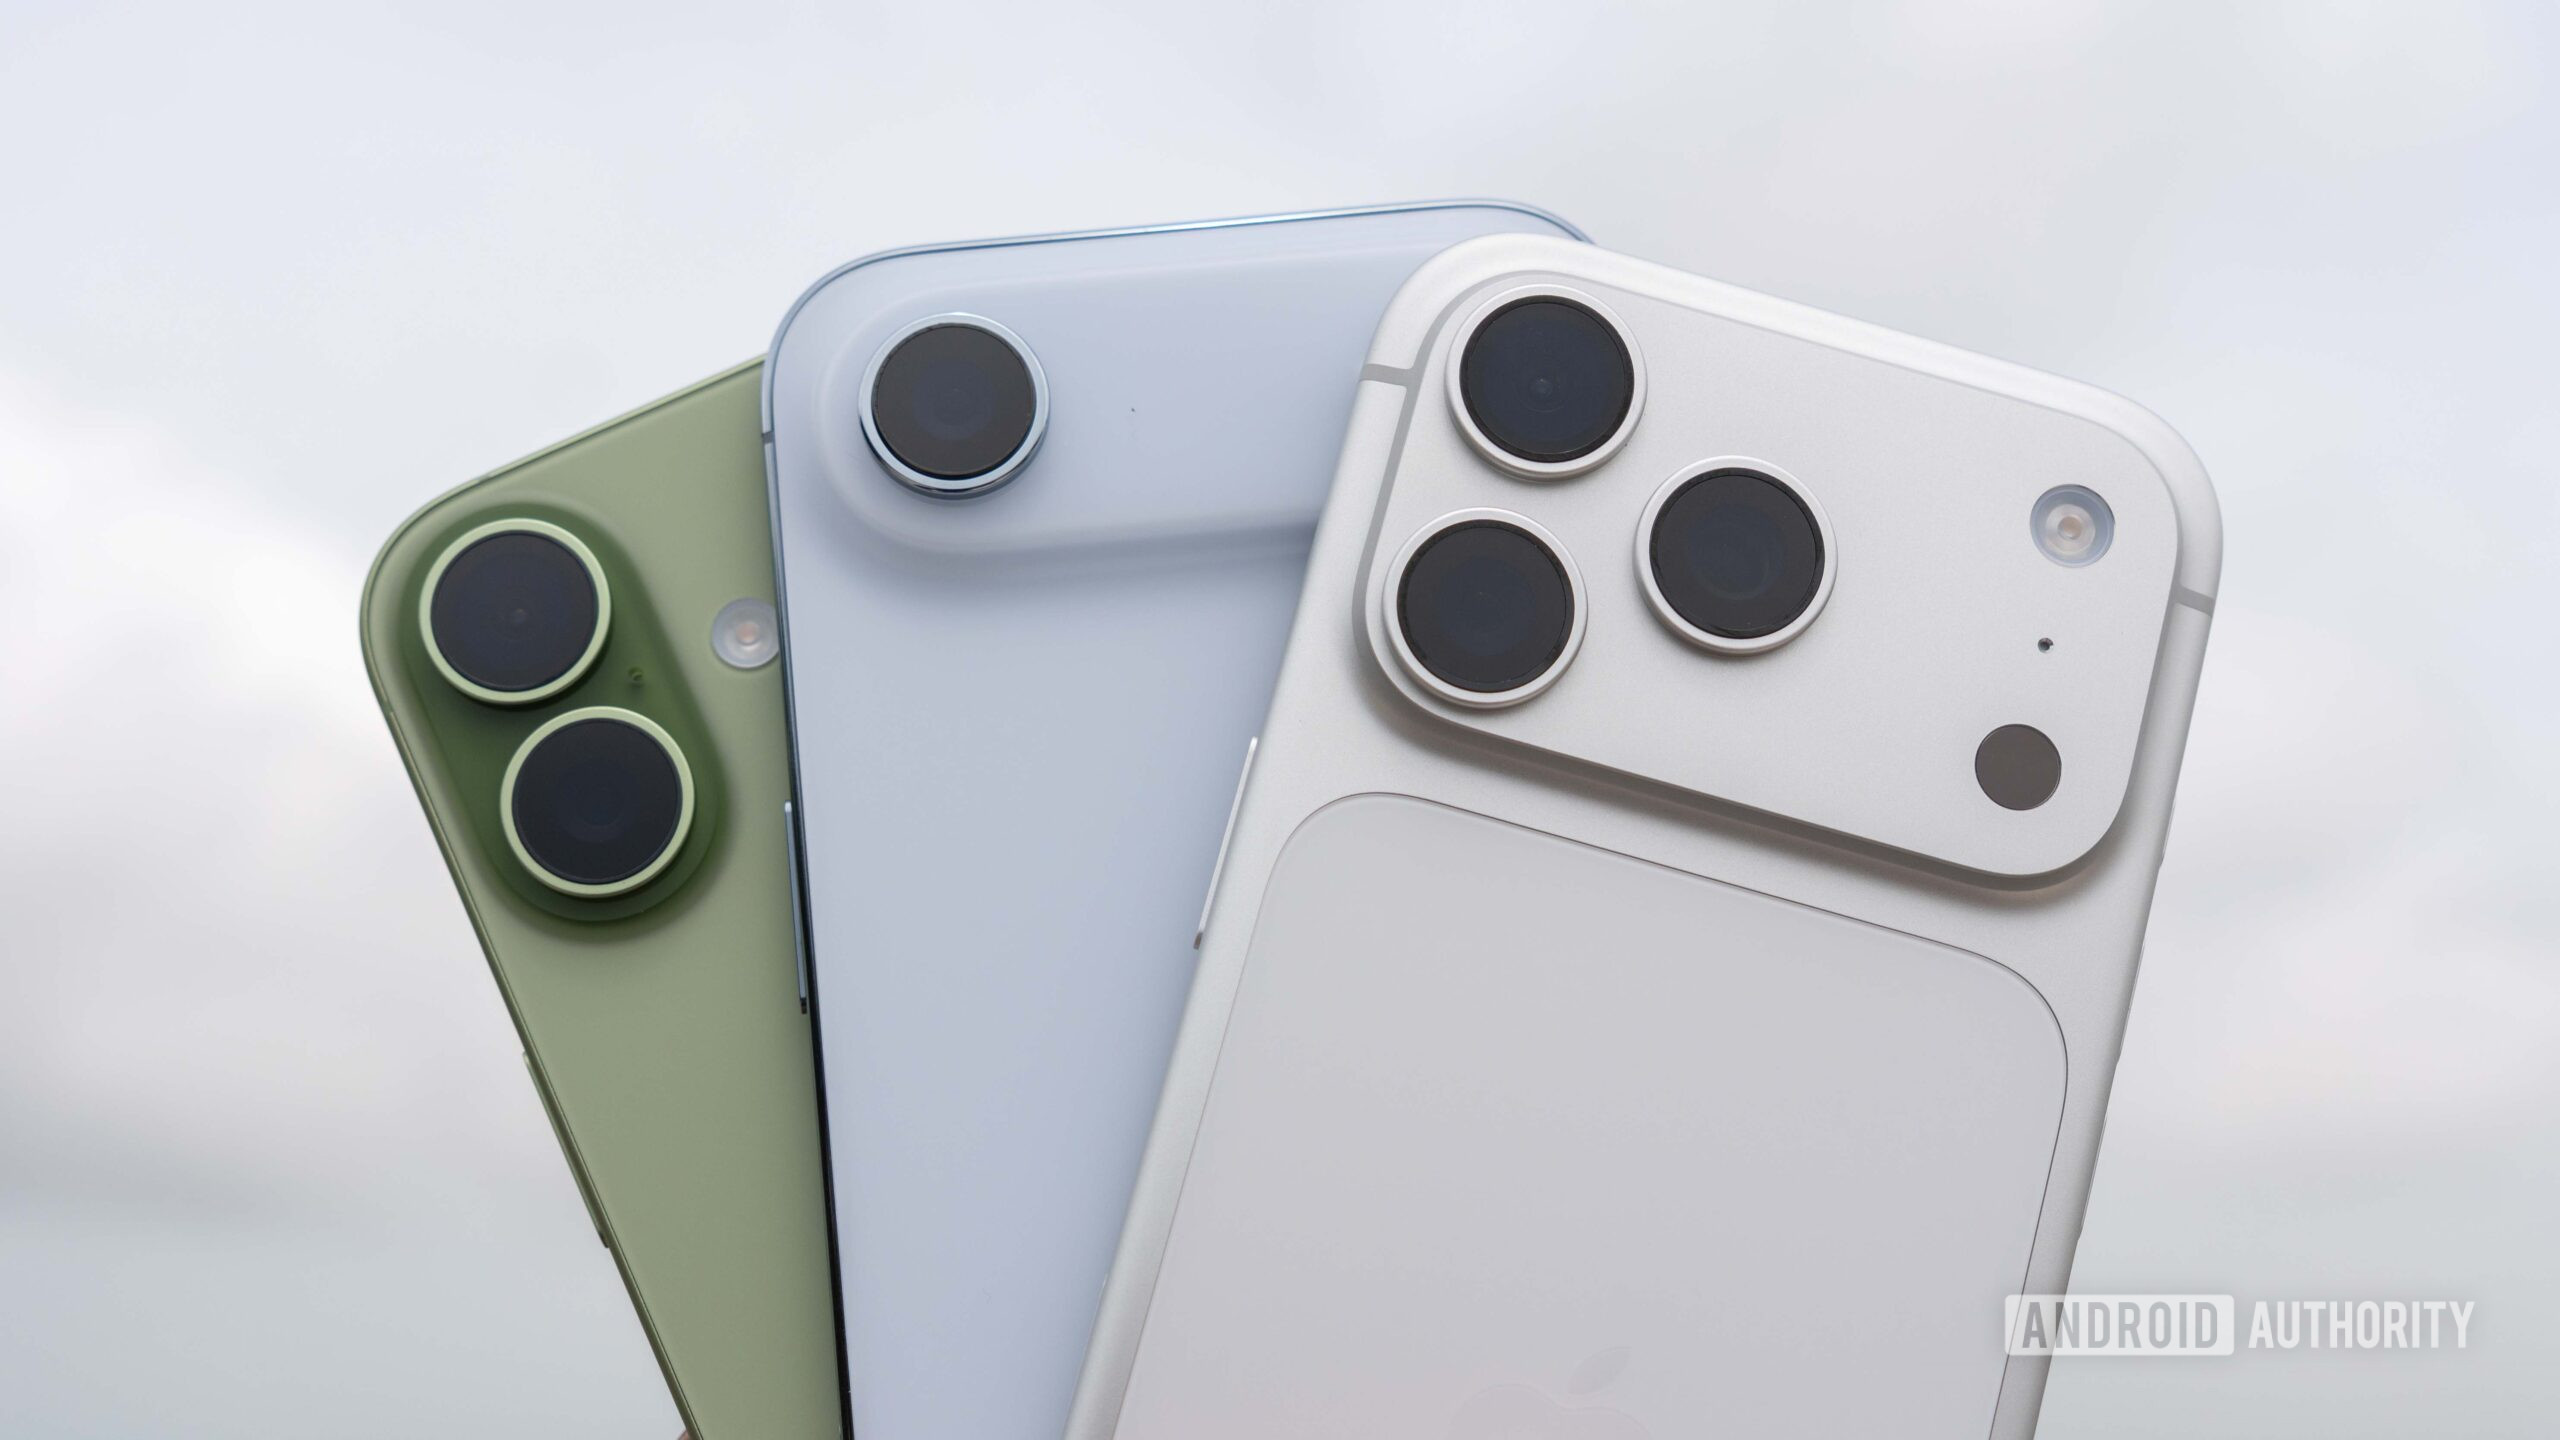
Did you know: Pixels and iPhones are actually made by the same company
Mitja RutnikDecember 13, 2025
0
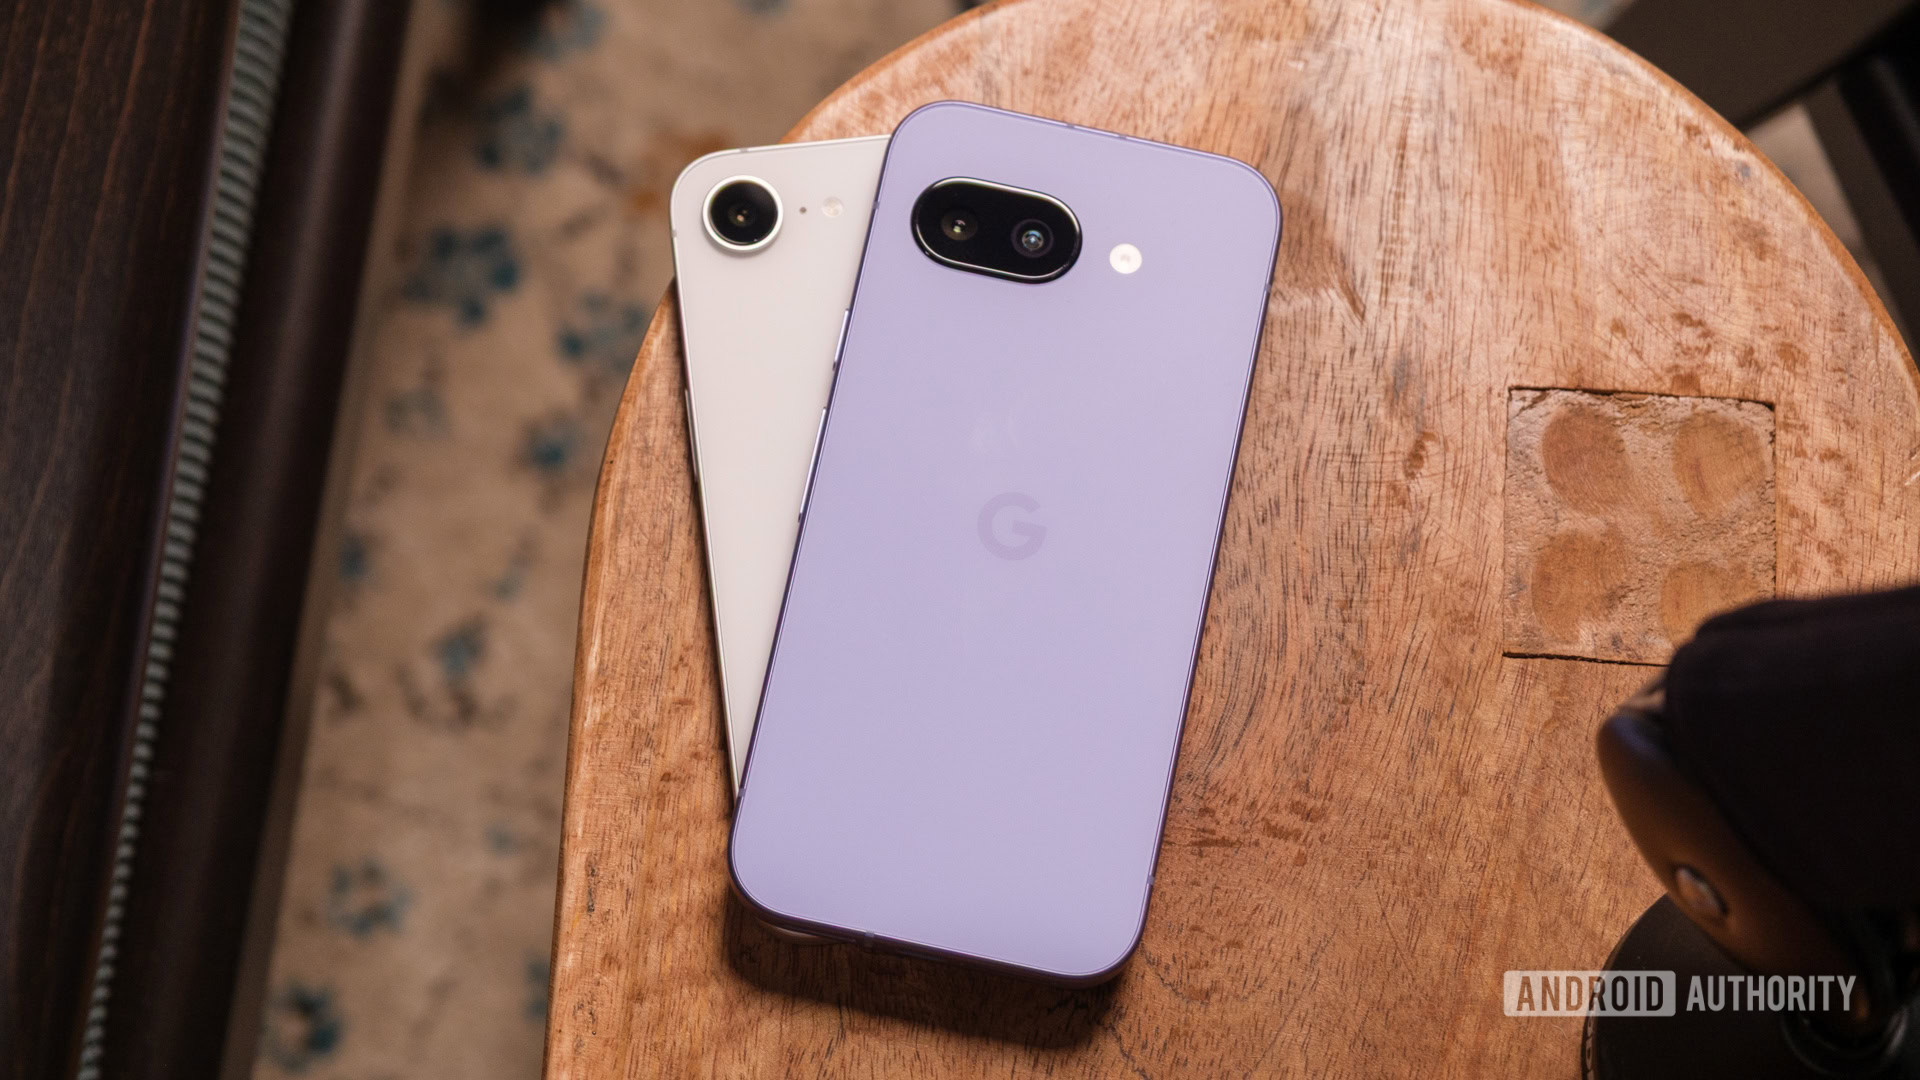
5 ways Google can finish tearing down the Android-iPhone wall
Karandeep SinghNovember 28, 2025
0

Where is the iPhone made? The journey from components to final assembly
Calvin WankhedeNovember 23, 2025
0
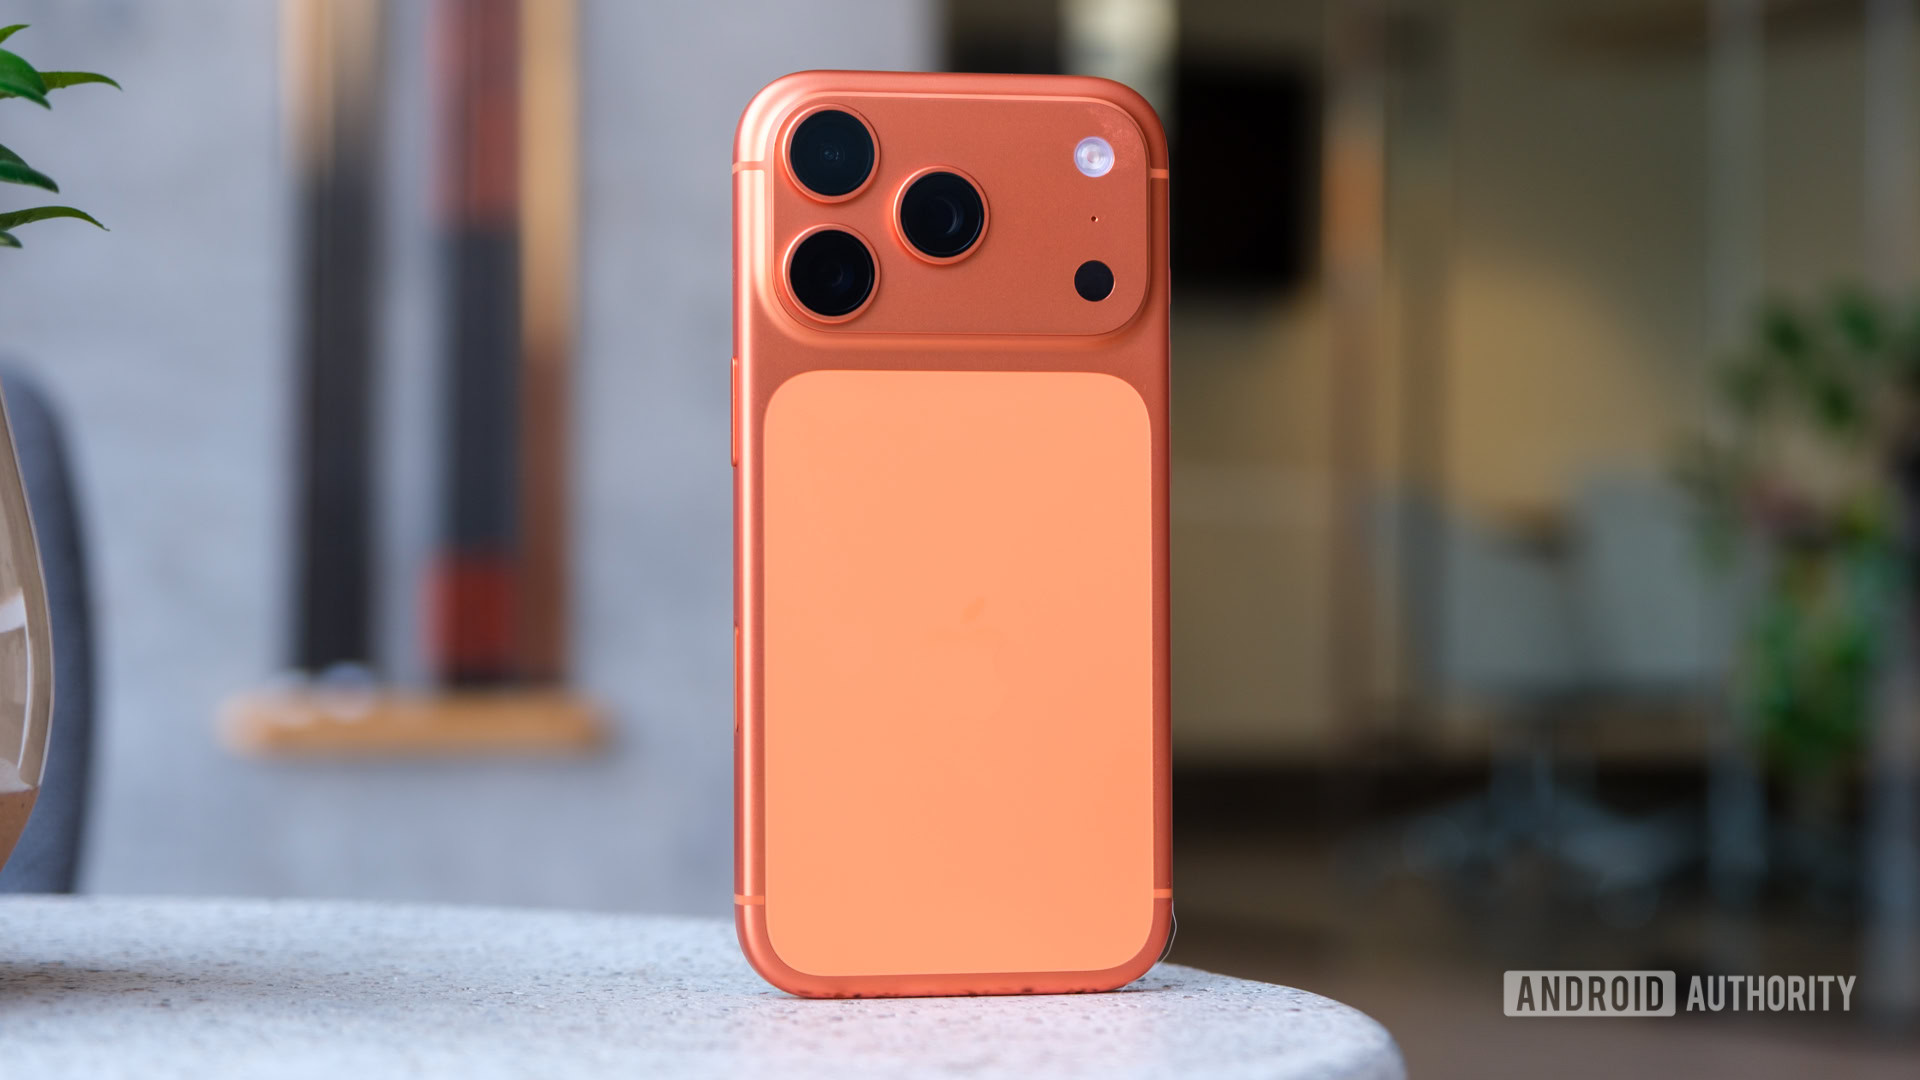
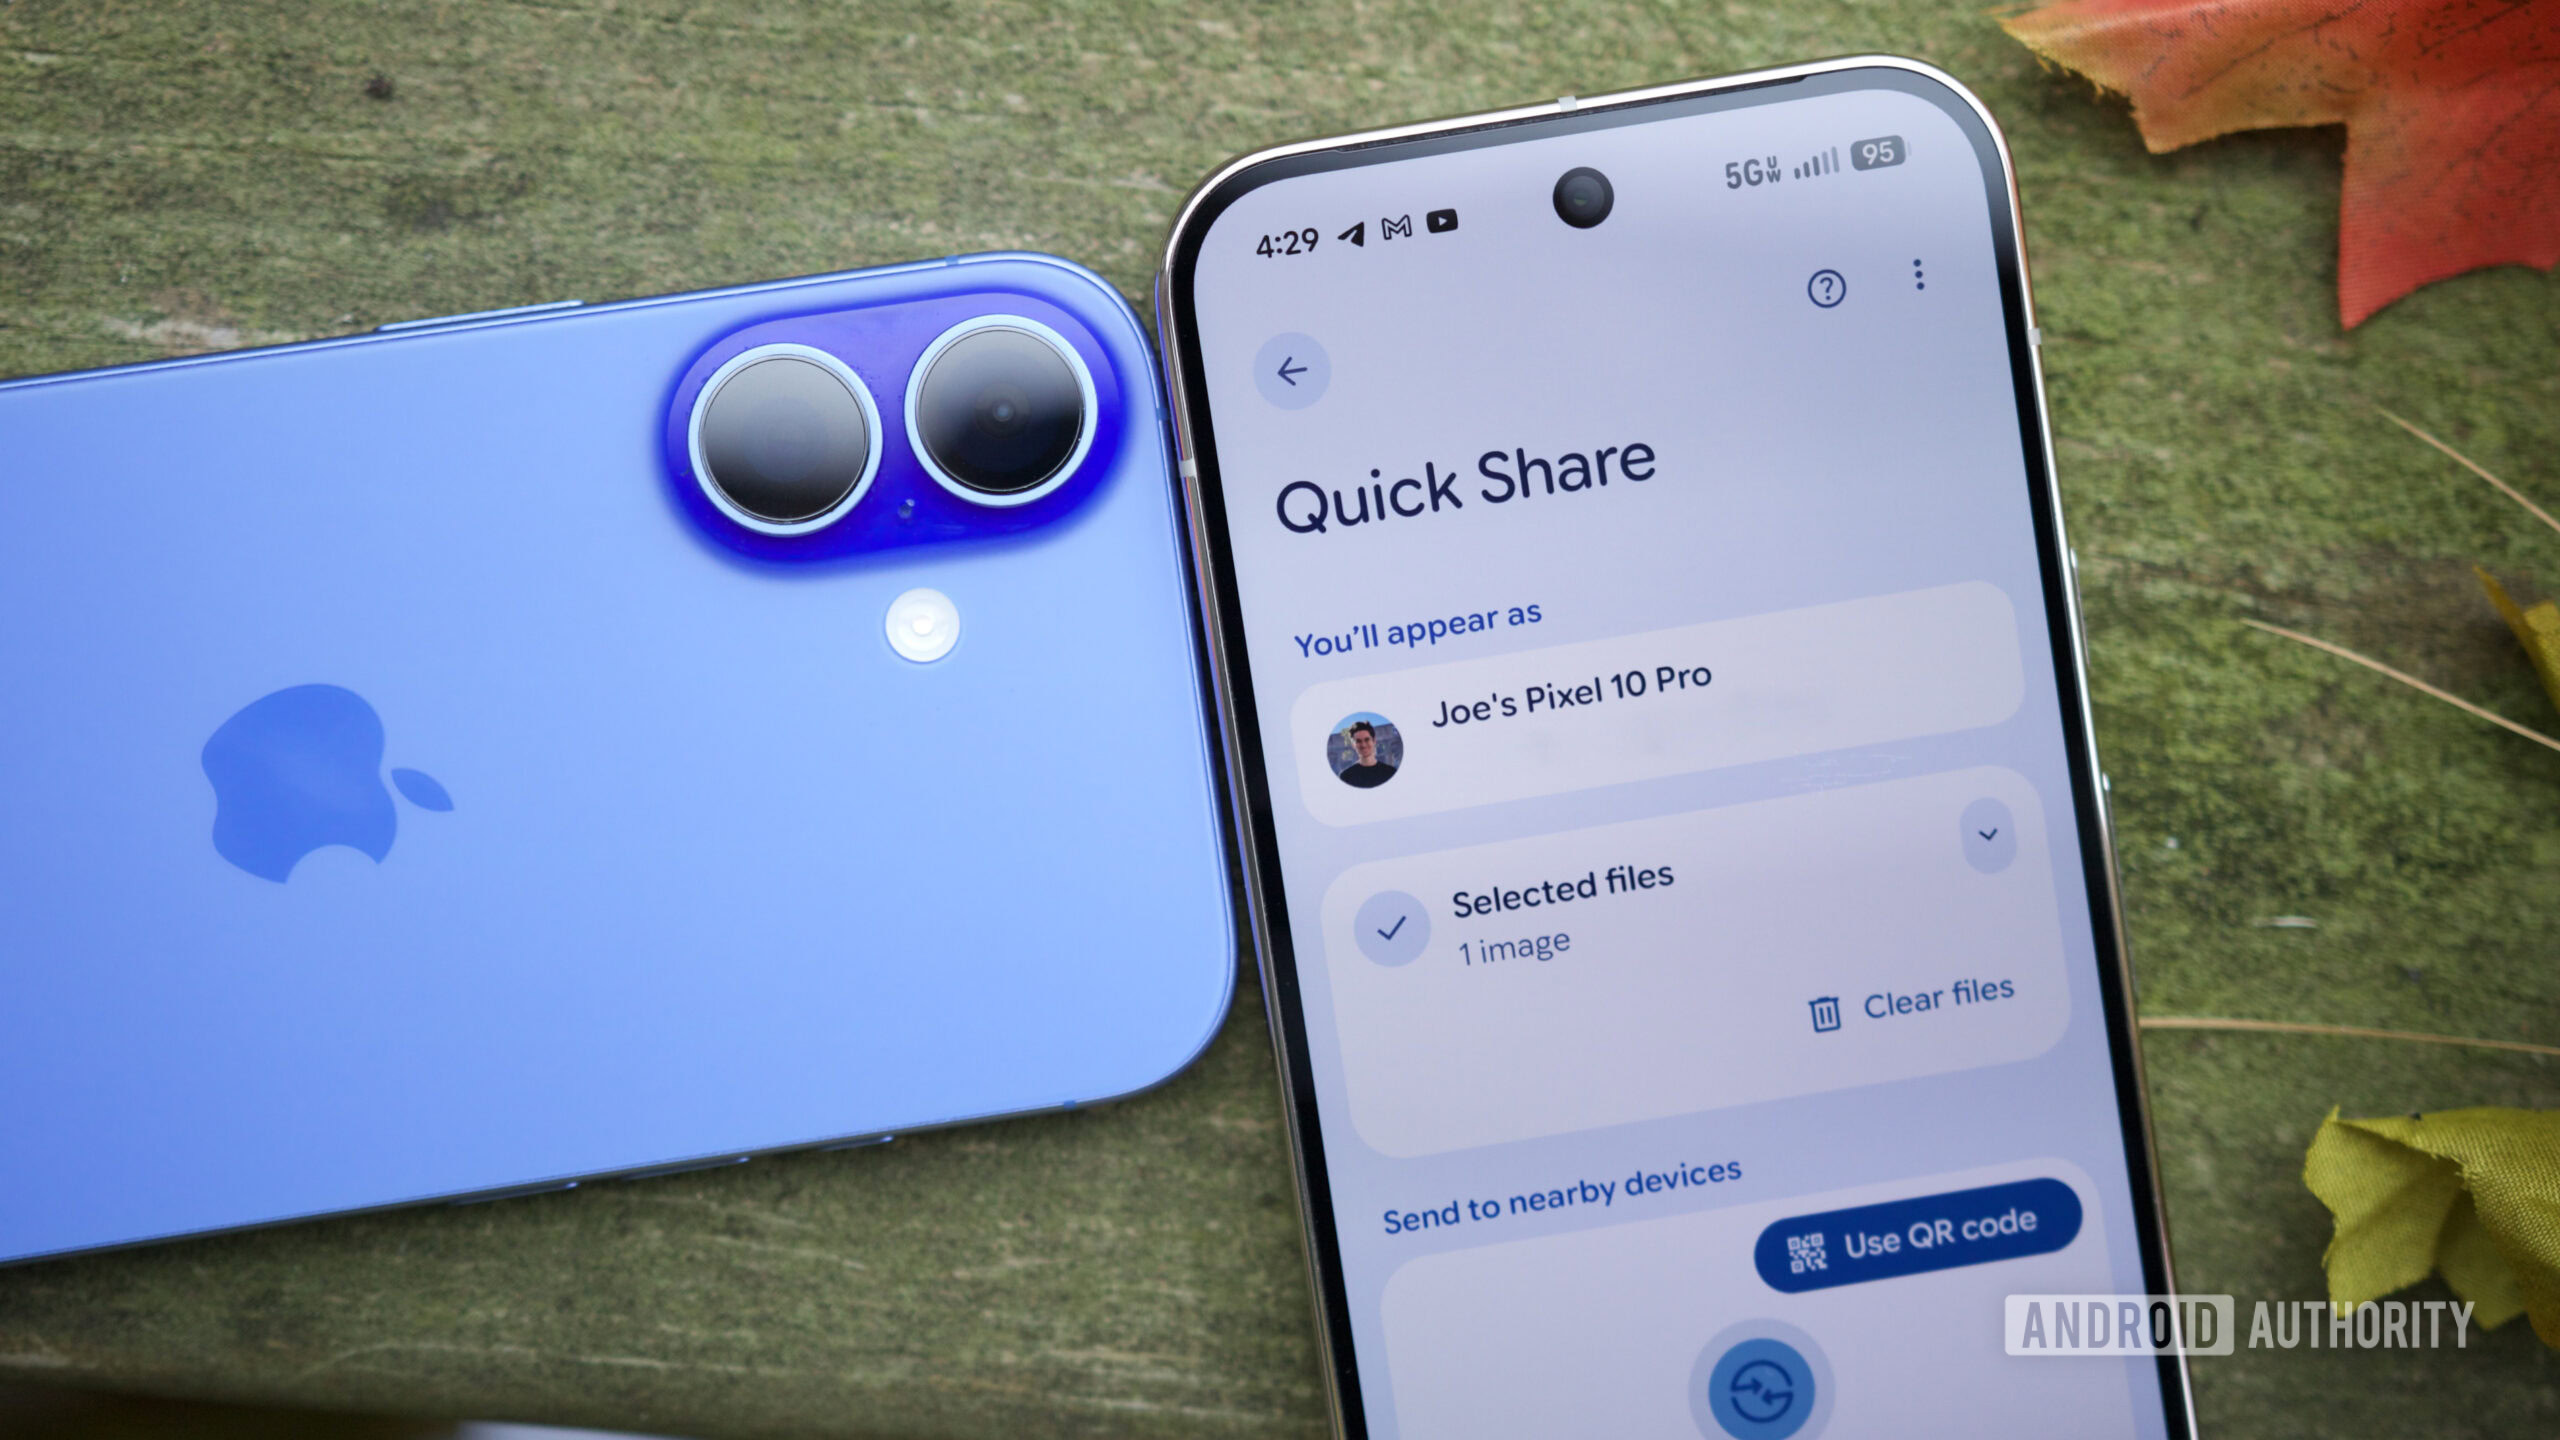
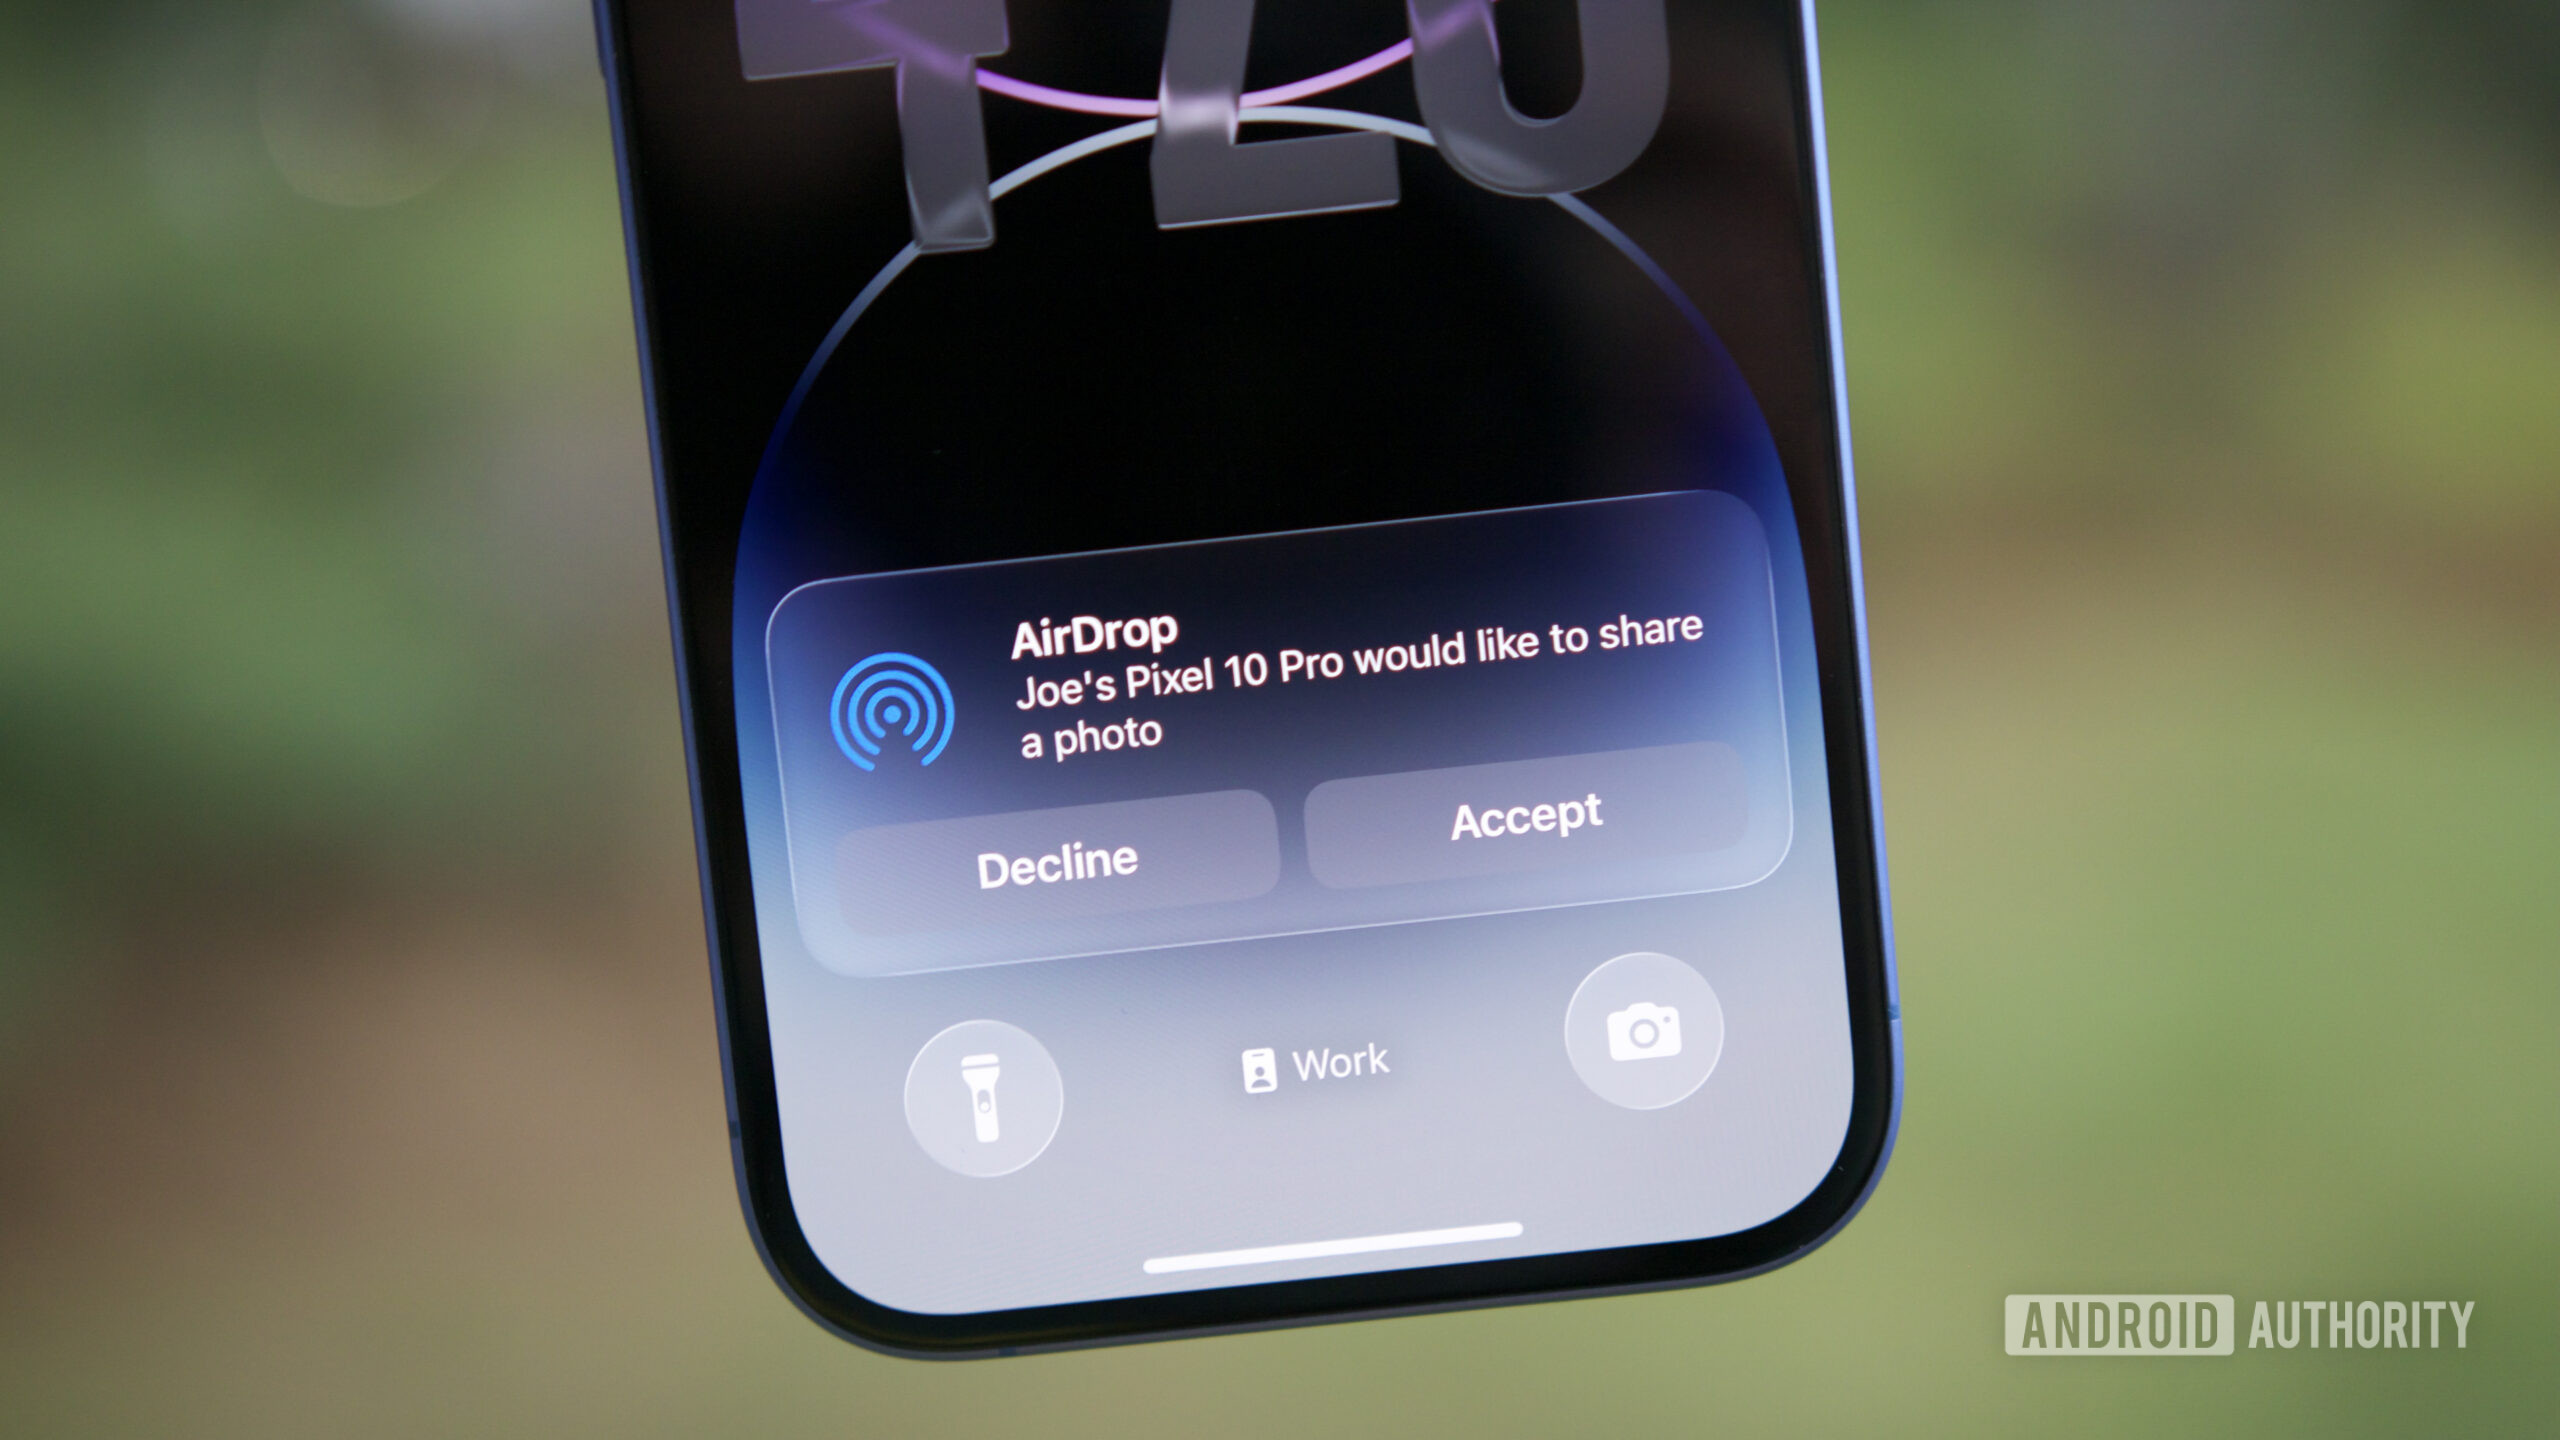
I'm amazed by Google's bold Pixel AirDrop move, but I have 3 big concerns
Rita El KhouryNovember 23, 2025
0
Samsung Wide Fold vs iPhone Fold: New renders show the battle for the perfect aspect ratio
Aamir Siddiqui2 hours ago
0

iPhone Fold vs Galaxy Z Fold 7: Leaked dimensions reveal a battle of shapes
Aamir SiddiquiDecember 19, 2025
0

Unexplained iOS 26 photo bug is leaving some Android users red-faced
Tushar MehtaDecember 15, 2025
0

2026 could finally be the year when foldables become mainstream
Tushar MehtaDecember 10, 2025
0

Google and Apple team up to make switching between Android and iPhone easier (Updated)
Adamya SharmaDecember 9, 2025
0

Apple’s first foldable iPhone could outprice every Android rival by a mile
Jay BonggoltoNovember 27, 2025
0
T-Mobile wants to keep you locked in longer with new installment changes
Aamir SiddiquiNovember 27, 2025
0

Samsung faces its biggest threat yet as Apple closes in on 2025's top spot
Jay BonggoltoNovember 26, 2025
0
Catch a $70 discount on the Apple iPad 11-inch in holiday sales
Edgar CervantesNovember 21, 2025
0

Google's AirDrop integration isn't just one-way, iPhones can beam files to Android too
Adamya SharmaNovember 20, 2025
0
