Affiliate links on Android Authority may earn us a commission. Learn more.
How to install and use Kodi on Android
Published onJune 8, 2022
Kodi is a free, open-source media streaming tool that you can use to play any video, audio, or digital media file across almost any format, codec, or platform. You can easily access and sort through any locally stored media through it. It even has available add-ons that allow you to watch or listen to various media streams from the Internet. Kodi’s open-source nature makes it a highly versatile and customizable media streaming app. But that also means that there is a bit of a learning curve. Here’s how to install and use Kodi.
QUICK ANSWER
To install and use Kodi, download the app for any platform, including Android (phones, tablets, and smart TVs), iOS, Windows, Linux, macOS, tvOS, and Raspberry Pi. You can access locally stored files or install add-ons to stream videos for third-party sources.
JUMP TO KEY SECTIONS
How to install Kodi
Kodi supports various platforms, including Android, iOS, Windows, Linux, macOS, Apple tvOS, and Raspberry Pi. You can download the Kodi Android app from the Google Play Store on your smartphone, tablet, or Android TV. You will find the download links for other platforms here.
Kodi settings
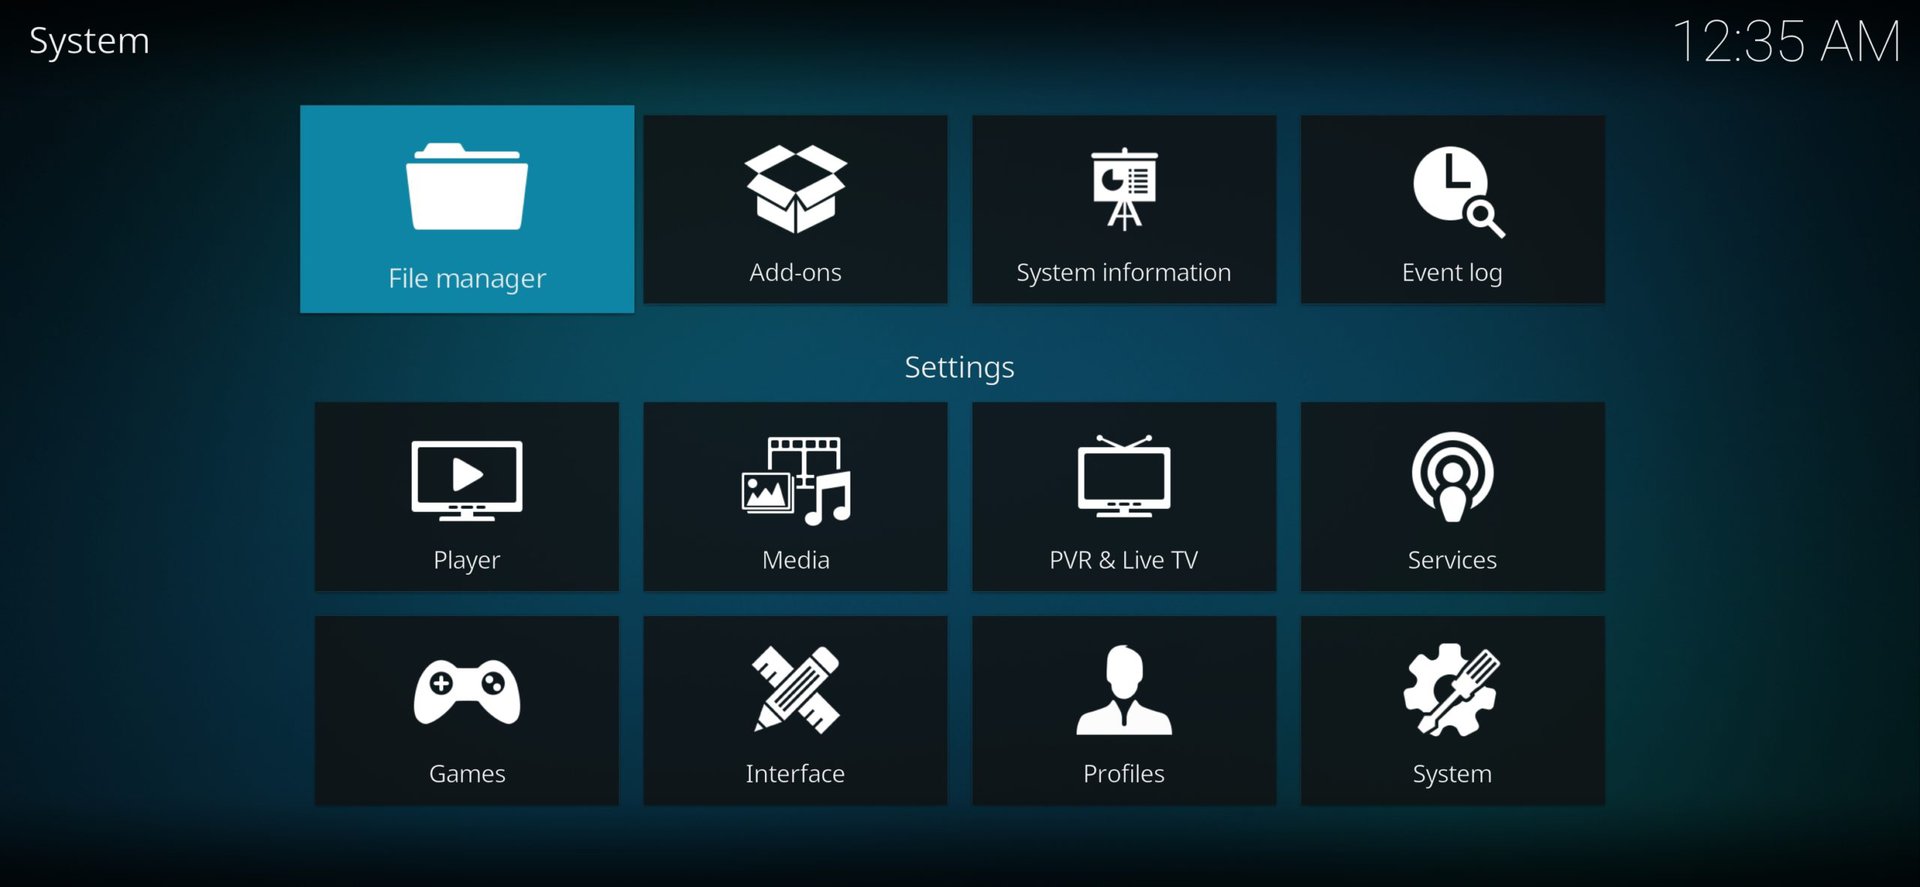
When you first launch Kodi, you will see a basic media player like any other. On the left side is a navigation bar. And on the right is where your library will show up once you set it up. However, Kodi is a highly customizable media streaming player with a robust Settings menu. Once you launch the app, you can find it by tapping on the gear icon in the navigation menu on the left side. Below you can find a quick rundown of the options.
- Player — You can use this option to customize how the Kodi player works completely. You can adjust anything from skip steps to skip delay, default languages, display refresh rate, and much more. There are a variety of settings for video, music, pictures, DVD, Blu-Ray, and accessibility.
- Media — Here, you can set up how Kodi handles and displays any media that you have locally stored on your device. Everything from thumbnails to sorting can be adjusted here, with the Advanced and Expert modes adding more to the list.
- PVR and Live TV — This is where you can adjust the settings for watching Live TV and recording it, which isn’t applicable if you are using Kodi on your Android smartphone or tablet.
- Services — The settings for how the web server, application control, UPnP/DLNA, AirPlay, and Weather services are handled here. If some of these terms don’t make sense, it’s best to leave them alone.
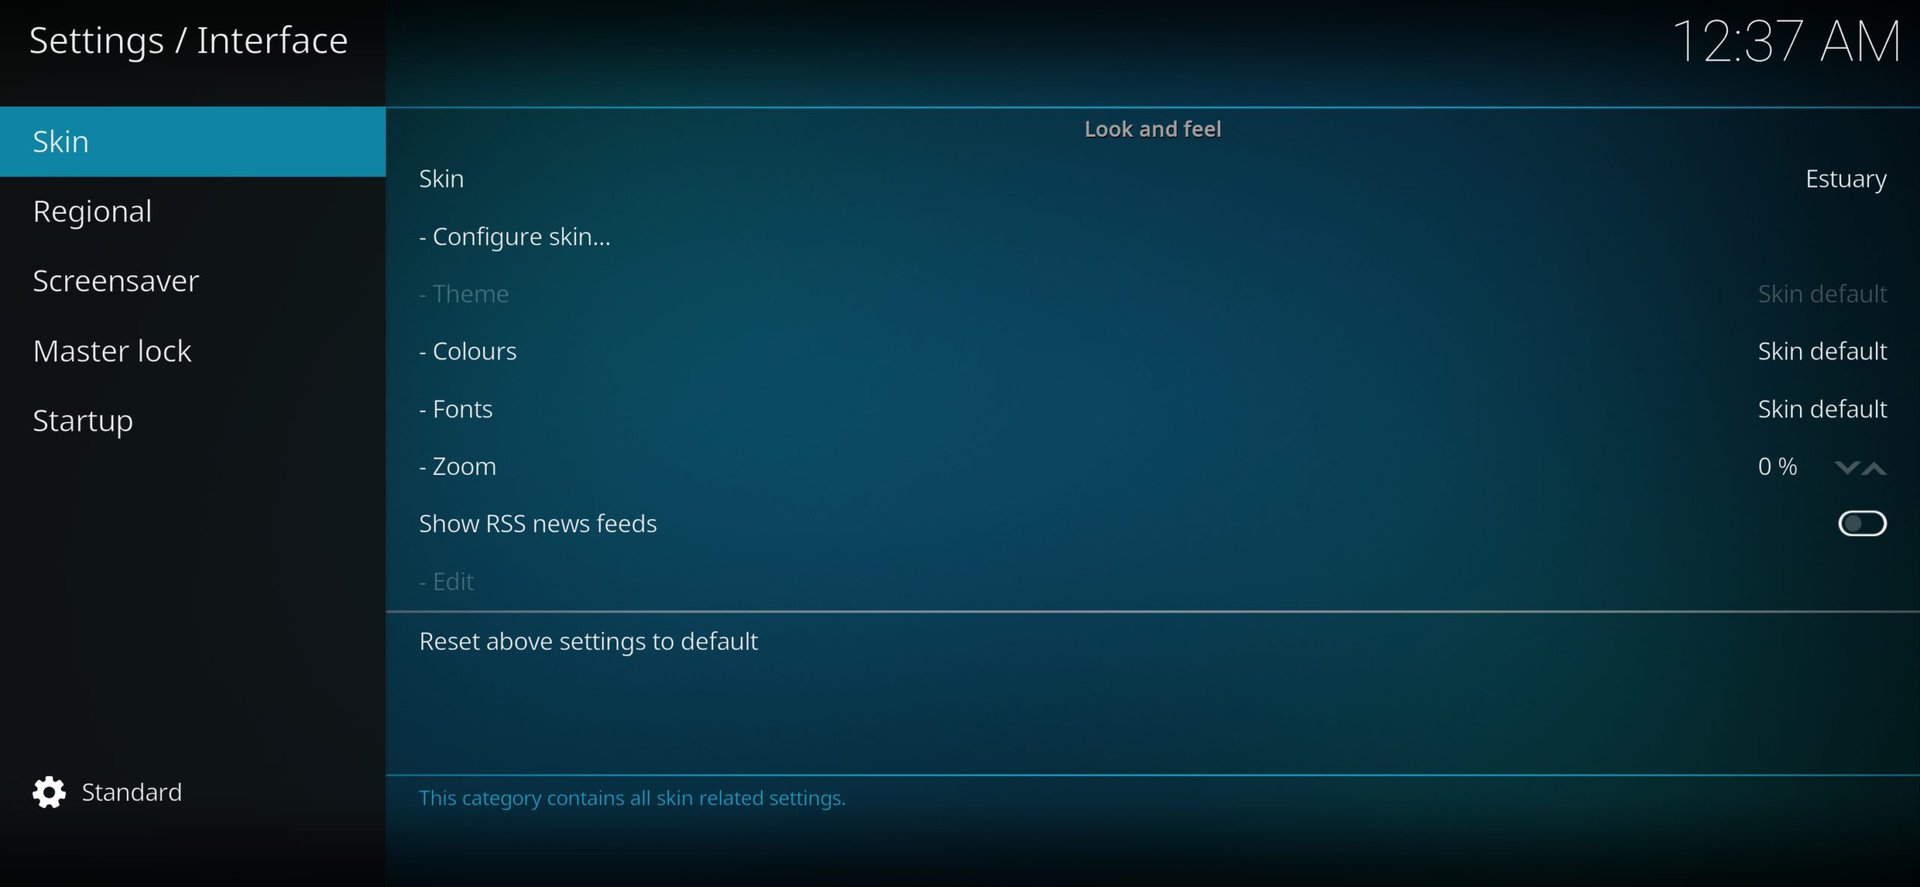
- Interface — You can change the look and the feel of the skin, change the language settings, set up a master lock, set a screen saver, and more. Estuary is the default Kodi skin, but you always have the option to download other third-party options.
- Profiles — You can set up different profiles and control how logging in works.
- System — This section gives you control over aspects like the display, audio output, input methods, internet access, power saving, and add-ons.
- System Info — As the name suggests, you can keep track of system CPU and memory usage, how much storage is available, the status of the network connection, and display and hardware configurations here. You can also browse through Kodi’s Privacy Policy if you’re interested.
- Event Log — The Event log is where you can see all the activities while using the app.
- File Manager — Kodi also has File Manager built-in if you need to move a file around. However, it doesn’t offer many features, and using an app like the ES File Explorer is the better way to go.
How to access content in local storage
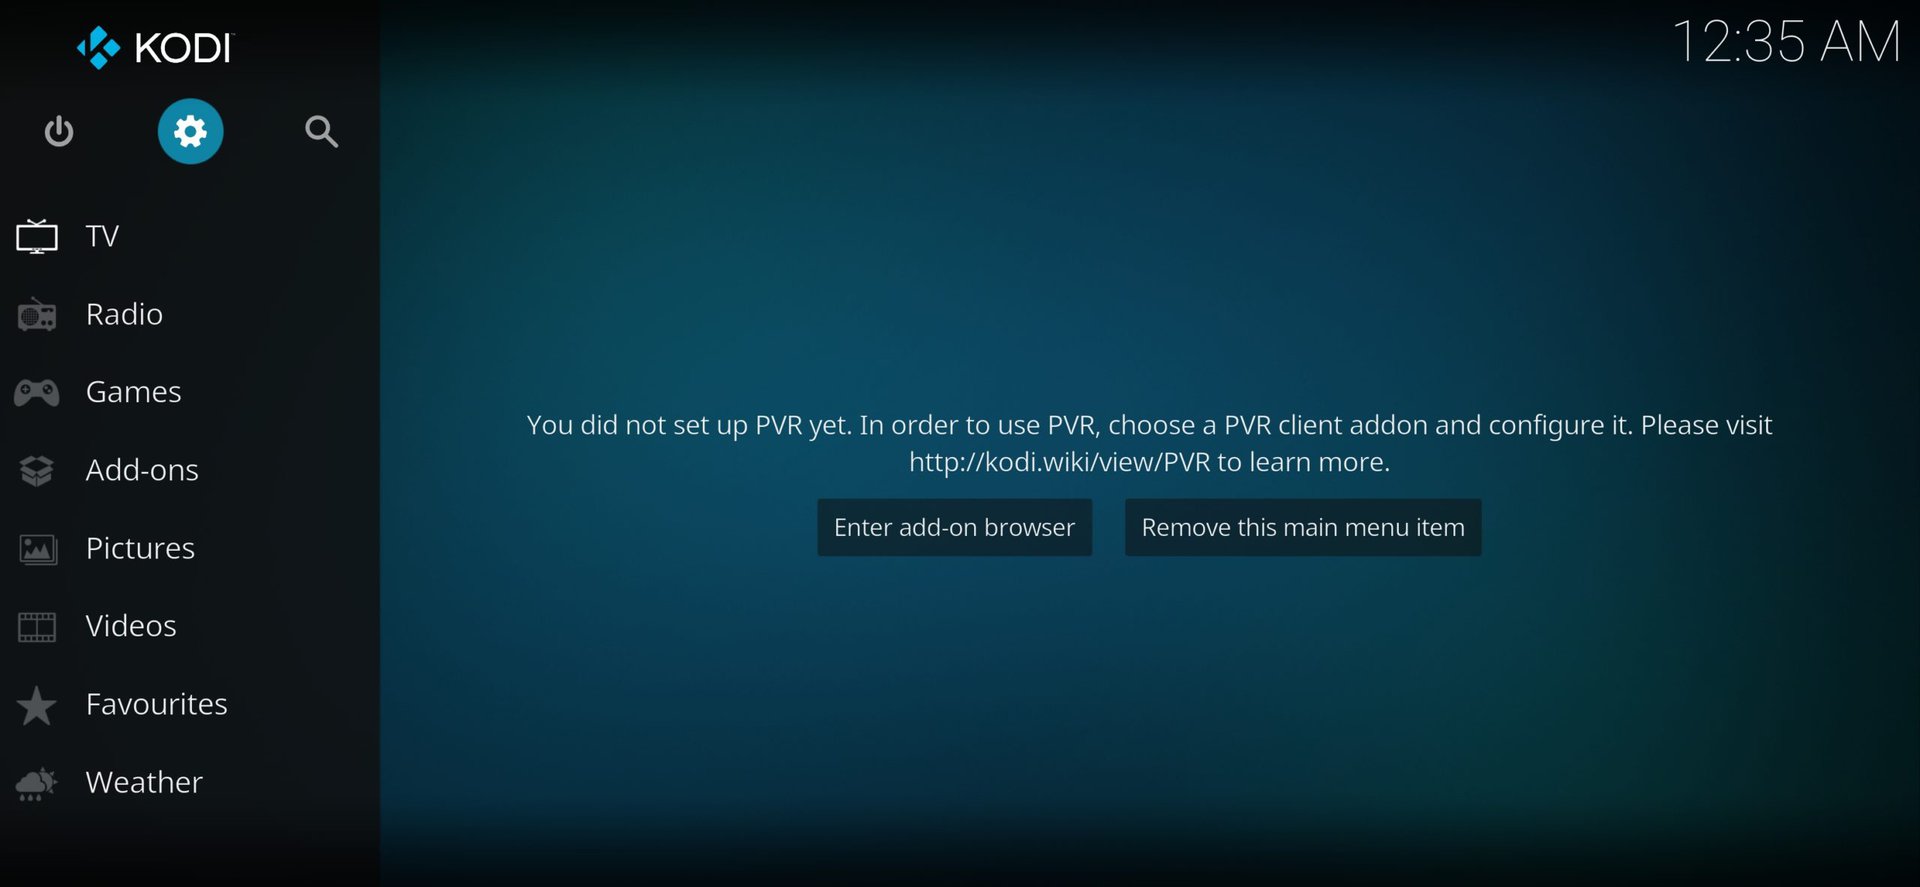
Once you set up everything, you will be ready to watch videos, listen to music or podcasts, and look at pictures on Kodi. When you first open the app, on the right, a message will display that says Your library is empty.
- To access any files stored locally, tap on Files.
- Tap on Add videos as seen in the Movies section, and browse through your files to find the folder that you want to be displayed.
- Select that folder, and it will now show up in the Add video source section.
- You can choose a name for this media source and then tap on OK.
- The folder will now show up in that particular type of media library.
Use Kodi add-ons
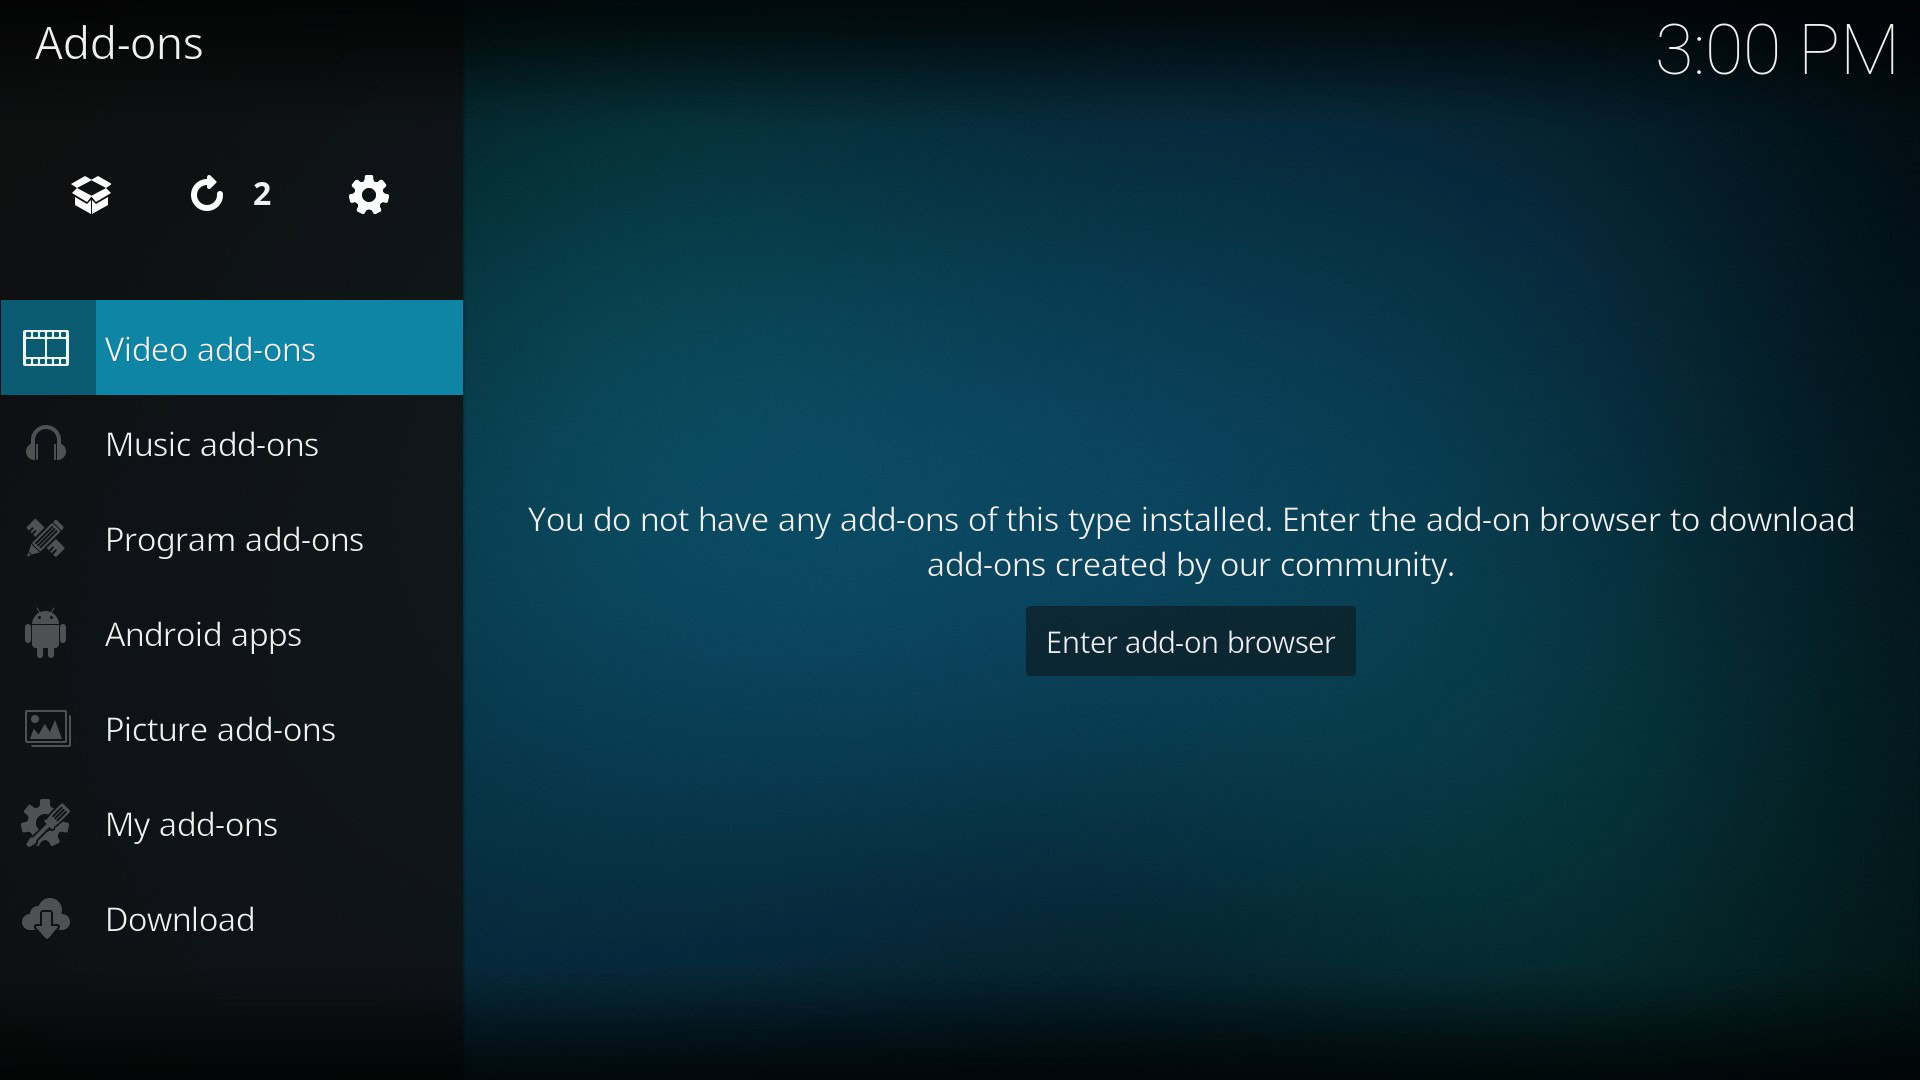
Kodi’s not just great for playing stored media. The app is also known for its streaming capabilities. You can access different streaming options using add-ons.

When you open the Add-on page, you will see the familiar setup of a navigation menu on the left and the library section to the right. Let’s run through how to install a video add-on.
- Open the Video add-ons section and tap on the Enter add-on browser button.
- Here you will see a long list of available video add-ons. It’s best to research the best add-ons to find what you are looking for quickly.
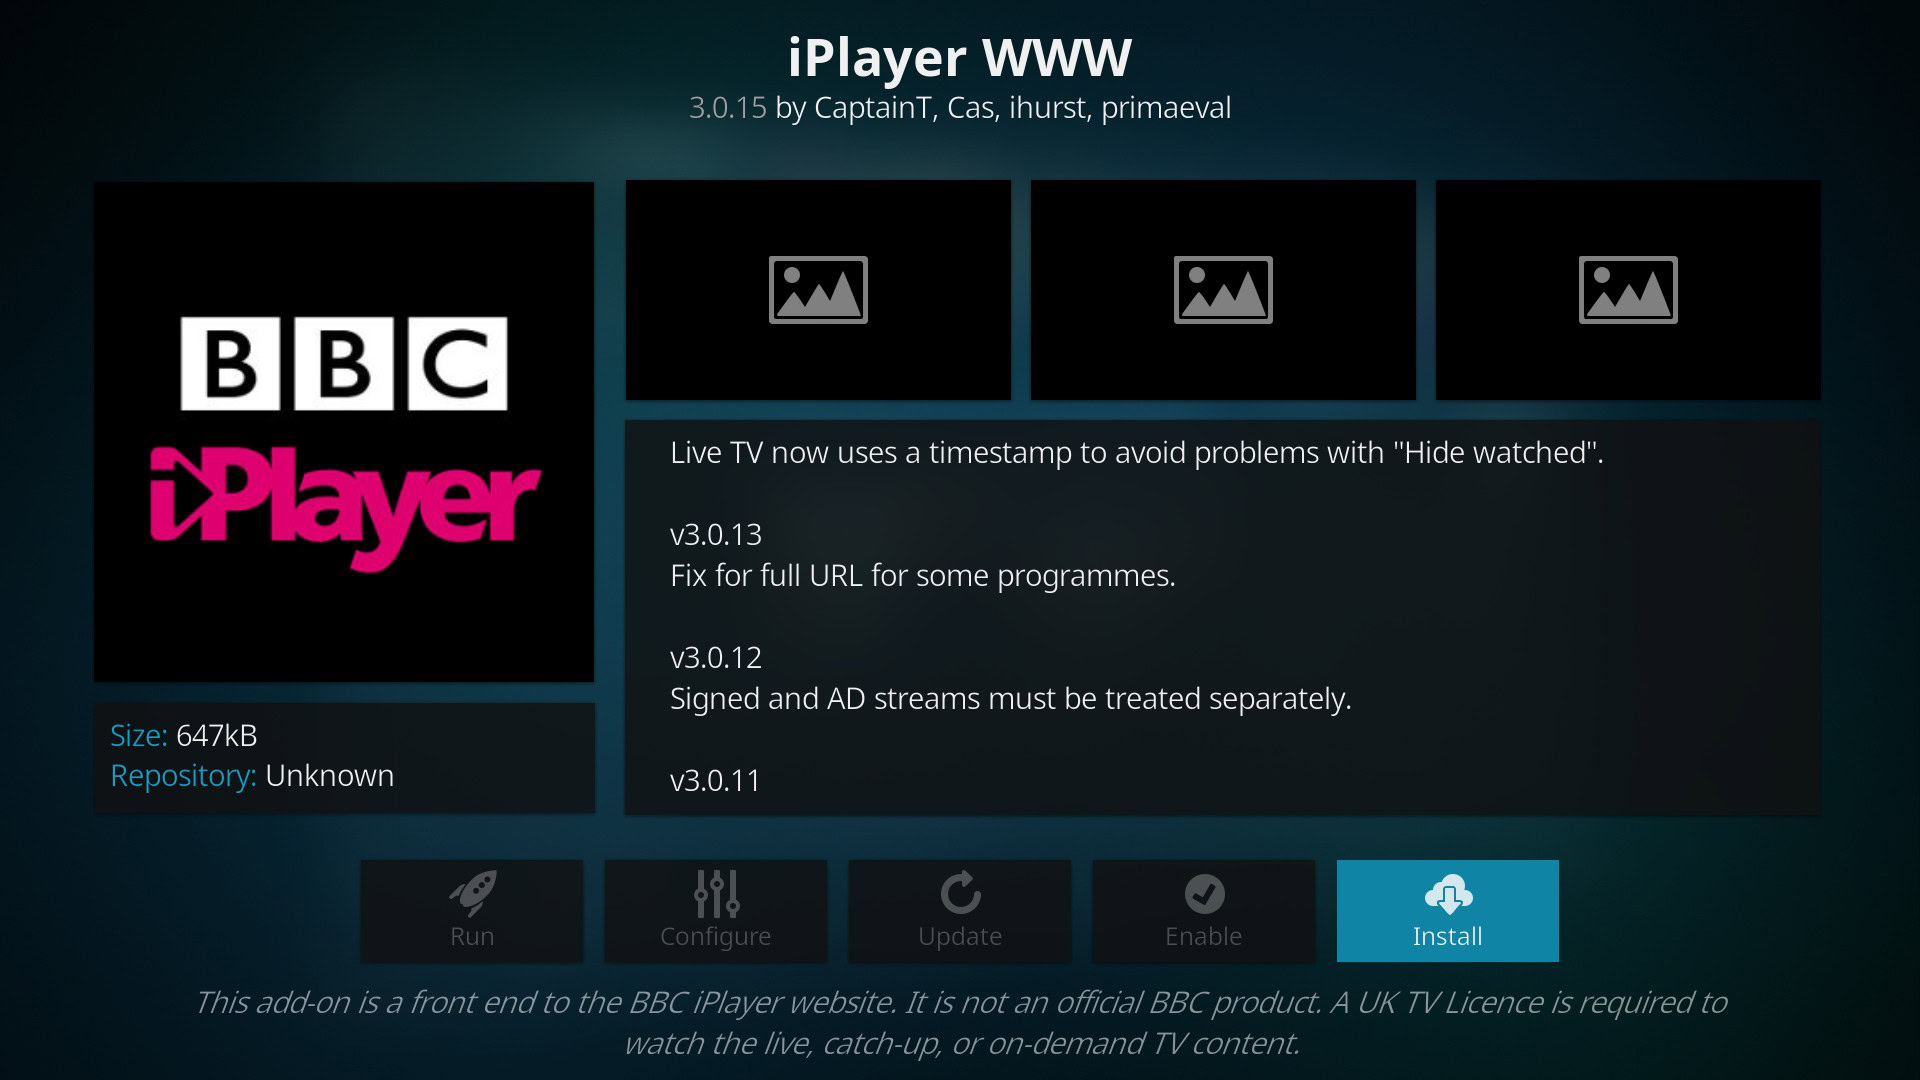
You will see special conditions for some add-ons. Apps like the BBC iPlayer add-on will display notifications like “A UK TV license is required to watch the live, catch-up, or on-demand content.” Once an add-on is installed, you will see them in the Video Add-ons section.
Read more: The best Kodi apps for Android