Affiliate links on Android Authority may earn us a commission. Learn more.
How to make a timeline on Google Slides
Published onApril 6, 2023
Google Slides is a great tool for creating presentations quickly and easily. The possibilities are vast, whether it’s a creative slideshow or a more detailed report detailing your company’s annual results. To that end, you may require a timeline to describe more specific data points in your presentation. But how do you do this? Below, we explain how to make a timeline in Google Slides using a template and your creativity.
QUICK ANSWER
Quickly insert a timeline into a Google Slides presentation by selecting Insert > Diagram > Timeline from the toolbar. Finally, choose the template you wish to use.
JUMP TO KEY SECTIONS
How to make a timeline in Google Slides using templates
This is the easiest and best way to integrate a timeline into your Google Slides presentation. There are plenty of templates to choose from, and each option also includes several customization options.
- Open a Google Slides presentation.
- Right-click on a slide you wish to edit.
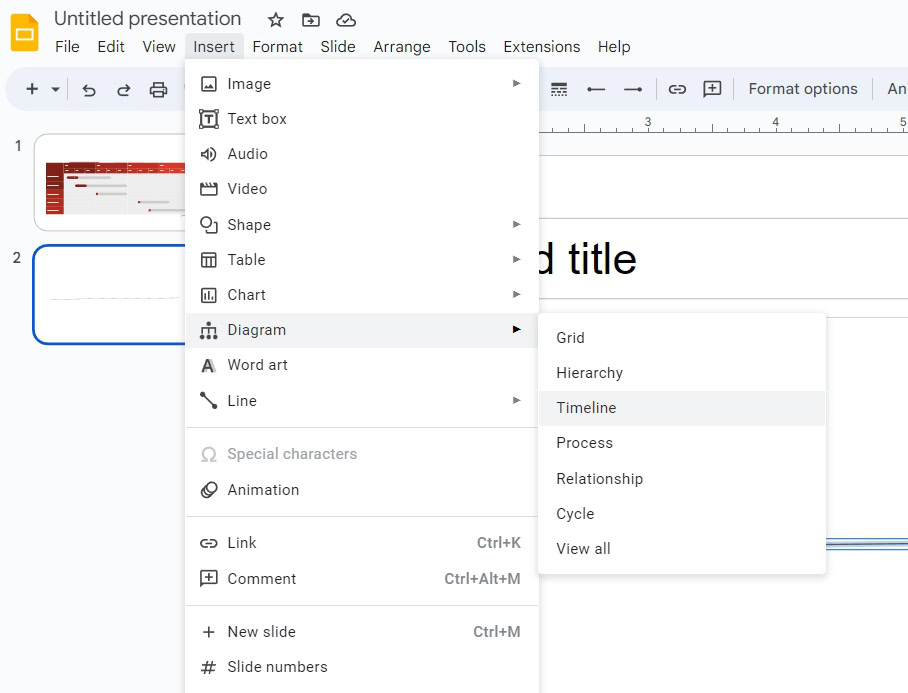
- On the toolbar, click Insert > Diagram > Timeline.
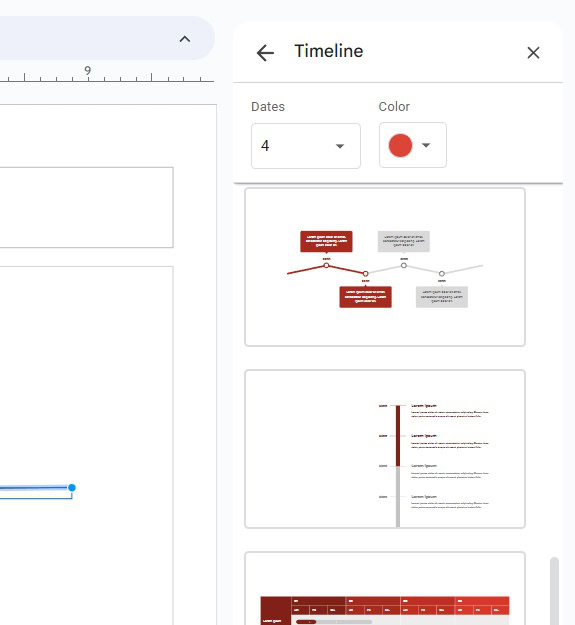
- Select a timeline style in the vertical bar on the right-hand side of the page.
- You can also change the number of dates available and the predominant color of the timeline by clicking on the Dates and Color drop-downs.
How to make a custom timeline in Google Slides
If you’re feeling particularly creative, you can easily construct your own timeline in Google Slides. Below is a workflow to create a simple example, but be sure to experiment with lines, shapes, callouts, and text once you’ve mastered the controls and tools.
- Open a Google Slides presentation.
- Right-click on a slide you wish to edit.
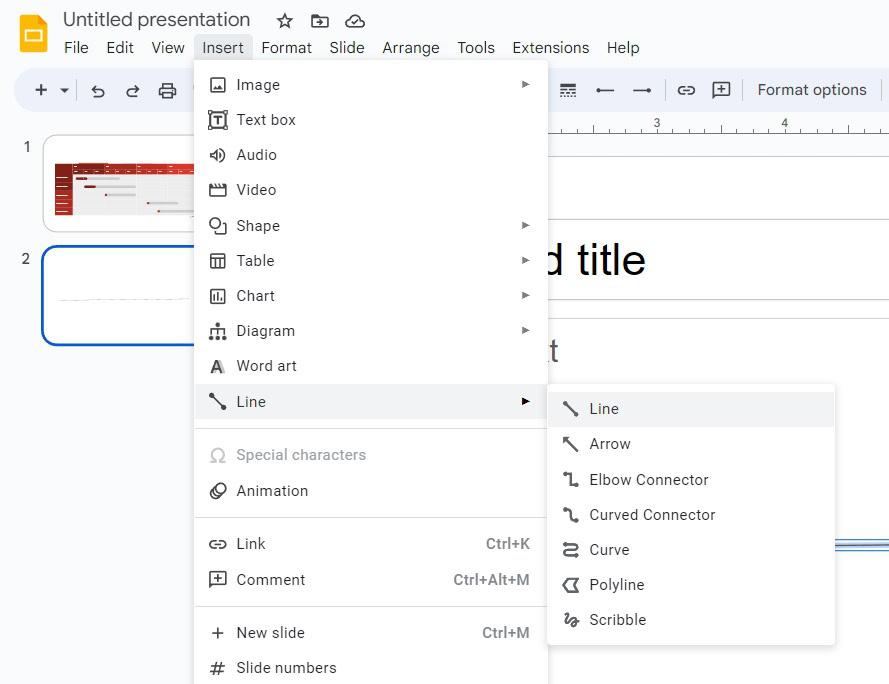
- On the toolbar above, click Insert > Select Line > Line. This will be the backbone of your timeline.
- You can adjust the line thickness, color, and more from the toolbar.
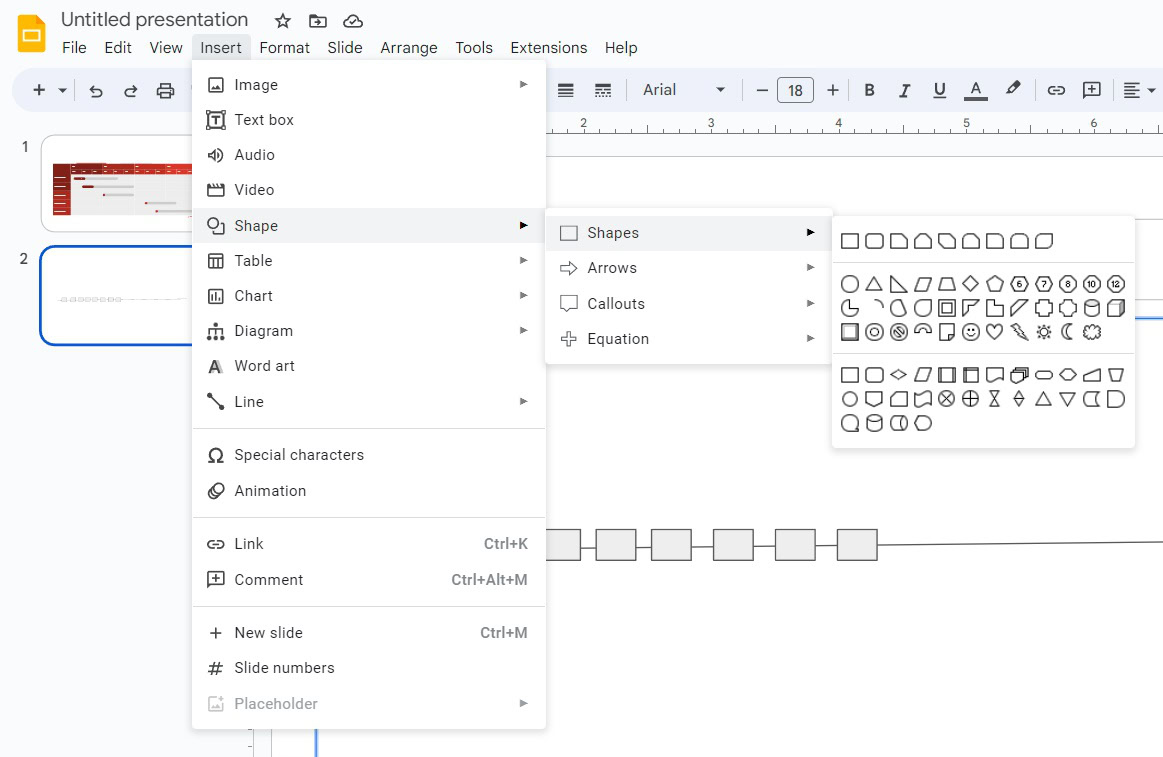
- Next, you’ll need to create date points for your timeline. For this, head back to the toolbar, and click Insert > Shape > Shapes. Select the shape of your choice.
- You’ll want to create as many shapes as required for your date points. Instead of repeating the above step, select a shape on the slide, hit CTRL-C to copy it, and CTRL-V to paste it. Repeat this as many times as required.
- Ideally, you’ll want to position these shapes along the line but use your creative discretion.
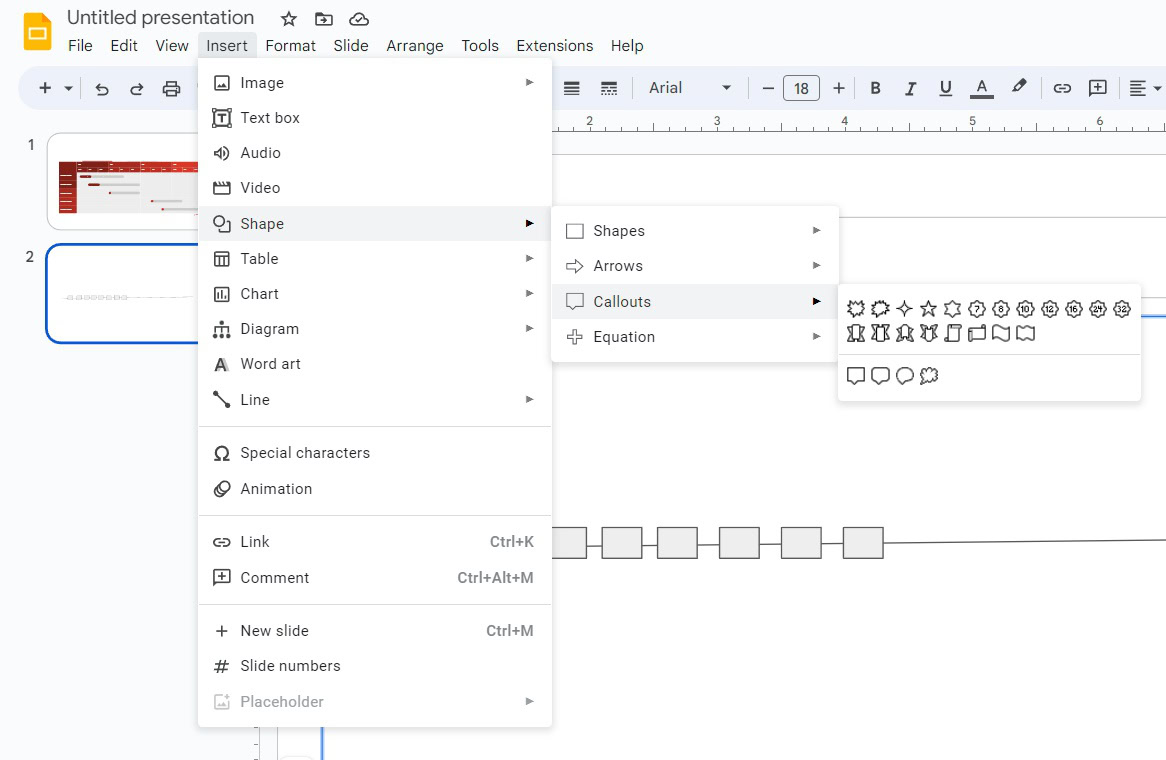
- Next, you can create callouts within which you’ll place your text. From the toolbar, click Insert > Shape > Shapes > Callouts. Create as many as required using the copy-paste shortcut described above.
- If you want to place callouts above and below the line, flip their orientation by clicking Arrange > Rotate > Flip Vertically from the toolbar. This isn’t required for squares and circles but may be needed for a speech bubble.
- It’s also worth noting that you needn’t use callout shapes. You can also use another simple form or simply place text boxes above the date points on the timeline. It’s your choice.
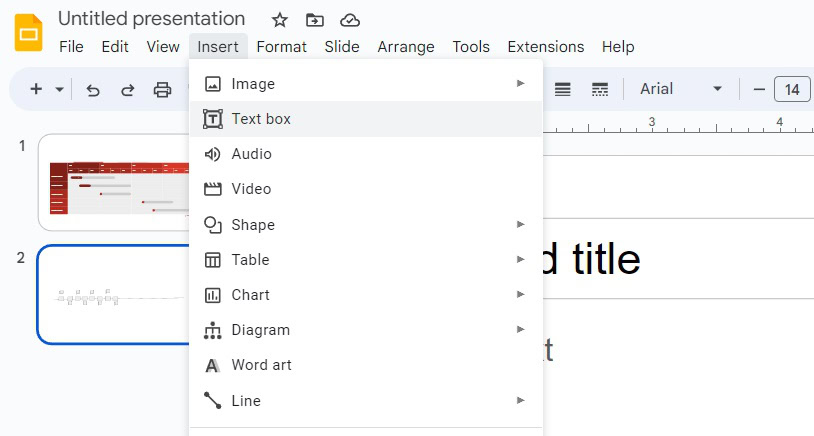
- Finally, create text boxes within each callout by heading to Insert > Text Box from the toolbar.
- You can adjust the font type, size, and color as required.
- Once again, you can use the copy-paste shortcut outlined above to create multiple text boxes.
FAQs
If you want to try your hand at free-drawing a timeline on Google Slides, you can. Click Insert > Line > Scribble to draw directly on a slide.