Affiliate links on Android Authority may earn us a commission. Learn more.
How to manually install Android Lollipop on a Nexus device (Windows and Linux)
In this quick tutorial (which comes with a video), we'll show you how to manually install Android Lollipop on a Nexus device.
By
•
Published onNovember 12, 2014
•
•
The official Android 5.0 Lollipop images have been released to the Android Developer site and we’d wager that means you’re ready to get those installed on your Nexus device. In this quick tutorial, we’ll show you how to manually install Android Lollipop on a Nexus device. If you need to see it done, check the video above.

What will you need before you get started?
- A Nexus device along with a USB cable to connect it to your computer.
- The Android SDK installed on your machine with ADB and Fastboot command successfully working. Here’s a tutorial on how to do that.
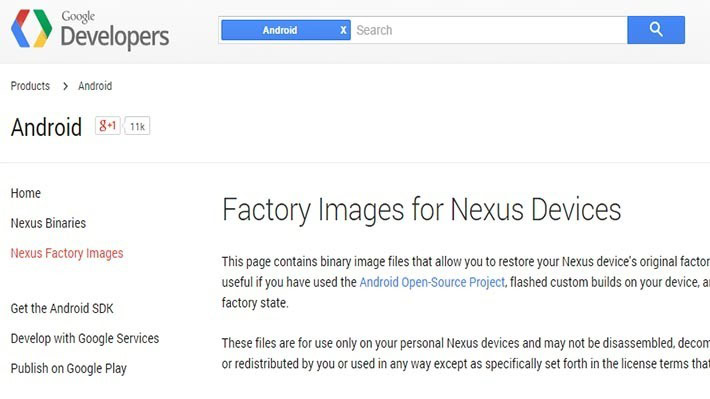
- You’ll also need the appropriate factory image for your Nexus device. Go to this website to download them and make sure you get the right one for your device. It’s worth it to spend a moment to make sure you have the right one rather than have to deal with the issues of downloading the wrong one.
- You’ll also need 7zip or a similar program that can handle .tgz and .tar files. You can download 7zip for free here.
- You will also need to unlock your Nexus bootloader. Beware, this will erase your data. It’s also worth noting that flashing a factory image will also erase your data. Make sure to back it up!

How to manually install Android Lollipop on a Nexus device
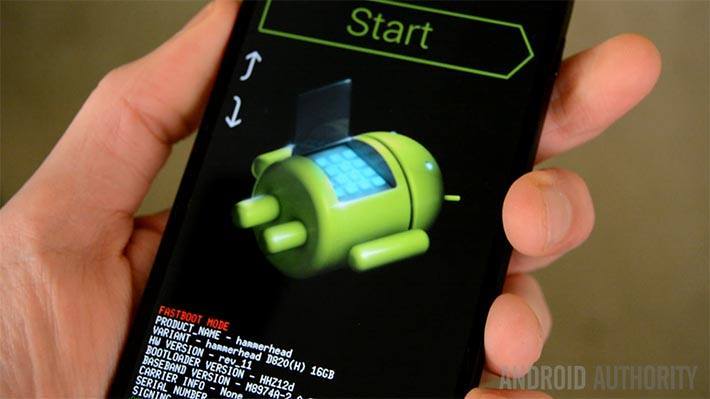
- Boot your Nexus device into fastboot mode. You do this by turning it off and holding down the volume up + volume down keys and then pressing power. That should work for all modern Nexus devices but if not, you may need to Google Search how to do it on yours.
- On your computer, use 7zip to extract the .tgz file you downloaded from the Android Developer website. Use 7zip a second time to extract the .tar file you extracted from the .tgz. When you’re done, you should have a folder with several files in it.
- Copy all of these files and paste them in the platform-tools folder in the Android SDK on your computer. If you followed the above tutorial, this should be under the C drive, then under Program Files (x86) on Windows. Linux users, you know where you put it.
- If you have not already done so, connect your Nexus device to your computer. ADB and Fastboot commands should already work at this point if you’ve been following along.
- There are two flash-all files. If you’re in Windows, you’ll want to double click the one that has the gear logo and says “Windows Batch File” on the right. If you’re on Linux, you’ll want to double click the flash-all.sh.
- At this point a box should pop up and you should see the installation taking place. While this is going on, do not unplug your device for any reason. Let it do its thing.
- Once the installation process as finished, your device will automatically reboot and you should see the official Android Lollipop boot animation start up. You can now safely disconnect your device from your computer. Congrats, you now have Lollipop!
If you have any issues, check out the Android Authority Forums and ask there. If you need to watch the step by step instructions performed on video, we have it embedded at the top. Good luck, have fun, and we hope you enjoy Android Lollipop!
Follow