Affiliate links on Android Authority may earn us a commission. Learn more.
How to record audio on Chromebook
Published onJanuary 25, 2025
If you’re trying to figure out how to record audio on Chromebook, you’ll be glad to learn you have both official and third-party options. Let’s show you what you have to work with!
QUICK ANSWER
The simplest way to record audio on Chromebook devices is to use the official Recorder app. It's pre-installed on most modern Chromebooks, so you simply have to find it in your apps and launch it. There will be a large Record button on the bottom, center section of the app. Press on it to start recording, and press on Stop recording to end the session.
You can also use third-party apps. These can be web-based, which means they're accessible from a browser. Additionally, you can use an Android or Linux app.
JUMP TO KEY SECTIONS
Editor’s note: We used an ASUS Chromebook Plus CX34 running Chrome OS version 132.0.6834.154 to formulate some of the steps in this guide. Depending on your hardware and software, some menus and steps may differ slightly.
How to record audio or voice on your Chromebook
We’ve compiled a list of the best methods to record audio on Chromebook for every type of user. One of them is bound to suit your needs. Let’s get started.
Recorder: The official, built-in audio recorder
Nothing beats using the official method, and while this wasn’t always the case, Chromebooks now come with the Recorder app pre-installed and ready to record audio on Chromebook laptops. This feature was introduced with Chrome OS 130, in October 2024.
How to use the Recorder app on Chromebook:
- Click on the Launcher button in the bottom-left corner of the screen or press the Launcher key on your keyboard.
- Search for Recorder, or find it in your app list. Launch it.
- You can now press the Record button whenever you want to start recording. The option is in the middle of the app, at the bottom. You can also customize your recording by looking into Mic options and Recorder settings.
- To end the recording session, press Stop recording. There are also options to Pause or Delete the recording.
The recordings will be saved within the app. If you want to store it elsewhere, click on the three-dot menu button next to the recording, select Export, choose your preferences, and click Save.
Vocaroo: A simple web-based audio recorder

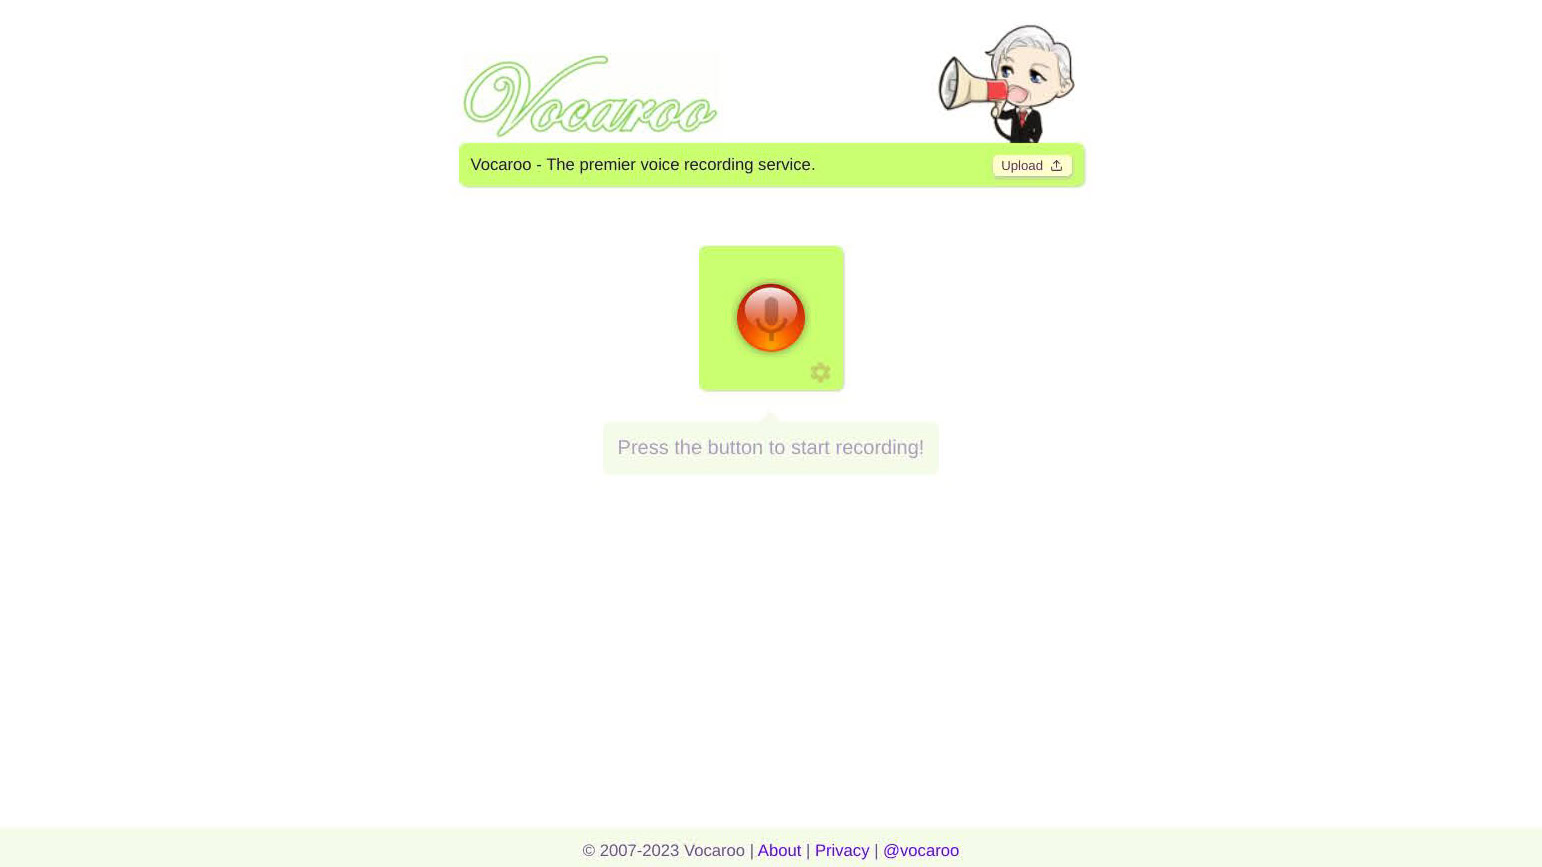
Plenty of web-based audio recorders exist, but Vocaroo stands out as one of the easiest, most straightforward ones to use. It gets straight to the point, and has a very intuitive interface. Of course, the quality won’t be excellent, and you don’t really get any editing tools, but it gets the job done for quick audio recordings, and it’s free to use.
ASR Voice Recorder: A great free voice recorder for more advanced users

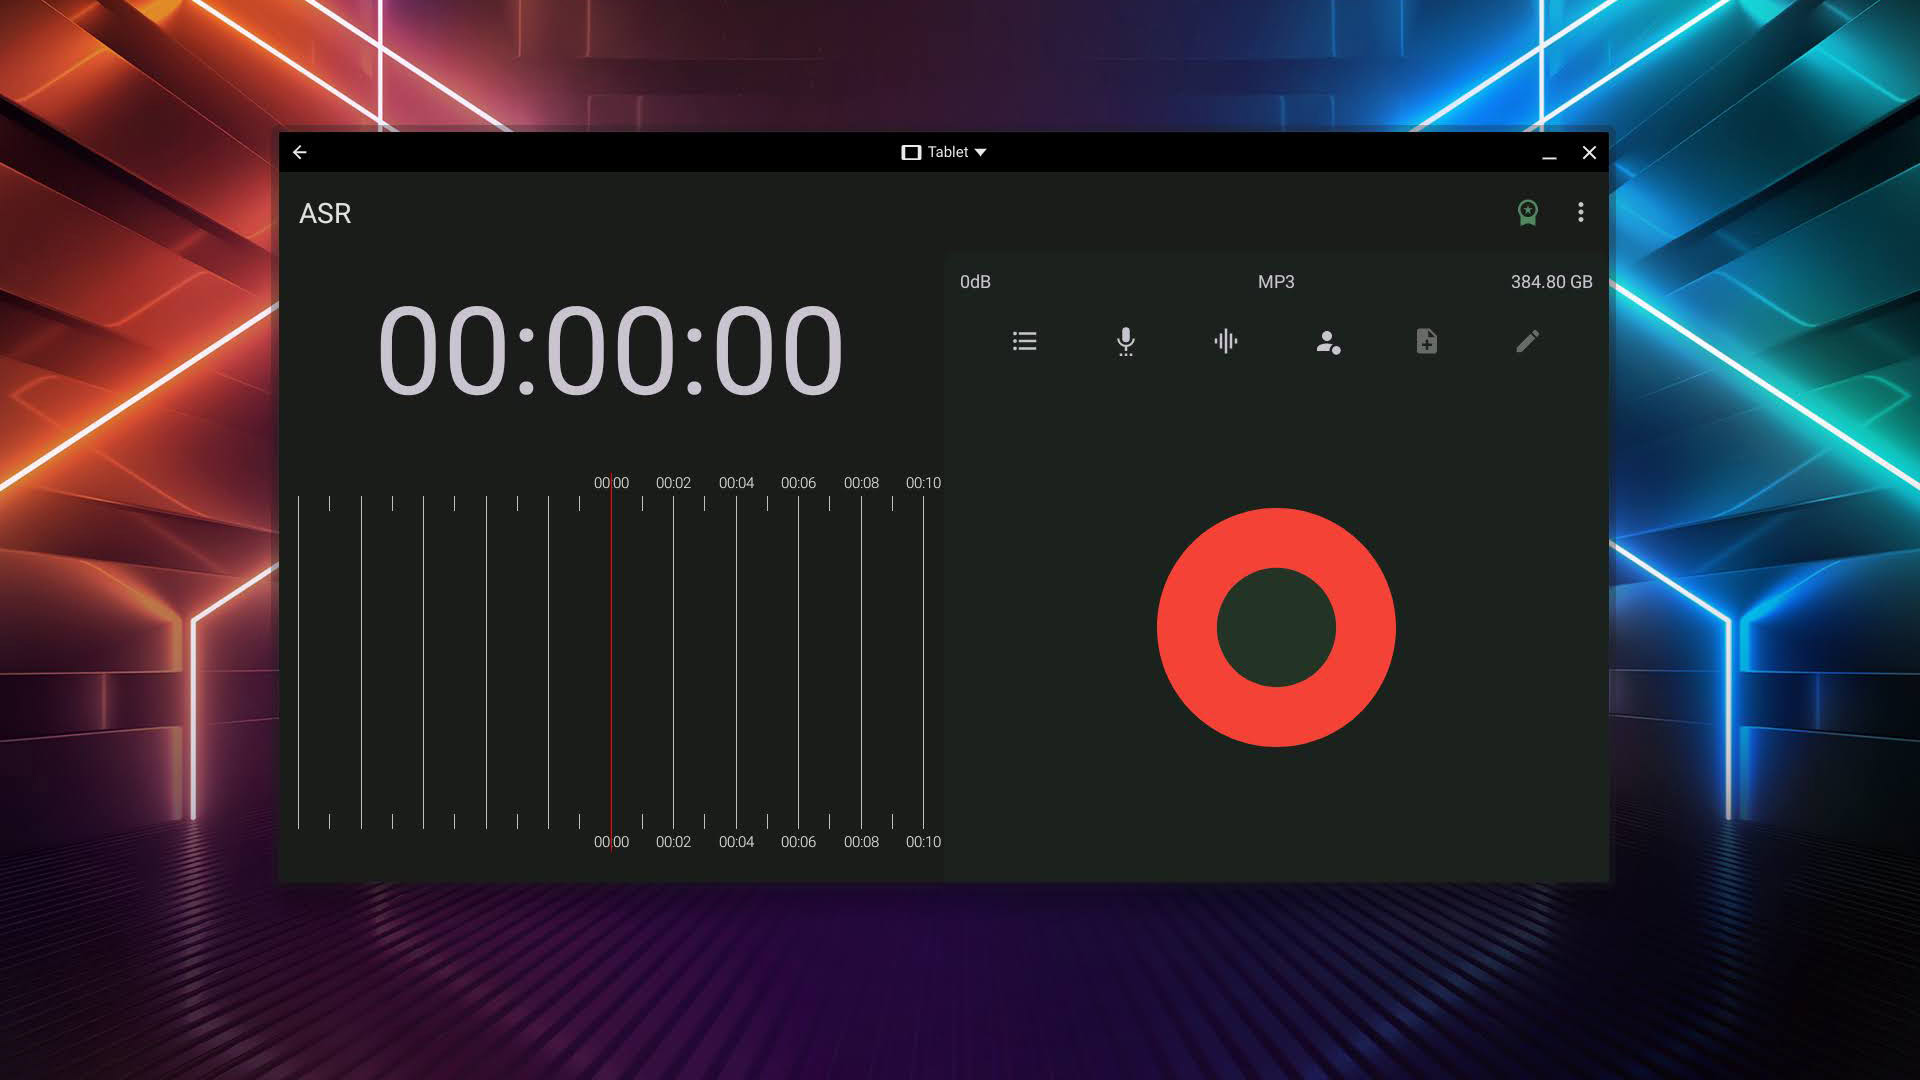
Those looking for a more advanced recording experience likely won’t be happy with a simple online audio recorder. You can opt for the ASR Voice Recorder Android app. It supports multiple formats, such as MP3, FLAC, WAV, OGG, M4A, and a few others. It also has neat features like cloud integration, playback speed controls, the ability to skip silent parts, a gain switch, and more.
The best part? It’s still free! However, you can pay an optional one-time $ 9.99-lifetime fee to access all premium features. You can also opt to pay $2.49 per year. That said, you can also opt for free subscription options with ads.
Neutron Audio Recorder: A pro-level paid audio recorder

If you want more advanced features for serious audio recording, you likely won’t mind paying the $8.99 this app costs. It’s well worth the price for those who need the added features. In addition to all the usual capabilities like recording and playback, you can also access automatic gain correction, a 60-band equalizer, and a DSP filter. It will output some of the cleanest audio you can get from a Chromebook.
Mic Note: The best Chromebook audio recorder for note-taking

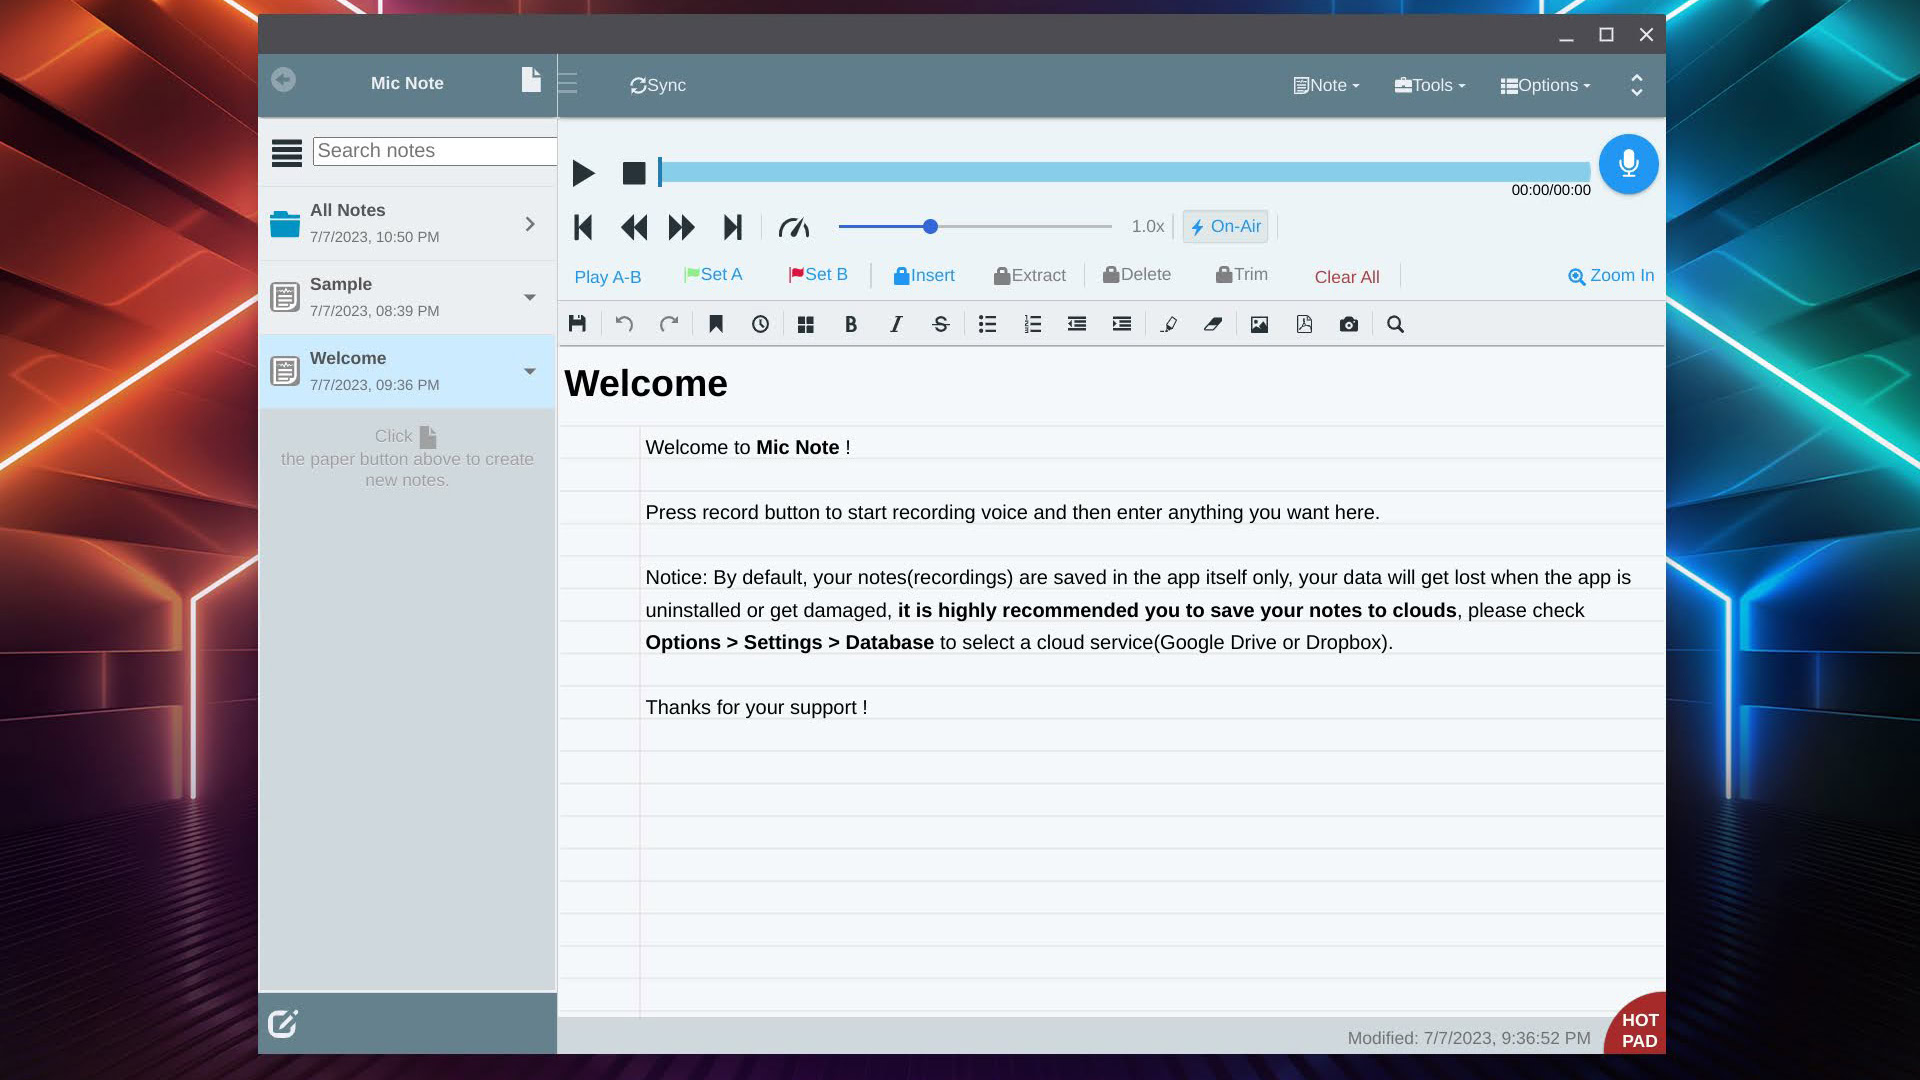
Mic Note is unique in that it is actually a Chrome app, and you have to get it from the Chrome Web Store. As such, it is made for Chrome OS and works great for recording audio on Chromebook. It also does more than just record audio or voice. Mic Note is a full-fledged note-taking app. You can type notes and attach audio recordings to them. For example, you could record a lecture and take notes on the same page. The app is free to use, but you can upgrade to Mic Note Pro for a one-time $15 fee to get more features.
Using the Screencast app: The best screen recorder that can also record audio
OK. There is technically one way to record audio on Chromebook without using a third-party app, but it has a huge caveat. You will also have to record your screen, as that is what the Screencast app is all about. That said, you can also record your voice along with what you’re doing on your Chromebook. If you were already planning on showing your screen, this is a free solution you already have built into your Chromebook.
How to use the Screencast app on a Chromebook:
- Press Ctrl + Shift + Show Windows. The latter looks like a square with other squares stacked behind it.
- Click on the Screen record option.
- Select the area of the screen you want to record. We will pick Record full screen for the sake of simplicity.
- Pick the Settings icon, which looks like a gear.
- Under Audio input, select Microphone. Look into the other settings and choose your preferences.
- Click on the screen to start the recording. Your Chromebook will begin recording after a three-second countdown.
- Click on the Stop screen recording button in the notification area to stop recording.
- Your recording will be in the Downloads folder.
Note: Chrome OS doesn’t allow us to take screenshots of the Screncast process. Sadly, this means we can’t really show you the steps visually.
Audacity: A desktop-level professional audio recorder
While Android and web apps are great, nothing beats an actual desktop-level app. With Chromebooks getting more capable, there is no reason to limit yourself, especially if your Chromebook can take advantage of Linux apps. If it does, you can easily get the Audacity Linux app. This is a respected audio recording software in the industry, used by many for projects in music creation, podcasting, and more.
The only bad news is that installing Linux apps on a Chromebook isn’t as straightforward if you haven’t done it in the past. For starters, you need to enable the feature. Follow our guide on how to install Linux apps on Chromebooks to learn the process. Once you’ve enabled the Linux app access, follow the next steps to get Audacity on a Chromebook.
How to install the Audacity Linux app on a Chromebook:
- Launch the Terminal app.
- Under Linux, select Penguin.
- Type in “sudo apt-get install audacity” without quotation marks.
- Press Enter.
- When asked, “Do you want to continue,” Type the letter “Y” and hit Enter.
- Let the system do its thing. Be patient; this may take a while.
- When done, you should be able to see an Audacity icon in your app list. Don’t open it just yet, though. You need to enable microphone access to the Audacity app first.
- Launch the Settings app.
- Expand the Advanced tab, go into the Developers tab, and click on the Linux development environment section.
- Toggle on Allow Linux to access your microphone.
- Linux may ask you for permission to shut down. Click on Shut down to proceed.
- You can now launch the Audacity app and start using it.
FAQs
As of Chrome OS 130, Chromebooks have the official Recorder app pre-installed.
This wasn’t the case until recently, but Chromebooks got access to the Recorder app as of Chrome OS version 130.
Chromebooks have access to three types of apps. You can use web apps, Android apps, and Linux apps. Not all Chromebooks have access to the latter two options, but most modern Chromebooks should. You may encounter compatibility issues only if you use a significantly older Chrome OS computer.
Like most other types of laptops, Chromebooks aren’t known for sporting quality microphones. In fact, they tend to be pretty bad. You can use external microphones and software enhancements to improve audio quality, though.