Affiliate links on Android Authority may earn us a commission. Learn more.
How to replace a cracked or broken Nexus 7 screen and digitizer
May 15, 2013
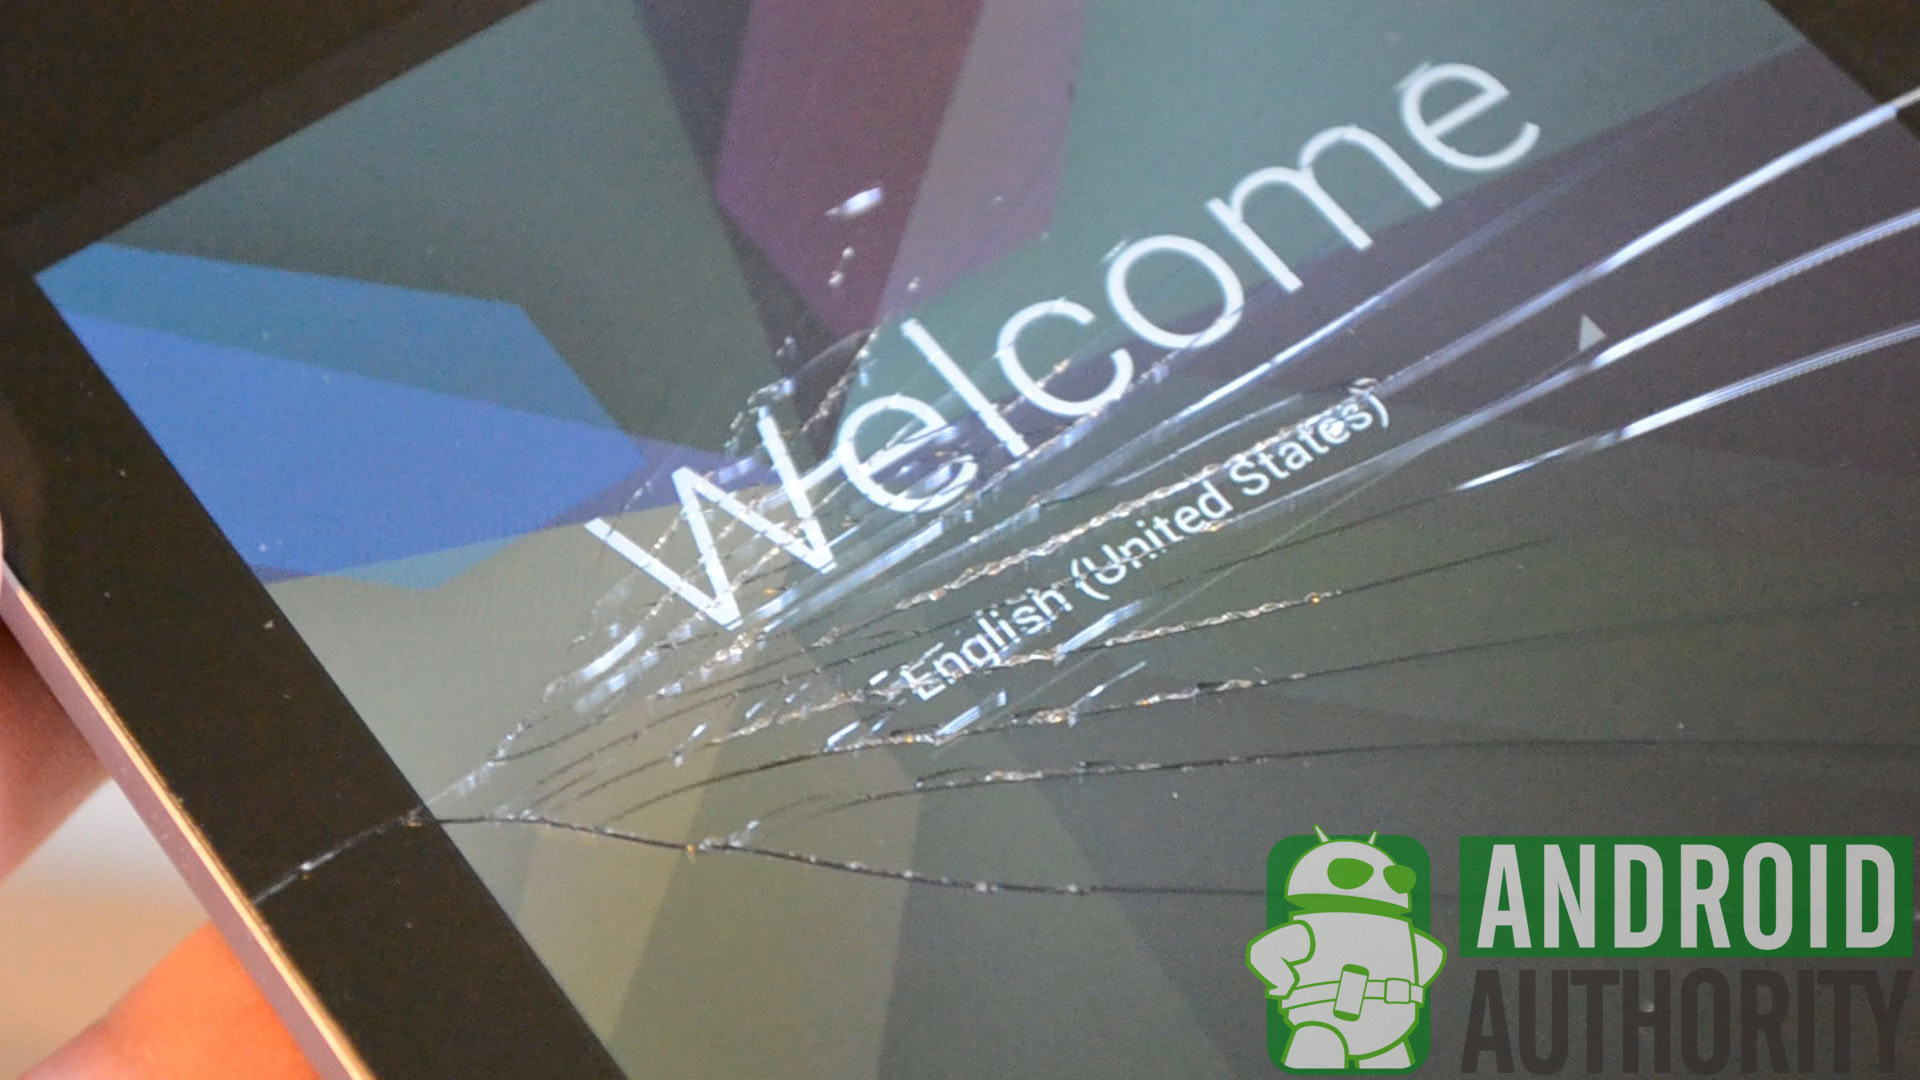
Sometimes the inevitable happens — you’re walking along using your Nexus 7, and right before your eyes your favorite Android tablet has a run-in with the sidewalk. As you pick it up you realize that you have cracked the screen, it won’t respond to touches either.
When both of these symptoms occur, it means that you have broken both the glass screen and the digitizer. On the other hand, if your tablet still responds to touches that means you have only broken the screen, and the following guide is not applicable.
Nonetheless, this guide will teach you, step-by-step, how to safely replace a broken screen and digitizer. Remember that this is somewhat of an in-depth process. You should only use this guide as reference, as there is always a chance you may damage your device even further by opening it up.
With that being said, read ahead to learn exactly how to breathe life into your broken Nexus 7! Make sure to also check out the video tutorial, which will make the process a breeze!
Tools needed
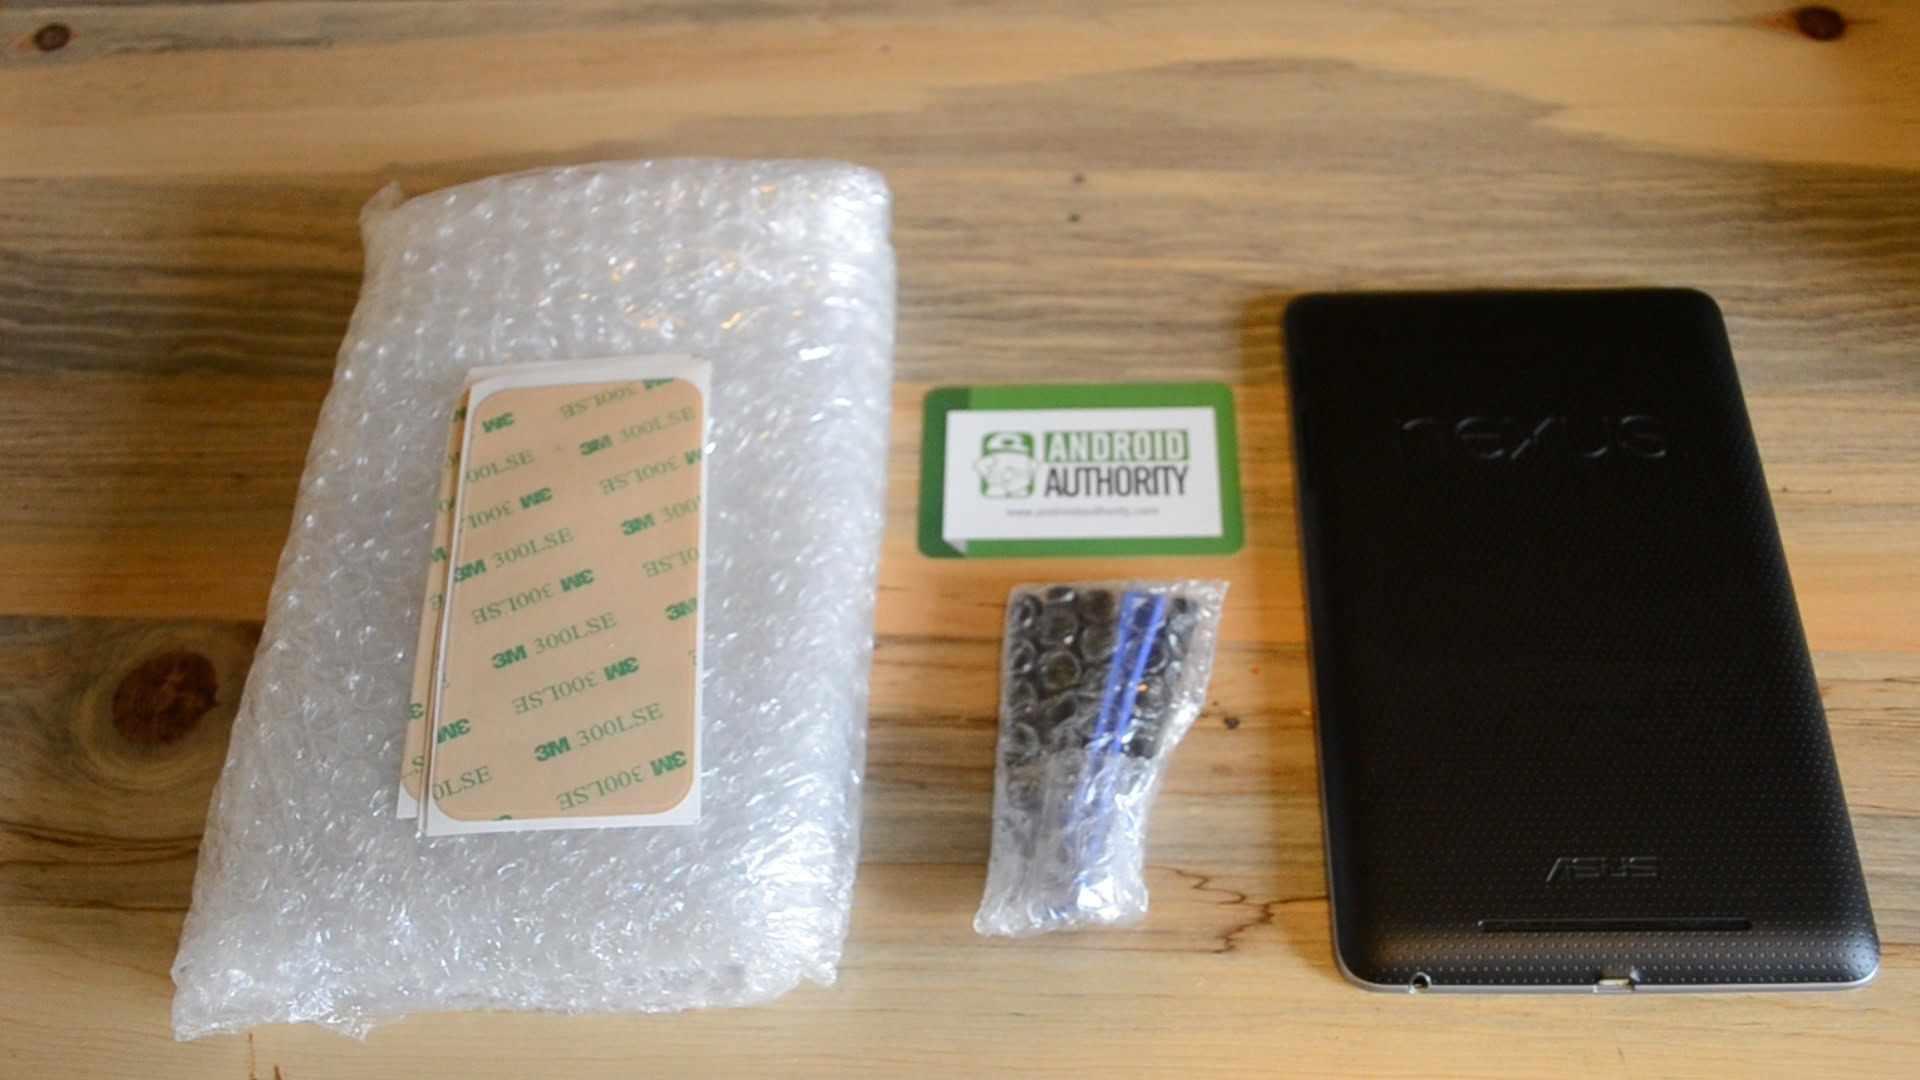
The process of replacing the Nexus’ screen requires very few tools, and many replacement panels even ship with tools included.
- Mini Phillips head screwdriver, one with a magnetic tip will help greatly.
- A spudger, a tool which is usually static resistant and is used to pry or separate the components in the tablet.
- An anti-static workmat is suggested as well in order to protect the tablet’s internals from electrostatic discharge
Repair process
Step 1
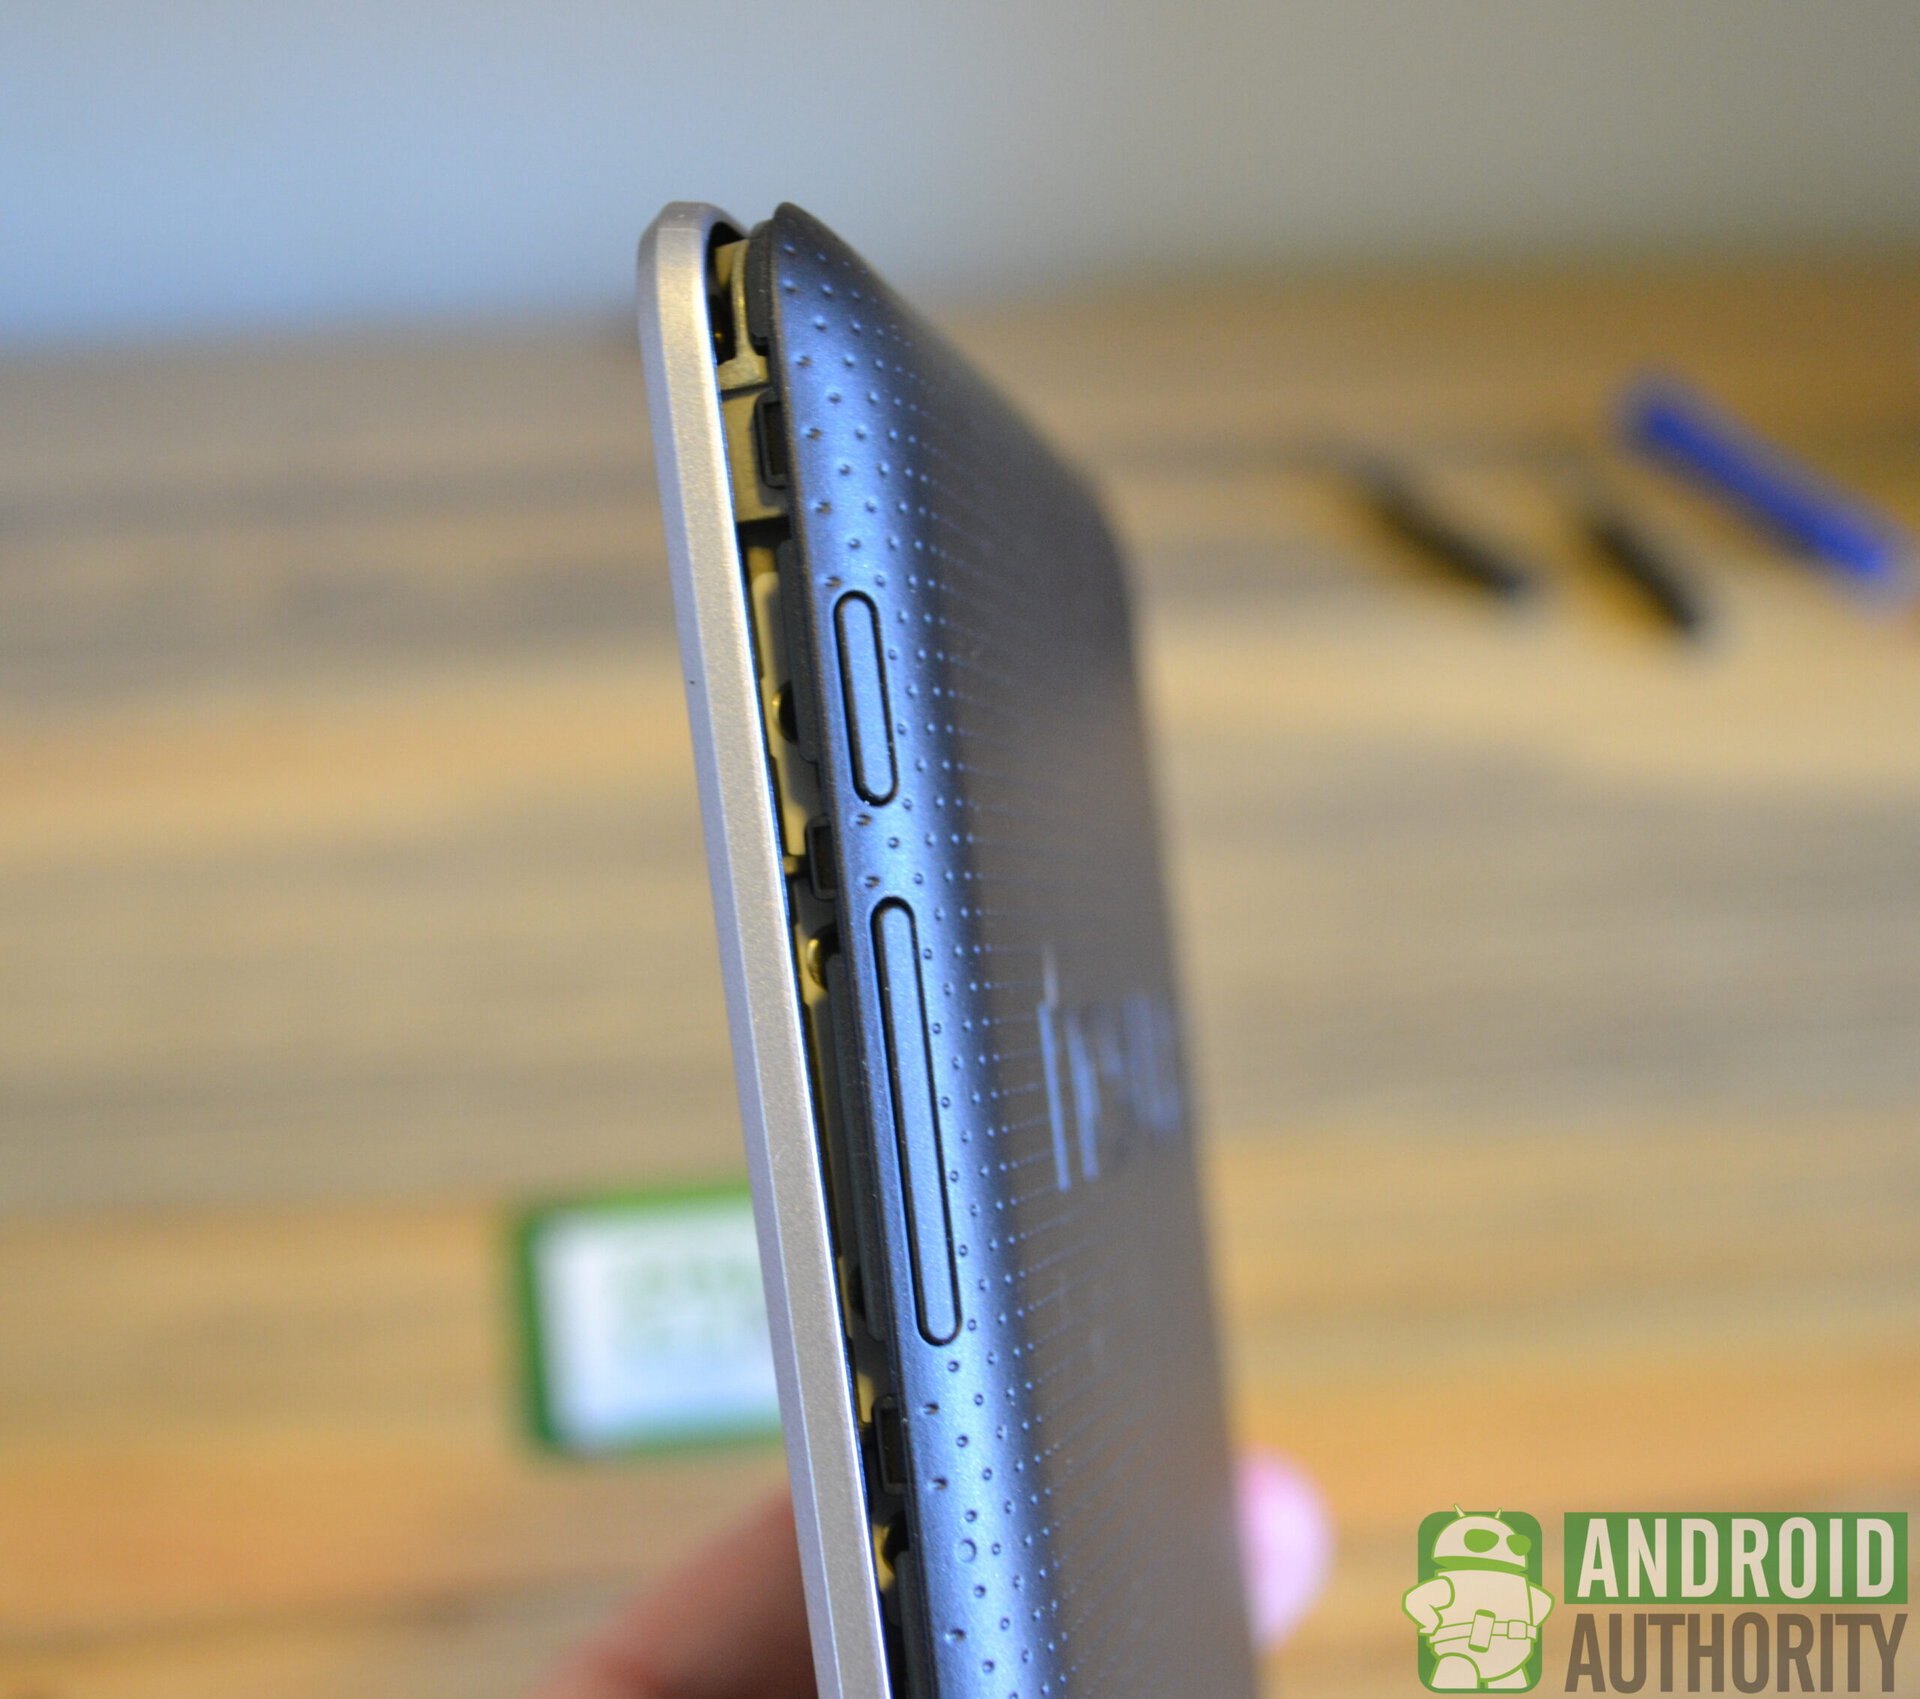
After finding a suitable workspace, begin by separating the Nexus’ back shell from it’s bezel by lightly prying with a spudger or guitar pick. The shell is very easy to remove and does not require a great amount of force to come off of the N7’s body.
Step 2
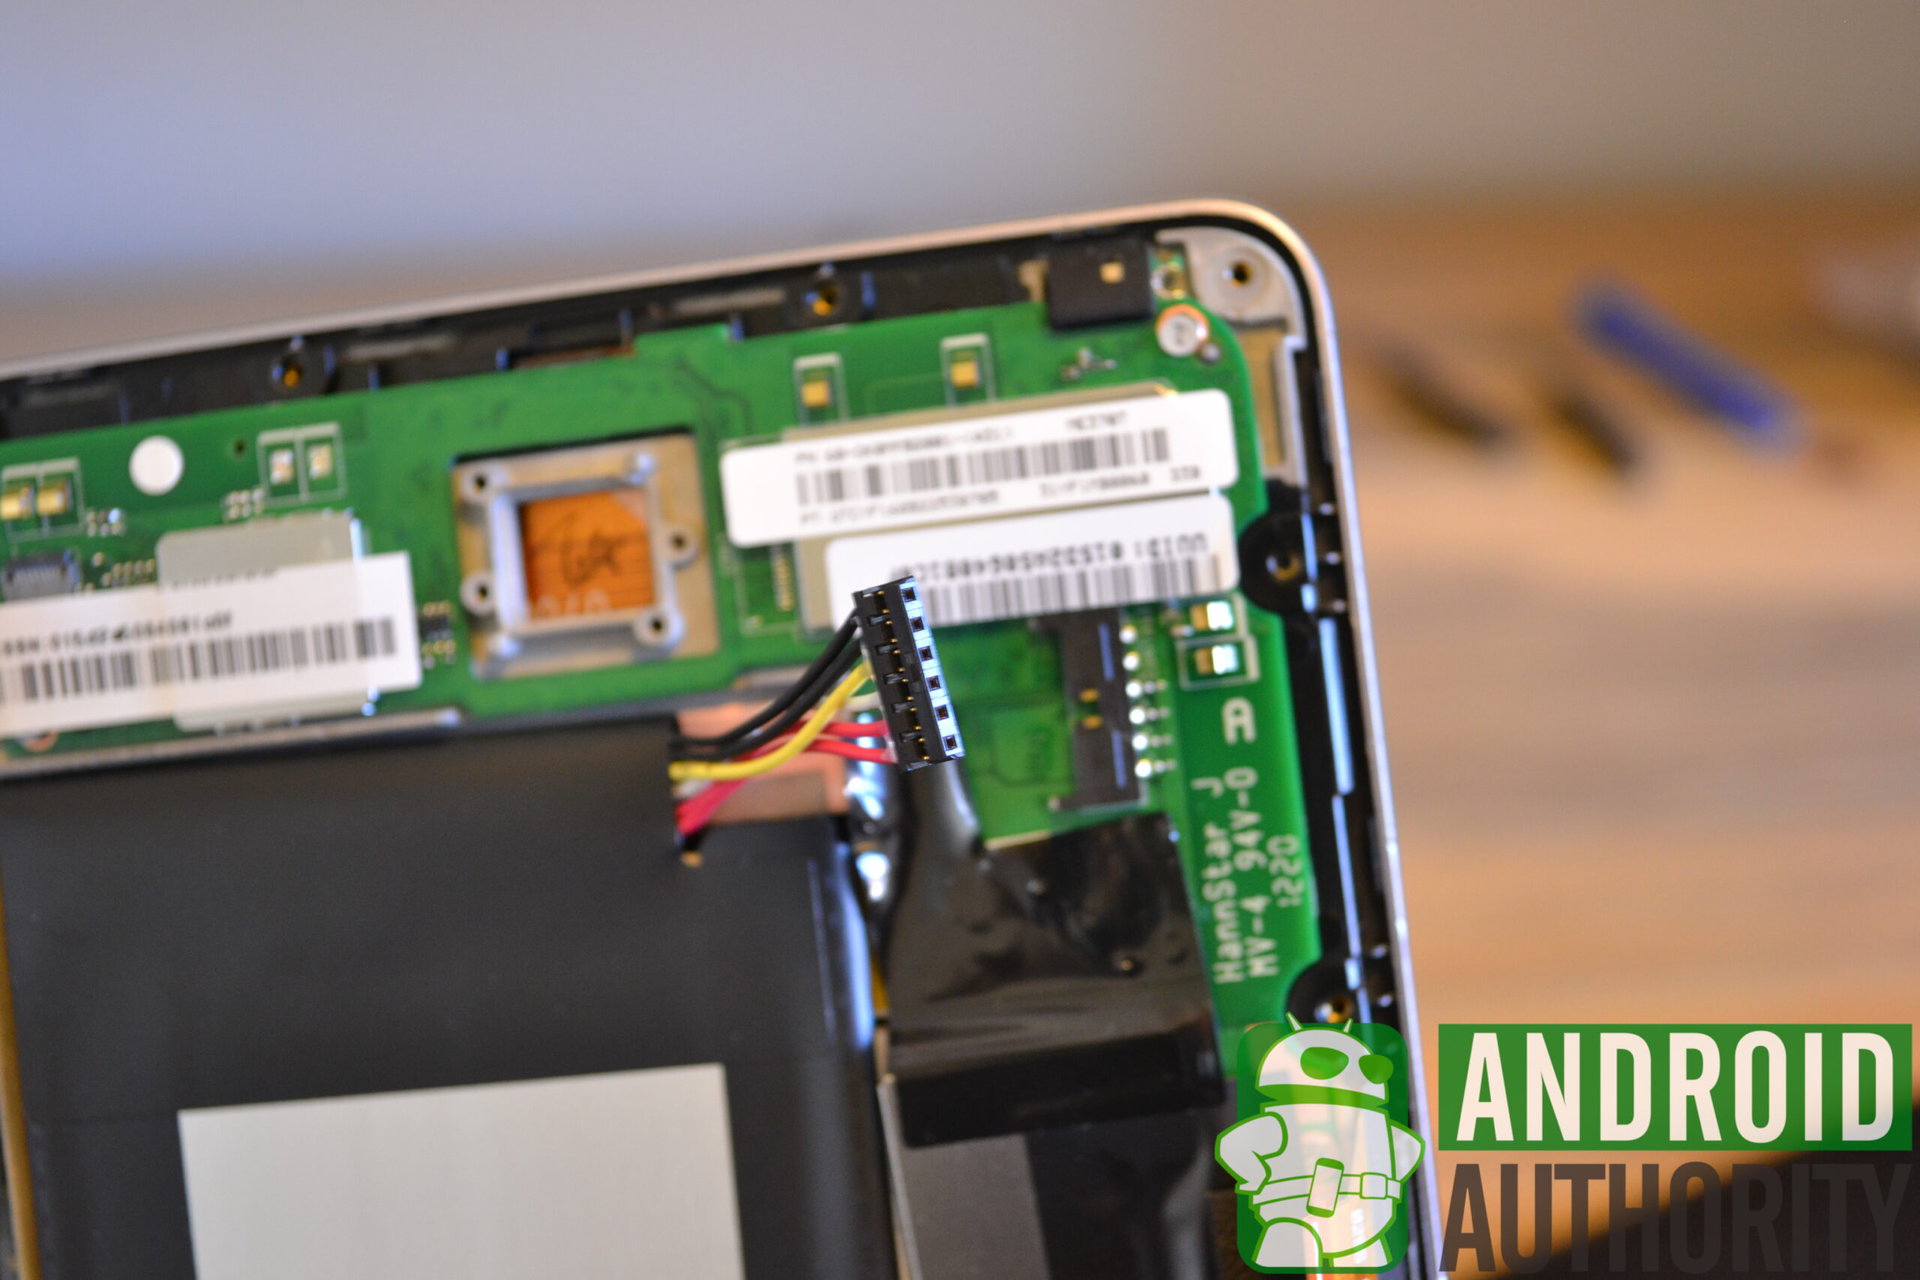
Disconnect the battery cable from the motherboard. You can do this by pushing forward and giving pressure to each side of the plug in a rocking fashion.
Step 3
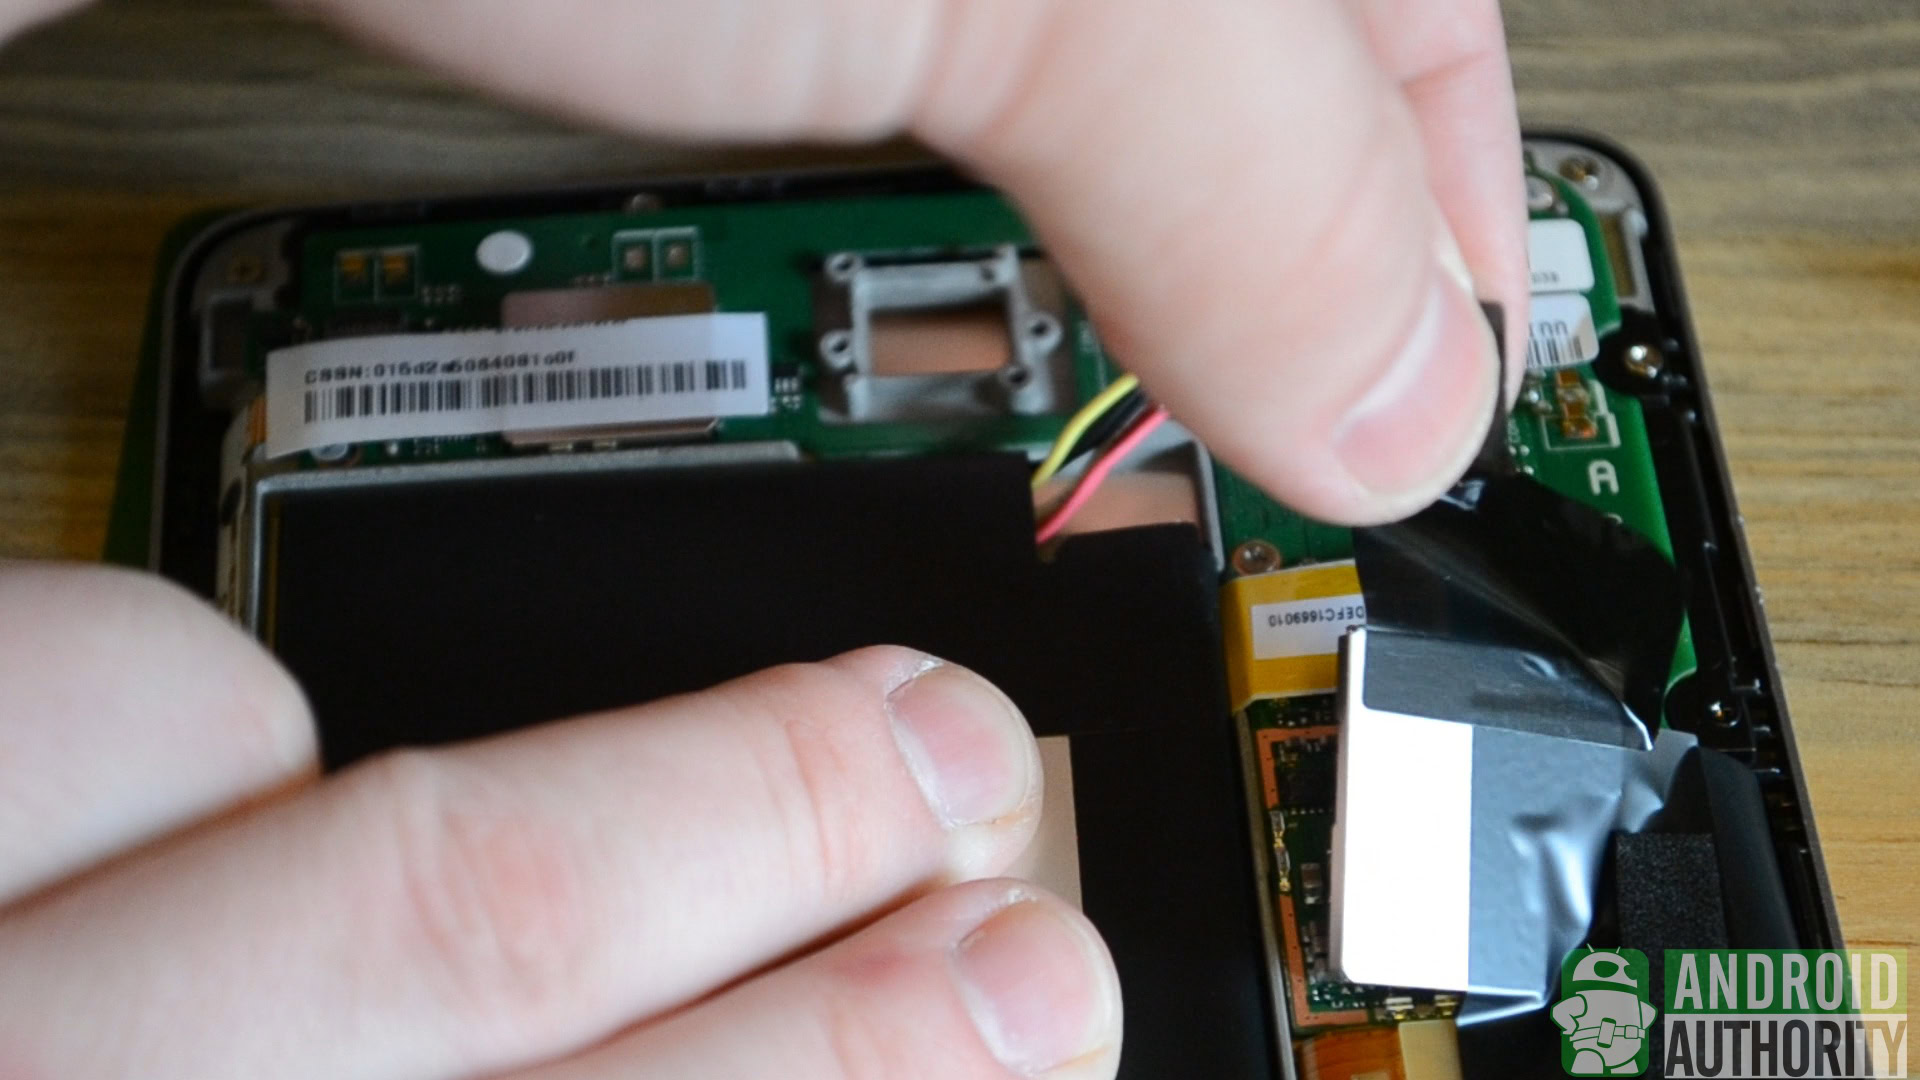
Remove the black tape that covers the LCD display cables. The tape can be folded backwards to remove it from your workspace, but try to let the tape retain its adhesiveness.
Step 4
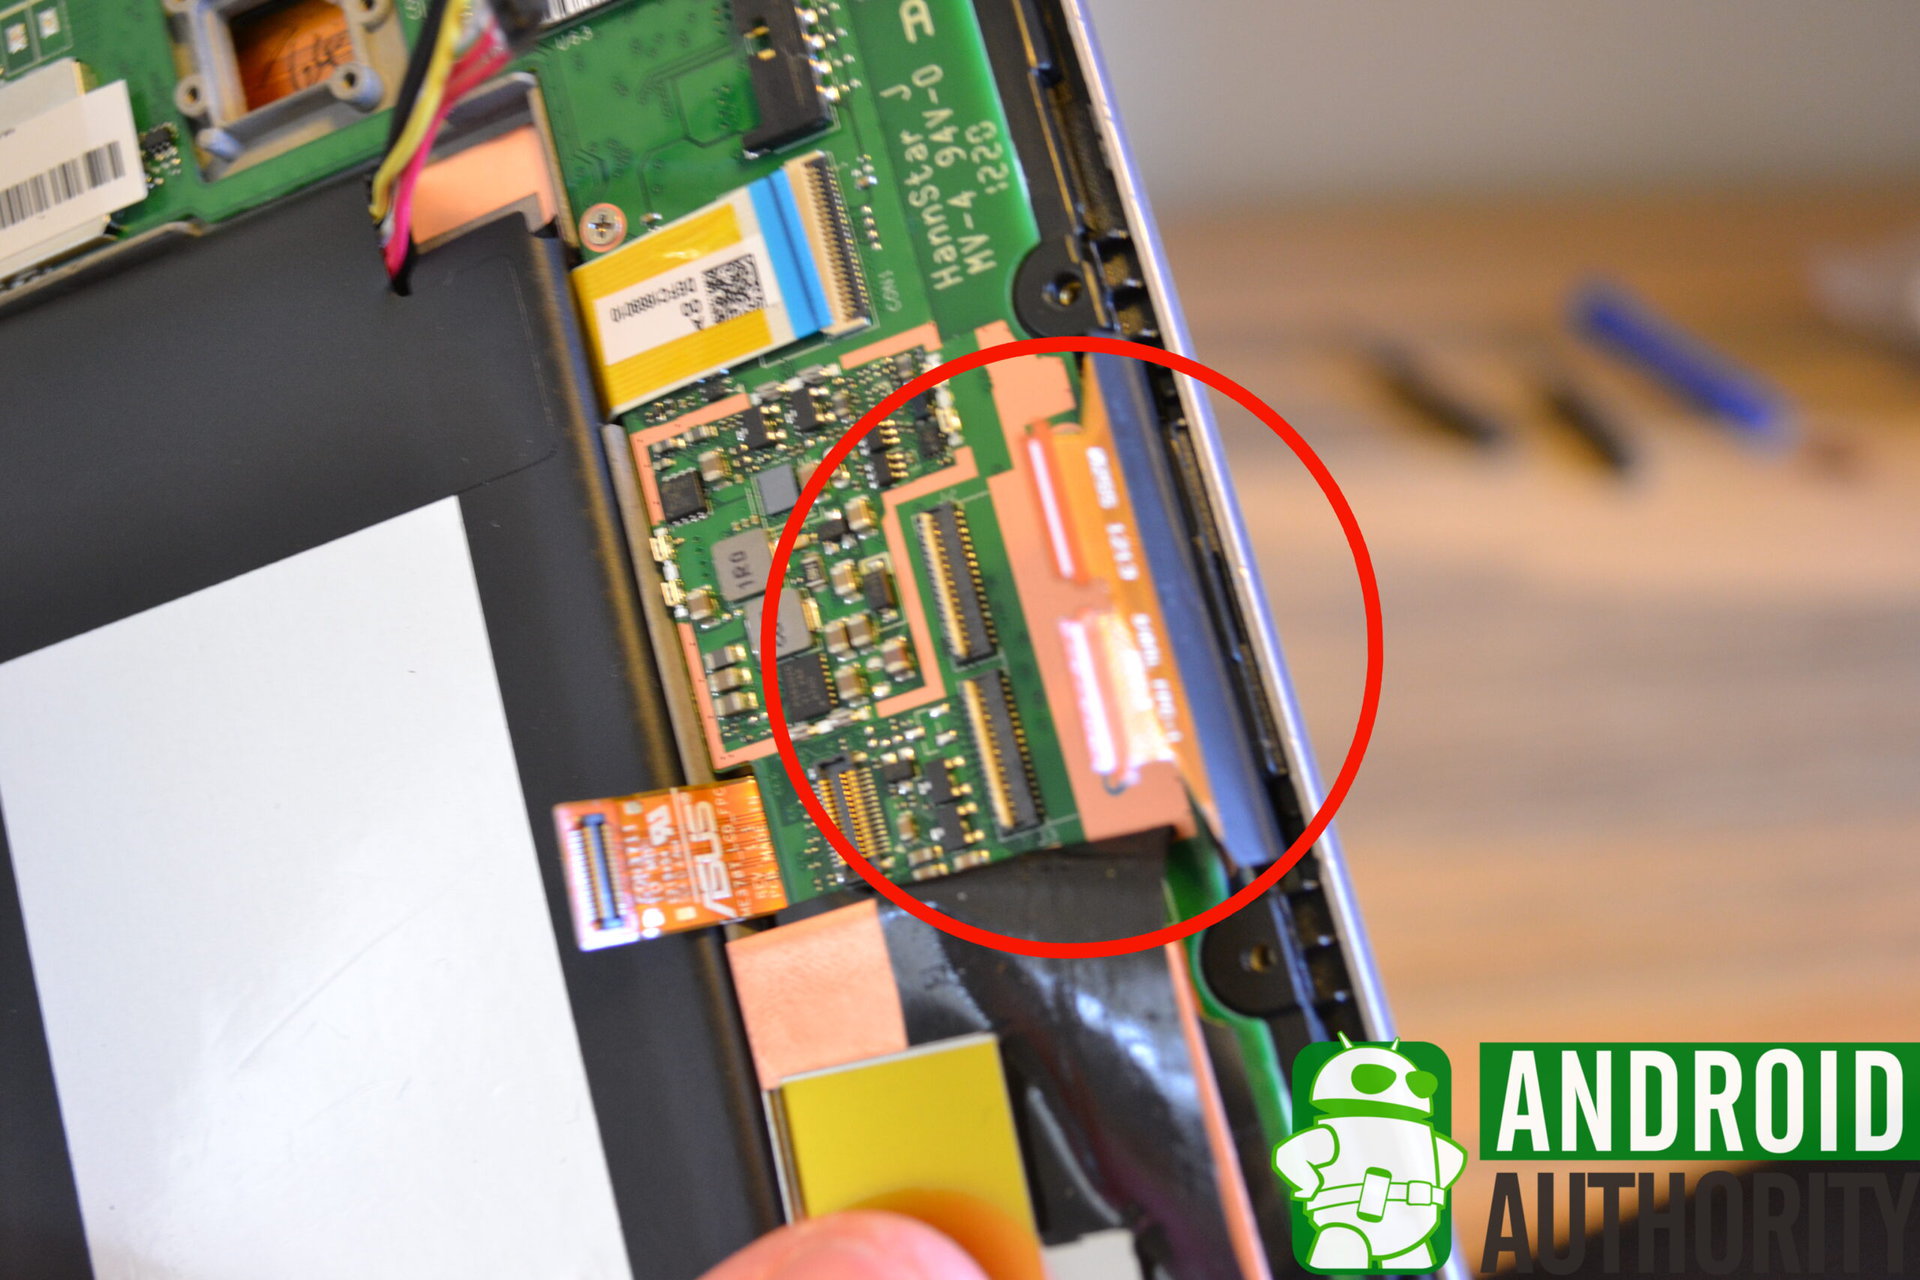
Unplug the LCD data cable and ribbon cables from the motherboard. The data cable can by lightly pried upwards to disconnect, the ribbon cables have two pressure clips that can both be pried upwards as well.
Step 5
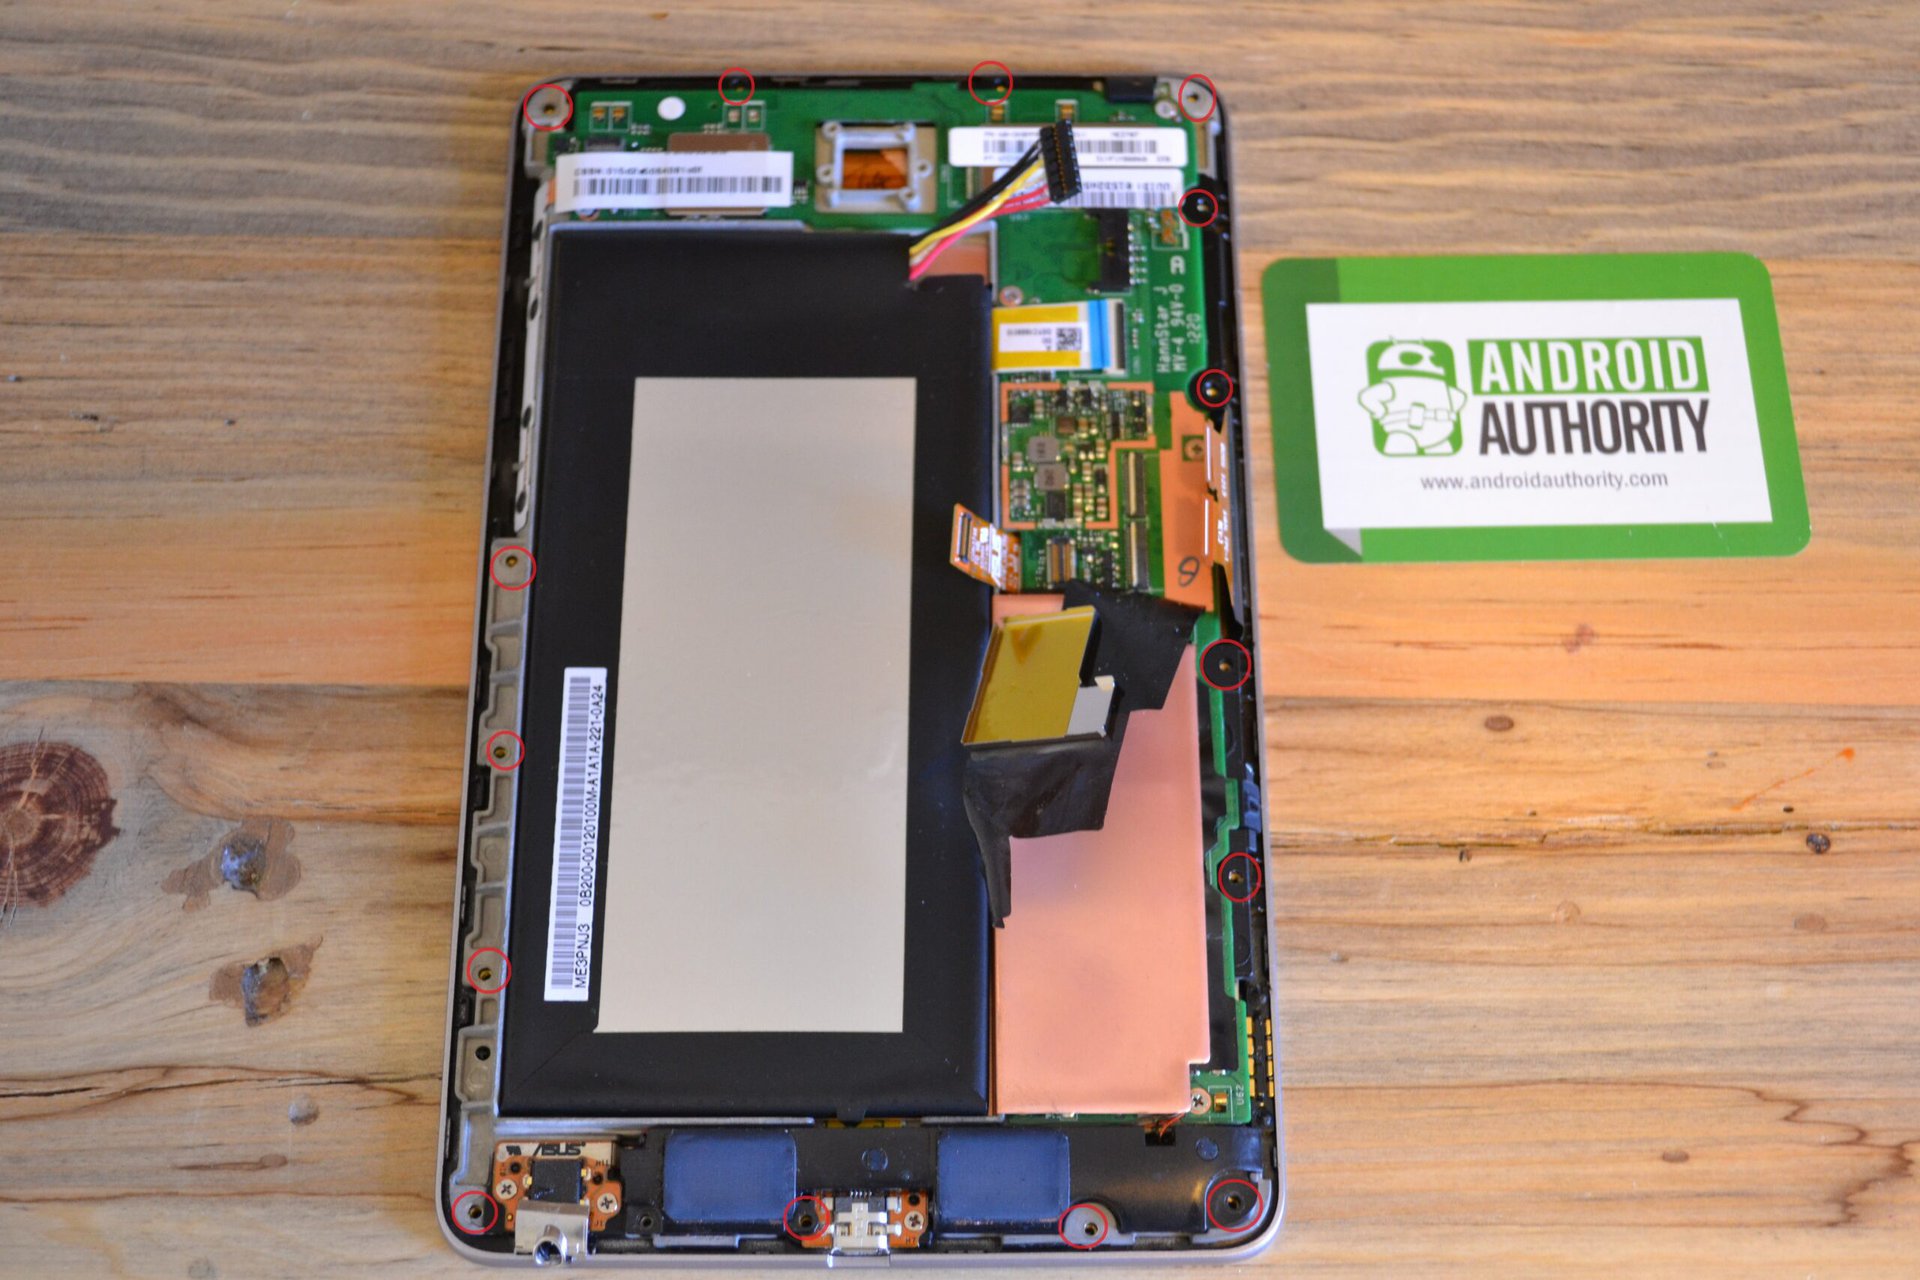
Unscrew the 15 perimeter screws that surround the Nexus 7’s body. They are all mini phillips screws, and as previously stated are best dealt with by using a magnetic screwdriver. Two black 4.25 millimeter screws will be removed, as well as thirteen silver 3.2 millimiter screws.
Step 6
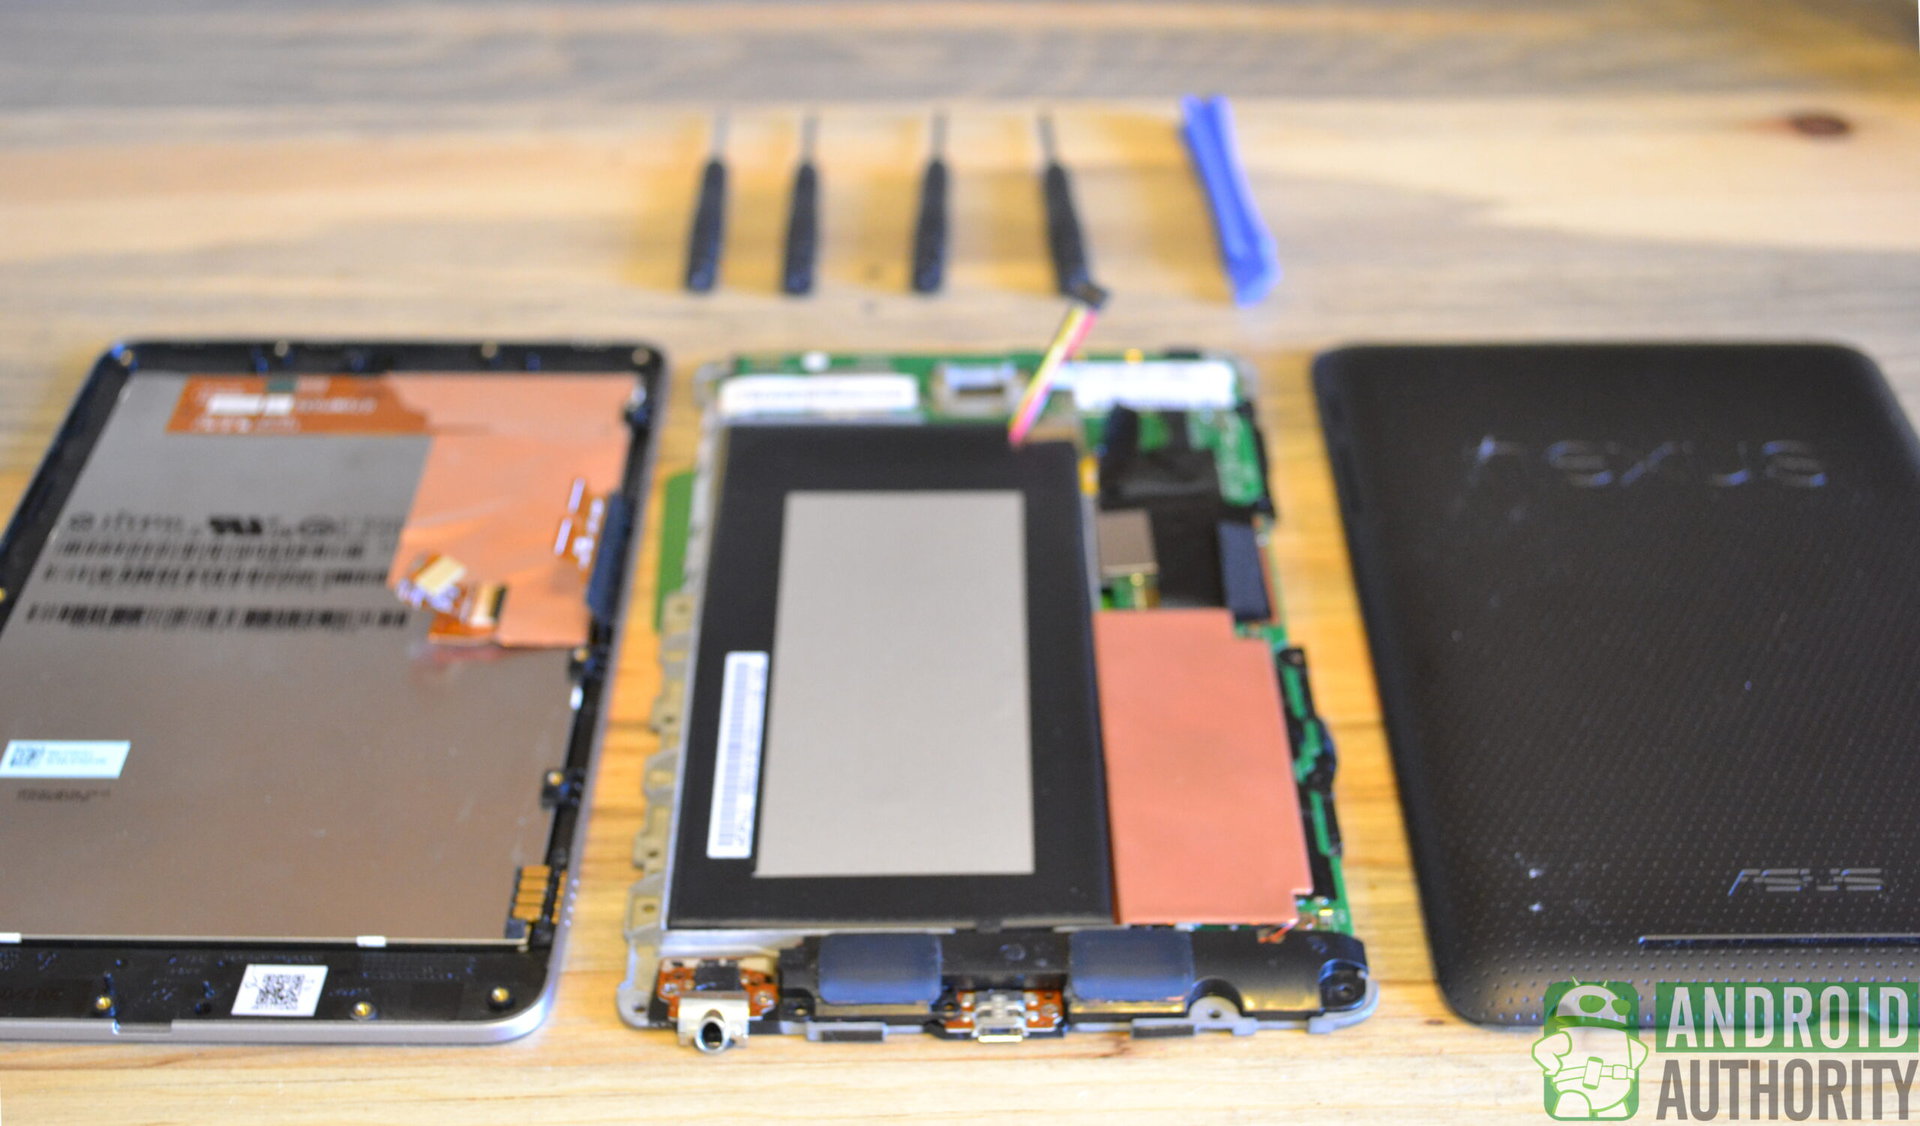
Separate the LCD panel and the aluminum body of the Nexus 7 by gently pulling them apart. There is a weak adhesive binding the two. It should split apart with minimal effort, aside from the large yellow data strip that runs down the middle of the body. Also make sure that the small display data cable passes through its cutout with ease, and doesn’t catch and tear on any part of the body.
Step 7
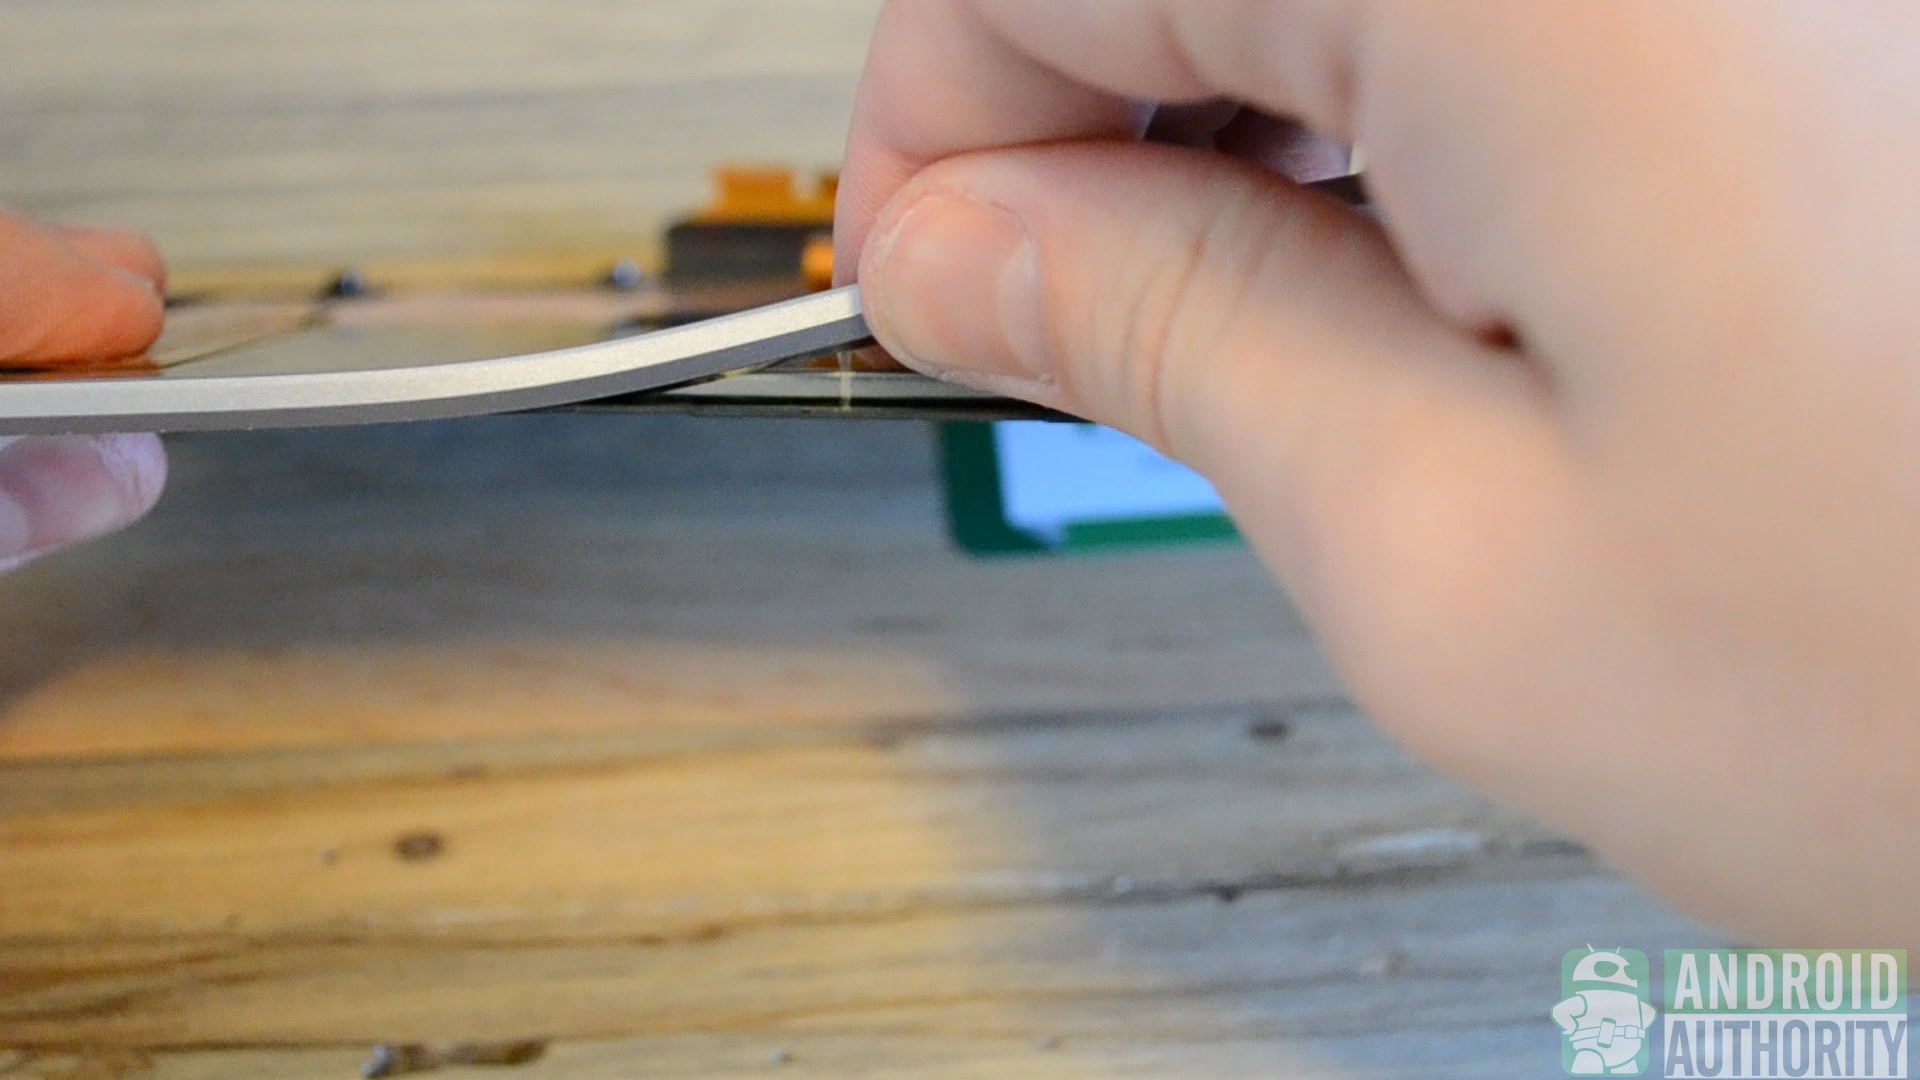
This is a tricky step, it involves heating up the broken screen in order to separate it from the plastic bezel that surrounds the Nexus. Now, a heat gun or hairdryer will do the trick just fine, but so will leaving the panel in the sun for about 30 minutes on a warm day. After the panel is nice and toasty, begin slowly lifting it from the black glass panel. The goal during this process is to keep the adhesive tape attached to the bezel and not the display when they are separate. If your tape is stuck to the display panel, you can either apply more heat to strip the tape and reseat it on the bezel. If that doesn’t work you will need to cut and install new double-sided adhesive tape to the bezel. Finally, remove any loose pieces of glass that remain attached to the bezel
Step 8
Line up and set the new screen face up inside the bezel. Make sure the tape strongly sticks to the backside of the screen. You can then insert the data display cable into it’s clip connector. If your replacement screen/digitizer panel didn’t come ship with copper heat shielding you can transfer it on from the old display.
Step 9
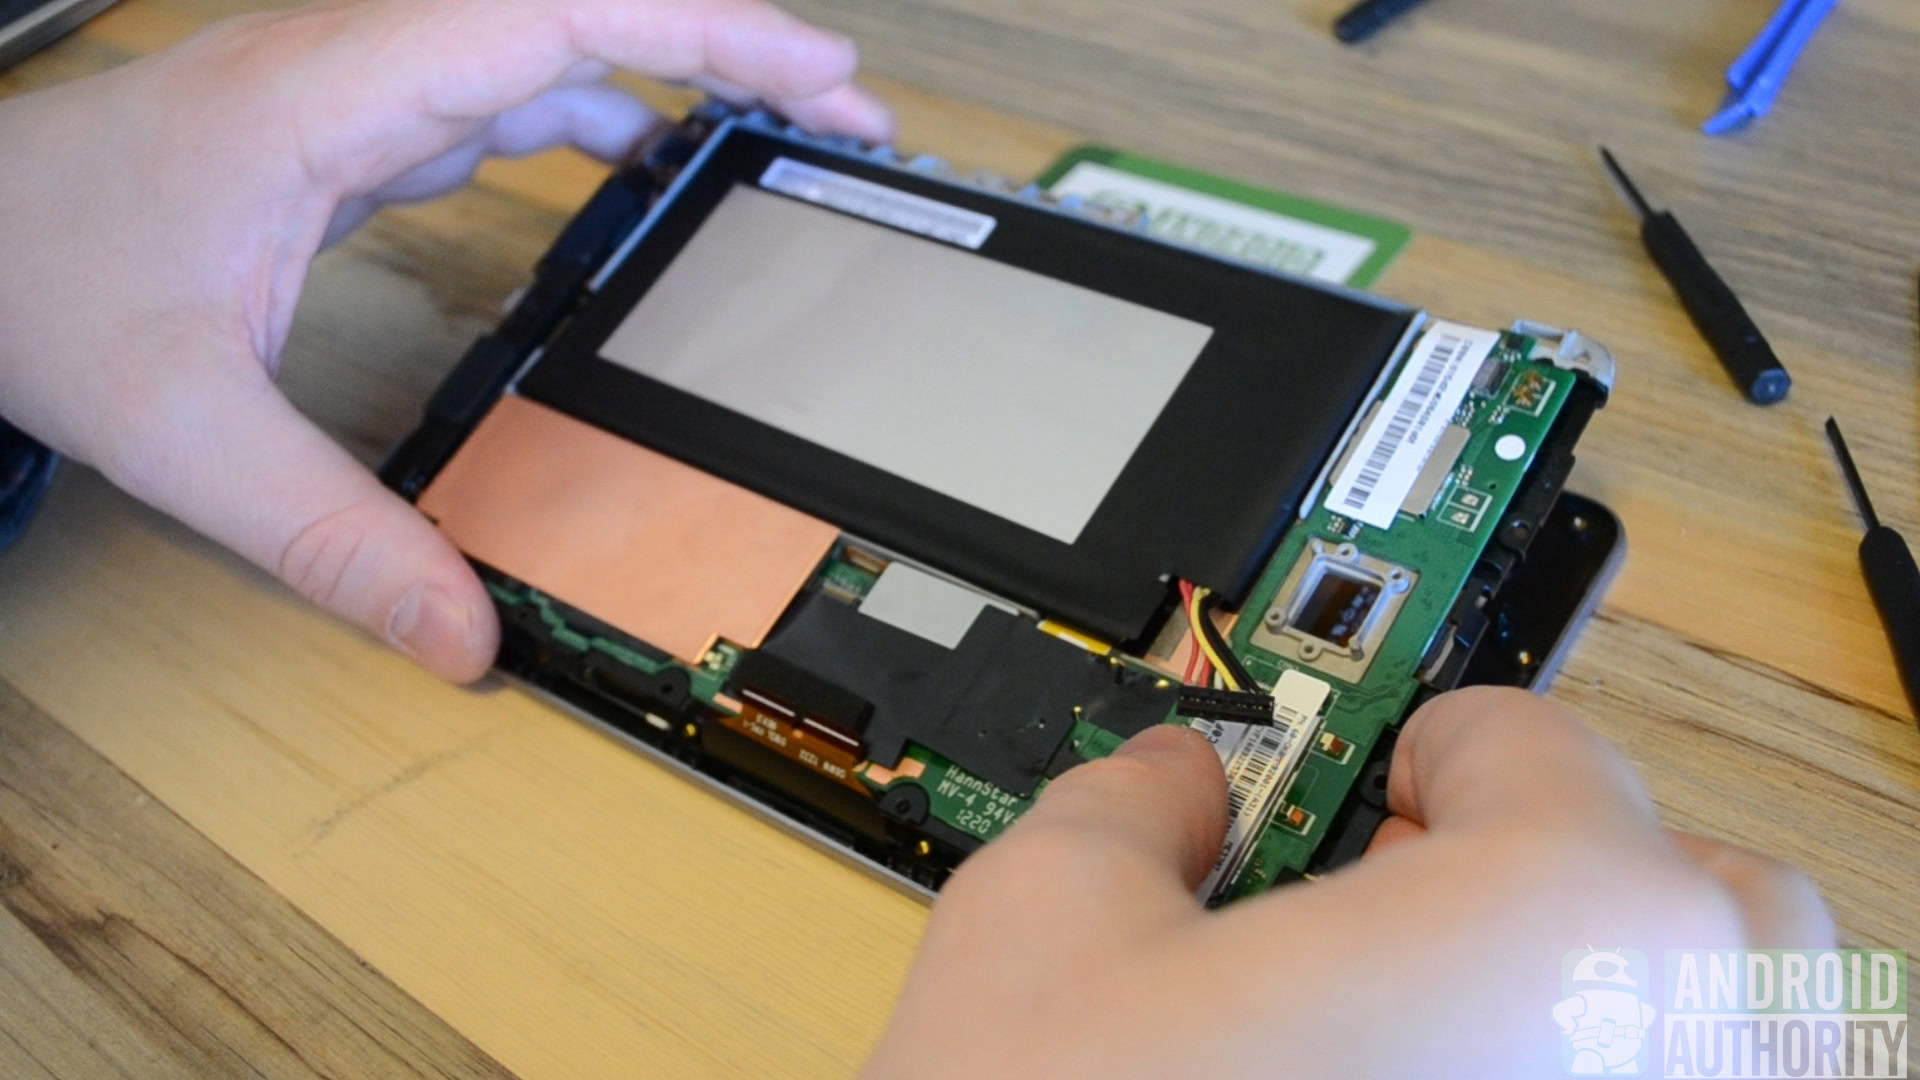
Attach the bezel/screen combo to the chassis of the N7. You can lay the screen face down and set the aluminum body/motherboard on top of it. Feed the display data cable through the hole in the motherboard as you set the body down onto the screen.
Step 10
Reattach the ribbon cables to the motherboard and lock them in place. Reattach the black tape from step 3 to the motherboard. After doing this you can plug the battery cable into it’s socket once again.
Step 11
Secure the chassis in place using the screws removed in step 5. You can snap the back shell in place once again after tightening all the screws. You can then power on your tablet and use it once again!
Success!
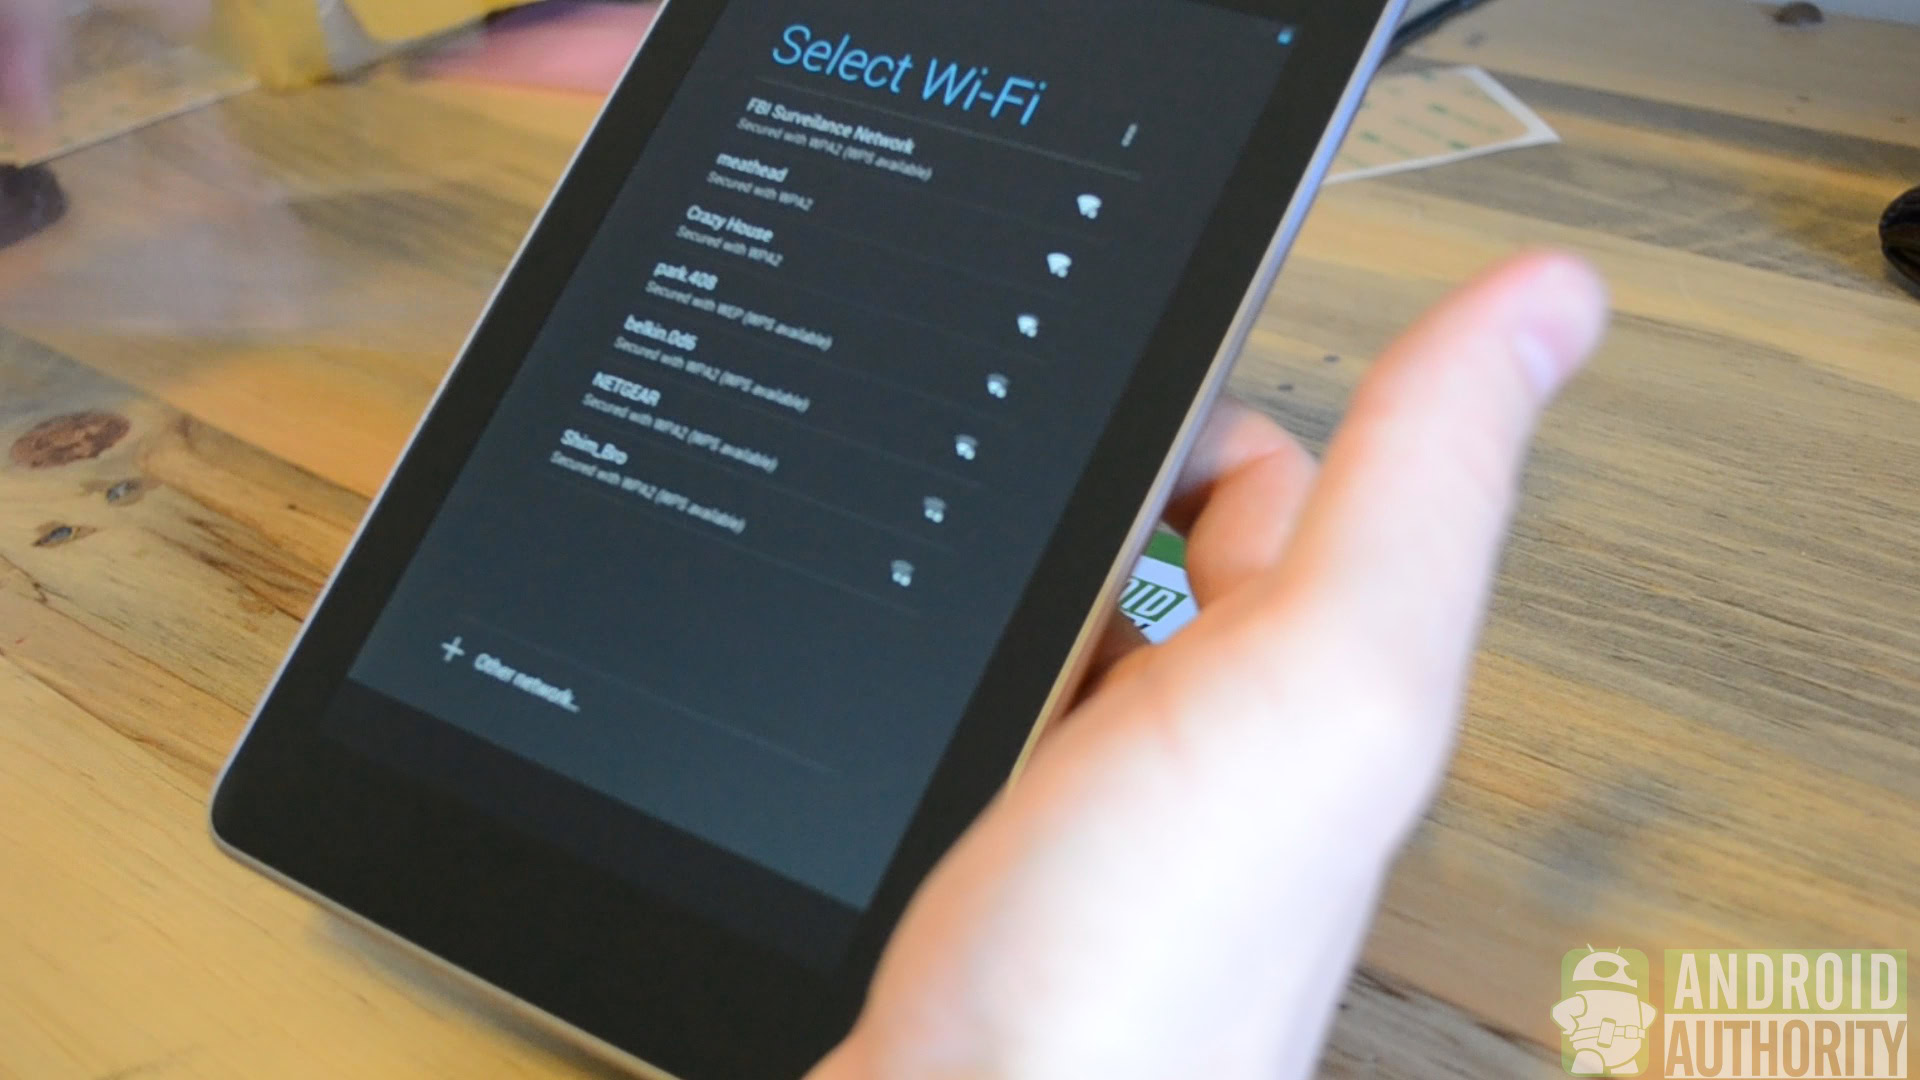
So, after following this guide you will have successfully installed a new screen/digitizer combo onto your Nexus 7. That wasn’t so hard! Remember to comment if you need any help with the process, as we are willing to guide you through any rough patches.
Cost
As stated before, cost will vary due to differences in what might actually need to be replaced. Digitizers, panels, and combos can both be found on Ebay or Amazon, and are usually sold as spare parts from donor Nexus units. This effects the availability of such parts. A combo can usually be purchased anywhere between $100-$140, with individual parts landing in the $70 area.
For the time being, here is a link to a Nexus 7 screen/digitizer combo from Amazon. You can find spare parts on Amazon using this link.
Good luck! Let us know how it goes!
Thank you for being part of our community. Read our Comment Policy before posting.