Affiliate links on Android Authority may earn us a commission. Learn more.
How to take a screenshot on an iPad and an iPad Pro
Published onApril 20, 2021
Capturing screenshots on our mobile devices has become just another part of everyday life. Whether it’s something wild on social media or you want to capture your phone acting up, sometimes you have to act fast. If you’re working with an iPad, you may have to reach a little further to capture your screen. Here’s how to take a screenshot on an iPad in just a few seconds.
See also: The best iPad deals
Overall, the process is pretty simple. We’ll run through the steps for standard iPads and iPad Minis, as well as the new iPad Air and iPad Pro.
How to take a screenshot on an iPad
There are only two main ways to take a screenshot on your iPad, no matter which model you have. The first method is the easiest and involves pressing physical buttons, while the second method involves assistive touch. We’ll start with the buttons first, but note that it’s different depending on whether you have a home button or not.
Take a screenshot with the home and power buttons (iPad and iPad Mini)

This first method requires you to have an iPad with a home button. Options include the standard 10.2-inch iPad and the iPad Mini, as well as older iPad Pros and iPad Airs. Now, follow these steps:
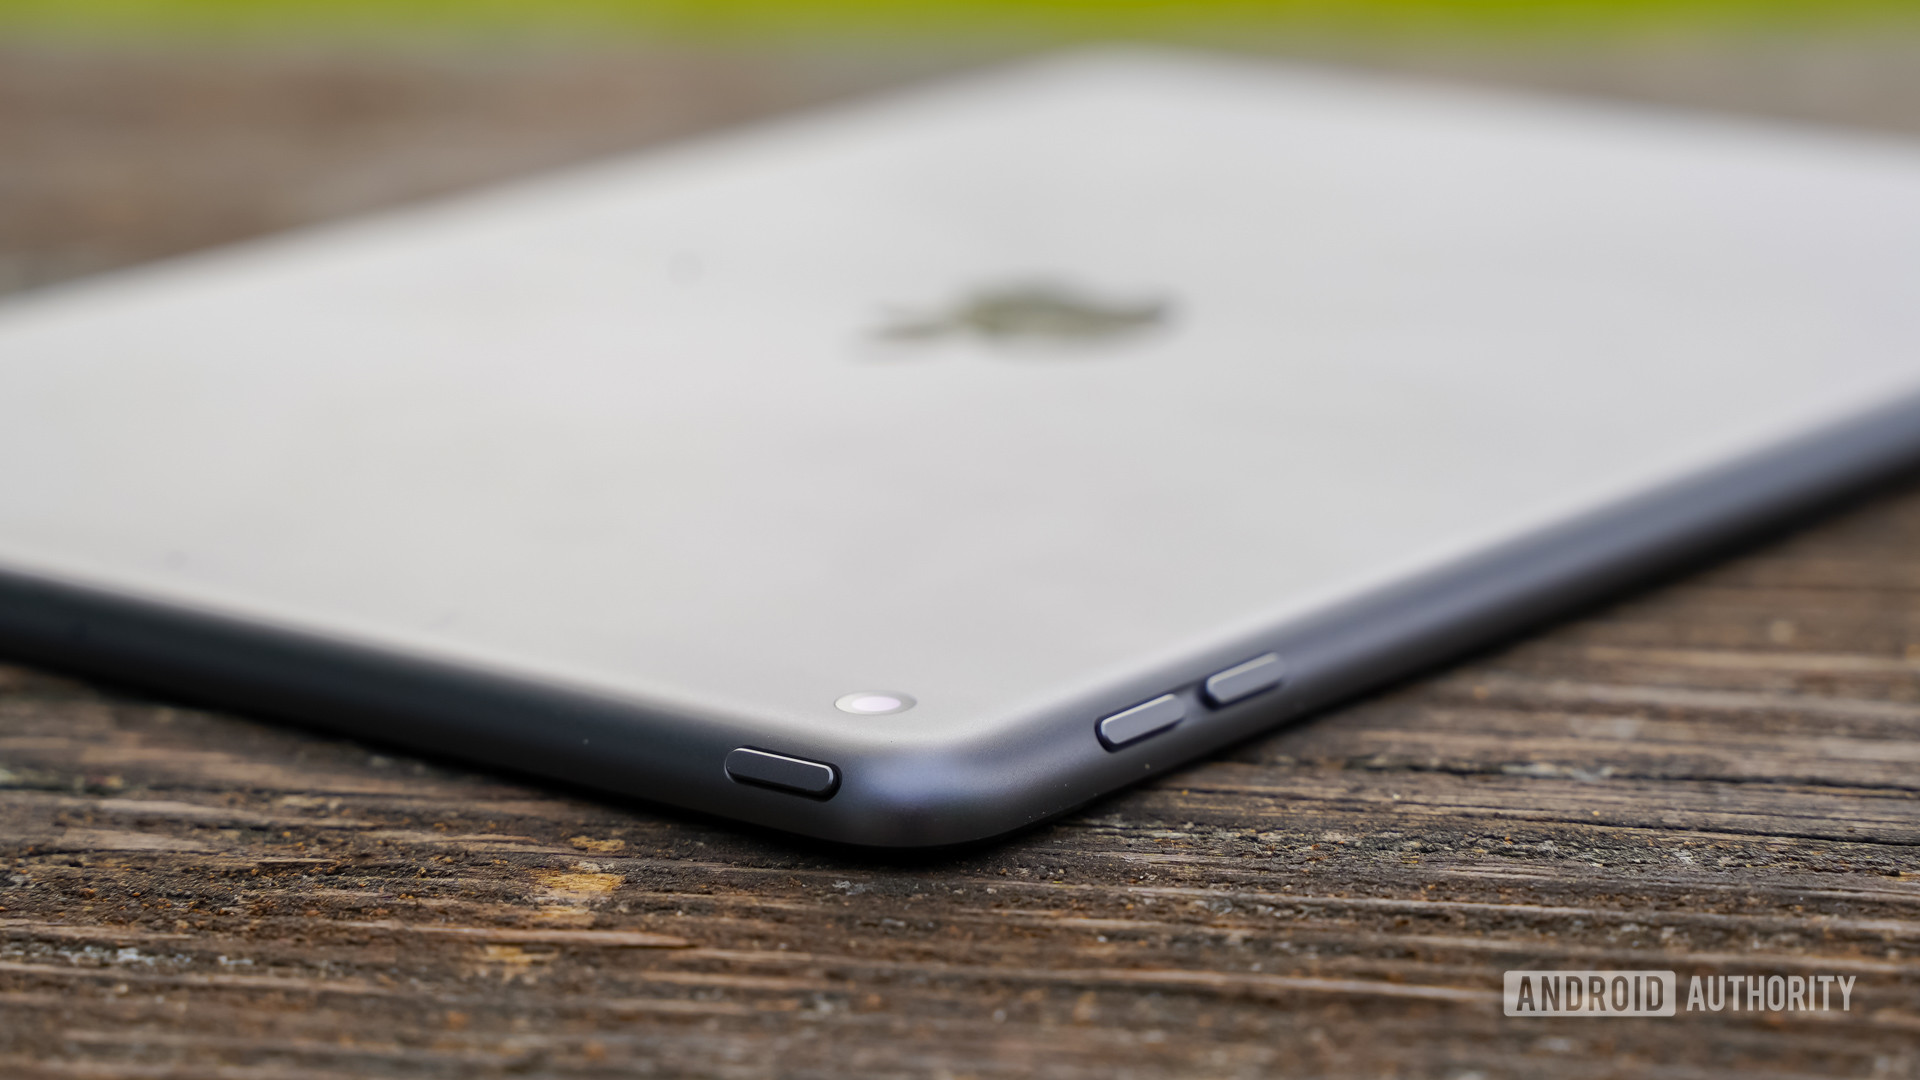
Step 1: Locate the home and power buttons on your iPad. The Home button is front and center on your screen, while the power button is located in the top right corner.
Step 2: Simultaneously press both the home and power buttons. You do not have to press and hold, but rather click the buttons quickly and release. The screen should flash, indicating that your iPad has captured a screenshot.
Step 3: Head to the photo gallery on your iPad. It’s located in the Photos app, and your screenshot should appear at the top of your gallery. Now, you can edit your screenshot to crop, rotate, or even change the color palette.
See also: Apple iPad Mini 5 review: The best (and only) small tablet
Take a screenshot with the power and volume up buttons (iPad Air and iPad Pro)

If you have a newer iPad that has ditched its home button, you’ll need this set of steps. They’re just as easy to follow, and you should be able to capture a screenshot on your iPad with just one hand.
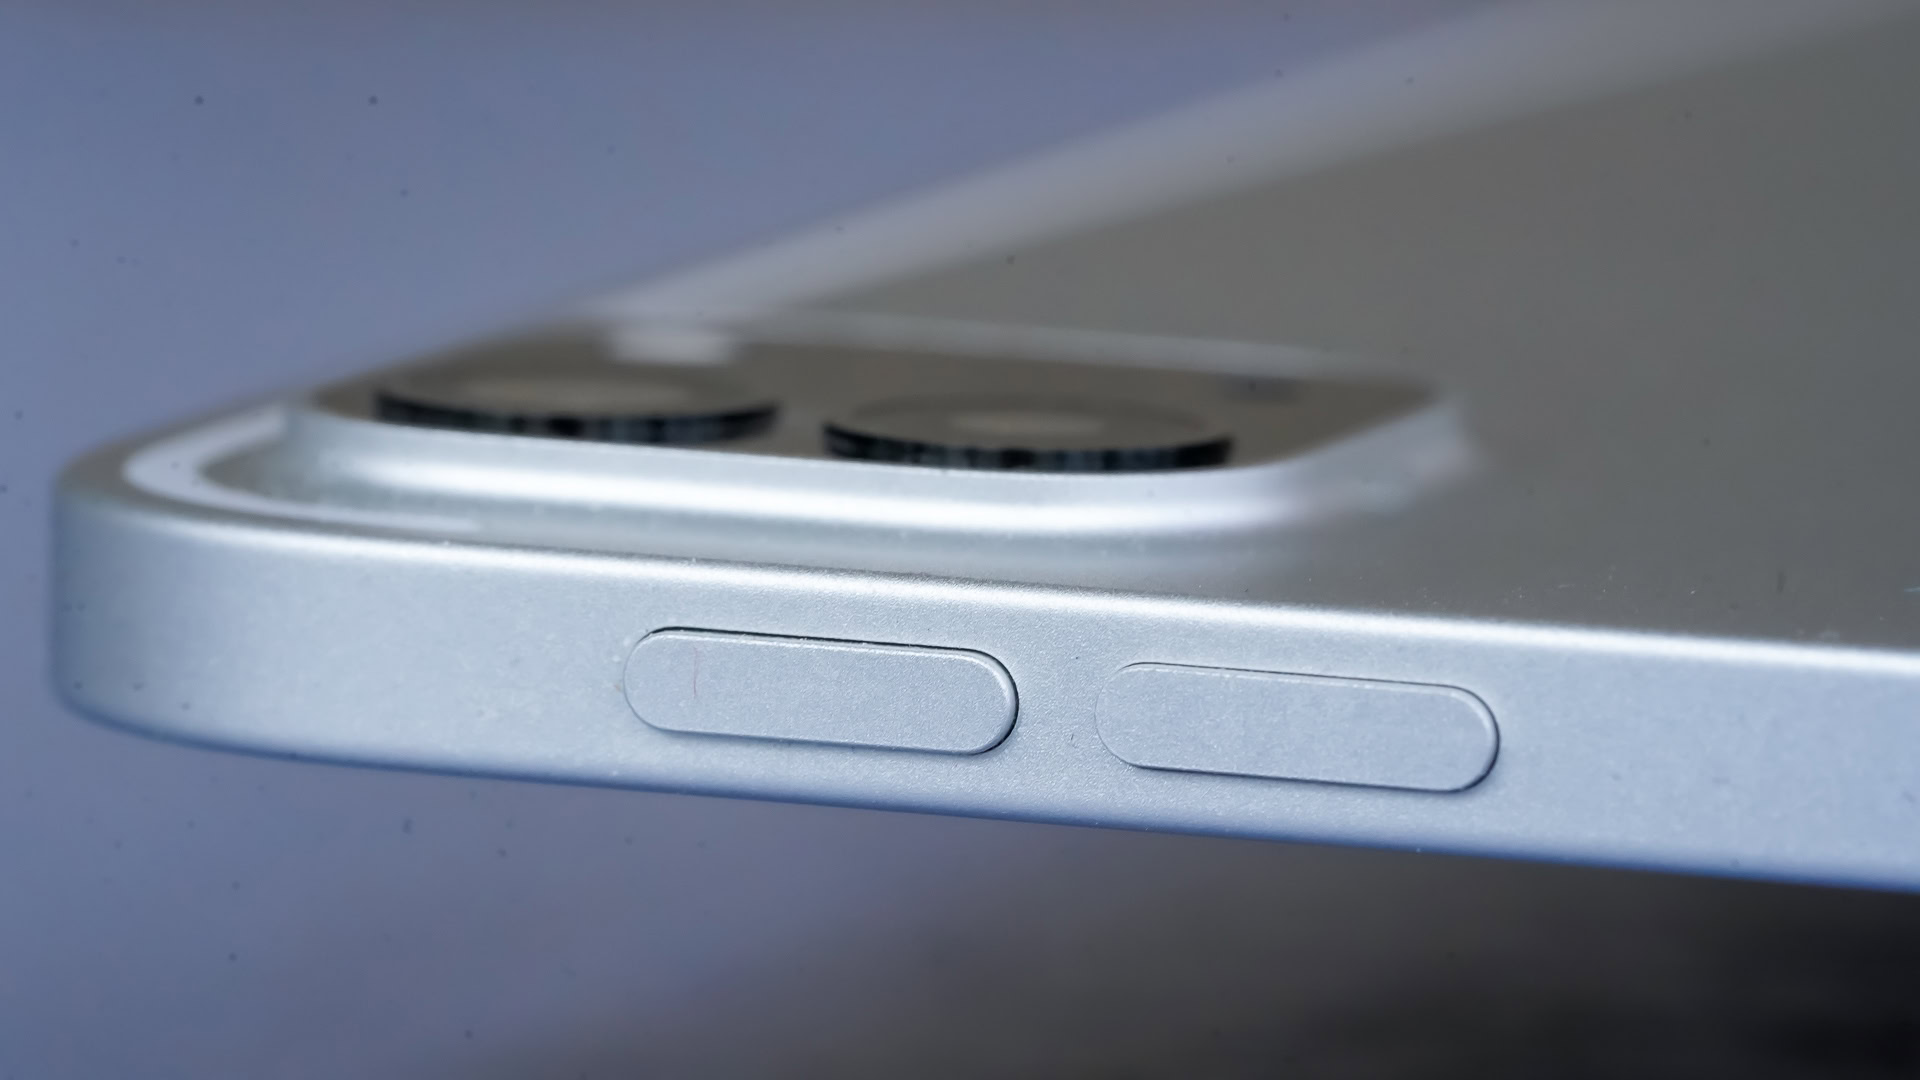
Step 1: Press and hold the power button and the volume button at the same time.
Step 2: Release both buttons (You don’t have to hold them for very long).
Step 3: Once you’ve taken your screenshot, you should see a small thumbnail appear in the bottom left corner of your screen. You can tap on this thumbnail to open or swipe it away to hide it.
We’ve now run through the most common ways to take a screenshot on an iPad. If you’re unable to use either of these methods, keep reading to learn about Assistive Touch.
See also: Apple iPad Pro (2020) review: Still the best tablet
How to take a screenshot with Assistive Touch

The two methods explained above are the easiest ways to capture a screenshot on your iPad, but Assistive Touch is powerful in its own right. It allows you to perform complex tasks using a few simple menu options. One such option is the ability to capture a screenshot without pressing multiple buttons at once.
The first step in using Assistive Touch to take a screenshot is to activate Assistive Touch. To do so, you’ll have to head into the settings menu and open the General tab. Now navigate to Accessibility, followed by Assistive Touch, and toggle the feature to On.
Step 1: Once Assistive Touch is active, you can take screenshots by entering Device and choosing the More option.
Step 2: Tap the button labeled Screenshot. Your screen should flash for a moment and then capture.
Step 3: Check out your screenshot in the Photos app.
There you go, you’ve got three ways to capture a screenshot on your new iPad. If you’re hoping to share those screenshots, feel free to try AirDrop or the share icon in the bottom left corner. This will allow you to send the screenshot to platforms like Facebook and Twitter.