Android phones
Android phones from Samsung, Google, Motorola, OnePlus, and more. All the news, commentary, and hands-on reviews you could want.
Best products
Features
Guides
Reviews
All the latest
Android phones news
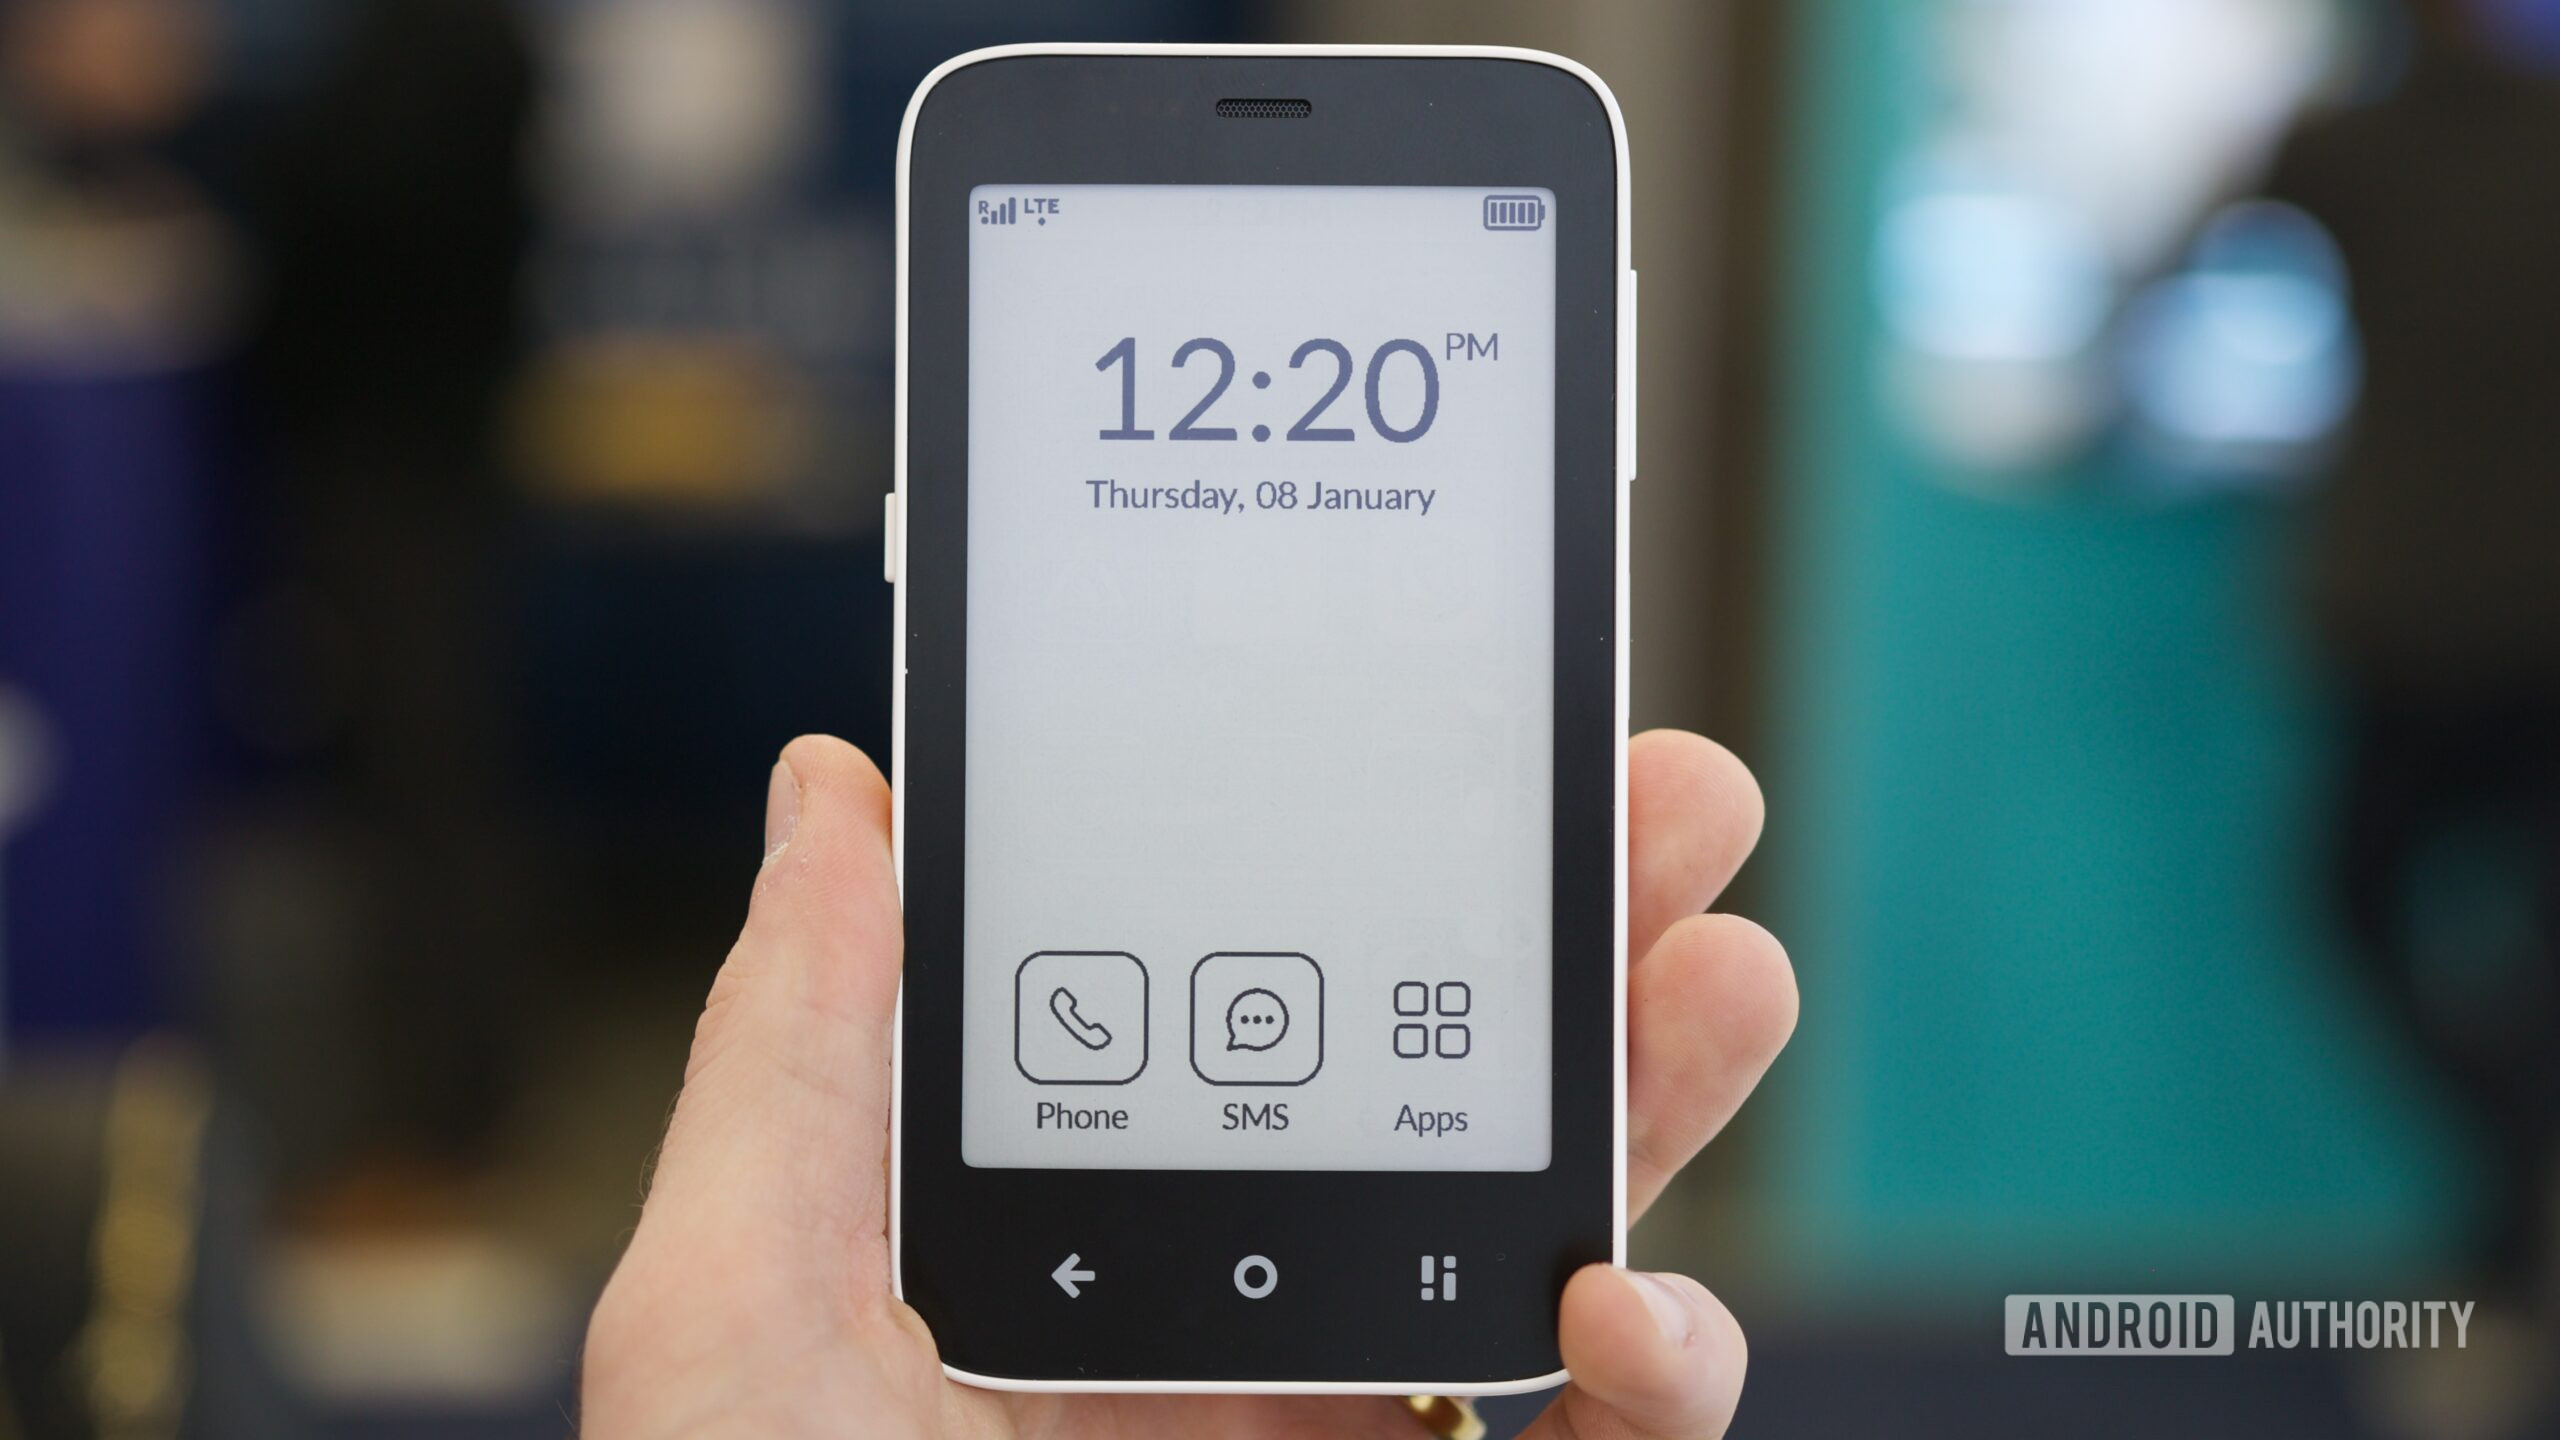
This tiny, e-ink Android phone is the minimalist gadget I've been waiting for
Joe Maring22 hours ago
0
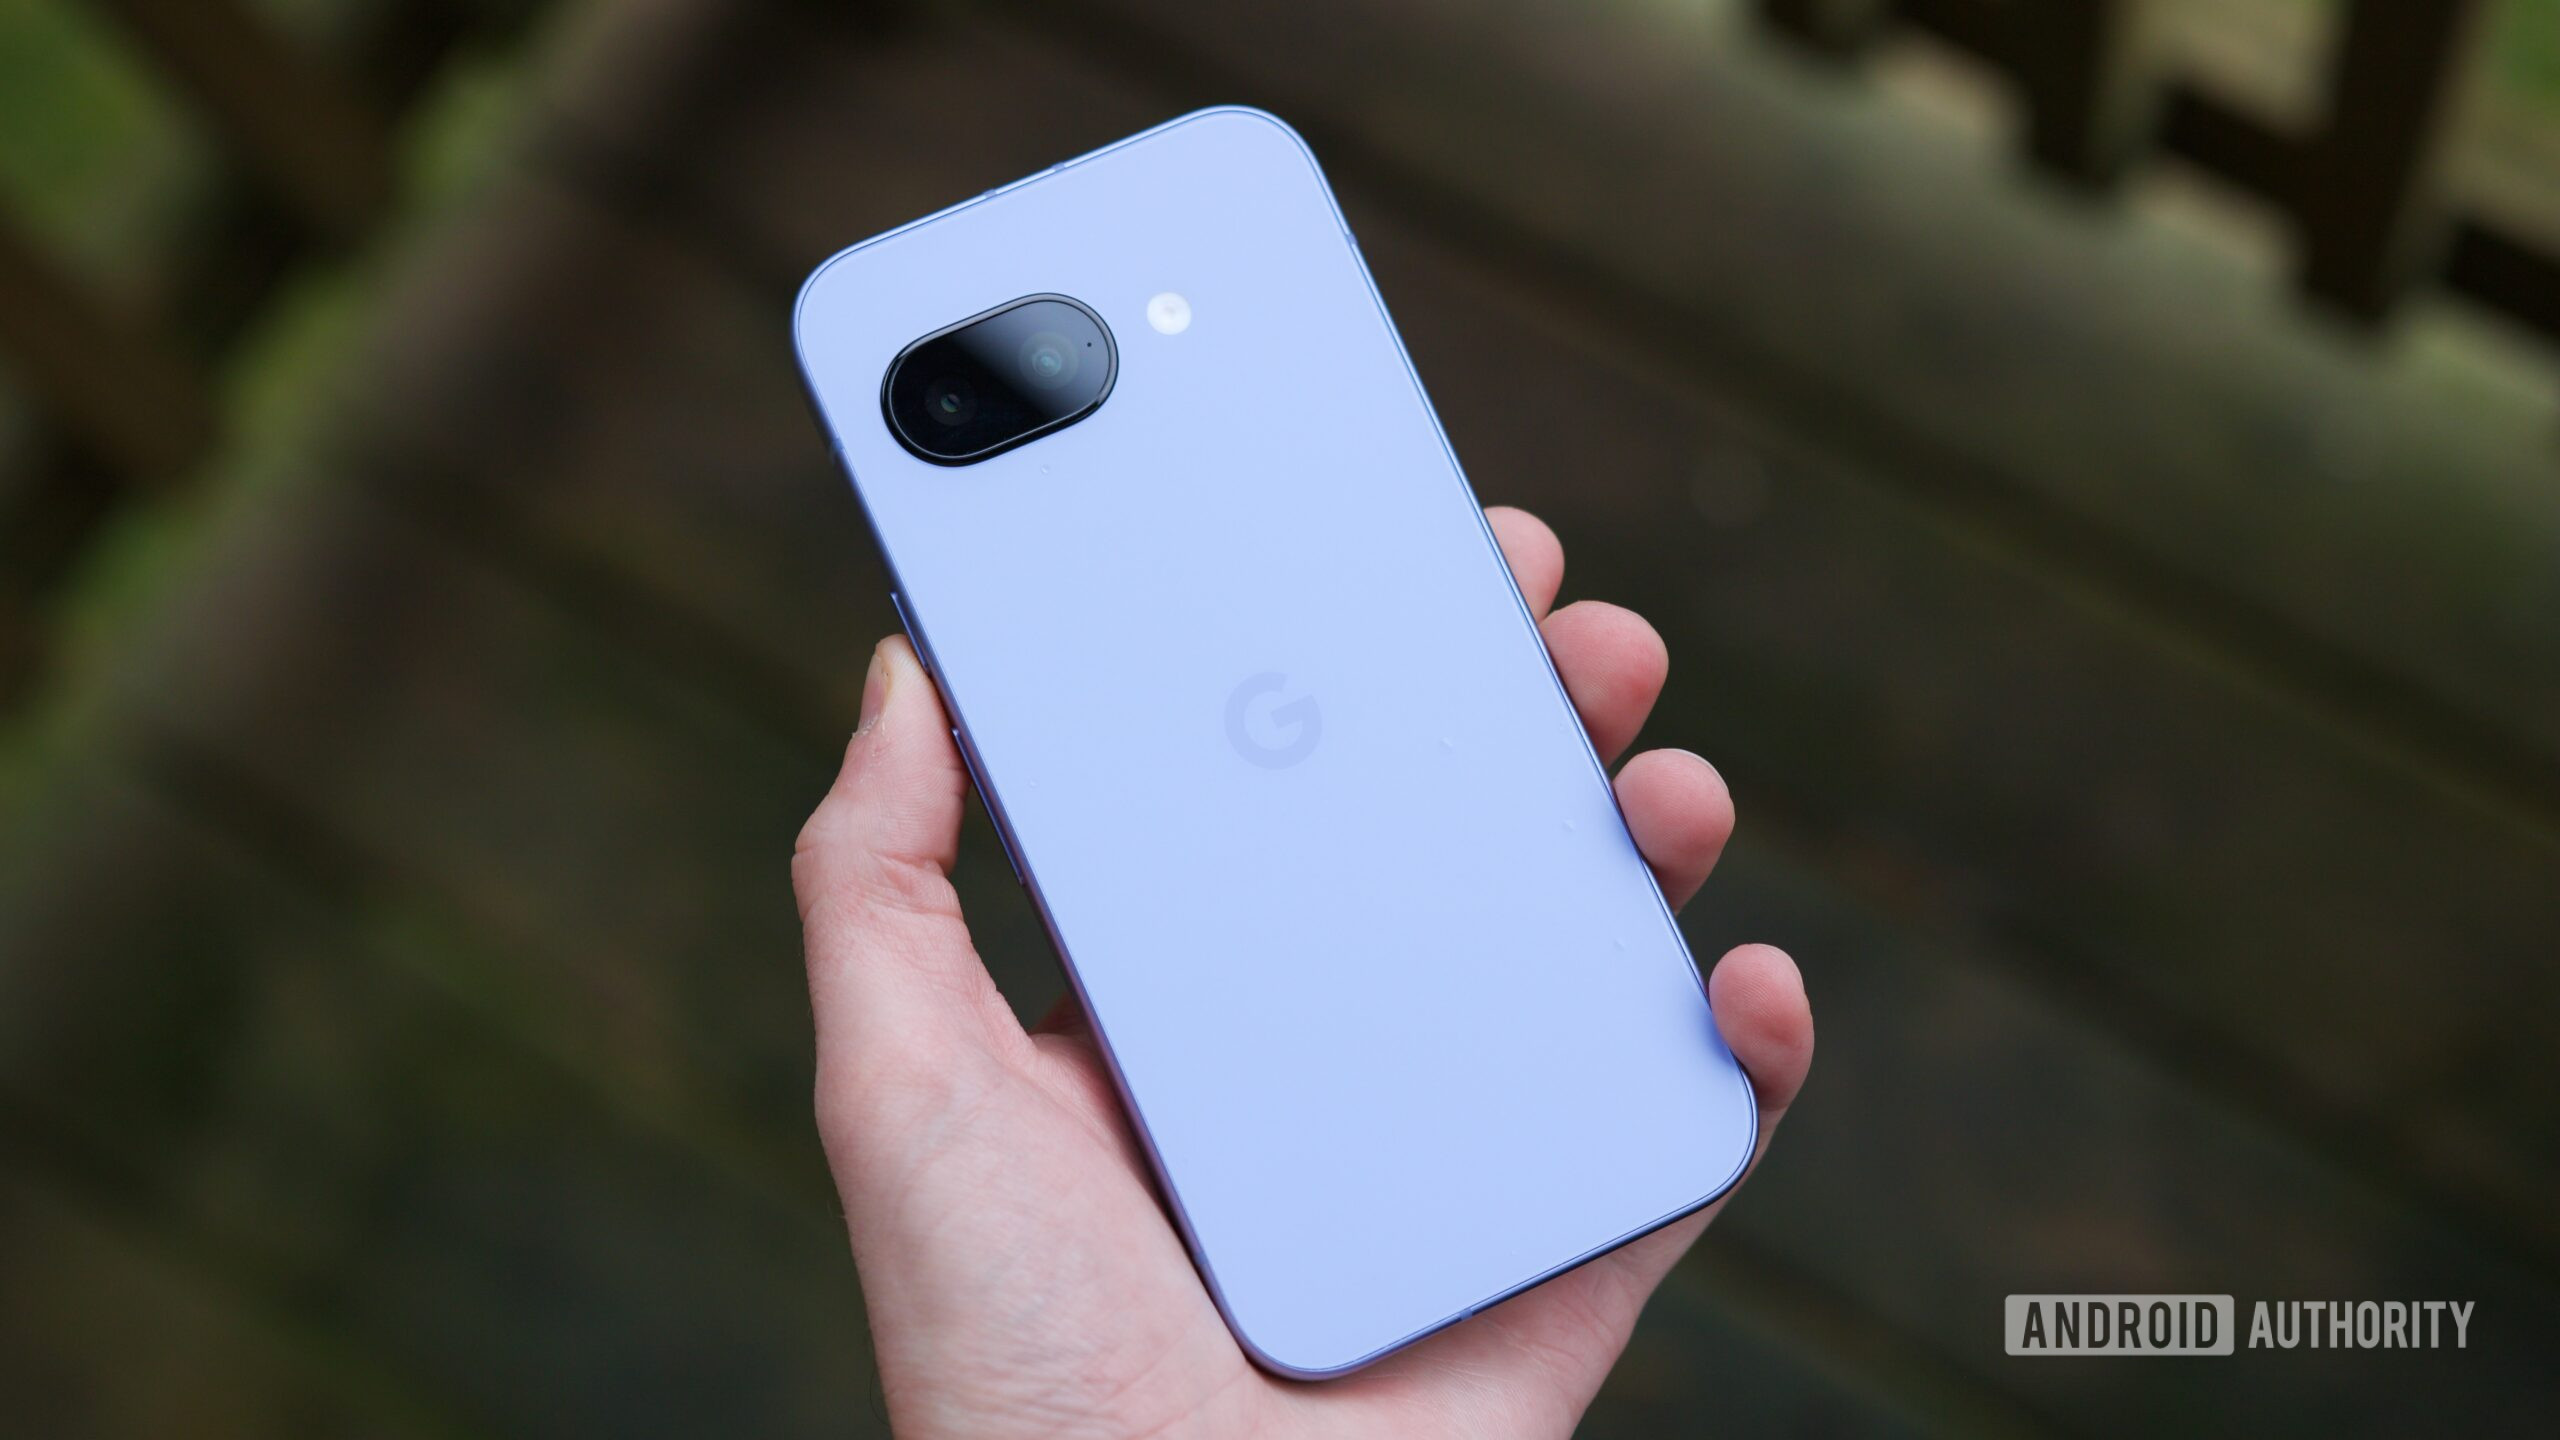
5 reasons why the Pixel 10a might release a lot sooner than expected
Joe Maring23 hours ago
0
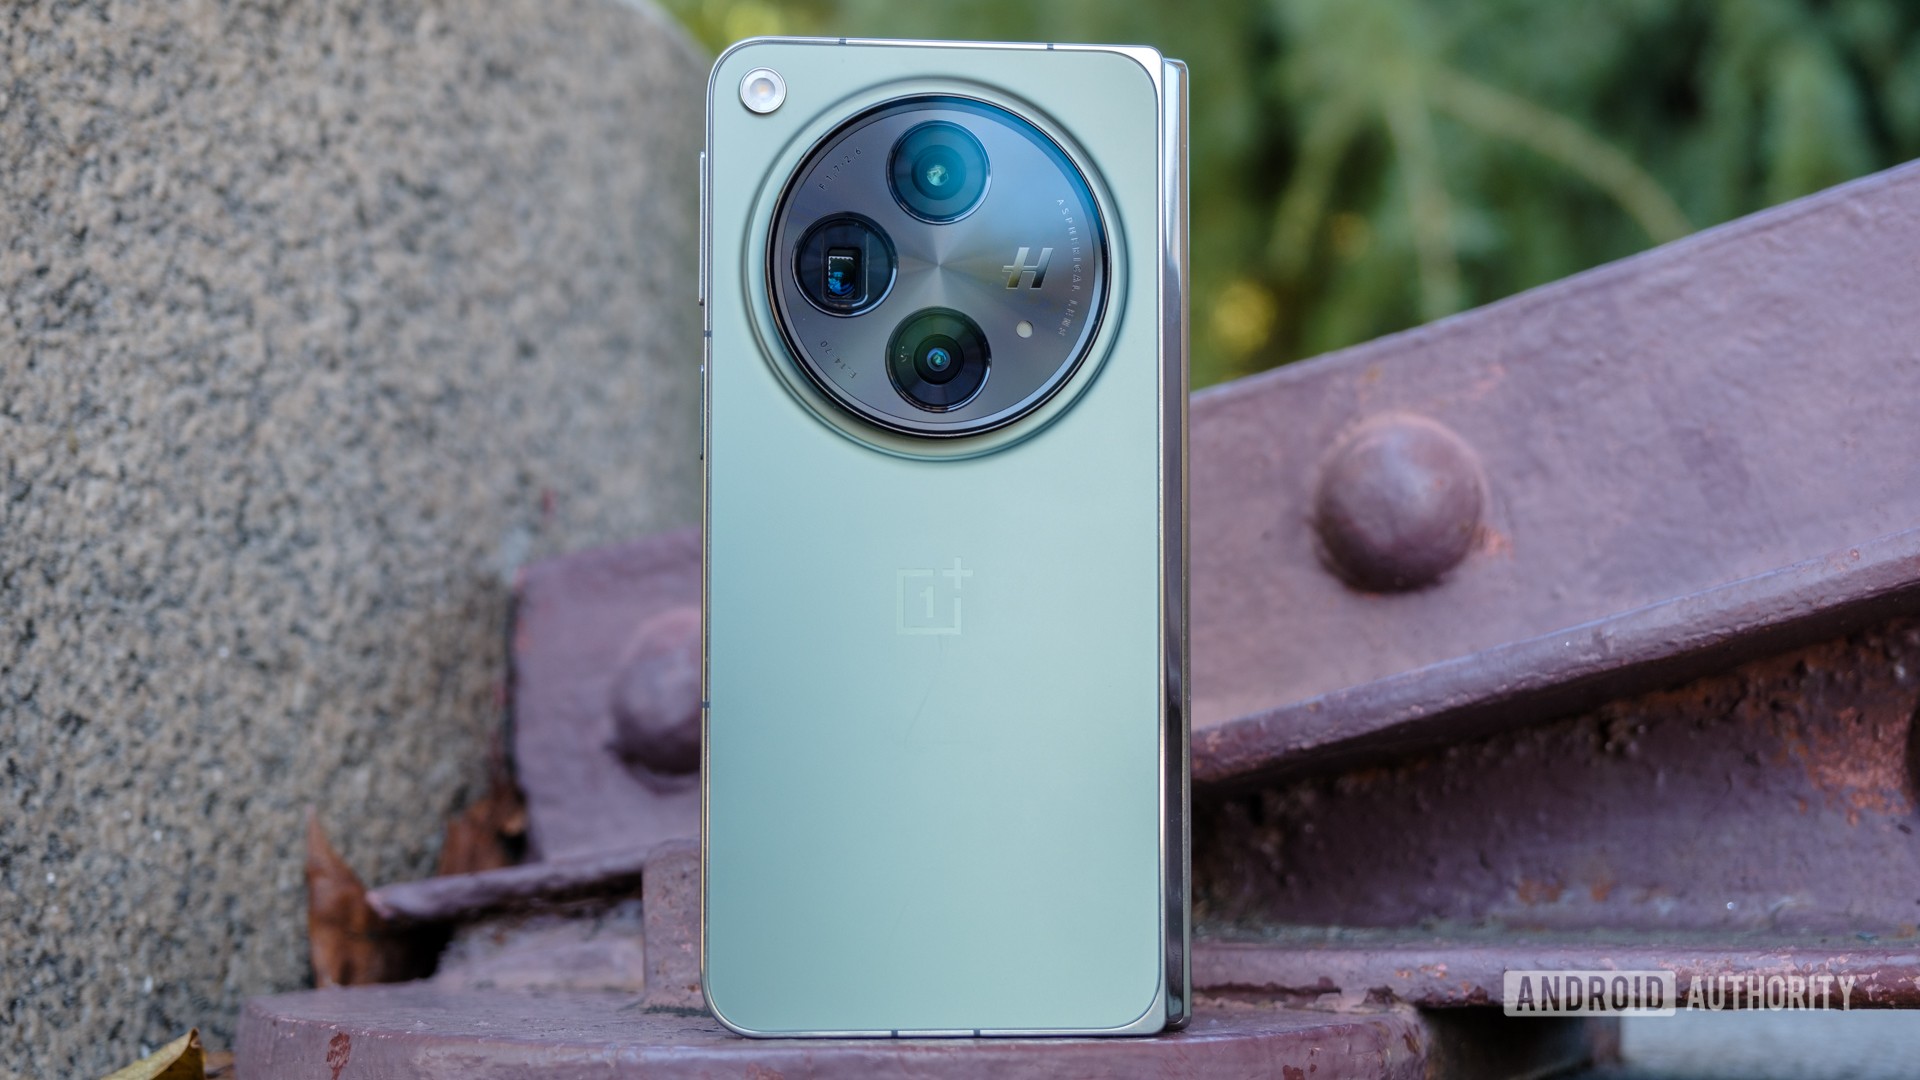
US foldable phones just took a turn for the worse
Joe MaringJanuary 13, 2026
0
Here's the one thing I want to see from Pixel 11 Pro cameras
Hadlee SimonsJanuary 11, 2026
0
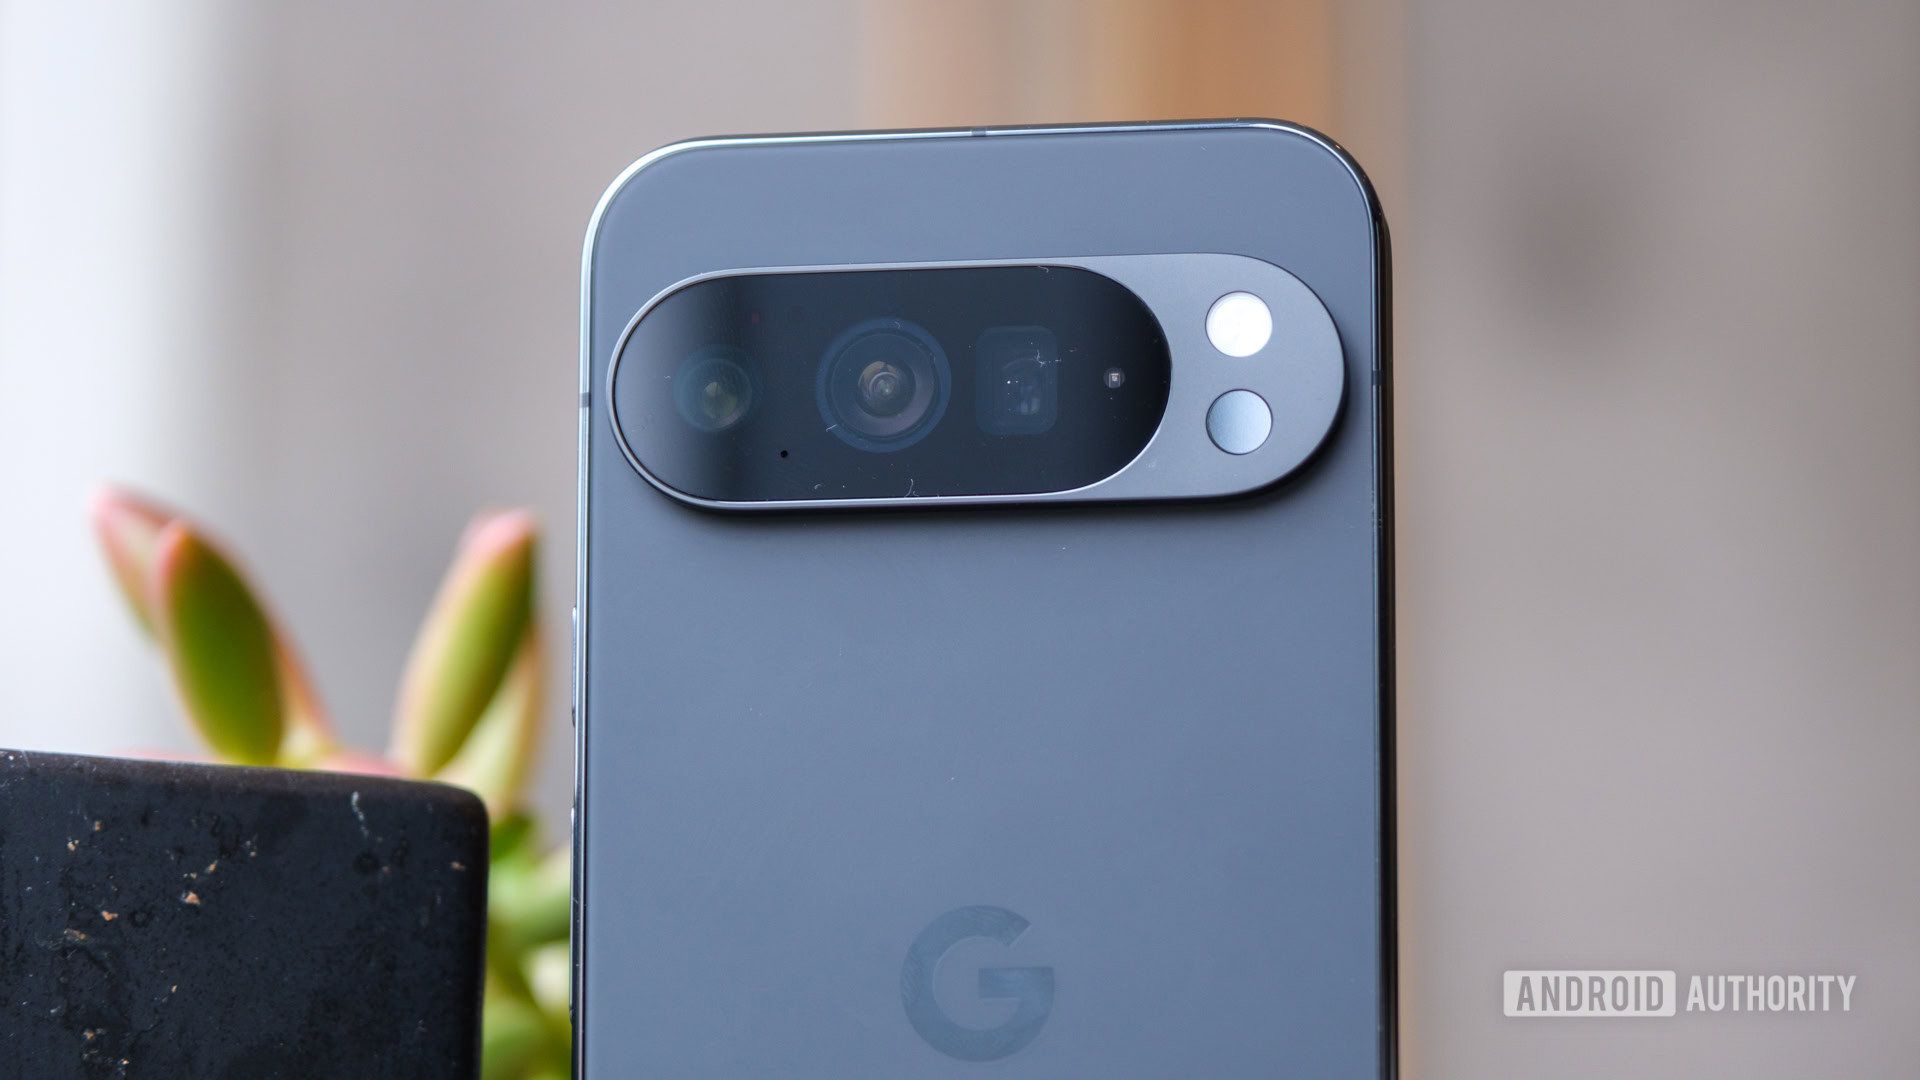
I found the cutest (and strangest) Android phone at CES 2026
Ryan HainesJanuary 10, 2026
0
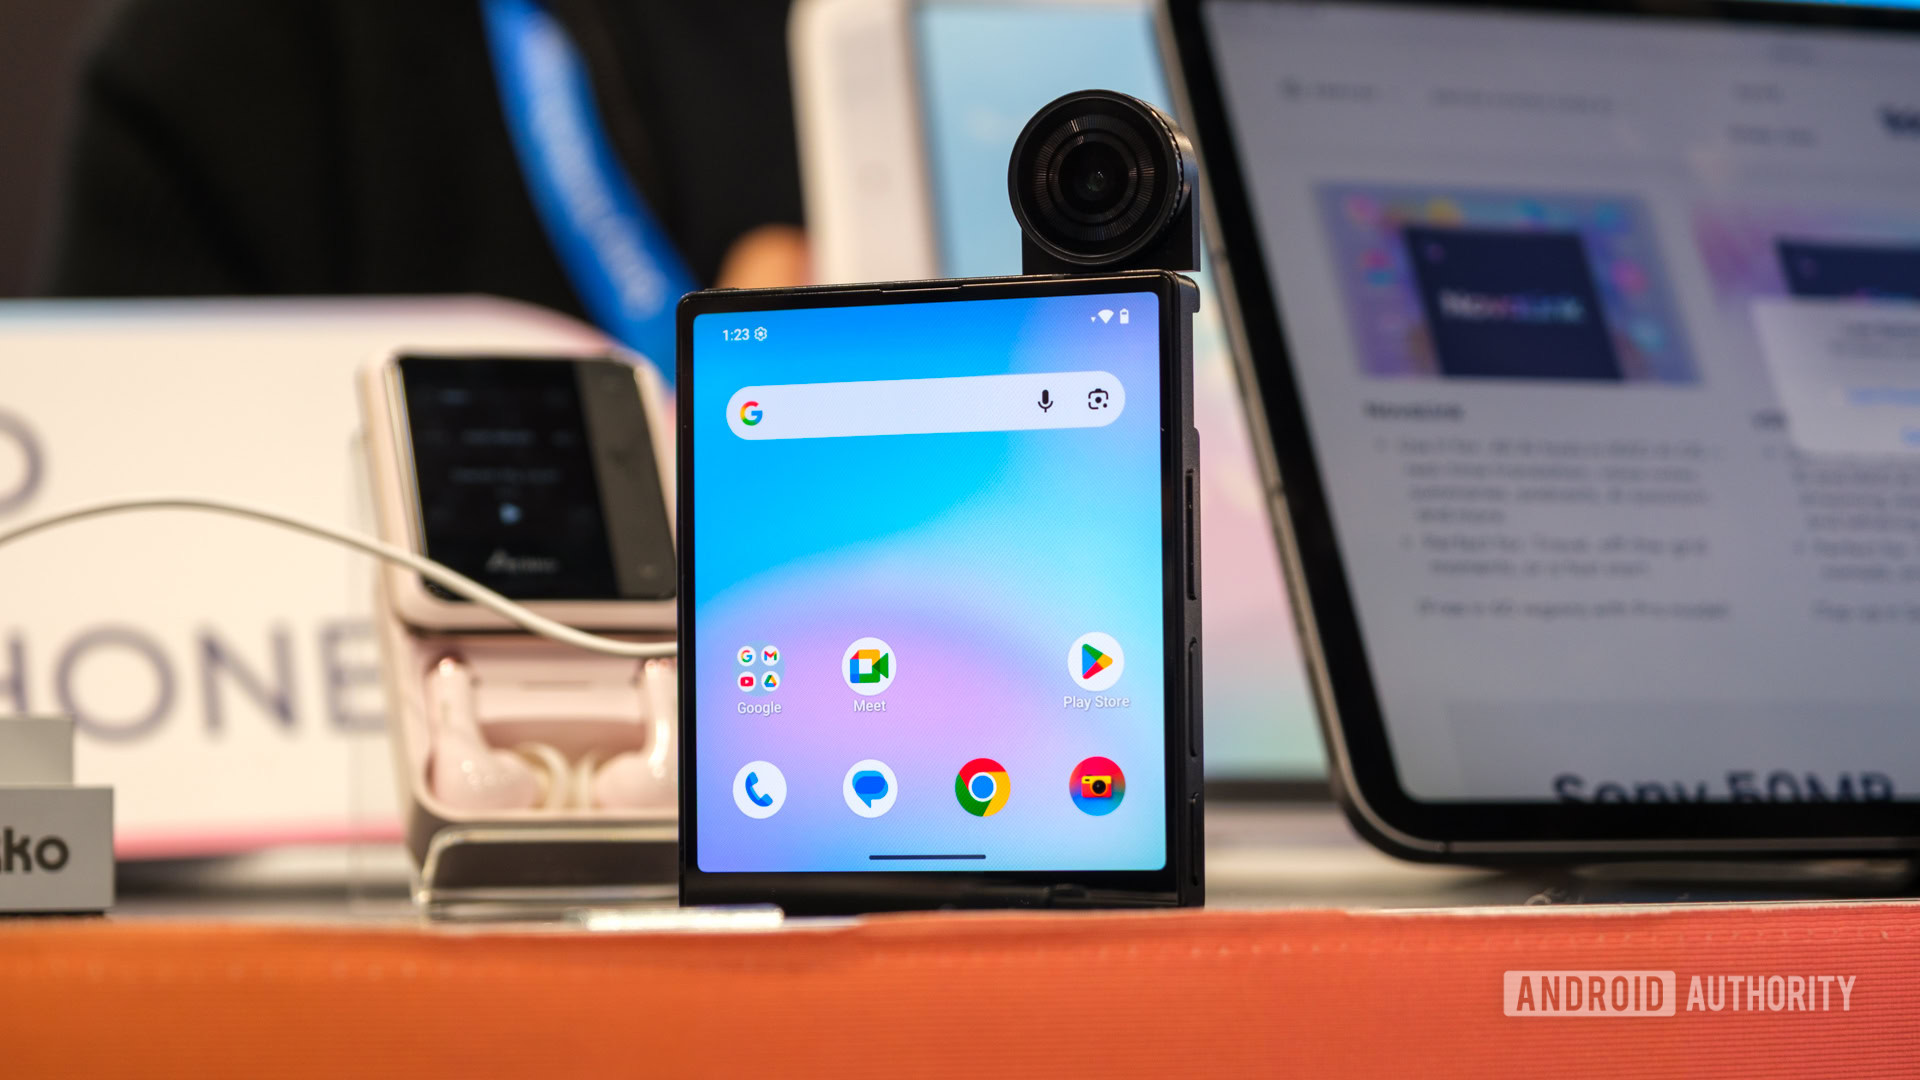
The Pixel 11 can’t afford to get these 7 things wrong
Karandeep SinghJanuary 10, 2026
0
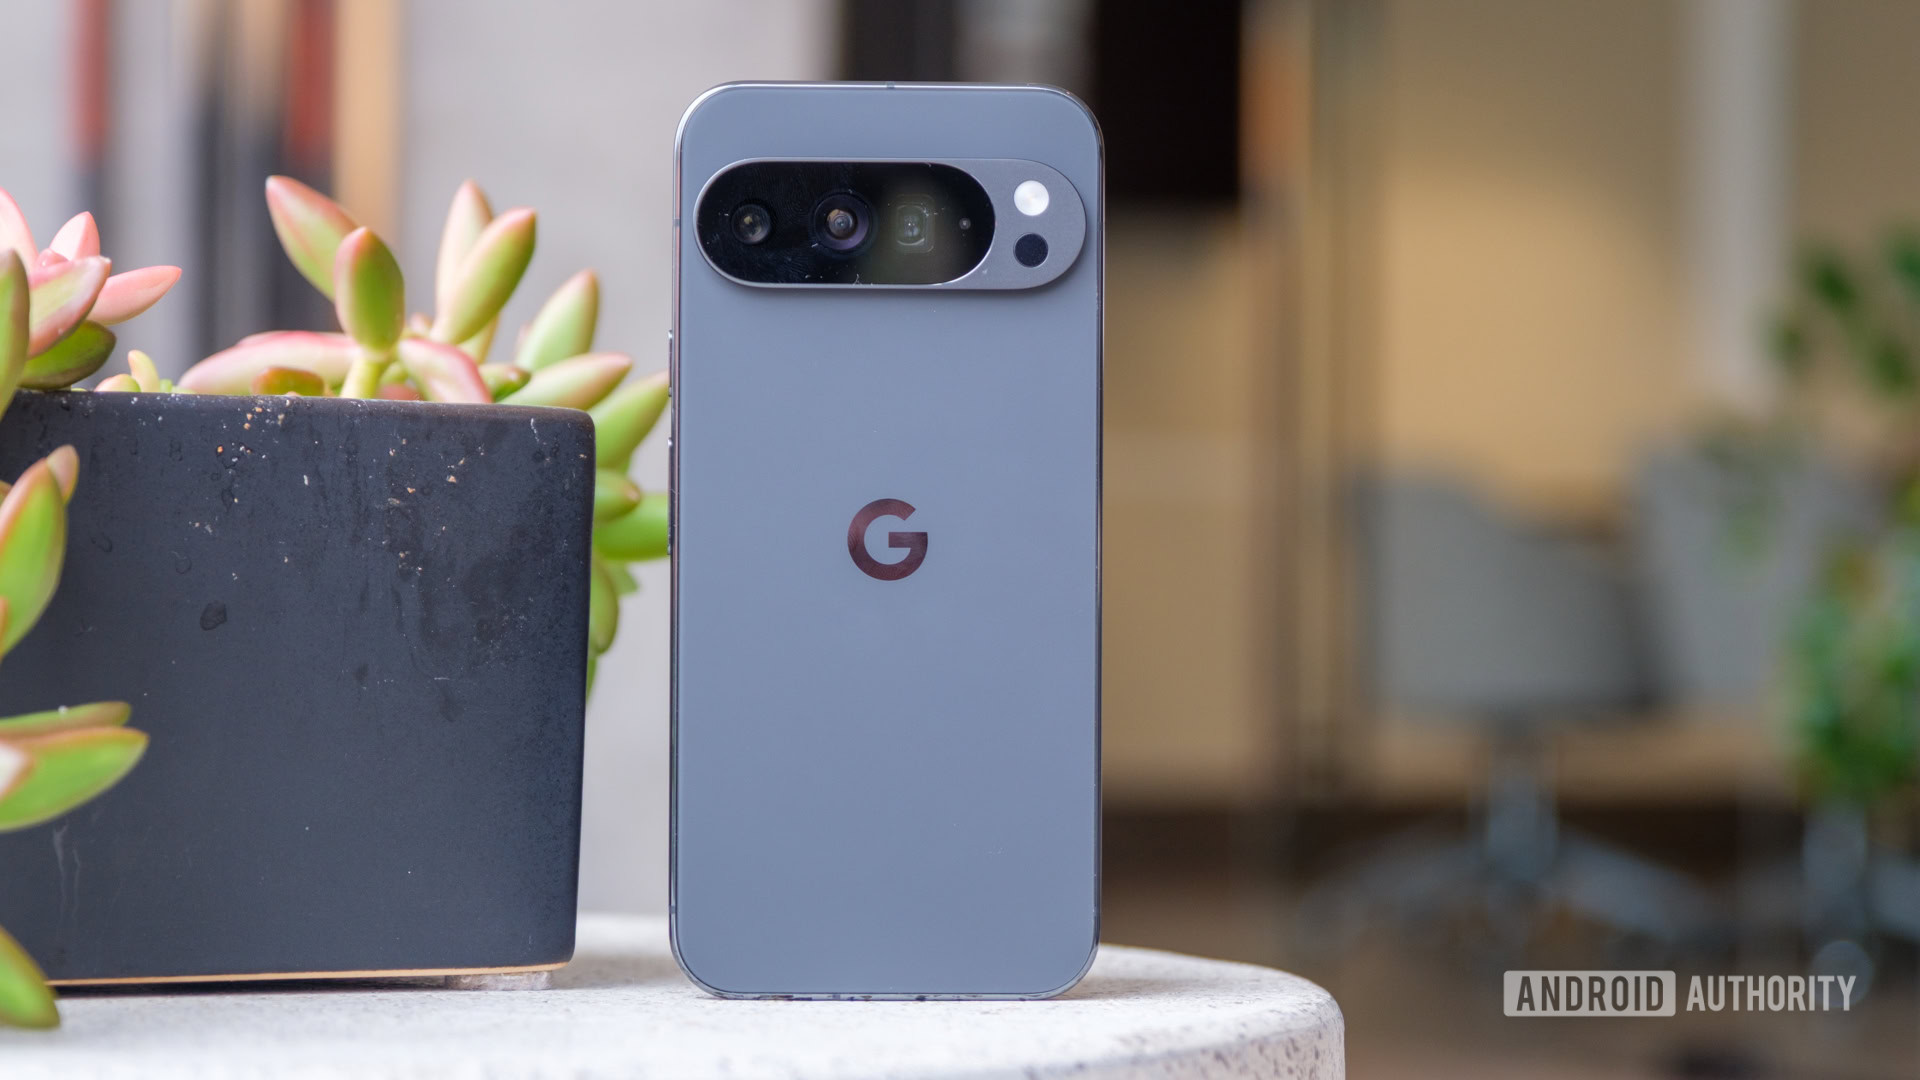
Survey shows most Pixel owners yearn for this Pixel 10 fingerprint upgrade
Tushar MehtaJanuary 9, 2026
0
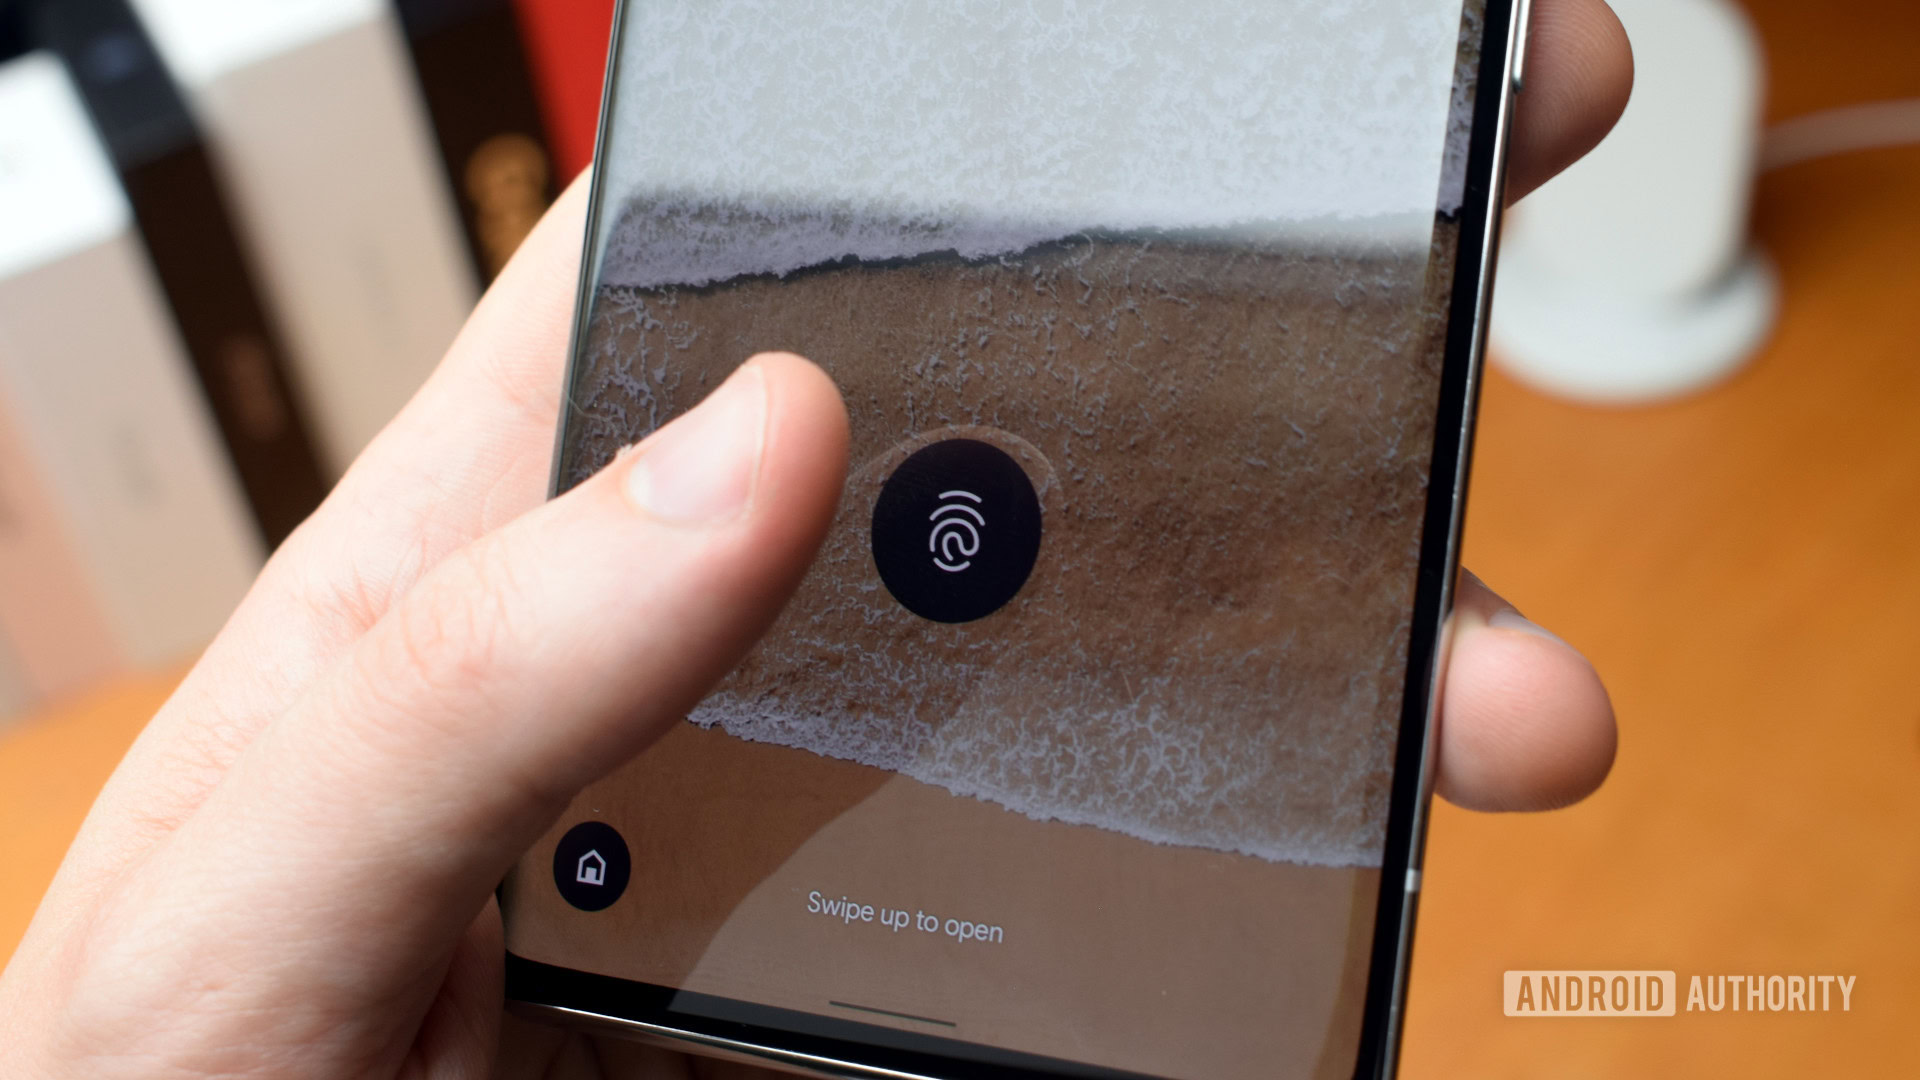
Here's the one thing that Motorola needs to succeed in 2026
Ryan HainesJanuary 9, 2026
0
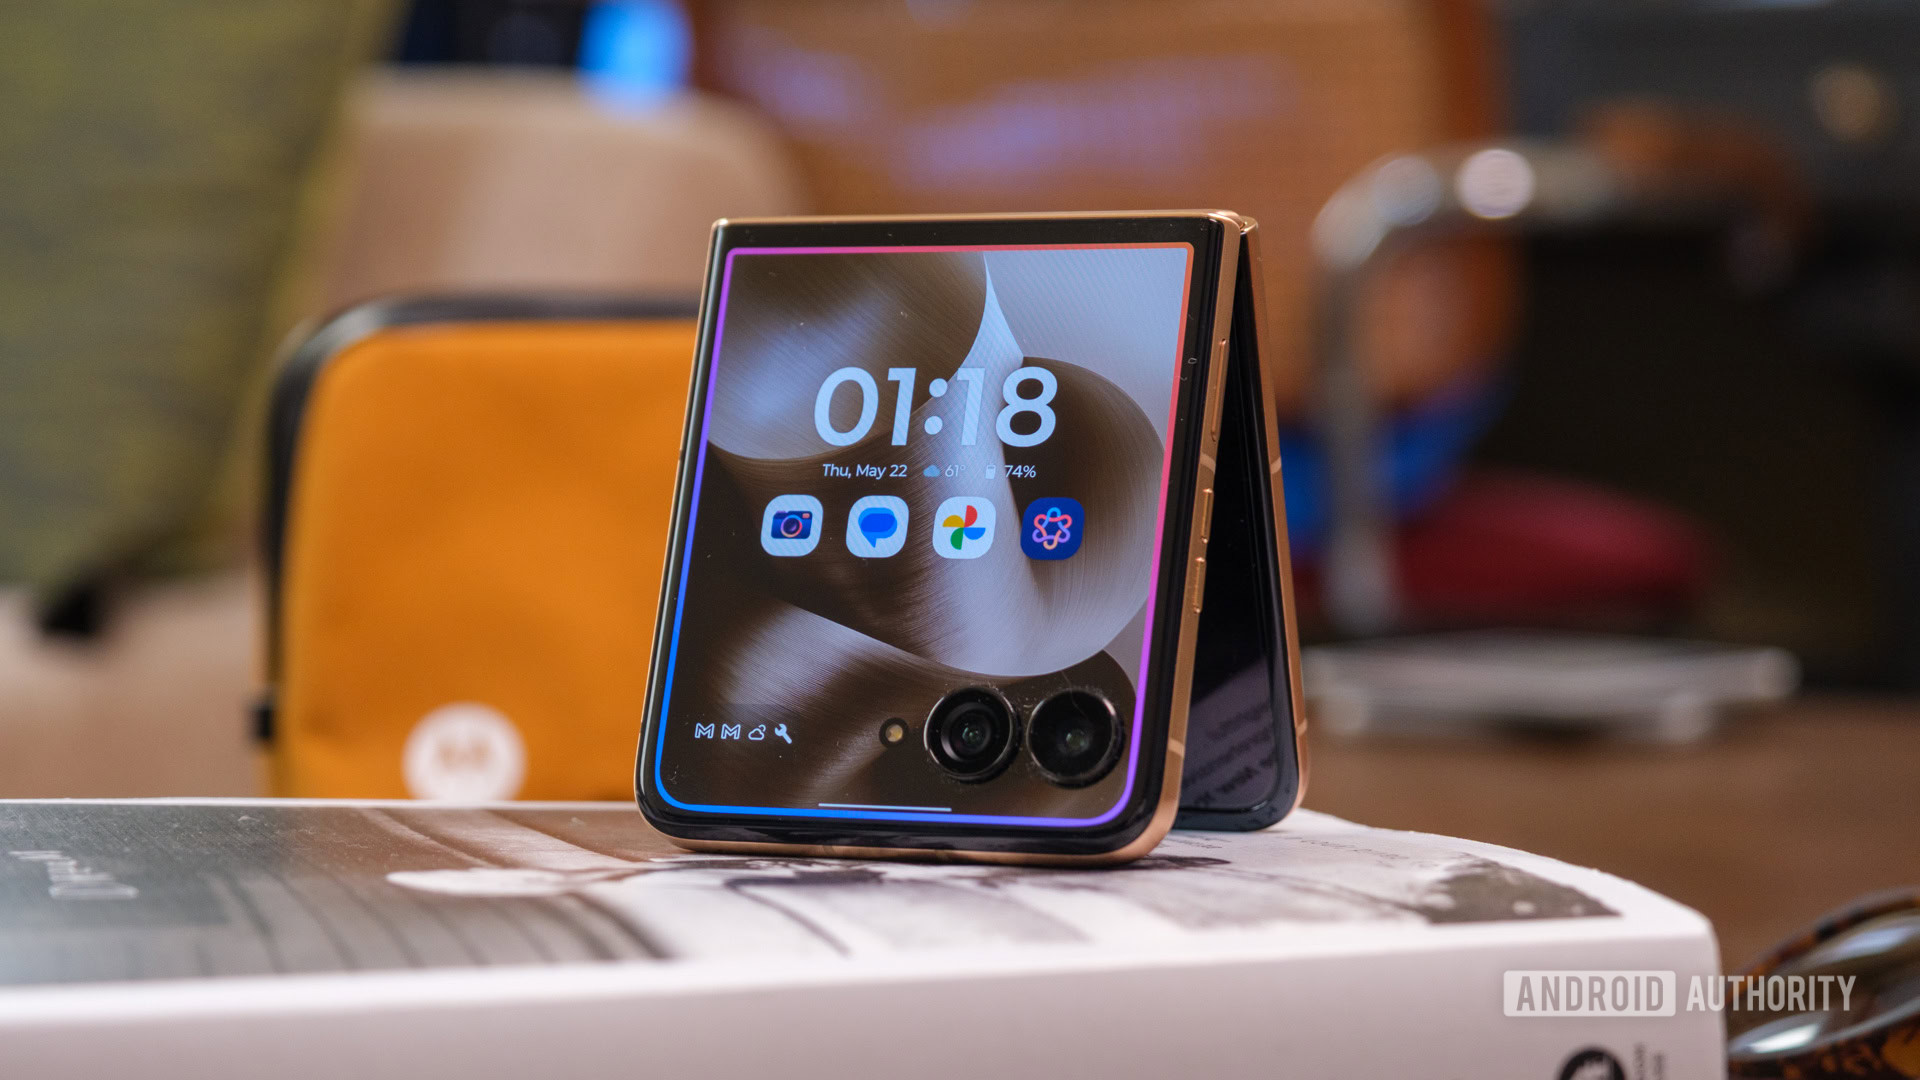
I spent 30 minutes with the Clicks Communicator, and it's now my most hyped 2026 Android phone
Joe MaringJanuary 9, 2026
0
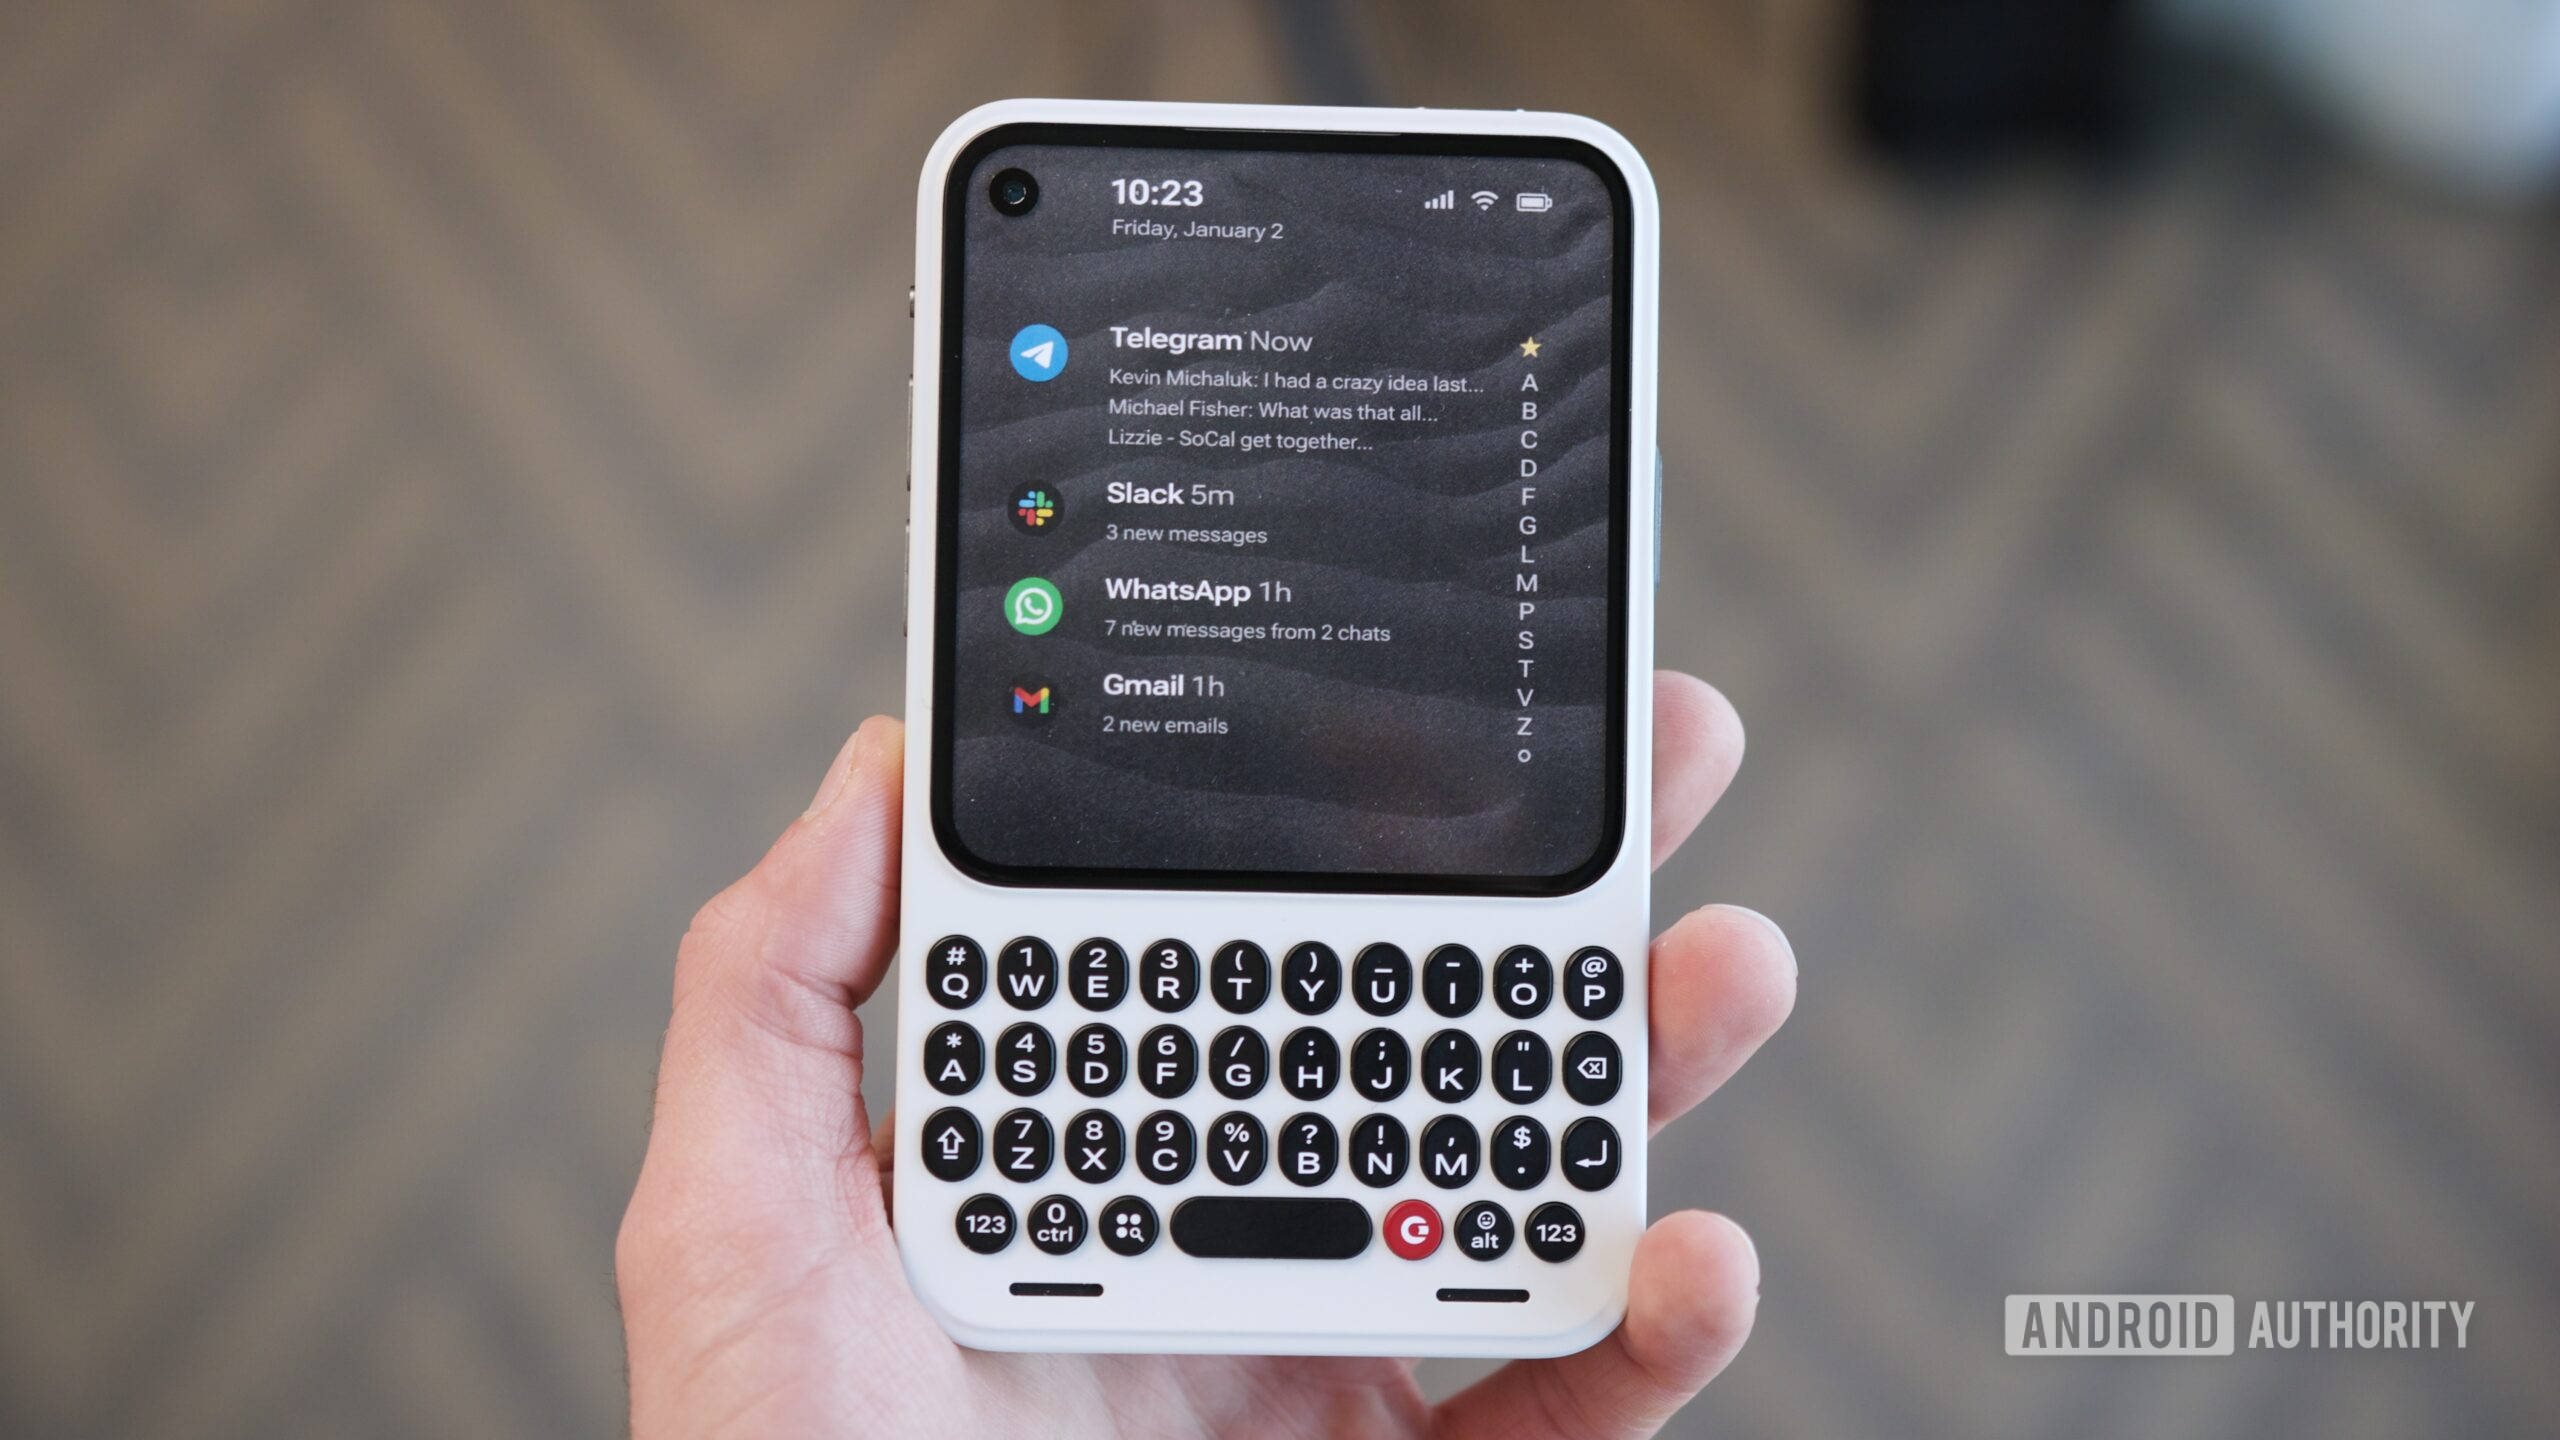
I used a $699 Android phone that's doing everything Google and Samsung won't
Joe MaringJanuary 7, 2026
0
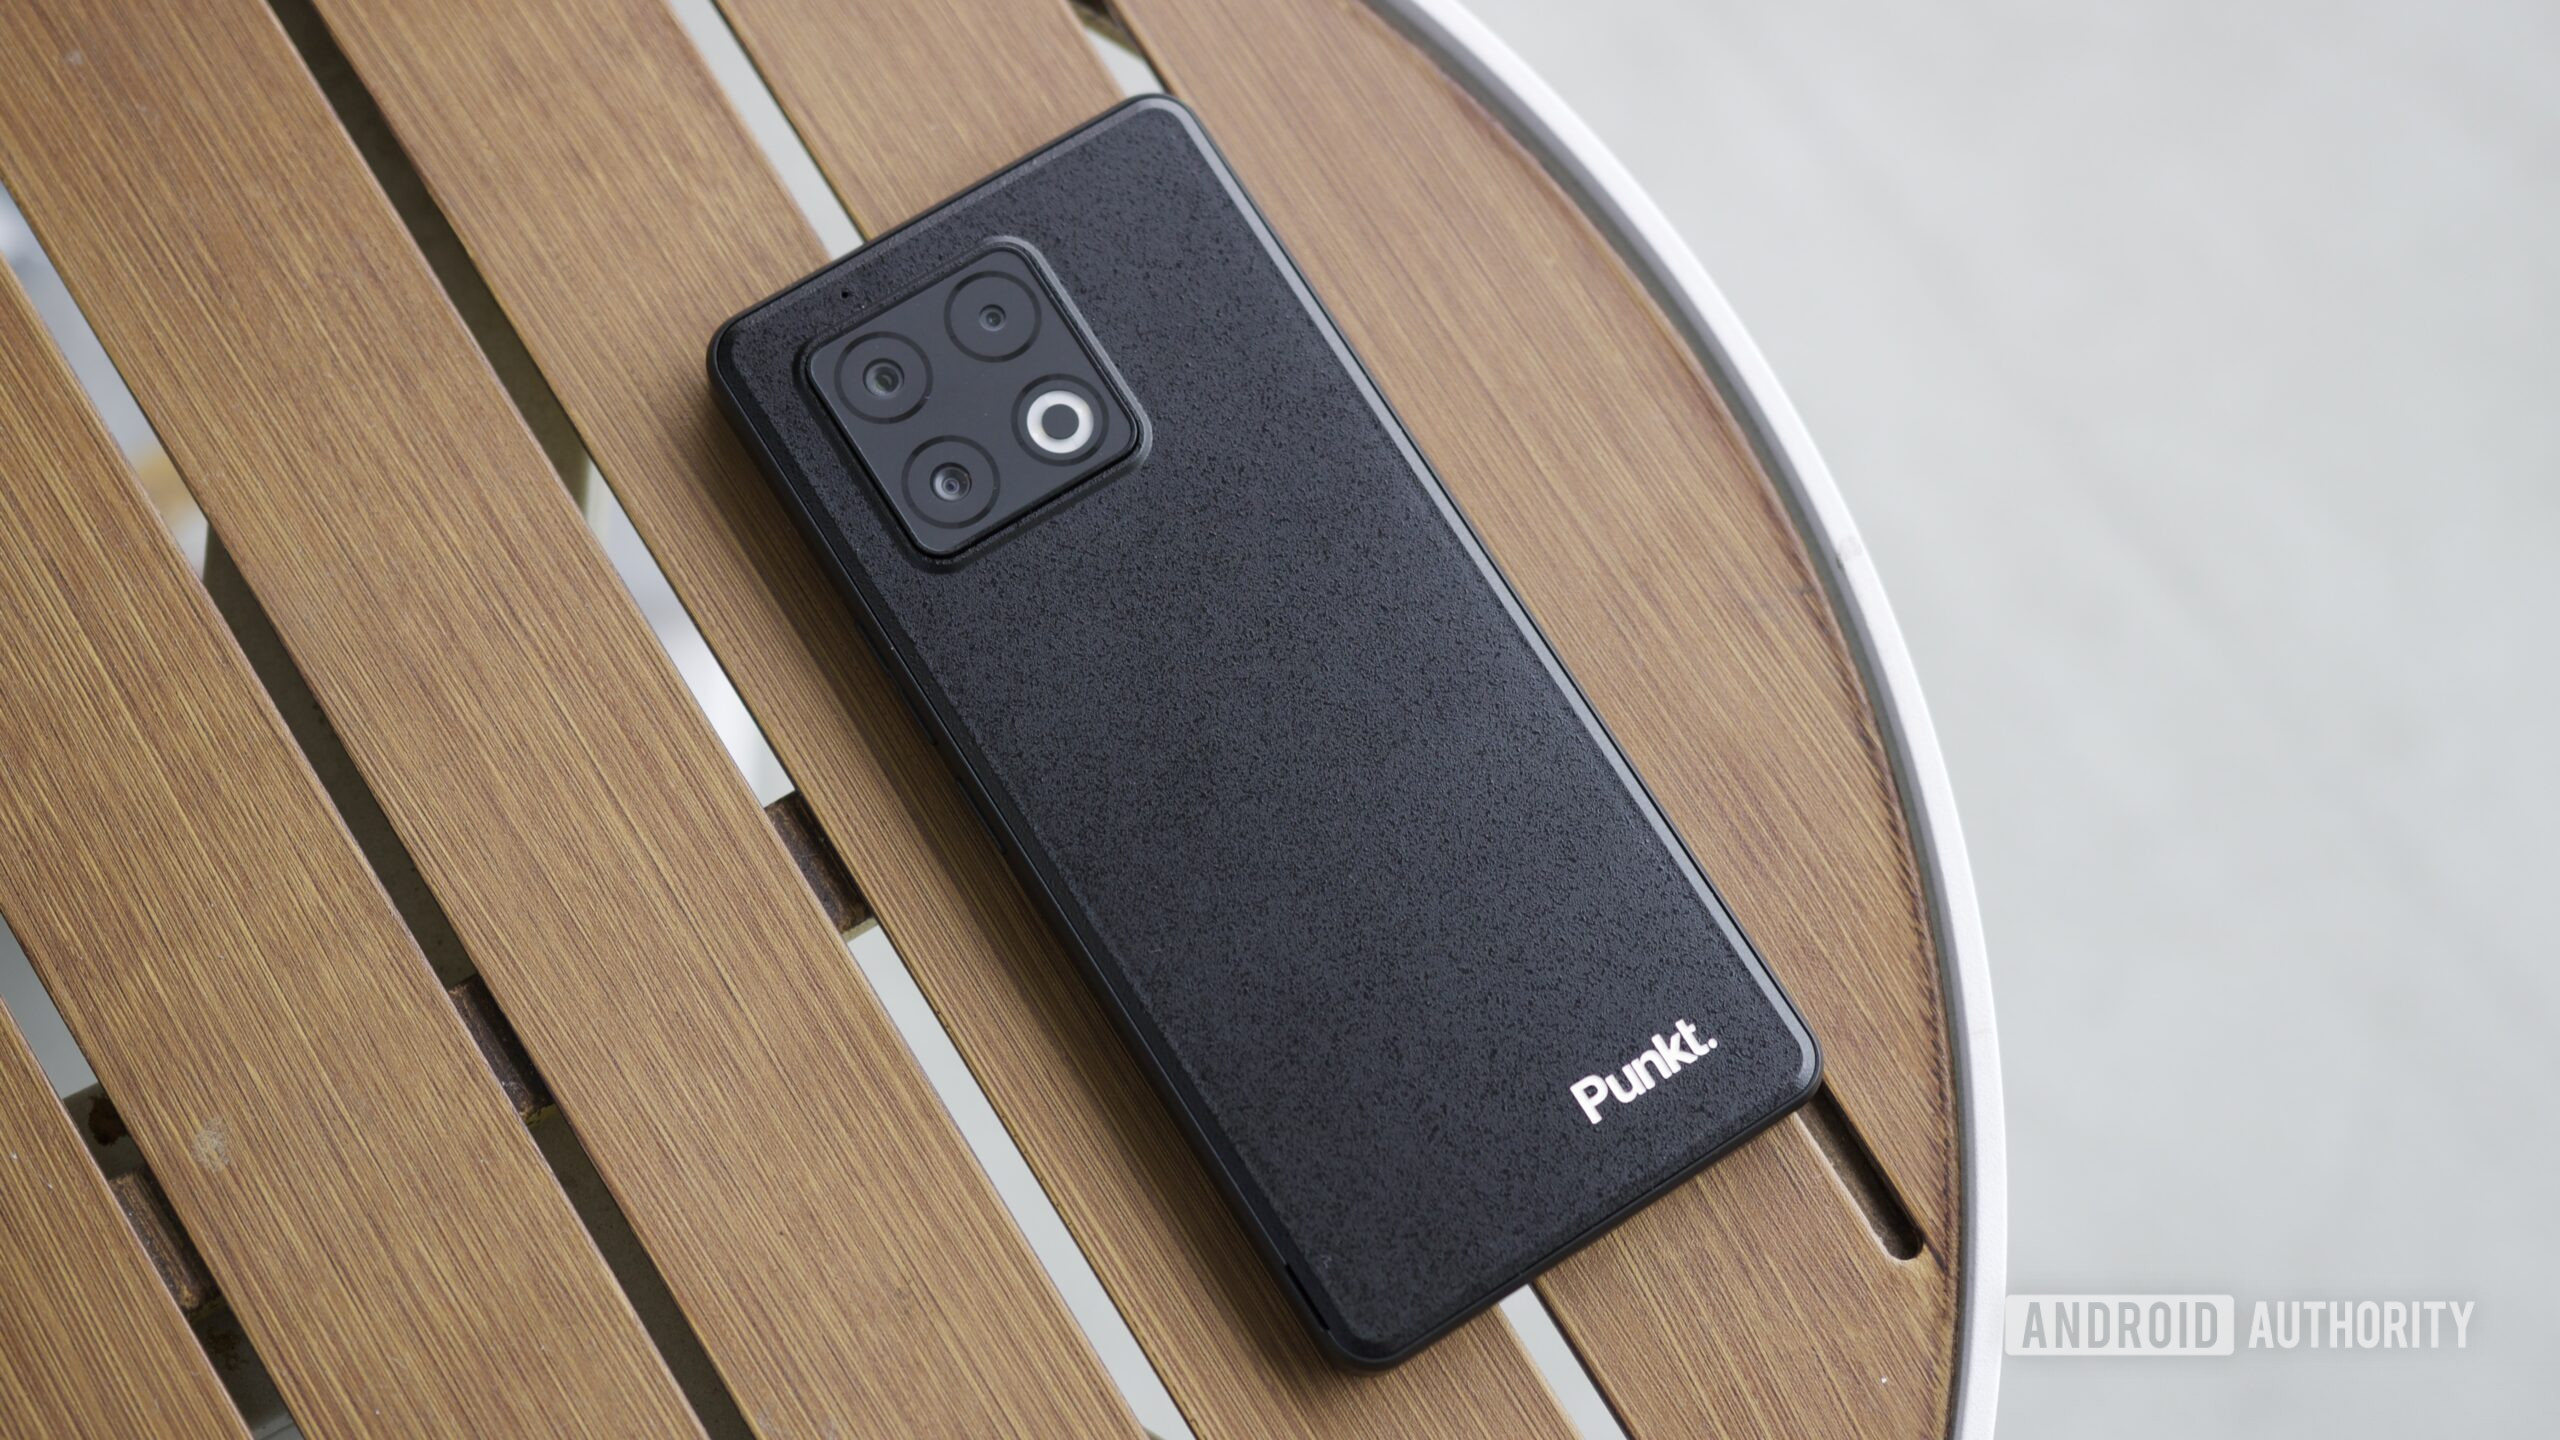
Is Samsung deliberately restricting third-party UWB tags on its phones?
Hadlee Simons2 hours ago
0
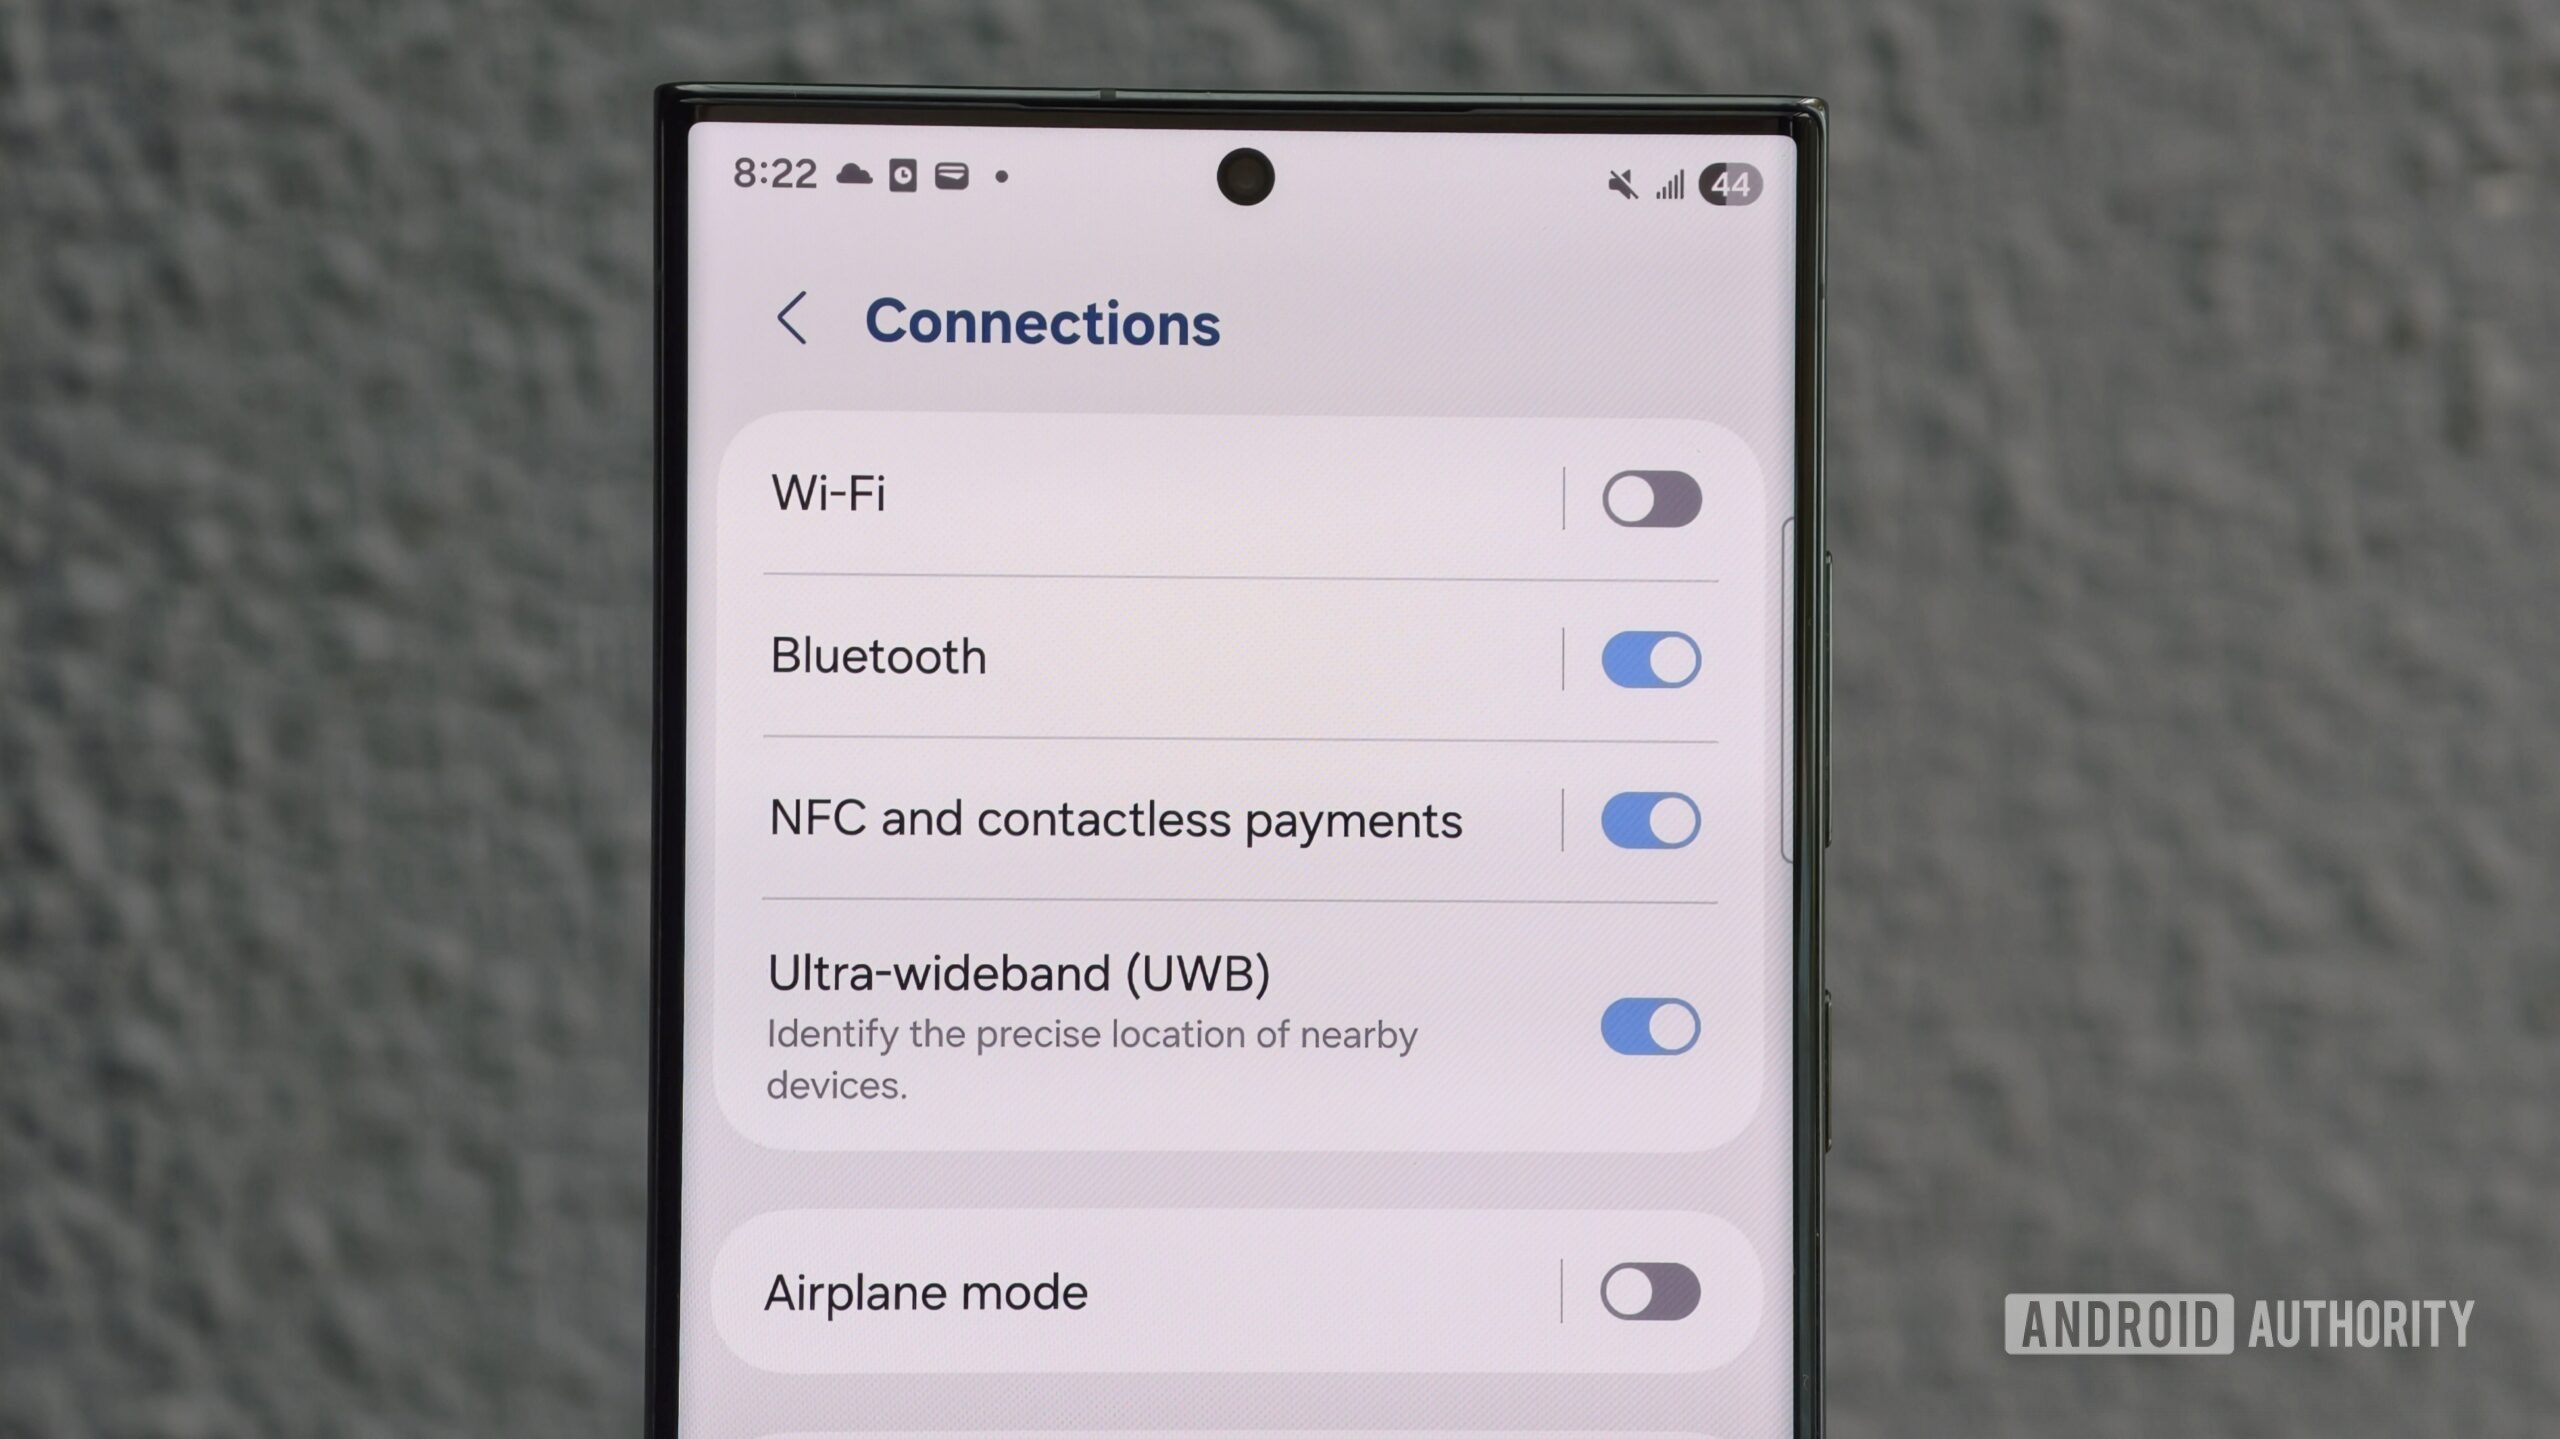
Google is exploring a much better way to build batteries into phones
Adamya Sharma2 hours ago
0
Android 16 QPR3 Beta 2 quietly rolls out a Recents menu downgrade
Adamya Sharma5 hours ago
0
Samsung shifts Gaming Hub focus toward discovery and social tools
Tushar Mehta19 hours ago
0

Nothing says your next phone will be more expensive, specs race is over
Hadlee Simons21 hours ago
0
The Galaxy S26 could save you from double-booking yourself
Hadlee Simons22 hours ago
0

The Galaxy S26 may not be an entirely pointless upgrade after all
Tushar MehtaJanuary 14, 2026
0
New Pixel 10a leak reveals price, exact launch date
Hadlee SimonsJanuary 14, 2026
0

Android 17 leak shows Google may fix one UI mistake and double down on another
Adamya SharmaJanuary 14, 2026
0
Google says it's working to fix the bug screwing up your volume keys
Ryan McNealJanuary 13, 2026
0
