Affiliate links on Android Authority may earn us a commission. Learn more.
Got a new phone? Here's how to switch phones like a pro
Published onDecember 27, 2024
Did you unwrap a new phone? It can certainly be exciting, but switching phones can be stressful, too. You have to back everything up and remember all of your account logins. If you’re having a hard time, we’re here to help. Our Android Authority reviewers have become pros at switching between devices every few weeks without much of a headache. Here’s how we do it.
Editor’s note: We developed the instructions in this guide using a Google Pixel 8a running Android 15. Remember that some menus and settings might differ depending on your device and software version.
Things to do before you switch phones
- Before you switch phones, you must ensure you’ve backed up your important data, contacts, photos, and files. We have an entirely separate guide dedicated to backing up your Android phone. That is a more detailed guide on the subject. This guide focuses on backups and preparation to switch phones and transfer data.
- You’ll also want to ensure your old and new phones are fully charged and ready to go without significant interruptions. Some manufacturers will include dongles or cables to help you transition from the old device to the new. If so, that’s great, but it’s not usually the case, and these accessories aren’t necessary.
- Do it on Wi-Fi. With lots of downloads and uploads about to happen, you’ll want to be on Wi-Fi, not your carrier or network data, if possible. Have your Wi-Fi password on hand for your new phone!
- Will you switch phones from iPhone to Android? This guide isn’t really for you, but you can check out our full guide on how to switch from iPhone to Android.
- Tip before we start: Don’t wipe for as long as possible. If you can, don’t wipe your old phone for as long as possible. You can never entirely be sure if there’s some reason you need to fire up the old phone one more time. For example, some banking apps like to allow single devices and don’t let new devices become authorized until the old device has been manually unpaired. I’ve also had issues with transferring Google Authenthicator in the past. Keeping your old phone for at least a week or two might save you some headaches, like waiting on hold to get customer service to help. It’s a worst-case scenario, but it’s happened to us!
Consider using Google’s apps and services
We highly recommend using some of Google’s free apps to backup as much as possible. Google makes it extremely easy to back up your pictures, videos, and other files using Photos and Drive. You can also upload your music to YouTube Music, so you can access it from any device with access to your Google account. Additionally, Google One is built into Android and can backup most of the stuff on your phone with a single tap. If you’re looking for other options, we keep an updated list of the best backup apps.
Google Drive is great because it allows you to upload files from your phone and access them from almost any other device. Using the app, you can save any important documents to the cloud and pull them back down to a new smartphone as long as you’re signed into the same Google account.
With Google Photos, you can choose to back up every photo and video found on your phone to the cloud. Just keep in mind Google Photos isn’t really free. All your photos and videos will count against your Google One cloud storage space. Everyone gets 15GB for free. If this isn’t enough, you can sign up for a Google One plan and pay for more space.
Google Messages does a pretty good job of backing up text messages. However, you might not be able to save MMS. Many users recommend SMS Backup & Restore for this. We have a dedicated guide for transferring your text messages to a new phone, if you need some help.
If you want to backup your music to YouTube music, you can find the details in our guide to backing up your phone to the cloud. Of course, there are also plenty of other cloud backup tips in there.
Use in-app backups
Another excellent tip for backing up more complex apps with vital information is using their own backup solutions. For example, if you use WhatsApp, you can go into its settings and have the app save your chat records. Signal and Telegram also have similar features.
You might be surprised how many apps offer these types of services, but you’ll have to double-check each one that might have your most important files, especially if you have documents or a special photo or vault app.
How to transfer data when you switch phones
Android’s built-in backup option
Over the last few years, Google has perfected Android’s backup and restore feature and made it easy to switch phones. As long as the option is enabled, your phone should handle saving your settings, app data, call history, contacts, device settings, SMS text messages, and more. It will all be stored on to your Google account.
How to enable Backup by Google One:
- Launch the Settings app.
- Go into Google services and preferences.
- Tap on the All services tab.
- Select Backup.
- Toggle Backup by Google One on.
- If you don’t want to wait for everything to sync automatically, you can also choose to Back up now.
If you go this route, when you enter the setup process on a new Android phone, Google should offer you the option to restore all this data from the cloud. Select the latest backup, and the handset will handle copying the data.
One important tip: You can’t restore a backup from a more recent Android version onto a phone running an older Android version. The process assumes you’re constantly upgrading.
Transfer things manually
Of course, you can also transfer files manually if you prefer. Connect both smartphones using a cable.
How to transfer files between two Android phones:
- Plug your old phone into your computer.
- On your old phone, slide down from the top to pull out the notification area.
- Select the section that reads Charging this device via USB.
- Tap on File Transfer/Android Auto.
- Go to This PC on your computer and find your old device. Go into it.
- You can now copy/paste any file you want. Copy them and paste them into a folder on your computer.
- Unplug the old phone and plug the new one into your PC.
- On your new phone, slide down from the top to pull out the notification area.
- Select the section that reads Charging this device via USB.
- Tap on File Transfer/Android Auto.
- Move to your computer, copy the files, and paste them into your new device.
ADB backup
This is one of the lesser-known backup methods, and is recommended only for power users and developers using Google’s Android debug bridge (ADB) tool. You can back up most of the data on your phone and your installed applications. The backup file is even saved to your computer to be accessed at any time or restored onto any Android device. That gives you more control over your backup options and lets you install the same files on multiple phones simultaneously.
As this process involves using Google’s developer tools, we must warn you to only use this option if you have prior ADB experience or are OK with going slowly and cautiously through the process.
To get started, you’ll need to download and set up the Android SDK on your computer. First, enable developer options and USB debugging on your smartphone. Then, connect it to your computer and make sure ADB works correctly.
Type in and run adb backup -apk -shared -all -f <filepath>/backup.ab in the Terminal or Command Prompt. From there, a window should appear on your Android device. Here, you can password-protect the backup file and initiate the process.
Ensure your smartphone’s display doesn’t sleep during the backup process. Otherwise, it will stop working and will not save your device’s data.
When your new device is set up and plugged into your computer, run the adb restore <filepath>/backup.ab command. A similar window will pop up on your phone, asking if you want to restore the backed-up data. After several minutes, you should see a rough copy of your old device on your new one.
Unfortunately, ADB backups aren’t perfect. Some take a route to have a backup file sitting on a local computer instead of the cloud. Unfortunately, it doesn’t necessarily capture everything.
How to transfer apps when you switch phones
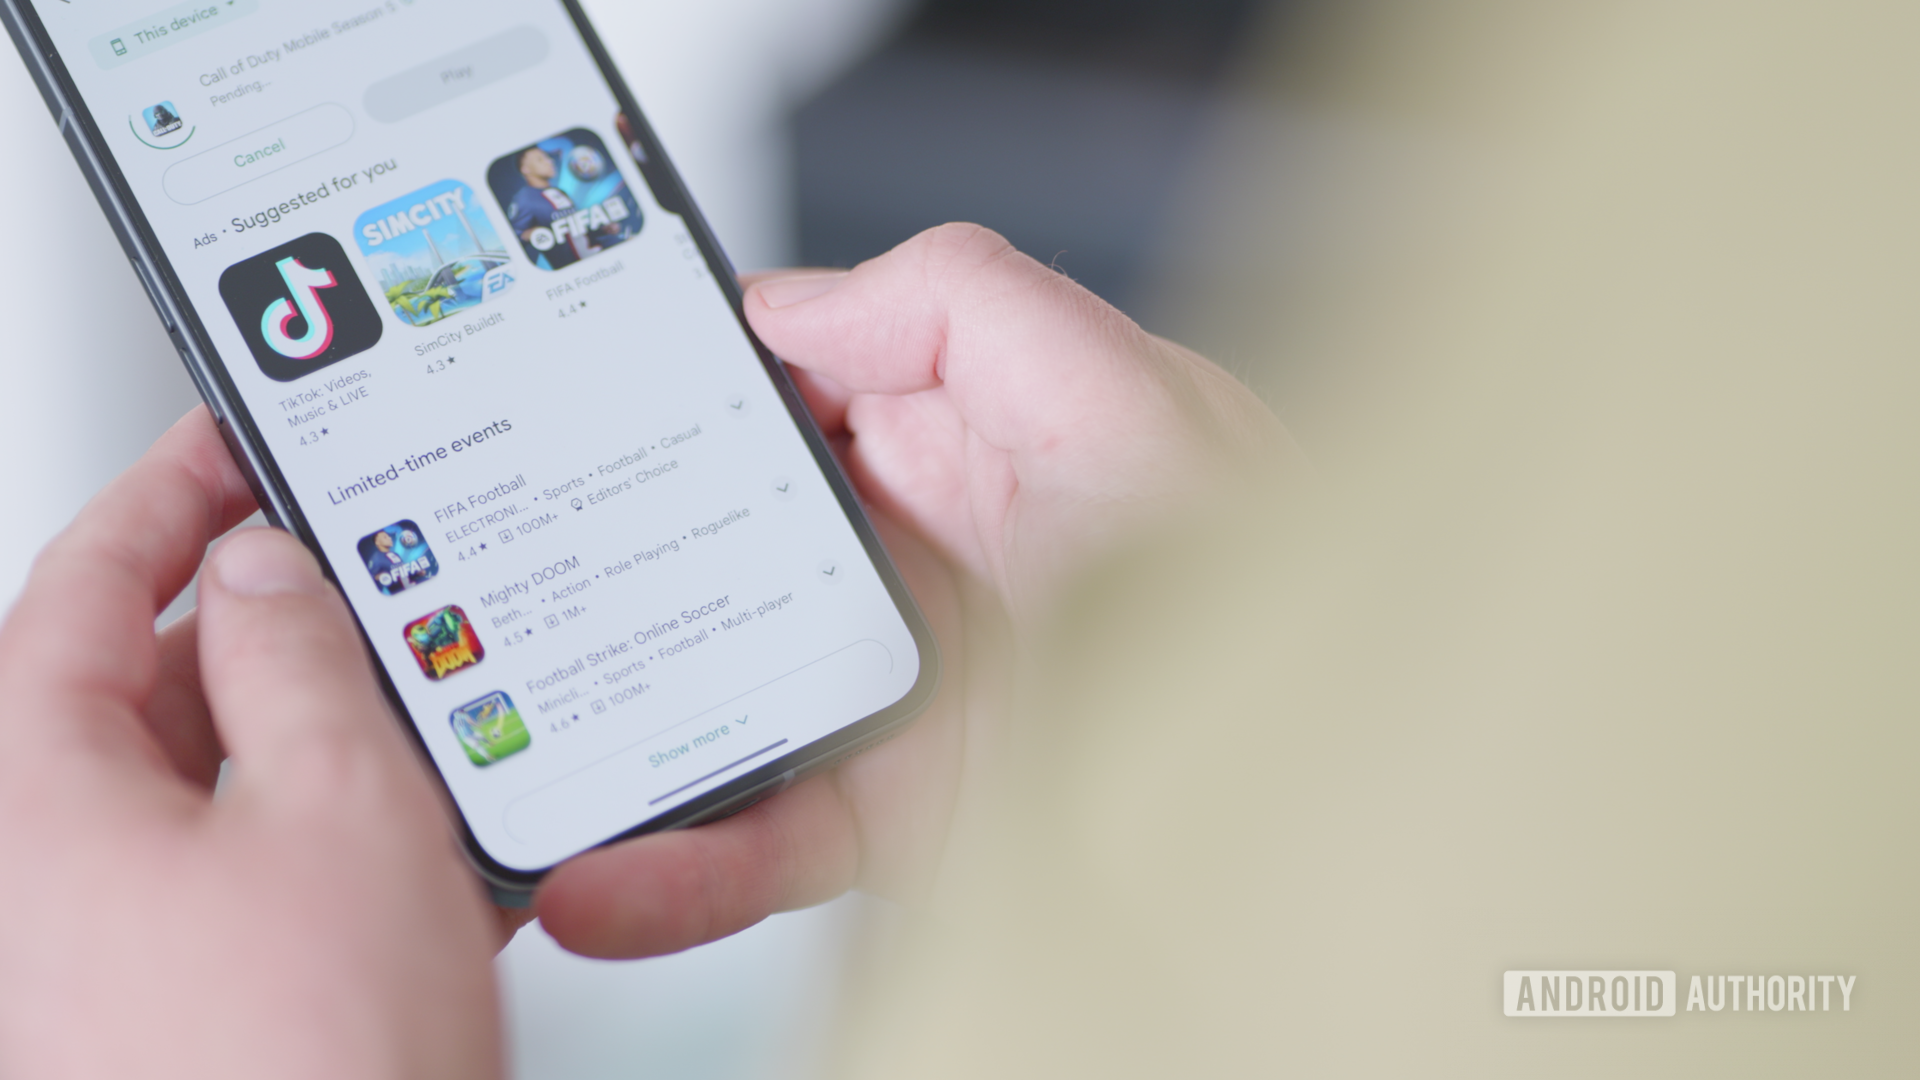
Moving apps is pretty straightforward, with a few options available.
Restoring from previous backups
If you’ve successfully backed up your device using Backup by Google One, the first step is to let Android access your backups. This includes the list of apps you had installed on your last phone. Your new Android phone will automatically install all available apps from the Google Play Store again. Unfortunately, some apps will remember you, but some will need you to log in again. That’s down to developer choices; it’s not your fault!
Go to your Google Play Store library
You may not want to keep all your apps when you switch phones. It’s often a good idea to skip the backup options and start with a clean phone. Luckily, the Google Play Store keeps record of all the apps you have downloaded in the past, making it easy to pick and choose the ones you want to re-download.
How to install previously downloaded apps from the Google Play Store:
- Launch the Google Play Store.
- Tap on your Profile icon.
- Hit Manage apps & device.
- Select the Manage tab.
- Tap on the drop-down menu that reads This device.
- Pick Not installed.
- You will see all your previously downloaded apps. Select the ones you want to install.
- Hit the Download button.
This will list every app you’ve installed on any device associated with your account. This may be a long list of forgotten applications with lots of decisions to make as you go. It may be faster to do the same thing just from a PC on the web, or slower depending on how many clicks are involved.
Don’t forget passwords and 2FA
One of the most prominent pain points when you switch phones is logging back into each app. Some developers have implemented the ability to log in using your Google account (or other social media accounts). However, many require usernames and passwords that you’ll have to remember.
The easiest and most secure way to breeze through this process is to use a password manager like LastPass or 1Password. Not only do these services allow you to generate incredibly complex passwords and keep them secure, but these apps can also quickly paste in your credentials, so you don’t need to remember them. Unfortunately, not every app implements the auto-fill API. So, you’ll eventually have to copy your password directly from the password manager.
If you’re looking for the most straightforward way to save your passwords, Google Password Manager works amazingly, too. It is deeply integrated into Android and works like a charm for creating and storing credentials.
On top of this, various apps can authenticate Two-factor Authentication (2FA) logins. We strongly recommend securing every possible account with some form of 2FA. However, you have to be extra careful when switching phones. Being locked out of even just one 2FA secure login is going to be painful, at the least.
The good news is, finally, popular 2FA apps like Google Authenticator finally give you the option of backing up 2FA data, so you can transfer it to another device. The likes of Authy and LastPass have done this for a while, too.
If you’re rooted…
If your Android phone is rooted, the fantastic Titanium Backup tool can make an almost perfect copy of your entire smartphone. Of course, it lets you reinstall every app you had on your old handset. It also attempts to remember your in-app preferences and can sometimes even keep you logged in.
Of course, not many people root their devices. Thankfully, all of the above solutions make for an almost seamless backup and restore experience. So you shouldn’t have to worry about jumping through hoops to make Titanium backup work.
You can download Titanium Backup straight from the Google Play Store.
How do you backup and restore your phone? Let us know if you’ve spotted any useful new apps or techniques as Android matures and evolves.