Affiliate links on Android Authority may earn us a commission. Learn more.
How to transfer files from Android to Mac
Published onAugust 22, 2023
One of the many great things about Android is that you can easily shuttle files to and from a Windows PC just by connecting your phone via USB. Unfortunately, things aren’t quite as simple if you have an Android phone and a Mac.
The official solution is Android File Transfer, a Google-made app for macOS. The problem? It can be buggy, inconsistent, and generally a bit awful. It’s compatible with macOS 10.7 or later, which tells you something about how old it is.
Nevertheless, we’ll walk you through how to use Android File Transfer in the guide below. Stick around, and we’ll also show you a couple of options that will make moving stuff from Android to Mac much easier!
QUICK ANSWER
To transfer files between Android and a Mac, you can use the official method — a Google app called Android File Transfer — but, that isn't the easiest one. The third-party app called Commander One is a great alternative that can do the job even quicker. You can of course opt for cloud storage sync, but that may mean paying subscription fees.
JUMP TO KEY SECTIONS
Using Android File Transfer
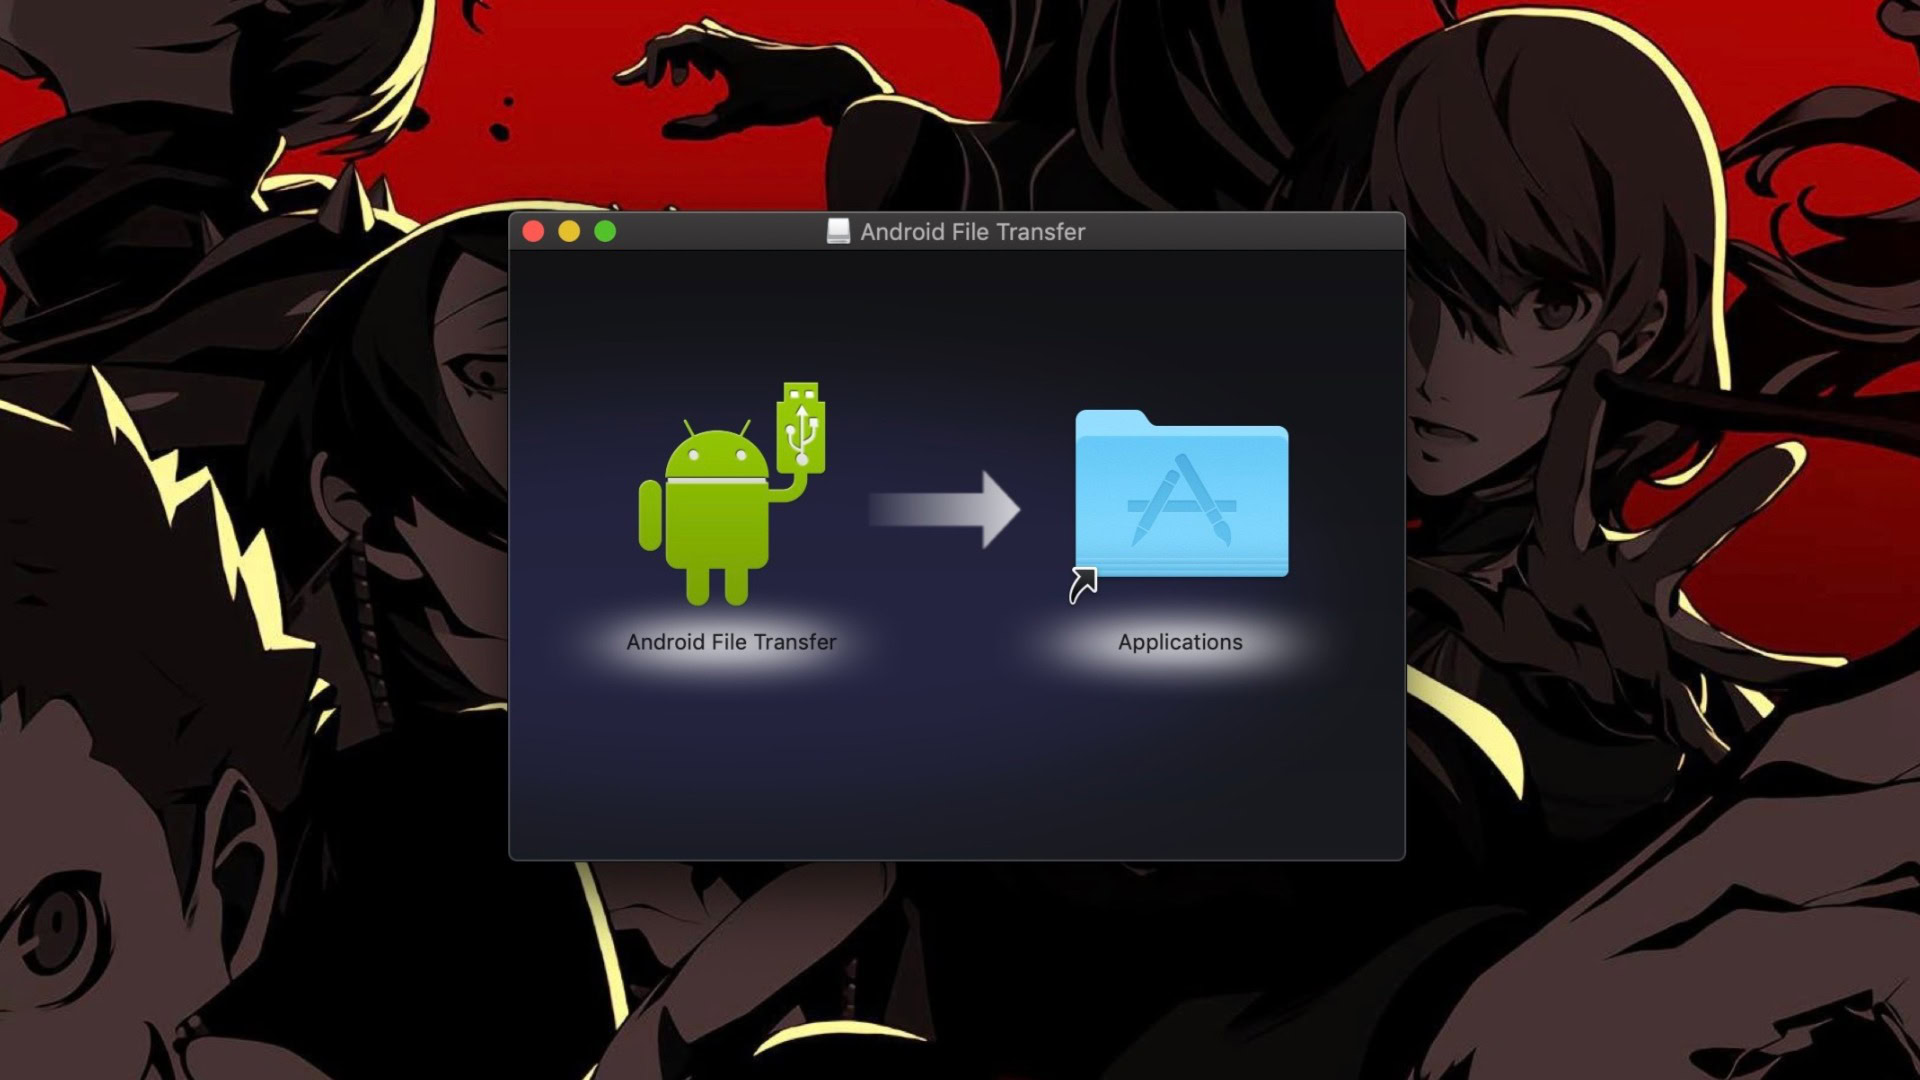
Want to stick with the official method? Not a problem. Here’s how to download and use Android File Transfer:
- Download Android File Transfer for Mac from the Android website here. You’ll need to be running macOS 10.7 or higher, but that’s most Macs.
- Open AndroidFileTransfer.dmg.
- Drag the file into the Applications folder in the Finder pop-up.
- Double click Android File Transfer. You’ll likely be prompted with a quick security check, but click Open to continue.
- Connect your phone to your Mac via a USB, and Android File Transfer should open automatically. If it doesn’t, check your notifications bar on your Android phone and change the USB Preferences to File transfer mode if it doesn’t.
- In Android File Transfer, find the folder and/or file(s) you want to transfer. Drag and drop it to your desktop.
Those six steps make Android File Transfer sound easy to use, but anyone who’s used it will know that it may take several attempts to get the app to recognize your phone.
It’s also awkward to have to browse through your phone’s files in the app’s custom explorer with no previews and no quick access to your desktop.
Using a cloud storage solution
The simplest way to transfer files from an Android phone to a Mac is cloud storage. You probably already have a favorite service and use it daily. The most popular cross-platform options include the likes of Google Drive, Google Photos, Amazon Photos, Dropbox, and Microsoft OneDrive.
All that’s usually needed is matching software, in which case uploads to a service’s phone app will automatically sync with your Mac. If you’re already pushing the limits of free cloud storage, however, don’t be surprised if a paid subscription is required to keep file transfers open as an option. You may be able to get around this by periodically scrubbing unused content.
How to transfer files from Android to Mac: A full solution using Commander One
If you don’t want to depend on the cloud but Android File Transfer is too onerous, your best bet may be Commander One by Eltima, which has an Android mounting feature inside its $29.99 Pro pack.
It’s not the only third-party transfer software out there — we encourage you to look for alternatives, in fact — but here are a few reasons why we like Commander One.
Dual-panel mode
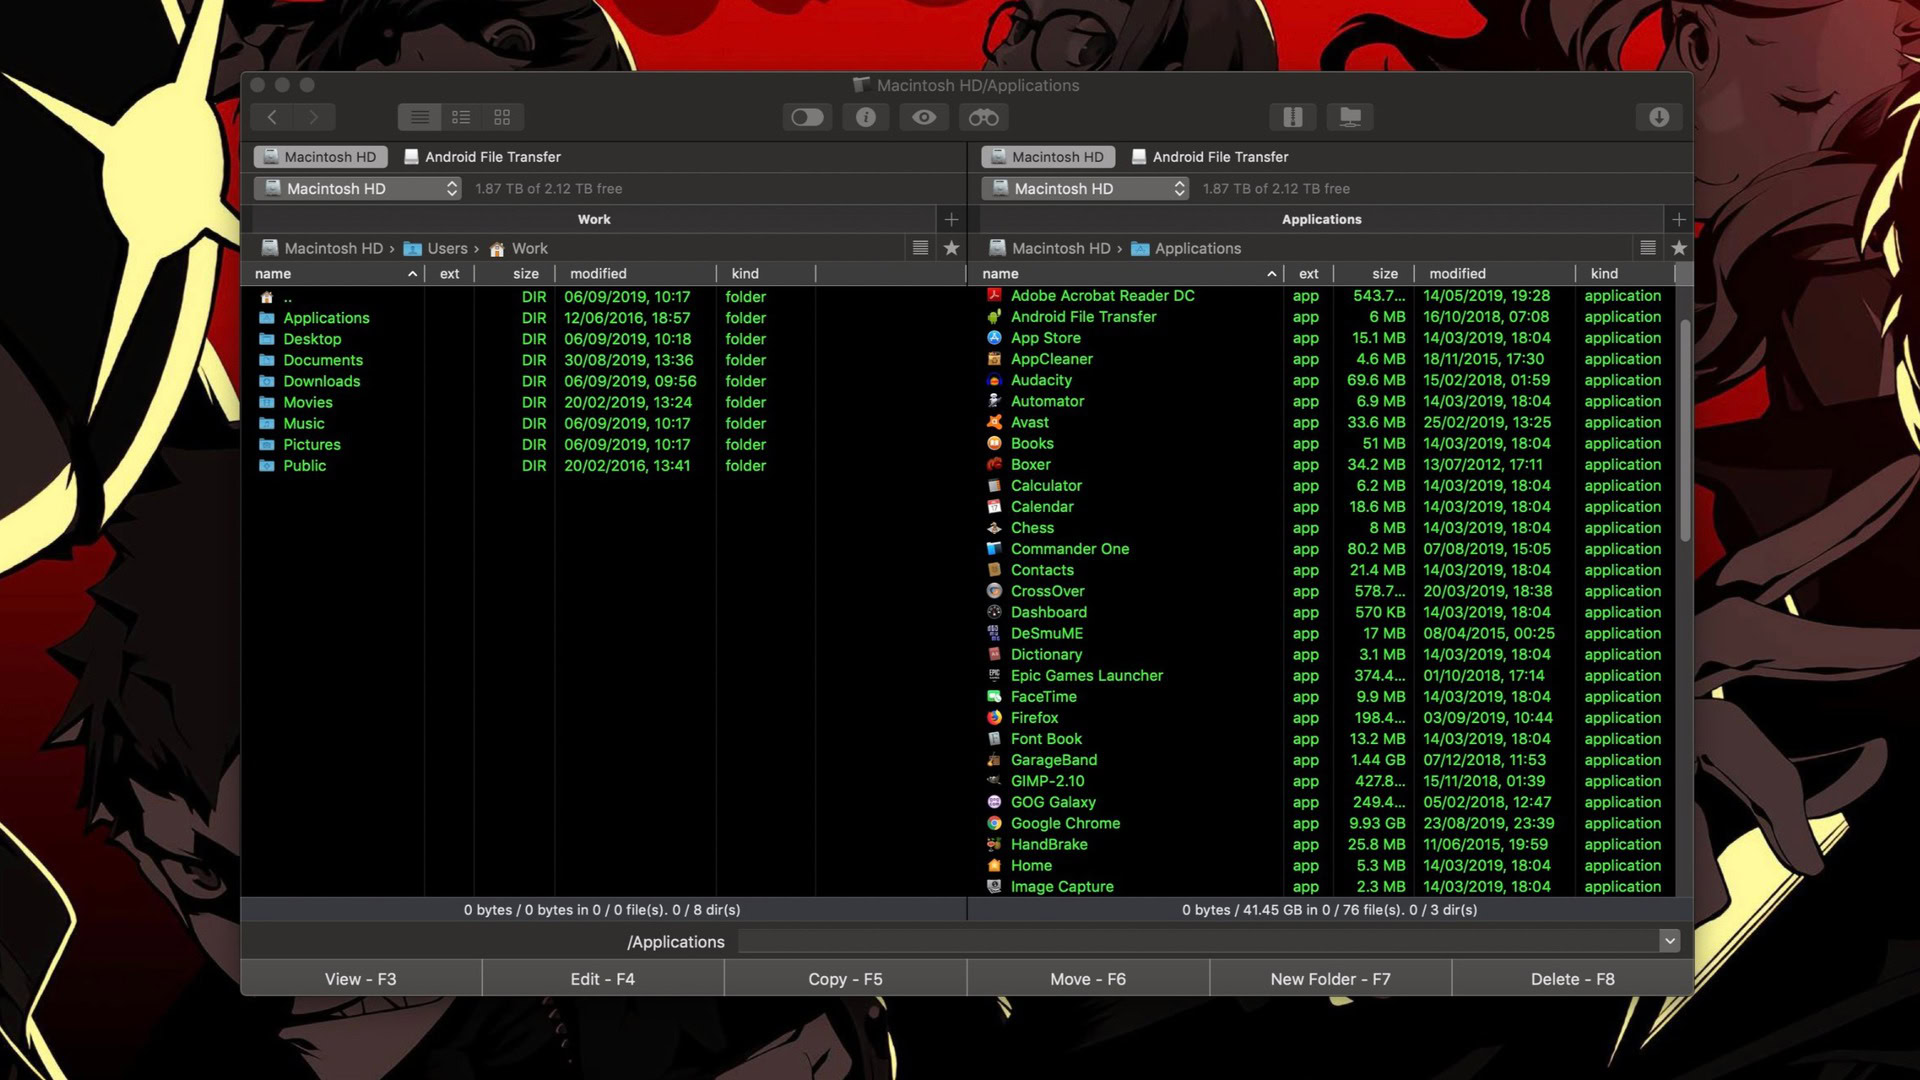
Commander One’s signature feature is its default dual-panel layout, which gives you immediate access to two folders or drives. With the Pro version, one of those panes can be used for mounting your Android devices. That means you can drag and drop files within a single window.
You can actually add further tabs in each panel, too. If you want to fling various files into different folders, or another storage device, that’s quick and easy.
There are myriad minor perks you get within the two panels that blow Android File Transfer out of the water. For starters, you can actually preview your files in Commander One. You’ll know which precious photos you want to save to your desktop without checking filenames. While you don’t get thumbnail previews, you can double-click and use Quick Look.
Commander One also shows more info about each file, including the size, extension, permissions, date created, and more. You can also toggle viewing hidden folders to avoid clutter, or delve deeper into your phone or Mac’s innards.
iOS mounting
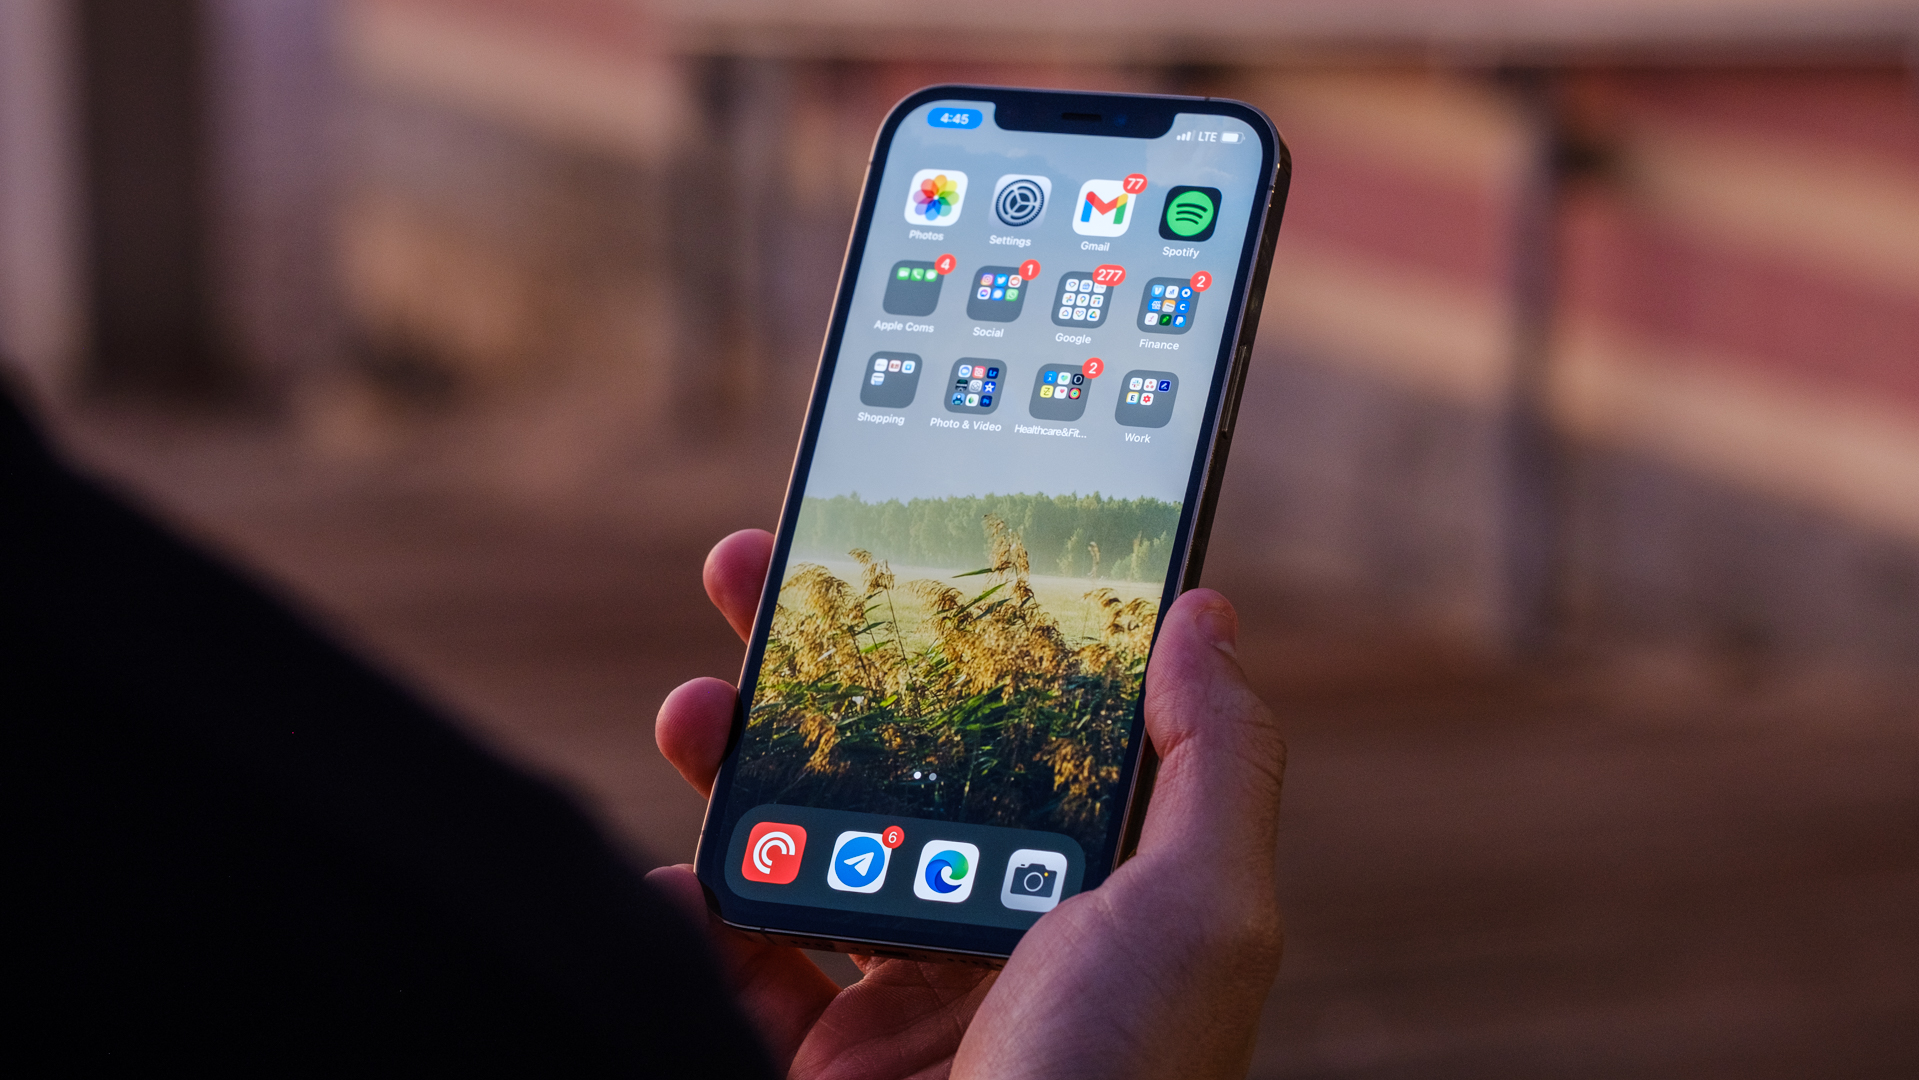
Unsurprisingly, Commander One supports mounting iOS devices. However, it should be noted that the function only works with the version from Eltima’s official website, not the Mac App Store version.
Cloud services and remote servers all in one place
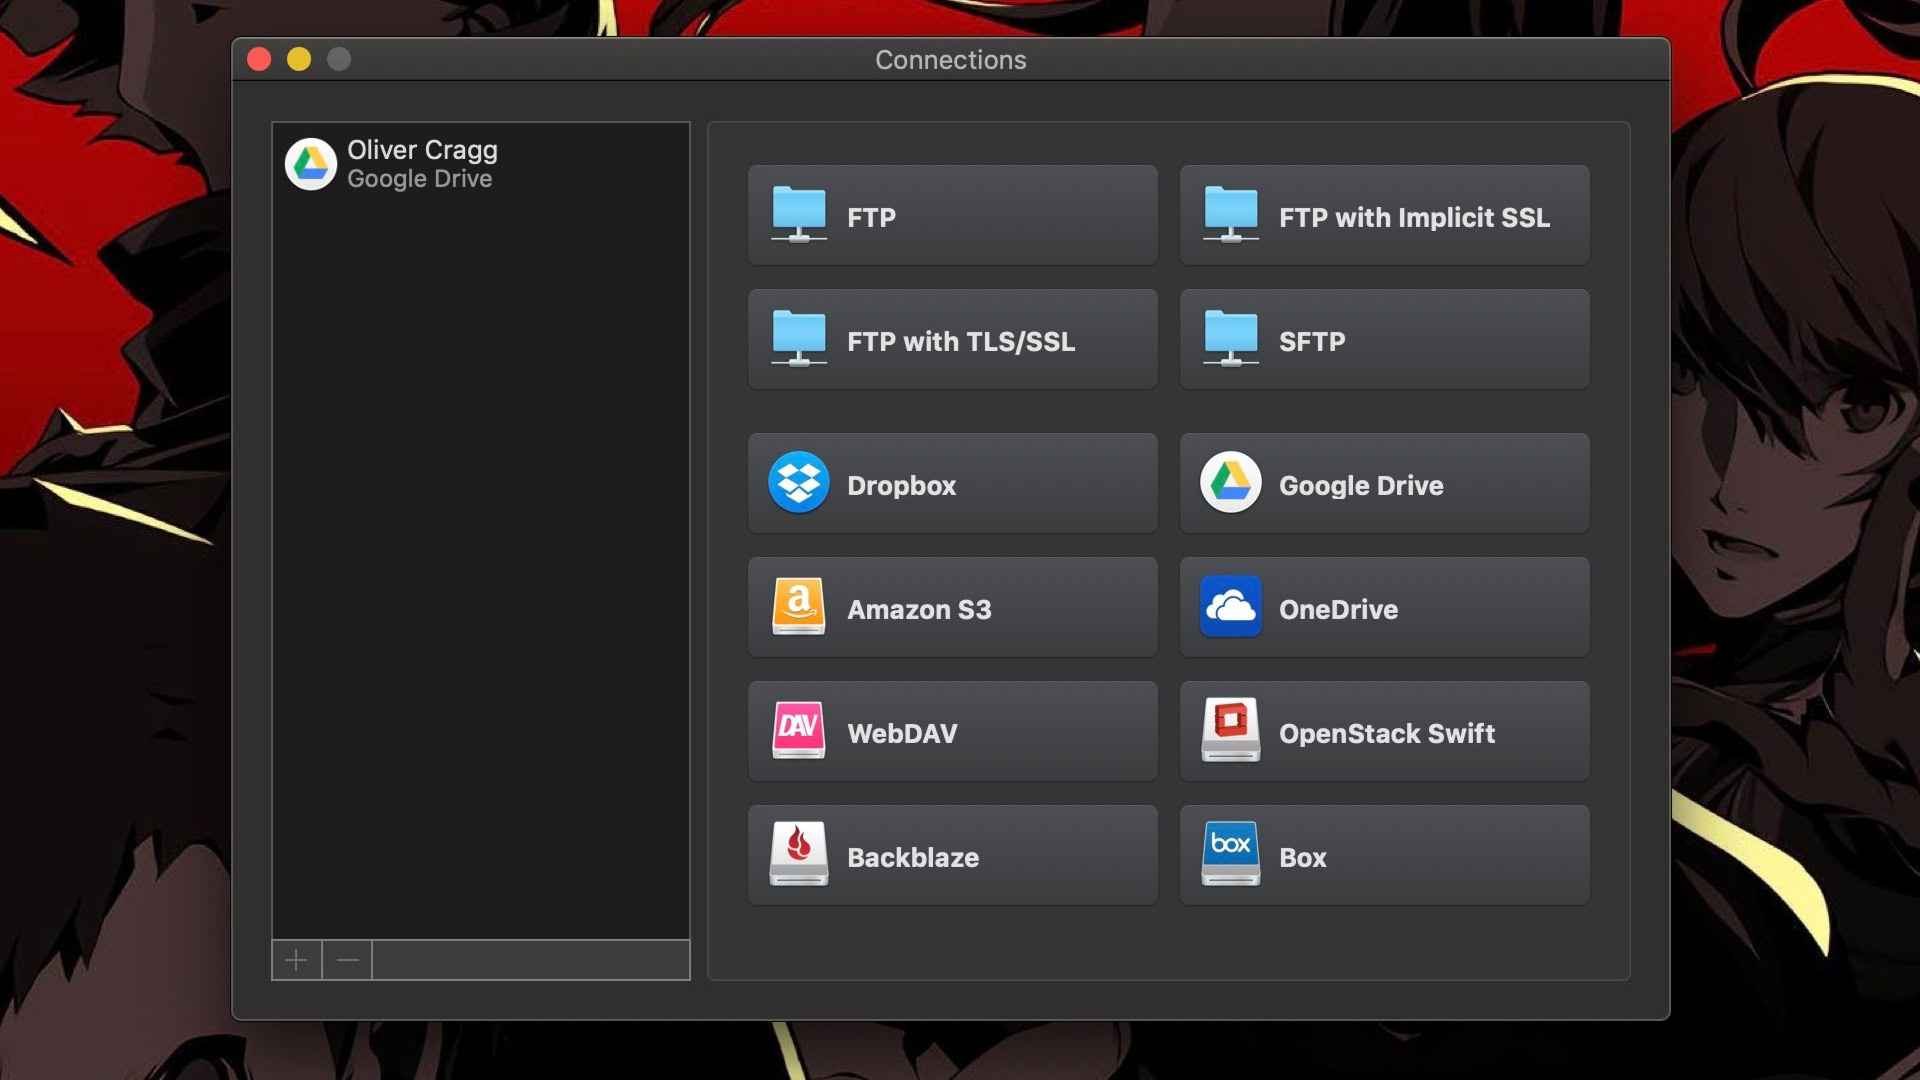
Commander One’s remit doesn’t stop at your phone or Mac’s drives. With the Pro version, you can fill a panel or tab with cloud services like Google Drive, Dropbox, and others. It also supports connections with remote servers via FTP, SFTP, or FTPS, Amazon S3 storage, WebDAV clients, OpenStack, and more.
Comprehensive search tools
Android File Transfer doesn’t have a search bar. That means you’ll be locating files manually. Meanwhile, Commander One has a search function that puts Finder’s tool to shame. It has support for Regular Expressions, Spotlight, and the ability to search for keywords within files.
Finder, but better
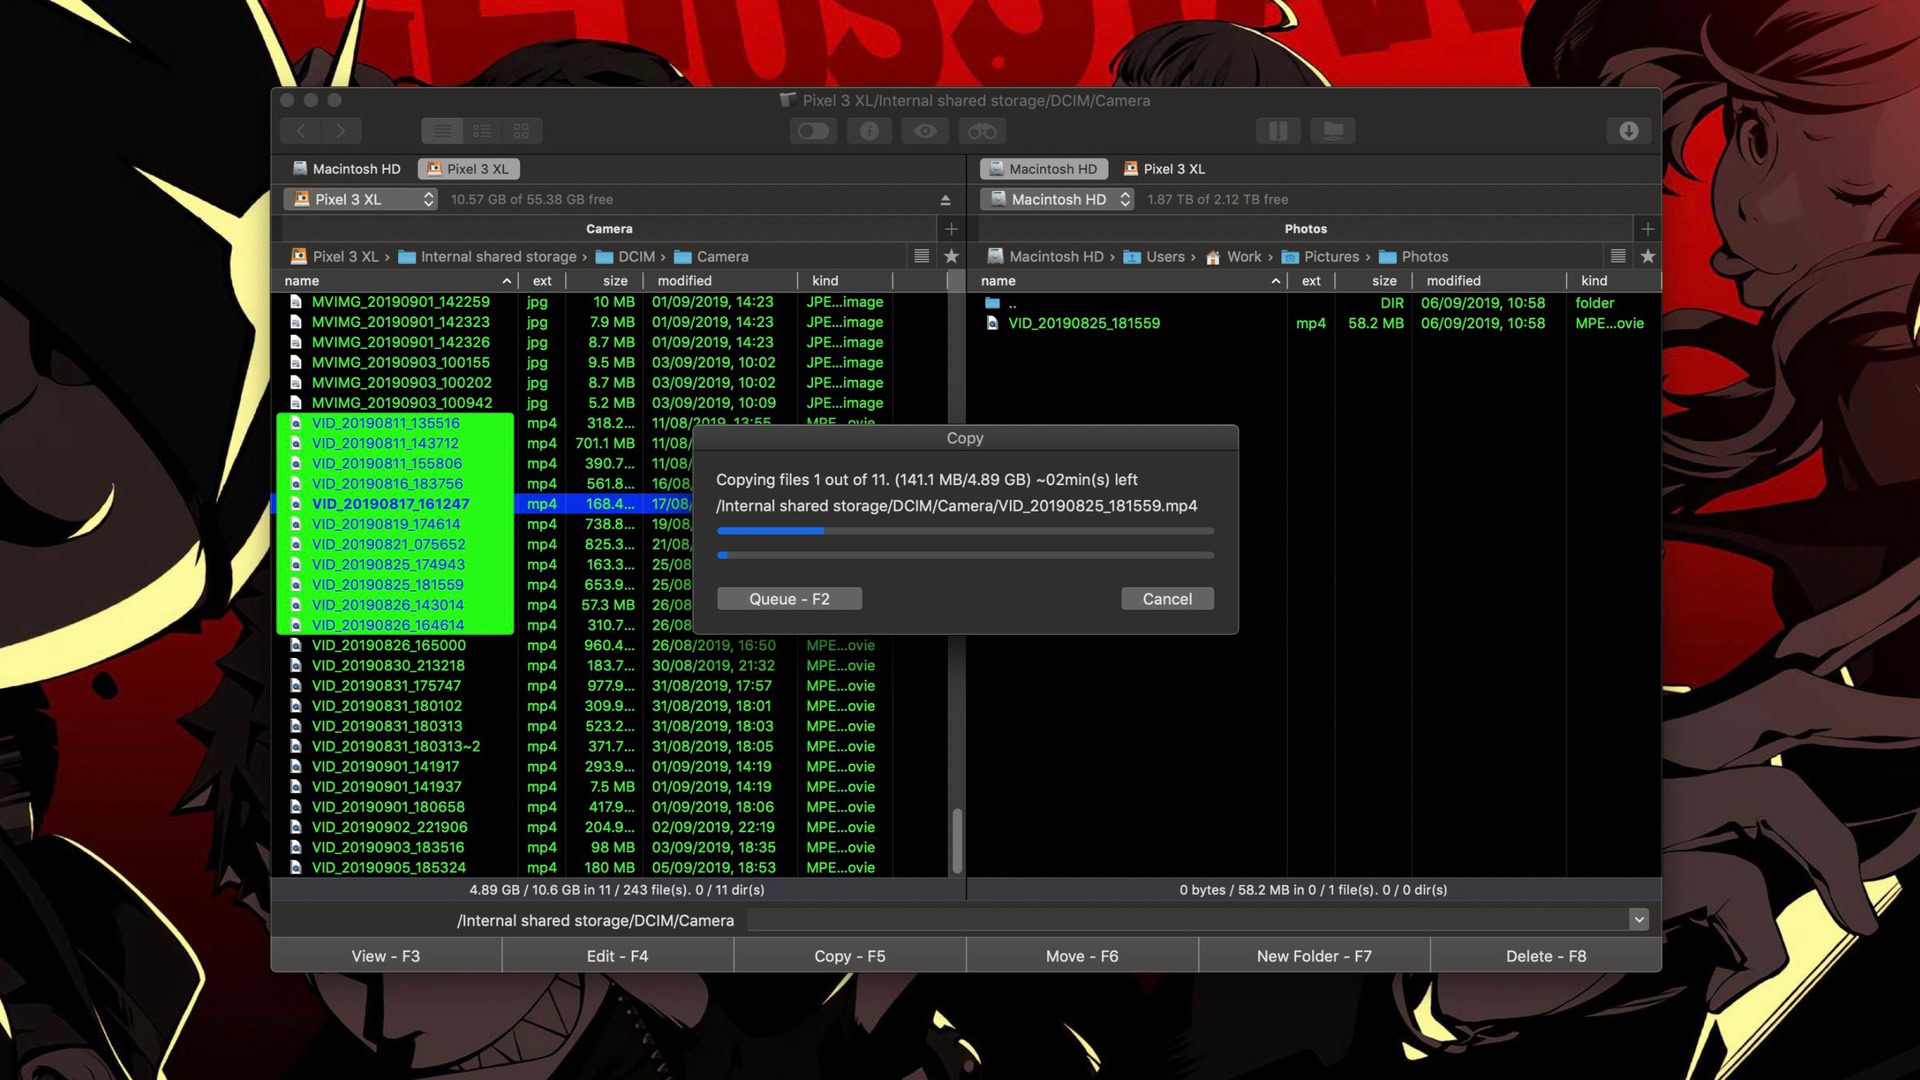
All of these things make Commander One a superior alternative to Android File Transfer. But honestly, if you all you want to do transfer to and from your phone, the $29.99 Pro upgrade is a little much.
Where Commander One really shines is in being a full replacement for Apple’s Finder file manager. Finder has improved a lot over the years, but it’s still not great for power users.
Android File Transfer sounds easy to use, but there are better alternatives out there.
On top of dual-panel mode, there’s a litany of other upgrades that give Commander One the edge over Finder if you’re willing to pay the asking price. These include hotkeys, root access, in-app access to Terminal commands and process management, a built-in archiving tool, and much more that you can find listed here.
Thankfully, you can try out most of these features in the free version, which you can download via the button below. For more on the difference between the free and Pro pack version, there’s a feature checklist right here.