iPhone and iPad
There's a reason iPhones and iPads are so popular. Get honest impressions and reviews right here.
Reviews
Versus
Features
Guides
How-to's
All the latest
iPhone and iPad news
Apple Intelligence is here, and these are the features it's still missing
Calvin Wankhede11 hours ago
0
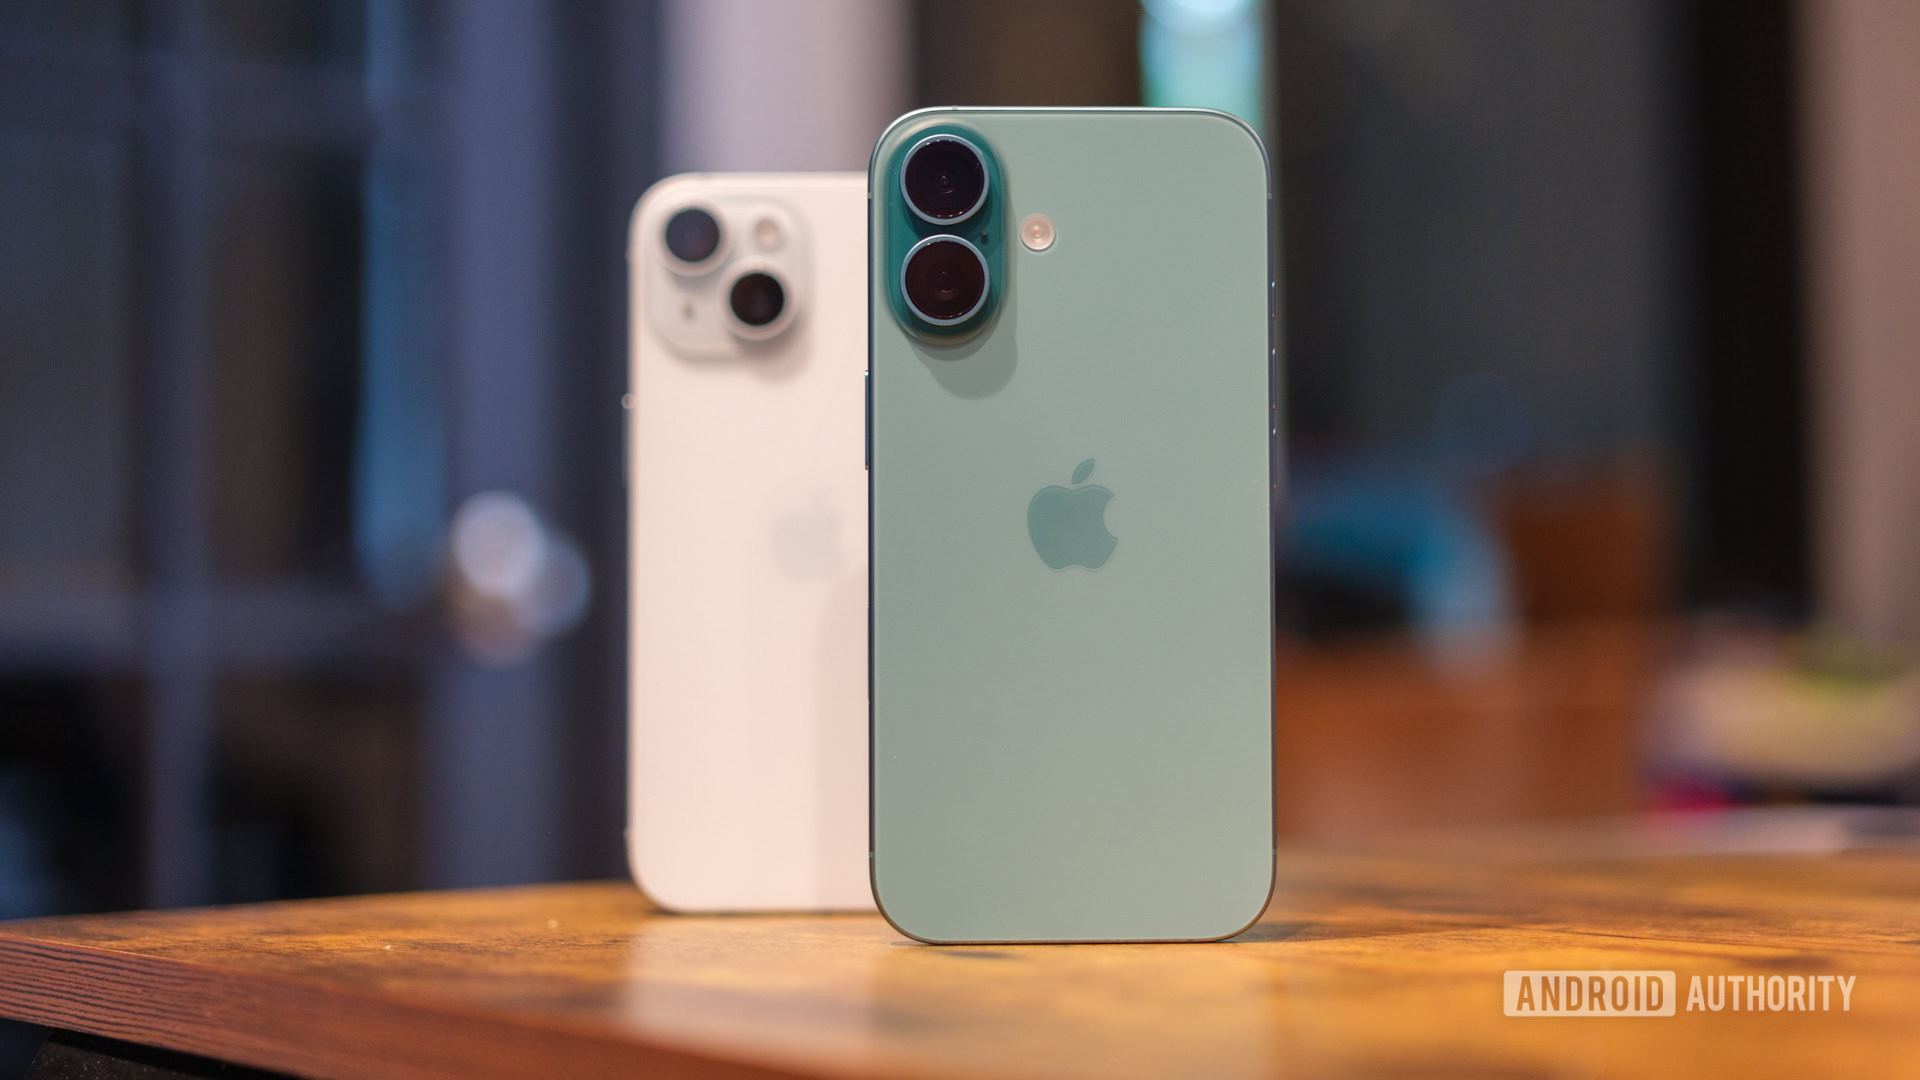
Apple iPhone 17 rumors: Everything we know so far about Apple's next flagships
Aamir SiddiquiApril 29, 2025
0
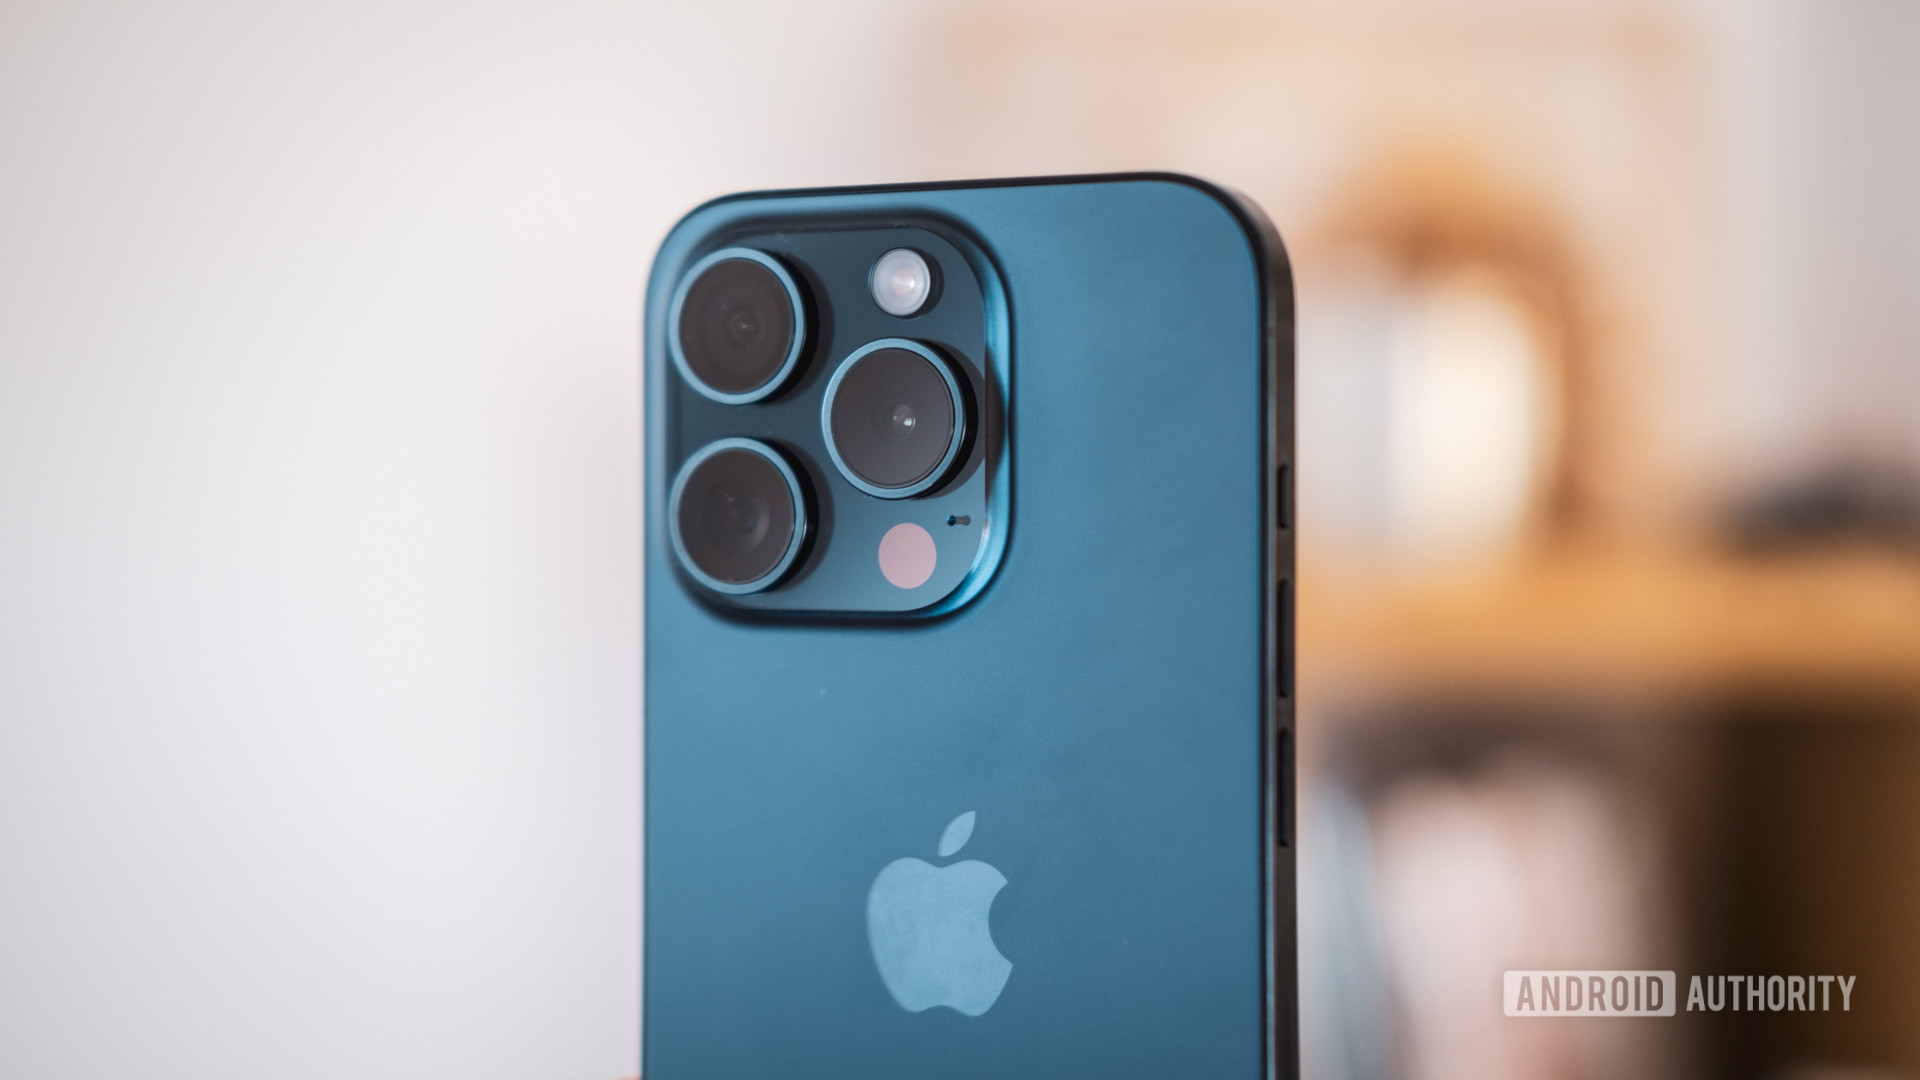
This budget flagship might be the most value for money gaming smartphone around
Dhruv BhutaniApril 21, 2025
0

How to unsilence notifications on an iPhone
Roger FingasApril 20, 2025
0
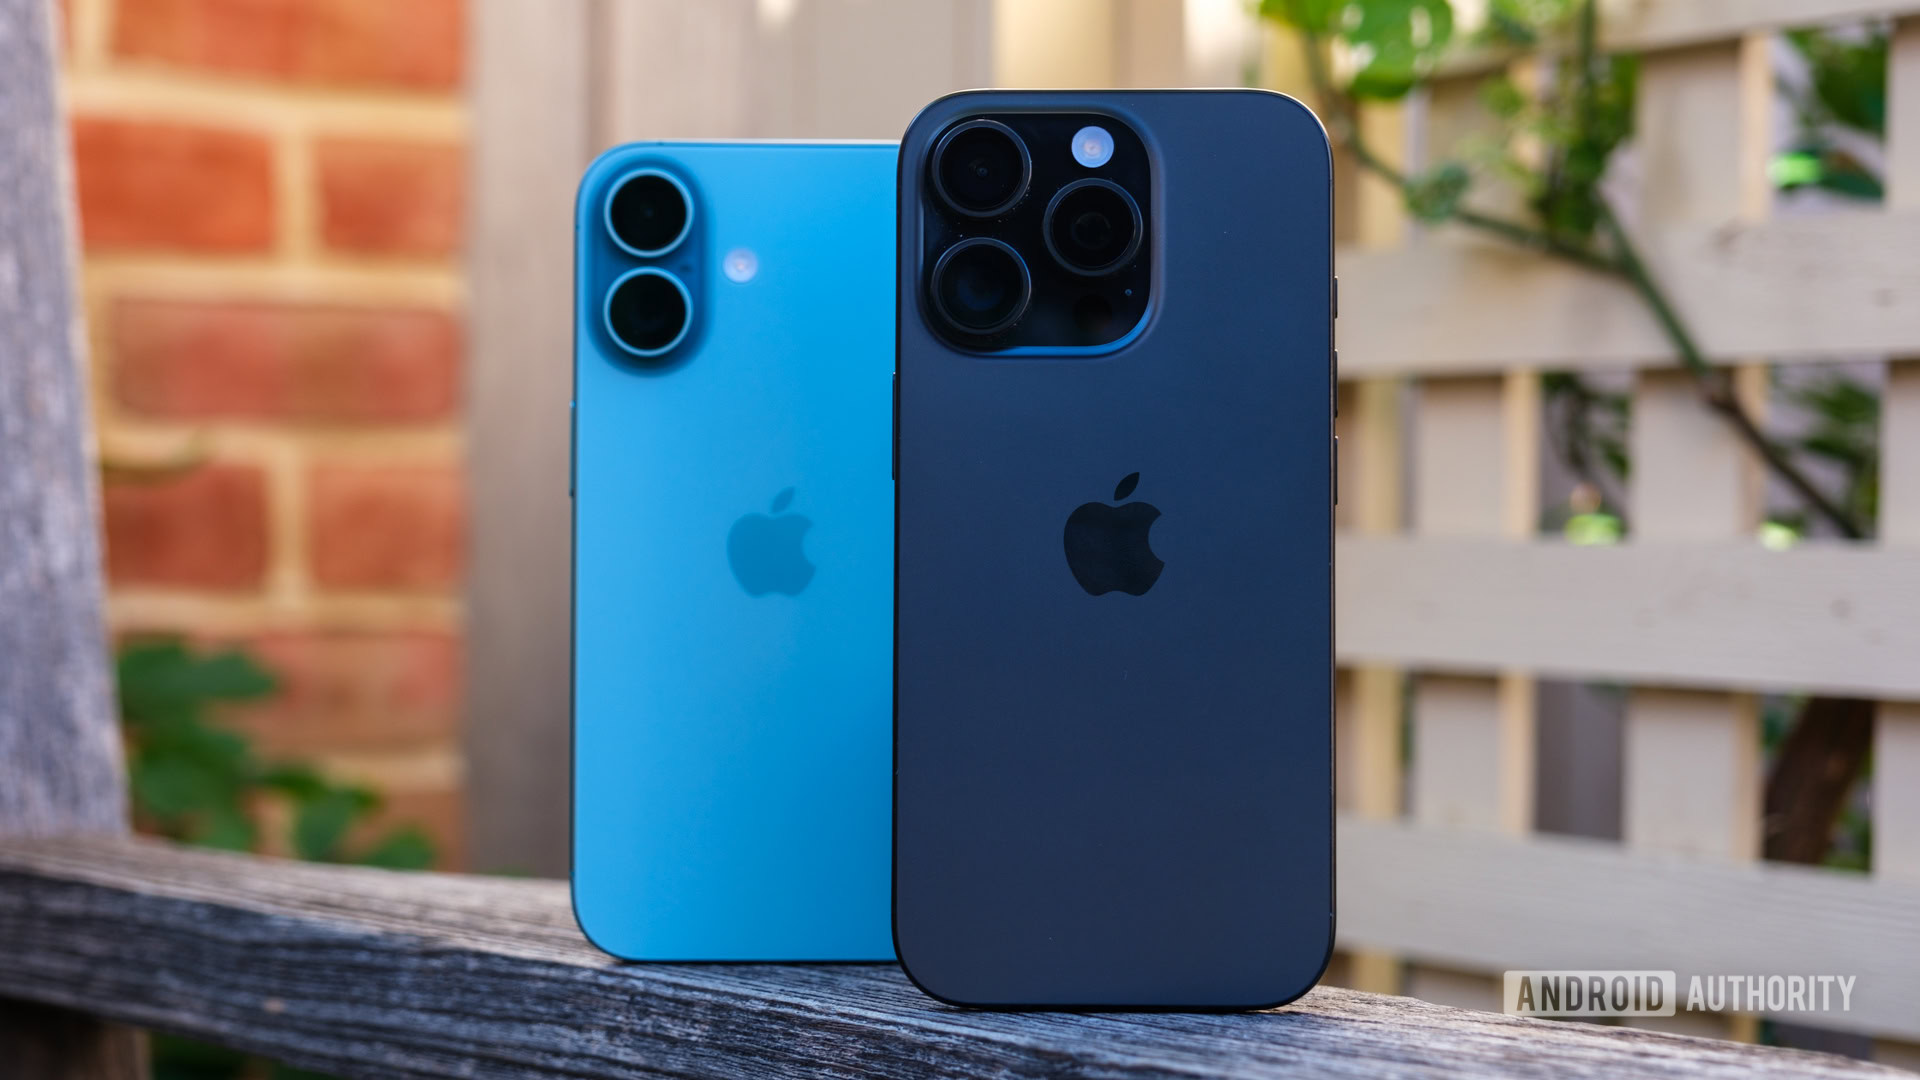
Did you know: People once put iPhones in microwaves to charge them
Matt HorneApril 18, 2025
0
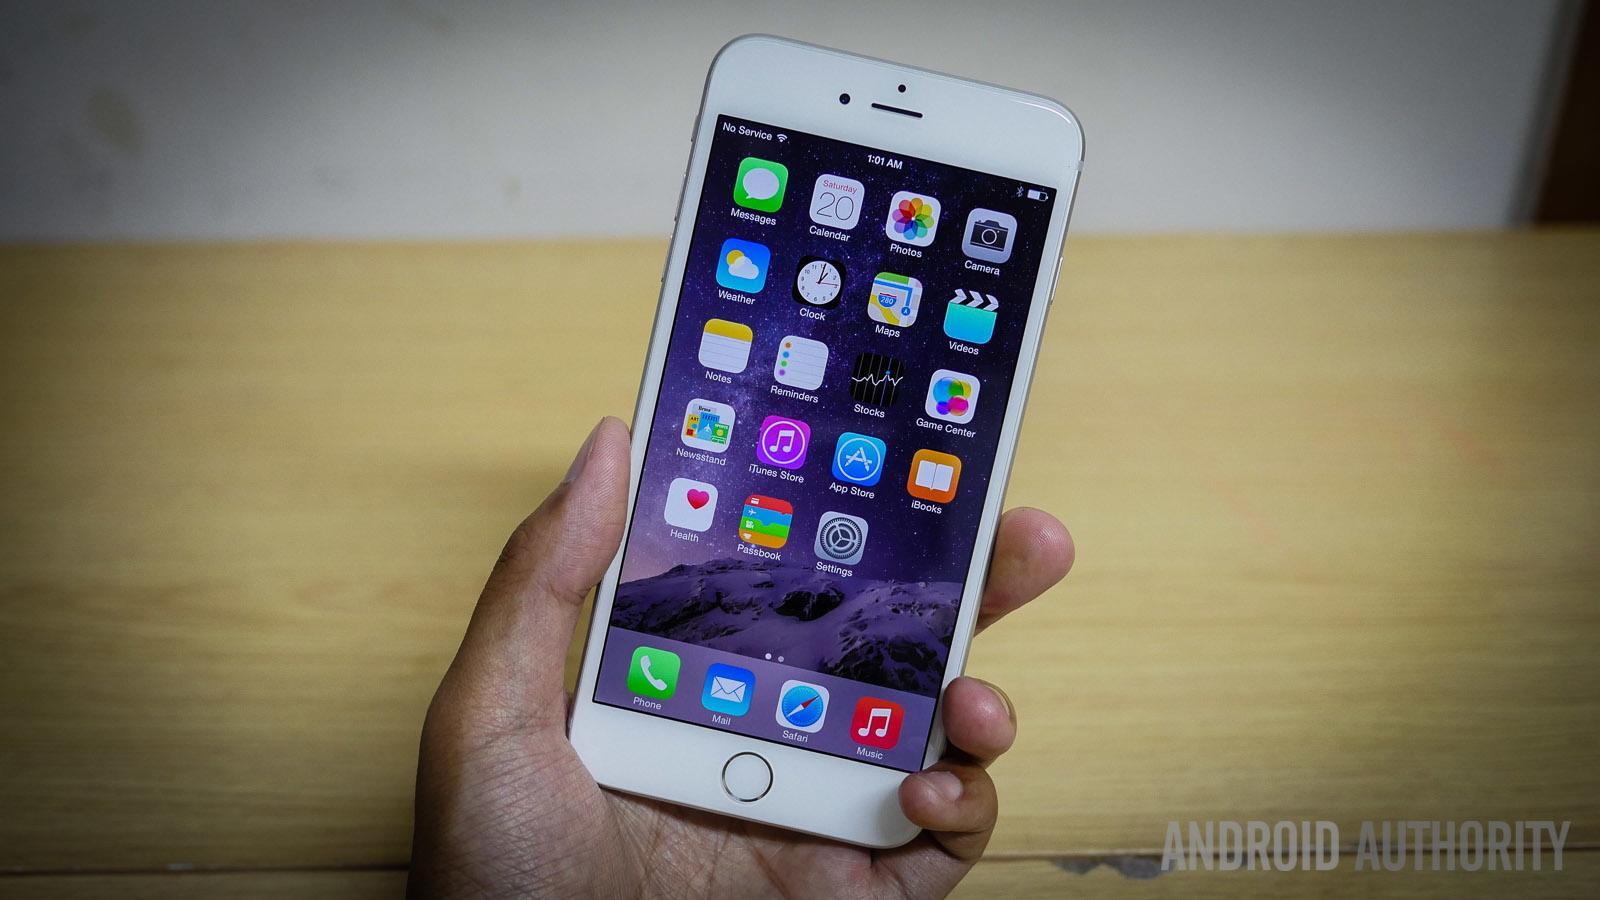
Battle of the budget batteries: Can the Pixel 9a outlast the iPhone 16e and Galaxy S24 FE?
Robert TriggsApril 18, 2025
0
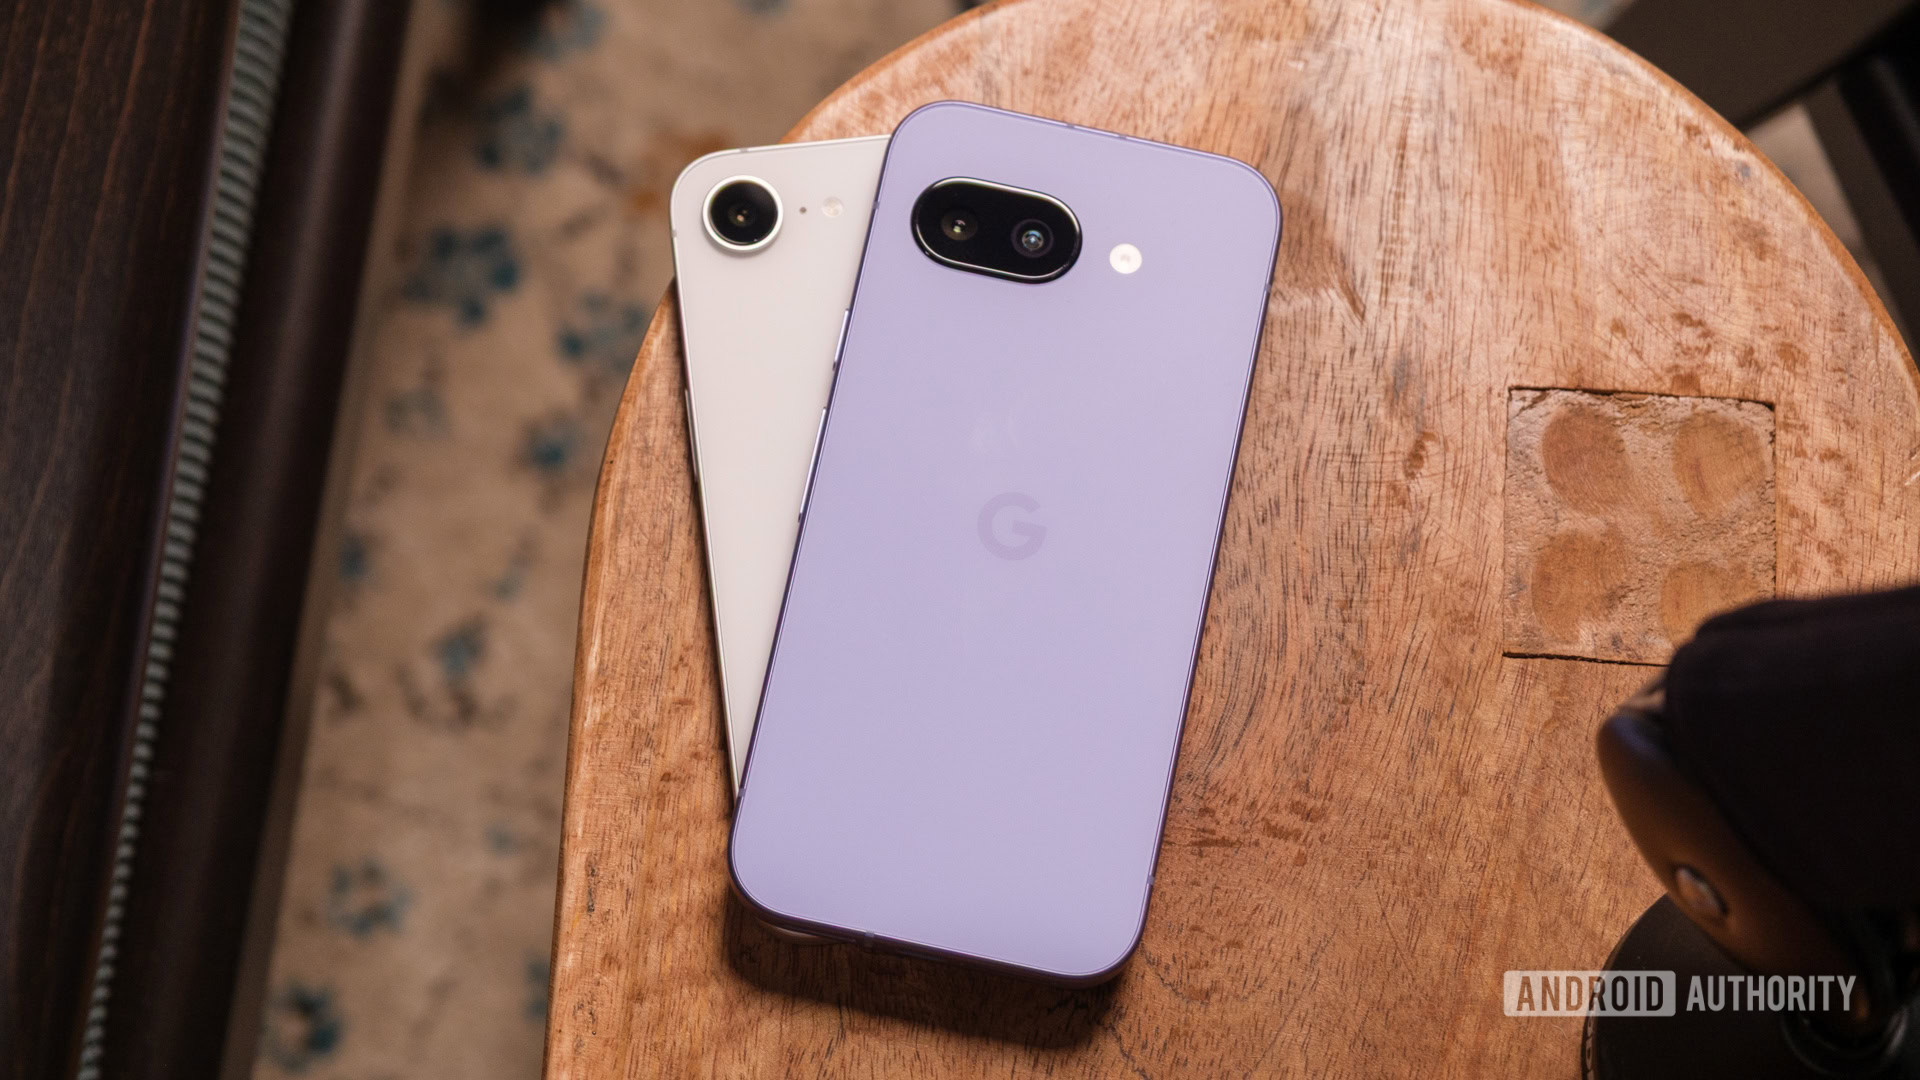
I'd buy this iPhone over any Android phone for my parents
Aamir SiddiquiApril 16, 2025
0
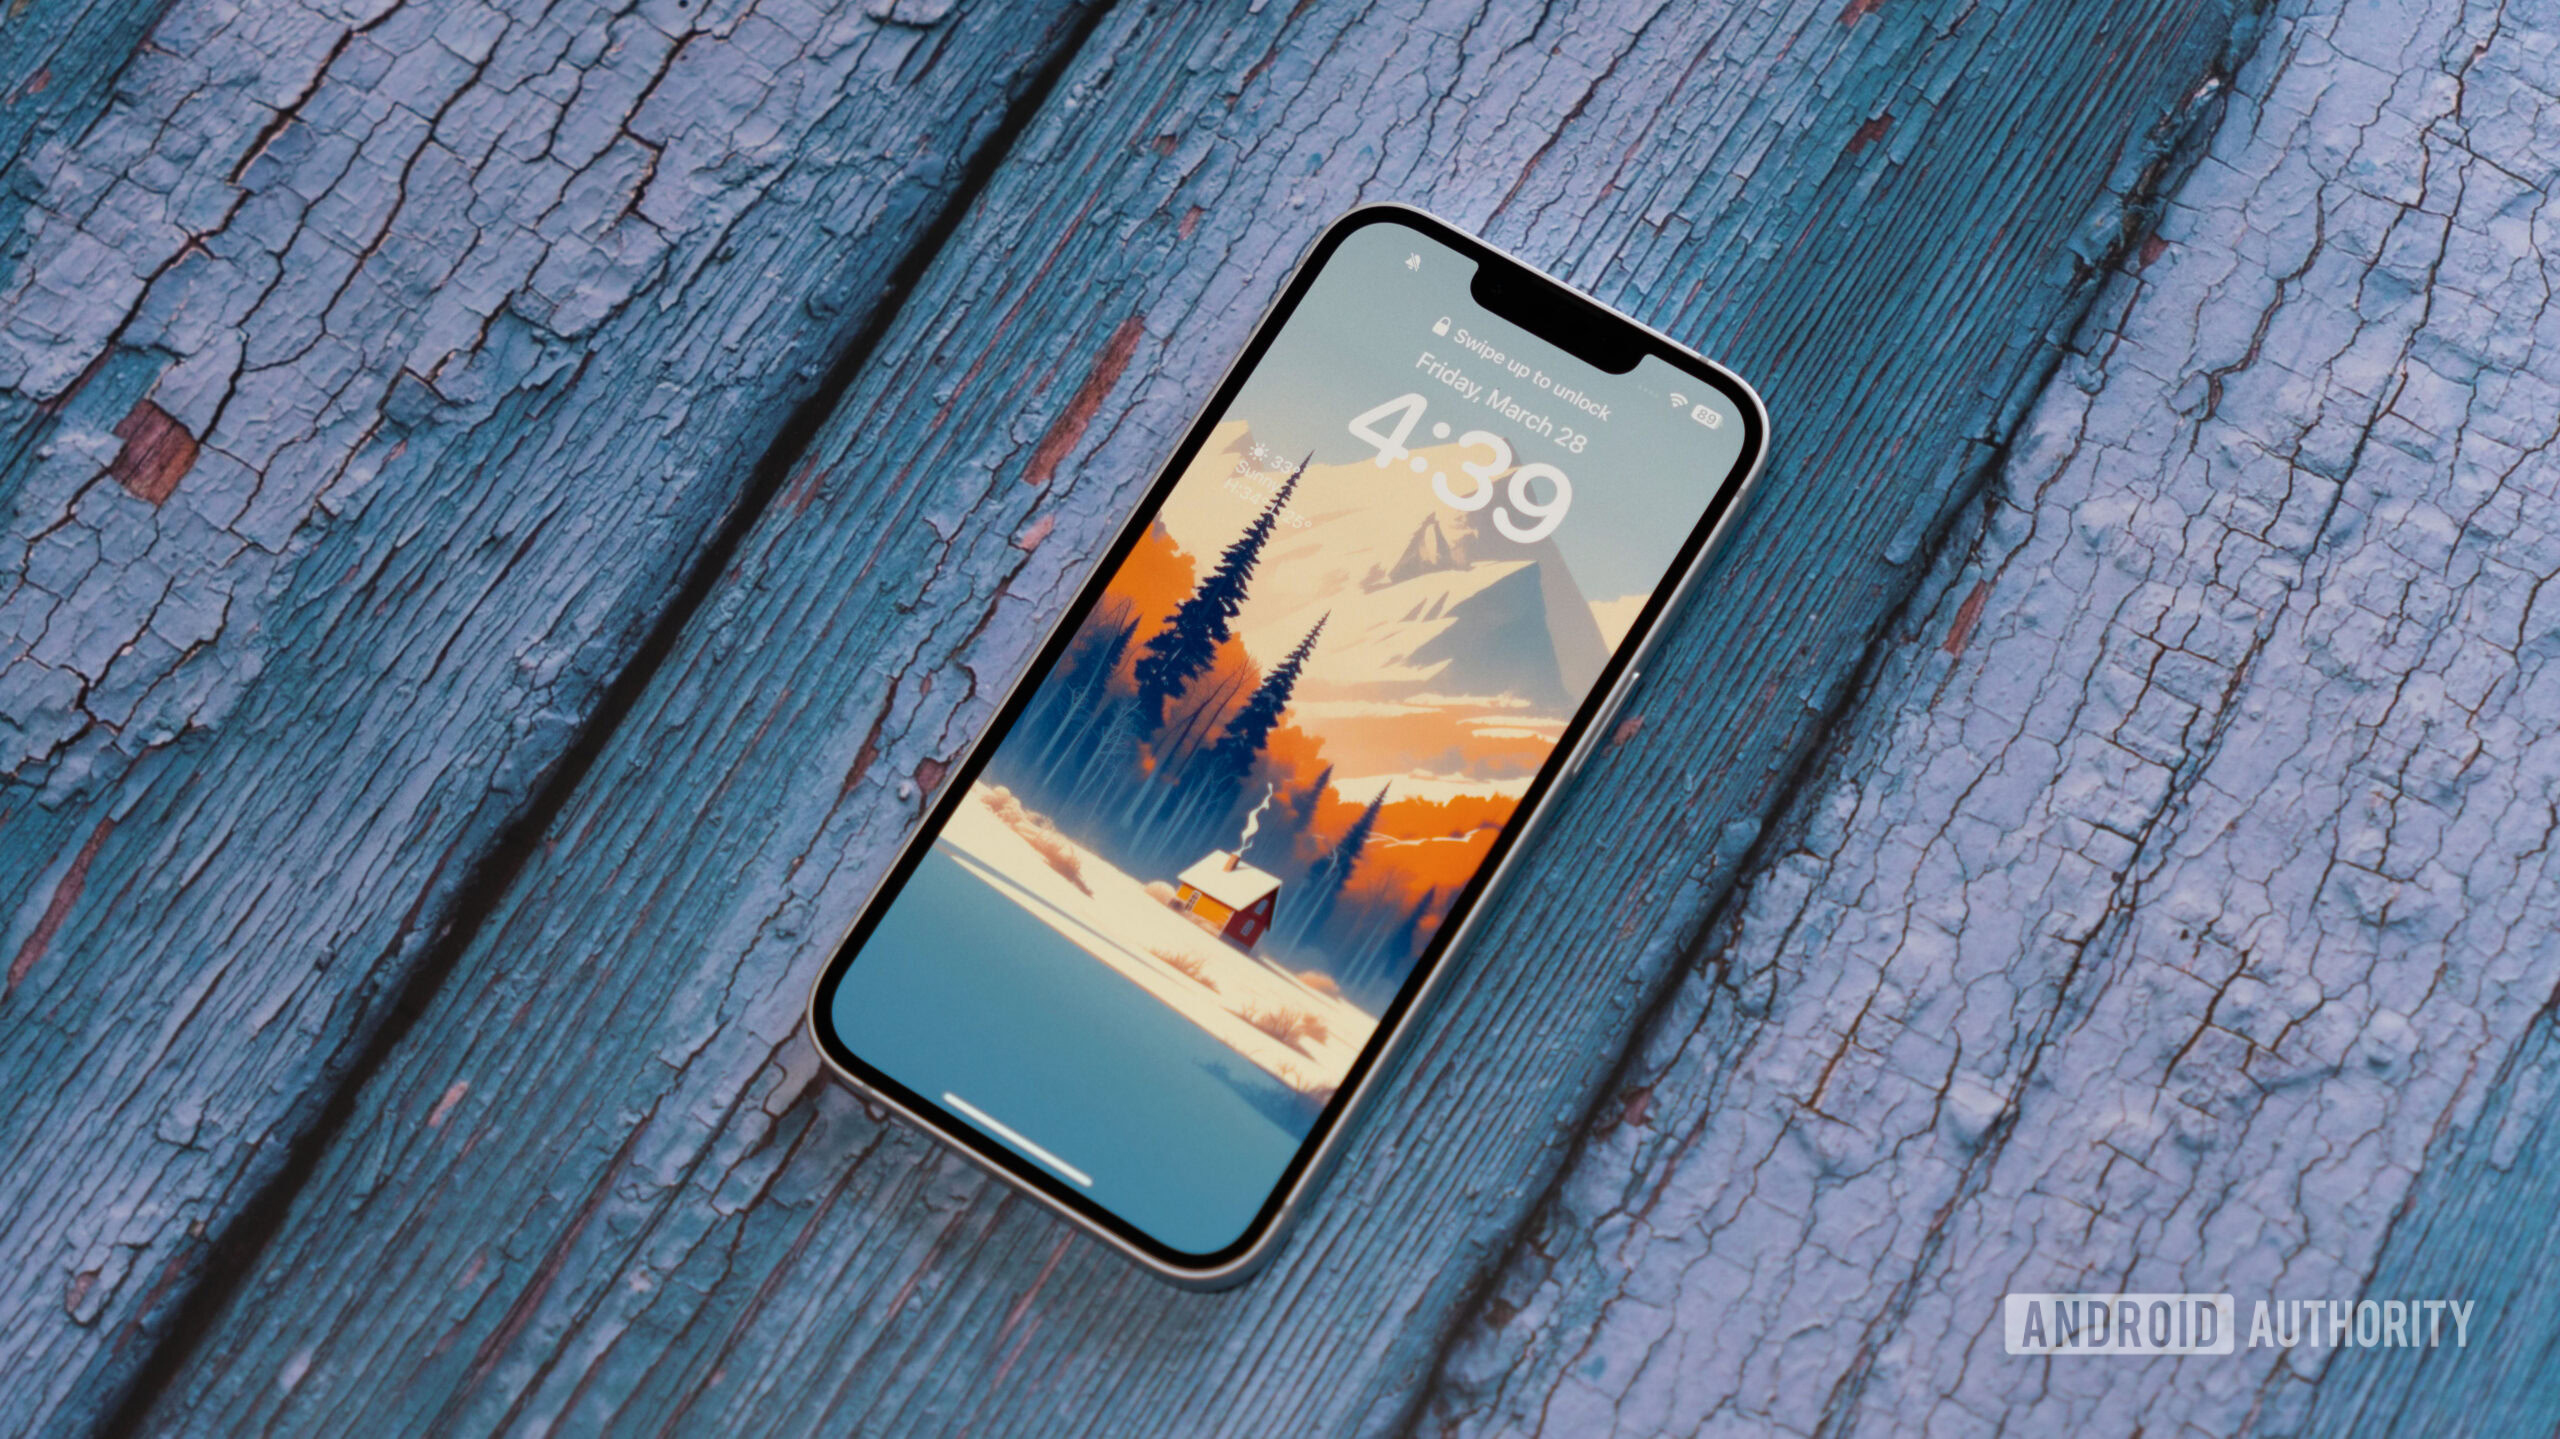
I ditched my Pixel for an iPhone 16 Pro to see if Android's big competitor could win me over in 2024
Ryan HainesApril 15, 2025
0


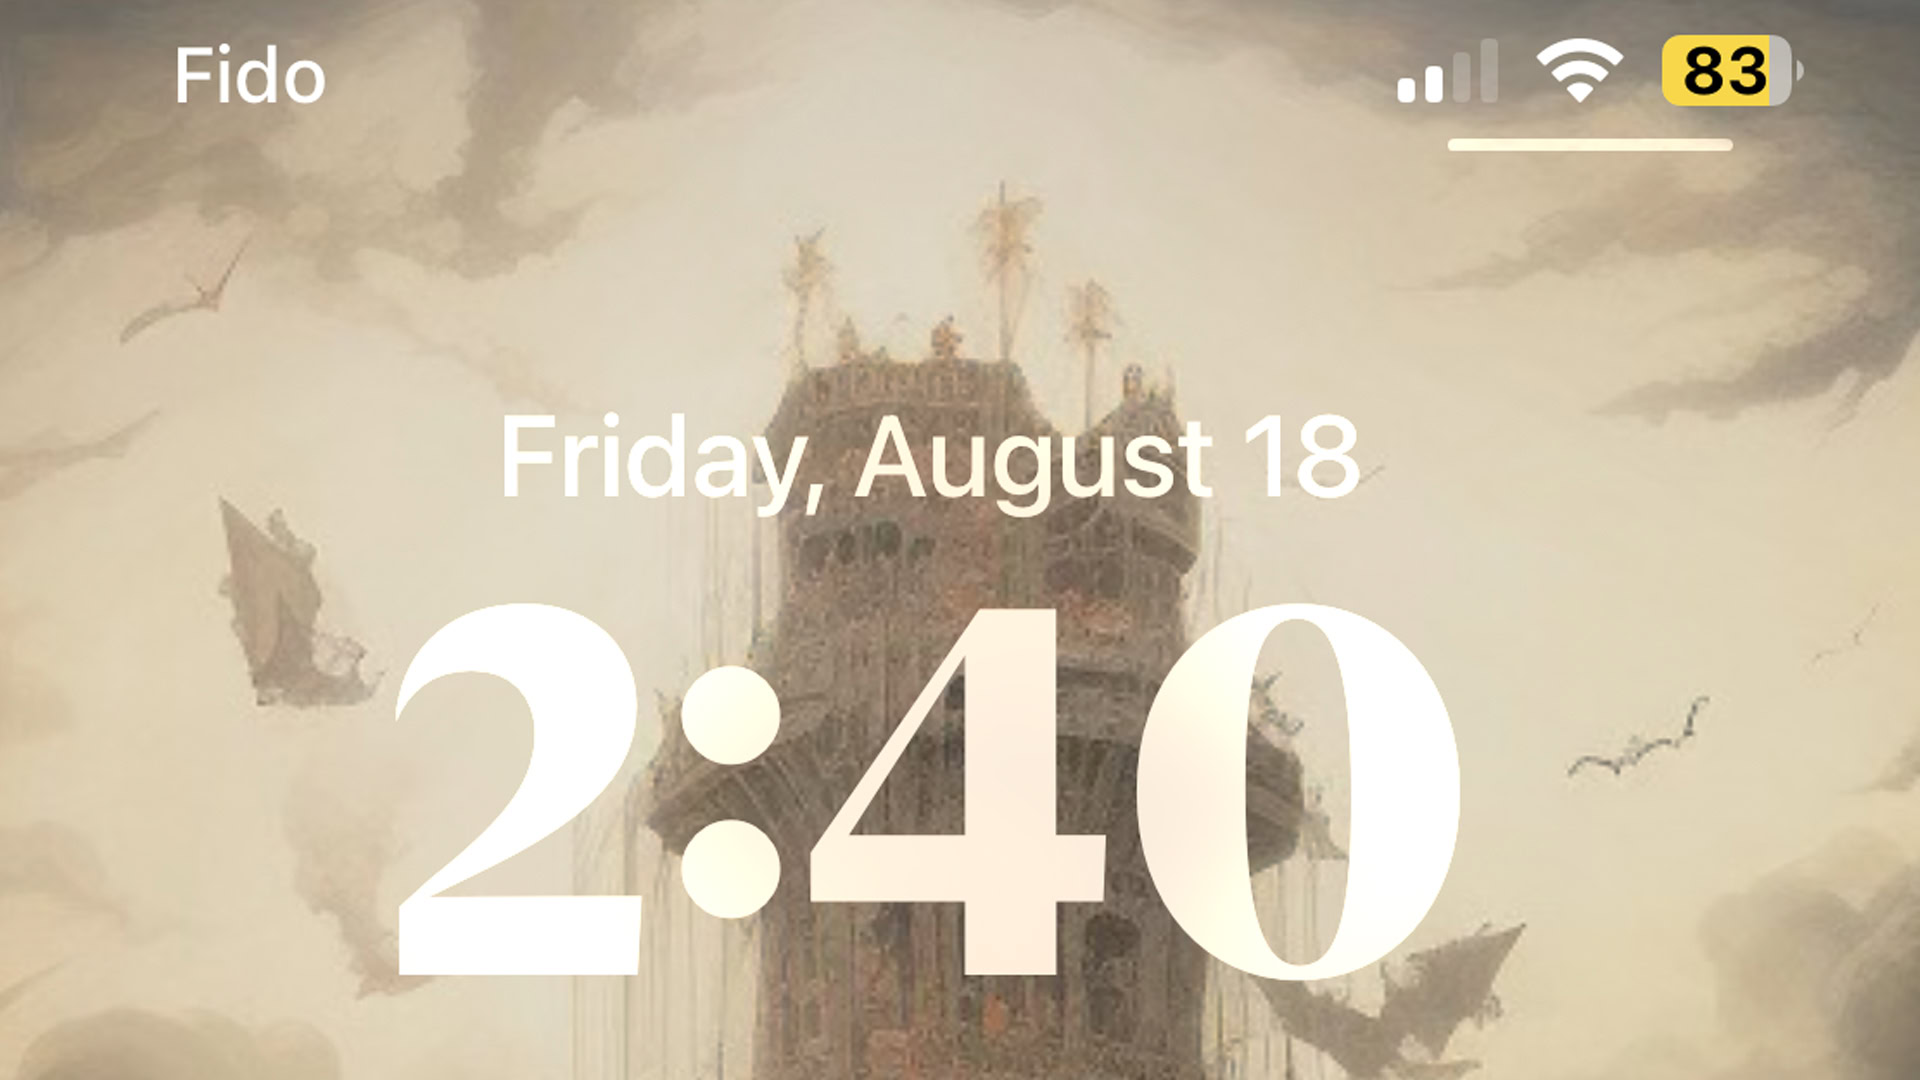
Here's why your iPhone battery is yellow, and how to fix it
Roger FingasApril 14, 2025
0
Where is the iPhone made? The journey from components to final assembly
Calvin WankhedeApril 11, 2025
0

Apple’s answer to iPhone 17 Air's battery woes? A charging case at checkout
Aamir Siddiqui3 hours ago
0
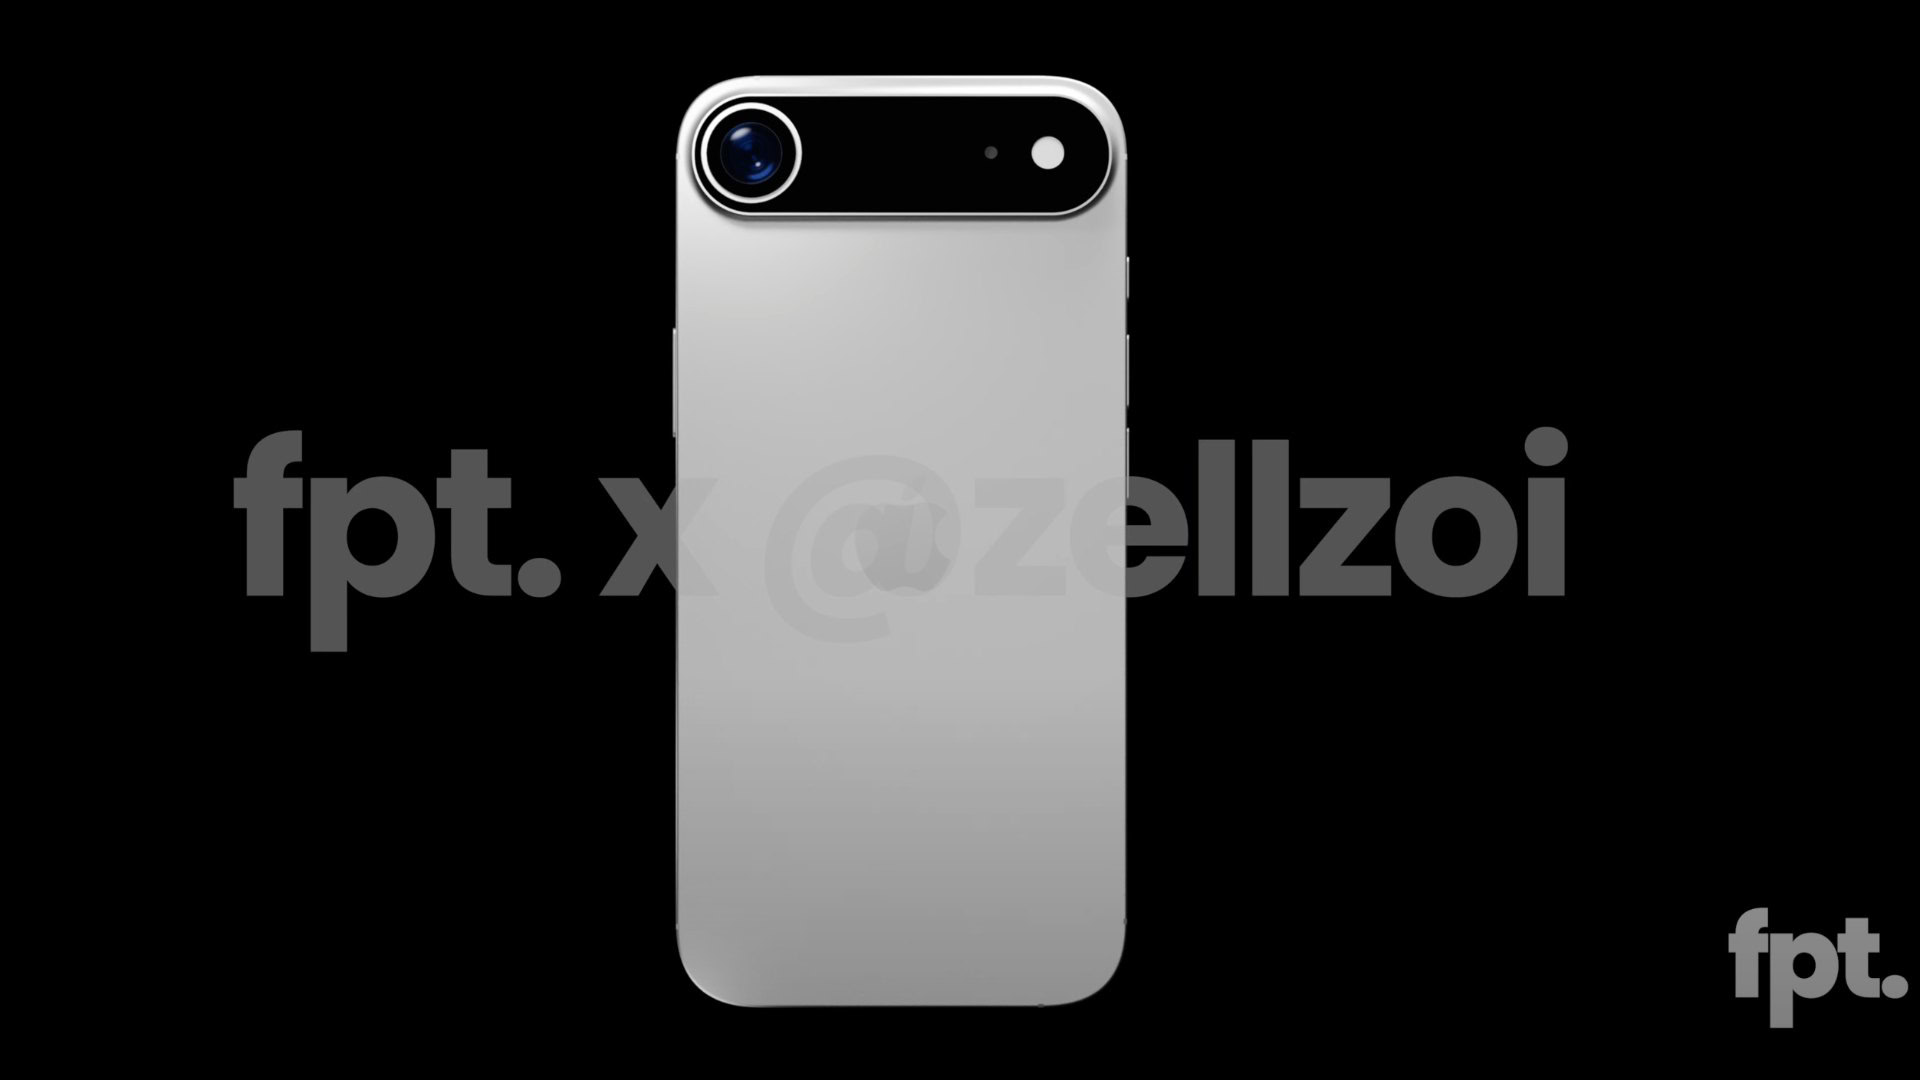
Apple's iPhone launch shake-up could make life harder for Android rivals
Adamya Sharma10 hours ago
0
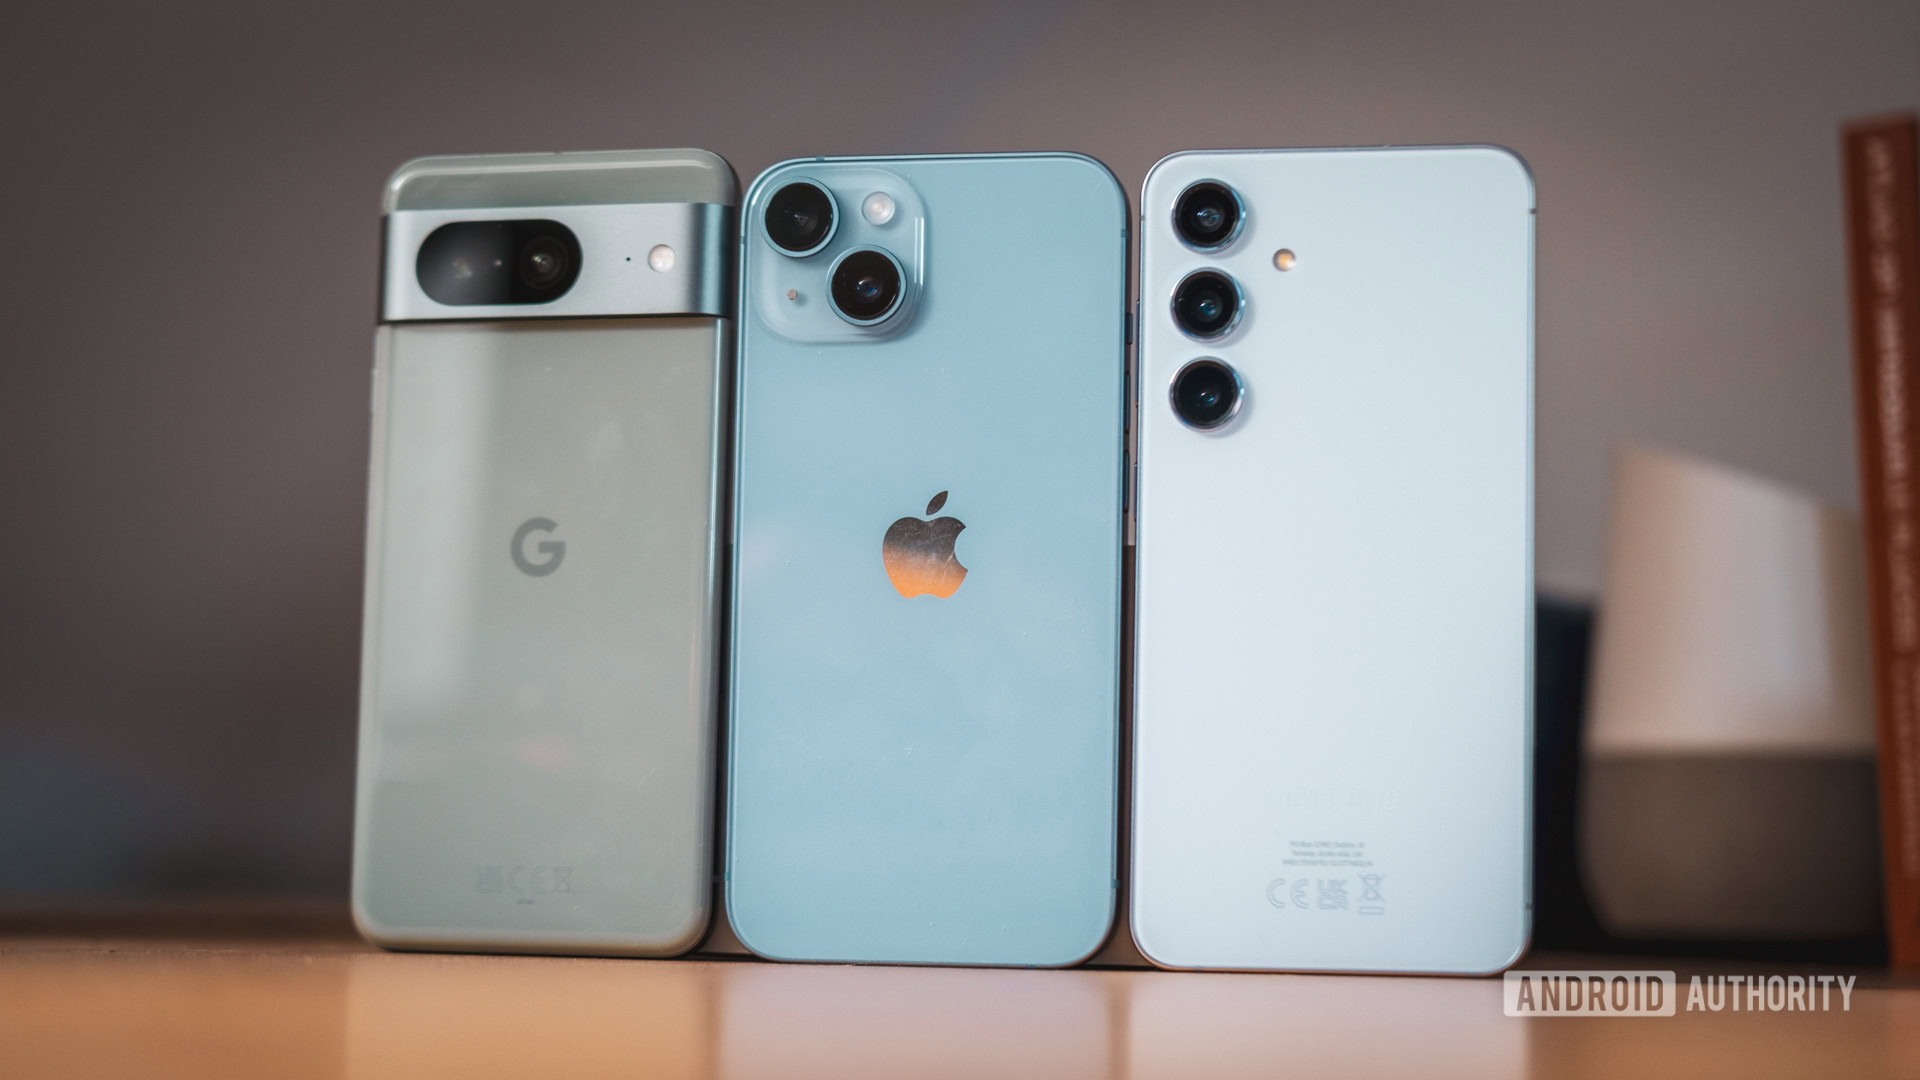
Even the biggest names in smartphones are struggling with sagging global demand
Ryan McNealApril 30, 2025
0
New Apple iPad A16 drops to a new record-low price!
Edgar CervantesApril 29, 2025
0

The iPhone 17 series might not copy this excellent S25 Ultra feature after all
Hadlee SimonsApril 29, 2025
0
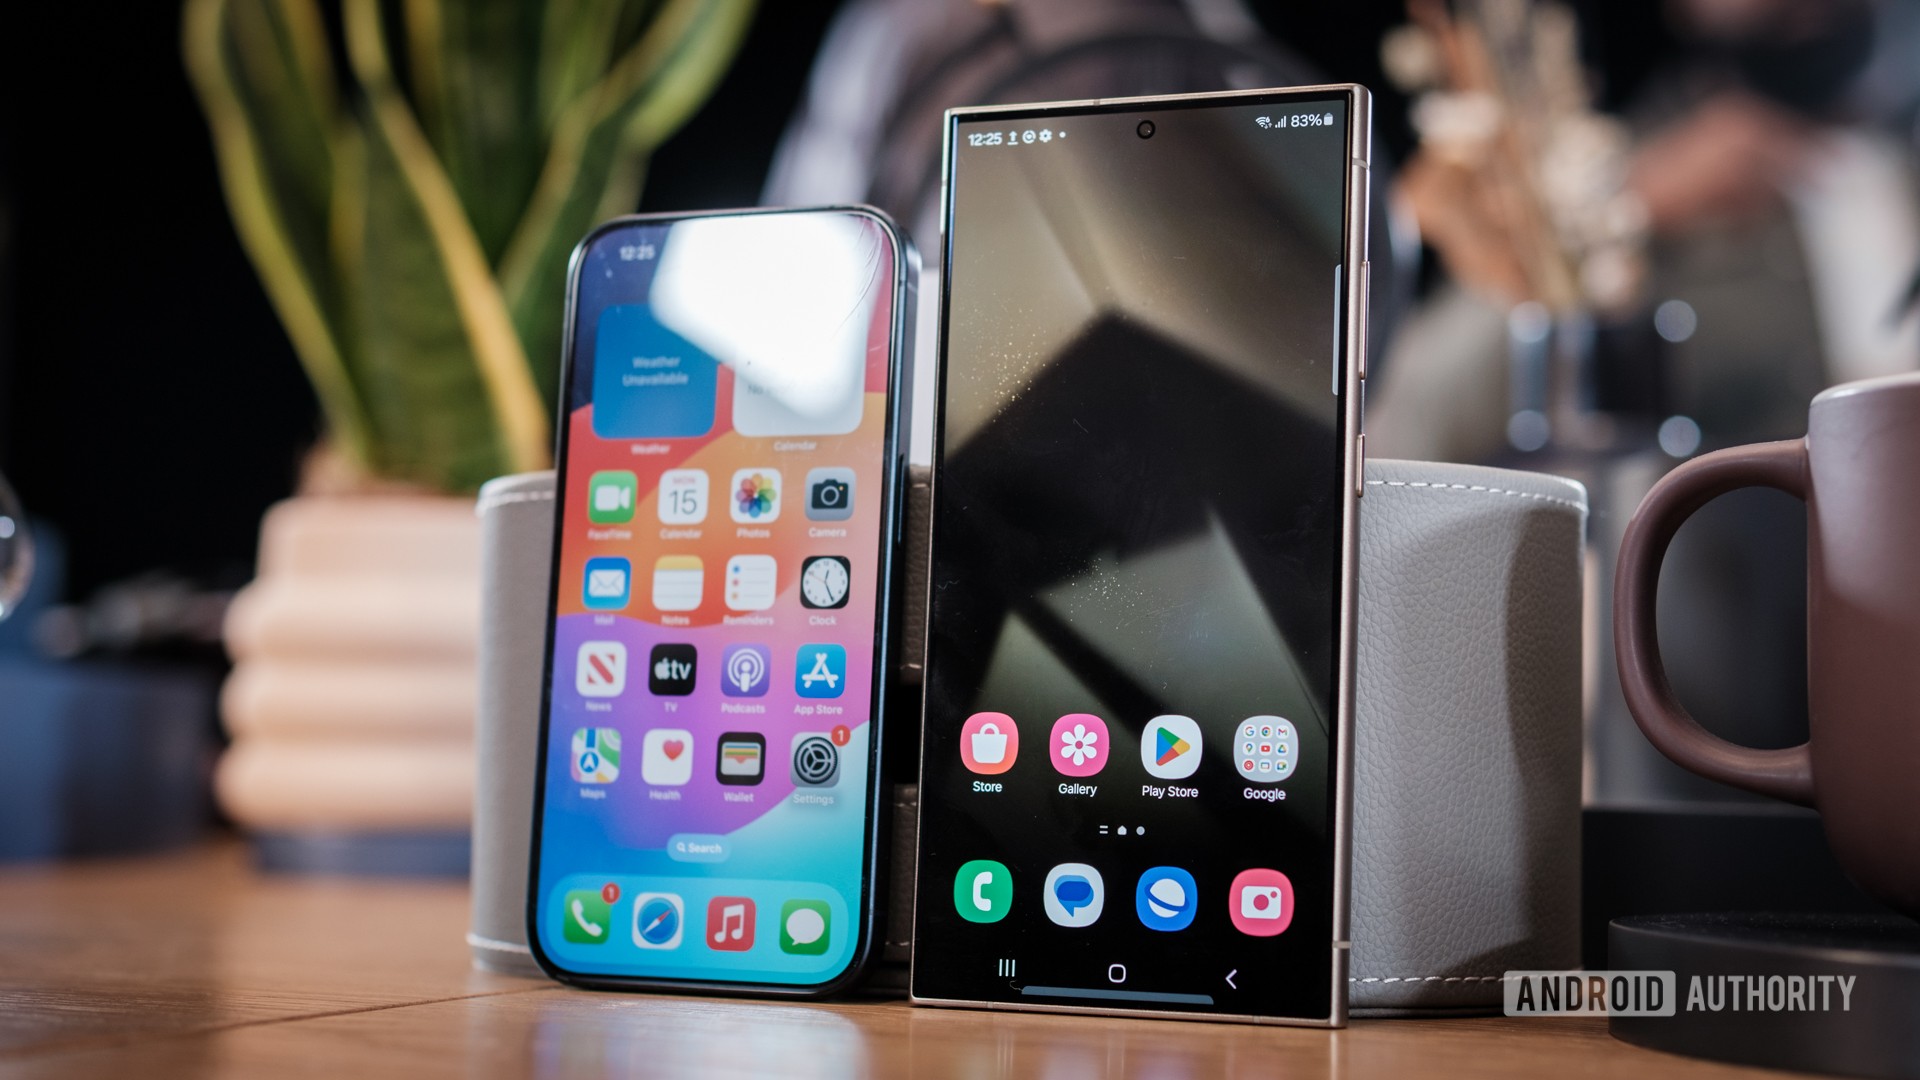
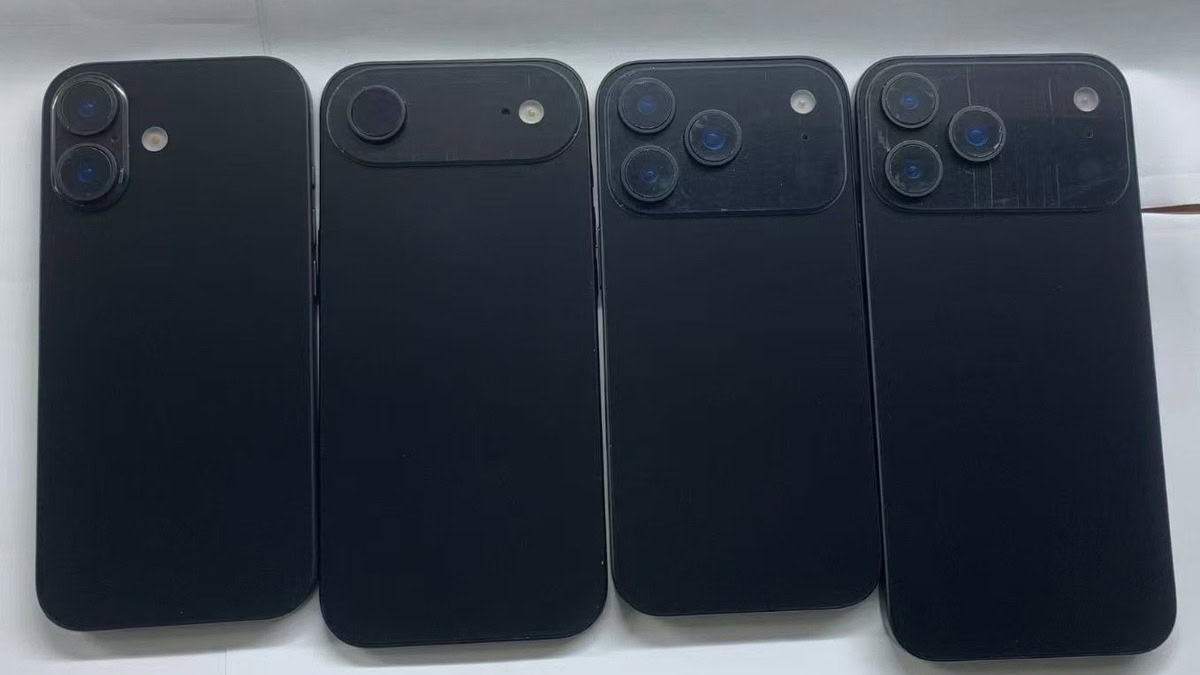
iPhone 17 Air mock-up reveals it could be as thin as an unfolded Galaxy Z Fold 6
Ryan McNealApril 24, 2025
0
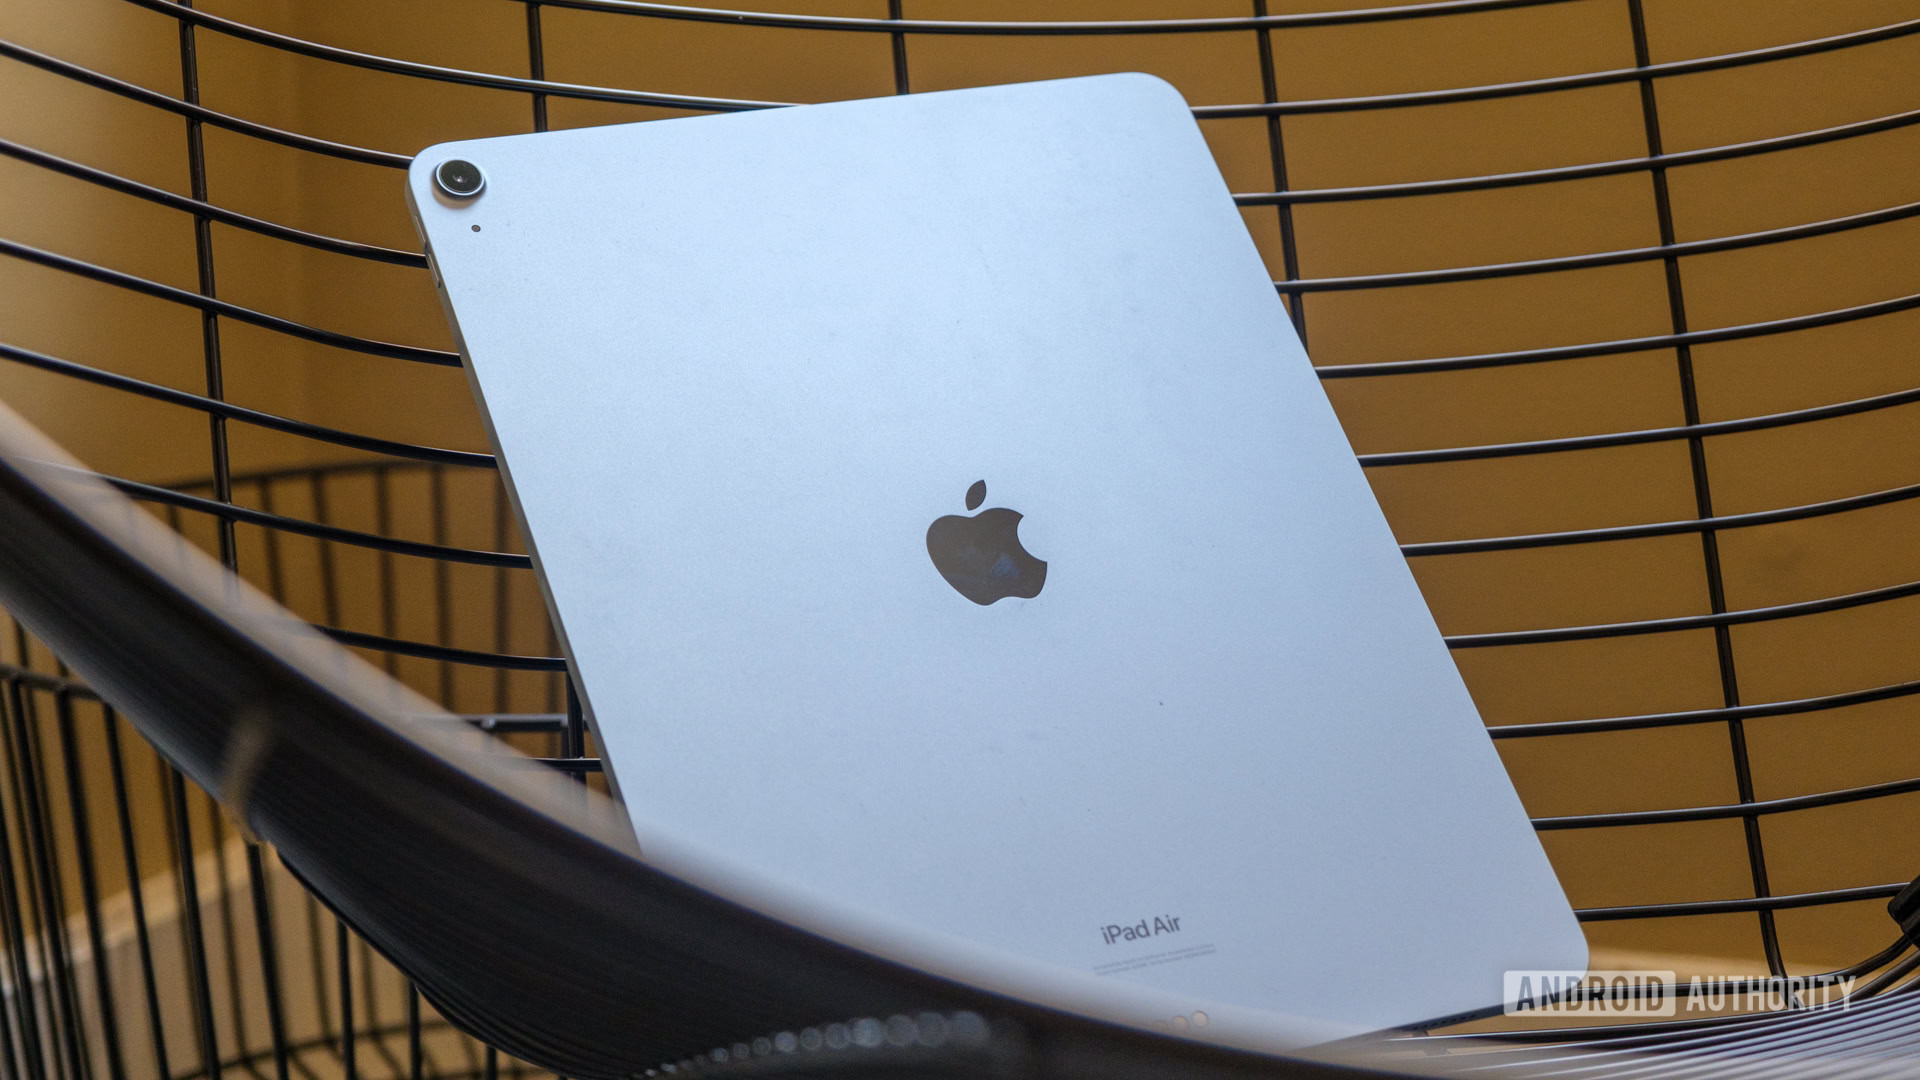
The Apple iPad A16 drops back to its record-low price
Edgar CervantesApril 22, 2025
0

Windows 11 is easier to run on an iPad than ever — with some big caveats
Stephen SchenckApril 22, 2025
0
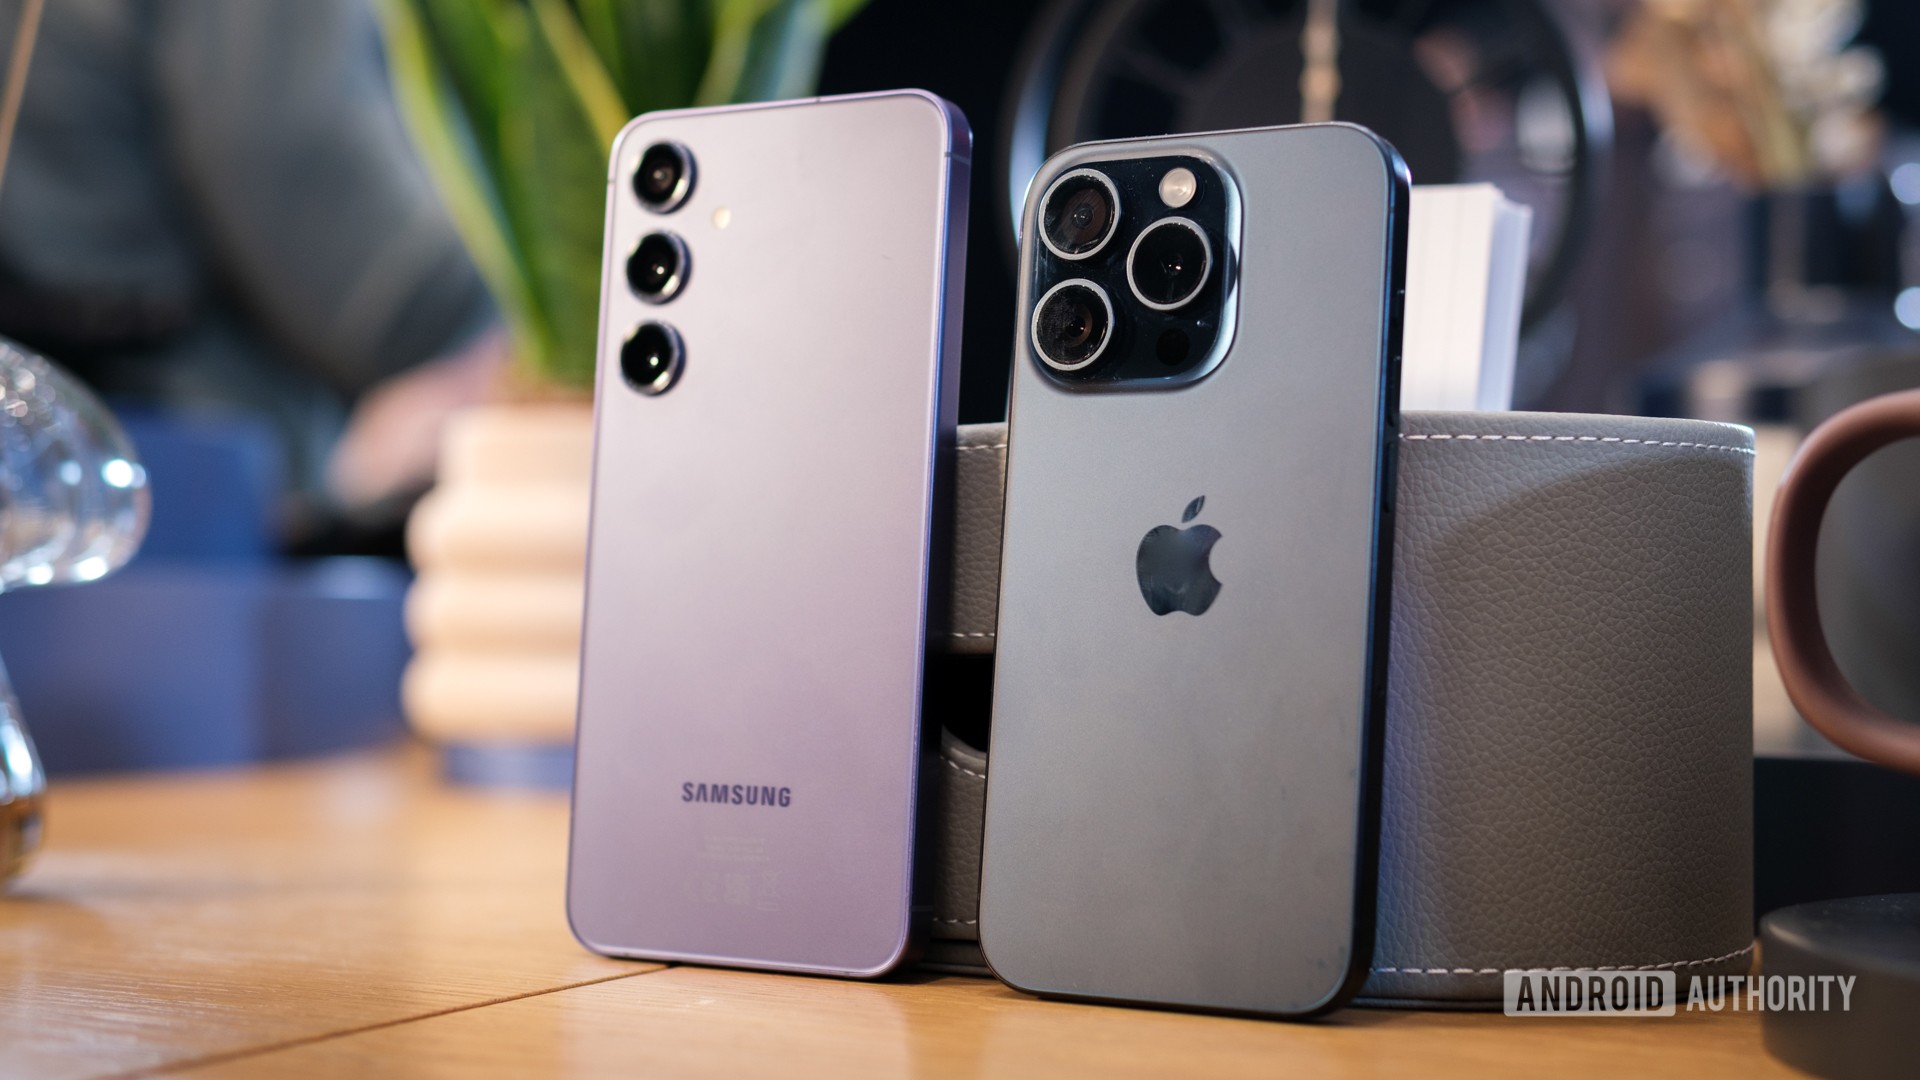
Samsung vs Apple initial 2025 numbers are in, and it's a surprisingly close contest
Adamya SharmaApril 16, 2025
0
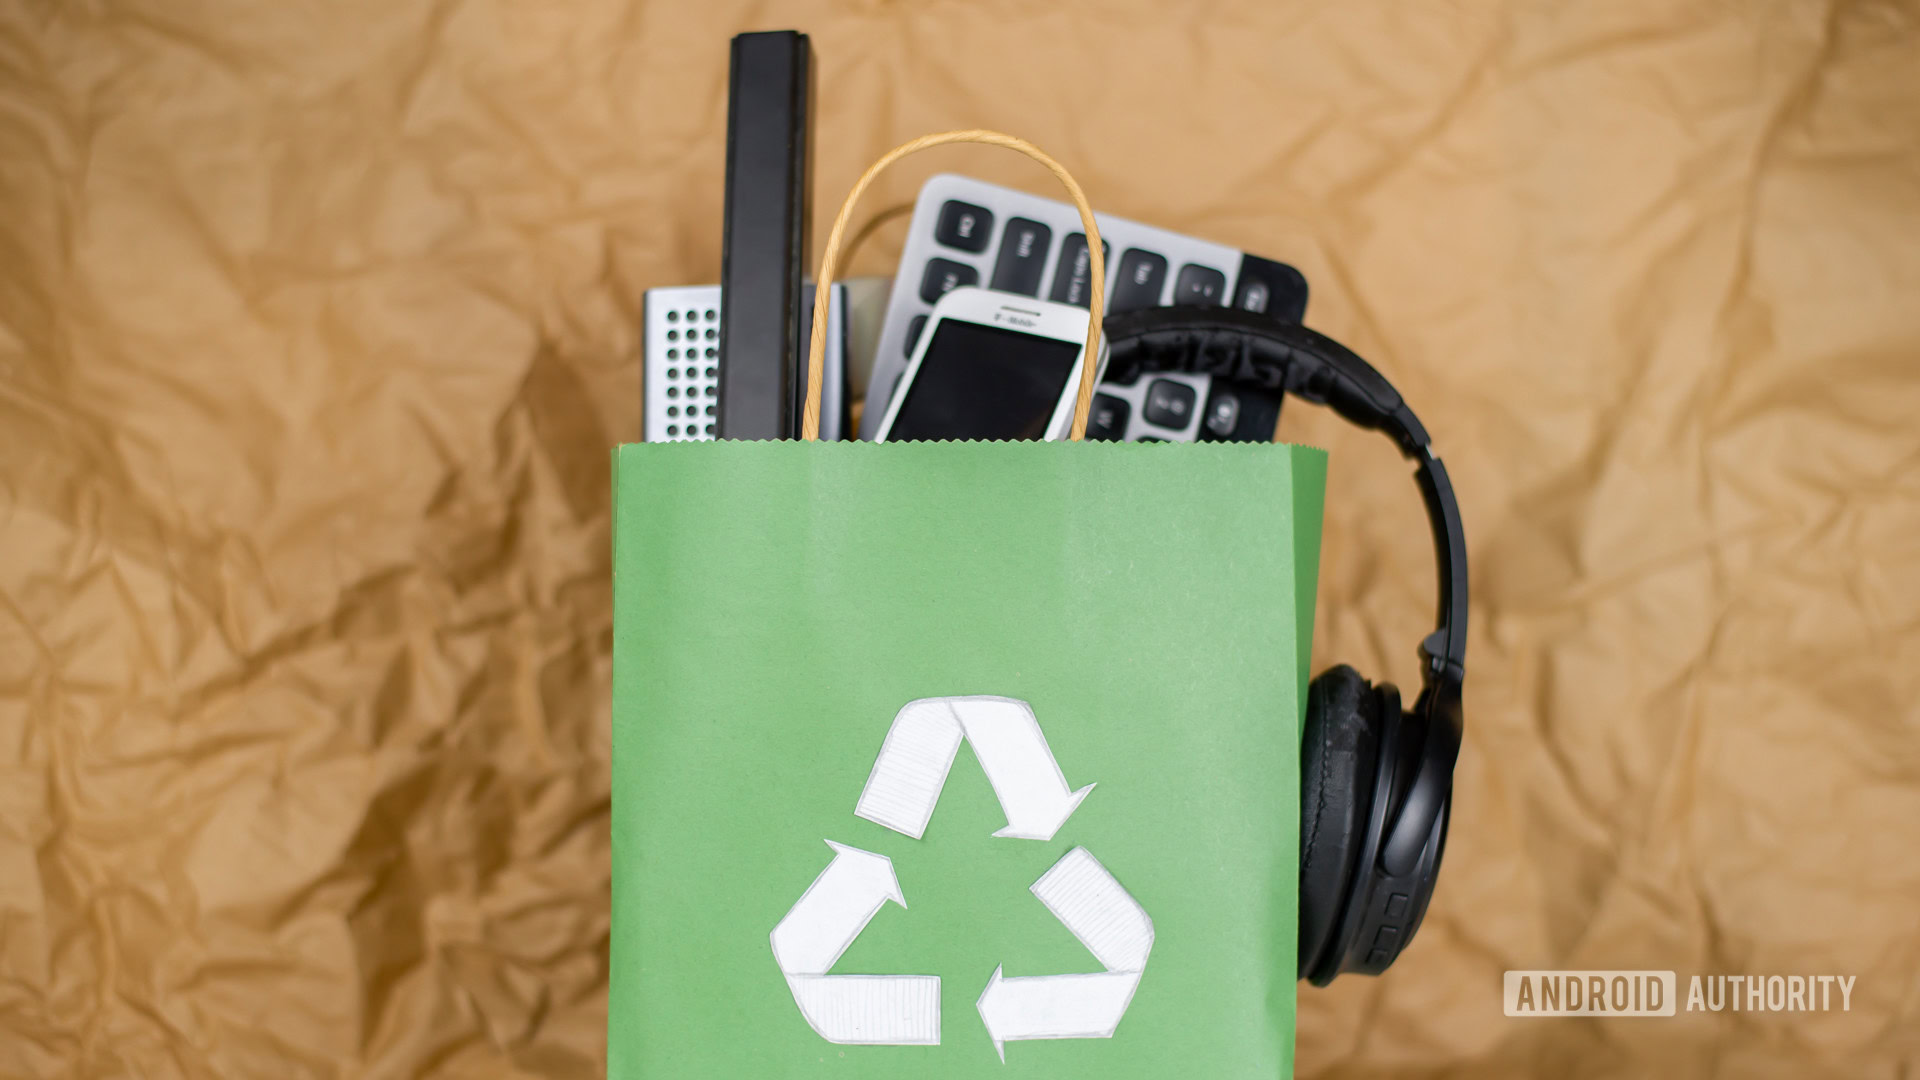
This could be the trick to getting gadget lovers to care about recycling: Pay them for it
Ryan McNealApril 15, 2025
0
