Affiliate links on Android Authority may earn us a commission. Learn more.
PSA: Turn on cloud backup for your Google Maps Timeline before it gets deleted
Published onDecember 13, 2024

- Google Maps Timeline now stores data on-device instead of in the cloud, risking data loss if you lose your phone or switch devices.
- However, you can turn on cloud backup for the Timeline feature. It is not enabled by default and must be manually turned on, which will also allow Timeline syncing.
- Even with cloud backup, there are reports of sync issues and data loss, so exercise precautions.
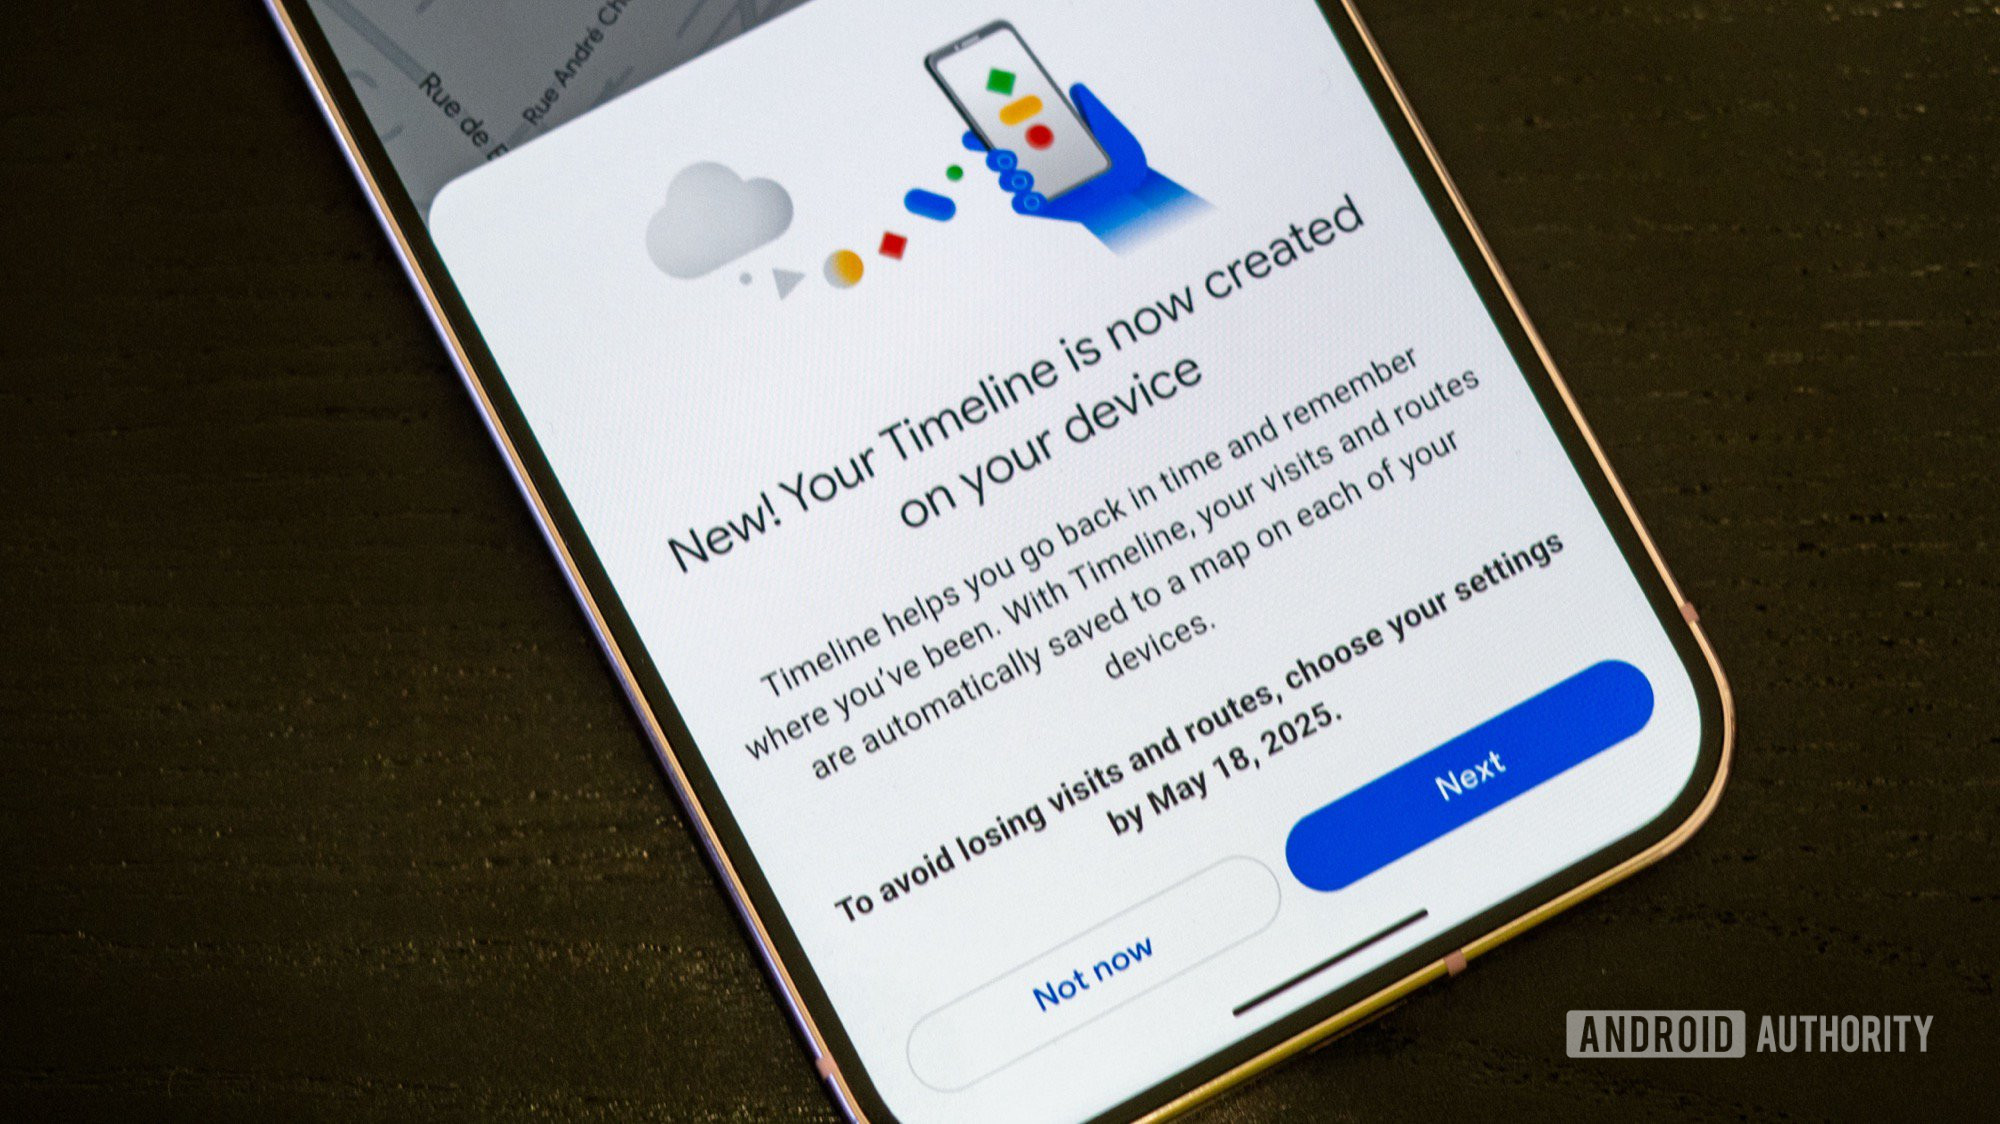
In December 2023, Google announced it would change how Google Maps‘ location history feature worked. The feature, called Timeline, would switch to saving your location history on-device rather than storing it in the cloud like it did for years. Since the Timeline data is on-device, you may lose it if you lose your device or switch to a new Android phone. You should turn on cloud backup for your Timeline data to avoid such a scenario.
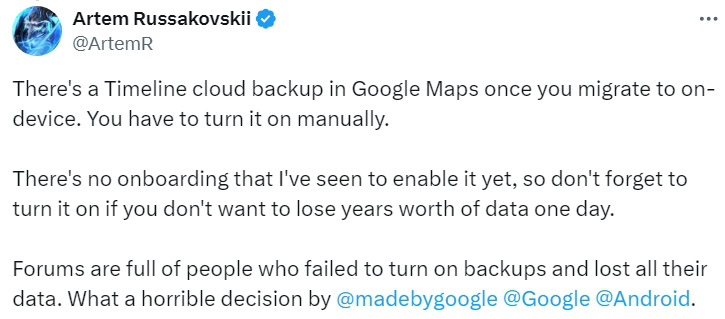
As Artem Russakovskii points out on X (formerly known as Twitter), Google Maps has a cloud backup feature for Timeline. However, many users simply do not know it exists. You have to manually turn this on to back up your Timeline to the cloud, which would also be the only way to preserve your older data that hasn’t yet been deleted in case you lose your device or want to switch phones.
Artem notes that many people have failed to turn on this backup and consequently lost all their data. However, in the next post, he also notes that the Timeline backup and restore feature can fail to sync properly, causing data loss anyway. Google was made aware of the issue, but it has not been fixed. So you should be mentally prepared for this eventuality.
In this hopeless situation, if you want to have the best chance of keeping your Timeline data, here’s how you can turn on cloud backup for it in Google Maps:
- Open the Google Maps app.
- Tap the profile switcher icon in the top right.
- Select Your Timeline.
- Click on the disabled cloud icon in the top right corner.
- You will now enter the Backup screen. Here, you can enable the Backup option to save an encrypted copy of your Timeline in your account if you need to switch devices. Your timeline is backed up to Google services over Wi-Fi when your device is charging and idle.
- When you enable cloud backup on a device for the first time, you will be prompted to confirm your identity by entering your Google account password.
- In the following prompt, click Turn on to back up your timeline.
If you want a synced timeline, you will need to repeat this process on all of your devices, and the process is the same for Android and iOS. Further, if you have set up to auto-delete your Timeline data after some months, you cannot back up your Timeline.
While there’s no guarantee that the backup and restore feature would work as reliably as the cloud-based Timeline, it’s still your only shot at actually backing up your Timeline data. It also almost defeats the purpose of moving Timeline data on-device since if you then bring it back to the cloud, why not let users decide to keep it on the cloud itself in the first place?
The Timeline feature migration from cloud storage to on-device storage is also filled with bugs that end up deleting your data anyway. For instance, Google is giving users a deadline for choosing on-device settings, and if they do not take action, they will lose Timeline data older than 90 days. However, even when some users like Rick2789 and IodineDeiced12 chose on-device storage, Google still deleted many years’ worth of Timeline data anyway.
Have you turned on cloud backup for Google Maps’ Timeline feature? How has your experience been with Timeline and its on-device storage decision? Let us know in the comments below!
