Affiliate links on Android Authority may earn us a commission. Learn more.
How to install fonts on Android the easy way
Published onMarch 25, 2025
It’s not the fad it once was, but some folks still like to install a custom font on Android. It’s still very doable, although the process is slightly more obscure. You can also create and install your own fonts. The whole thing only requires some time, patience, and maybe an app. Please note that this may not work on all phones, but it should work on most. It should also work up through Android 15, and it shouldn’t require root.
Please note that your phone needs to be able to change its own font in the settings for this to work without root. You’ll need to root and use a custom Magisk module (creatable in zFont) to change your font otherwise.
QUICK ANSWER
To install a custom font on Android, obtain the TTF file of the font you wish to use and also download the zFont 3 app. Use the zFont app to install the TTF. It may require some prerequisites and the app will help you do it. Additionally, some manufacturers allow you to change the font from the settings, and you might also want to try a launcher.
JUMP TO KEY SECTIONS
Can your phone change fonts natively?

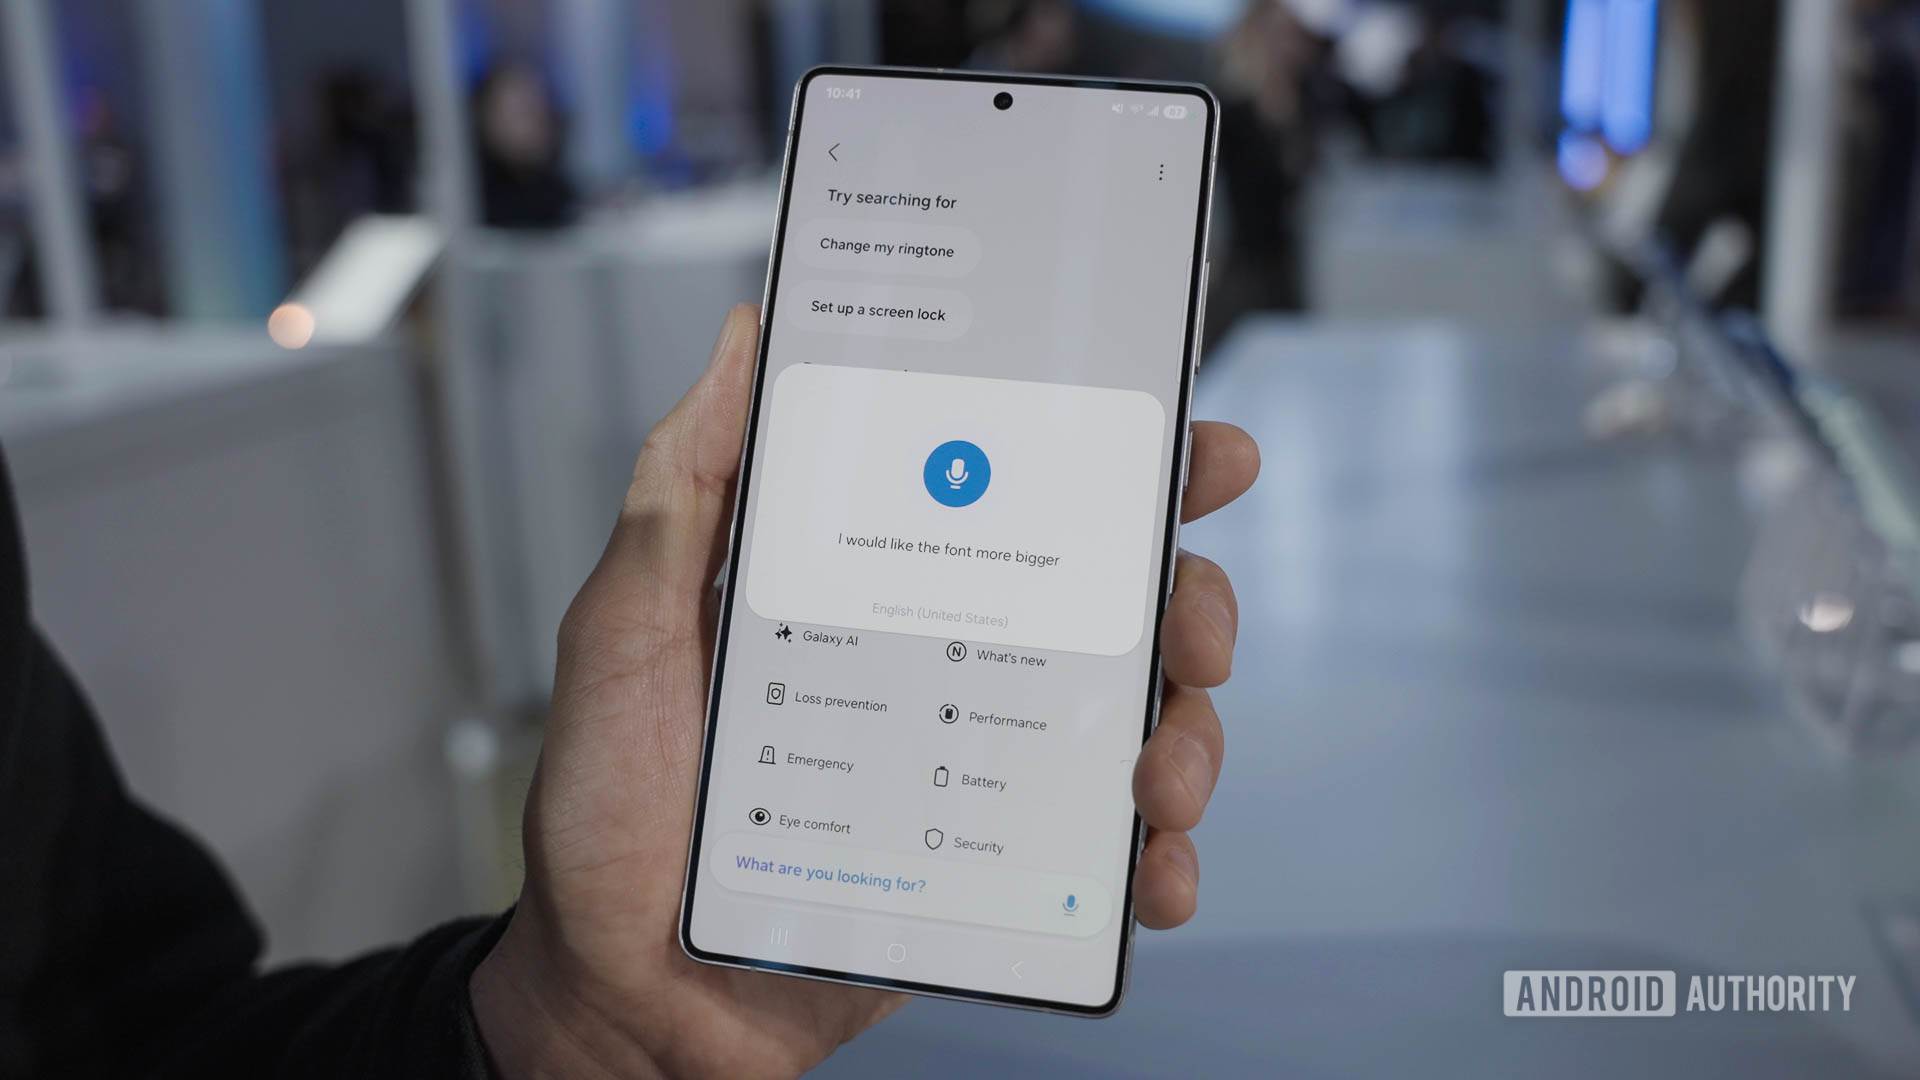
Before getting started, check to see if your phone has a native method for changing fonts. Samsung phones, for example, let you change fonts from the settings. You can also download and install fonts from the Samsung Theme Store. Other manufacturers that make changing fonts easy include OnePlus, Xiaomi, and OPPO.
This is important, as zFont requires that your phone can actually change the font to work. Not to mention, it might be easier than the method we use in this tutorial. We show you how to change Samsung fonts in this guide. With other manufacturers, this option is usually in the themes app.
Check first and come back to this if you don’t like or want any of those fonts.
Change your font with a launcher
If you don’t want to complicate your life too much, many Android launchers also allow you to change your font. Some of these include Nova Launcher, GO Launcher, Action Launcher, and Smart Launcher 6. We show you how to change fonts on most of these launchers here. You may also find some other options in our list of the best Android launchers. Just check that the launcher you want has this feature.
How to install a font on Android using zFont
Now, if none of the options above work for you, you can get a bit more technical and learn how to use zFont.
Getting started

You’ll need three things before we get started. Don’t proceed without them.
Requirements:
- A TTF file — TTF files are the generally accepted format for font files. You can download them for free from a variety of sources. Some fonts do require payment. Not all TTF files will work with Android, but the vast majority should.
- A file browser — We used Solid Explorer for this tutorial, but any file browser should get the job done without much hassle.
- zFont – zFont 3 is an app that lets you install fonts with or without root. There may be some other apps that can do it, but none of them are as reliable as zFont.
Where to find good fonts

The other solution, zFont, is much easier. There are lots of fonts right from within the app. You can search for them, download them, and install them all from the same place. Any font you download will show up in the Local section of the app. We tested this with the once-legendary Roboto font, and it worked like a charm.
As a bonus, some OEMs let you download fonts from the OEM’s theme store. Samsung is a notable example. You can see the download font option two photos up. It’s actually quite easy, and the fonts are usually free.
How to install fonts on Android using zFont

The process may be different from phone to phone, but here is a general guide:
- Launch zFont.
- Either download a font and transfer it to your phone, or simply download one of the many fonts in the zFont app.
- Tap on Downloads.
- If you downloaded the font from elsewhere, tap on the + button, select Add File, and add the font file.
- If you got the font from zFont, select it.
- Hit Apply.
- When prompted, tap the Auto (Recommended) option and hit Build.
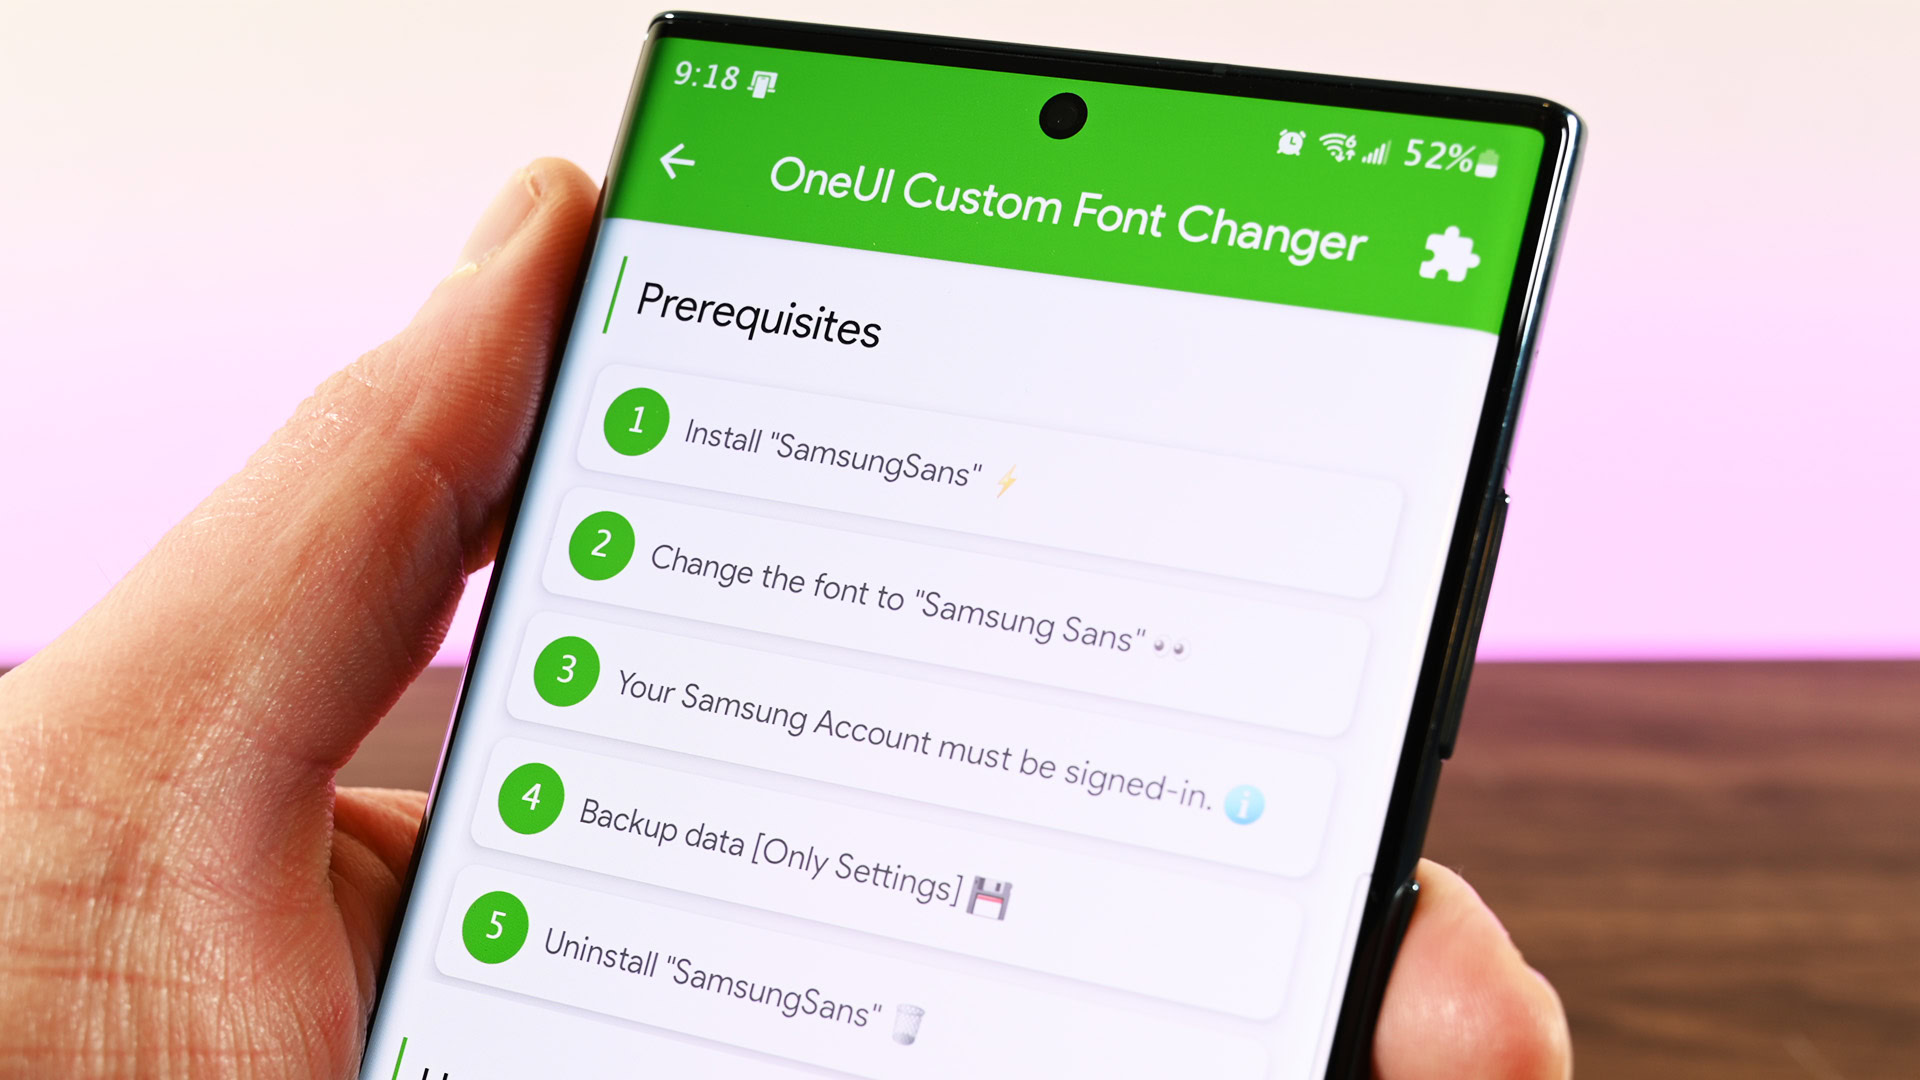
Here is where things get a little shaky. Depending on your phone OEM, you may have to perform some prerequisite tasks. For example, on my Galaxy S23 Ultra, I had to install SamsungSans, apply it, sign in to my Samsung account, back up my Settings data, and then uninstall SamsungSans. Luckily, zFont lets you tap each prerequisite to take you to the proper screen to get all of that done. Take your time, and follow the directions exactly and in order.
Once done, your font should be applied. Follow any additional steps from zFont if needed if there are any extra steps.
How to change the font back
If you’re not convinced with your new font, you can launch zFont, tap on the Settings tab, and select Default font. You will then get step-by-step instructions to do this.
That should do it. It’s not a highly complex process to install a font on Android. Unfortunately, there are only a few other methods, and they are quite problematic and difficult to deal with. Root access is the easiest solution for folks whose phones don’t work with this method.
FAQs
On most devices, the font color is tied into the font itself or controlled by the device’s theme engine (if it has one). We recommend trying those two solutions on your device if they are available.
Many apps have their own fonts independent of the system font. For example, Twitter’s official app uses Roboto on Android, Helvetica Neue on Mac, Arial on Windows, and San Francisco on iOS. Simply put, many apps don’t use the system font.
Most Android phones should be able to increase the font size as it is an accessibility feature. Open your phone’s settings menu, tap the search bar, and type in font size. Your phone should show you the relevant section in the settings to change your font size. Many times, you can actually make the text bold, and some phones may offer even more options.