Affiliate links on Android Authority may earn us a commission. Learn more.
An introduction to Firebase - the easiest way to build powerful, cloud-enabled Android apps
Published onApril 24, 2017
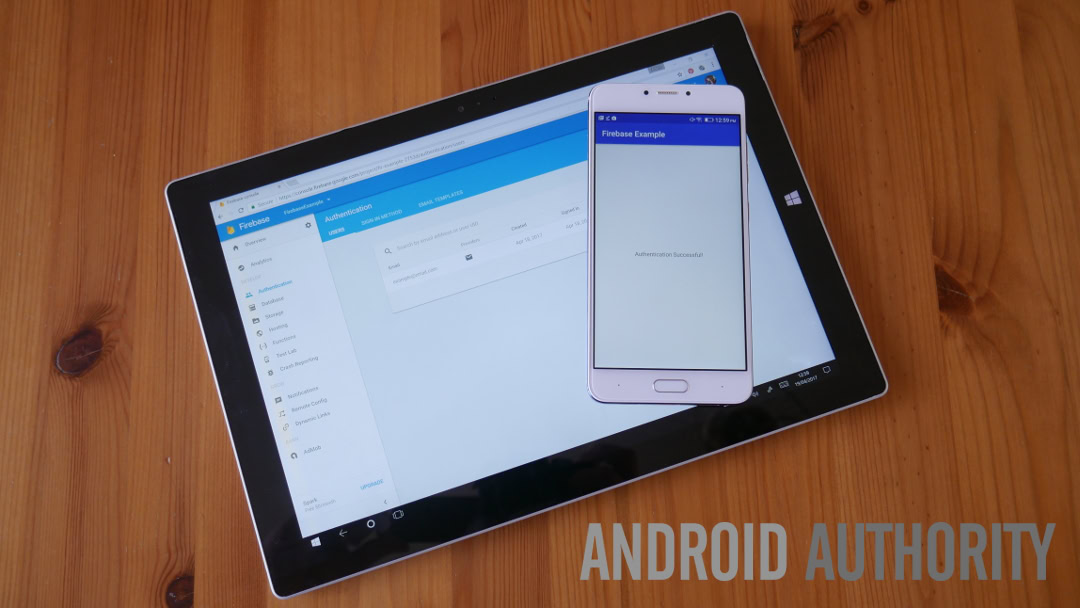
Google I/O 2017 is rapidly approaching and taking a look at the scheduled sessions, it’s apparent that Firebase will be featuring heavily. This is something of a clue as to how Google views Firebase. In short: it’s kind of a big deal. And Google is right to want to promote the service. Firebase is a tool that allows us to make cloud-enabled apps quickly and easily, which opens up a huge number of opportunities.

Normally, when a friend tells me they have an idea for an app, it will almost always involve a strong social element. Historically, I would have balked that this is probably the most difficult kind of app for a newbie to make, even though it is undoubtedly also the kind that most people are interested in. Thanks to Firebase, making this kind of app is not only possible for a beginner but also relatively easy. Though relative is certainly the operative word there…
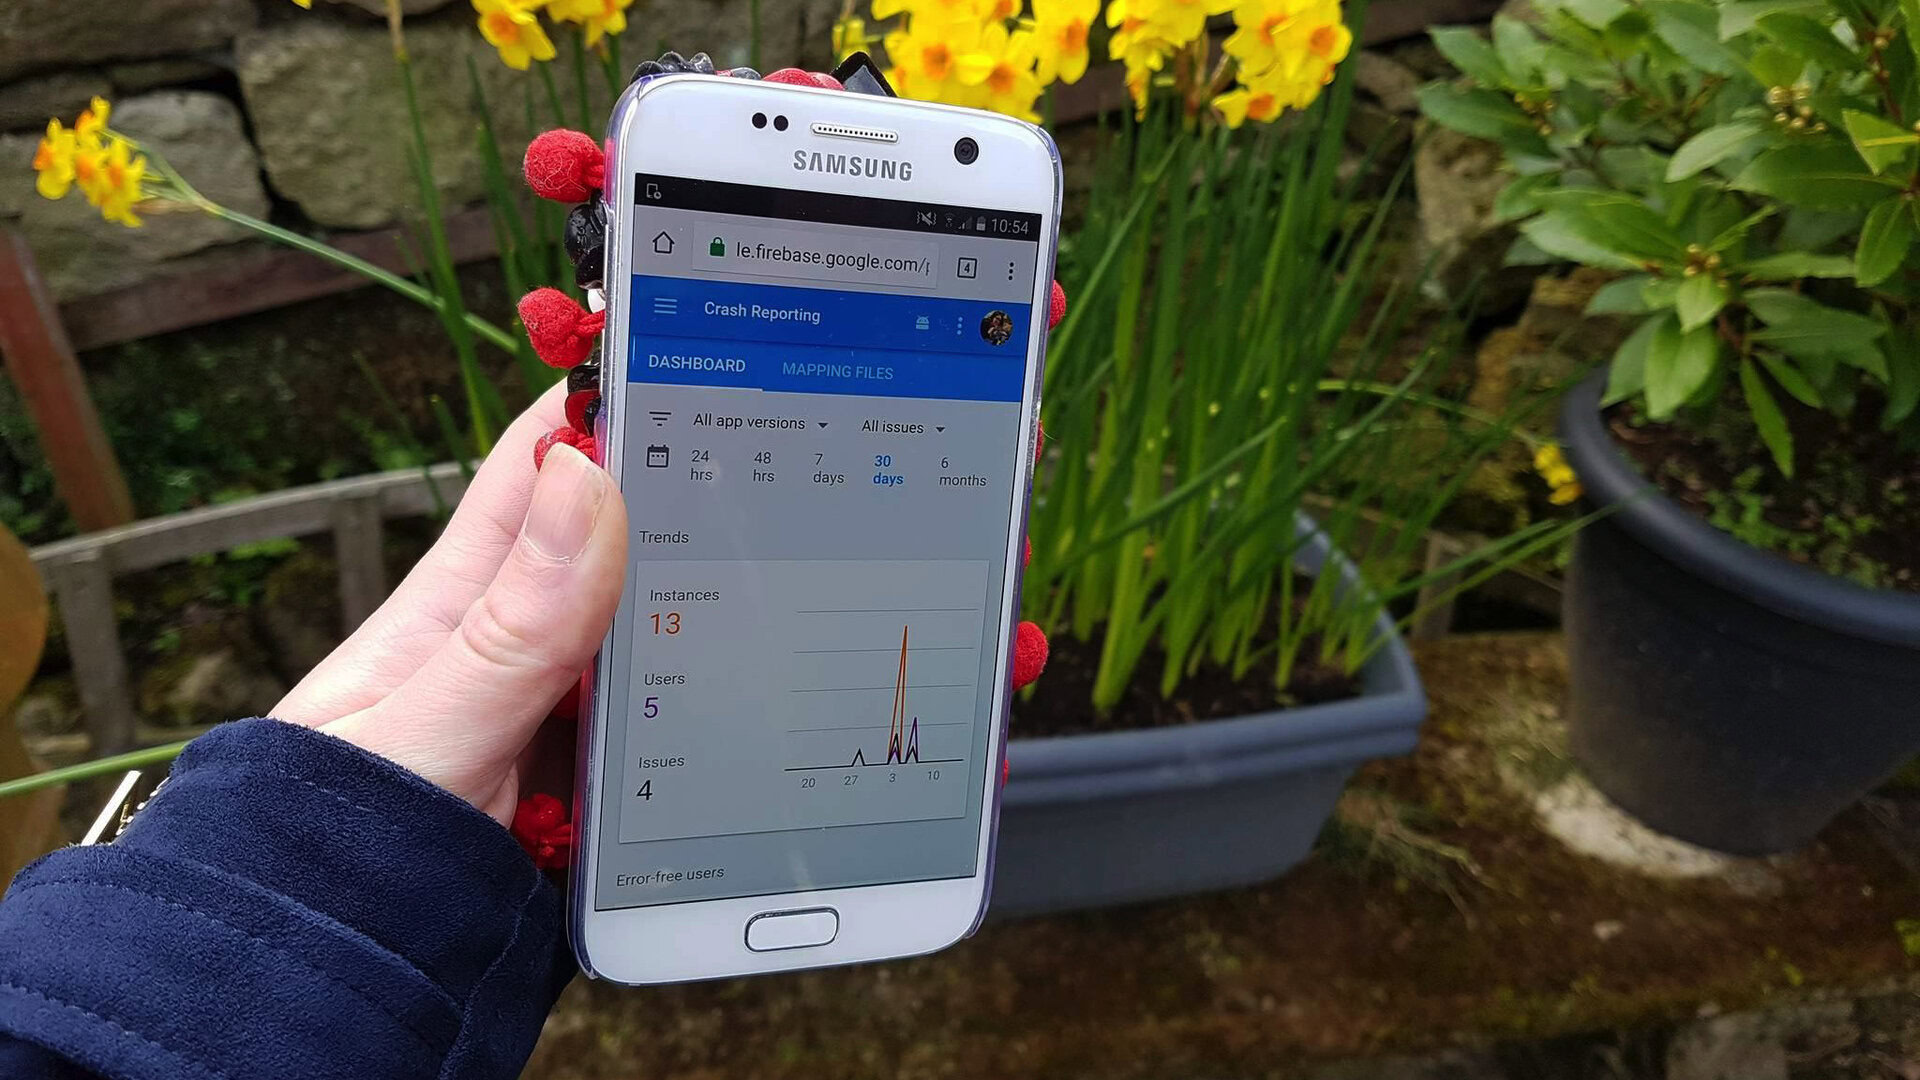
So, what exactly is Firebase? What uses does it offer the Android developer? And how do you get started?
What is Firebase?
Firebase is a mobile platform from Google offering a number of different features that you can pick ‘n mix from. Specifically, these features revolve around cloud services, allowing users to save and retrieve data to be accessed from any device or browser. This can be useful for such things as cloud messaging, hosting, crash reporting, notifications, analytics and even earning money through AdMob – which I discussed in a previous post.

In short, Firebase handles the backend online element for your apps, allowing you to focus on the front-end UI and functionality. All this is done through a single SDK with easy-to-use APIs and excellent integration into Android Studio. This removes the need to create your own server-side script using PHP and MySQL, or a similar set-up. This is ‘Backend as a Service’ or ‘BaaS’, and essentially this means that anyone really can make that ambitious social app. It works with Android apps, iOS apps and web apps and best of all: it’s free!
Are there any reasons not to use Firebase? Sure. One downside of Firebase is that it means relying on a third-party solution. If Google should ever abandon Firebase, then you’d be forced to migrate your data and rebuild your app, which could be quite a headache. It seems unlikely right now, but it’s something you should always keep in mind.
It works with Android apps, iOS apps and web apps and best of all: it’s free!
Another potential concern is that this is that Firebase uses a real-time database and all data is automatically synchronised across all users – rather than being stored on the phone first and then ‘sent’. While this certainly has advantages, it means that an internet connection is necessary at all times for your app to work.
For the most part though, this is a fantastically powerful and versatile way to build cloud-enabled apps and is something that every Android developer should familiarise themselves with.
Setting up a project
Before you can do anything with Firebase, you first need to create an account. You can do this over at firebase.google.com.
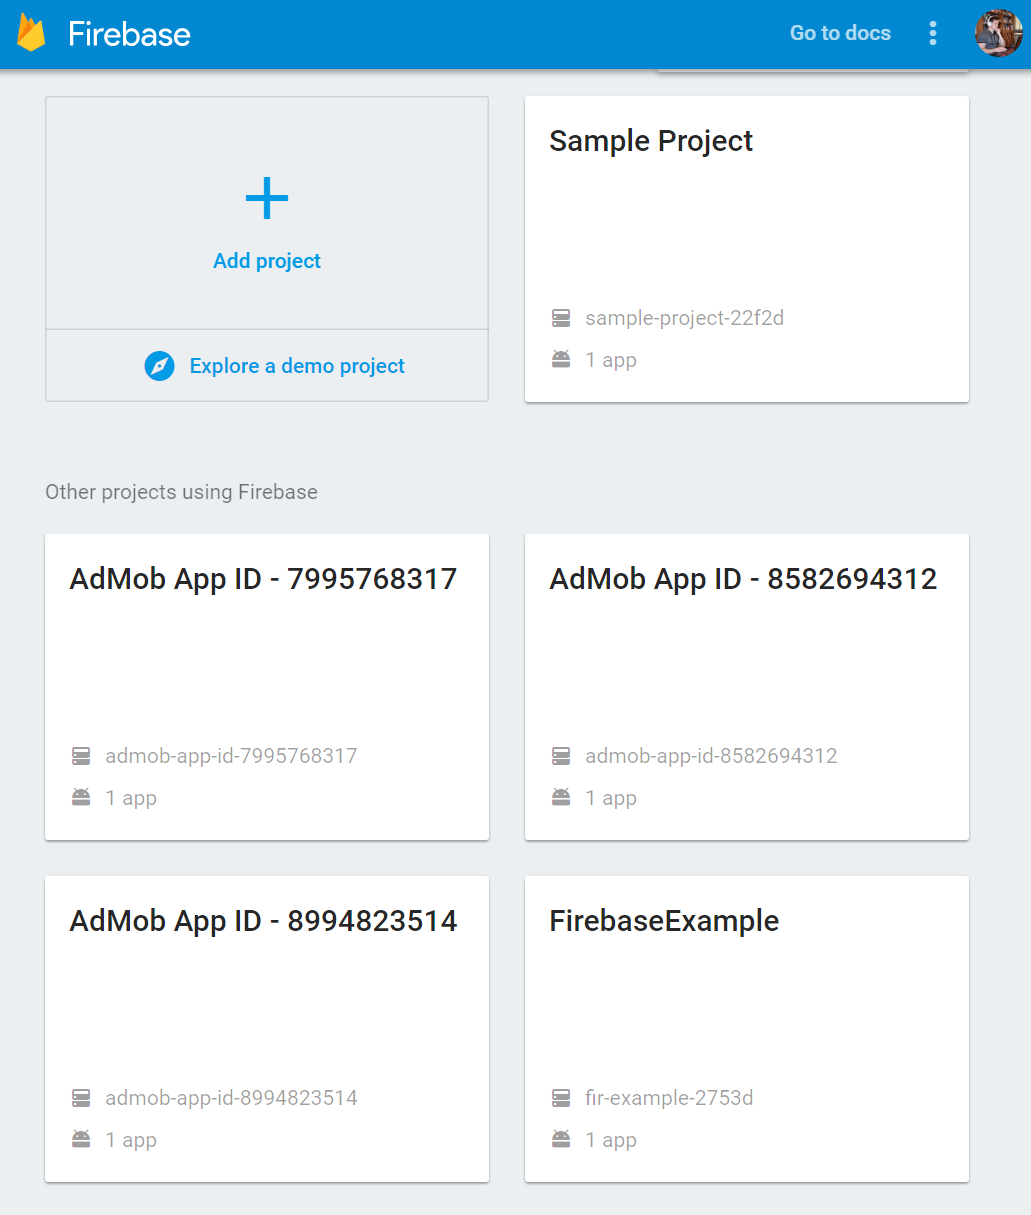
Once you’ve done that, you’ll be taken to the ‘console’. Here you’ll see any projects you’ve previously created and you’ll have the opportunity to add new ones. Previously, we would have had to do this manually, which would involve downloading a JSON file, updating Gradle build files and more. The good news is that Firebase has evolved and we can now do everything from within Android Studio itself.
So, create a new app project in Android Studio and then choose Tools > Firebase to open up the ‘Firebase Assistant’ in a window on the right of the IDE. Now click ‘Connect’. A browser window will open up for you to sign into your account and then the project will be created automatically.
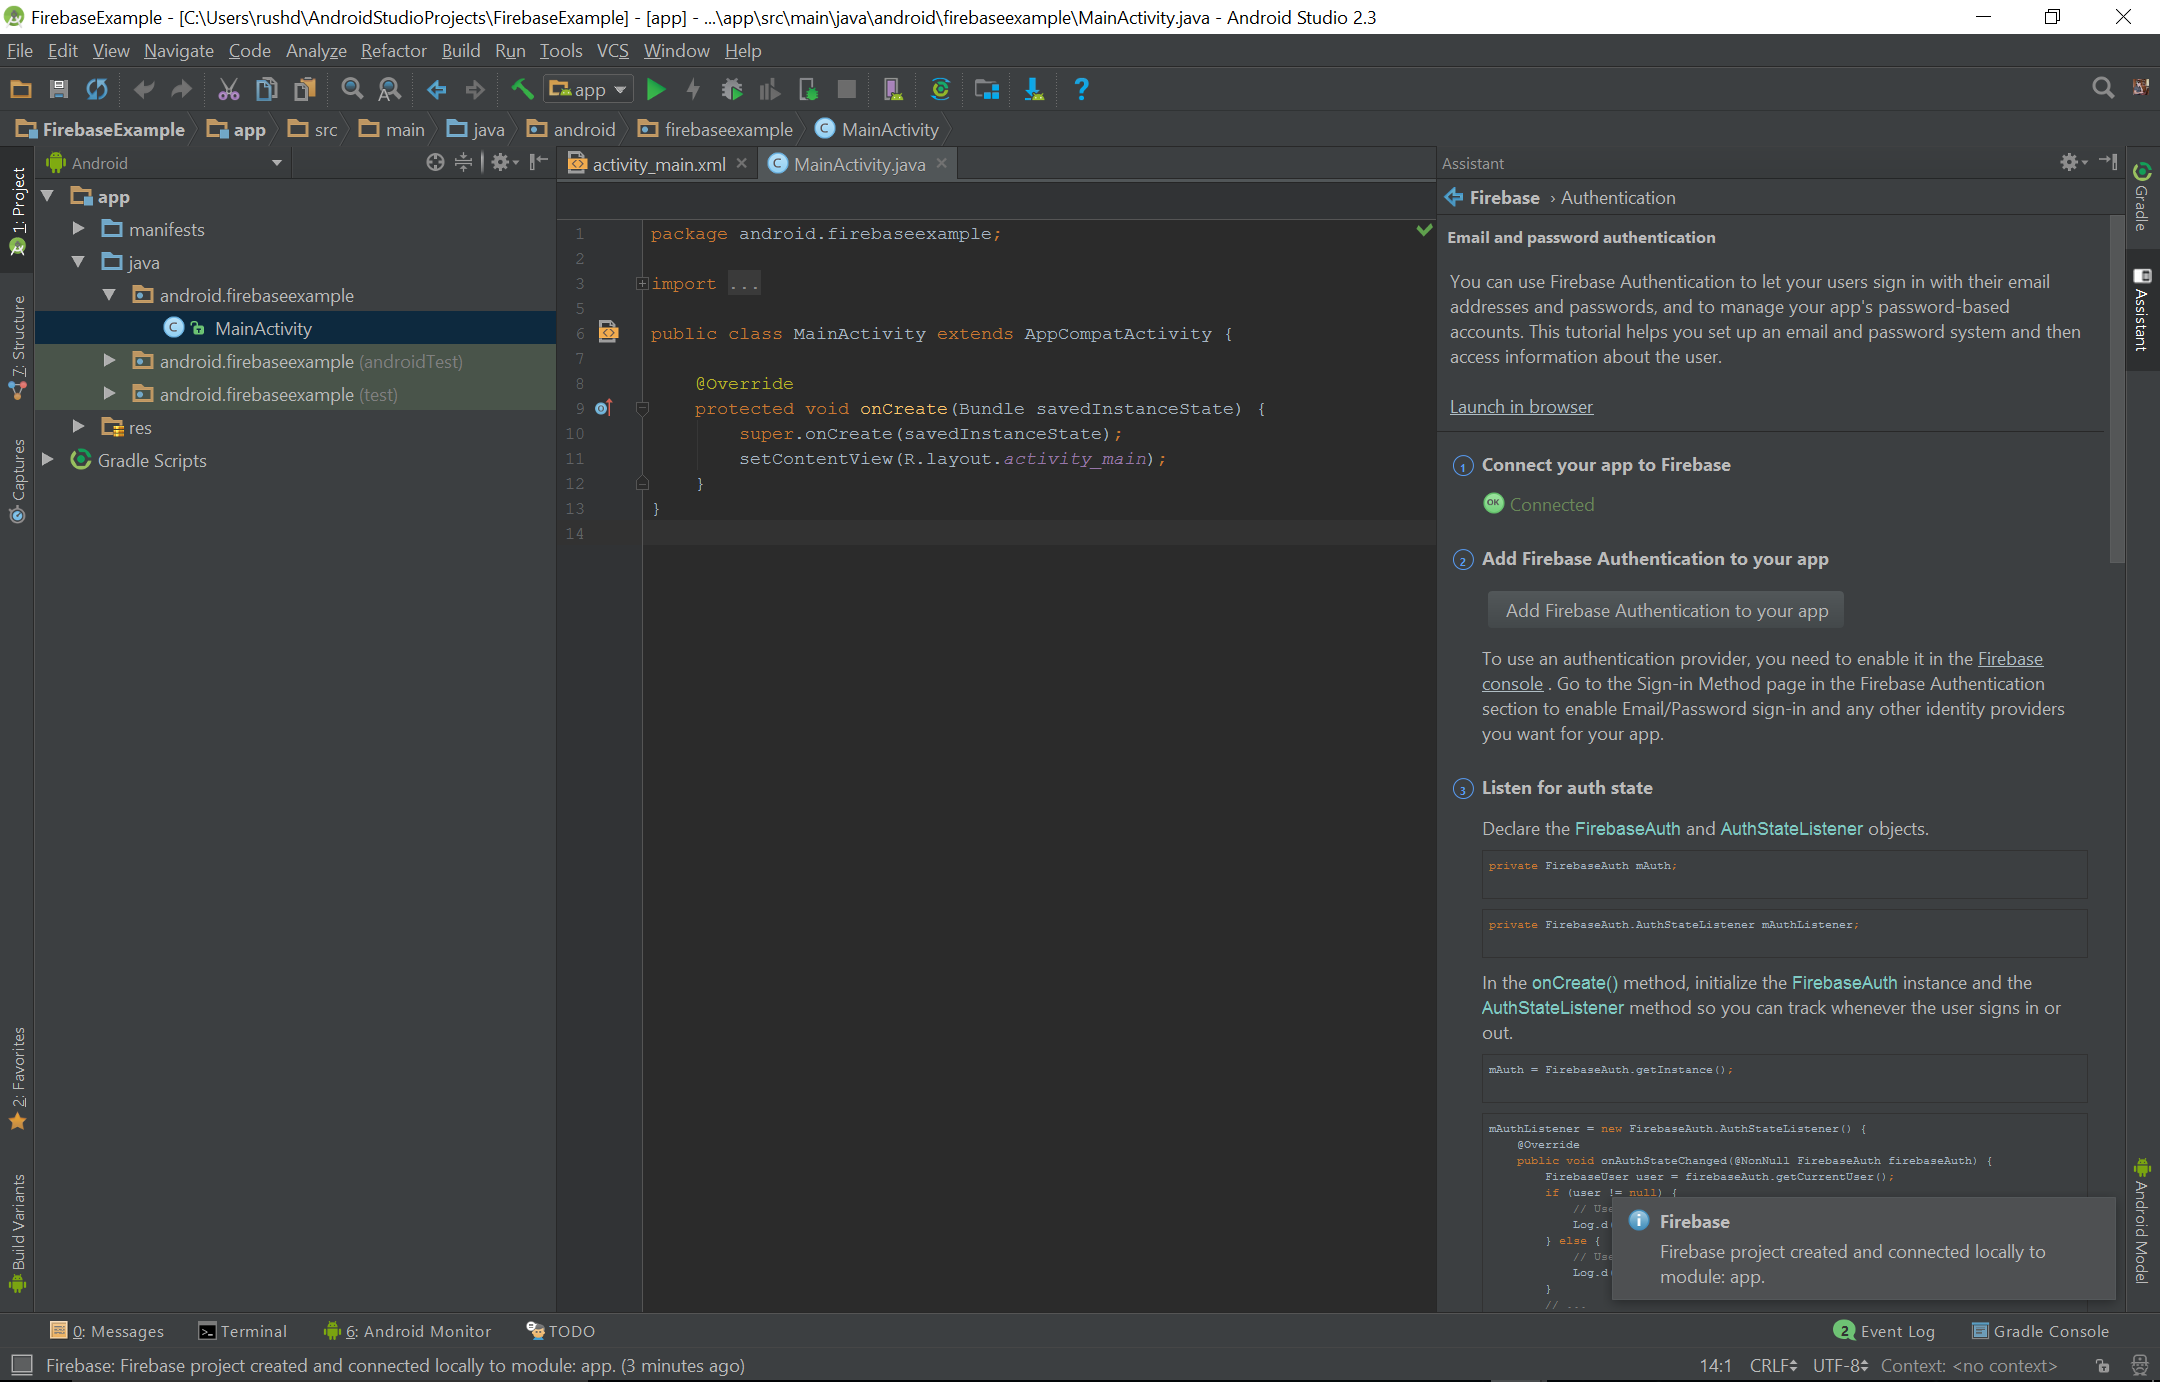
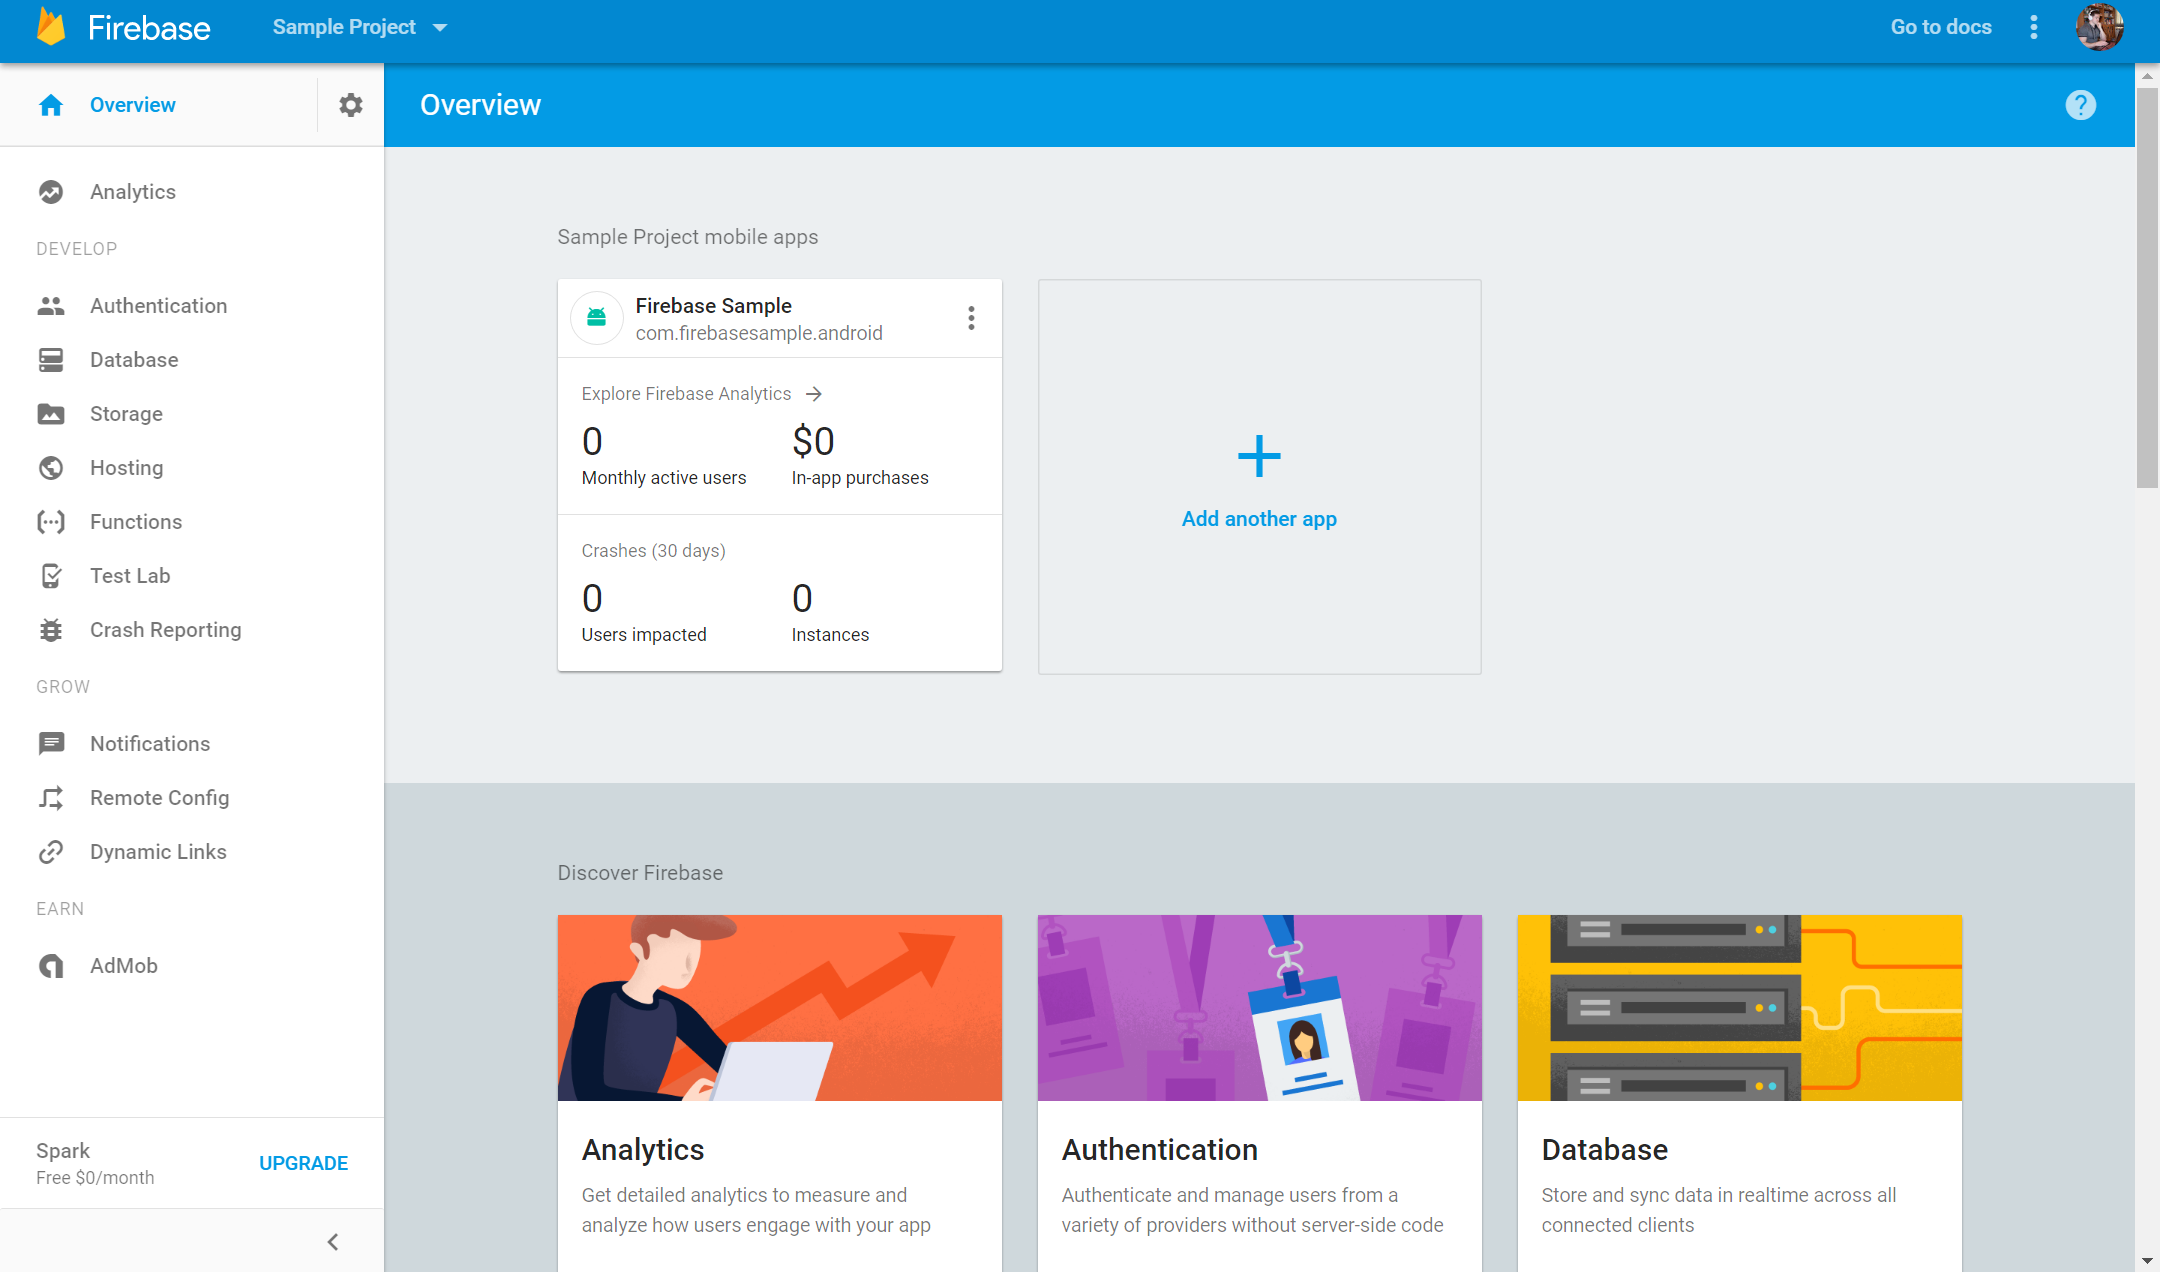
I called my app ‘Firebase Example’ and if I now head back to the Firebase console, I can see the project has been created automatically. Click on it to open the project console.
Authentication
The simplicity continues. To begin adding Firebase Authentication just click ‘Add Firebase Authentication to your app’. This will add a number of dependencies to your Gradle files, so just click ‘Accept Changes’. You’ll need to do this each time you want to use a new feature from Firebase.
Unfortunately, the next step is going to require some actual code on our part. The good news is that all the code you’ll need is actually provided by Google and can be copied and pasted directly from the Assistant. I’ve made just a couple of changes so it will be completely ready to run..
First, we declare the FirebaseAuth and AuthStateListener objects in MainActivity.java like so:
private FirebaseAuth mAuth;
private FirebaseAuth.AuthStateListener mAuthListener;
Don’t forget to import the relevant classes. Just click the red underlined text and press Alt + Enter to do this automatically. You’ll need to repeat this as you paste in more of the code that follows.
Now in the onCreate() method, add the following code to initialize the FirebaseAuth instance and AuthStateListener method:
mAuth = FirebaseAuth.getInstance();
mAuthListener = new FirebaseAuth.AuthStateListener() {
    @Override
    public void onAuthStateChanged(@NonNull FirebaseAuth firebaseAuth) {
        FirebaseUser user = firebaseAuth.getCurrentUser();
        if (user != null) {
            // User is signed in
            Log.d("Main Activity", "onAuthStateChanged:signed_in:" + user.getUid());
        } else {
            // User is signed out
            Log.d("Main Activity", "onAuthStateChanged:signed_out");
        }
        // ...
    }
};
Then attach the listener to the FirebaseAuth instance in onStart. We will remove it in onStop:
@Override
    public void onStart(){
        super.onStart();
        mAuth.addAuthStateListener(mAuthListener);
    }

    @Override
    public void onStop() {
        super.onStop();
        if (mAuthListener != null) {
            mAuth.removeAuthStateListener(mAuthListener);
        }
    }
Now that’s all ready, we can create a method to add new users! Following along with Google’s instructions, we’ll call this method createAccount. It should look like so:
private void createAccount() {
        mAuth.createUserWithEmailAndPassword("example@email.com", "password")
        .addOnCompleteListener(this, new OnCompleteListener<AuthResult>() {
            @Override
            public void onComplete(@NonNull Task<AuthResult> task) {
                Log.d("Main Activity", "createUserWithEmail:onComplete:" + task.isSuccessful());

                // If sign in fails, display a message to the user. If sign in succeeds
                // the auth state listener will be notified and logic to handle the
                // signed in user can be handled in the listener.
                if (!task.isSuccessful()) {
                    Toast.makeText(MainActivity.this, "Authentication failed!", Toast.LENGTH_SHORT).show();
                }
            }
        });
    }
Now we can sign in our existing users with another, similar method:
private void signInAccount() {
        mAuth.signInWithEmailAndPassword("example@email.com", "password")
        .addOnCompleteListener(this, new OnCompleteListener<AuthResult>() {
            @Override
            public void onComplete(@NonNull Task<AuthResult> task) {
                Log.d("Main Activity", "signInWithEmail:onComplete:" + task.isSuccessful());

                // If sign in fails, display a message to the user. If sign in succeeds
                // the auth state listener will be notified and logic to handle the
                // signed in user can be handled in the listener.
                if (!task.isSuccessful()) {
                    Toast.makeText(MainActivity.this, "Authentication failed!", Toast.LENGTH_SHORT).show();
                }
            }
        });
    }
Right, so let’s actually try using all this shall we? To do that, all we need to do is try running those two methods. At the bottom of onCreate(), add createAccount(); and signInAccount();. Normally, we would pass strings for the email and password which we would acquire through some kind of sign-in screen. For now though, I’ve entered some example strings to keep things easy.
The entire code should look like so:
package android.firebaseexample;

import android.support.annotation.NonNull;
import android.support.v7.app.AppCompatActivity;
import android.os.Bundle;
import android.util.Log;
import android.widget.Toast;

import com.google.android.gms.tasks.OnCompleteListener;
import com.google.android.gms.tasks.Task;
import com.google.firebase.auth.AuthResult;
import com.google.firebase.auth.FirebaseAuth;
import com.google.firebase.auth.FirebaseUser;

public class MainActivity extends AppCompatActivity {
    private FirebaseAuth mAuth;
    private FirebaseAuth.AuthStateListener mAuthListener;

    @Override
    protected void onCreate(Bundle savedInstanceState) {
        super.onCreate(savedInstanceState);
        setContentView(R.layout.activity_main);

        mAuth = FirebaseAuth.getInstance();
        mAuthListener = new FirebaseAuth.AuthStateListener() {
            @Override
            public void onAuthStateChanged(@NonNull FirebaseAuth firebaseAuth) {
                FirebaseUser user = firebaseAuth.getCurrentUser();
                if (user != null) {
                    Log.d("Main Activity", "onAuthStateChanged:signed_in:" + user.getUid());
                } else {
                    Log.d("Main Activity", "onAuthStateChanged:signed_out");
                }
                // ...
            }
        };
        createAccount();
        signInAccount();
    }

    private void createAccount() {
        mAuth.createUserWithEmailAndPassword("example@email.com", "password")
        .addOnCompleteListener(this, new OnCompleteListener<AuthResult>() {
            @Override
            public void onComplete(@NonNull Task<AuthResult> task) {
                Log.d("Main Activity", "createUserWithEmail:onComplete:" + task.isSuccessful());

                if (!task.isSuccessful()) {
                    Toast.makeText(MainActivity.this, "Authentication failed!", Toast.LENGTH_SHORT).show();
                }
            }
        });
    }

    private void signInAccount() {
        mAuth.signInWithEmailAndPassword("example@email.com", "password")
        .addOnCompleteListener(this, new OnCompleteListener<AuthResult>() {
            @Override
            public void onComplete(@NonNull Task<AuthResult> task) {
                Log.d("Main Activity", "signInWithEmail:onComplete:" + task.isSuccessful());
                if (!task.isSuccessful()) {
                    Toast.makeText(MainActivity.this, "Authentication failed!", Toast.LENGTH_SHORT).show();
                }
            }
        });
    }

    @Override
    public void onStart() {
        super.onStart();
        mAuth.addAuthStateListener(mAuthListener);
    }

    @Override
    public void onStop () {
        super.onStop();
        if (mAuthListener != null) {
            mAuth.removeAuthStateListener(mAuthListener);
        }
    }
}
Before you test the app, first you need to enable email authentication through your profile. Visit the project in the Firebase console and choose ‘Authentication’ from the menu down the left. You’ll see a list of ‘Sign-In providers’, which includes Email/Password. You want to change the toggle here to ‘Enable’.
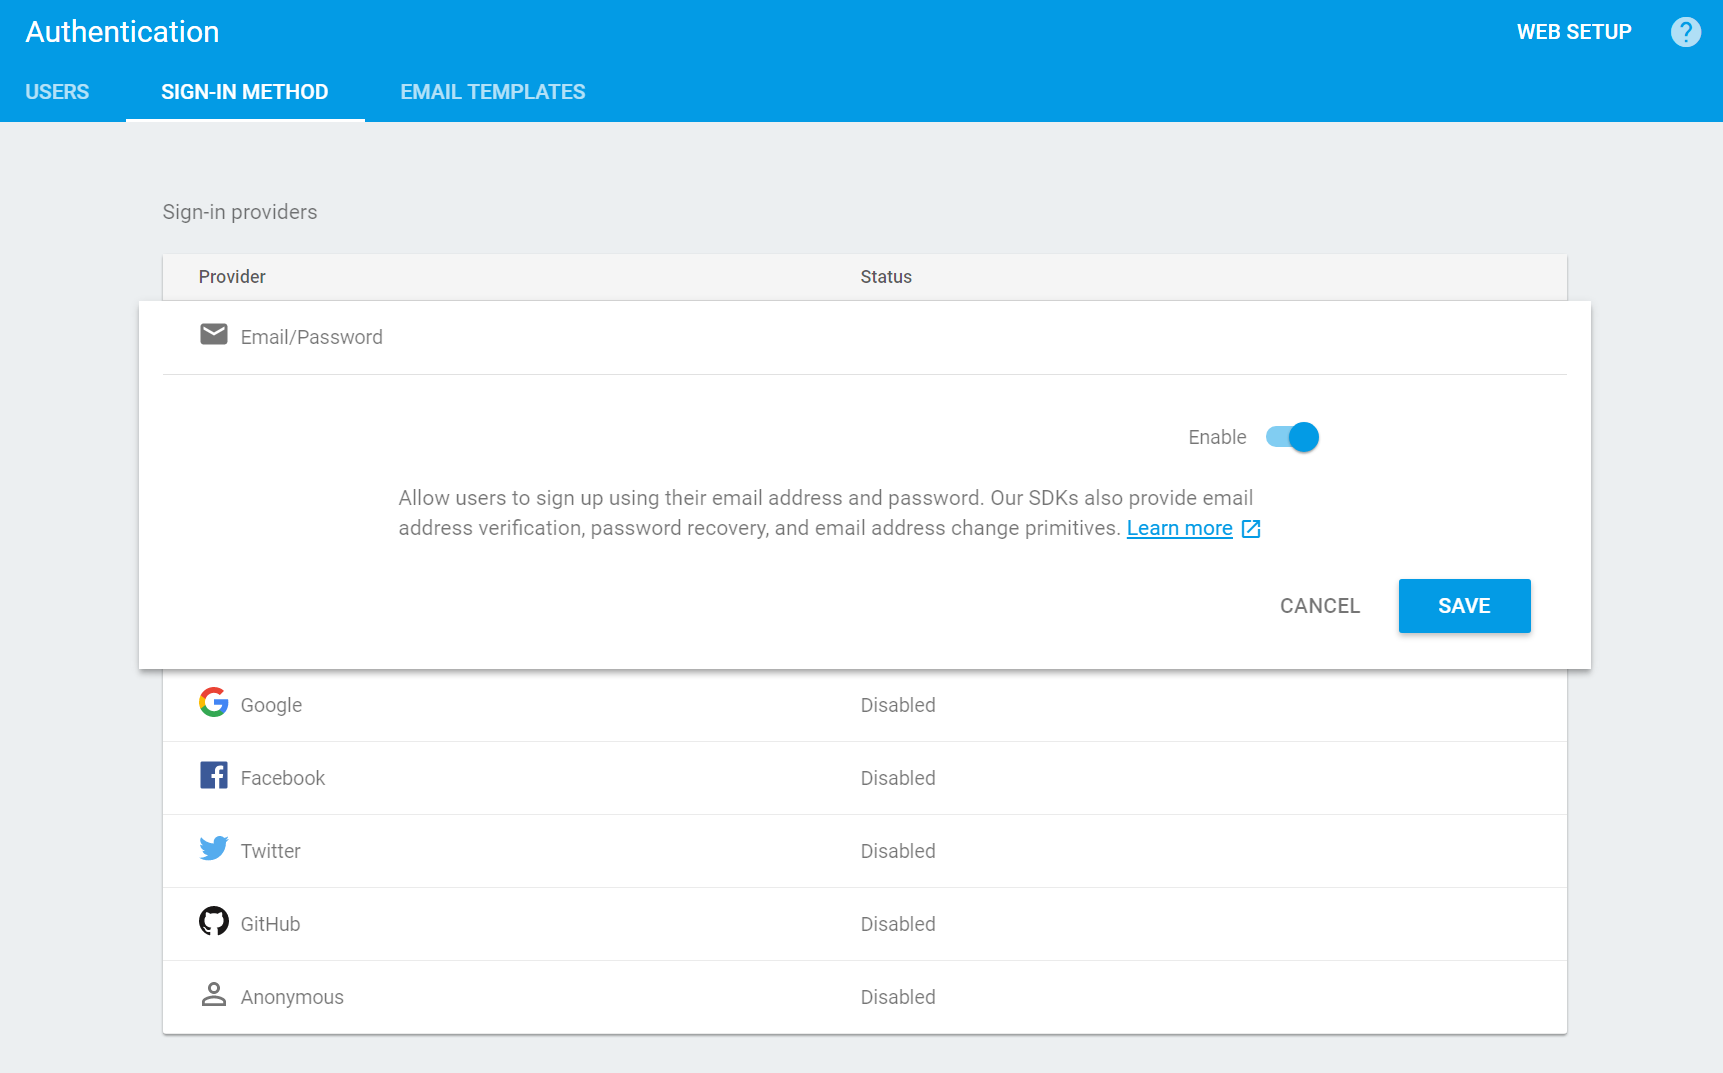
Now click the tab that says ‘Users’, which should be empty. Keep it open when you run the APK you created though and you should find a new user appears with our ‘example@email.com’ address. Job done!

Retrieving data and more functions
Using these simple steps, you can now add user-profiles to your apps to improve privacy and customization. If we want to get the user’s email at any point once they’ve signed in, then this is just a matter of using:
FirebaseUser user = FirebaseAuth.getInstance().getCurrentUser();
String email = user.getEmail();
Of course, you need to check that a user is indeed logged in before doing this. At the bottom of the Assistant window, you’ll be prompted to try setting up authentication using Google or Facebook. Or you can click back and look at storing and retrieving data using the Firebase Realtime Database or setting up analytics.

Whatever you decide, you should find that Firebase makes life surprisingly easy. You’ll probably have a few headaches along the way but trust me – this is far preferable to becoming a ‘full stack developer’ and handling the frontend and backend yourself. Have a play around and get acquainted ready for Google I/O!