Affiliate links on Android Authority may earn us a commission. Learn more.
An introduction to Jetpack Compose for quick Android UI designs
Published onNovember 10, 2019

At Android Dev Summit 2019, Google announced that Jetpack Compose would be making its way into the Canary release of Android Studio 4.0.
Jetpack Compose could change the way we design Android UIs.
Jetpack Compose is a new tool for designing Android app UIs, which could change the way that we handle layouts across devices. The aim is to speed up development, reduce the amount of code, and ultimately create more elegant and intuitive user interfaces. We’re down for all that!
Also read: Android Studio tutorial for beginners
But is Jetpack Compose really useful? Or is it just another confusing layer on top of countless workflows and methods that are already part of Android development? Let’s dig a little deeper into what it can do, and how to use it.
What is Jetpack Compose?
Jetpack Compose is a declarative reactive UI system. It does away with the need for XML layouts entirely, which is potentially a big get for new developers trying to wrap their heads around new Android projects.
Instead, developers will call Jetpack Compose functions to define elements, and the compiler will do the rest.
What that means, is that you’ll actually be using a series of functions (called composable functions) in order to programmatically describe the UI. To do this, you annotate functions with the @Composable tag. What that tag is actually doing is telling the compiler to create all the boilerplate code for you, which saves time while also keeping our code clean and readable.
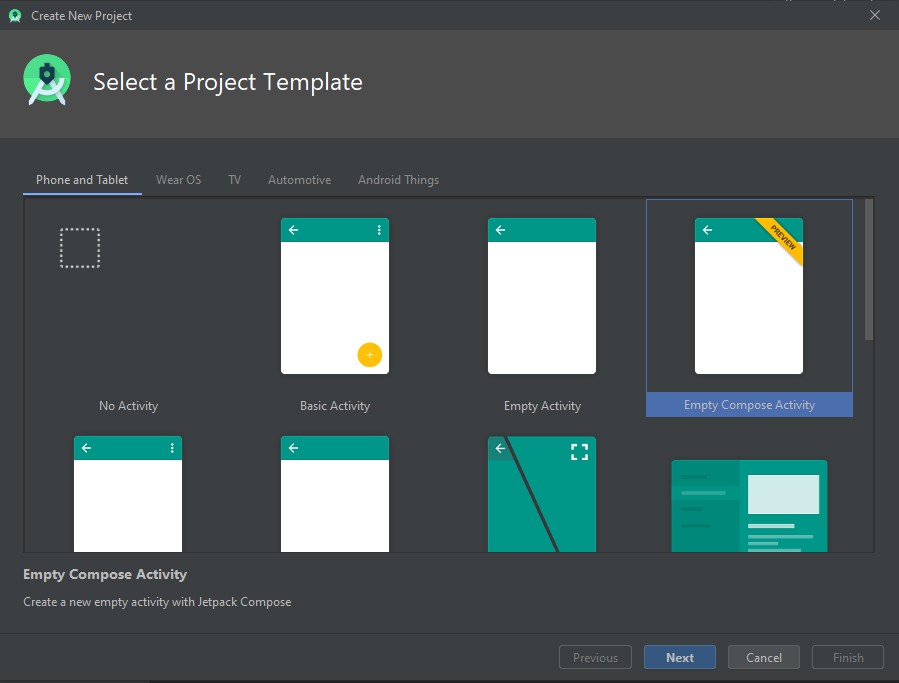
The functions won’t be placed anywhere within the flow of your code however (which would have been nice). Instead, you will create a Compose Activity template. Here, you can start adding your elements.
Hello world and beyond with Jetpack Compose
If you want to give Jetpack Compose for Android a go right now, then you can grab it via the Canary build of Android Studio, here. Keep in mind that this is preview software, so it may change with time. Now either start a new Jetpack Compose project, or add Compose support to an existing one.

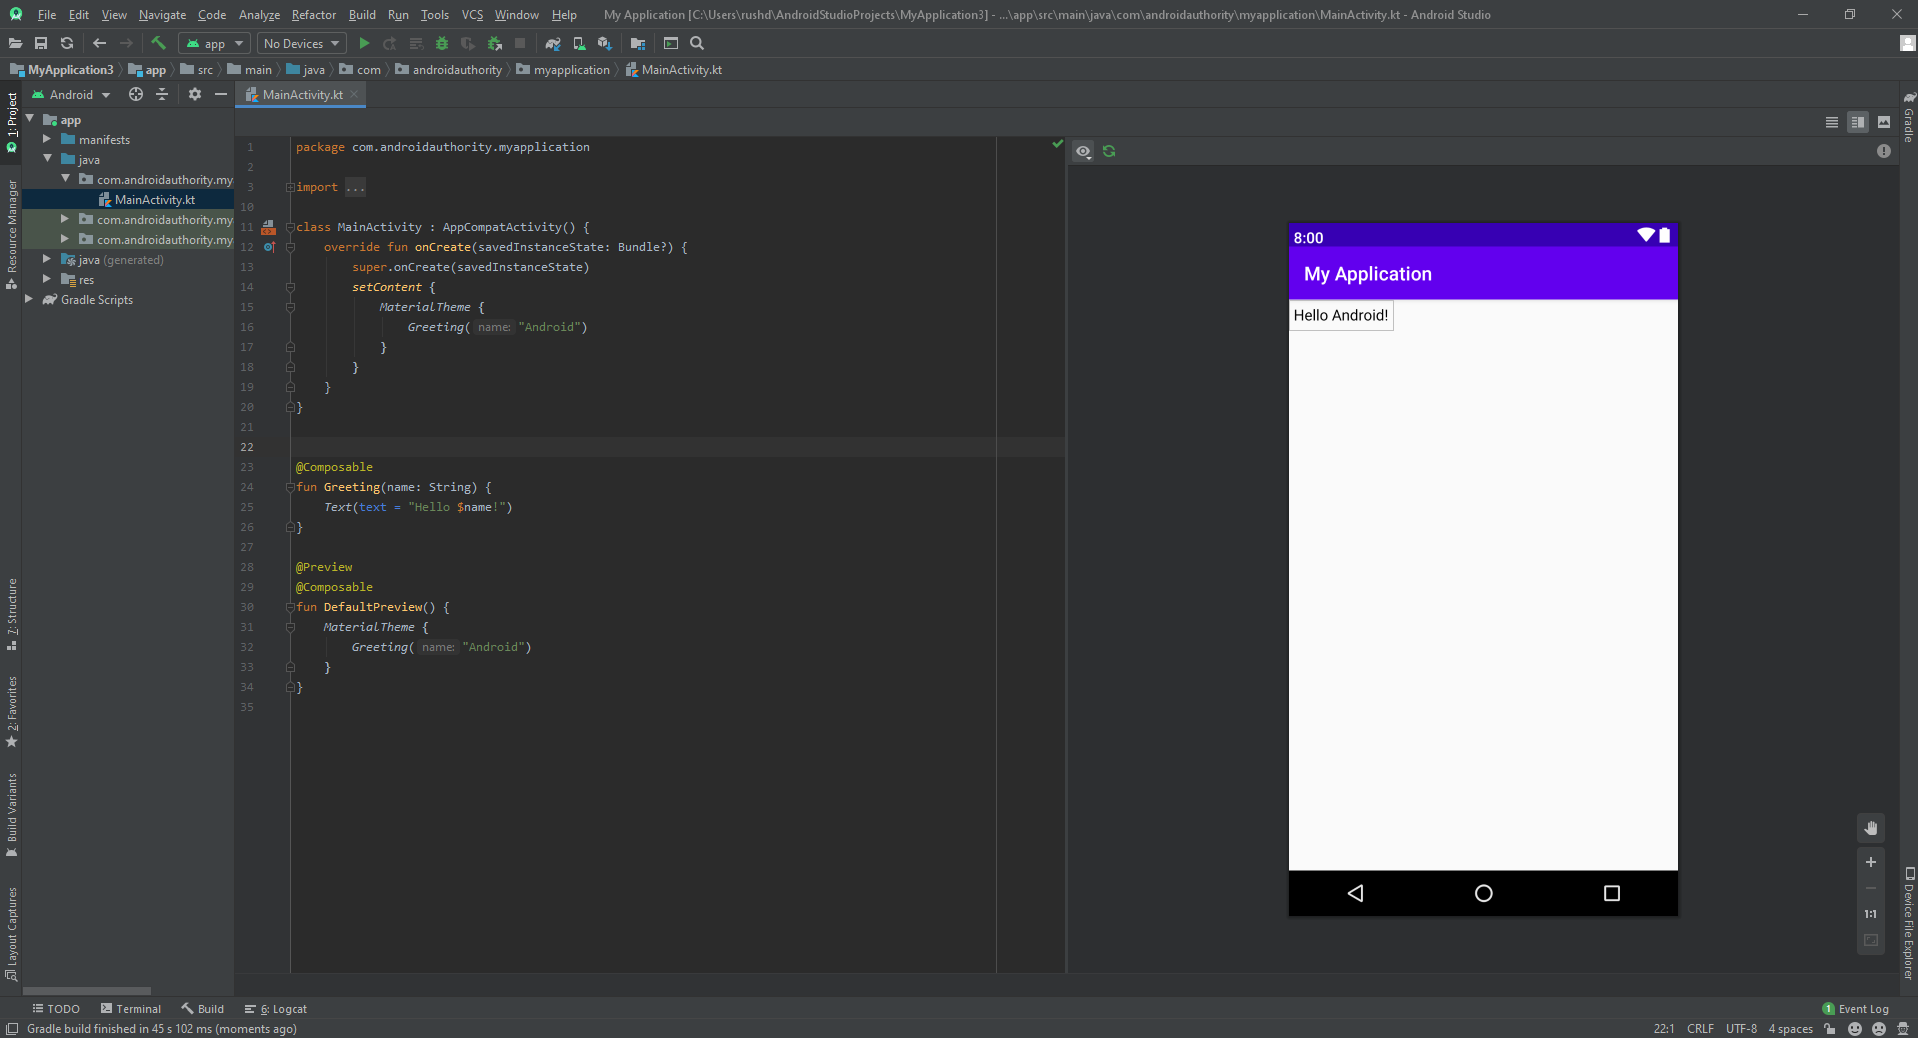
A cool feature of Compose is the ability to preview your app changes live. That means there’s no need to build your APK and install it on a device/emulator. Just add a second tag @Preview to any functions that take parameters, and you’ll see what you’ve built appear on the right.
When you create your new activity, it will show sample code that displays text to the screen. This looks like so:
setContent {
                Text(“Hello world!”)

}
In this example, the setContent block is setting up the layout of the activity and in there, we have a simple block of text.
The example then goes on to show how you use a composable function with the @Composable annotation. This looks like so:
@Composable
fun Greeting(name: String) {
                Text (text = “Hello $name!”)

}
You can now call this function (only from within the scope of other composable functions) in order to change the name on the label.

Getting pretty
This isn’t exactly a UI though – it’s just a piece of text.
If we want to take this further and turn it into something a little more attractive, then we’re going to need some additional functions. Fortunately, there are a good number to pick from.
One example is the Column() function, which will place separate elements in a column layout. As you might expect, you can also use rows in order to start creating more elaborate layouts of buttons and text.
To add a button, you will do something like this:
Button (
                text = “Button1”,
                onClick = { //place the click listener here }
                style = ContainedButtonStyle()

)
The ContainedButtonStyle() will give you something resembling Material Design.
Graphics are added simply by using DrawImage(). A HeightSpacer will allow you to separate your elements with a little gap. And there are various tools for padding and aligning your various elements.
This is not intended to be a full tutorial by any means. For a more in-depth guide, check out Google’s own documentation. As you can see though, Compose makes it relatively simple to start putting together a basic UI and applying straightforward logic.
Closing thoughts
So that is Compose in a nutshell. What do we make of it?
JetPack Compose is designed to be backwards compatible and to work with your existing apps with minimal changes. That means it will work with existing views, and you can pick and choose elements to use from it.
This is great in theory, but unfortunately there’s still some work to be done if that’s going to be entirely true. For one, compose is Kotlin-only, which will be a pain for those not familiar with it (just one more reason to make the switch, if you haven’t already!). It also means that you won’t always be able to integrate it that quickly into your existing projects.

It’s also worth noting that Compose does not create views, but rather draws directly onto a canvas using drawRec() for things like buttons. So it could get a little bit muddled!
And this is where things could get confusing for newcomers. Imagine that you are trying to learn Android for the first time by reverse engineering an app. Now you not only need to figure out what is Kotlin, XML, and the Android SDK, but you also need to understand where Compose fits into it all. With so many different tools and approaches, Android development can certainly risk becoming overly fragmented and daunting.
But with that said, I certainly see the appeal of being able to quickly whip up a UI to try out a bit of code I’ve written – and Compose definitely makes that a little quicker and easier. Devs who enjoy tinkering might find this an appealing proposition.
Android development risks becoming overly fragmented and daunting.
Let us know in the comments what you make of Jetpack Compose and whether you’d like to see a full tutorial in future. Likewise, be sure to shout out if you want a full tutorial. We’ll be sure to update you once this finds its way to stable.