Affiliate links on Android Authority may earn us a commission. Learn more.
An introduction to Kotlin for Android development
Published onFebruary 27, 2021

For years, Java was the one official language for Android development. While other options were available through alternative tools like Unity or Xamarin, Java with the Android SDK was still the clear choice for those wanting to learn Android development the “proper” way. Then came Kotlin for Android.
Also read: I want to develop Android apps – What languages should I learn?
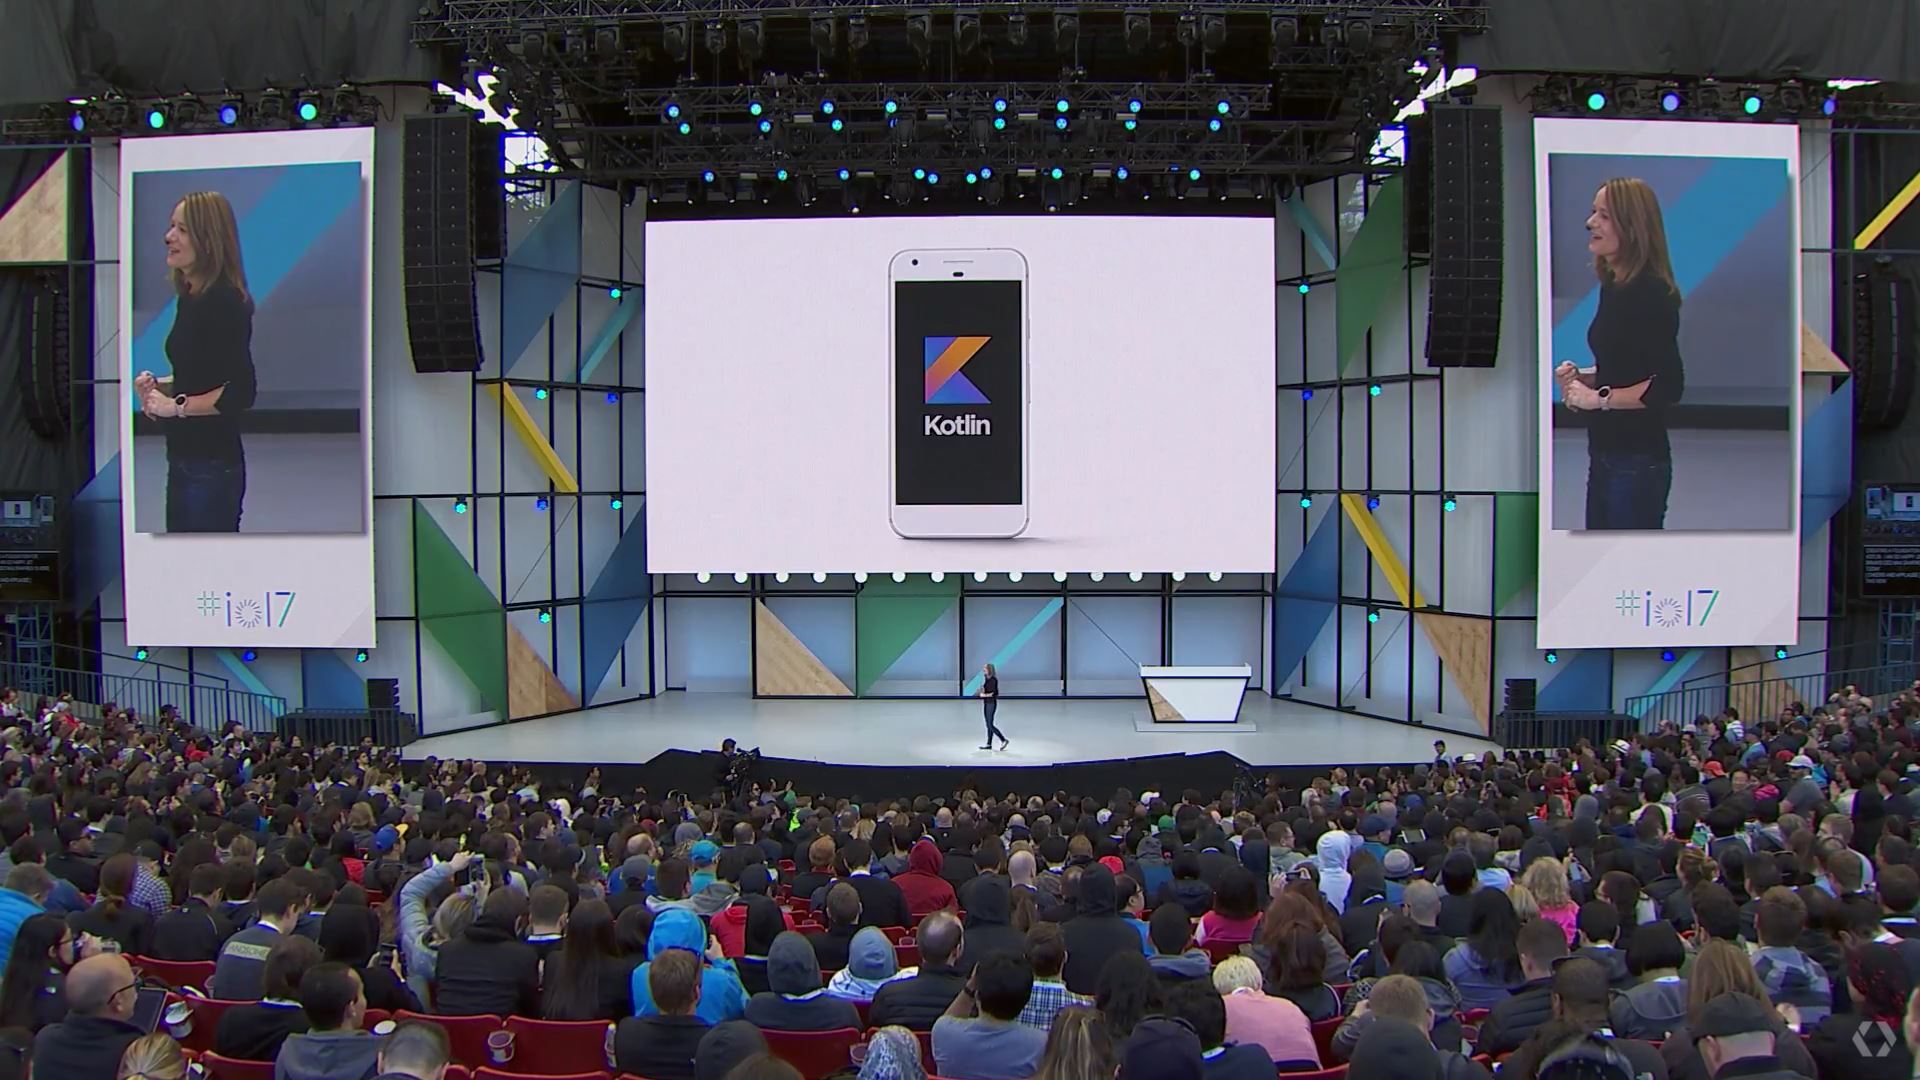
Kotlin is no-longer new. As of 7 May 2019, Kotlin has been the official “preferred” language for Android development according to Google. It has been available as a built-in feature of Android Studio and an official language for Android for even longer than that. Today, Android tutorials typically provide examples in both Java and Kotlin, though there is still slightly more support for Java developers (if only because many old posts have yet to be updated).
While Kotlin is theoretically simpler than Java, many aspiring mobile developers are likely to find the presence of multiple languages more daunting than anything else!
So, should you use Kotlin for Android development? How is it different from Java? What is the learning curve like? Let’s find out.
Kotlin for Android development vs Java
Kotlin is similar to Java in many ways and runs on the Java Virtual Machine. It is 100% interoperable with Java, and thus there is no performance loss when choosing to use Kotlin for Android development, nor increase in file size. That said, Android itself is built on Java, meaning that the SDK contains many standard Java libraries and Java apps tend to be slightly lighter. The build process is also often slightly faster in Android.

Kotlin does involve some changes in the way code is handled, too. As a general rule, Kotlin is a little simpler to read and easier to get to grips with as compared with Java. Kotlin requires less “boilerplate code.” This means there is less repetitive code necessary just to implement basic features. In many cases, two lines of Java code can be compressed into a single line of Kotlin.
Kotlin also does away with null pointer exceptions, and even lets you off the hook when it comes to ending lines of code with semi-colons!
For these reasons, Kotlin represents an easier jumping-on point for many new Android developers. And the fact that it is now the preferred option according to Google, means that you can guarantee there will be great support for the language going forward.
Why you might still choose Java
That’s not to say that Kotlin for Android development is perfect.
While Kotlin might be the preferred official language, the fact remains that Java has been around as a primary option for much longer – since way back when most people used Eclipse IDE to make their apps!
What this means is that many of the big apps on the Play Store will be built using Java. There’s not a huge amount of incentive for those developers to rewrite their code in Kotlin, and as such, they are more likely to hire developers that know Java.

Not only that, but Java is used much more widely outside of Android development. In fact, Java is regularly listed as one of the most in-demand programming languages for employers, alongside Python. Kotlin is further down the list.
Simply: more people know Java than know Kotlin. And with so Java so heavily entrenched, it may be easier for companies to start new projects in Java too. It certainly makes more sense for a developer to learn Java if they hope to work in the industry and don’t want to focus solely on Android. And if you are coming to Android development from another project, you may find Java is the more familiar option.
As mentioned, Java code also builds faster and lighter as compared with Kotlin and is consistent with the very nature of Android.
An introduction to coding in Kotlin
When starting a new Android Studio project you will be given the option to code in Java or Kotlin.
Also read: A guide to Android app development for complete beginners in 5 easy steps
Pick Kotlin you’ll be greeted with some code by default. This is the code necessary to display “Hello World” on the screen and assign a starting point for your program along with a layout file. In other words, this is the boilerplate we were talking about earlier! Let’s take a look at what’s here and what it can teach us about Kotlin.
First, you may notice that you declare classes using class just as you would in Java. The difference is that there’s no public keyword, which is because all classes in Kotlin are public and final. For those unfamiliar with what this means, it means that other activities outside of this file can access the functions you create. You might also notice that we aren’t using extend to inherit the properties of the superclass, either. Instead, we use a colon which does the same thing.
What about that fun command? This is short for “function”; so instead of writing public void you’ll now write fun. Arguments are specified in brackets following the function name. You’ll also need to know how to define variables, which is a little different in Kotlin for Android development. To create a string, you might write:
var text: String = “Hello”Kotlin is usually smart enough to identify a variable’s type on its own though. just like Python, so you can generally just write:
var text = “Hello”To create an integer, you could simply write:
var num = 3This is how you would create a mutable (changeable) variable, whereas val is used to create constants.
For a much more in-depth introduction to Kotlin syntax and structure, and how it differs from java, check our post on Kotlin vs Java for Android.
How Kotlin saves you time and busywork
A lot of the time, code will look a fair bit simpler and shorter in Kotlin for Android as compared with Java. Consider the following example of adding an onClickListener to a floating action button (FAB). Here is how you would do it in Java:
FloatingActionButton fab = (FloatingActionButton) findViewById(R.id.fab);
 fab.setOnClickListener(new View.OnClickListener() {
     @Override
     public void onClick(View view) {
     ...
     }
 });
And this is the same thing in Kotlin:
val fab = findViewById(R.id.fab) as FloatingActionButton
 fab.setOnClickListener {
 ...
 }
Like I said: less boilerplate. In fact, Kotlin developers can do away with ever having to write findViewByID again! To try this out, first apply a plugin.

Add the following to your module-level build.gradle:
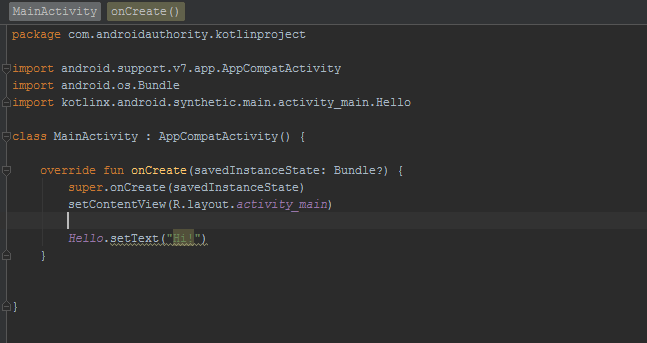
apply plugin: ‘kotlin-android-extensions’Click “sync” and you’ll then be able to import references to your views right at the top of your code, like so:
import kotlinx.android.synthetic.main.<layout>.<view-id>Now you can access the view directly with no need to use its ID. This makes life much simpler and can save you writing a lot of arbitrary code.

Combining these techniques you can save yourself a whole lot of busywork and you’ll find many more useful time-saving strategies going forward.
Hopefully, this gives you a basic introduction to Kotlin for Android development, and an idea of how it differs from Java. Which is right for you will depend on your personal preferences and goals. But more choice is never a bad thing!
Read our full Kotlin tutorial for Android if you are looking for a more in-depth introduction to the language.
For more developer news, features, and tutorials from Android Authority, don’t miss signing up for the monthly newsletter below!