Affiliate links on Android Authority may earn us a commission. Learn more.
I made my dream Google widget with one of my favorite Android tools
Published onDecember 14, 2024
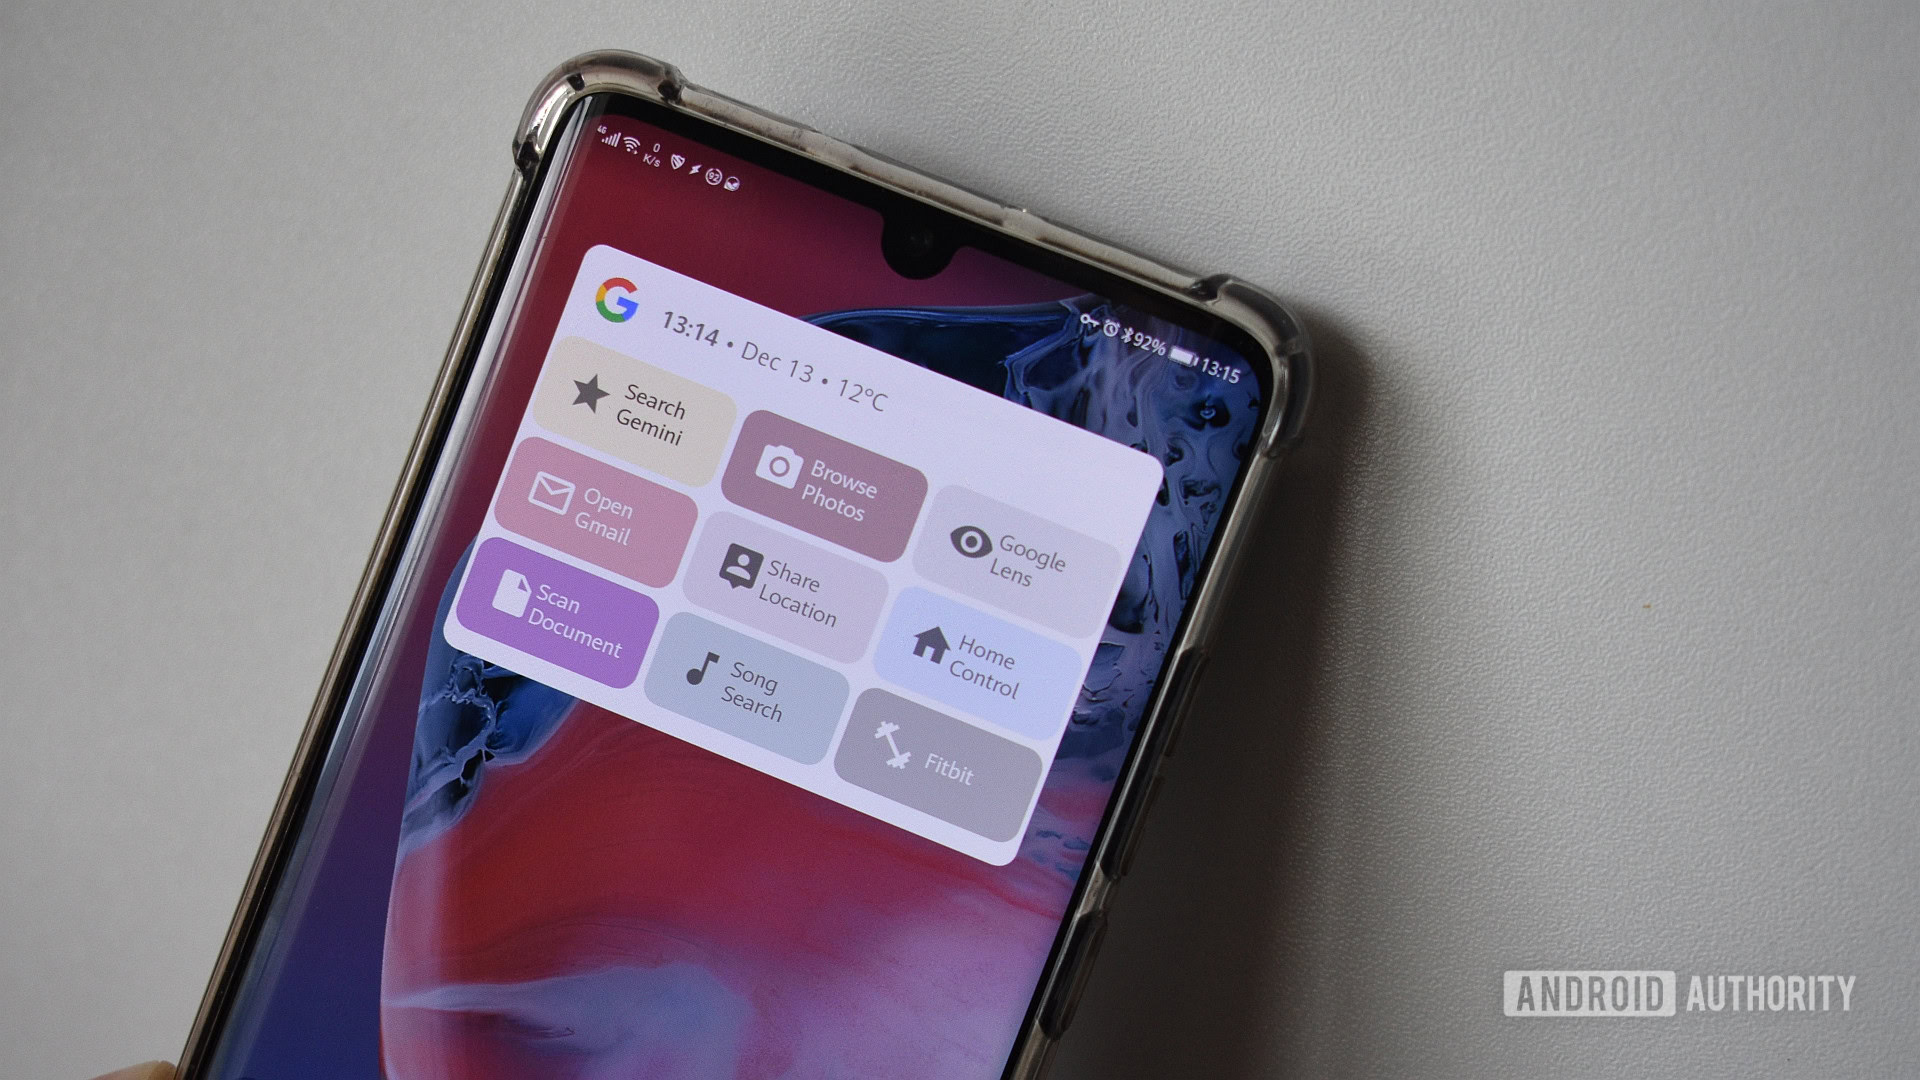
My KWGT foo is a little too rusty for my taste. KWGT is an Android customization app that allows you to create almost any widget imaginable, granted you have the time and the patience. When I was a regular Nova Launcher user, I would adorn my home screen with homemade widgets to display the time, weather, and phone vitals. One thing that I haven’t been able to do, however, is replace Google’s widgets. Although this was my initial goal, I quickly discovered that I couldn’t improve much on what was already available. But what about creating a Google widget that doesn’t yet exist?
To challenge myself, I set out to create a unique widget that would allow me quick access to the company’s core apps and services.
Do you use KWGT to build widgets on your phone?
Why replace Google’s widgets in the first place?
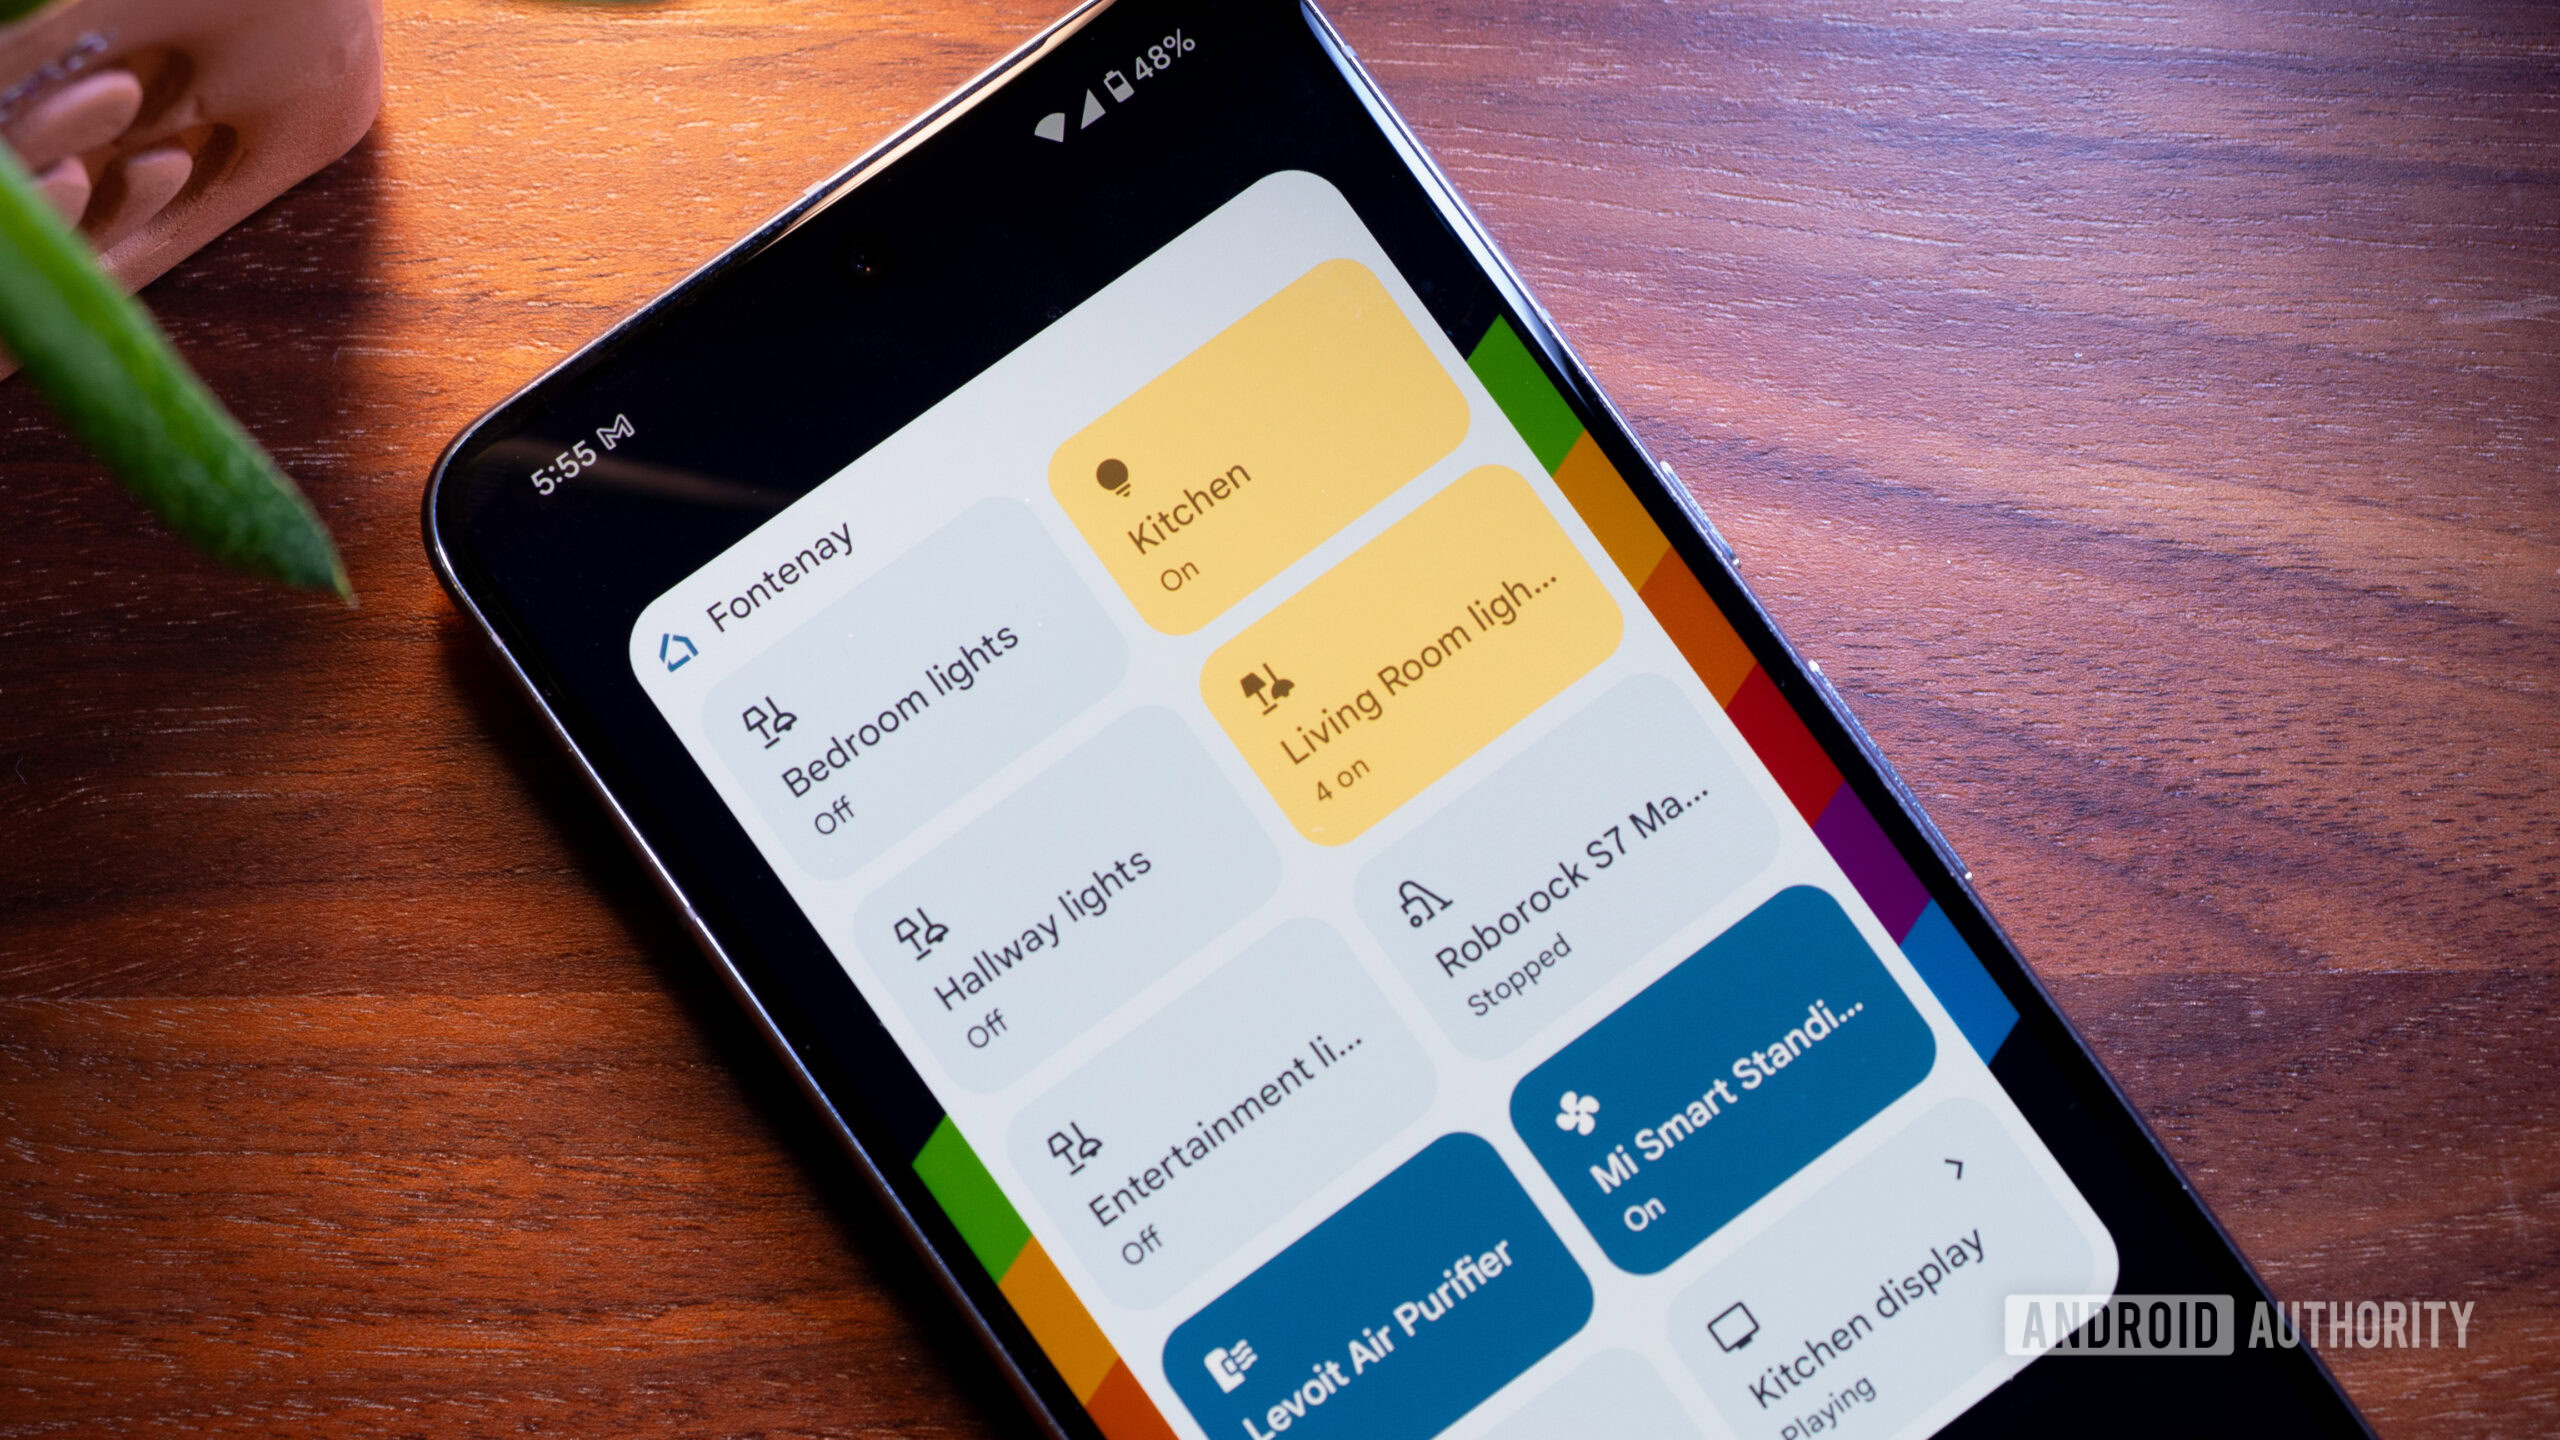
As mentioned in the intro, my initial brief was to recreate and improve the company’s existing Android widgets with KWGT. After a few minutes, I realized this would be a futile task. KWGT is powerful, but my results would never be as polished, feature-rich, and user-friendly as Google’s current widgets. So, I sought to do something different.
A simple widget housing shortcuts to the Google services and tools I use most is what I wanted, and KWGT let me build it.
What Google doesn’t have in its locker is a widget that offers shortcuts to a broad list of its services, tools, and apps. Therefore, an “omniwidget” inspired by the Google Home widget and housing all the Google services I use regularly was something I could definitely build. The widget would readily present all the options while accessing each with a simple tap. I could also customize it to suit my tastes and needs while retaining Google’s pastel-based design language. Now that I’ve outlined my project, let’s get into it.
How I built my Google widget using KWGT
As mentioned, I used to dabble in KWGT, but I was never as proficient as I’d like to be. Nevertheless, creating widgets using the tool is surprisingly easy.
Downloading KWGT and adding the widget to your launcher
First, you’ll need to download KWGT from the Play Store. You can use the free version, but if you like the app and want the full range of features, I suggest investing in the Pro unlock. This is the version I’m using for this guide.
Next, you’ll want to create a KWGT widget on your Android phone’s home page. The process varies from launcher to launcher, but ensure you select the largest 4×4 KWGT widget option — this will offer the most space to work with, and you can always shrink it later.
Once this widget space is created, tap on it. It should lead you to a KWGT Library screen. Next, tap Create at the top left. You’re now on what I call the creation screen.
Creating your widget’s basic shape
First, you’ll want to create the widget’s base shape.
- Tap on the + icon at the top right of the creation screen, then select Shape.
- You should now see the Shape field under the Items menu on the tab bar. Tap on it.
- Change the Shape field to Rectangle, and adjust the Width and Height of this rectangle to meet the edge of the widget’s canvas.
- To match Google’s aesthetic, you’ll also want rounded corners. I set the Corners slider to 20, but you can choose whatever value best suits your taste.
Creating your widget’s buttons
The widget’s functional part consists of nine buttons of equal size. The dimensions of these buttons will differ based on your screen’s density, but ensure you leave some margin between each button, around the edges, and a little more at the top edge.
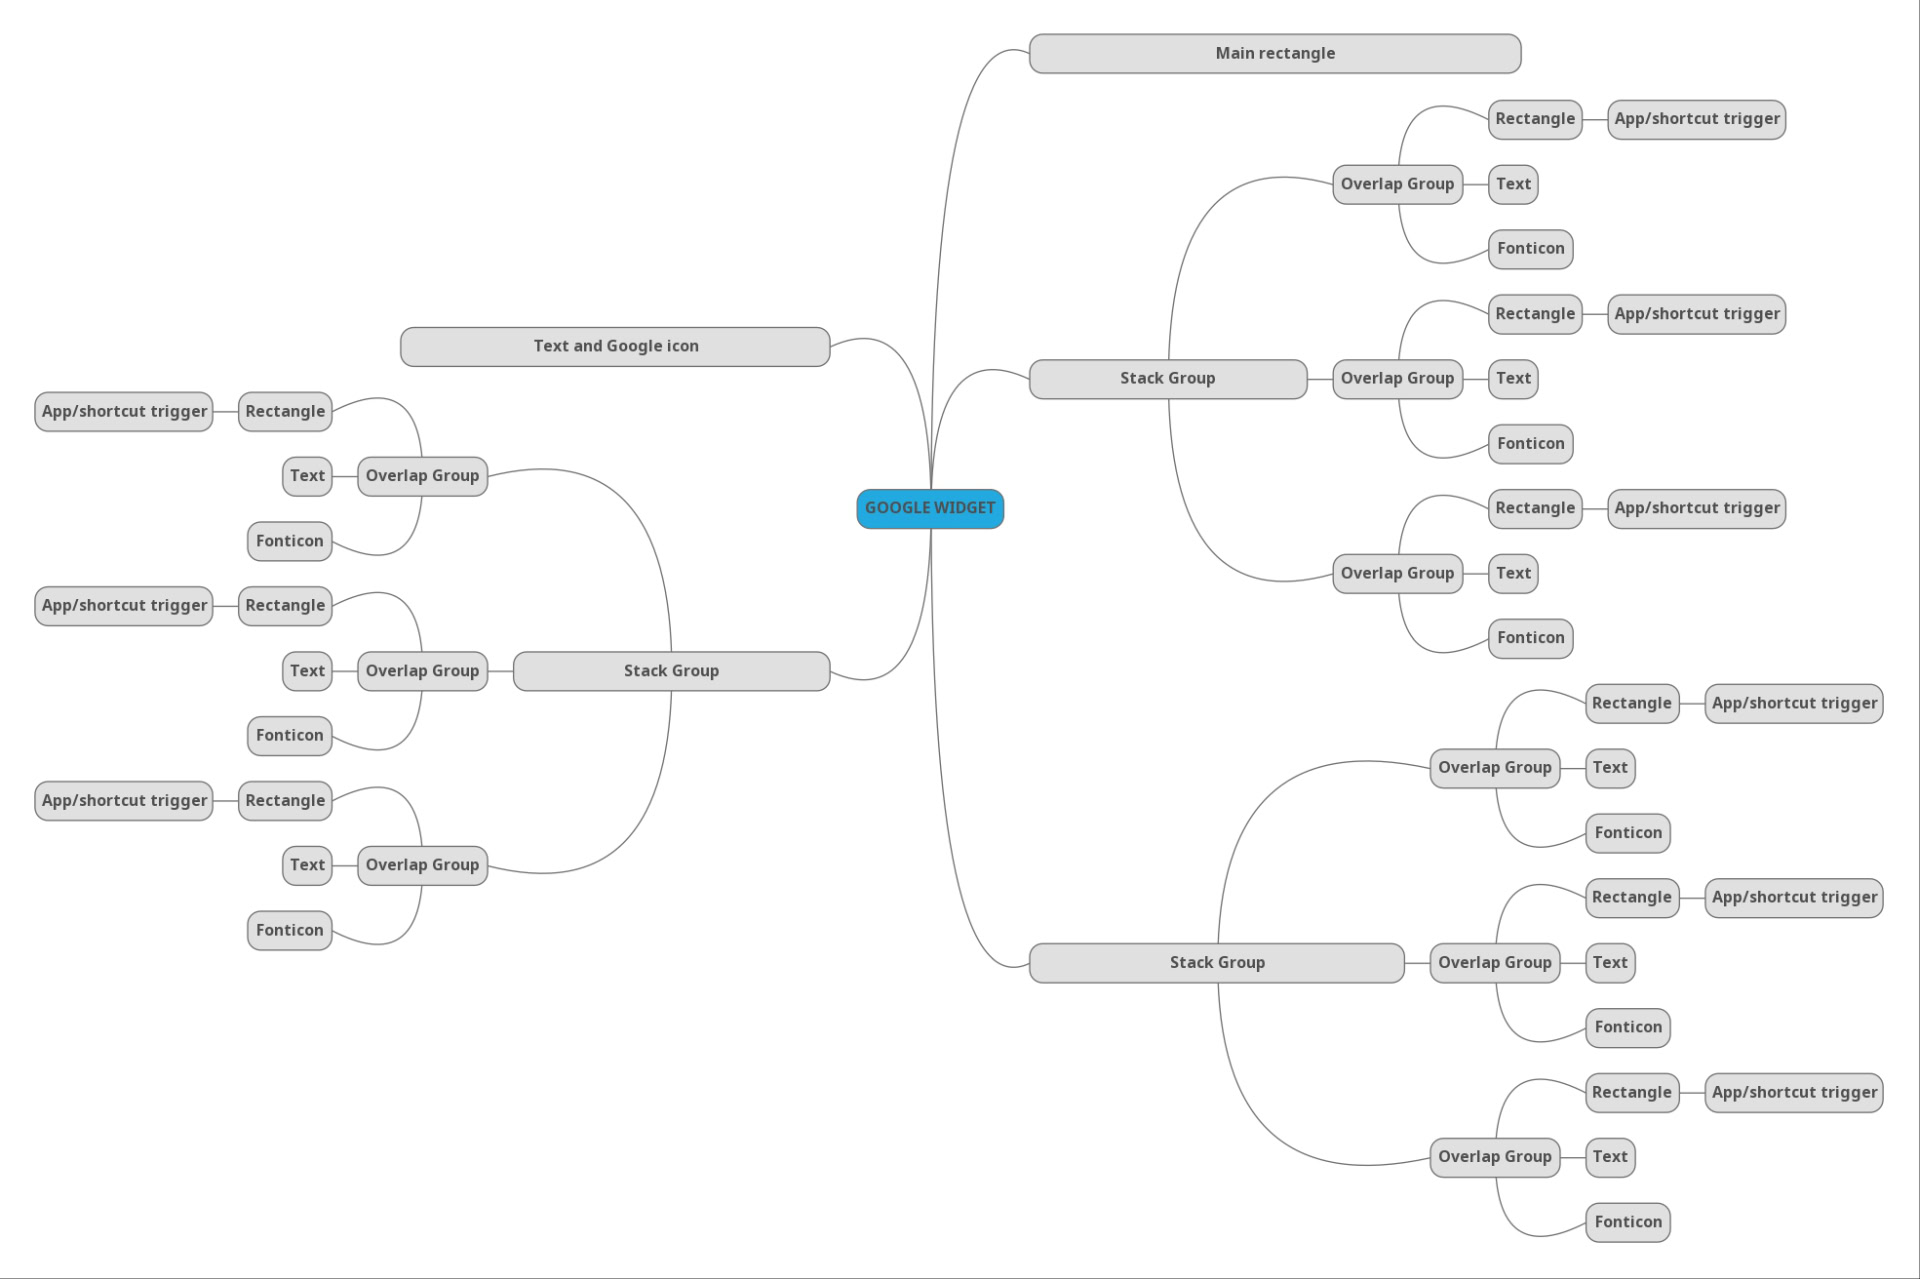
The widget structure, once complete, will include these elements:
- Three Stack Groups. (Our columns).
- Three Overlap Groups within each Stack Group. (The base for our buttons).
- Three rectangles (the buttons) within each Overlap Group. Each of these rectangles includes text (name of the action), an icon (describing the action), and an activity/app/shortcut trigger anchored to the rectangles.
Visualizing this is not easy, so see a mind map of the structure below. Mind maps are great for visualizing your widget before building it. KWGT’s UI can feel considerably cramped and awkward at times, so it is recommended that you have a basic idea of your structure before you dig in.
Note the separate “Text and Google icon” section. This is effectively headline text that you can add if you wish. In my widget design, this displays the time, date, and current temperature.
Now, let’s create this structure:
- Make sure that you’re in the Root folder. You should see Root at the top left of the KWGT creation screen. This means that you’re at the very base of your widget.
- Next, tap on the + icon at the top right of the screen. Select Stack Group. It should now appear below the tab bar at the bottom of the screen. Tap on it.
- We’re now working within the Stack Group. Tap on the + icon once more. This time, select Overlap Group.
- We’re now working within the Overlap Group. Next, tap on the + icon and add a Shape. Tap on it, and set it to rectangle.
- Tap on the + icon and select Text. Tap on it, and name the button accordingly.
- Finally, tap on the + icon and select Fonticon. Tap on Icon to choose your preferred icon, or change the Set.
- Once you’ve created a single Overlap Group with its contents, you can make two copies and paste them into the Stack Group you’re working on.
- Once the Stack Group is complete, make copies and paste them into the Root folder. After this, space each Stacked Group out accordingly. This saves you from repeating the same steps multiple times over.
You’ve now created the basic structure of the widget.
Finding icons, images, the correct font, and colors
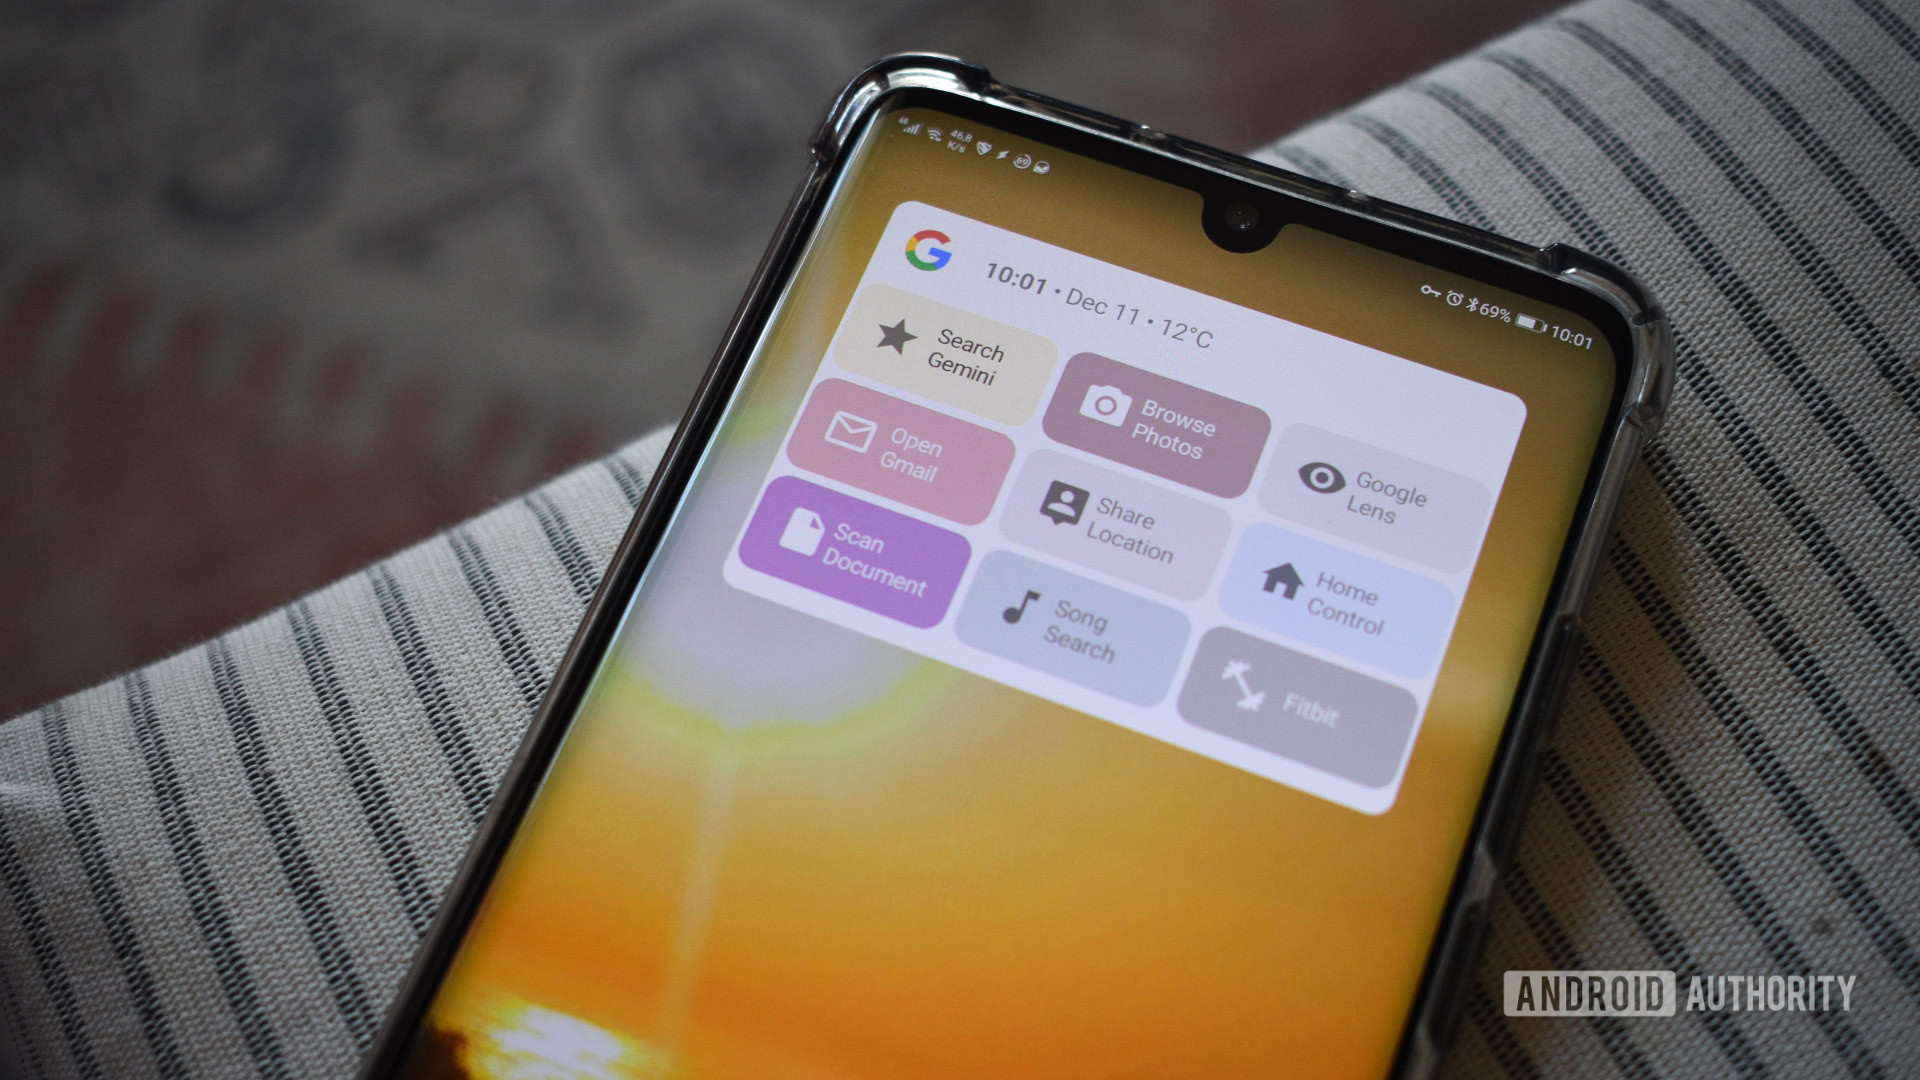
No widget is complete without visual flourishes, but I’ll leave these details to you.
You can use KWGT’s built-in functions, as I have, or you can find individual Google icons online. You’ll need to do a bit of digging, but you can use .png, .bmp, or .svg files for your widget.
The most challenging part of this process was finding a font and the opacity setting that best fit Google’s aesthetic. Sure, I could use Google Sans, but the company doesn’t permit its use beyond its own apps. I settled on Noto Sans.
You can choose your own colors, but be mindful that depending on your chosen color, you may have to adjust the opacity settings. I didn’t want my widget to look too much like Google’s, so I took a few liberties with the hues while keeping the pastel aesthetic.
Adding actions to your buttons
Now that your widget’s structure and aesthetics are complete, it’s time to work on its functionality. KWGT can open apps, trigger actions, or trigger shortcuts. We’ll use all three in our widget.
To add a touch action to your buttons:
- Navigate to the Root folder within KWGT’s creation screen.
- At the bottom of the screen, navigate to Stack Groups > Overlap Group > Shape.
- Next, tap Touch along the tab bar.
- Tap the Action field, and select the type of Action you prefer.
- As mentioned, you have a choice of options here. Pick one that works best for your intentions.
- Next, depending on which action you select, a new field will appear beneath it. Tap on it to select the shortcut, app, or activity.
- Once complete, hit the Save icon at the top right of the screen.
- Navigate back to your launcher, and tap on the widget button you’ve just created an action for.
- If all is correct, it should now trigger your desired action.
You’ll need to follow these steps for each button on the widget. If you need some inspiration for which actions to use, my choices are:
- Gemini (Activity)
- Gmail (App)
- Scan Document via Google Drive (Shortcut)
- Google Photos (App)
- Share Location via Google Maps (Shortcut)
- Song Search (Shortcut)
- Google Lens (App)
- Google Home (App)
- Fitbit (App)
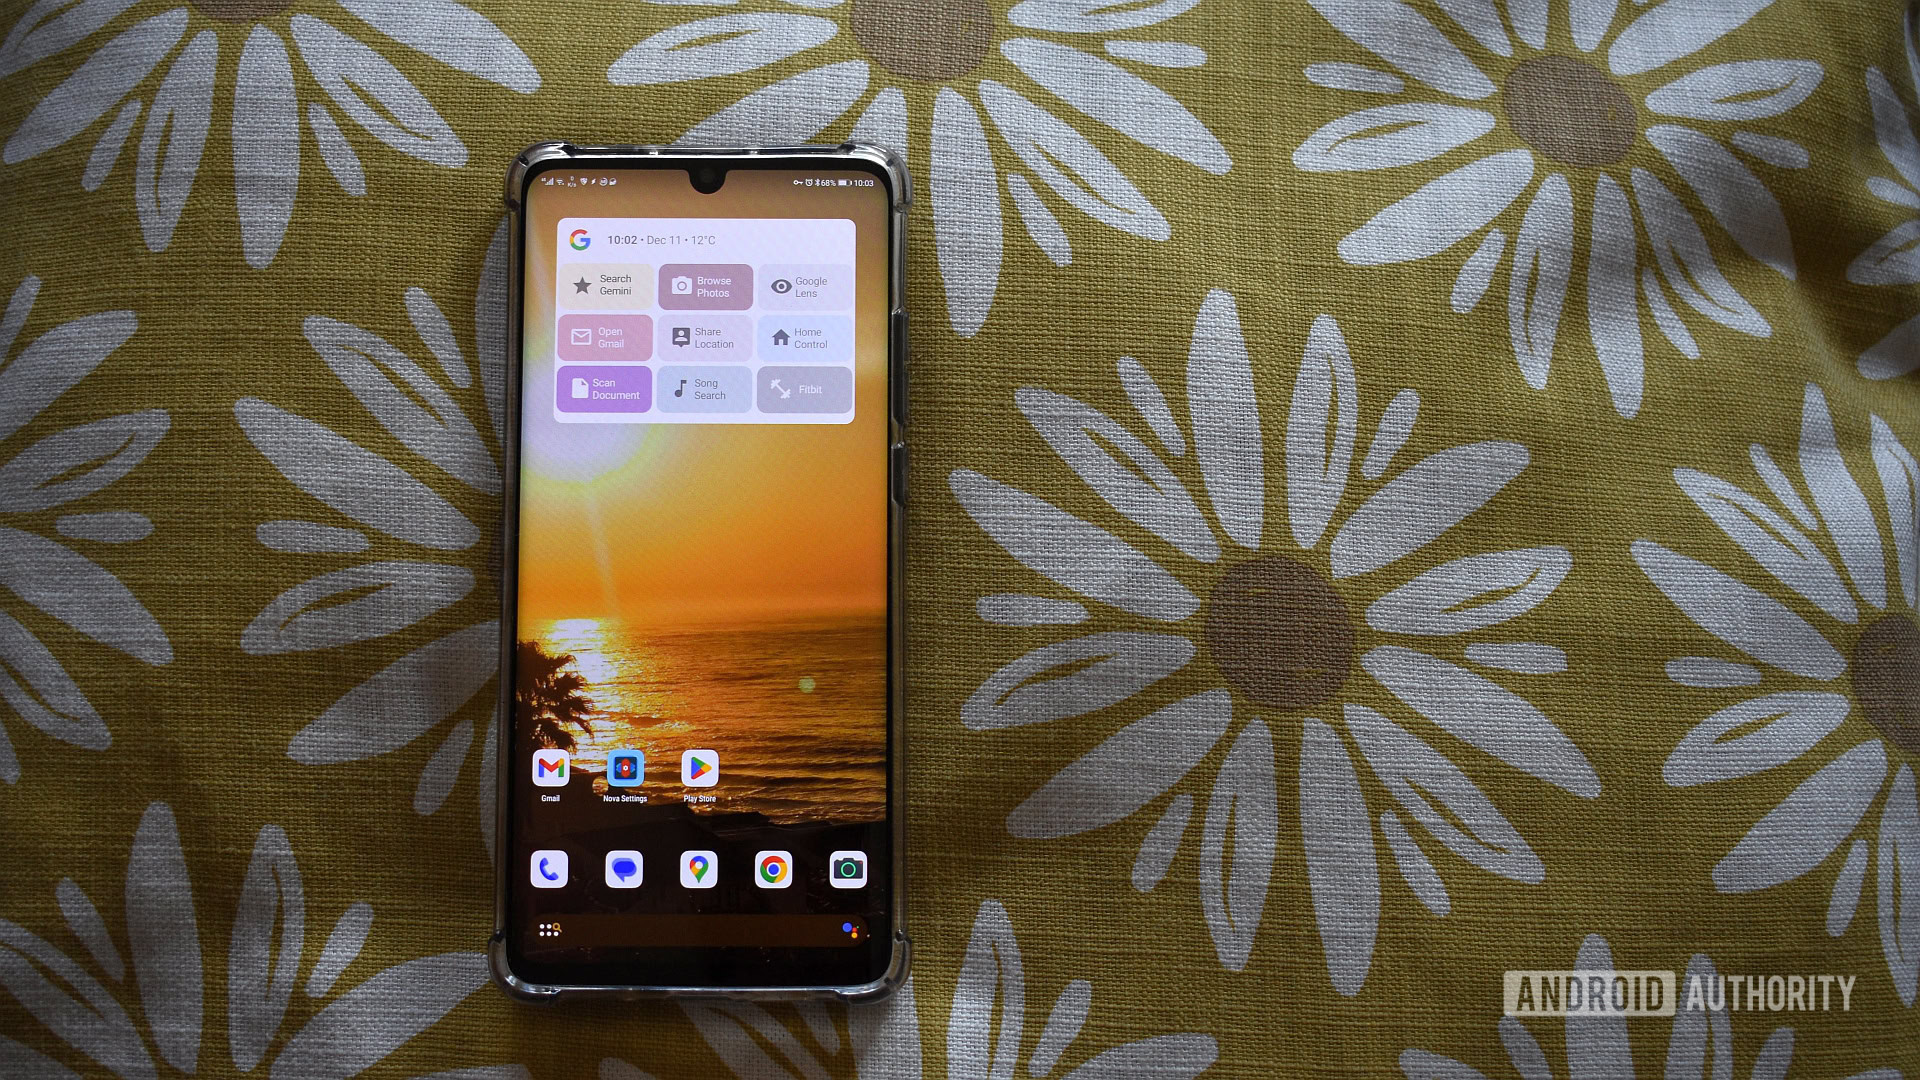
Once you’ve added each action, save the widget once more and give it a name. Your widget is now ready to use! The final result of my widget is below.
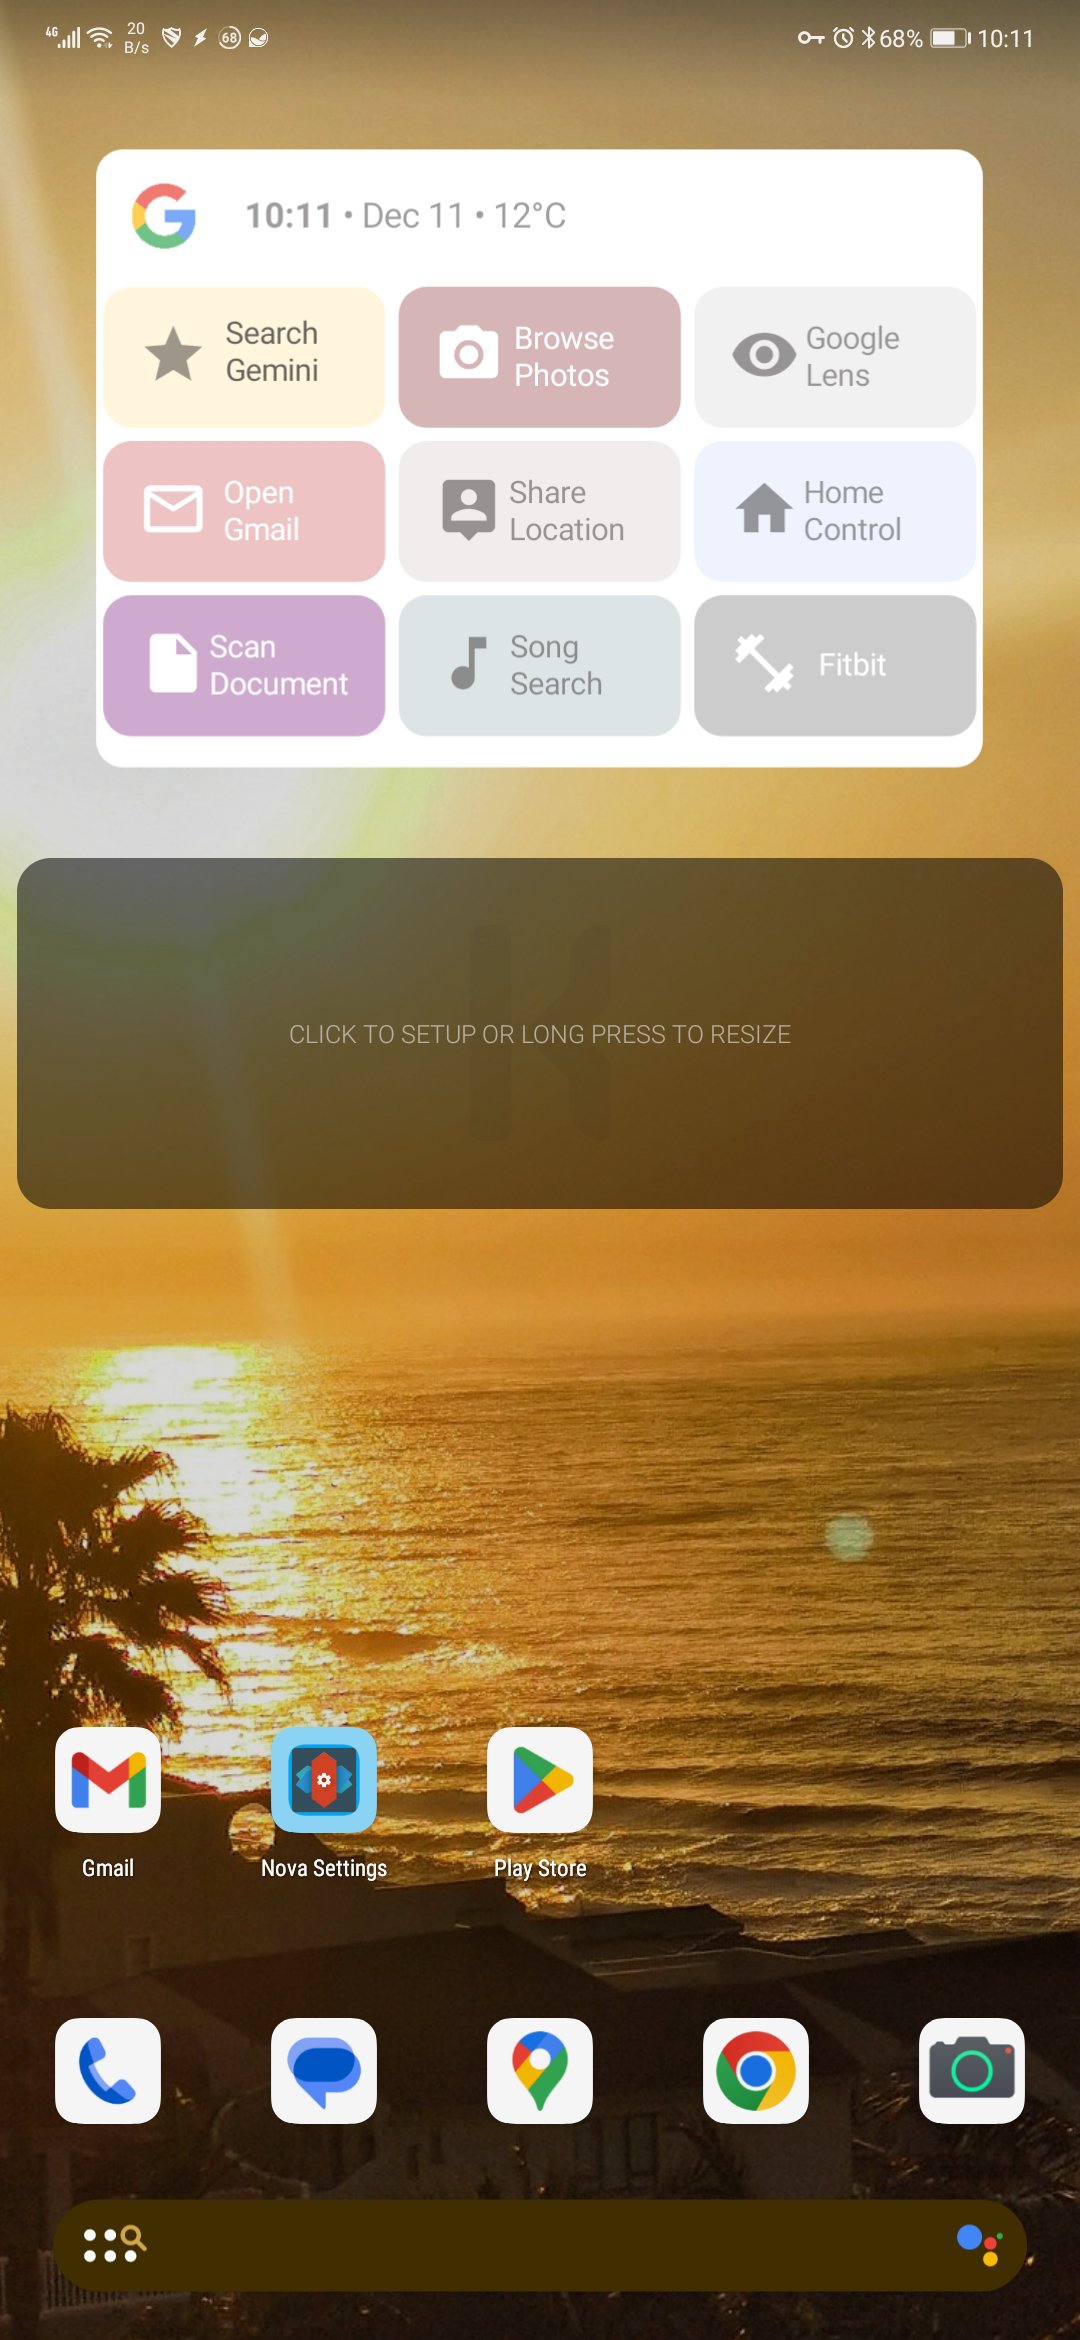
If you don’t want to go through the hassle of recreating this widget or prefer to use it as is, you can download it here.
Although I quite like how this KWGT experiment turned out, I wouldn’t say no to an official Google widget that allowed users to chop and change out various shortcuts to its myriad apps and services. Of course, there’s always a chance that bugs would mire such a widget — look no further than the Home widget for an indication — but I want to see Google regularly add functional new widgets to Android.
I don’t consider my omniwidget complete. As many users of this app know, there’s always room for improvement. A nip here and a tuck there, a smarter way to implement something, new icons and images, different fonts, and new shortcuts are all things that meet this widget in the future. It was great fun getting back into widget creation, and it’s well worth the effort if you’re interested, too.