Affiliate links on Android Authority may earn us a commission. Learn more.
An introduction to C# for Android for beginners
Published onApril 1, 2019

In this post, you will learn about C# programming for Android, as well as where it fits in in the grand scheme of Android development.
If you’re interested in becoming an Android developer, you may be under the impression that you need to learn one of two languages: Java or Kotlin. These are the two languages officially supported by Android Studio, and therefore the two languages many guides and tutorials focus on. Android development is much more flexible and varied than that, and there are plenty more ways to approach it. Many of these involve C#.
Read: I want to develop Android apps – which languages should I learn?
C# is the programming language you’ll use if you opt to build a game in Unity for instance – which also happens to be the most popular and widely used game engine in the Play Store. In general, it is useful to learn C# programming if you are at all interested in game development.

You should also learn C# programming if you want to use Xamarin. Xamarin is a tool that allows developers to build apps using Visual Studio that can easily be ported to both iOS and Android, perfect for cross platform projects.
So, with that said, there is definitely good reason to learn C# programming for Android. Let’s take a look at what you need to know.
A quick introduction – C# vs Java
C# is an object-oriented programming language that was developed by Microsoft around 2000, with the goal of being modern, simple, and flexible. Like Java (developed by Sun Microsystem in 1990), it originally evolved from C++, ensuring that there are a lot of similarities between the two. For example, both use the same “syntactic base,” meaning that they effectively use a lot of the same terminology and structure. There are a few minor differences, but if you are familiar with one language, then you should be able to understand a lot of the other without needing to have learned it specifically. For beginners though, many will find that it is slightly easier to learn C# programming.
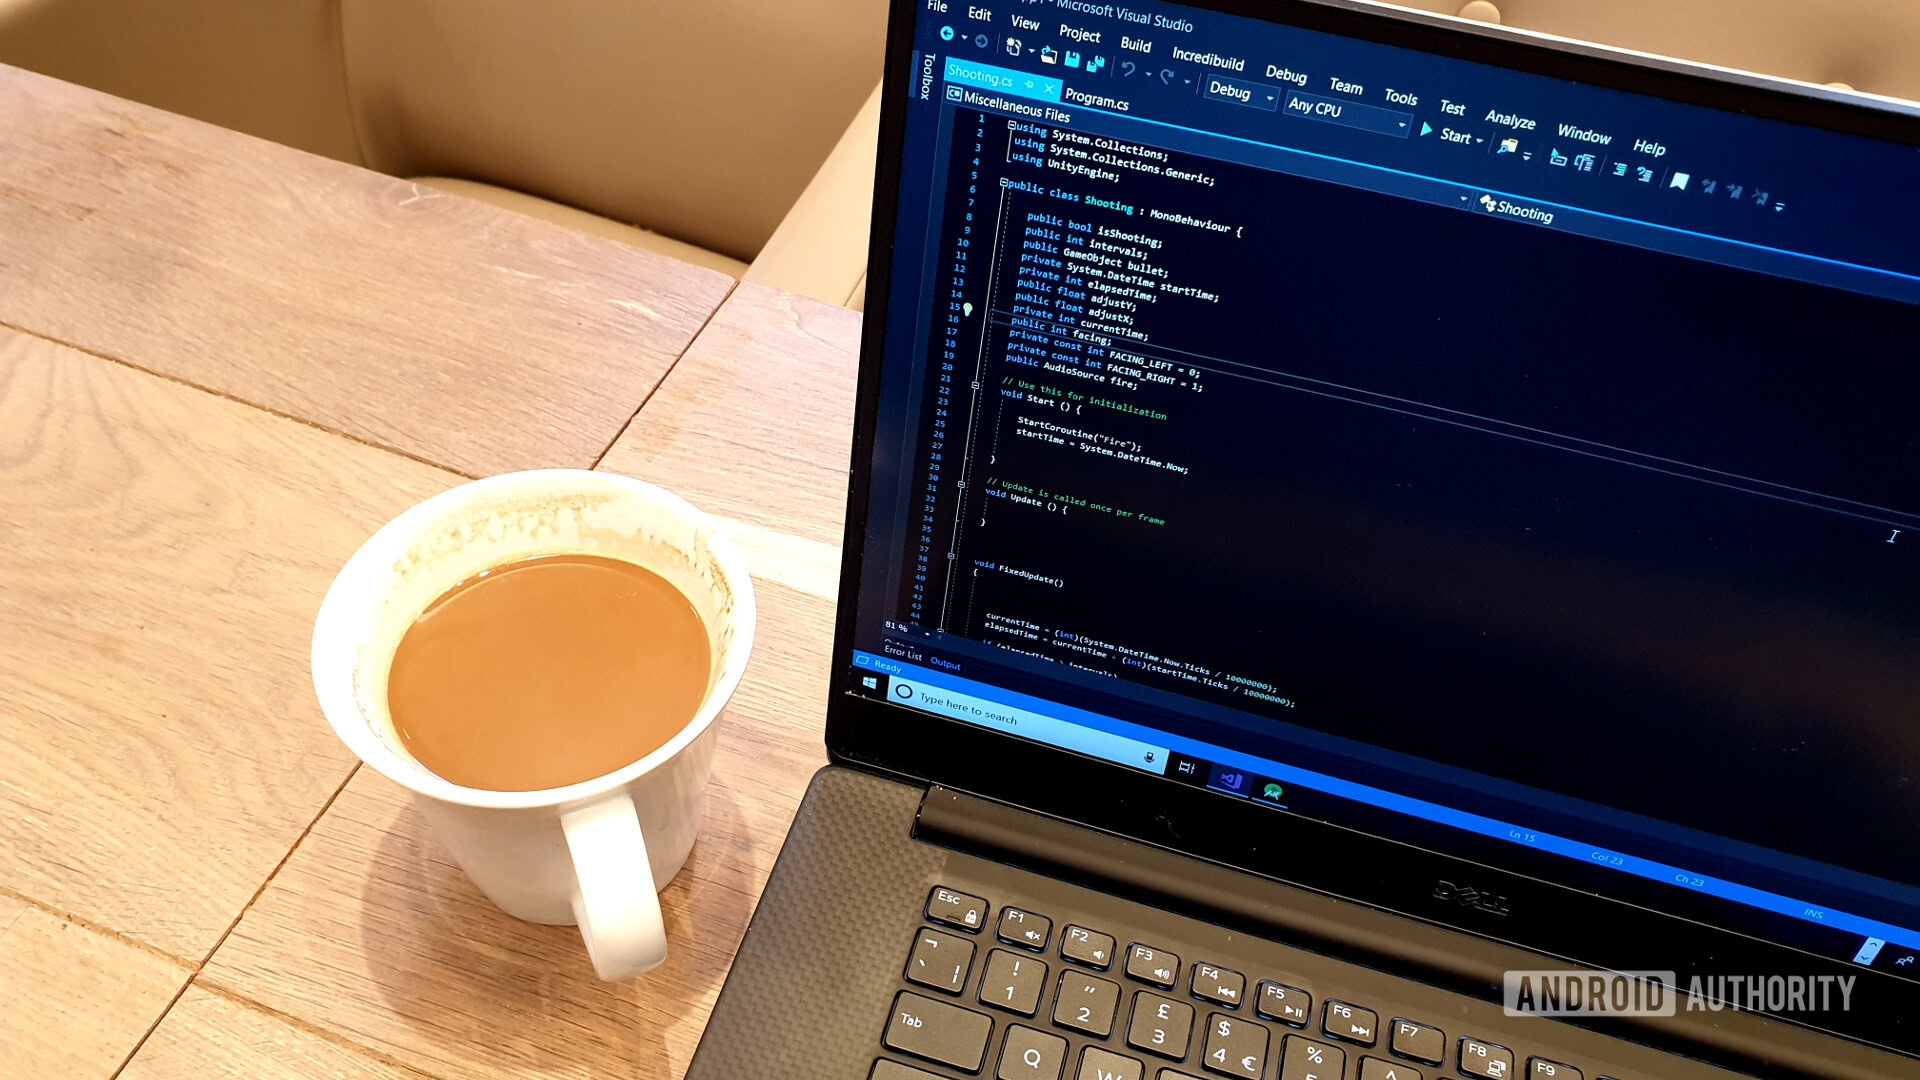
As object-oriented-languages, both C# and Java will describe objects through classes. This is a modular approach to programming, that allows snippets of code to be used over and over.
Where C# differs from Java though, is in its use of delegates, its approach to event listening, virtual vs final properties, implicit casting, and more.
The good news: you actually don’t need to know what most of this means when you first start to learn C#. The main takeaway is that the structure is just a little bit easier to learn in C# and tends to require less typing. This is especially true considering that when you learn Java for Android, you’ll also need to familiarize yourself with the many classes and APIs necessary to build Android apps. Thus, you might also learn C# programming as a stepping stone to Java.
Hello World! in C#
Tradition in the world of coding is that any time you learn a new language, you should create a simple program to display “Hello World!” on the screen. This basically ensures that you’re able to get the necessary tools up and running and to compile something simple. It’s like reading “testing, testing, 1, 2, 3” into a microphone!
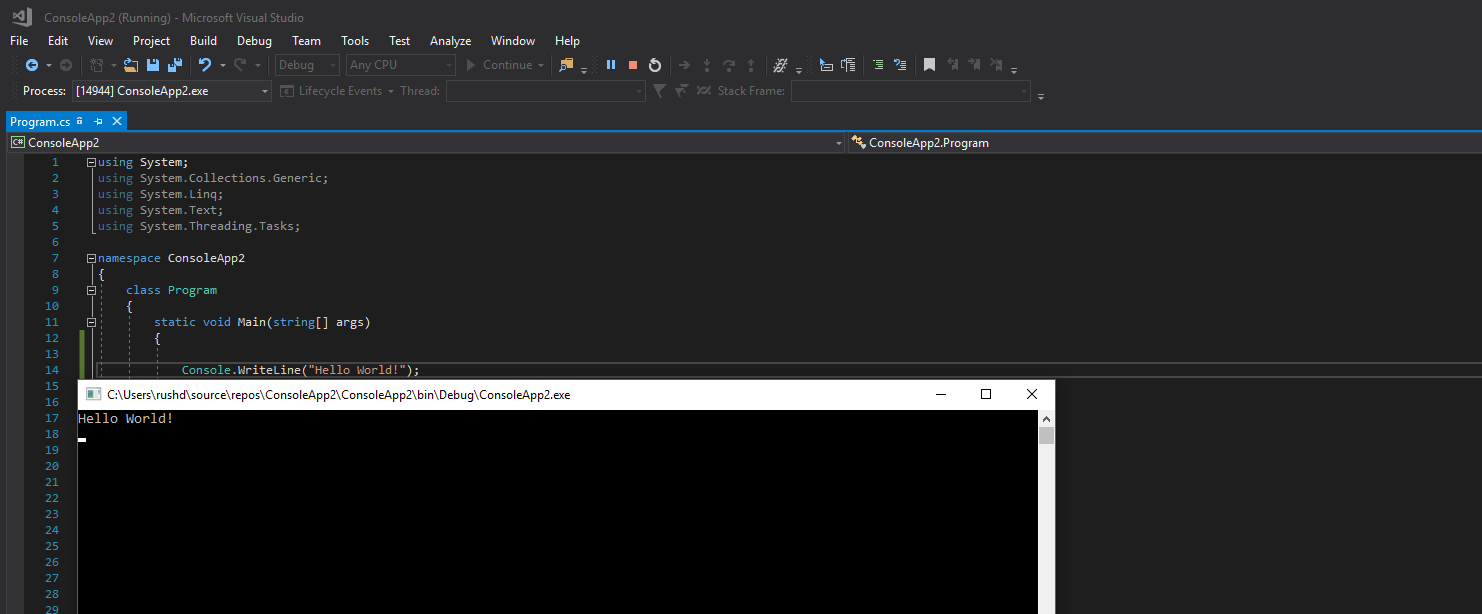
In this case, we’re going to use Visual Studio to create a console app. So once you’ve gone ahead and downloaded Visual Studio (it’s free), click:
File > New > Project
And then:
Visual C# > Windows Classic Desktop > Console App (.NET Framework)
This is how we build an app that will run in the Windows console.
With that done, the bare bones structure of your project will appear in the main window. You’ll be presented with code that looks like this:
namespace ConsoleApp3

{

    class Program

    {

        static void Main(string[] args)

        {

        }

    }

}
Now simply add two lines, like so:
namespace ConsoleApp3 {

    class Program

    {

        static void Main(string[] args)

        {

            Console.WriteLine("Hello World!");

            Console.ReadKey();

        }

    }

}
This is going to write “Hello World!” to the screen, and then await a key press. Once the user touches any key, the program will come to an end and will automatically exit.
Note that both these lines end with a semicolon. This is because any statement in C# must end with a semicolon, which communicates to C# that the line is finished (it’s the same in Java). The only exception is when the line is followed immediately by an open bracket, which we’ll explain in a moment.
Press the “Start” button at the top of the screen, and that should launch the app, allowing you to see this in practice.
Classes are pieces of code that describe objects, which are effectively pieces of data
So, what exactly is going on here?
Getting started with C#: methods and classes
To learn C# programming for Android, you need to understand classes and methods.
Classes are pieces of code that describe objects, which are effectively pieces of data. You don’t need to worry too much about this to start with: just know that the page of code you’re working with right now is called a “class” and that you can interact with other classes within your project. A project can have just one class, with all your code working from there, or it can have multiple.
Within each class, you will also have methods. These methods are snippets of code that you can refer to at any time from within that class – and sometimes from outside of it.
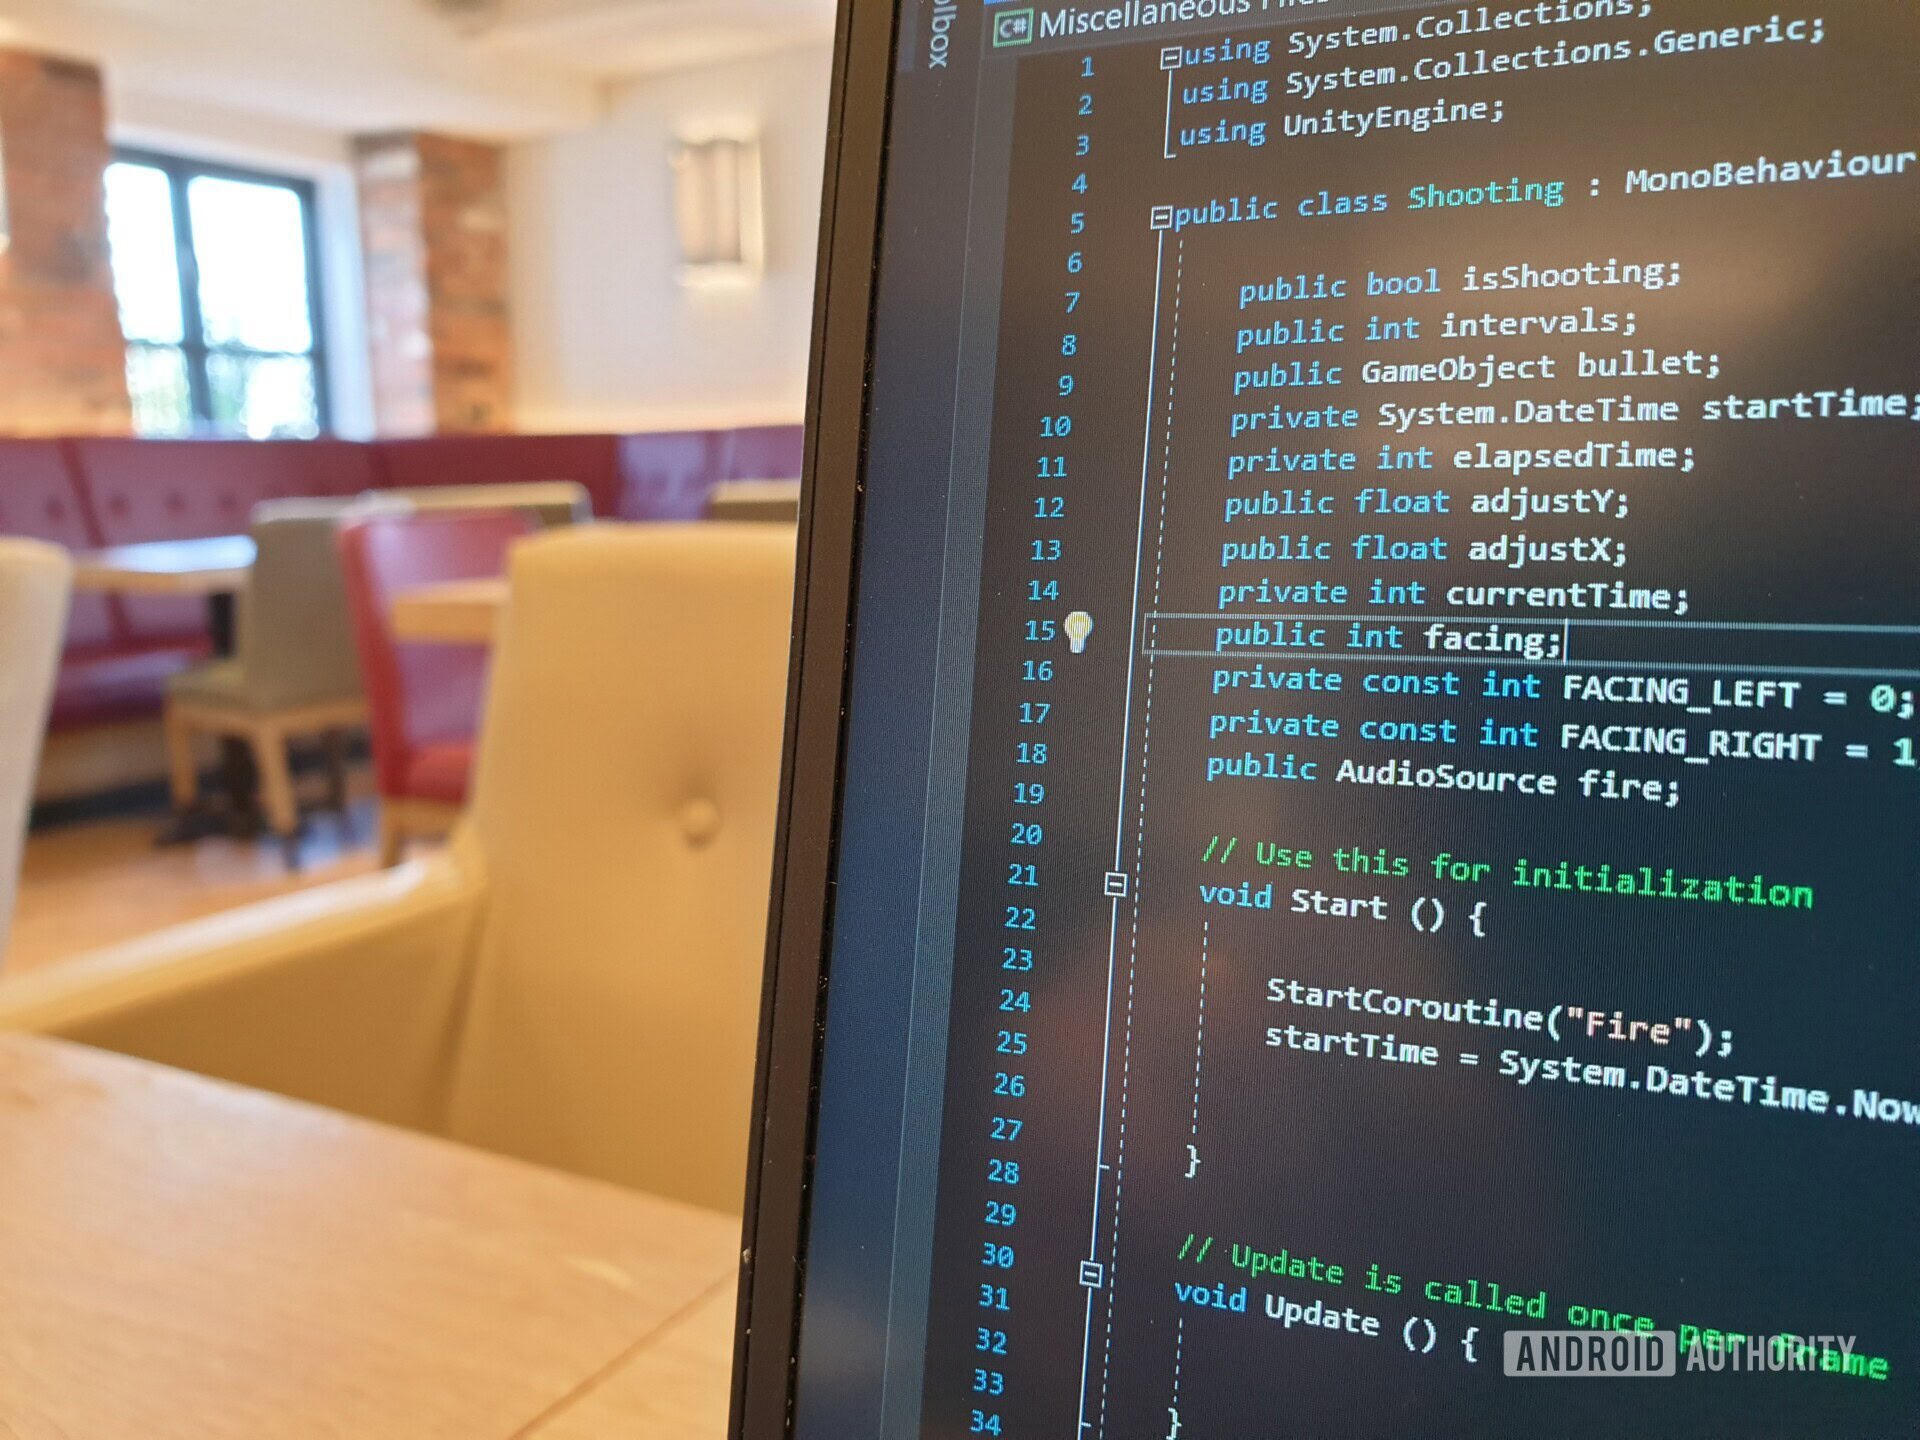
In this case, the class is called Program. This is defined right at the top by the line that reads: class Program. And if you open the “Solution Explorer” window on the right, you’ll be able to find Program.cs. The name of the class is always the same as the filename.
We then use a curly bracket to contain all the code that follows. Curly brackets tell us that everything that follows belongs together. Thus, until the bracket closes, all the following code is part of Program.
This is followed by our first method, define by the following line:
static void Main(string[] args)This is then followed by more open brackets, meaning that the next bit of code is part of the “Main” method (which is still inside the Program class). And that’s where we’ve put our “Hello World” message.
“Static void” essentially tells us that this method does something self-contained (rather than manipulating data to be used by the broader program) and that it can’t be referenced by outside classes. The “string[] args” stuff allows us to pass information into the method to manipulate later. These are called “parameters” and “arguments”. Again, you don’t need to worry about any of that just yet. Just know that “static void” followed by a word, brackets, and curly brackets, marks the start of a new method.
The next two lines are the ones we added: they get the console and then access its commands to write to the screen and wait for a key press.
Finally, we close all our brackets: first the method, then the class, and then the “namespace” which is the name of the project the class belongs to (in this case “ConsoleApp3” – I have made previous test apps this way).
Confused? Don’t worry, it’s about to make more sense.
Using methods
So methods are bundles of code with names. To demonstrate why we use methods, it can be helpful to create a new one and put it to work as an example.
So, create a new method that lives within the Program class (so it needs to be within those curly brackets, but outside the curly brackets belonging to “Main”).
Call this “NewMethod”, and then put the two lines you just wrote inside here. This should look like so:
class Program

    {

        static void Main(string[] args)

        {


        }


        static void NewMethod()

        {

            Console.WriteLine("Hello World!");

            Console.ReadKey();

        }

    }
Now add a reference to NewMethod in your Main method, like so:
static void Main(string[] args)

        {ar

            NewMethod();

        }
This is going to then “call” the method you just created, essentially directing the program in that direction. Press Start and you’ll see the same thing happens as before. Except now if you wanted to, you could write “NewMethod();” as many times as you wanted and keep repeating the text without having to write lots of code.
Over the course of a huge program, being able to reference snippets of code like this becomes incredibly powerful. This is one of the most important things to understand when you try to learn C# programming for Android.

We can create as many methods as we like this way and that way have a very neat and organized piece of code. At the same time, we can also reference methods that are “built in” to C# and any libraries we might use. “Main” is one example of a “built-in” method. This is the method that all programs will start with, and that C# understands it should execute first. If you don’t put anything in here, then nothing will happen!
The arguments that are included in the brackets in this case are therefore only needed because that is the way that Microsoft designed the Main method. We however were fine to leave our brackets empty.
Using variables
Now it’s time to actually do something a little bit interesting in our code. Specifically, let’s take a look at how you would use variables to make the program more dynamic. This is one of the most important things to understand if you want to learn C# programming.
A variable is basically a container for a piece of data. Cast your mind back to highschool math, and you might remember seeing things like this:
10 + x = 13
Find x
Here, “x” is a variable, and of course the value it represents is “3”.
This is also exactly how a variable works in programming. Except here, a variable can represent lots of different types of data: including text.
To create a new variable, we first need to tell C# what type of data it is going to be used to contain.
So inside your NewMethod() method, first you will create your variable, and then you will assign it a value. Then we’re going to add it to our “WriteLine” command:
int number;

number = 10;

Console.WriteLine("Hello World! " + number);
We’ve used a type of variable called an “integer” which can be any whole number. In C#, we refer to these using “int”. However, we could just have easily used a “float” for instance, which is a “floating point variable” and allows us to use decimal places.
If you run this code, it should now write “Hello World! 10” to the screen. And of course, we could alter the value of “number” at any time in order to alter the message.
Because “number” is created within NewMethod(), we can’t access it from elsewhere in our code. But if we place it outside all of the methods, then it will become available globally. To do that, we need to make sure that the variable is also static however:
class Program

    {

        static int number = 10;


        static void Main(string[] args)

        {

            NewMethod();

        }


        static void NewMethod()

        {

            Console.WriteLine("Hello World! " + number);

            Console.ReadKey();

        }

    }
Finally, there is one more way we can pass this data around, and that would be to use it as an argument, thereby passing it into our method. This might look like so:
   static void Main(string[] args)

        {


            int number = 10;

            Console.WriteLine("Hi there, what's your name?");

            NewMethod(number);


        }


        static void NewMethod(int number)

        {

            Console.WriteLine("Hello World!" + number);

            Console.ReadKey();

        }

    }
Here, we are defining our NewMethod method as needing one argument, which should be an integer, and which will be referred to within the method as “number”. We do this by simply adding that information to the curly brackets. Then, when we call the method from anywhere else in the program, we need to “pass” that value within the brackets. You can create methods with multiple parameters, in which case you just separate the listed variables with commas.
There are different scenarios where using all these different strategies to juggle data will be appropriate. Good programming means finding the right one for the job!
Passing arguments and using strings
Try running this next piece of code and see what happens:
class Program

    {


        static void Main(string[] args)

        {

            Console.WriteLine("Hi there, what's your name?");

            NewMethod(Console.ReadLine());

        }


        static void NewMethod(String UserName)

        {

            Console.WriteLine("Hello " + UserName);

            Console.ReadKey();

        }

    }
You should find that you are prompted to enter your name, and that the Console then greats you by it. This simple piece of code contains a number of useful lessons.
First, we see an example of how to use a different type of variable, called a String. A String is a series of characters, which could be a name, or could be an entire story.
So, you could just as easily write UserName = “Adam”. But instead, we’re getting the string from the console with the statement: Console.ReadLine().
We could have written:
String User;

User = Console.ReadLine();

NewMethod(User);
But to keep our code as neat as possible, we’ve skipped those steps and placed the “ReadLine” directly within the brackets.
We then pass that string to our NewMethod, and we greet the user, using the method that you’re already familiar with.
A String is a series of characters, which could be a name, or could be an entire story.
Hopefully, you’re now beginning to understand a little bit about why C# is written the way it is, and how you can use things like variables and methods in order to create some flexible and powerful software.
But there’s one more important aspect you should know if you want to learn C# programming: flow control.
Learn C# flow control and build simple quizzes!
One of the reasons that we use variables when coding, is so that we can easily edit our programs subsequently. Another is so that you can get information from the user, or generate it randomly.
But perhaps the best reason to learn C# variables, is so that your programs can become dynamic: so that they can react differently depending on how they are used.

To that end, we need “flow control”, or “conditional statements”. These are really just fancy ways of saying that we’re going to execute code in more than one way, depending on the value of a variable.
And one of the most powerful ways to do that is with an “if” statement. In this example, let’s greet our main user differently than the others by looking out for their username.
static void NewMethod(String UserName)

        {

            Console.WriteLine("Hello" + UserName);

            if (UserName.Equals("Adam"))

            {

                Console.WriteLine("Welcome back sir");

            }

            Console.ReadKey();


        }
“If” statements work by testing the validity of a statement, which will go inside brackets. In this case, we’re asking whether the string UserName is the same as the string “Adam”. If that statement in the brackets is true – the two strings are the same – then the code in the following curly brackets will execute. If it’s not, then those lines will be skipped.
Likewise, we can compare integers and floats, and we can test to see if one is bigger than the other, etc. We can even use multiple different if statements inside one another like Russian dolls. We call these “nested ifs”.
Next time
There are many more strategies you can use for flow control – including things like switch statements. Hopefully though, you can already see how we might use these statements and techniques in order to start making some useful things. You could easily turn this code into a quiz already!
But in order to really make impressive tools and games, there are a few more things we need to explore. So surprise! There is going to be a part two!
In the next lesson, you will discover how to create loops that iterate over time, as well as how to create new classes and interact with them. See you then!