Affiliate links on Android Authority may earn us a commission. Learn more.
How to set up and use live captions in iOS 16
Published onSeptember 26, 2022
It’s a sad fact of life that many people have disabilities that prevent them from fully enjoying things that perfectly healthy people can enjoy. But one of the great things about technology is that adjustments can easily be made to accommodate the needs of disabled people to level the playing field, so to speak. One of these features is Live Captions. Here, we explain what Live Captions in iOS 16 are all about and how to set up and use them.
Read more: How to change the iPhone wallpaper on iOS 16
QUICK ANSWER
To set up Live Captions on iOS 16, go to Settings > Accessibility > Live Captions (Beta). A small audio player-like interface will now appear at the bottom of the screen, listening for audio. When it hears something, it will transcribe the audio onto the screen. Live Captions also works for FaceTime and other video calling apps. It should be stressed that being a beta product, the transcription quality is not totally great right now.
JUMP TO KEY SECTIONS
What are Live Captions in iOS 16, and how do they work?
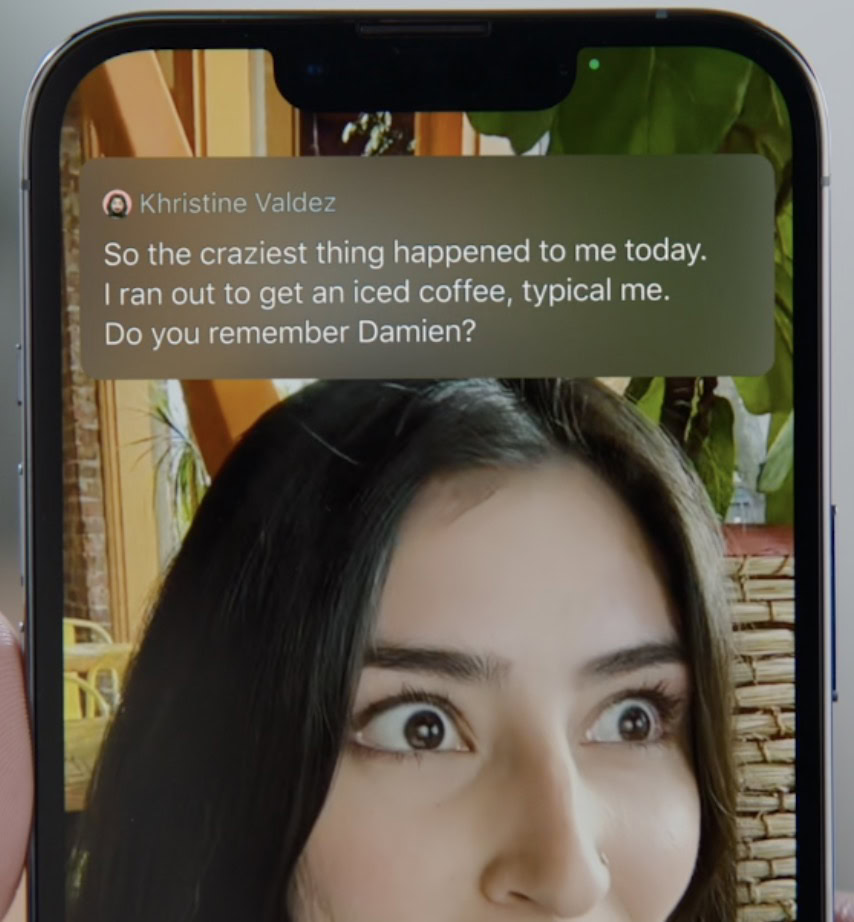
If you’re deaf or hard of hearing, then phone calls and video calls are obviously going to be a very stressful task for you. Rather than constantly asking the other person to repeat themselves, you can instead enable Live Captions. Not to be confused with Closed Captions, Live Captions will place a small audio player-like interface at the bottom of your screen and listen for any audio in the immediate area. It will then transcribe that audio and put it on the screen for you.
To make it work with regular phone calls, put the call on speaker so Live Captions can hear it. The feature is also integrated with FaceTime and virtually every other app on your phone that makes a noise. However, enabling Live Captions will mean you will always have the audio speaker at the bottom of your screen. But if you have hearing problems, you likely won’t mind it, and you can also minimize it to the corner of the iPhone screen.
Also, remember the beta tag — currently, transcriptions are a bit hit-and-miss. Plus, since it only supports US English right now, any other English dialect or language is not really going to work.
How to turn on Live Captions in iOS 16
To enable Live Captions, go to Settings > Accessibility > Live Captions (Beta).

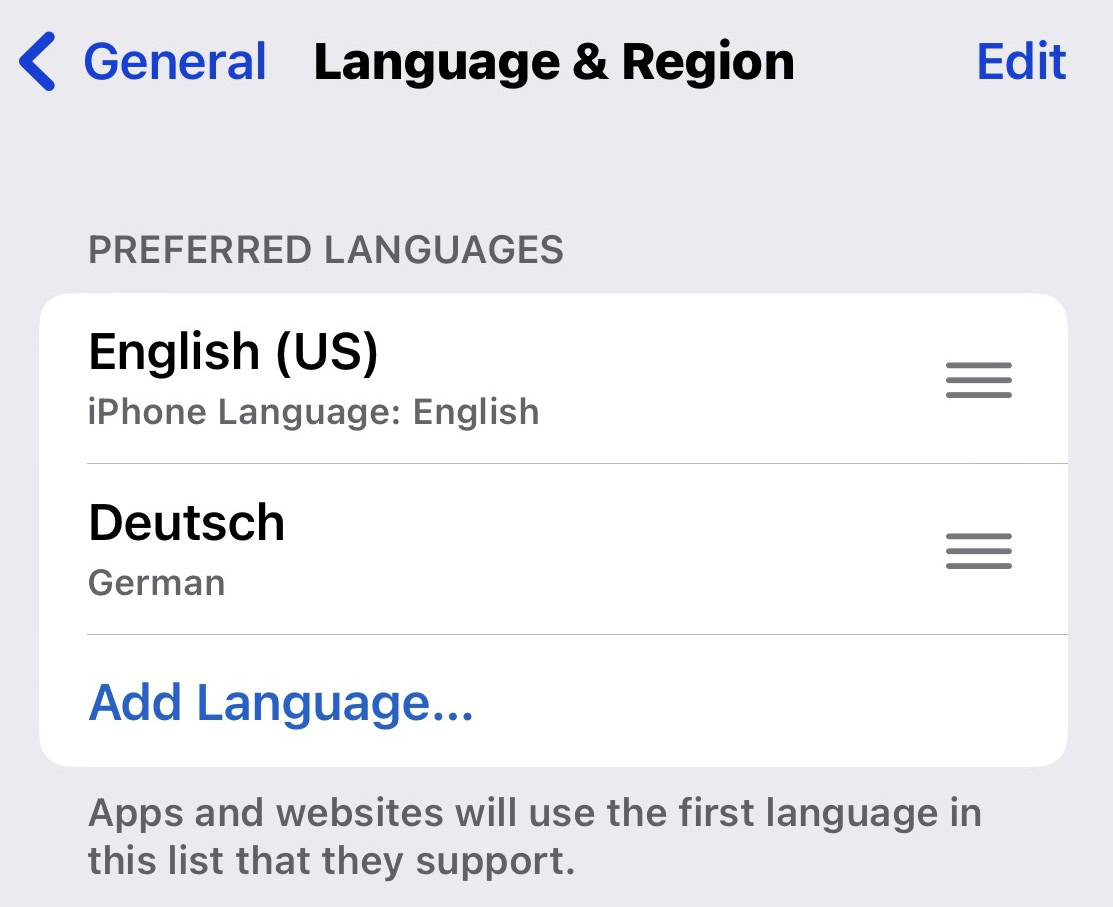
If you don’t see it, your phone’s primary language is likely not set to US English. You would have to do that first in Settings > General > Language & Region > Preferred Languages. Tap Add Language and select English (US).
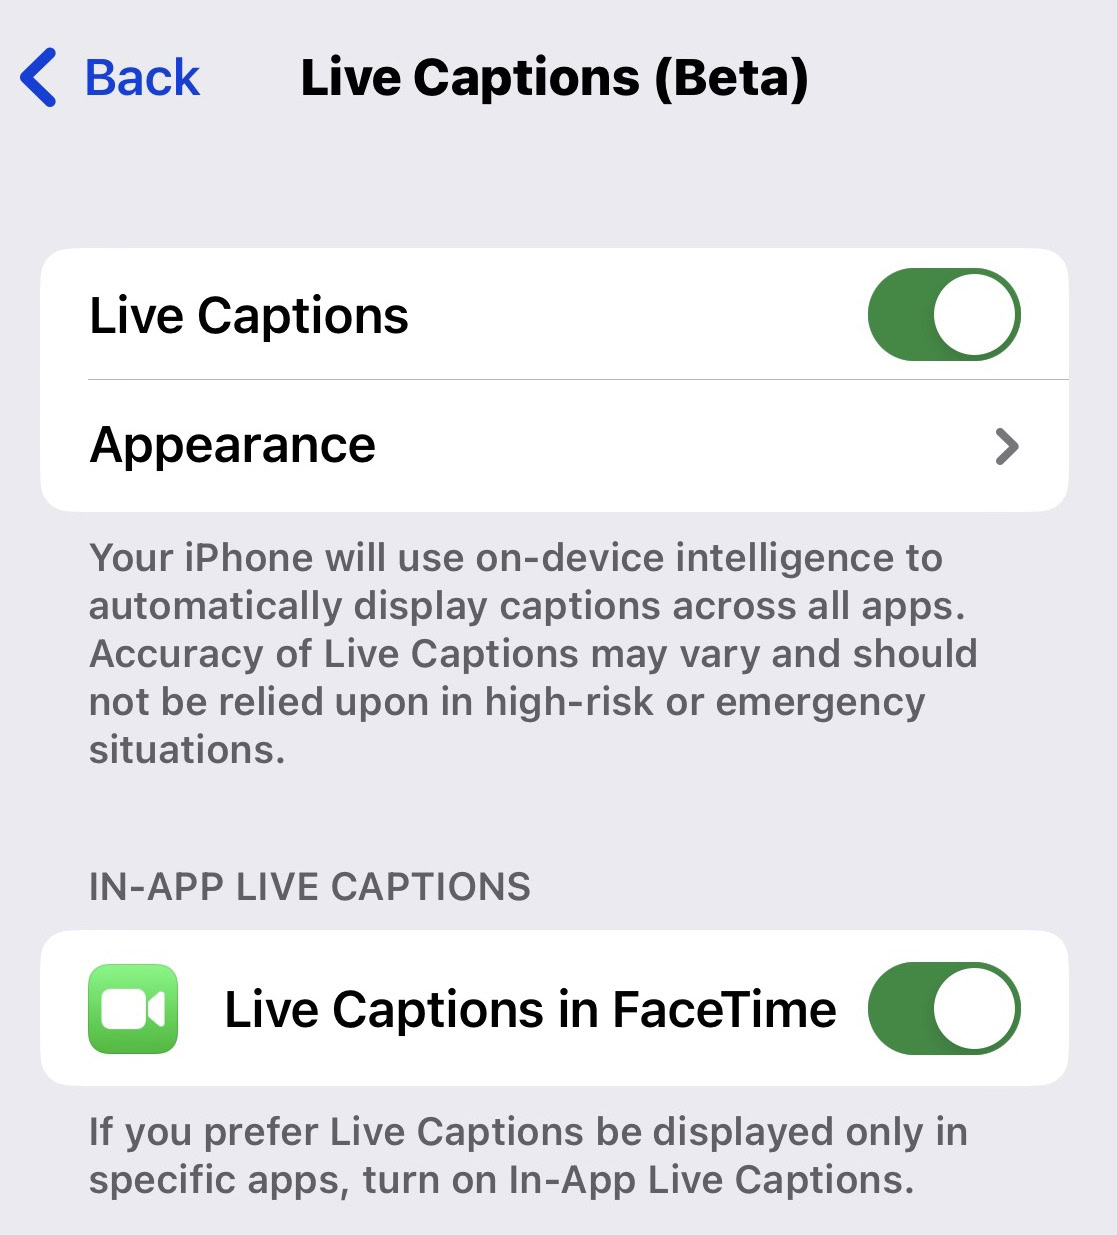
Back in Live Captions, toggle the feature on. At the bottom is a section called In-App Live Captions, where you can enable Live Captions for only certain apps. Right now, only FaceTime is on that list.
The Live Captions player will now appear at the bottom of your screen. You can minimize it with the left-pointing arrow. Also, note that Live Captions are muted by default. To unmute it, tap the microphone icon.

How to change the Live Caption text size
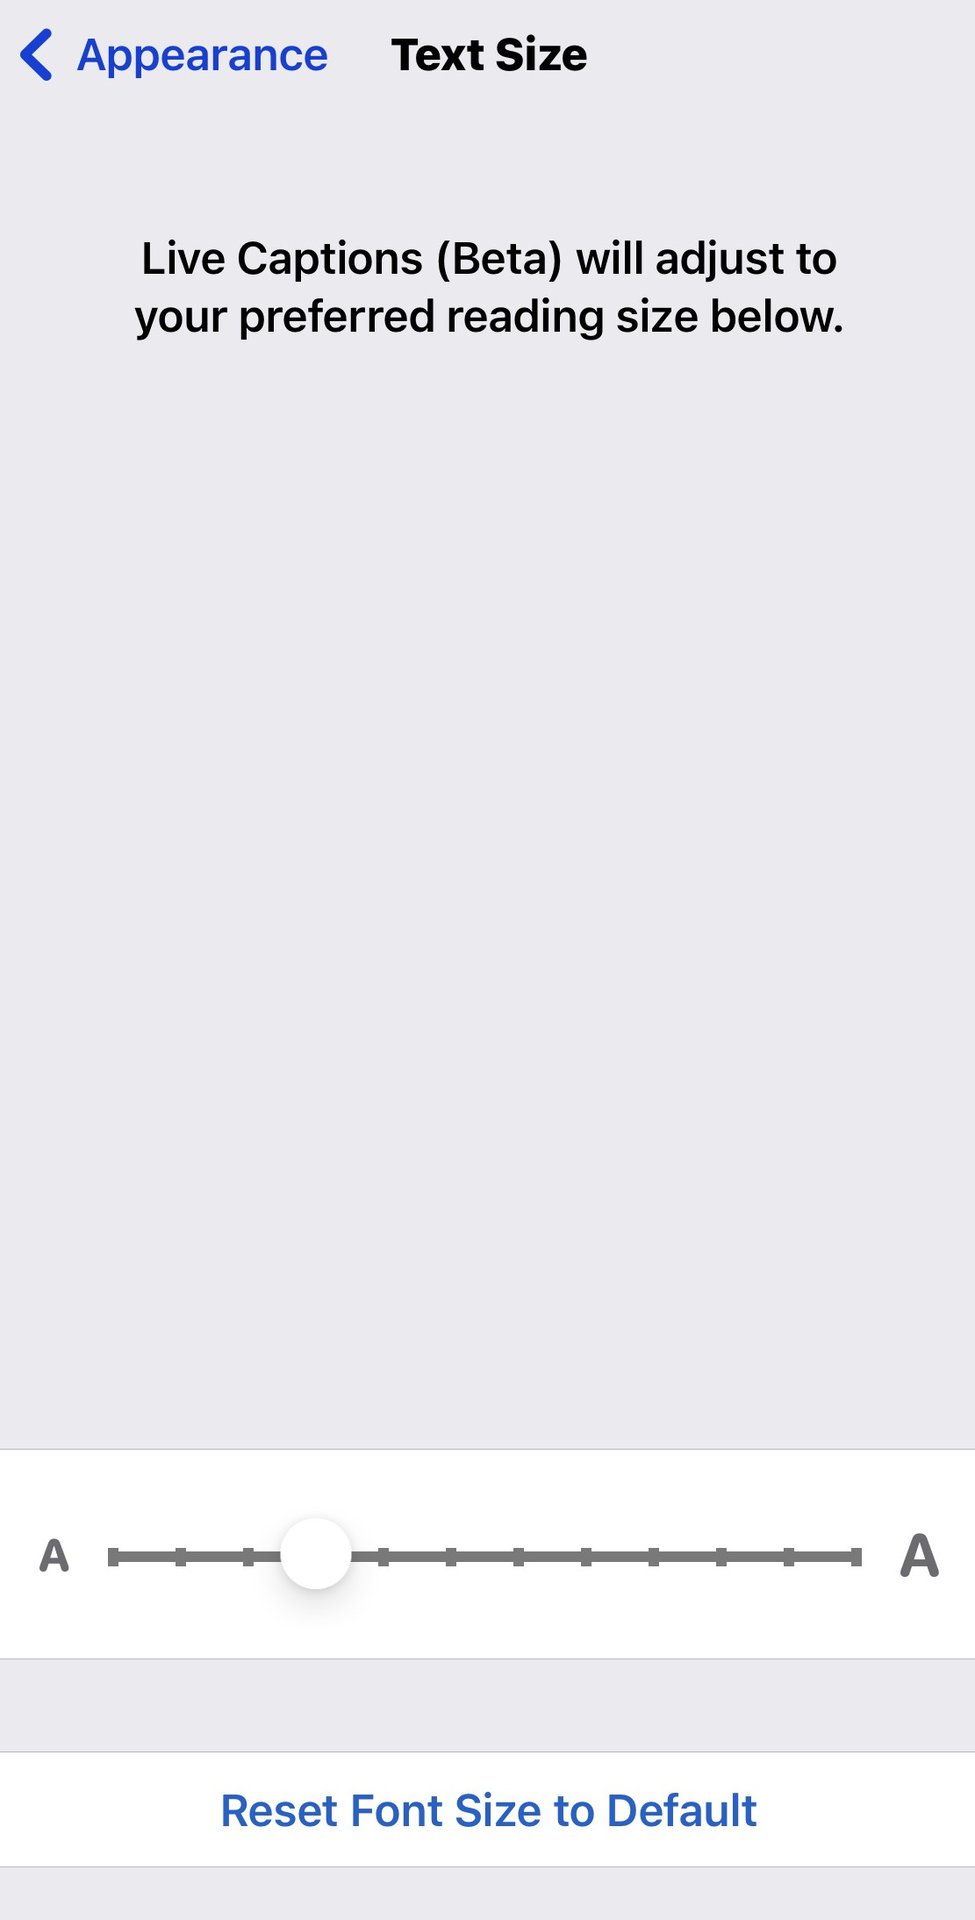
The regular text should be fine for the vast majority of people. But if you also have sight issues, you may want to tweak the text size a bit. To do this, go to the Live Captions settings screen again and tap Appearance. The two options at the top are what you need to focus on.
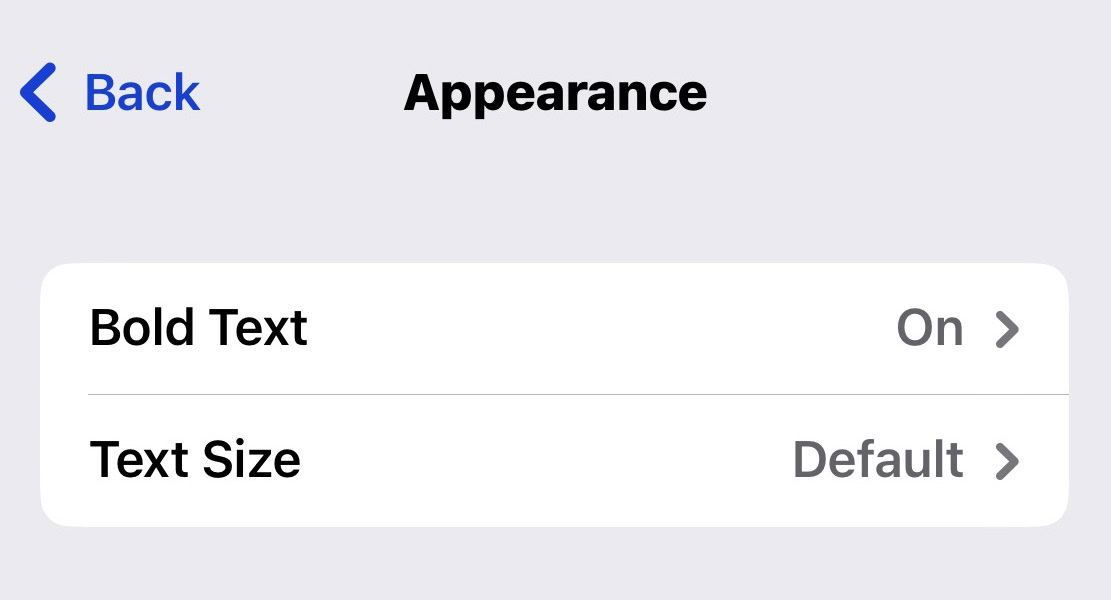
As well as enabling bold text, you can tap Text Size and use the slider at the bottom to increase the text to your desired size.
How to change the Live Caption text and background color
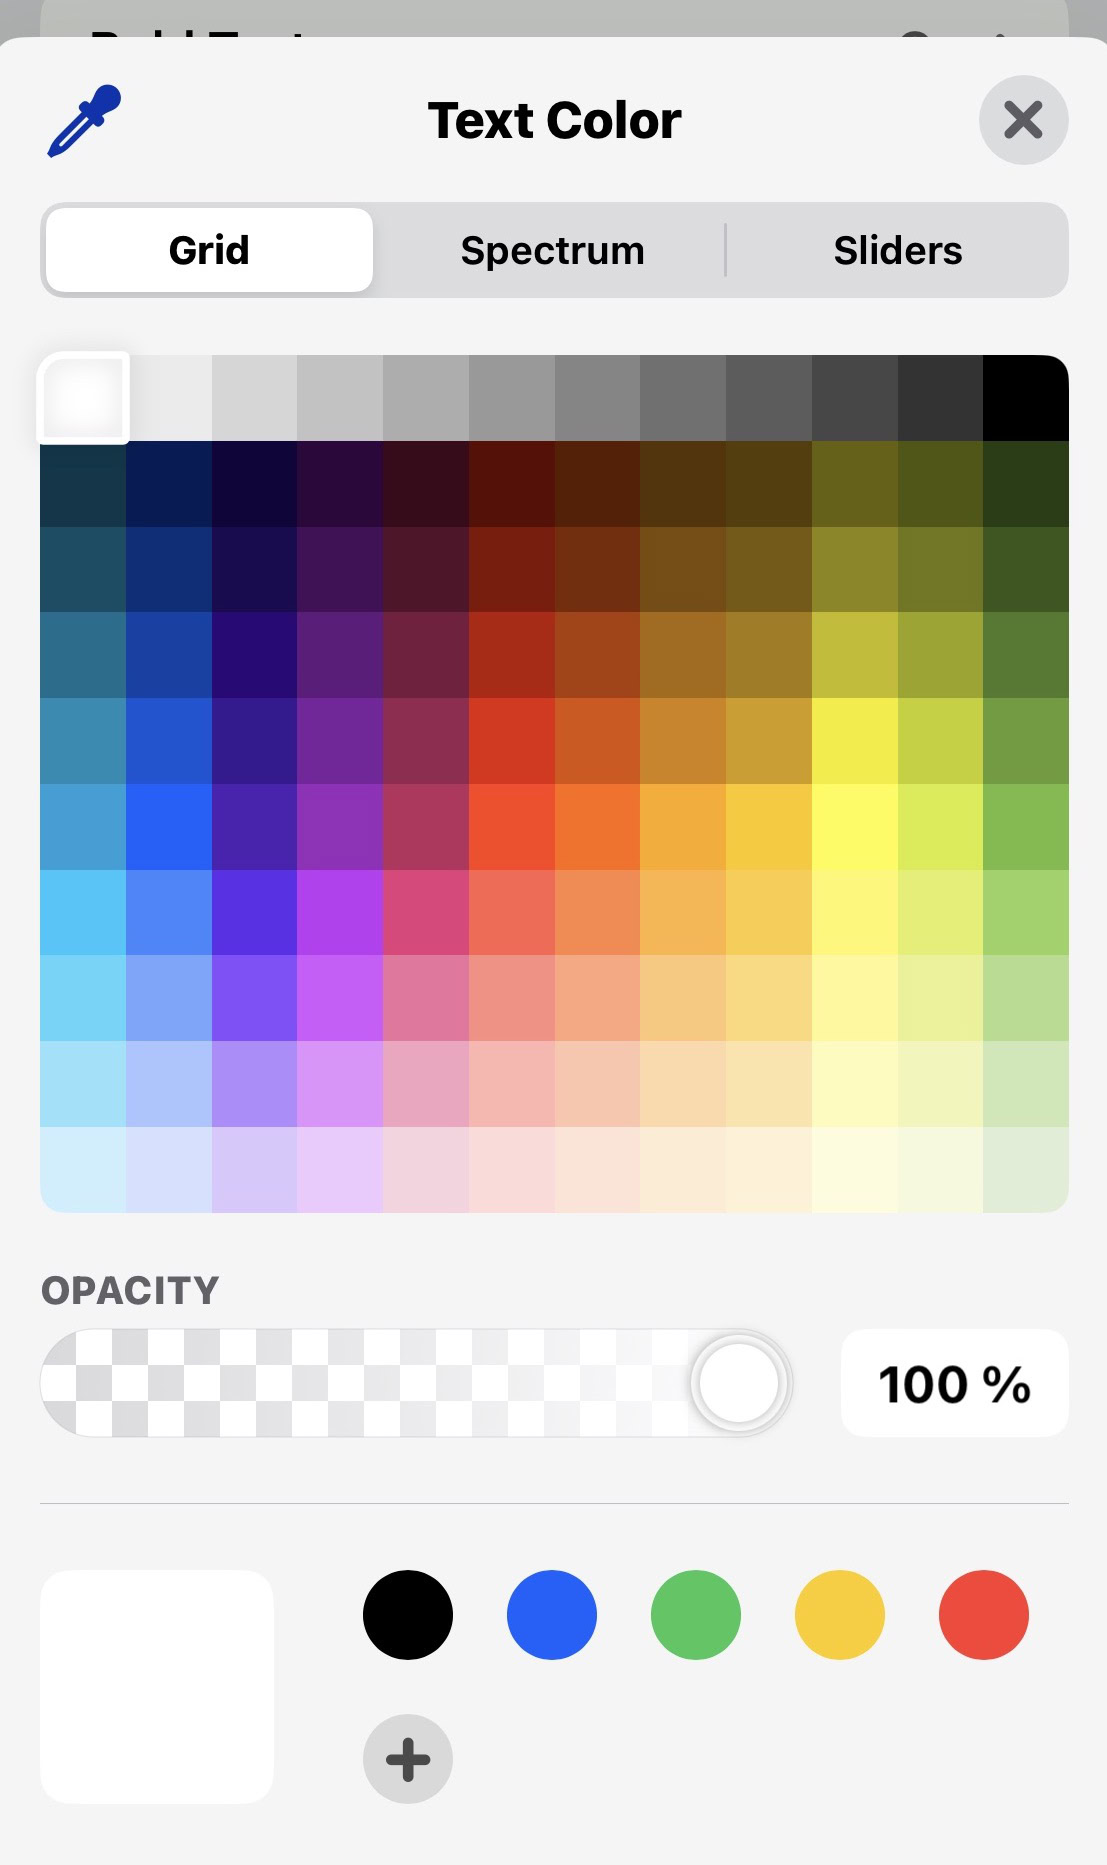
If you go back to the Appearance sub-menu, you can also change the color of the text and the background.
Tapping on each one will provide you with a color palette where you can choose your desired colors. It’s as easy as that.
Read more: How to remove the background from a photo in iOS 16
FAQs
First, your phone must be at least iPhone 11. Newer models are not supported. Secondly, Live Captions is only supported if your phone’s primary language is US English.
