Mac/MacOS
Apple computing from A to Z. Everything about macOS and Mac computers, as well as the tech that makes the magic happen.
Reviews
Guides
How-to's
Features
All the latest
Mac/MacOS news
I tested the new ChatGPT browser, and it makes Chrome feel like a dinosaur
Dhruv BhutaniOctober 22, 2025
0

Why Apple should be terrified if Gemini comes to macOS
Karandeep SinghOctober 16, 2025
0

The best Nintendo 3DS emulators for PC and Mac
Joe HindyAugust 12, 2025
0
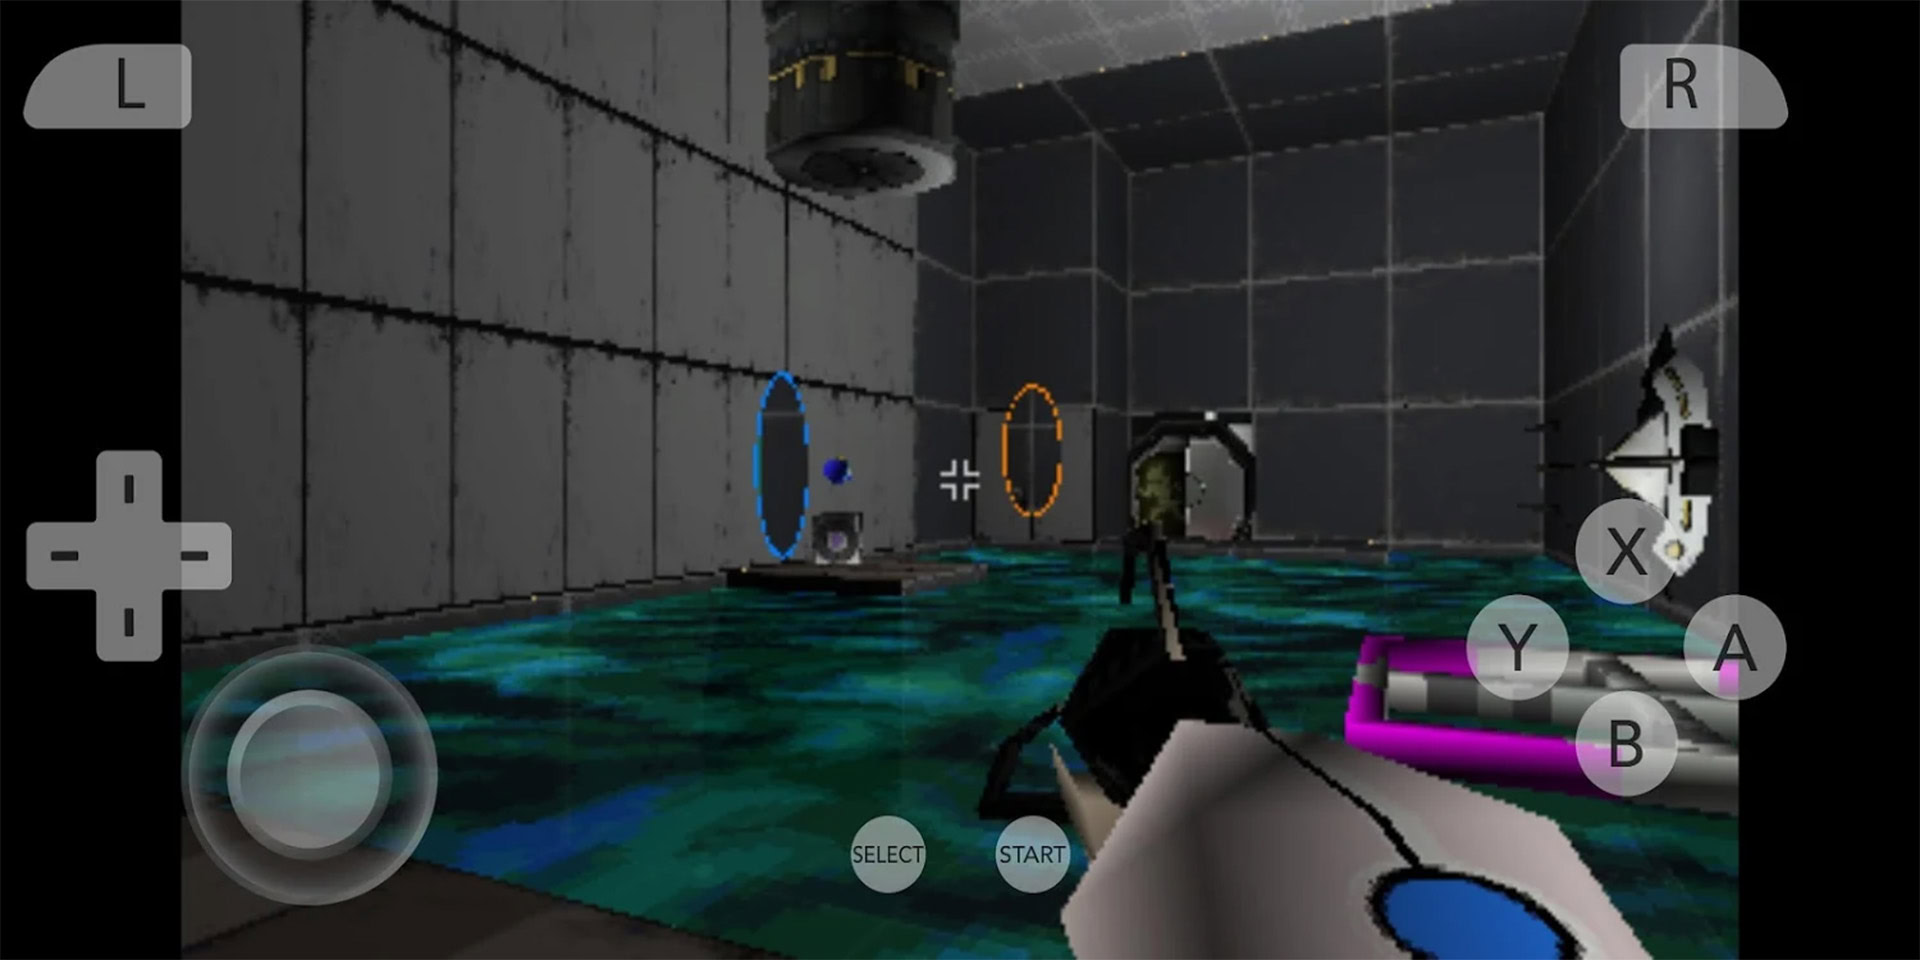
7 features I want Chrome to steal from its rivals, and why
Dhruv BhutaniAugust 9, 2025
0
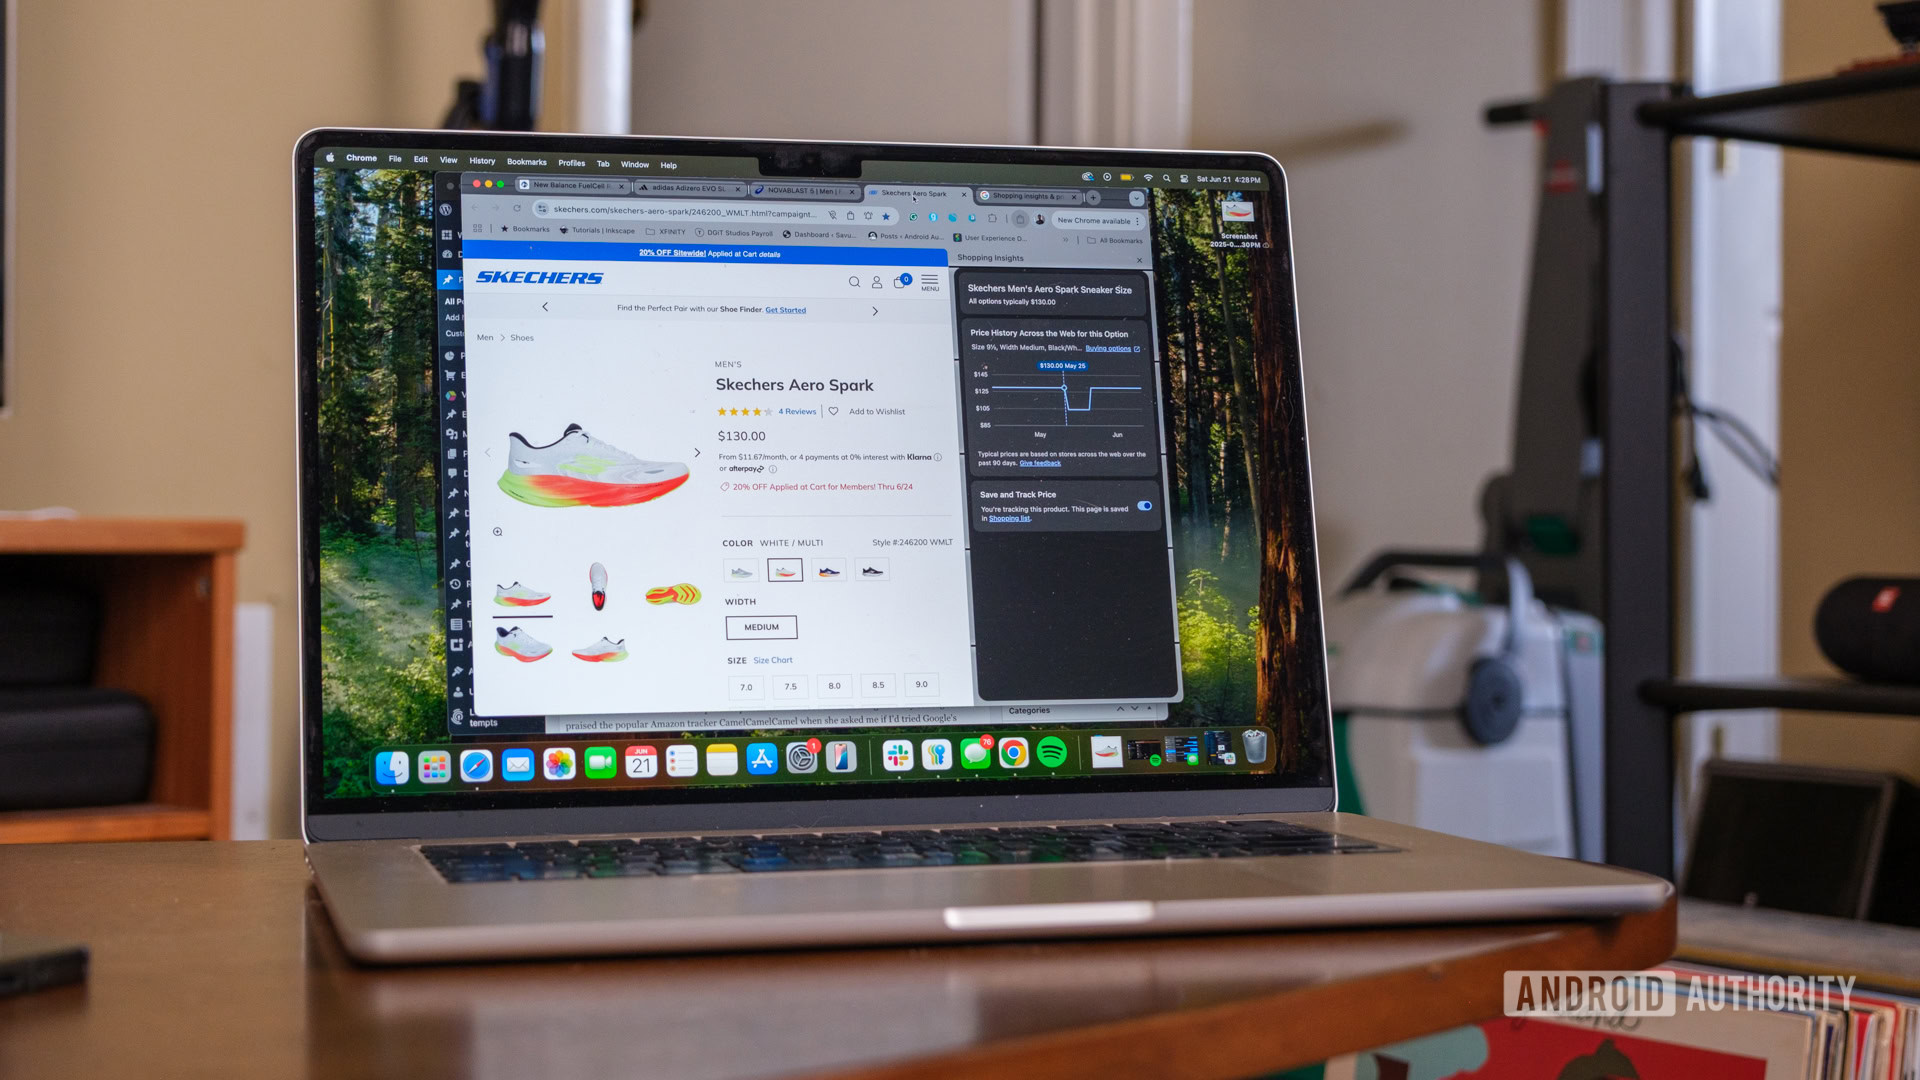
How long does a MacBook battery last?
Team AAAugust 1, 2025
0

One of the hottest new browsers is also the best thing that's happened to my YouTube experience
Adamya SharmaJuly 27, 2025
0

My search for a great Android emulator for my new Mac took me down a rabbit hole
Dhruv BhutaniJuly 16, 2025
0
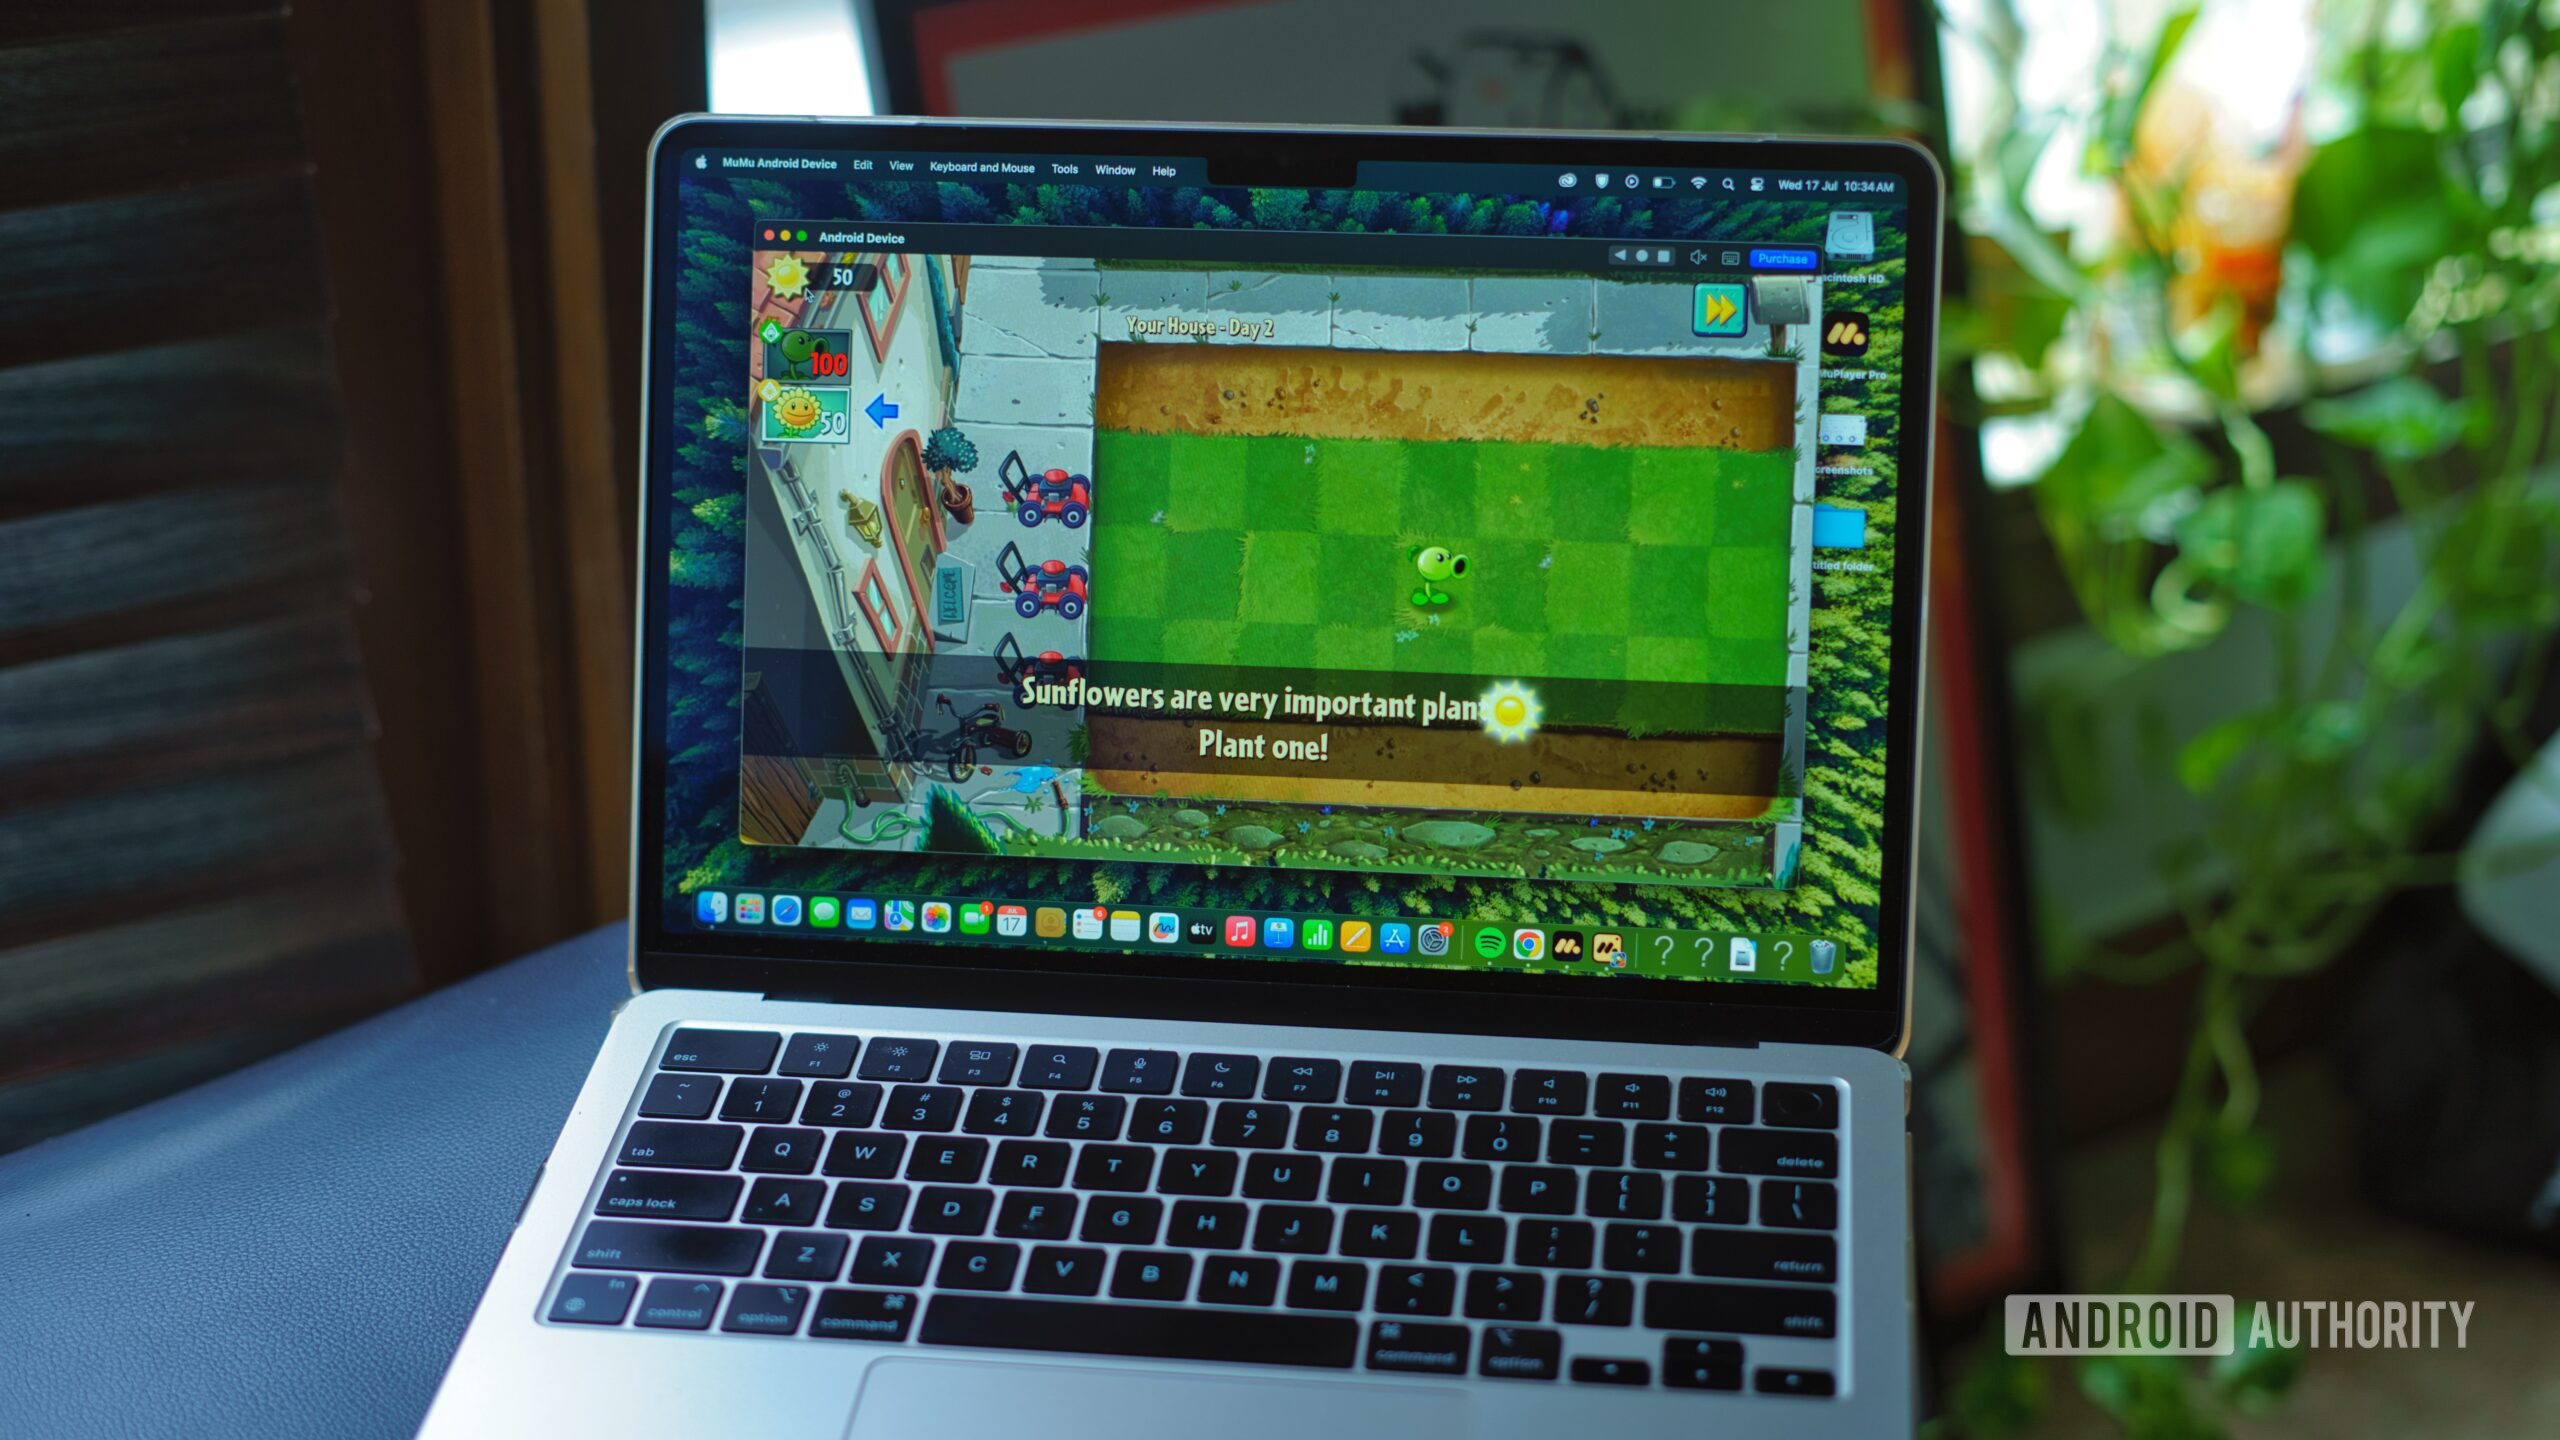
I tried Arc browser’s smarter sibling so you don’t have to — but you might want to
Karandeep SinghJune 23, 2025
0
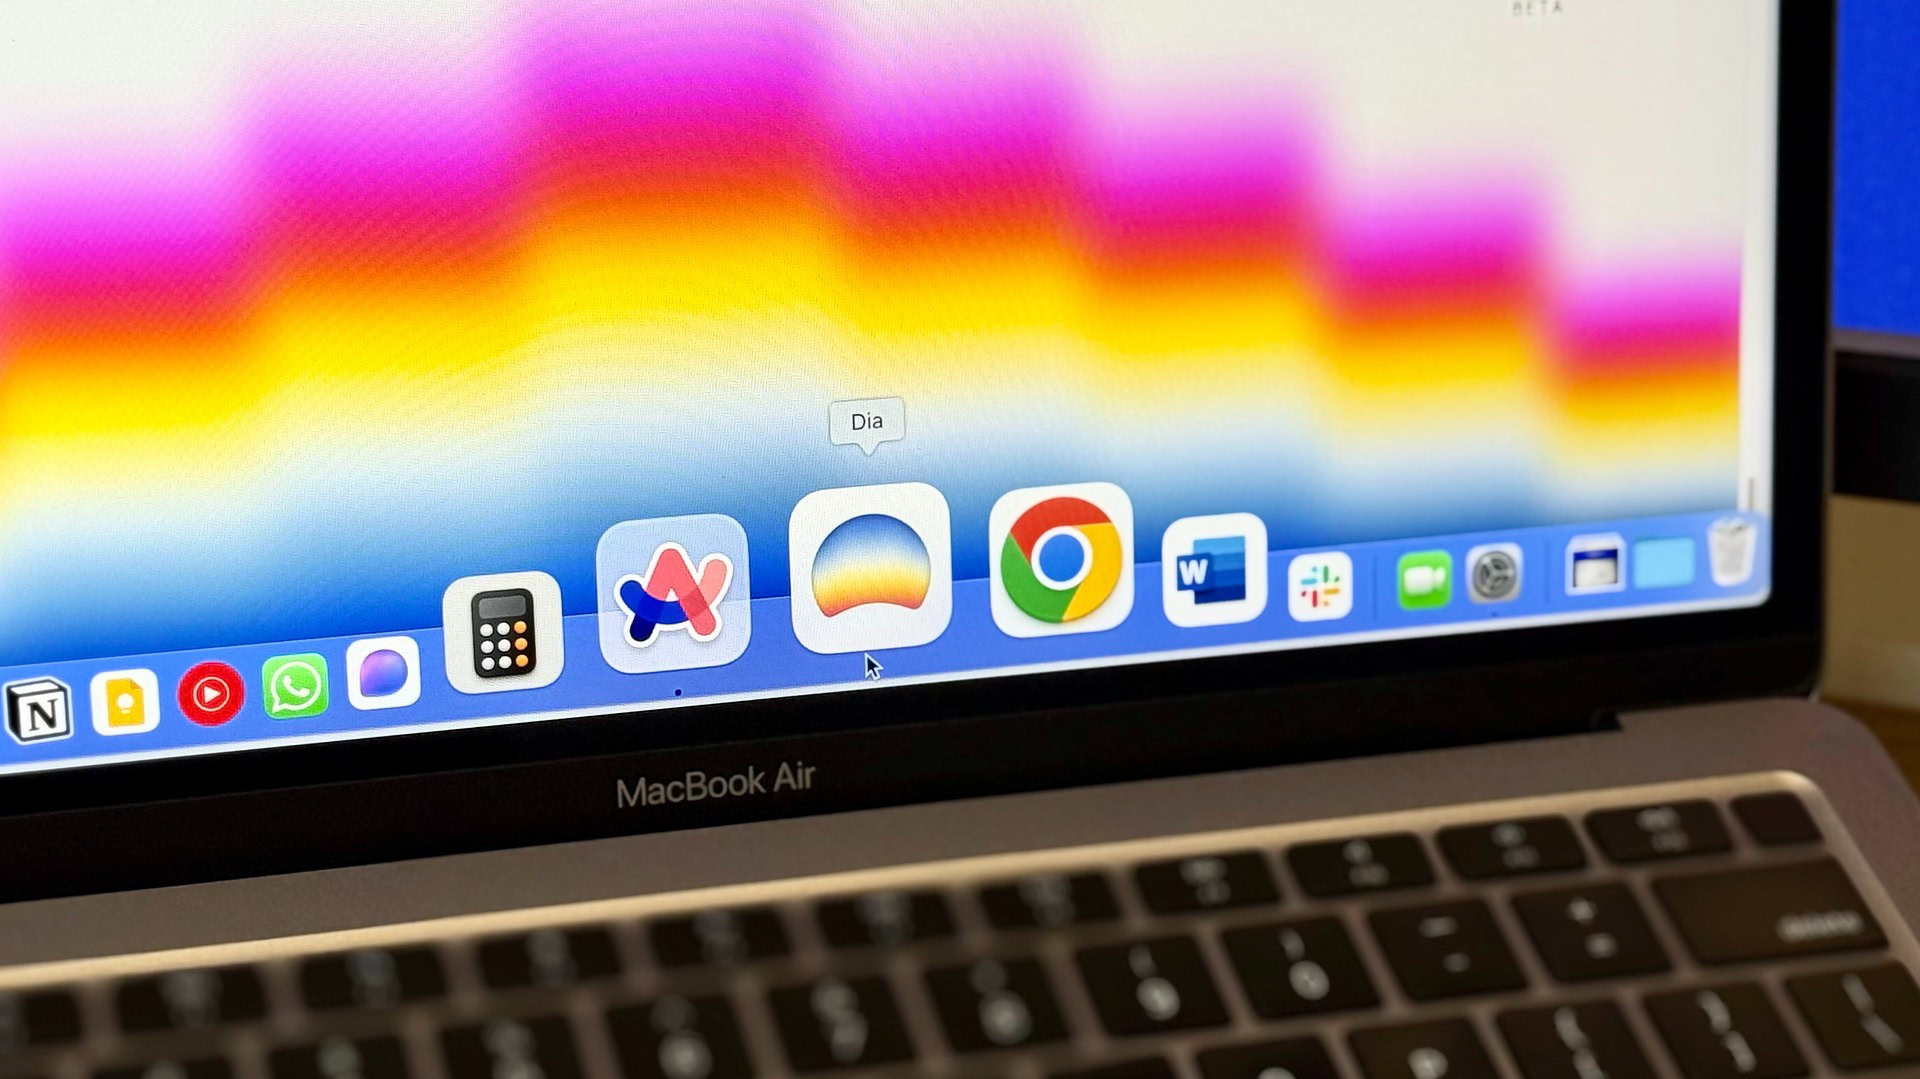
These are the Android emulators for PC and Mac I recommend in 2025
Nick FernandezJune 23, 2025
0

The best GameCube emulators for most platforms
Joe HindyJune 16, 2025
0

Don't miss this chance to get an Apple MacBook Air M4 for just $749
Edgar CervantesDecember 17, 2025
0

Deal: Apple Mac Mini M4 drops back to Black Friday prices!
Edgar CervantesDecember 9, 2025
0

The Apple MacBook Air M2 is still amazing, and it's only $599 today!
Edgar CervantesDecember 1, 2025
0
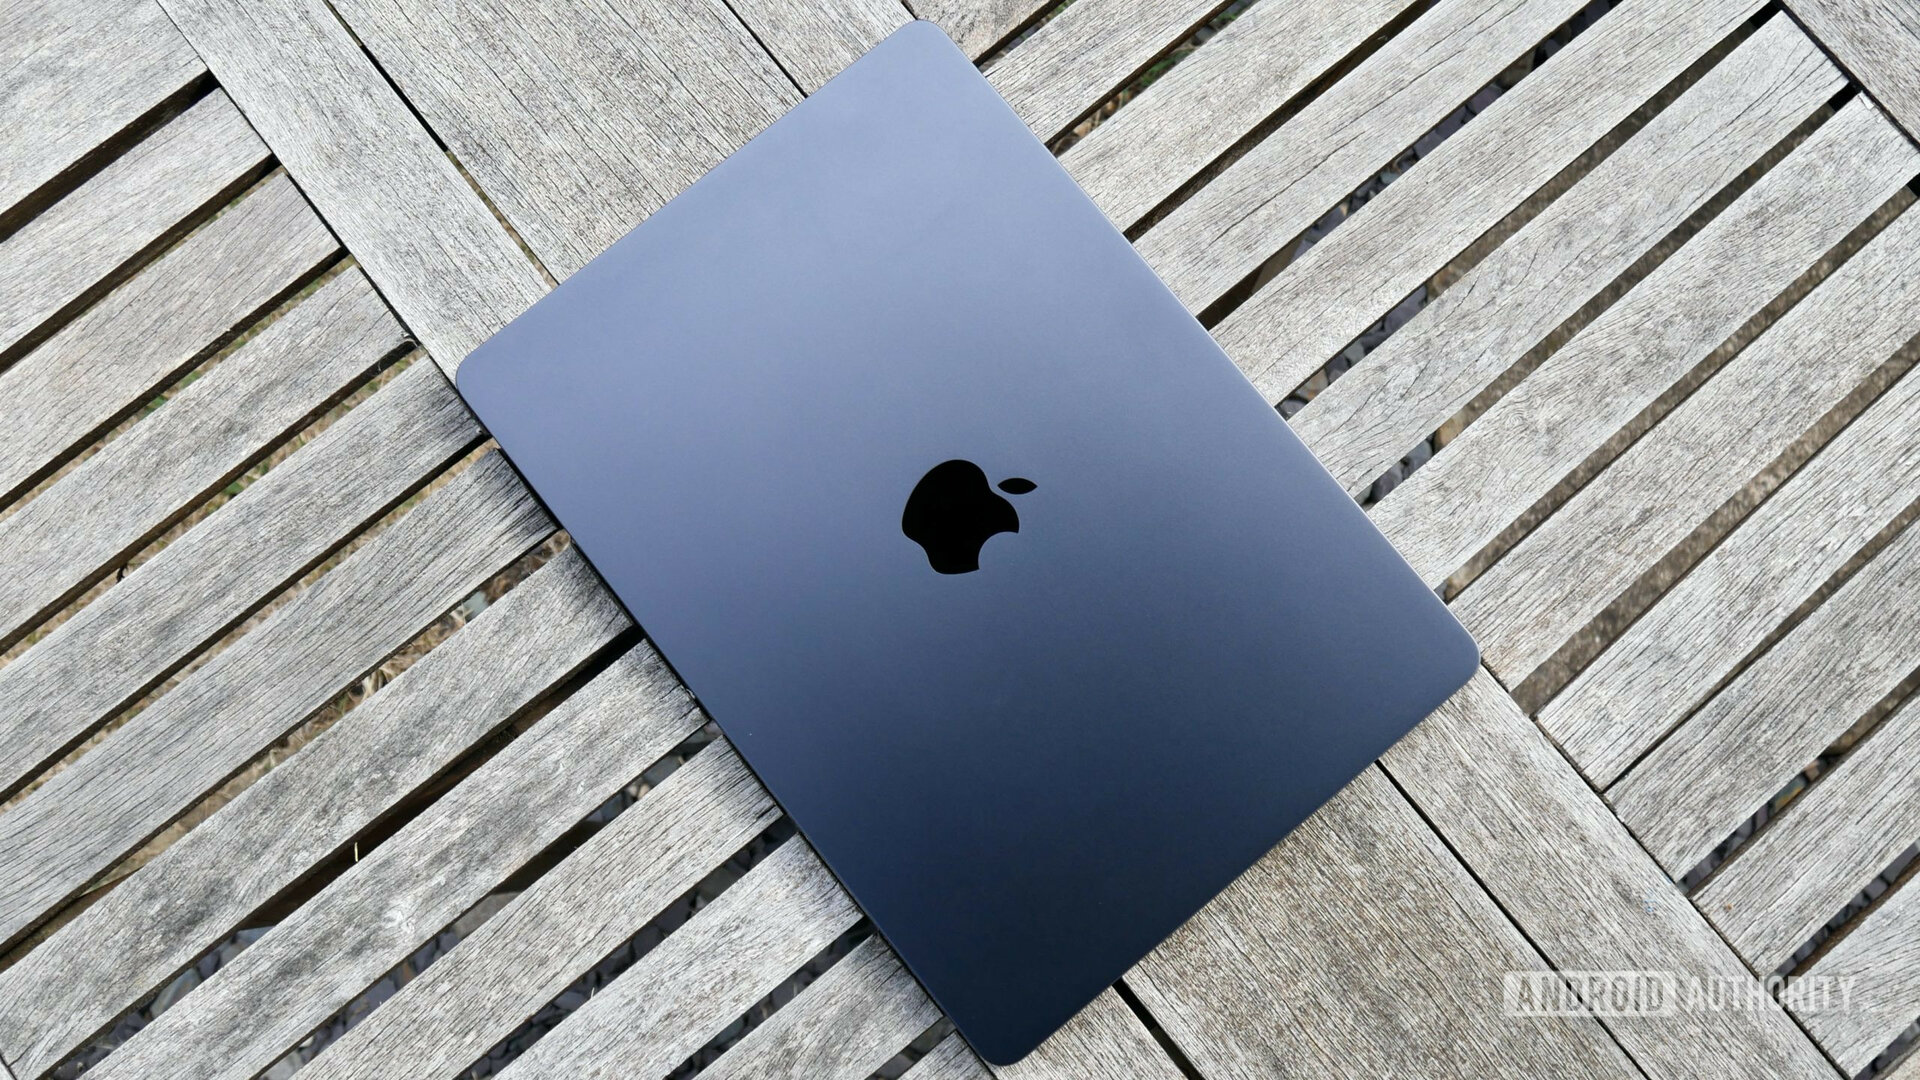
Secure a record-low price on the Apple MacBook Air M4
Edgar CervantesDecember 1, 2025
0

Surprising price cut on Apple Mac Mini: $479 for Black Friday
Edgar CervantesNovember 27, 2025
0

Google Chat is borrowing this handy shortcut from YouTube
Stephen SchenckNovember 21, 2025
0

Deal alert: Apple MacBook Air M4 drops to $749 record-low price
Edgar CervantesNovember 21, 2025
0

Hot sale: Apple MacBook Air M4 drops to a new record-low price!
Edgar CervantesNovember 6, 2025
0

Apple may finally build a 'cheap' Mac, and somewhere Chromebooks are sweating
Varun MirchandaniNovember 4, 2025
0

Early Black Friday deal: The Apple MacBook Air M2 is just $649!
Edgar CervantesOctober 31, 2025
0
