Affiliate links on Android Authority may earn us a commission. Learn more.
How to fix "macOS cannot verify that this app is free from malware"
Published onAugust 8, 2022

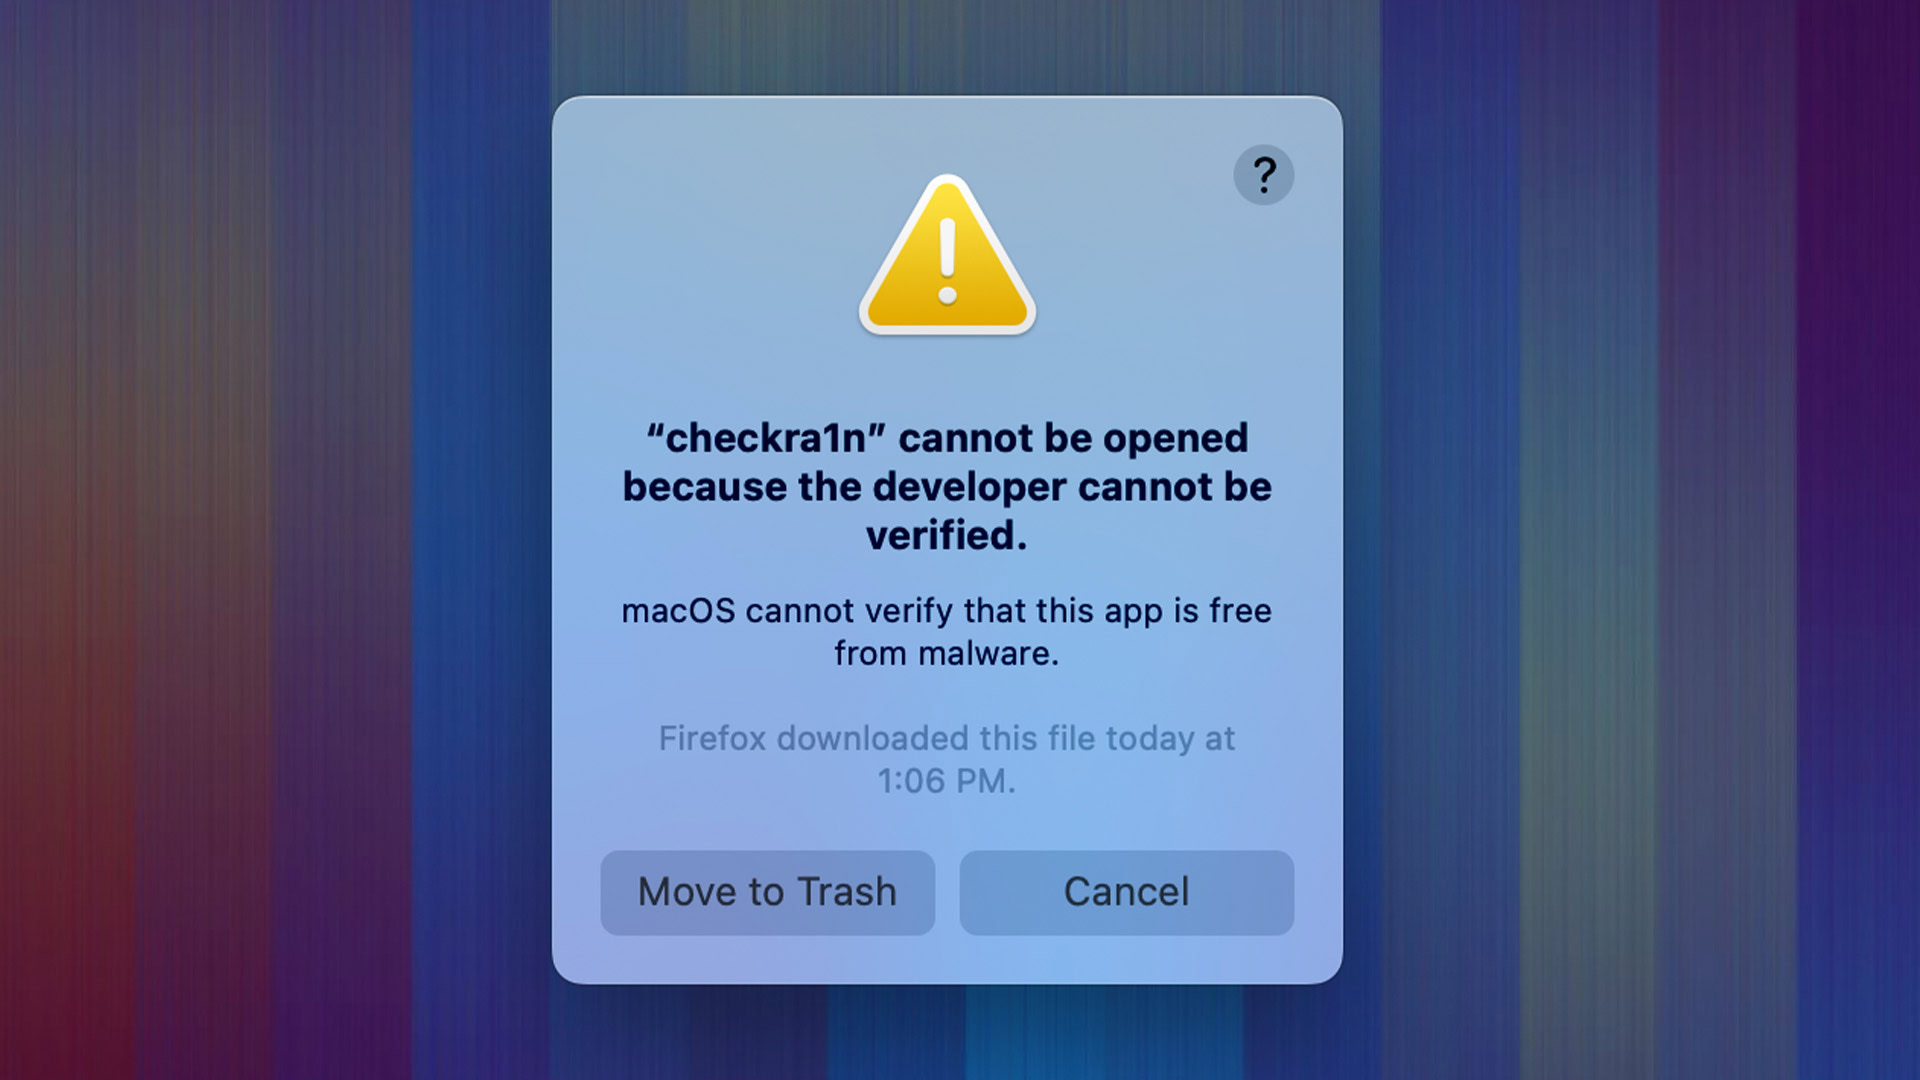
There are a lot of random errors in macOS. One of them is the inability to verify that an app is free from malware. It’s a fairly common issue, especially when you download apps from websites instead of the Mac Store. Luckily, it’s not terribly difficult to fix, and we’ll explain more about the error, what it means, and when to take it seriously. Here’s how to fix it when macOS cannot verify that this app is free from malware.
Read more: How to start any Mac in safe mode
QUICK ANSWER
To bypass "macOS cannot verify that this app is free from malware", open Finder and navigate to Applications. Find the app giving you trouble. From there, command+click on the app and select Open. When the next window opens, select Open again to open the application.
JUMP TO KEY SECTIONS
What causes the problem, and is it safe?

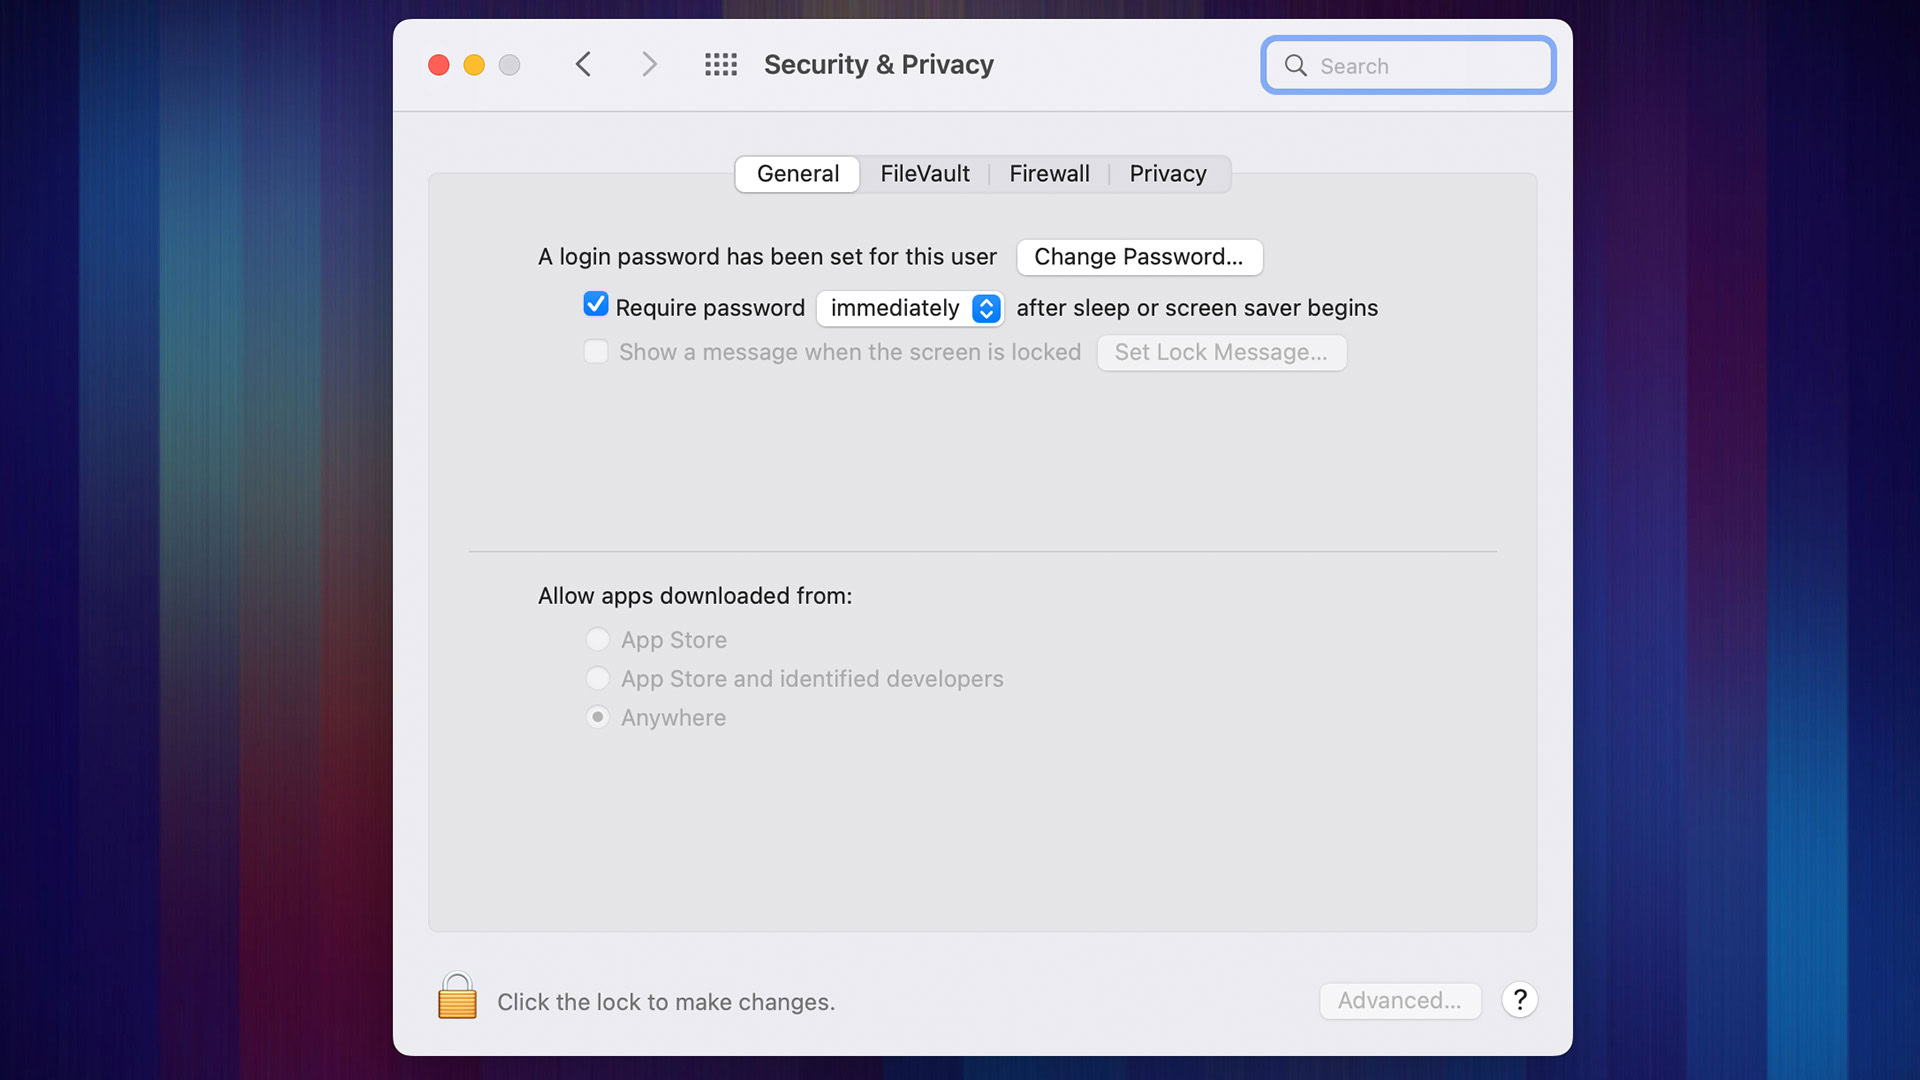
Every Mac device has something called Gatekeeper installed. Gatekeeper is a security technology that scans and analyzes any app you intend to install on your Mac. You can actually edit Gatekeeper’s settings a little bit by going to System Preferences, then Privacy & Security, and then clicking on the General tab.
In any case, when you see this error, it’s exactly what it says. The software you’re trying to install can’t be verified by Gatekeeper, so Gatekeeper can’t promise you that the app doesn’t contain malware. It’s meant to be a warning more than an error, and it simply means that the developer hasn’t had their app notarized by Apple.
This is a fairly common issue with third-party apps and especially with independent apps. The warning doesn’t necessarily mean the file is actually dangerous, it simply means that the app was never looked over by Apple. It’ll be up to you to decide if you trust the developer enough to ignore the warning and continue the installation.
How to fix “macOS cannot verify that this app is free from malware”

It’s not a difficult task to bypass the verification warning. This should work for all apps on modern macOS.
- Open Finder and navigate to the Applications folder.
- Once there, find the app you want to open. Click on it using command+click or double click the trackpad if you’re using a Macbook.
- Tap Open.
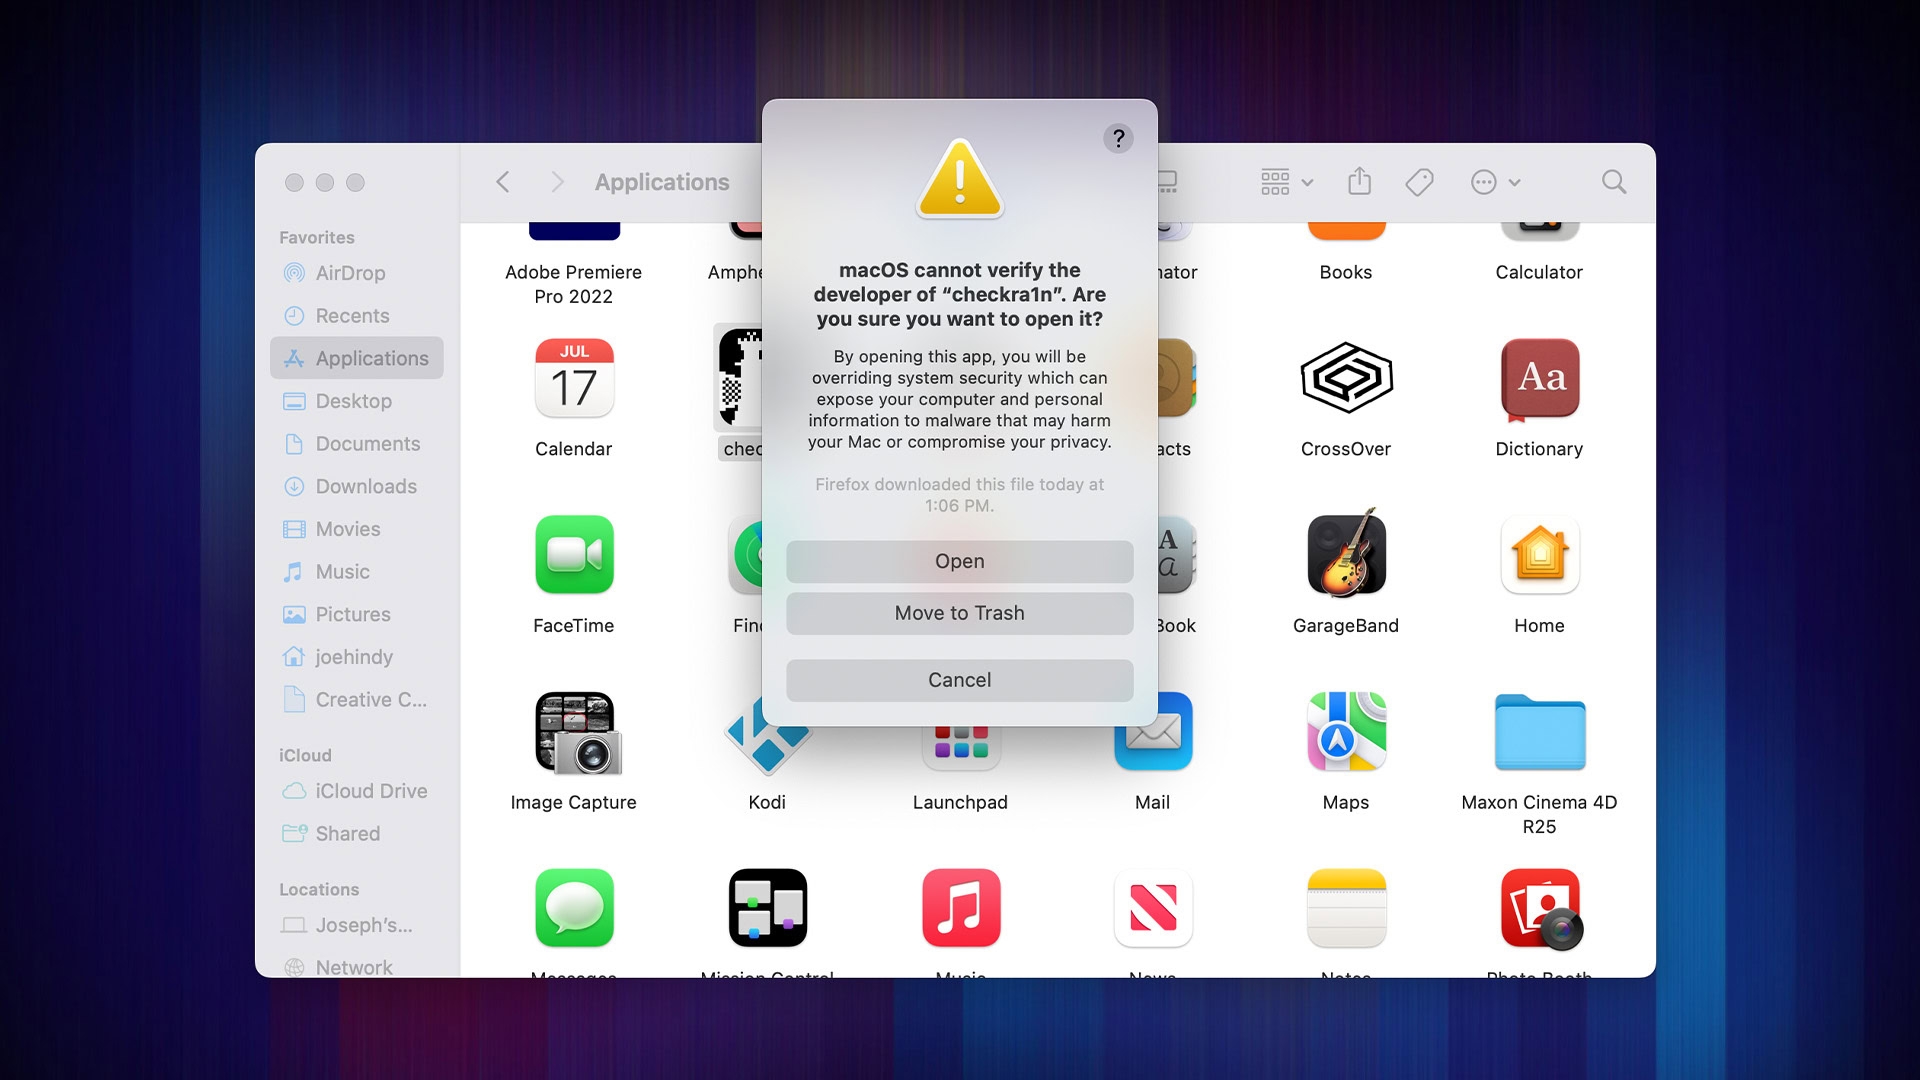
- You’ll get another warning box about macOS not being able to verify the developer. This time, however, there is an Open button in the window. Click it.
- The app should open normally.
In our testing, we found that simply opening the app a second time from the Launchpad also gave you an Open prompt, but that may be a newer feature. The steps above should work for most.
Bypass the warning with Terminal

As with most problems, you can bypass Gatekeeper with a simple Terminal command. However, the command is rather powerful and turning off Gatekeeper can have negative effects. We only recommend you use this method if you turn Gatekeeper back on later.
- Open Launchpad and search for Terminal.
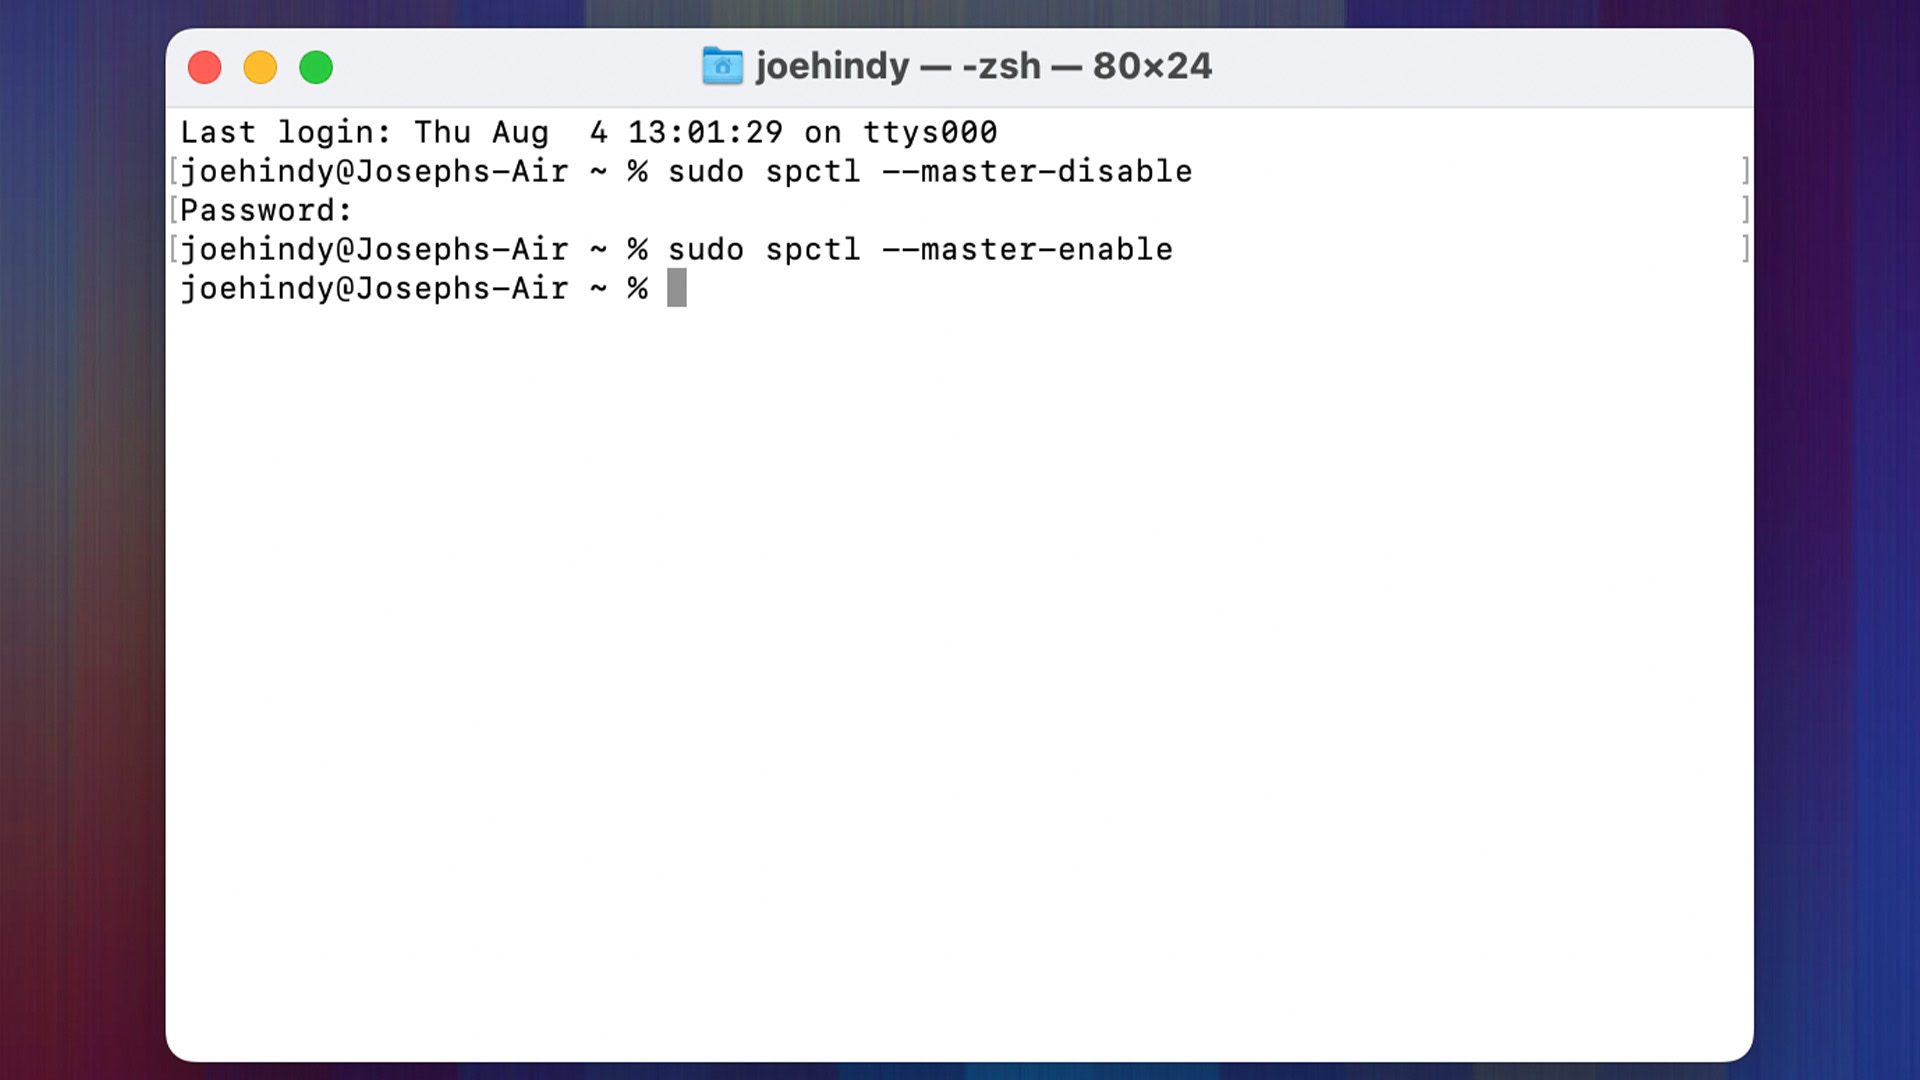
- Once Terminal is open, type sudo spctl –master-disable and hit enter.
- Enter your password and hit enter again.
- You may need to reboot your Mac before it’ll work, but that should work.
- Pro-tip — When you’re finished, go back into Terminal and type the same command as above, but replace disable with enable and hit enter. Enter your password and hit enter. This will re-enable Gatekeeper to keep your Mac safe.
This should work in scenarios where the official method doesn’t work. Again, make sure you turn Gatekeeper back on eventually since it is a valuable security tool on your Mac.