Affiliate links on Android Authority may earn us a commission. Learn more.
Google explains how you're using Magic Editor and Magic Eraser wrong
July 31, 2024
- Magic Eraser works well for removing objects and people in the background.
- Magic Editor is superior at generating large portions of an image, like when removing foreground objects.
- How you select the section you want removed can impact how well the tools work.
Do you believe in magic? Google hopes you do. And it very much wants you getting on board with all its latest AI-powered software features, including some very impressive editing tools in Google Photos. But do you really understand all the options you have access to, and the different situations where one editing solution might be better than another? Today Google shares some quick tips that should hopefully educate you about which kind of magic to summon for help with your pics.
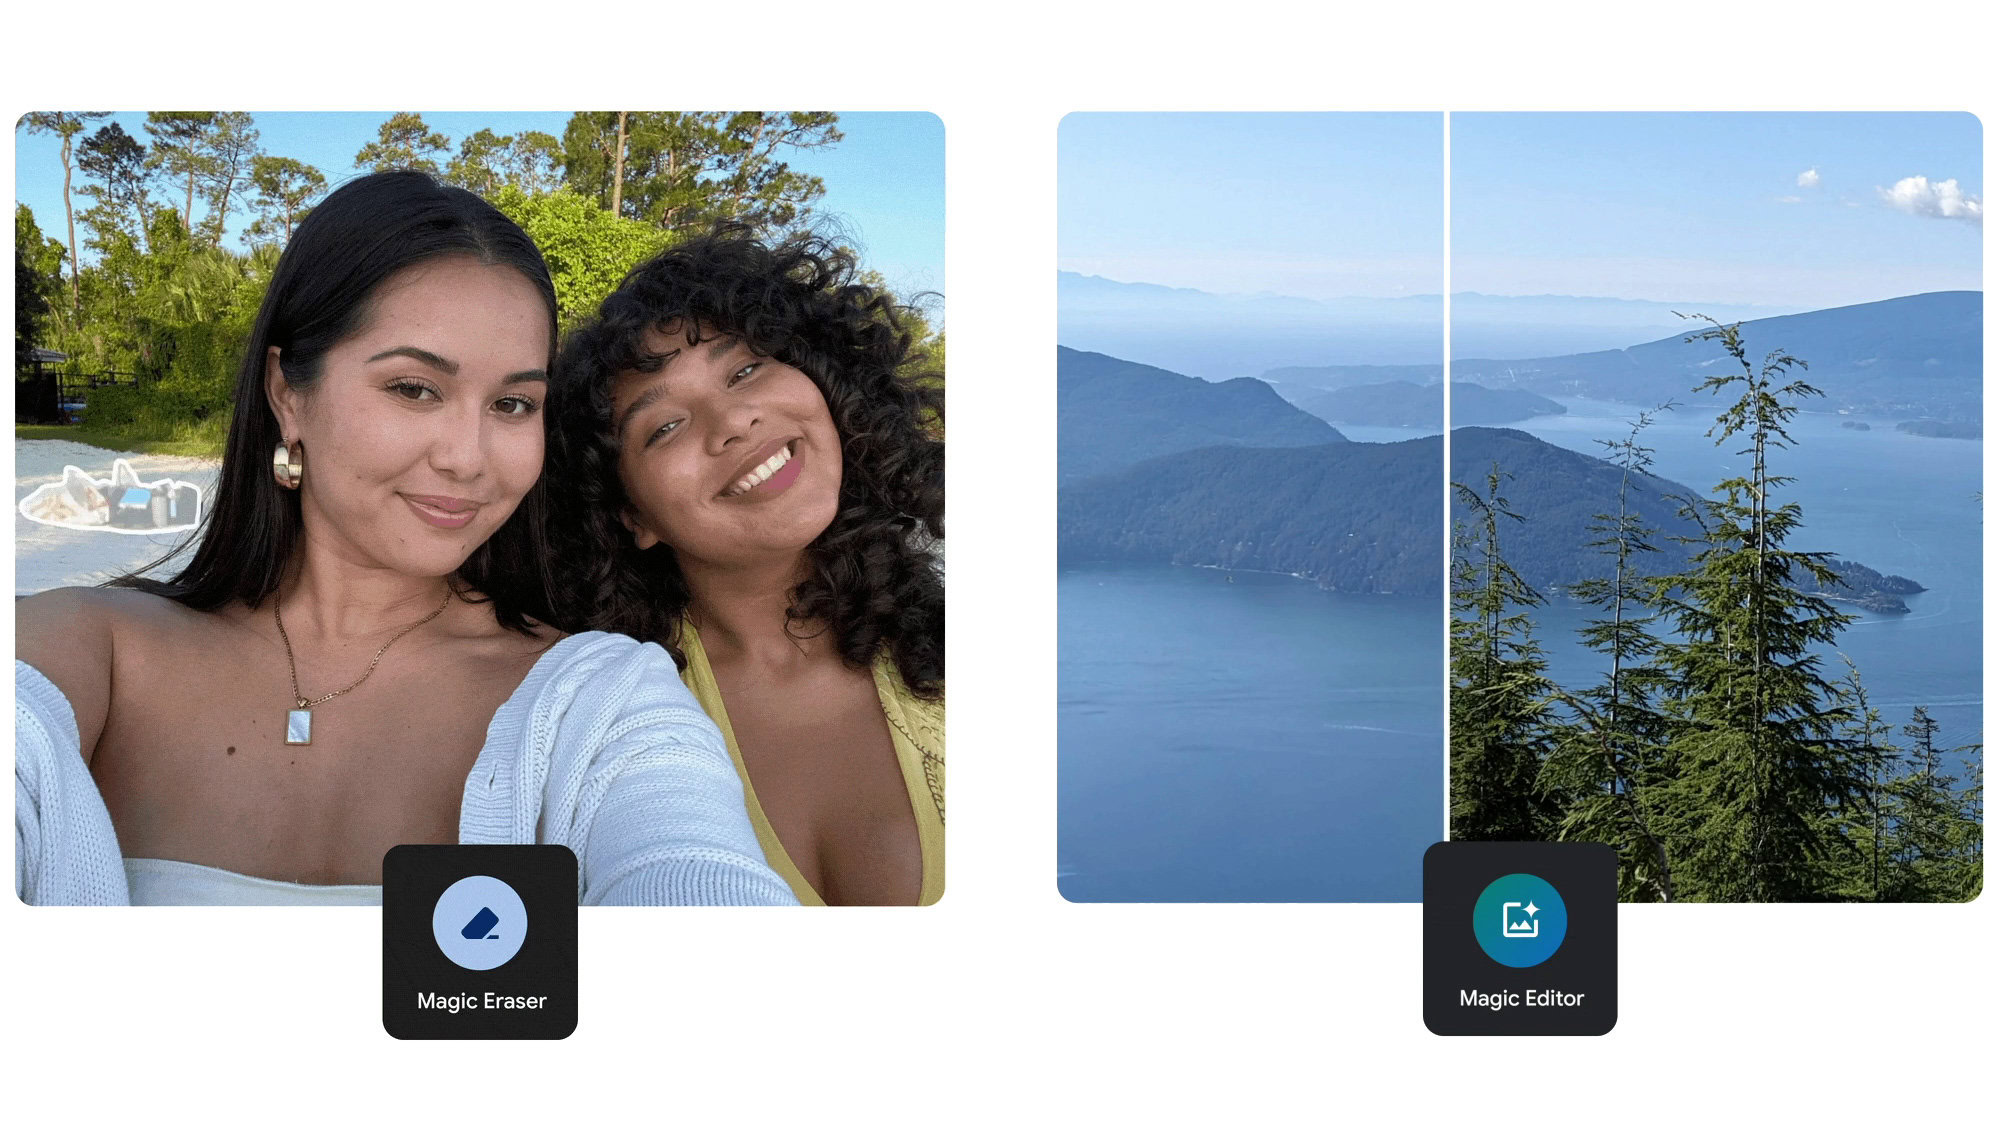
Google got this ball rolling with Magic Eraser on the Pixel 6, letting you quickly highlight and remove unwanted portions of your photo. You simply select the part you want gone, and Google uses background cues to fill in the space.
But now we also have Magic Editor, a full suite of AI-enhanced image editing tools, and this includes its own erase function. So what’s the difference? Google Photos senior product manager Selena Shang explains that Eraser is your best bet for spot removals: getting rid of a person or two, or a distracting object in the background. But Editor is better at filling in large spaces, so it’s the smarter choice when what you’re replacing is very near the camera, taking up a lot of your frame. A big part of that is likely because Editor runs in the cloud, requiring your pics to be backed up to Google’s servers. That gives you access to the generative power of the company’s vast AI resources, while Eraser is more of a quick-and-dirty offline solution.
Shang shares a few other tips on getting the most from Magic Editor, like being aware of how you’re selecting the portion of your image you want removed. Zooming in sounds like an obvious one to get finer control over your selection, but if you didn’t know that was an even an option, you do now. Circling or brushing across an object to select it is your best option for things with complicated, hard-to-define edges, while just tapping should work fine for stuff that sticks out more.
As you may recall, Magic Eraser can be found as one of the options under “Tools” on the edit screen in Photos. Magic Editor, meanwhile, has its own dedicated button that’s available across the edit mode.
Thank you for being part of our community. Read our Comment Policy before posting.
