Affiliate links on Android Authority may earn us a commission. Learn more.
How to make a bootable Windows USB on a Mac
Published onApril 28, 2023
Did your Windows PC fail, and it suddenly can’t boot? Maybe you want to install Windows on a new PC you just built. Regardless of the reason, the simplest way to do this is with a bootable Windows USB drive. Making one of these is simple when you have a second Windows computer around to make it, but the process gets trickier if your only other computer is an Apple one. Today we’ll teach you the ins and outs of how to make a bootable Windows USB on a Mac.
QUICK ANSWER
To make a bootable Windows USB on a Mac, there are three methods available. The simplest is to use a third-party app dedicated to this specific process. This makes the process seamless and straightforward but will cost you some money. At least it's cheaper than Parallels, which is the second option. But if you already have an interest in running Windows on a virtual machine within your Mac, it might be worth the investment. Lastly, it's possible to manually create a bootable Windows USB on a Mac using Terminal commands, but this process is a bit more complex.
JUMP TO KEY SECTIONS
What is a bootable Windows USB?
Let’s start with the basics. What is a bootable Windows USB, and what is it for? A bootable Windows USB drive is a flash drive with the necessary software for a fresh Windows installation, in a new computer. You can also create Windows installation media using a DVD or an external hard drive.
Bootable Windows installation media is often used for troubleshooting a non-operational computer. More specifically, if a computer’s software fails, a bootable Windows USB can install a fresh copy of the Windows operating system on your PC, bringing it back to life. It’s also a common tool for PC builders who need to install Windows on machines they just built. Additionally, you can use it to install Windows on virtual machines, and more.
What you’ll need to make a bootable Windows USB on a Mac
Creating a bootable Windows USB has a few requirements, so let’s ensure you’re ready for the task before starting.
- A Mac computer: This one is a bit obvious, given the topic of this guide. Also, make sure your Mac computer is plugged in, as you don’t want it dying on you in the middle of the process.
- An internet connection: You will need to download the Windows ISO file from Microsoft. This requires an internet connection. The Windows ISO file needed to install Windows 11, for example, is pretty large at about 5.37GB. This means that a faster internet connection would be better, or you’ll have to wait a while for it to download.
- At least an 8GB USB flash drive: You will need a USB flash drive with at least 8GB of space. Make sure you have nothing else in there, as the creation of the bootable Windows USB will delete everything in the storage. Here are some 8GB USB drives from Amazon.
- A product key: While not required to create a bootable Windows USB on a Mac, you will need a product key when installing and using Windows.
Where can I download the Windows ISO installation file?
Regardless of your chosen method, you will need to download the Windows ISO to make a bootable Windows USB on a Mac. You can grab it straight from Microsoft’s website. Scroll down to the Download Windows 11 Disk Image (ISO) for x64 devices section, select Windows 11, and then hit Download.
How do I create a bootable Windows USB on Windows?
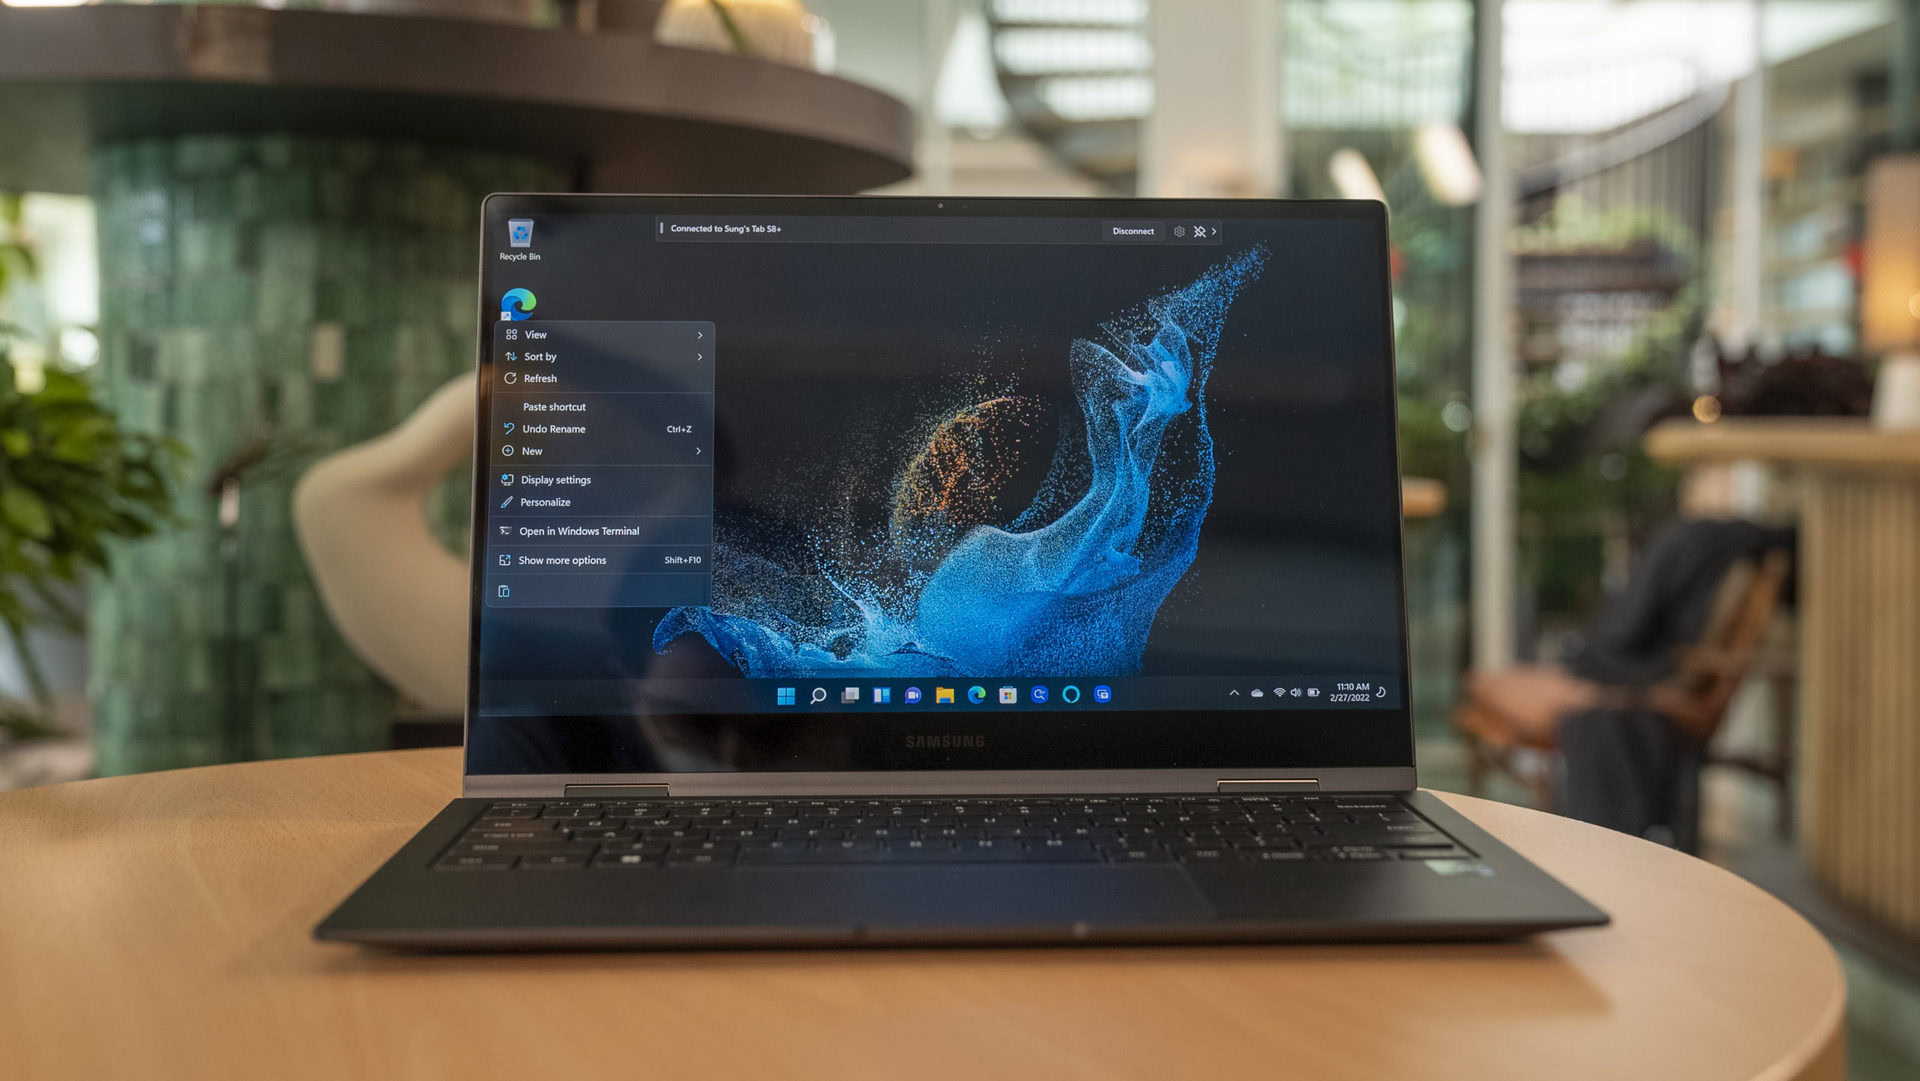
We thought it might be important to go through this process with a Windows machine first. You might have to follow these steps when creating a bootable Windows USB on a Mac, depending on the method you choose to go through.
- Download the Windows 11 Media Creation tool. It’s also on Microsoft’s website, under Create Windows 11 Installation Media. Find the section and hit Download Now.
- Run the Media Creation tool. You need to be an administrator of the Windows PC to do this.
- Select Accept to agree to Microsoft’s terms and conditions.
- Uncheck the box that reads Use the recommended options for this PC.
- Select the Language and Edition. Then hit Next.
- Click on USB flash drive and hit Next.
- Select the USB drive you want to turn into a bootable Windows USB. Select Next again.
- If the tool needs anything from you, it will let you know. Follow instructions and let the process finish.
How to make a bootable Windows USB on a Mac
Now that you know the process for Windows machines, it’s time to move to what you really want to do. Let’s show you how to make a bootable Windows USB on a Mac.
What happened to the Apple Boot Camp Assistant?
The easiest way to make a bootable Windows USB on a Mac, by far, was using the Apple Boot Camp Assistant. And it used to be on all MacBooks and Mac desktops since 2006, so you didn’t even need to download extra software.
Sadly, Boot Camp was discontinued with the introduction of Apple’s own ARM-based chips. Additionally, it’s no longer available after the macOS 11 Big Sur update.
The good news is some of you can still use it, if you have an Intel-based MacBook and haven’t updated past Big Sur. If you want instructions, here they are.
How to use Boot Camp Assistant to make a bootable Windows USB:
- Connect the 8GB USB flash drive to your Mac computer.
- On your Mac, go to Applications and enter the Utilities folder.
- Launch the Boot Camp Assistant.
- Click Continue to get past the intro screen.
- When you come across the Select Tasks step, select all tasks and hit Continue.
- You will eventually run into the Create Bootable USB Drive for Windows Installation step. Choose the Windows ISO file you downloaded and pick the USB Drive you connected. Then select Continue.
- The tool will create the bootable Windows USB and let you know when it finishes.
- Boot Camp Assistant will continue trying to help you install Windows on your MacBook. You can stop the process now.
You can use Parallels
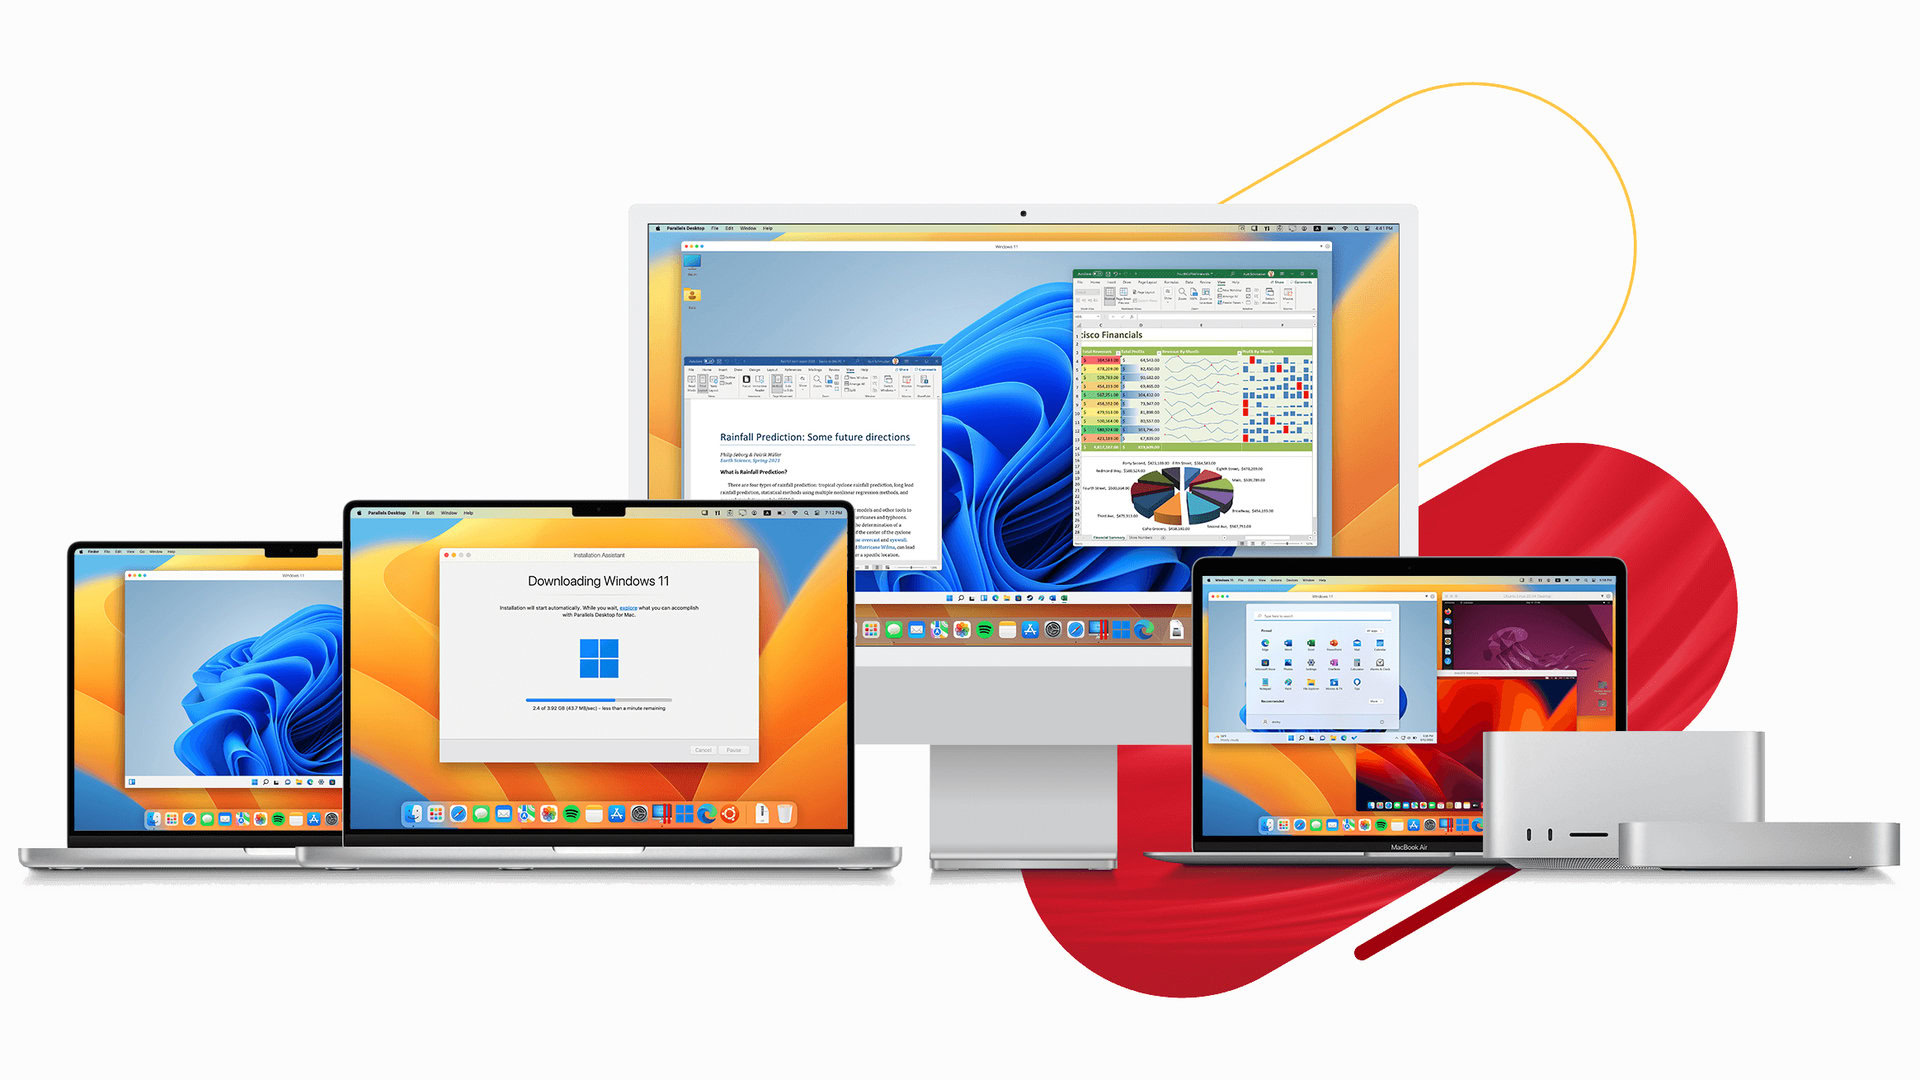
The switch to Apple M-series MacBooks also broke Parallels, which is a virtual machine software that can run secondary operating systems within your MacBook. Some prefer this method, as the virtual machine can run as an app, as opposed to running Windows at a hardware level.
Thankfully, Parallels got busy trying to get its software working for newer MacBooks sporting M-series processors and brought support back to ARM-based MacBooks in April 2021.
Parallels is actually very intuitive and easy to use. All you have to do is buy, download, and install the software. When you launch it, it will walk you through the whole process of setting up Parallels and installing Windows on the virtual machine. Once you have it all set up, you can follow the steps for creating a bootable Windows USB on Windows, which we described earlier in this post.
The one downside about Parallels is that it costs a good amount of money. As of the time of this writing, Parallels costs $99 for the Standard edition. You might not want to pay that much, especially if it’s just to create a bootable Windows USB on a Mac. Some of you may already be using it, though. And it’s actually a great tool to have, especially if you commonly use Windows software and don’t want to switch away from your Mac computer.
Third-party apps make the process simpler and cheaper
So, you don’t have an Intel MacBook running older software, and would rather not pay for Parallels. What now? There are third-party Mac apps that can help you make a bootable Windows USB on a Mac. These are much cheaper than Parallels, and are much easier to use. They still cost at least some money, though.
A very popular and trusted one is UUByte ISO Editor. It’s widely known as the best Rufus alternative for Mac, and is super simple to use. UUByte ISO Editor has a price of $29.95 for the Basic Plan, though. At least that’s much less than using Parallels, and a free trial is available.
How to use UUByte ISO Editor to create a bootable Windows USB:
- Download and install the UUByte ISO Editor for Mac here.
- Launch the UUByte ISO Editor app.
- Insert the 8GB USB drive you want to use to create the bootable Windows USB.
- In the ISO image section, hit Browse and find the Windows ISO file you downloaded from Microsoft.
- Select Create A Bootable USB.
- Click on Burn.
- The process will go on for about five minutes. Wait patiently, or you can go do something else in the meantime.
- Depending on the ISO file size, you might see the app doing extra processing to install the files in different partitions. Continue waiting.
- The app will let you know when the bootable Windows USB is ready. Hit OK to confirm.
You can also use Terminal commands
We can understand why you wouldn’t want to pay for any of the other tools. Thankfully, there is a way to create a bootable Windows USB on a Mac without paying a single cent. It just happens to be a bit complex, and may intimidate the less tech-savvy among you. You can use Terminal commands, which involves using a bunch of text and characters. Most average users have no idea what they even mean.
As if that wasn’t intimidating enough, you must divide the file into smaller files, as FAT32 drives can’t handle files larger than 4GB. And since we already established earlier in this post that our Windows 11 ISO file is 5.37GB, we have an issue here.
Essentially, you will need Terminal commands to install Homebrew, install wimlib, divide the installation file, and go through each step manually. It sounds intimidating, but all you have to do is follow the steps to a tee. Let’s go through them together.
How to create a bootable Windows USB on a Mac using Terminal:
- Go into your Applications.
- Launch Terminal. If you can’t find it, look into the Other folder to see if it’s there.
- Let’s start by installing Homebrew. Type in “curl -fsSL -o install.sh https://raw.githubusercontent.com/Homebrew/install/HEAD/install.sh” without the quotation marks. Hit Enter.
- Type “/bin/bash install.sh” without the quotation marks. Press Enter.
- Let the process run until the system asks you for your password. Type it in and press Enter. No characters will show up while you type the password, by the way, but rest assured the system is recognizing them.
- Once the Terminal has done its thing, you can move on to installing wimlib. Type in “brew install wimlib” without the quotations. Press Enter.
- You might get a warning saying, “/opt/homebrew/bin is not in your PATH”. The Terminal will also give you instructions for adding Homebrew to your PATH in the Next steps section. Run the two commands listed.
- Now we’re ready to move on to the next steps. Connect your USB drive to the Mac computer.
- Type “diskutil list” without quotations into the Terminal and press Enter.
- A list of connected devices will appear. Take note of your USB drive ID. It should be something like disk2, disk3, or something along those lines.
- You will need to format the USB drive. Type in “diskutil eraseDisk MS-DOS WINDOWS11 GPT /dev/disk2” without the quotations and hit Enter. If the disk identifier is anything other than disk2, replace it with the right one.
- Go to the Windows ISO file and double-click on it. This will mount the file as a disk image.
- Enter the following command without the quotations to copy all the files to the USB drive: “rsync -vha –exclude=sources/install.wim /Volumes/WINDOWSISOFILENAME/* /Volumes/WINDOWS11”. Replace the text I labeled as WINDOWSISOFILENAME with the actual name of the Windows ISO file you downloaded. Press Enter.
- Now you can split the file using wimlib. Do this by typing “wimlib-imagex split /Volumes/WINDOWSISOFILENAME/sources/install.wim /Volumes/WINDOWS11/sources/install.swm 3000” without the quotations. Again, replace WINDOWSISOFILENAME with the actual Windows ISO file name. Press Enter.
- You should be done now!
FAQs
Boot Camp is currently being phased out by Apple. While it used to be preinstalled in all Macs since 2006, it was removed for Apple computers running M-series ARM processors, due to incompatibility with the new silicon. Additionally, the feature was removed with the macOS 11 Big Sur update. The only way you can still use Boot Camp is if you have an older Mac, running software older than Big Sur.
Parallels also suffered compatibility issues with Apple’s own chipsets were introduced. For a while, anyone using an Apple M-series processor couldn’t use Parallels to run Windows. The developer has fixed the issue since then, though. Now, both Intel and ARM-based Macs can use Parallels to use Windows.
While having a Windows computer makes it easier to make a bootable Windows USB installer, it’s not necessarily a requirement. People have ways to do this using MacOS and Linux operating systems.
Yes. The process isn’t as simple as with a Windows machine, but there are some workarounds you can try.
Microsoft recommends that you use a USB drive with at least 8GB of RAM to create an installation USB drive.
Microsoft mentions Windows installation devices can be created using a DVD, USB drive, or hard drive. That said, you can also use an SD card.
